I managed to find a bit more time this evening to progress things.
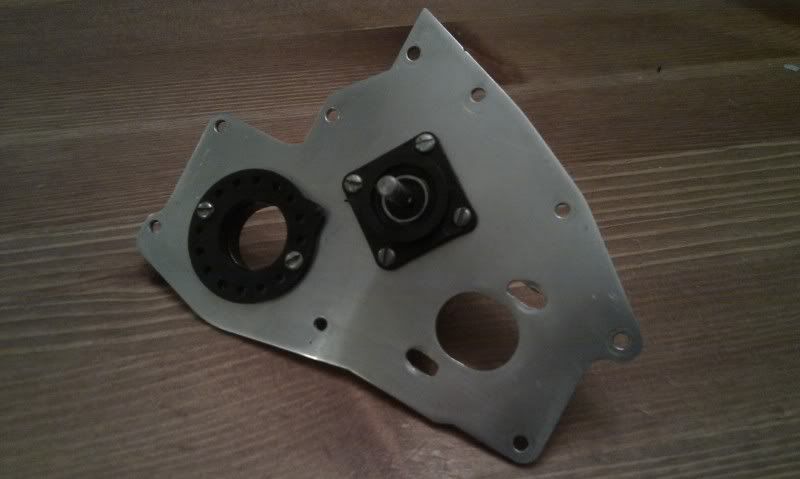
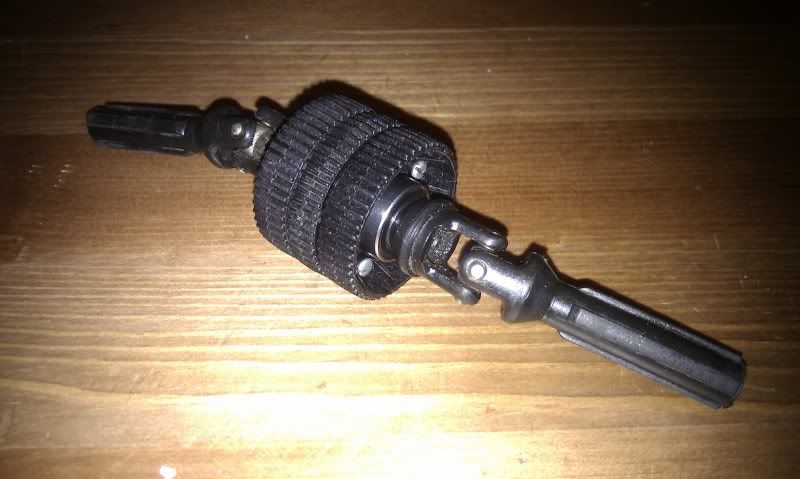
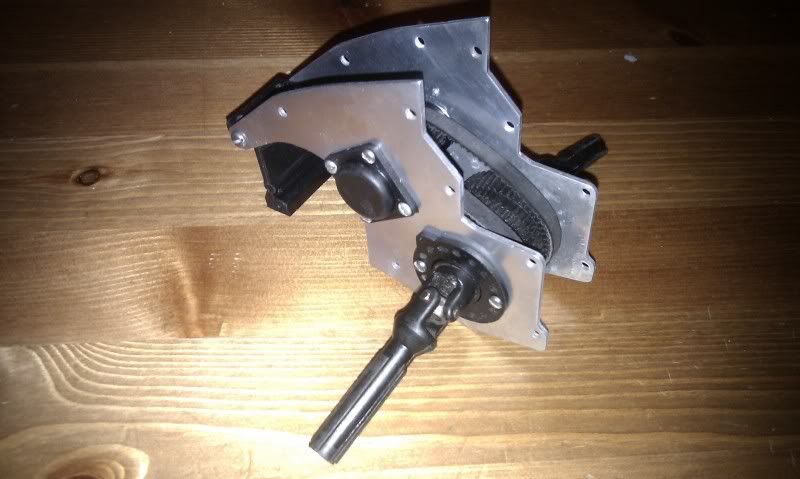
I built up the original standard specification front differential and am happy it turns pretty freely. This was then installed into the diff housing and mounted to the chassis. I removed an unused tensioning bar from the sprue and fitted it for this build as I want to keep it totally standard spec and a used one would probably be a weak spot.

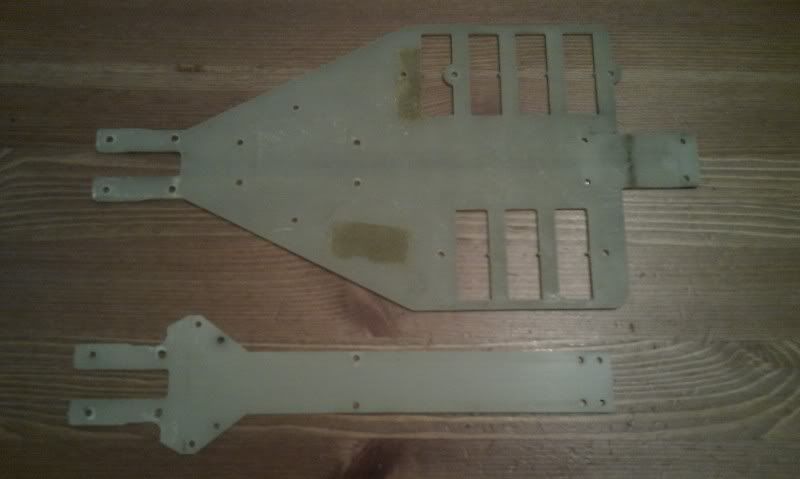
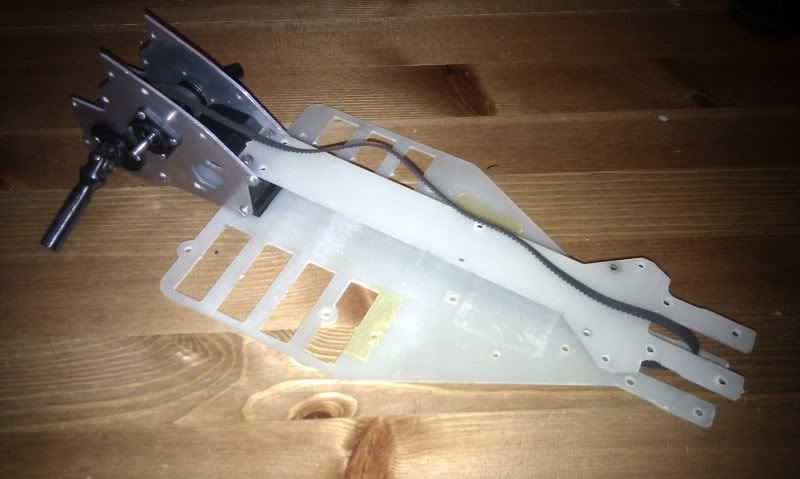
Then all the belts were tensioned and the transmission housing fitted. In this photo you can see that I finally managed to remove the residue from the lower deck by chipping it away as one of you suggested. Unfortunately, I have managed to leave a couple of minor scratches to the lower deck, but it's not bad and is certainly better without the residue.

Finally for tonight, I fitted the rear shock and wing mounts along with the upper suspension mount.

I realise that what I haven't been showing is the cleaning up process for each of the parts. Remember all of these parts (except the front tensioning bar) are used, so cleaning up and making sure everything is in good condition is far more time consuming than the assembly. I'll try to remember to take some pictures when I work on it next.