http://www.rc10talk.com/viewtopic.php?f=54&t=36684
But figured I'd do a separate resto thread since that had some Kyosho references in it.
Me and my Dad used to race all our stuff back in the day...finally dug everything out. it all works...just time for a clean-up and resto.
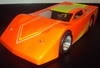
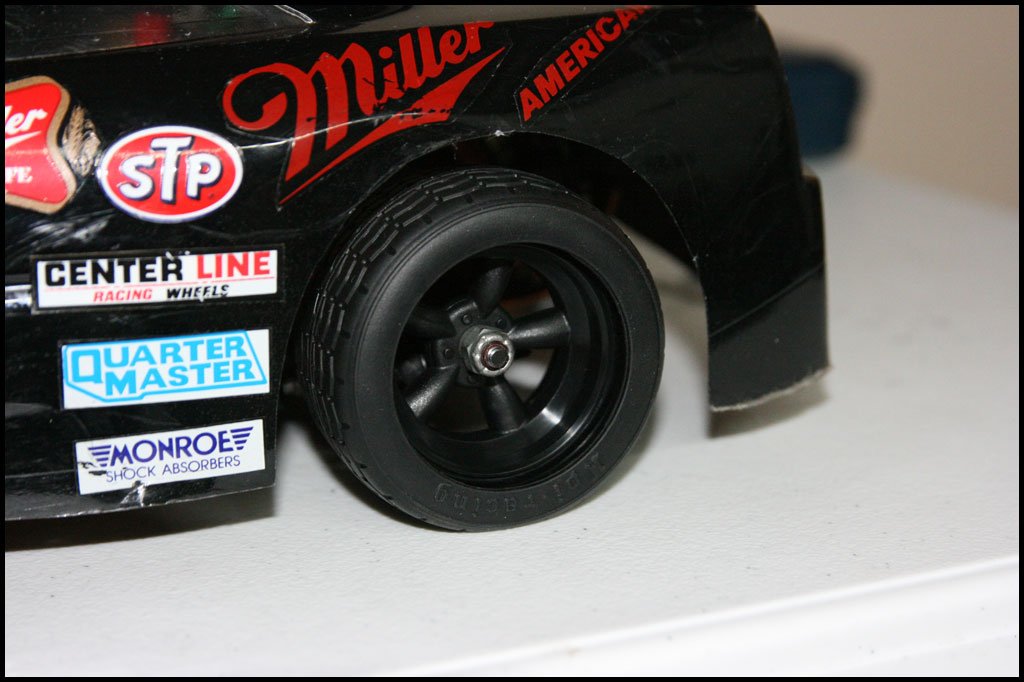
This is how she started. (yes that's a GoPro mount - I couldn't resist! lol)


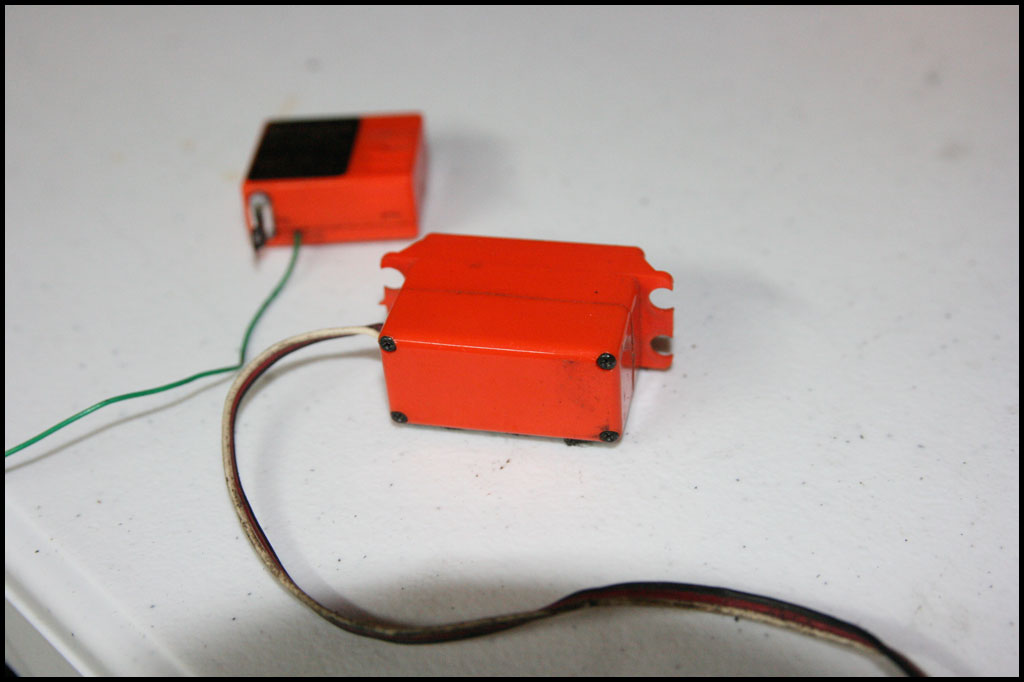
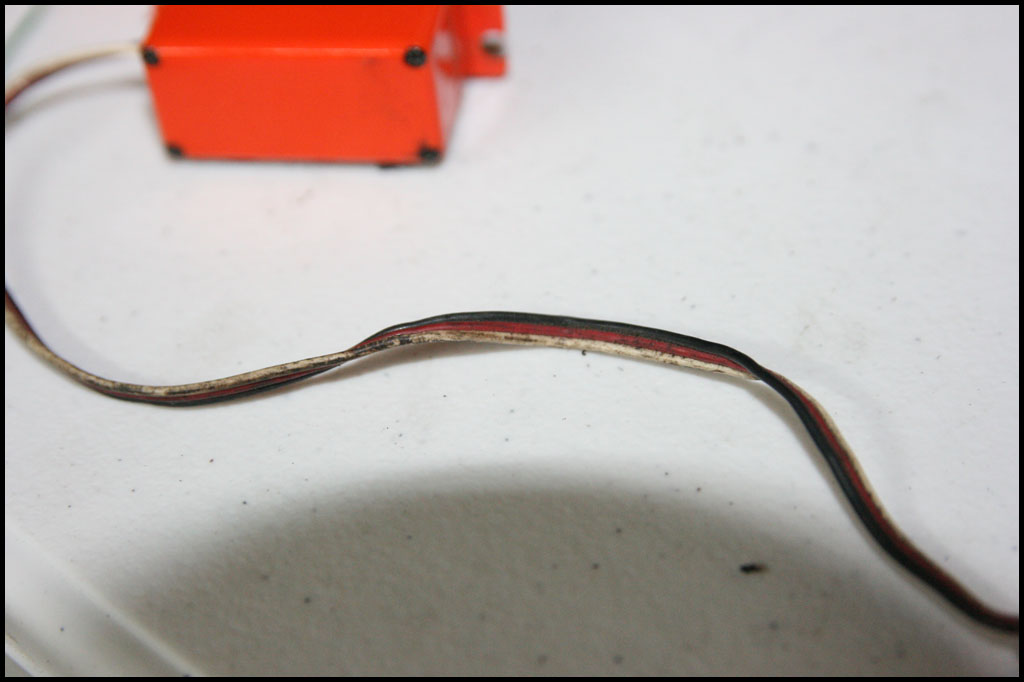
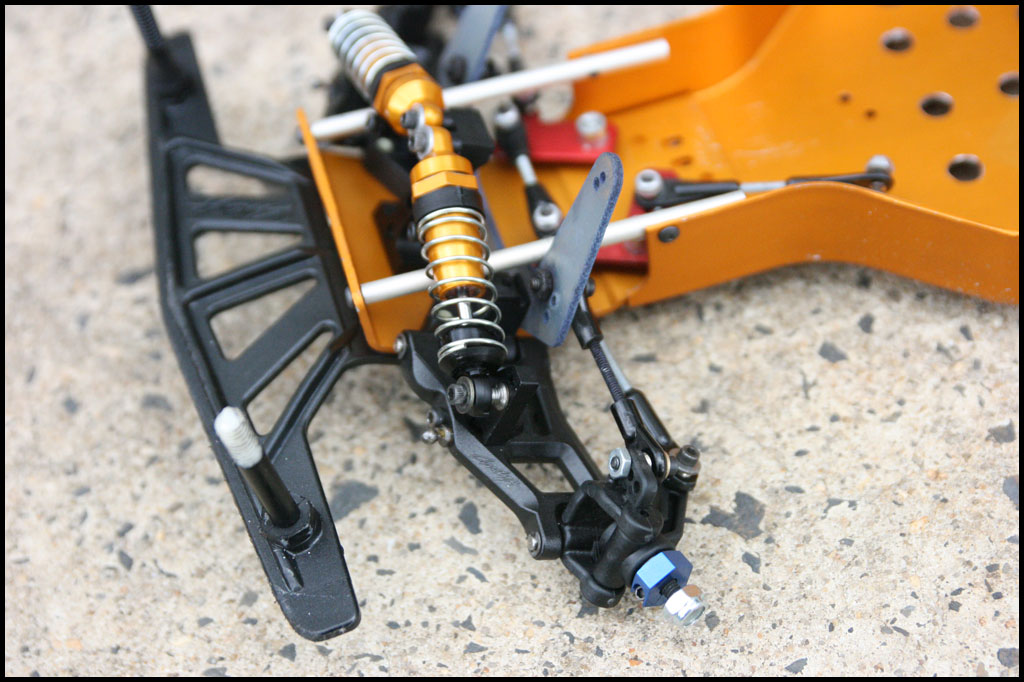
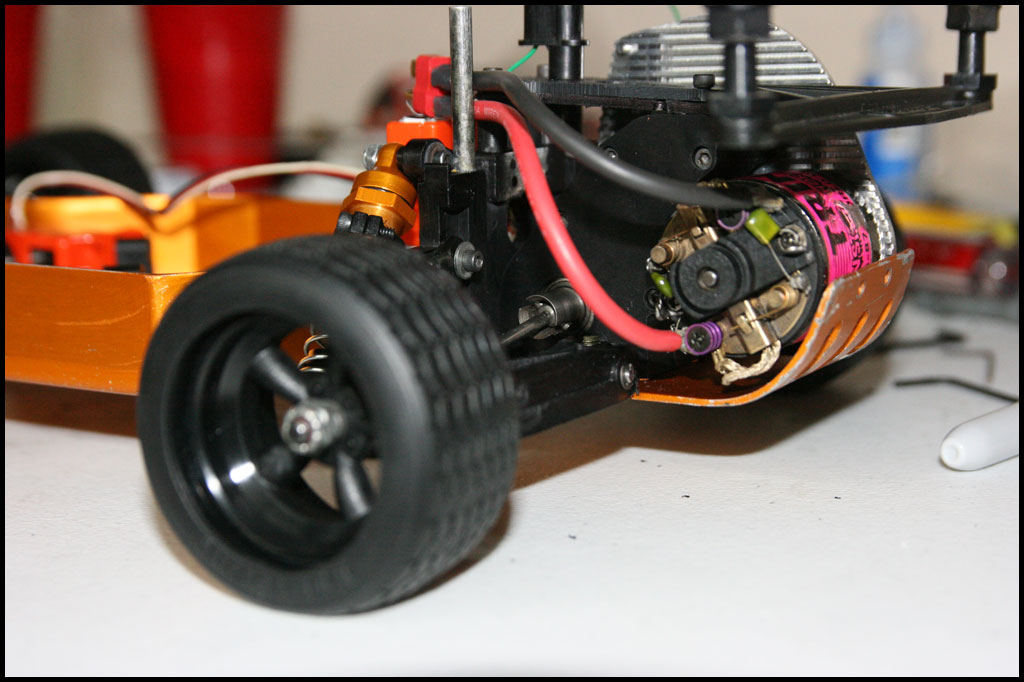
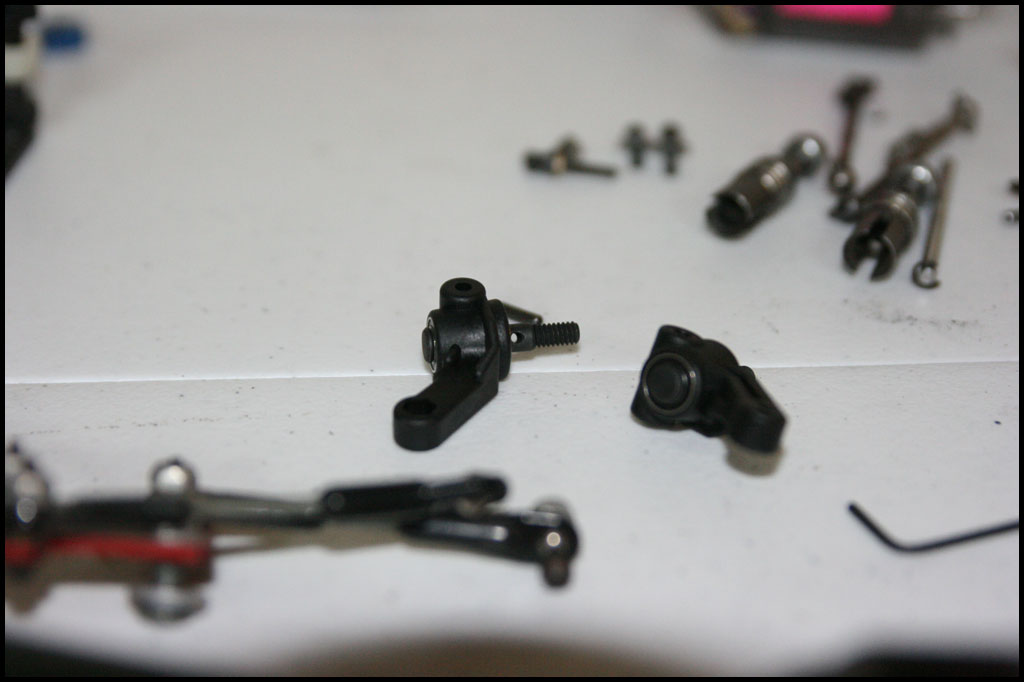
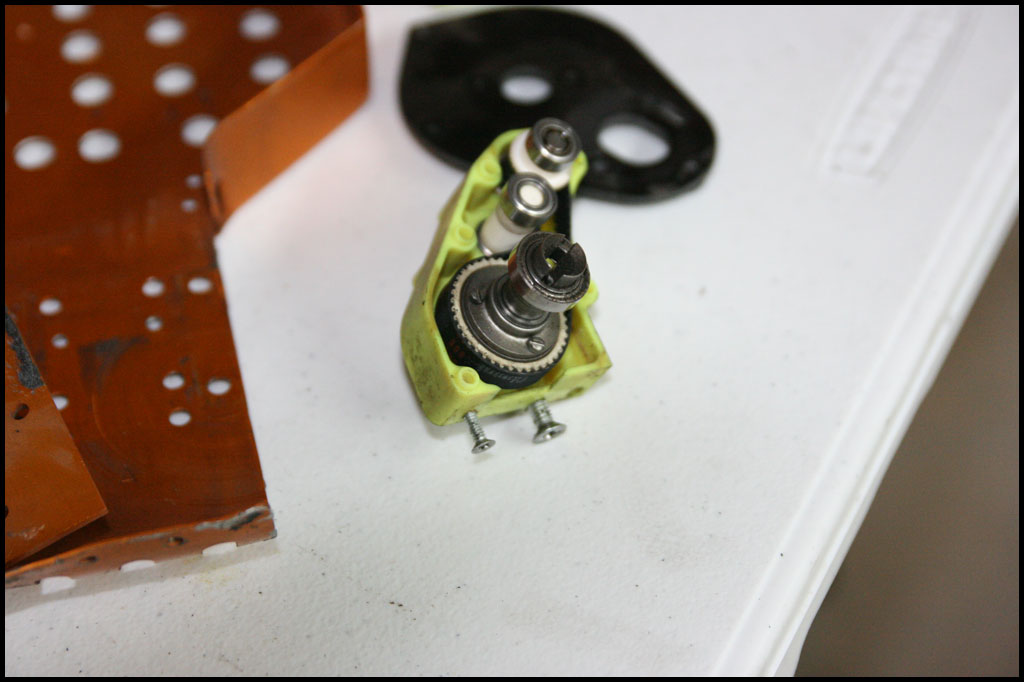
Close ups started to take apart:
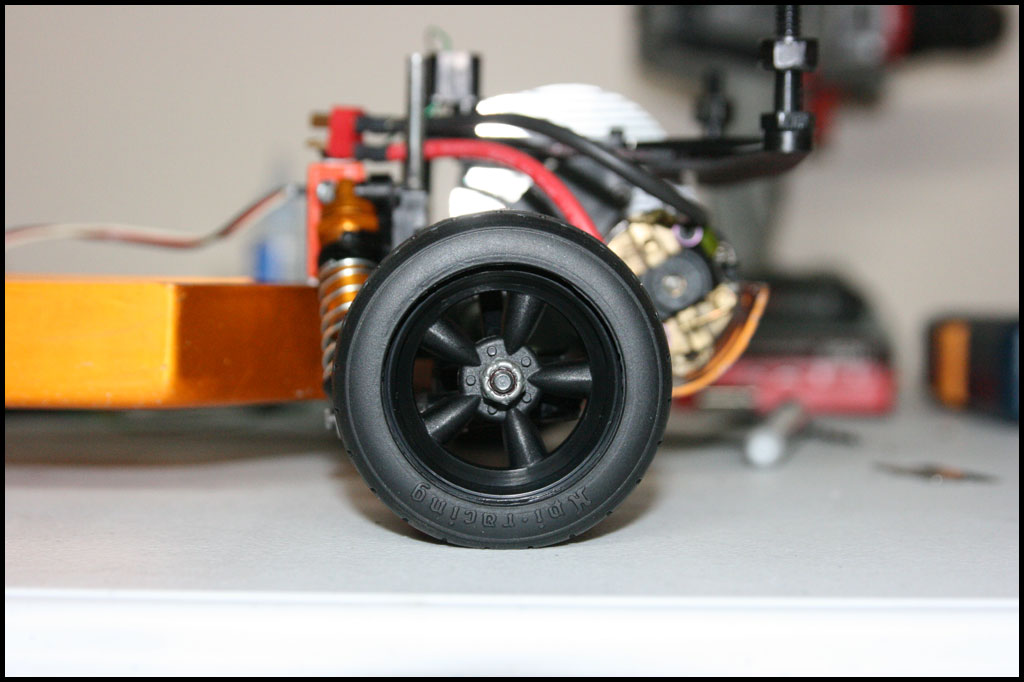
Car was super dirty and dusty. Those foam tires were terrible. Plus 20+ years of dust hasn't helped!
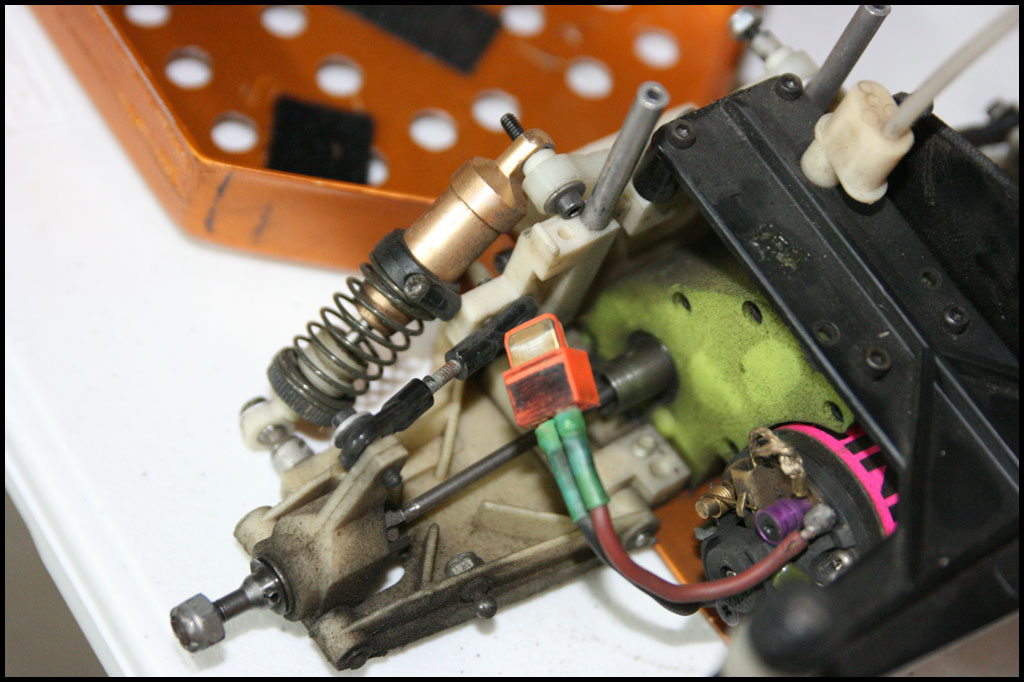
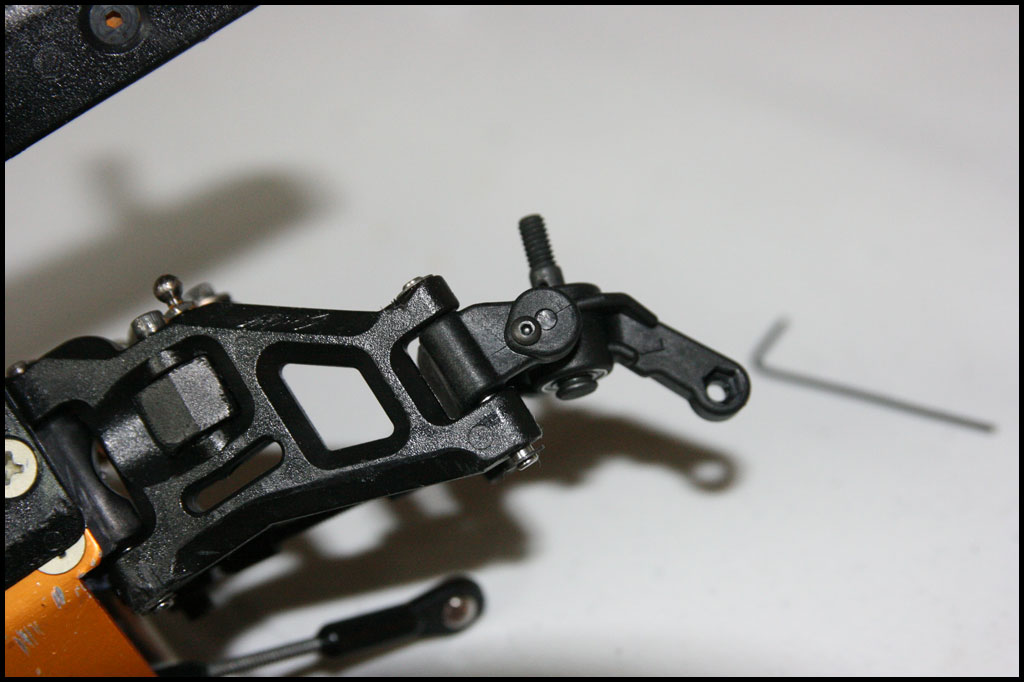
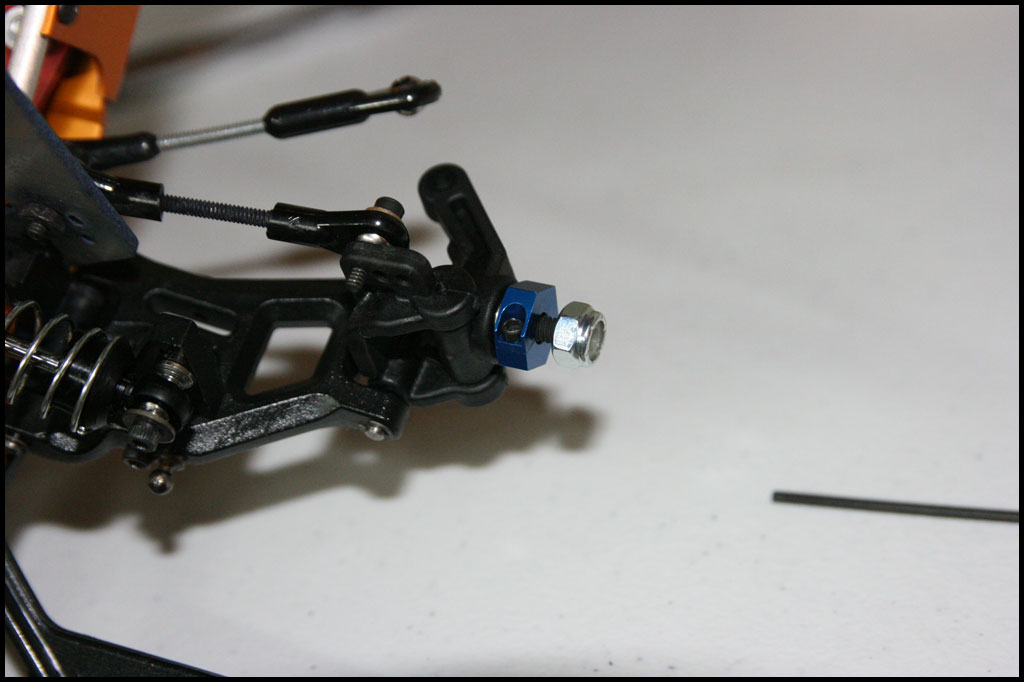
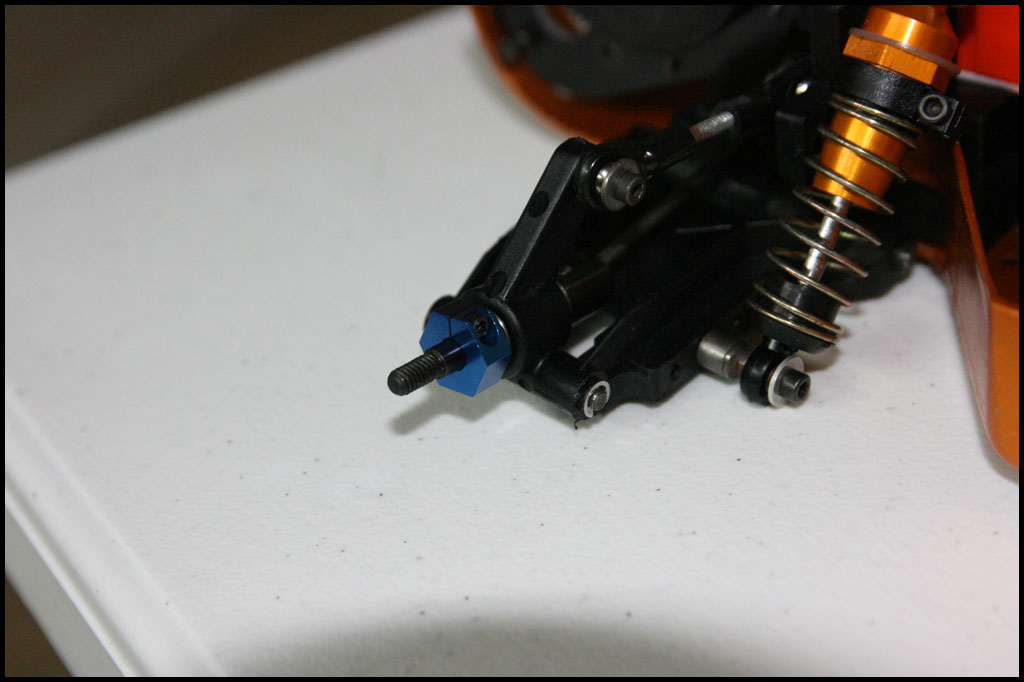
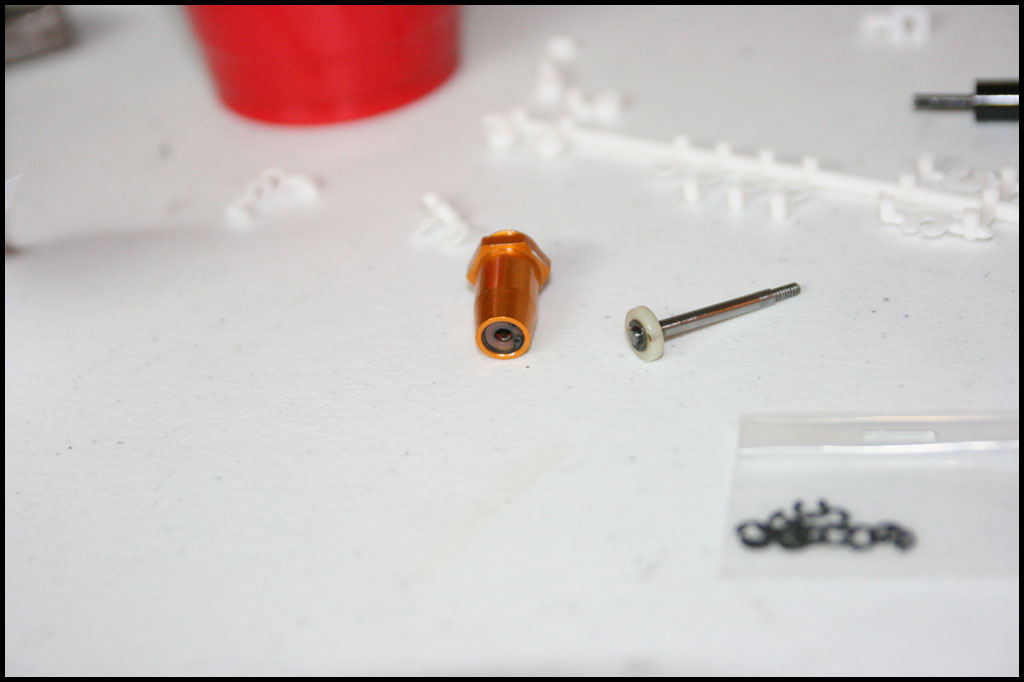
Hex conversion for more modern wheels I have coming...Still waiting on king pins so I can finalize it.
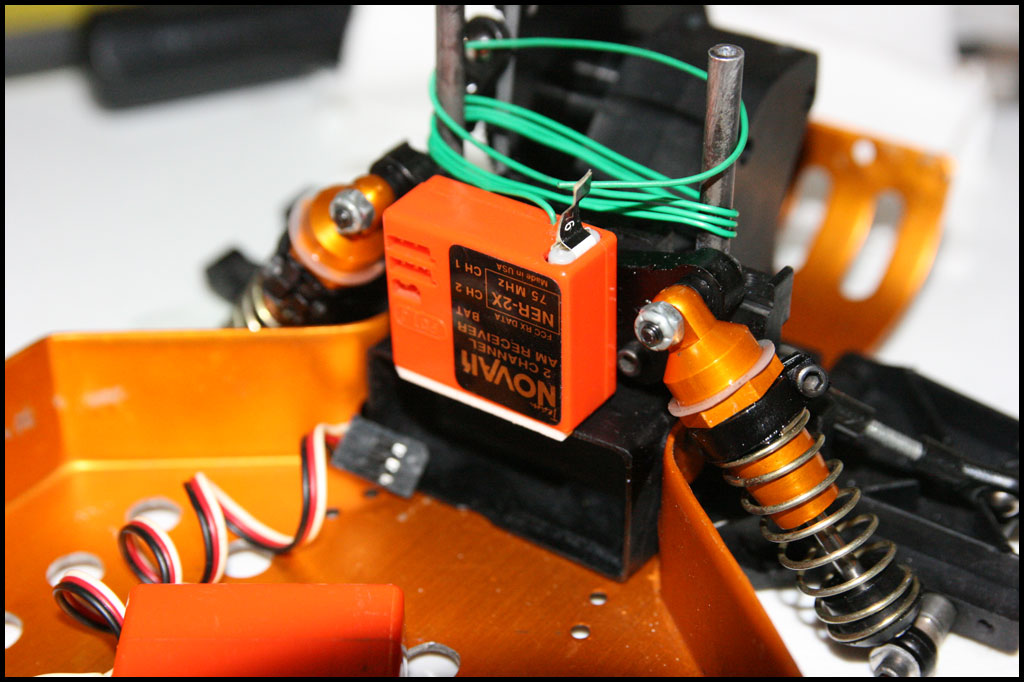
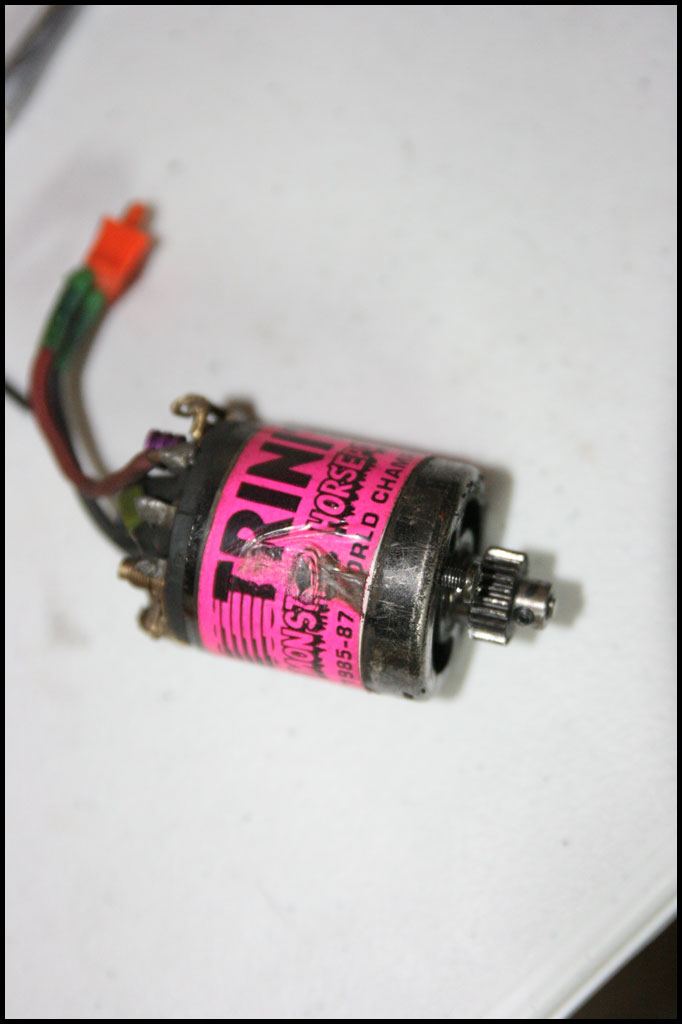
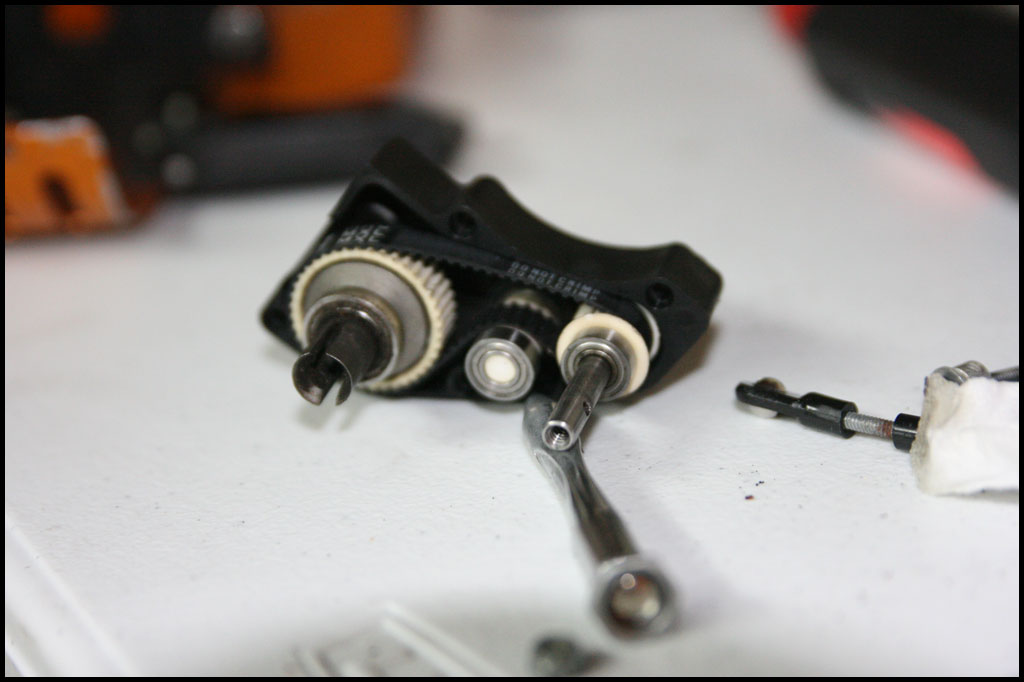
This thing was the bomb back in the day. We went years being very competitive with the Tamiya Technipower/Technigold motors but eventually we had to switch to the newer stuff.
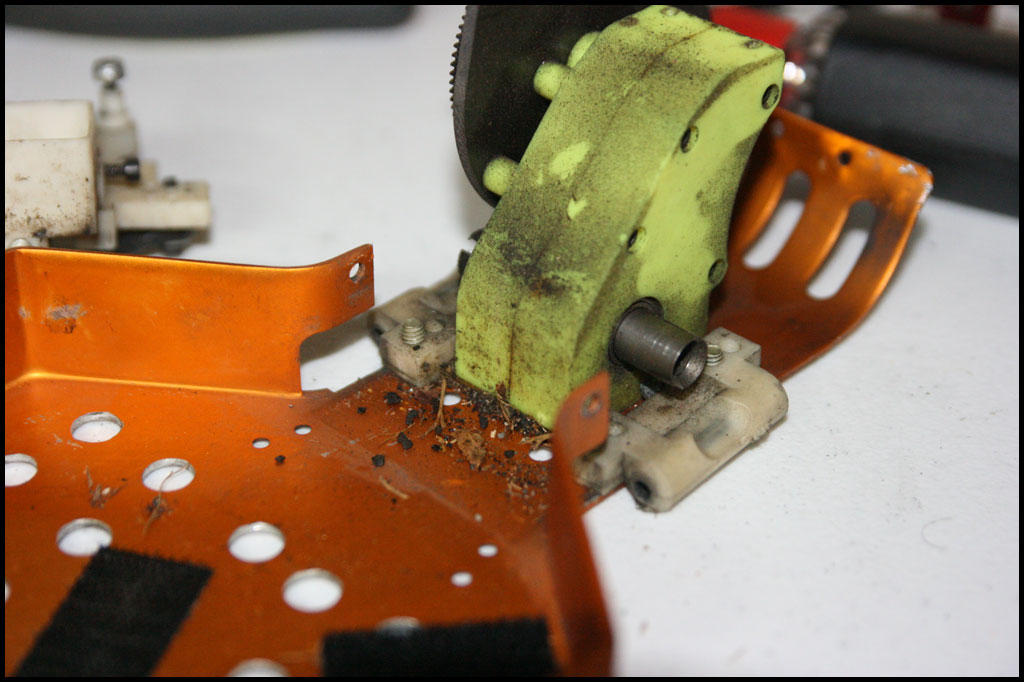
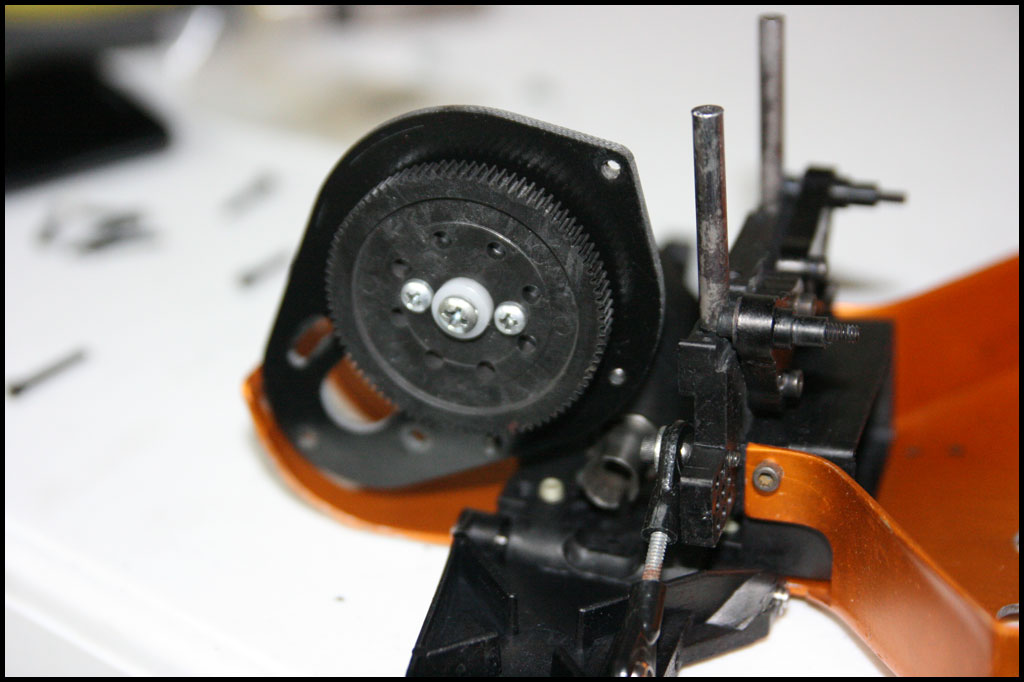
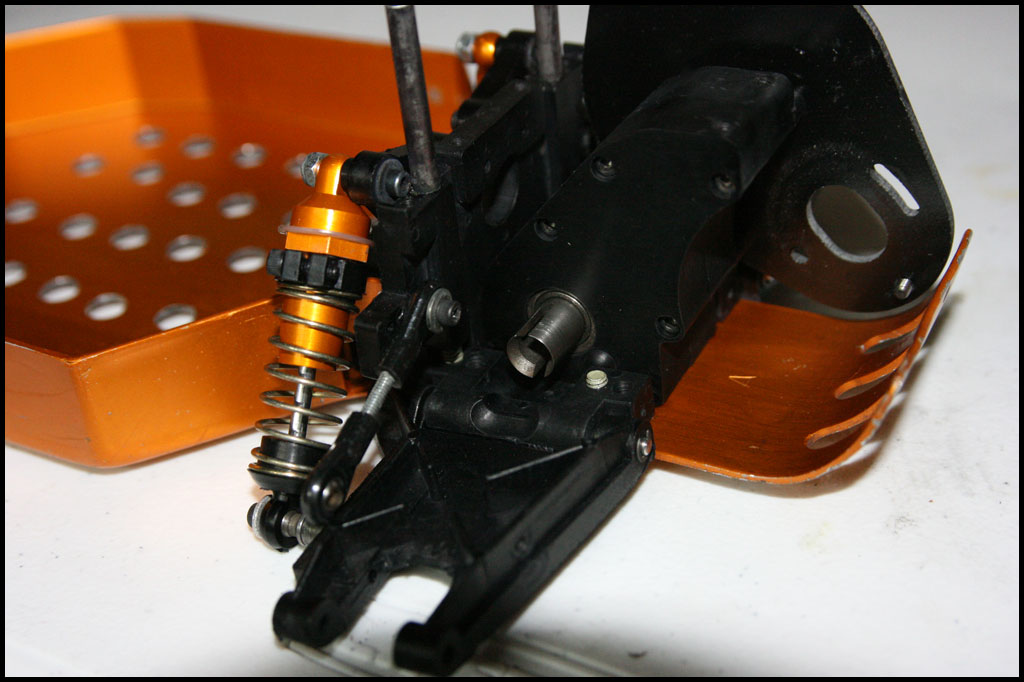
This thing has an A&L belt driven trans in it! Super cool. Thing is butter.
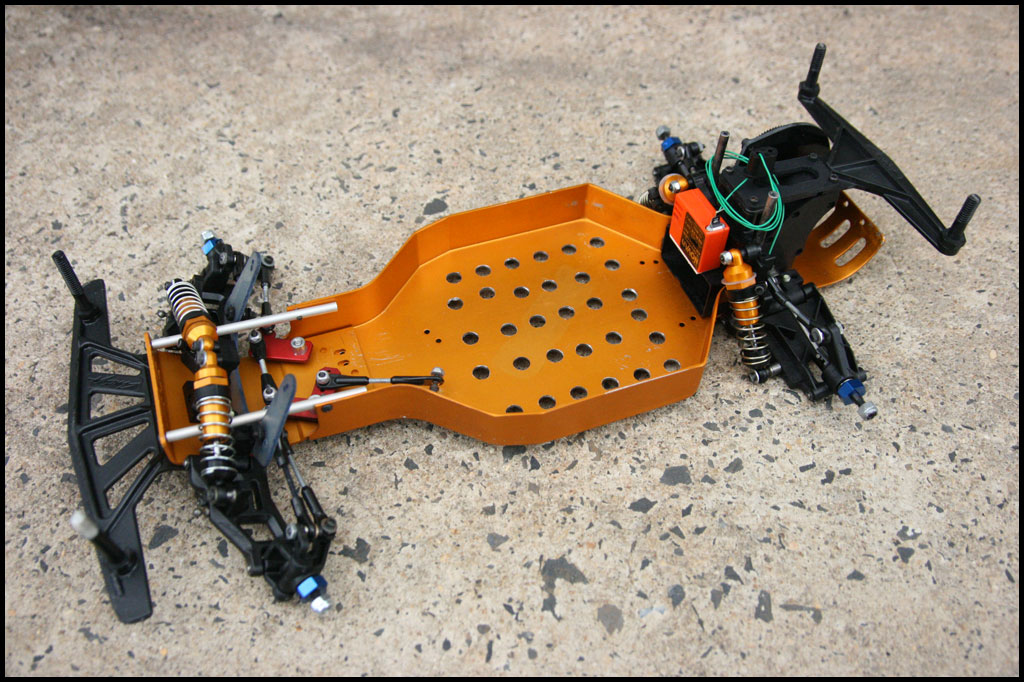
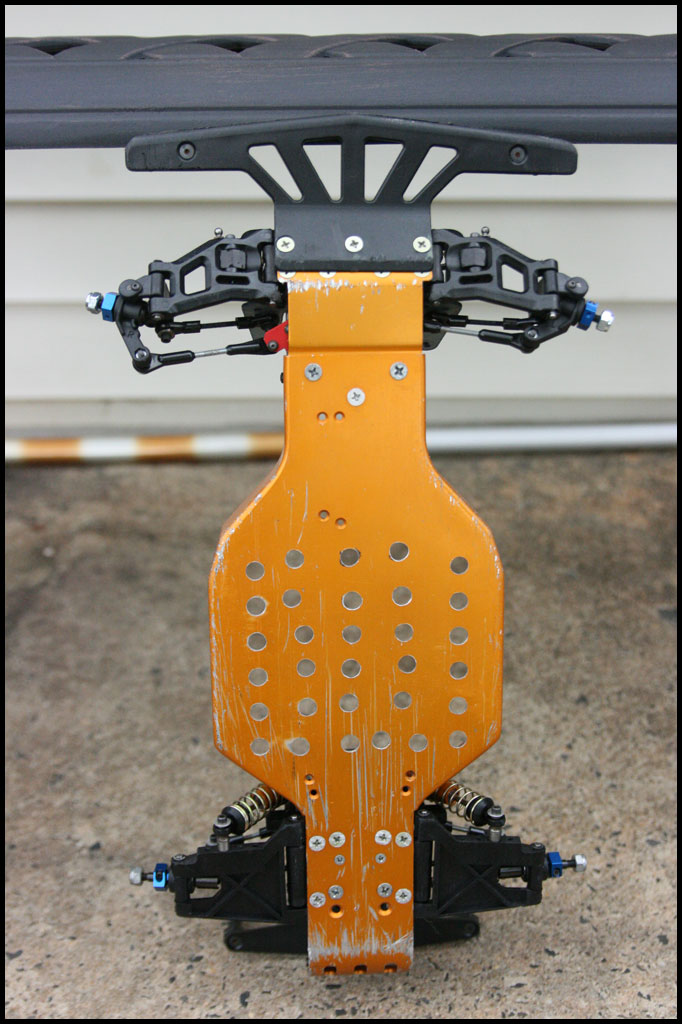
After I dyed everything and going back together:
The Andy's pan car conversion parts were black and the stock stuff was white and it looked weird so I decided to do everything black. Me likes!
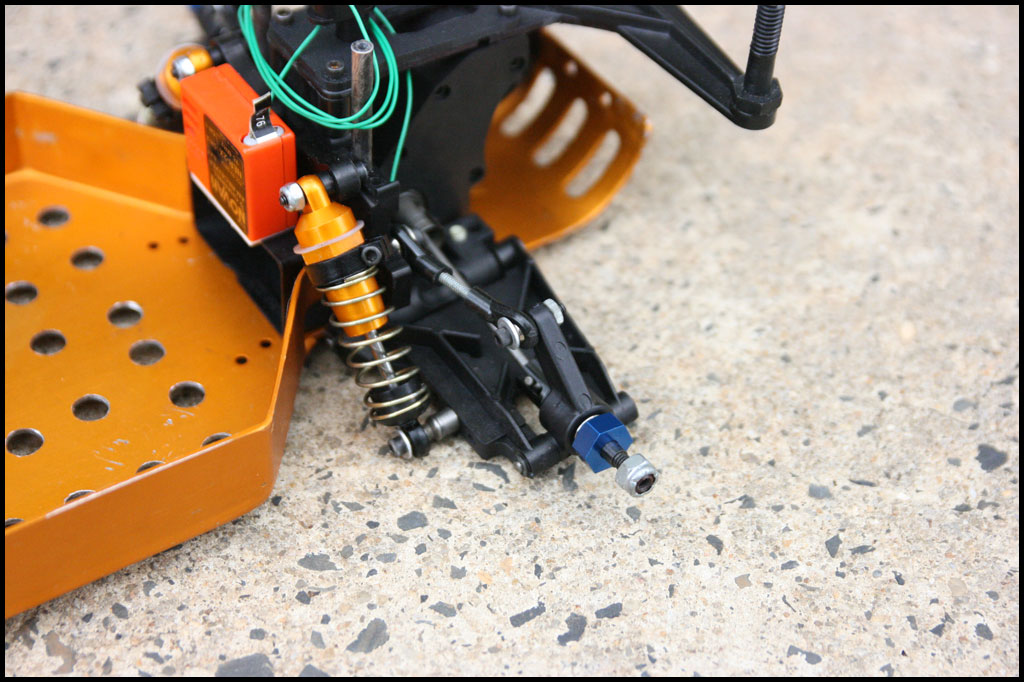
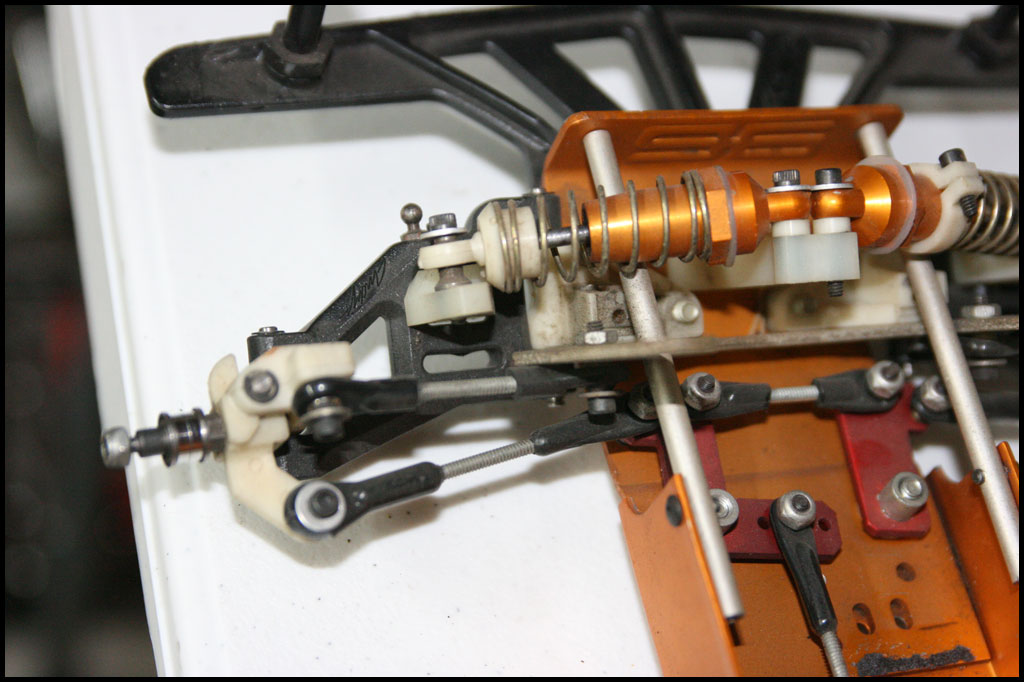
Rear end going back together - Still waiting on hubs so I can complete the hex conversion on the rear.
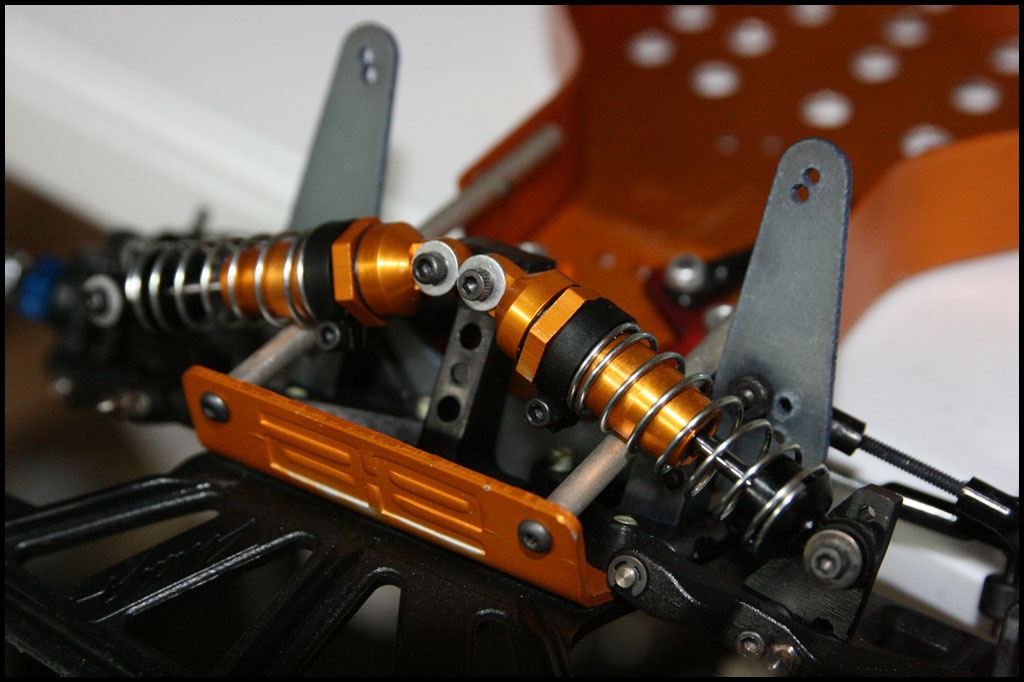
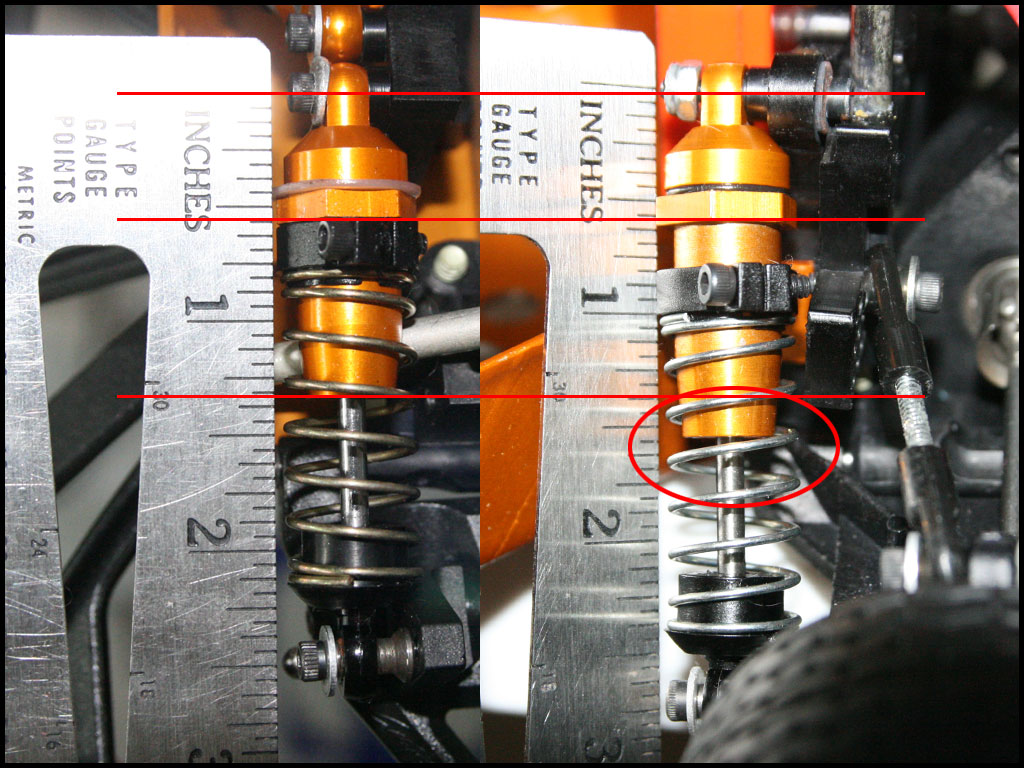
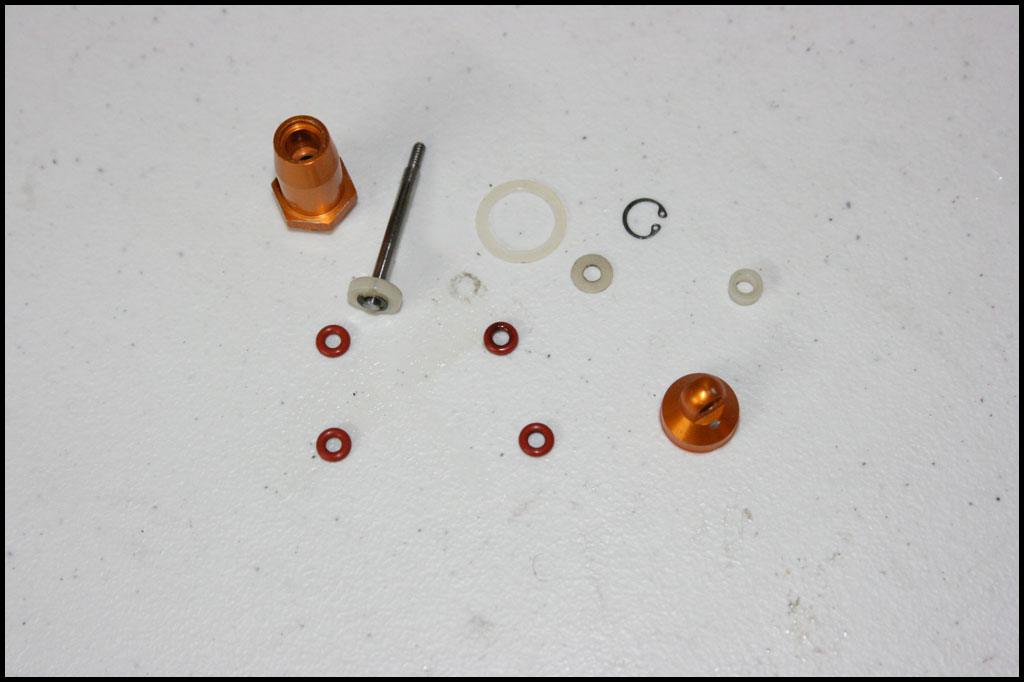
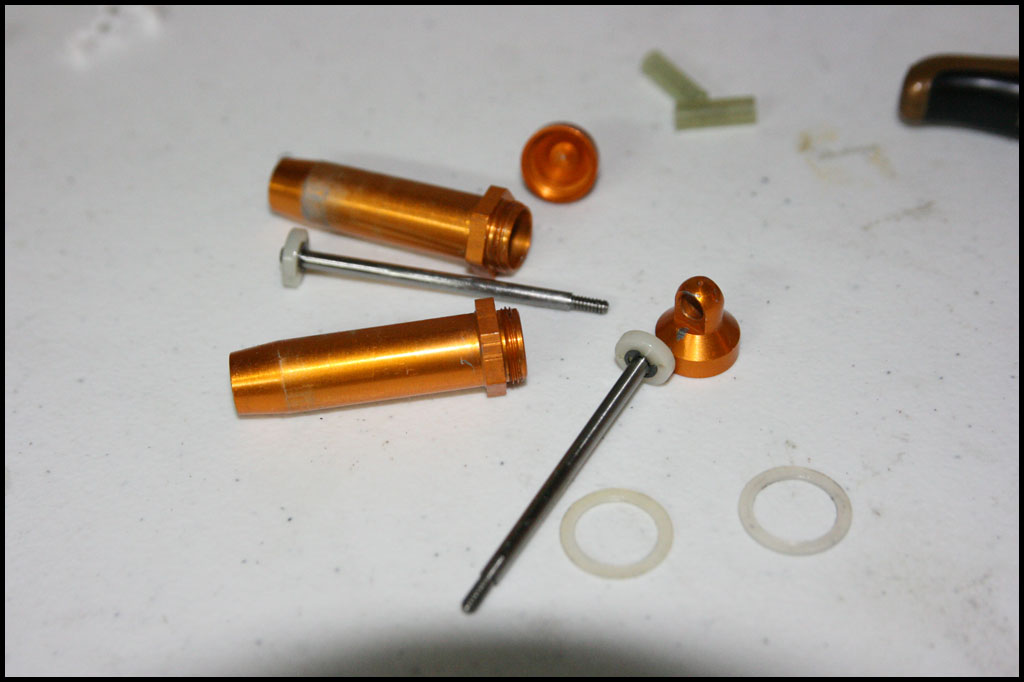
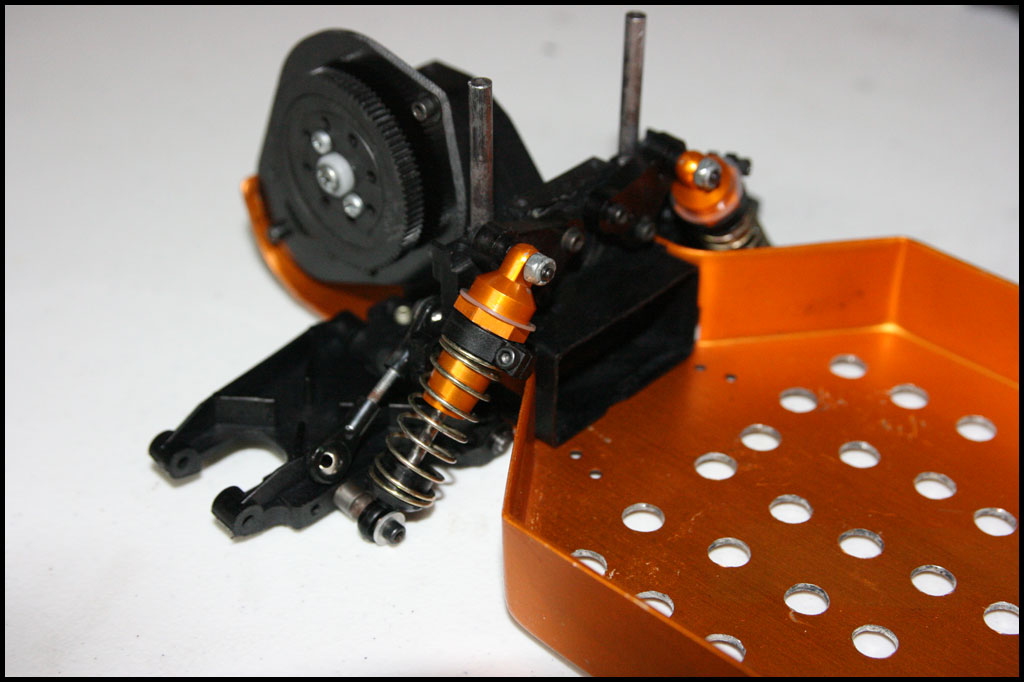
Rebuilding the shocks...early bottom load type...
All apart
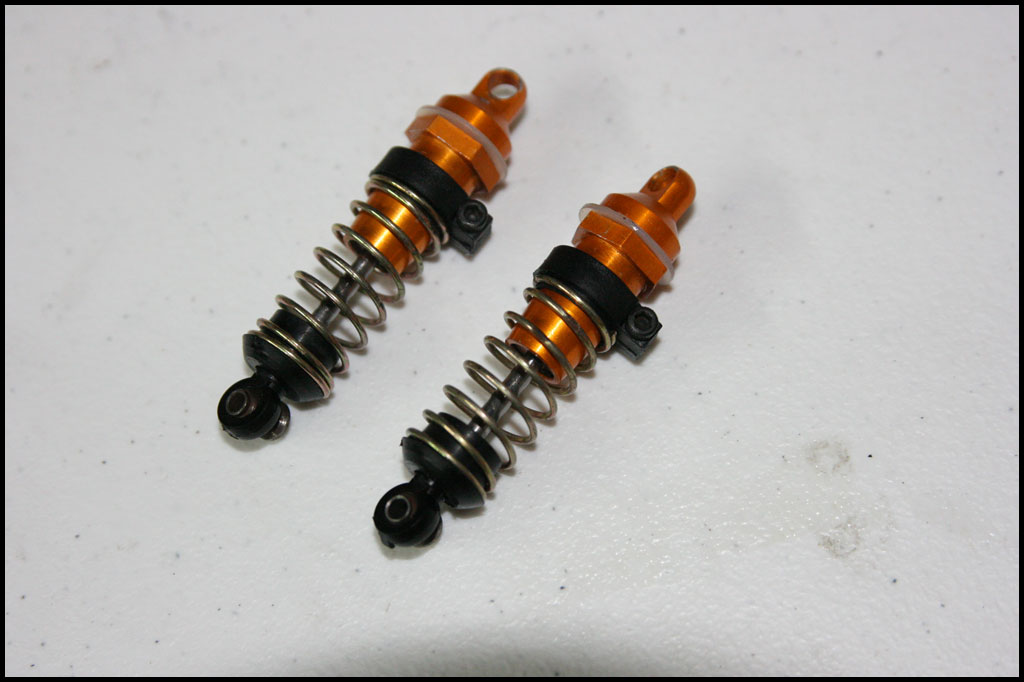
Done
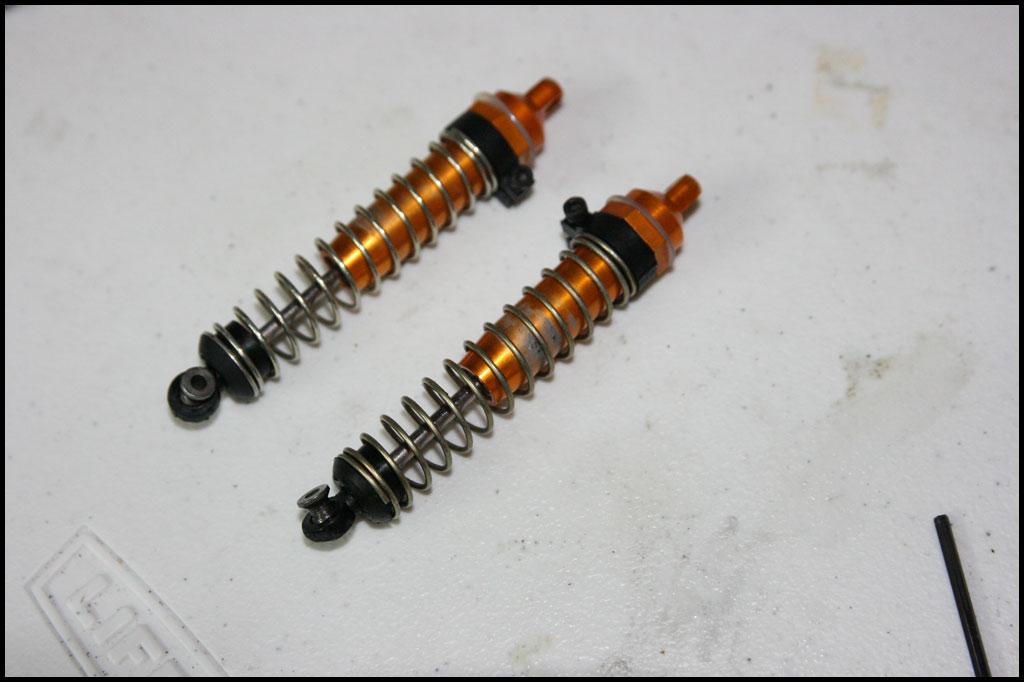
The rears apart and clean (not using the rears for the pan car but I have everything to convert it back to a buggy if I want.)
Rears done:
Fronts on the rear. You can see from the pic above it had Kyosho fronts on the rear to accommodate the pan conversion. I found a cheap set of RC10 fronts on ebay so now I'll have a matching set and the Kyosho's can go back on my old Optima Mid so now that will have a matching set too. When the ebay fronts get here I'll be able to complete the front end.
For all the pics new and old...
http://www.mikemartinelli.com/index.php?album=My-Car-Pics/RcCars
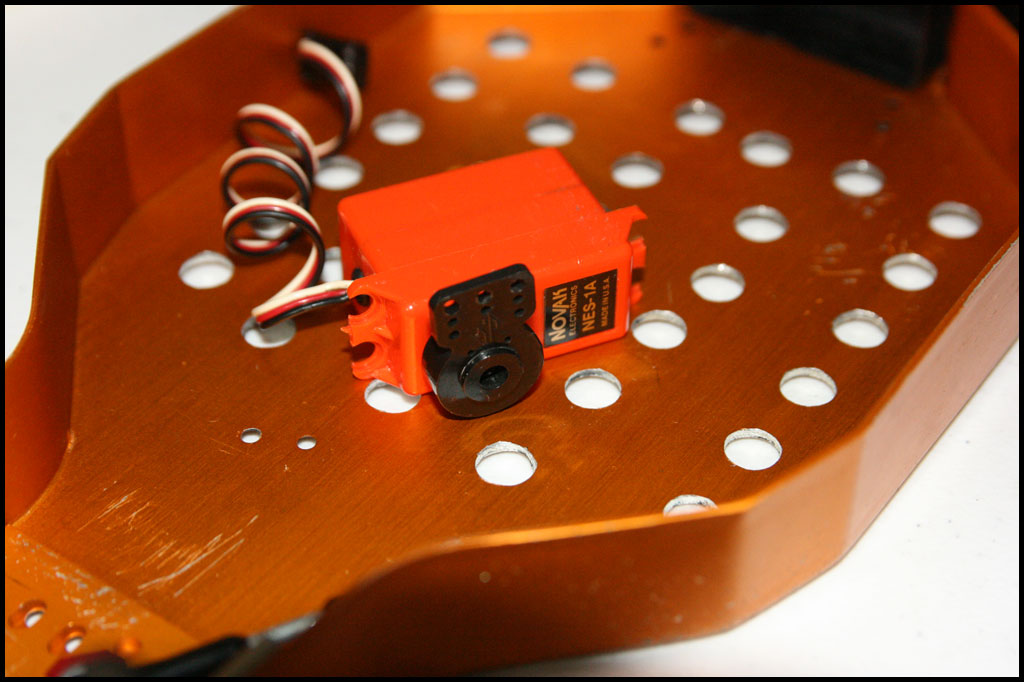
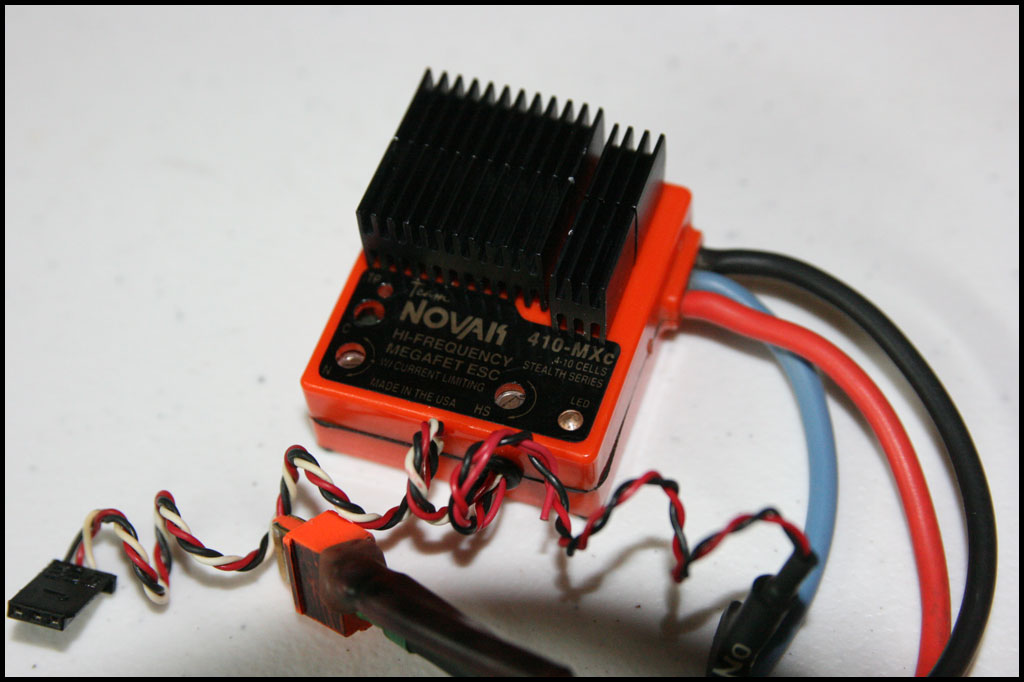
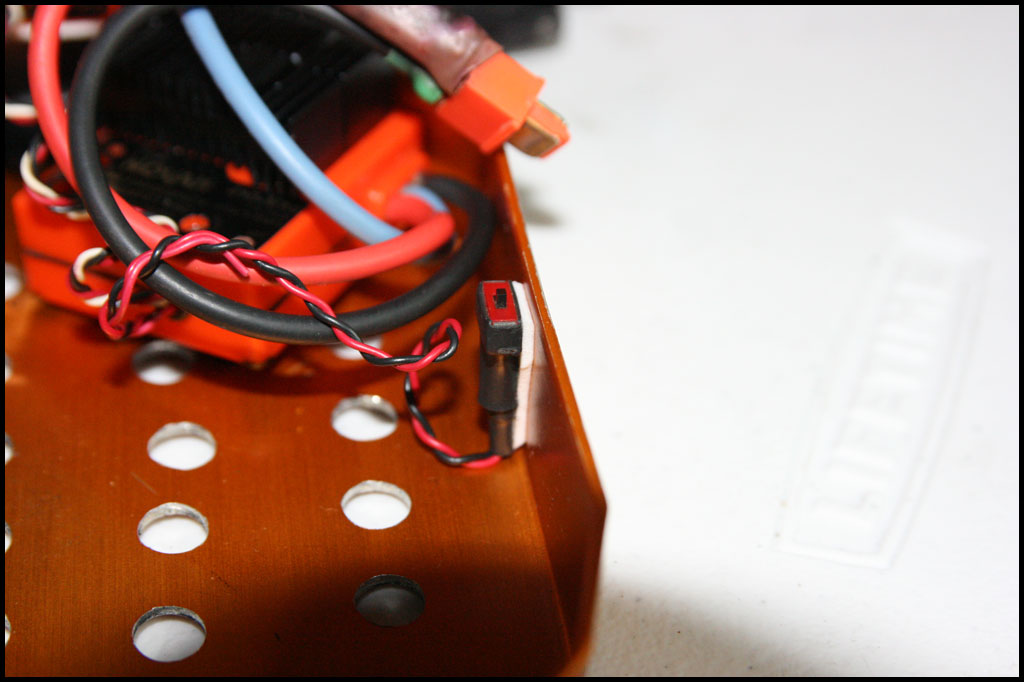
Next up cleaning the electronics and motor. Also hex conversion documentation and completion. Also have to find a body! Any suggestions? Can't wait to get her back on the road and start the next resto - The RC10T!
Enjoy!