[Some pix back in P5] - "Blue Is Better" TRX-1 Resto-Mod (2017/07/07
Posted: Tue Sep 02, 2014 7:54 am
Hi Guys
long time since I've posted a build thread... simply because I don't have much time for new builds these days. But I wanted to keep going... so I cheated. I'm just going to finish a superb build started by our very own Seabass. It's a TRX-1 for which he's done a few custom parts, as described here
http://www.rc10talk.com/viewtopic.php?f=31&t=33224
Custom-made by Jake:
- CWF chassis with kickup
- CWF shock towers
- Modded motor plate to greet the B4 cover
- Great looking aibrushed body!

Other Interesting features:
- STRC layshaft
- B4 slipper
- B4 gear cover

What I knew was needed was to put back the rear secondary transmission in stock shape as Jake had lathed the stock axles to run B4 wheels, with only minor success he said. I wanted to use TRX1 wheels anyway, as I'm not 100% sure the offset was the same on B4 wheels and I'm planning to gently run the car.


(easy to source from Tower)
The car was sold to me without shocks, a misunderstanding from my side. I ended up pulling the trigger recently and bought some B5 shocks as Jake designed the car for these (or the B4.2's, same difference) as Tower was running some interesting coupon codes lately.

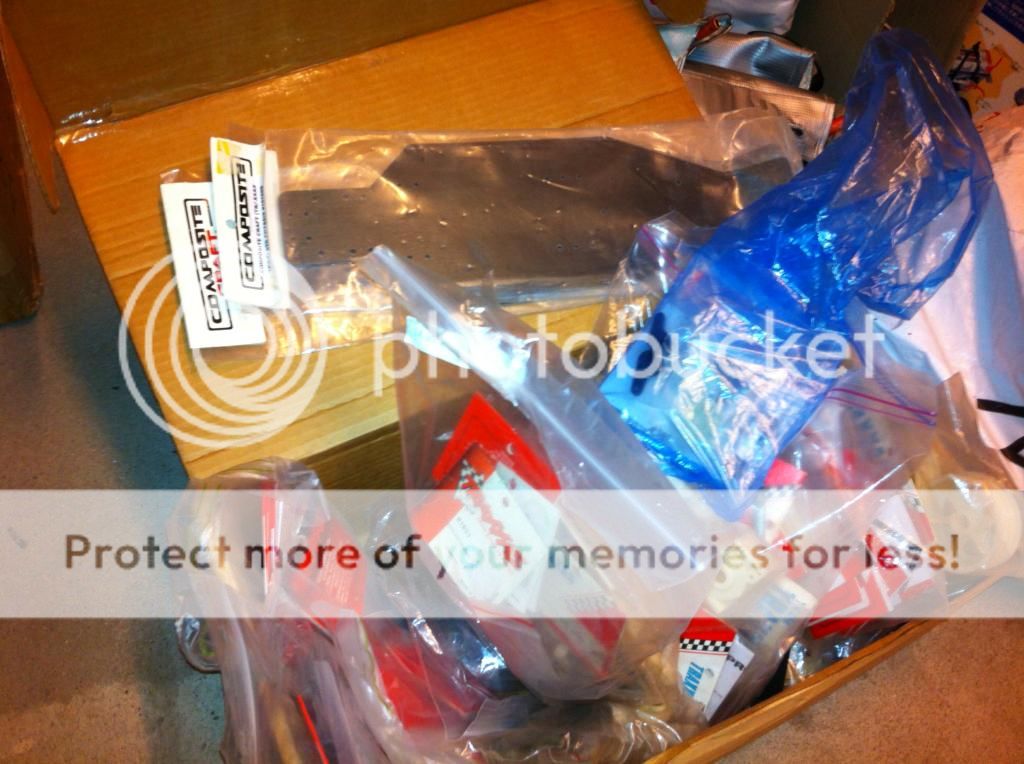
Jake used some 1932 castor blocks for his build, but the car was sold without front axles. To be on the safe side, I ordered a set of Bandit castor blocks + spindles + axles, but toying around with the parts yesterday evening showed me this was not a good idea as the fit just looks wrong. I had already faced this front suspension issue during a former TRX1 overhaul, so I went back to my box-o-TRX-parts pictured here:
and I pulled out the ref of the parts that actually worked back then, which I just ordered.
http://www3.towerhobbies.com/cgi-bin/wti0001p?&I=LXJG82 - 2634R
http://www3.towerhobbies.com/cgi-bin/wti0001p?&I=LXJE88 - 2536
The theme of the car will be black and blue. I will use blue accents on the hardware when I can and it makes sense. Think washers, screws and nuts, wing things, maybe ballcups/balljoints (the latter one might prove a challenge, the tamiya's I have aren't of the right size). I've gotten myself some STRC blue alloy shock mounts too,
Next steps are:
- disassemble the trans and diff and try to rebuild it to acceptable standards. I'm a bit anal about diffs and I want them done a certain way... and I've never managed to do a traxxas "super ball diff" right. I will try again with all the tricks I know...
- replace the plastics outdrives with the optional alloy ones - it's THE weak link on the TRX1. PN#4628
http://www3.towerhobbies.com/cgi-bin/wti0095p?FVPROFIL=&FVSEARCH=LXJG59
- Mount the shocks - and install them on the car. I'll use the stock B5R shock setup as starting point I guess
- Check the front suspension when I install the new c-hubs/spindles. There's something binding on the right side...
- Decal the body - I will use a combination of old and new Traxxas stickers. The body Jake did is really sweet, I don't feel like stickering it to death either Still have to think about the wing, though
- Chase the odd standard screw, as opposed to metric, as jake had mixed both it seems! Also replace with modern hardware (the shiny traxxas philips screw finish just doesn't look right with the blue theme )
)
Electronics is a big dilemma now... I have a couple of spare BL controllers that are blue (Reventon R, Xtreme Stock) and that would be a good fit in the car, but there's something about brushless electronics in a 90's cult buggy that turns me off. Luckilly it's somethign I can decide at the very last step. We shall see.
So that's where I am now

Stay tuned
(it's an easy one but as usual it will take me ages...)
Paul
long time since I've posted a build thread... simply because I don't have much time for new builds these days. But I wanted to keep going... so I cheated. I'm just going to finish a superb build started by our very own Seabass. It's a TRX-1 for which he's done a few custom parts, as described here
http://www.rc10talk.com/viewtopic.php?f=31&t=33224
Custom-made by Jake:
- CWF chassis with kickup
- CWF shock towers
- Modded motor plate to greet the B4 cover
- Great looking aibrushed body!
Other Interesting features:
- STRC layshaft
- B4 slipper
- B4 gear cover
What I knew was needed was to put back the rear secondary transmission in stock shape as Jake had lathed the stock axles to run B4 wheels, with only minor success he said. I wanted to use TRX1 wheels anyway, as I'm not 100% sure the offset was the same on B4 wheels and I'm planning to gently run the car.
(easy to source from Tower)
The car was sold to me without shocks, a misunderstanding from my side. I ended up pulling the trigger recently and bought some B5 shocks as Jake designed the car for these (or the B4.2's, same difference) as Tower was running some interesting coupon codes lately.
Jake used some 1932 castor blocks for his build, but the car was sold without front axles. To be on the safe side, I ordered a set of Bandit castor blocks + spindles + axles, but toying around with the parts yesterday evening showed me this was not a good idea as the fit just looks wrong. I had already faced this front suspension issue during a former TRX1 overhaul, so I went back to my box-o-TRX-parts pictured here:
and I pulled out the ref of the parts that actually worked back then, which I just ordered.
http://www3.towerhobbies.com/cgi-bin/wti0001p?&I=LXJG82 - 2634R
http://www3.towerhobbies.com/cgi-bin/wti0001p?&I=LXJE88 - 2536
The theme of the car will be black and blue. I will use blue accents on the hardware when I can and it makes sense. Think washers, screws and nuts, wing things, maybe ballcups/balljoints (the latter one might prove a challenge, the tamiya's I have aren't of the right size). I've gotten myself some STRC blue alloy shock mounts too,
Next steps are:
- disassemble the trans and diff and try to rebuild it to acceptable standards. I'm a bit anal about diffs and I want them done a certain way... and I've never managed to do a traxxas "super ball diff" right. I will try again with all the tricks I know...
- replace the plastics outdrives with the optional alloy ones - it's THE weak link on the TRX1. PN#4628
http://www3.towerhobbies.com/cgi-bin/wti0095p?FVPROFIL=&FVSEARCH=LXJG59
- Mount the shocks - and install them on the car. I'll use the stock B5R shock setup as starting point I guess
- Check the front suspension when I install the new c-hubs/spindles. There's something binding on the right side...
- Decal the body - I will use a combination of old and new Traxxas stickers. The body Jake did is really sweet, I don't feel like stickering it to death either
- Chase the odd standard screw, as opposed to metric, as jake had mixed both it seems! Also replace with modern hardware (the shiny traxxas philips screw finish just doesn't look right with the blue theme
Electronics is a big dilemma now... I have a couple of spare BL controllers that are blue (Reventon R, Xtreme Stock) and that would be a good fit in the car, but there's something about brushless electronics in a 90's cult buggy that turns me off. Luckilly it's somethign I can decide at the very last step. We shall see.
So that's where I am now
Stay tuned
(it's an easy one but as usual it will take me ages...)
Paul


