Page 1 of 3

SERPENT 988e Taipan

Posted: Sat Oct 01, 2022 12:47 pm
by Trass
Well here we are.

Finally.. i got this one, it was long and hard to find.

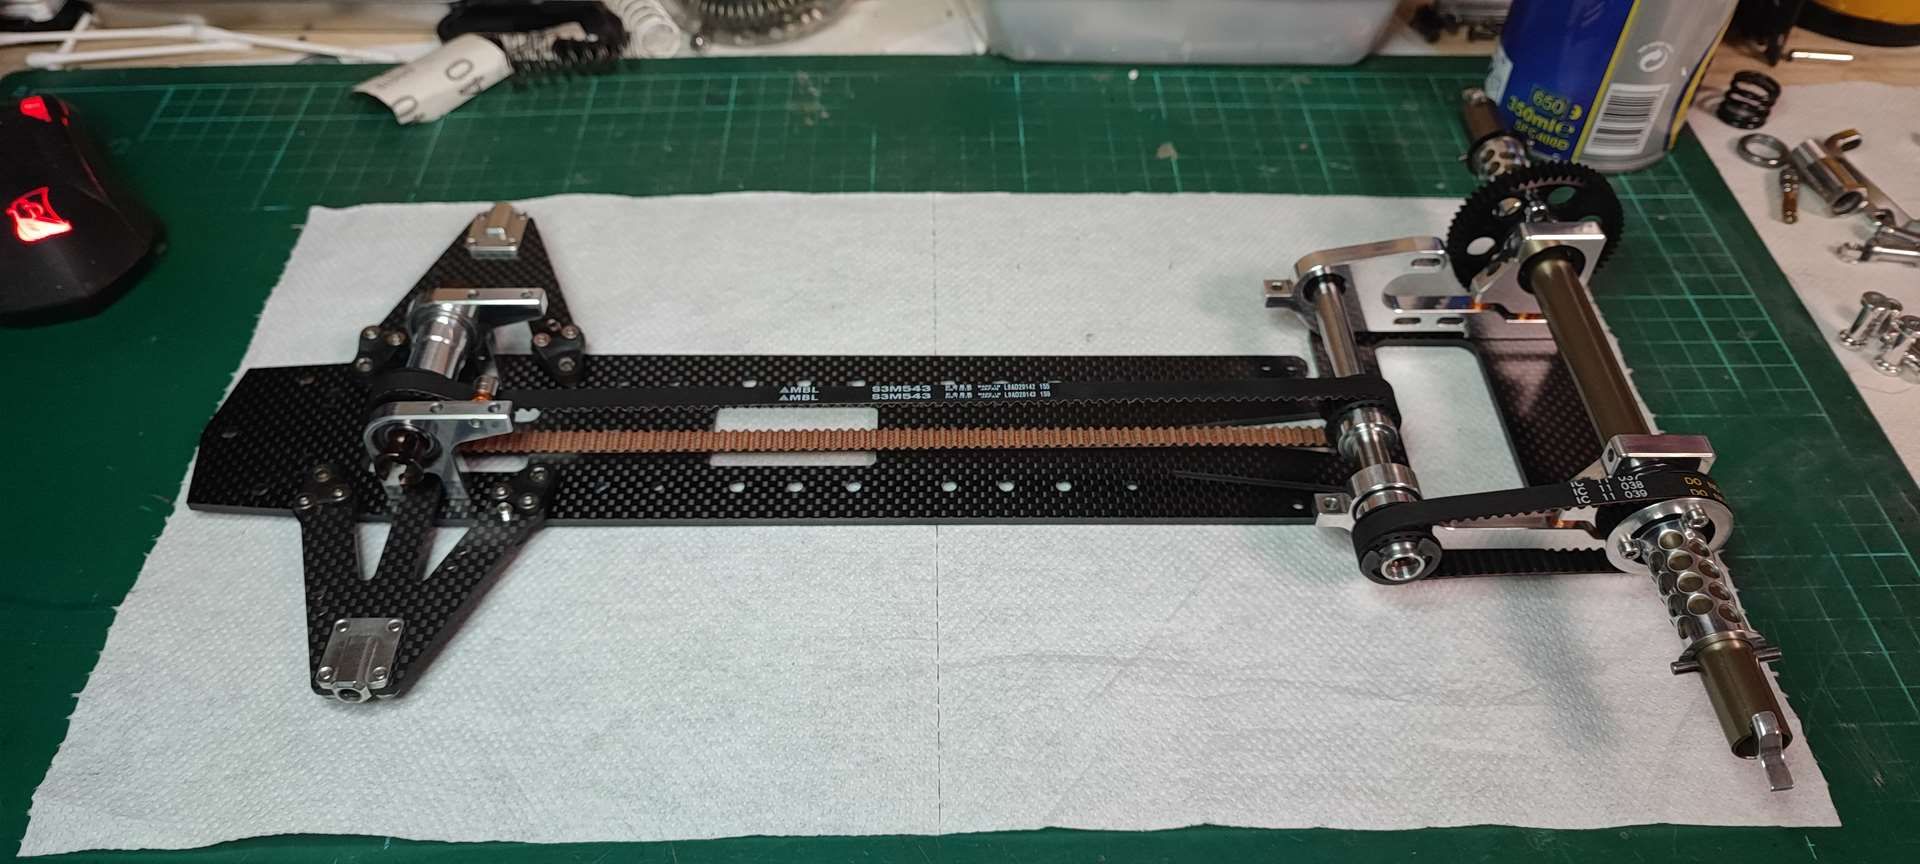
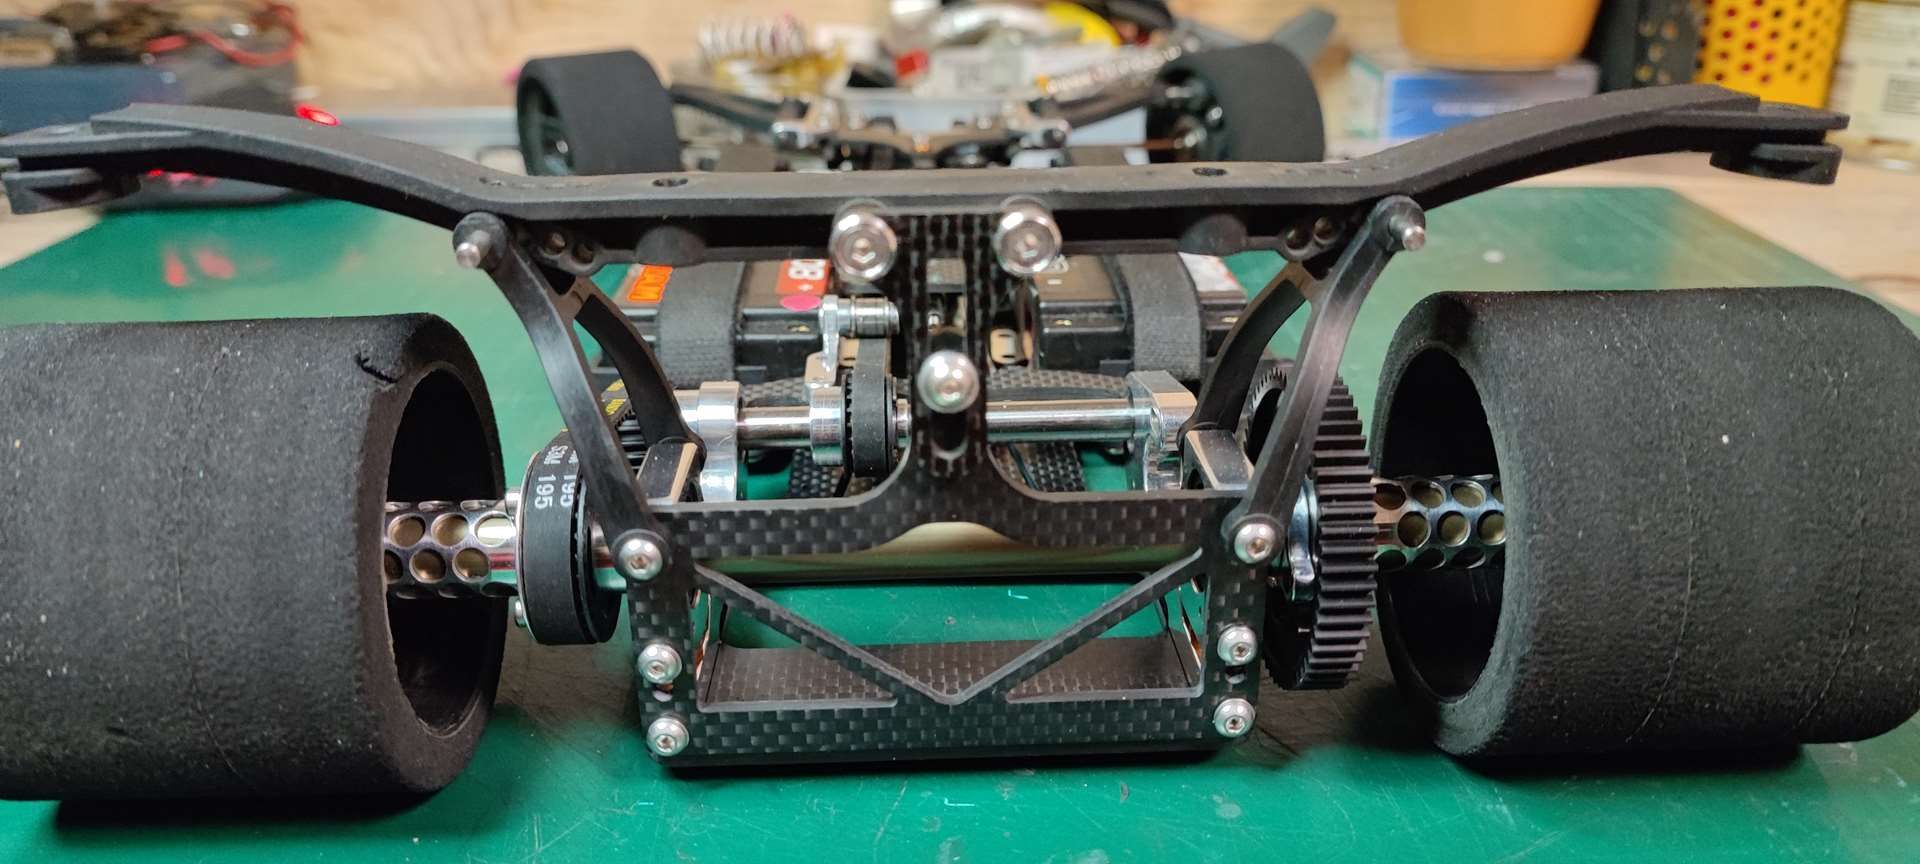
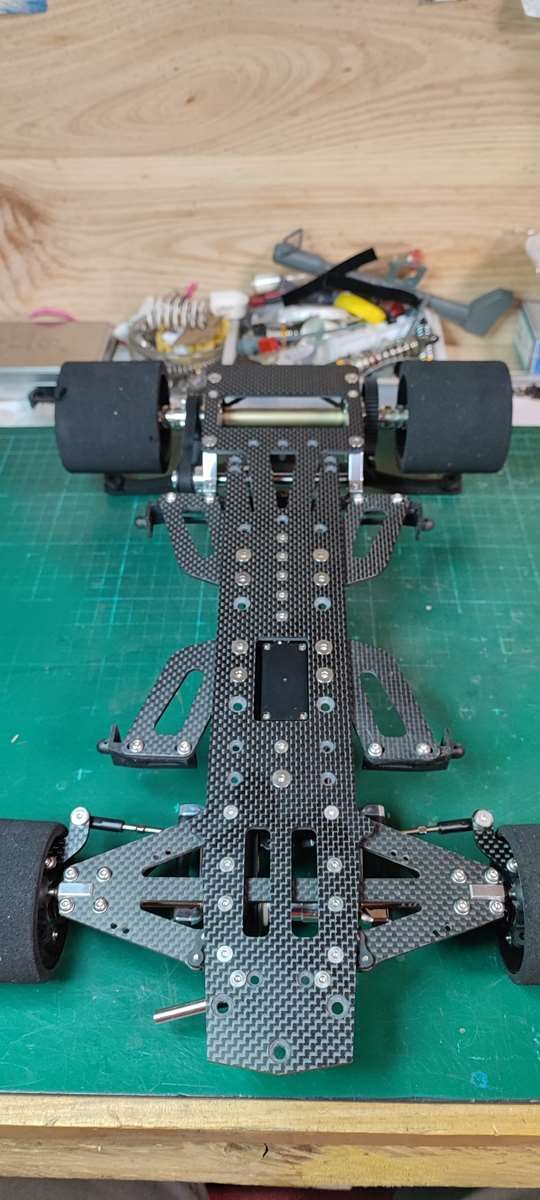
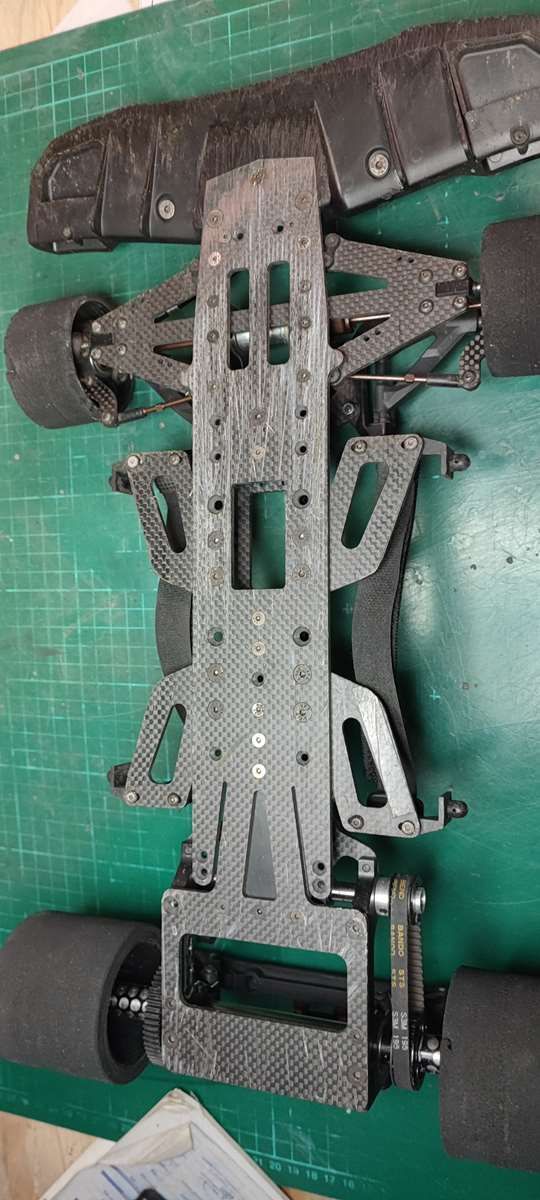
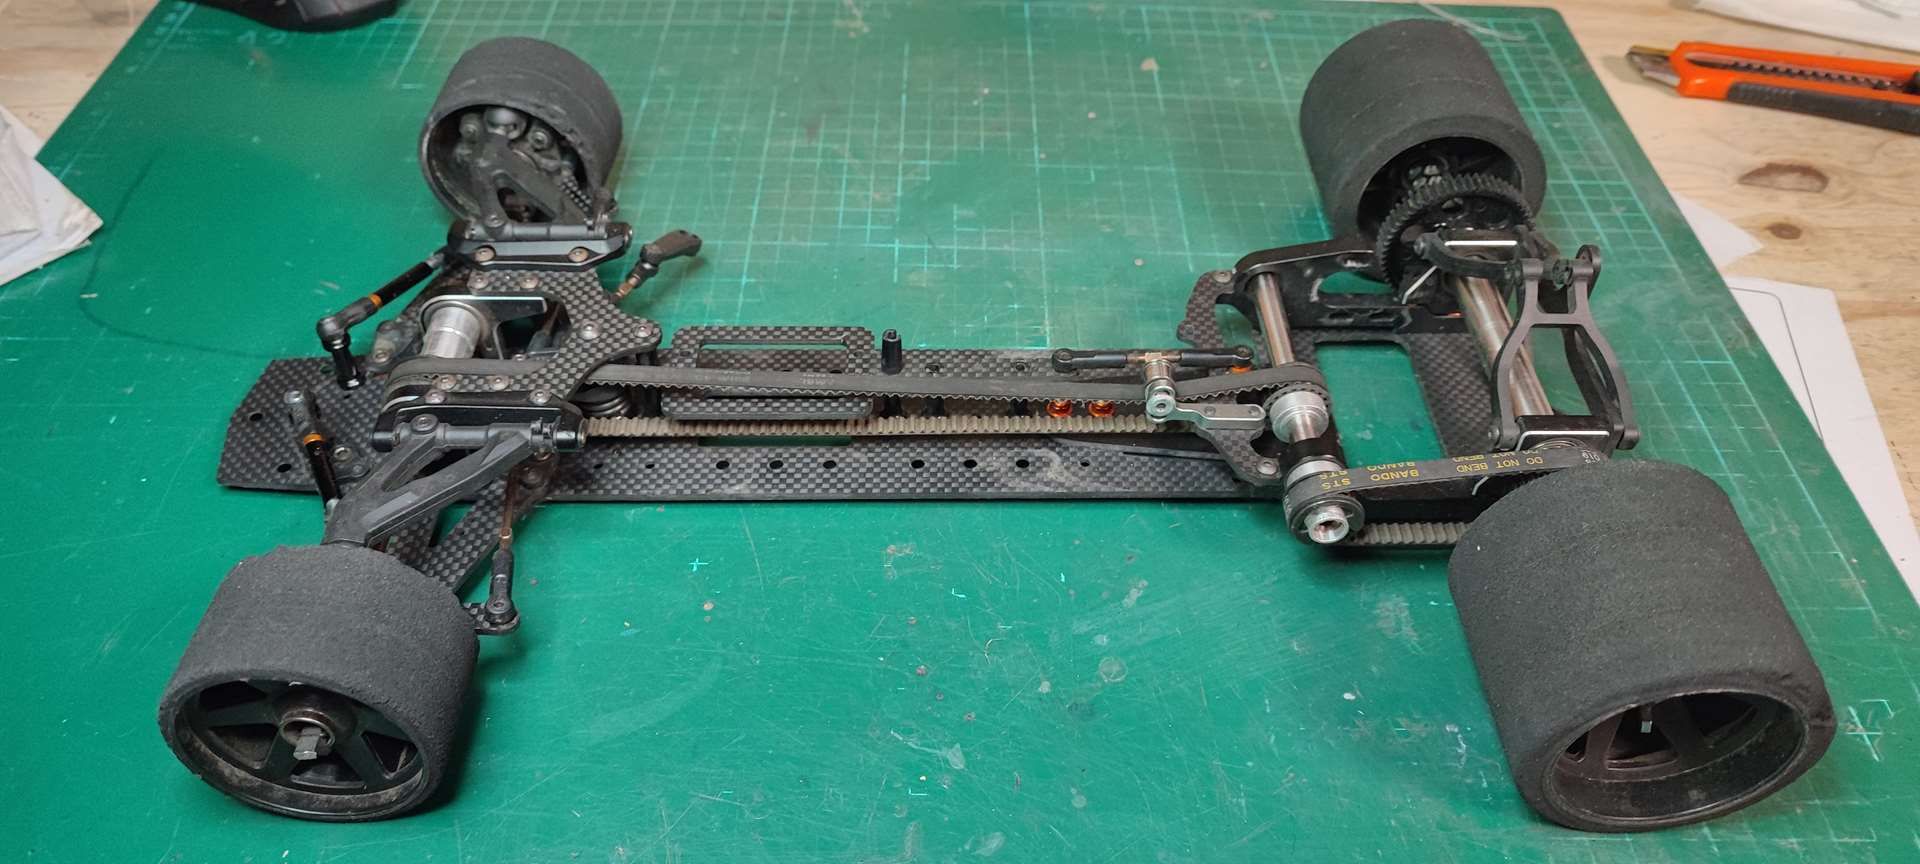
1/8 Chassis SERPENT 988e Taipan.
4 x 4 pancar type.
Ref# 905001


This chassis will be the subject of all my attention while waiting to find a second one to possibly ride with.


It will be equipped with:

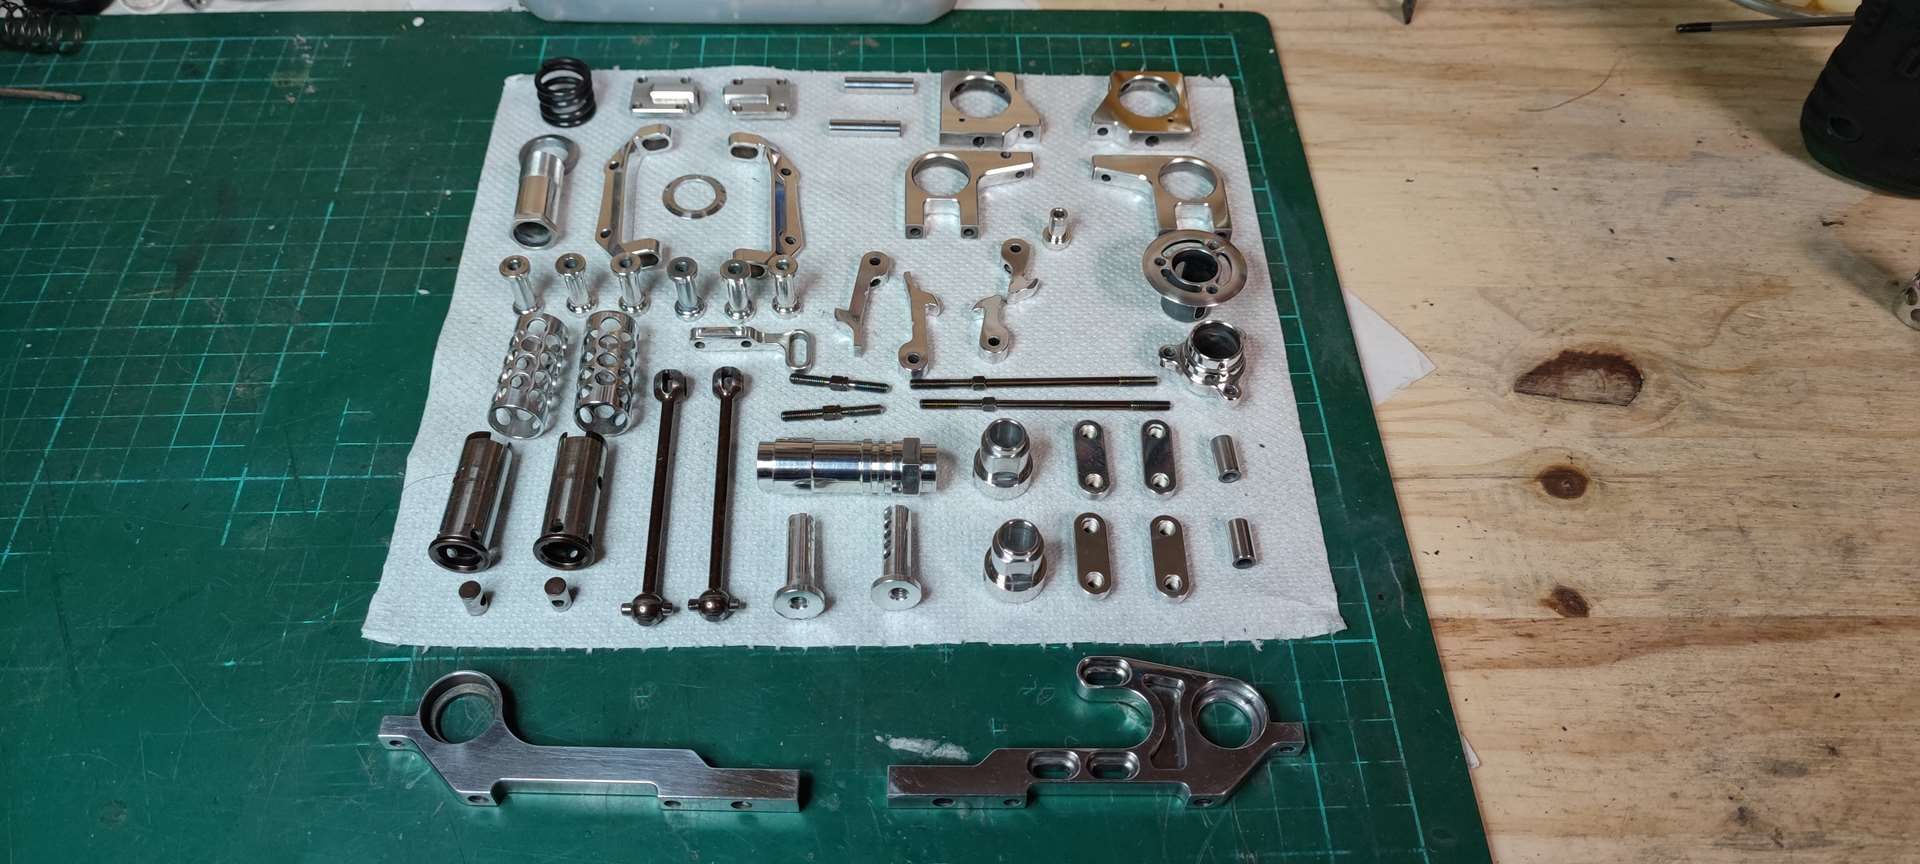
- complete stainless steel screws
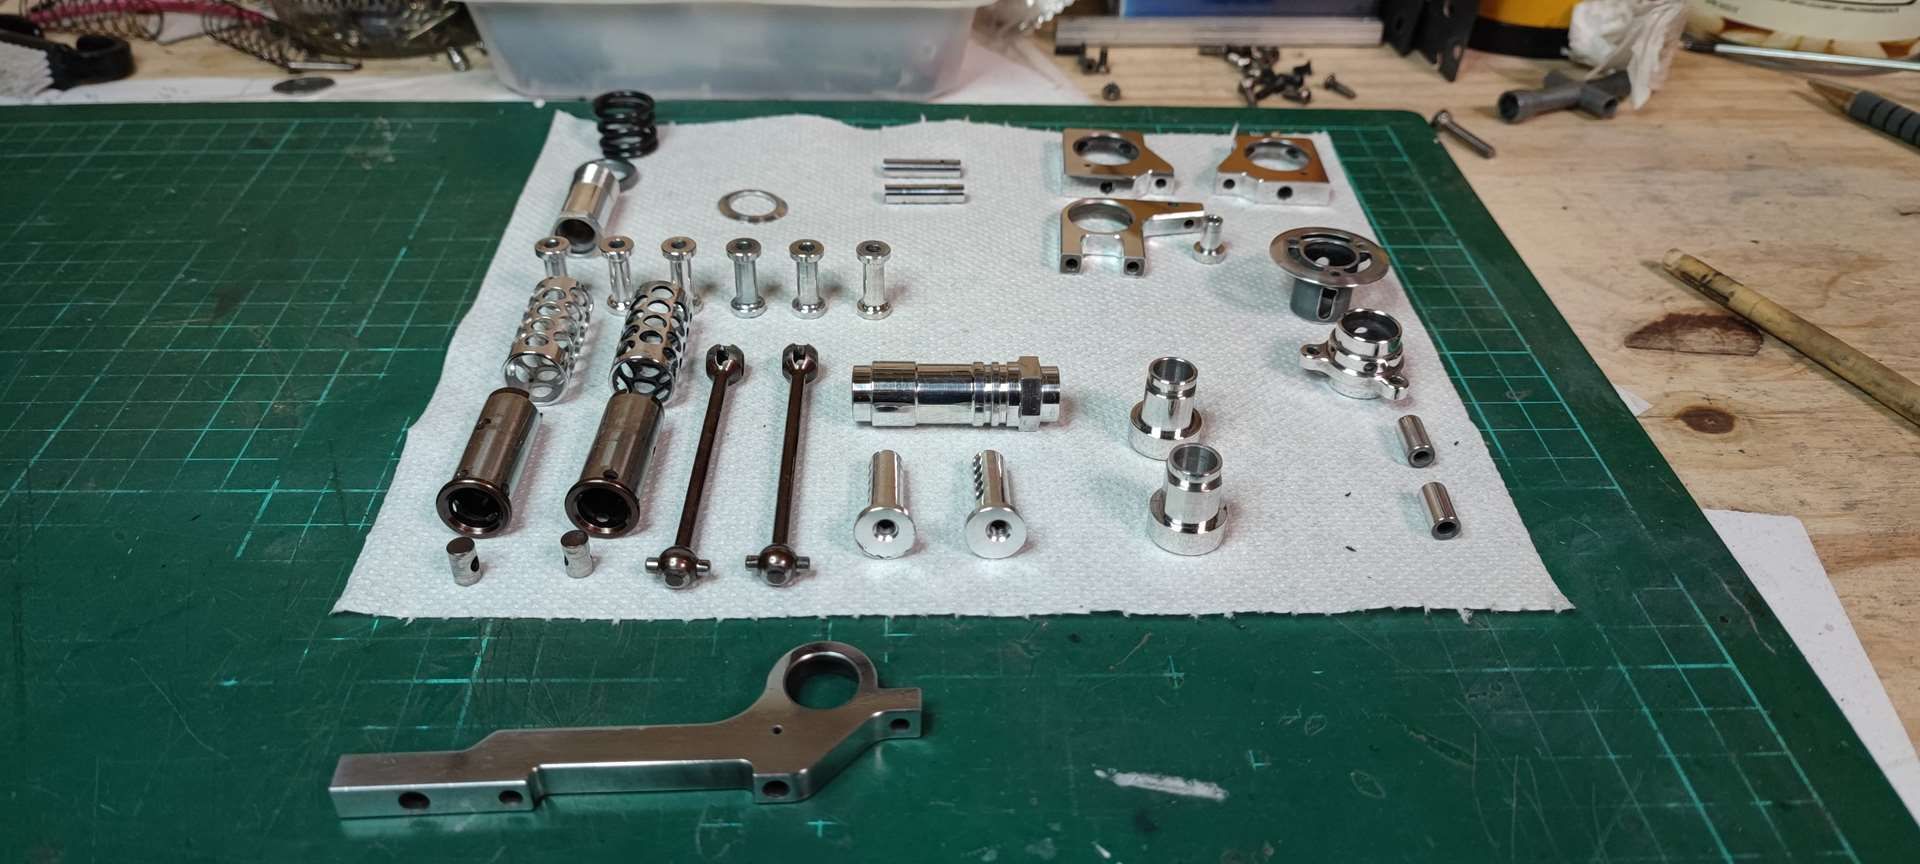
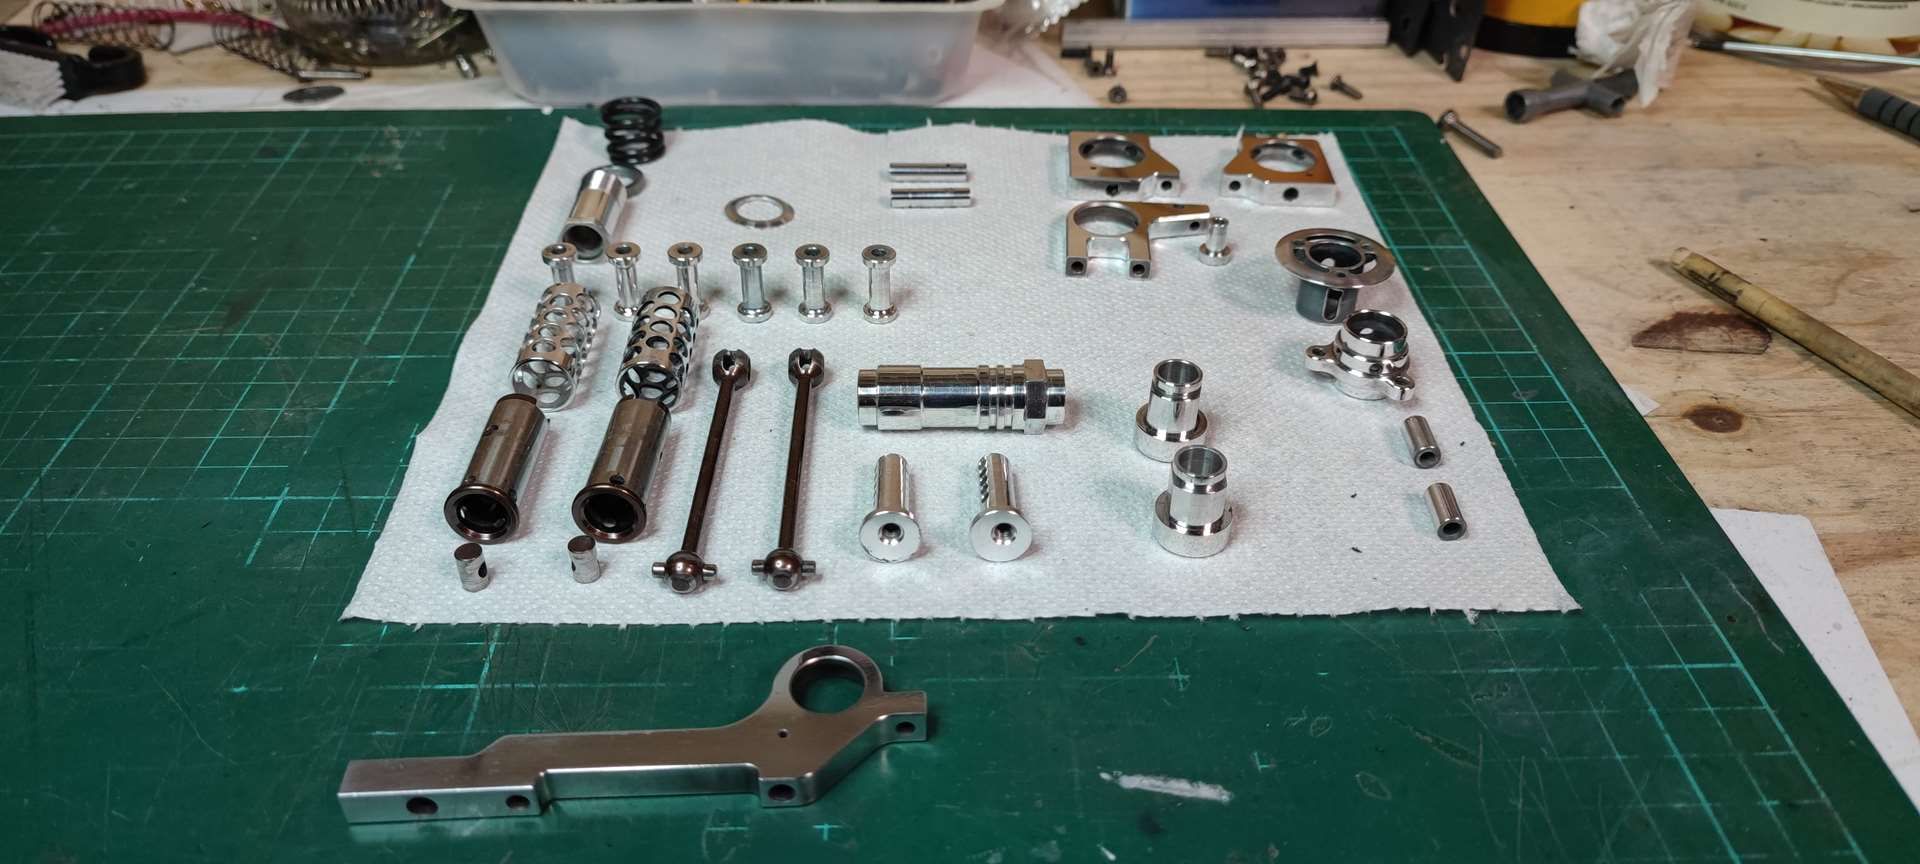
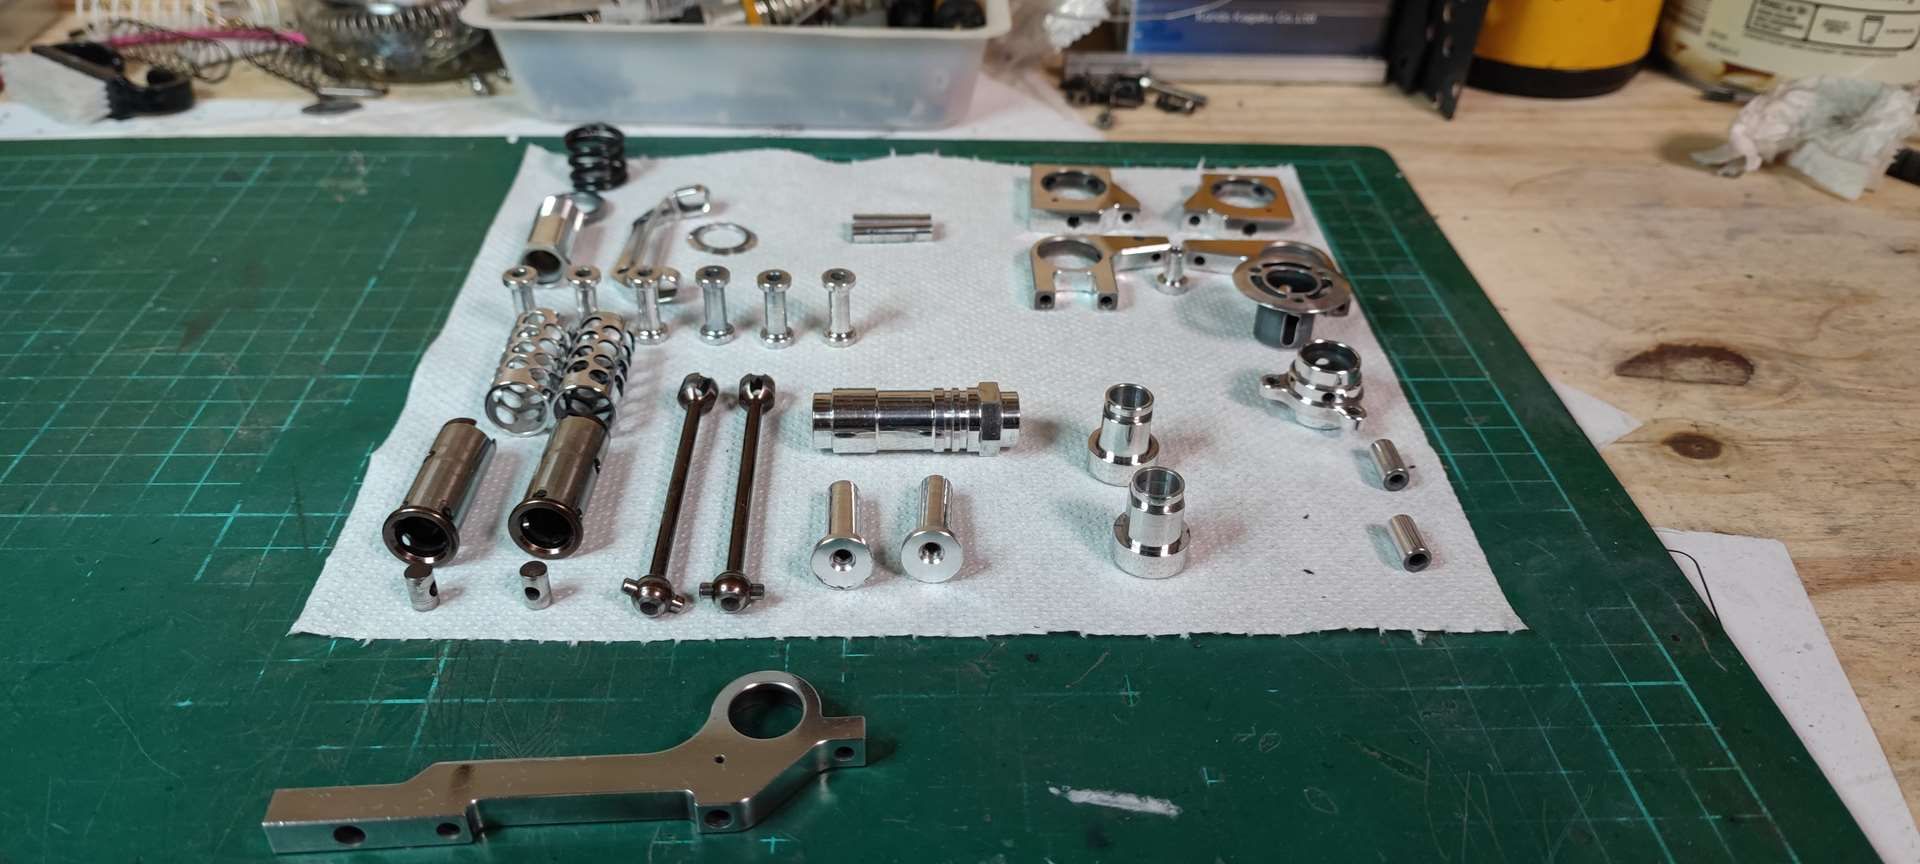
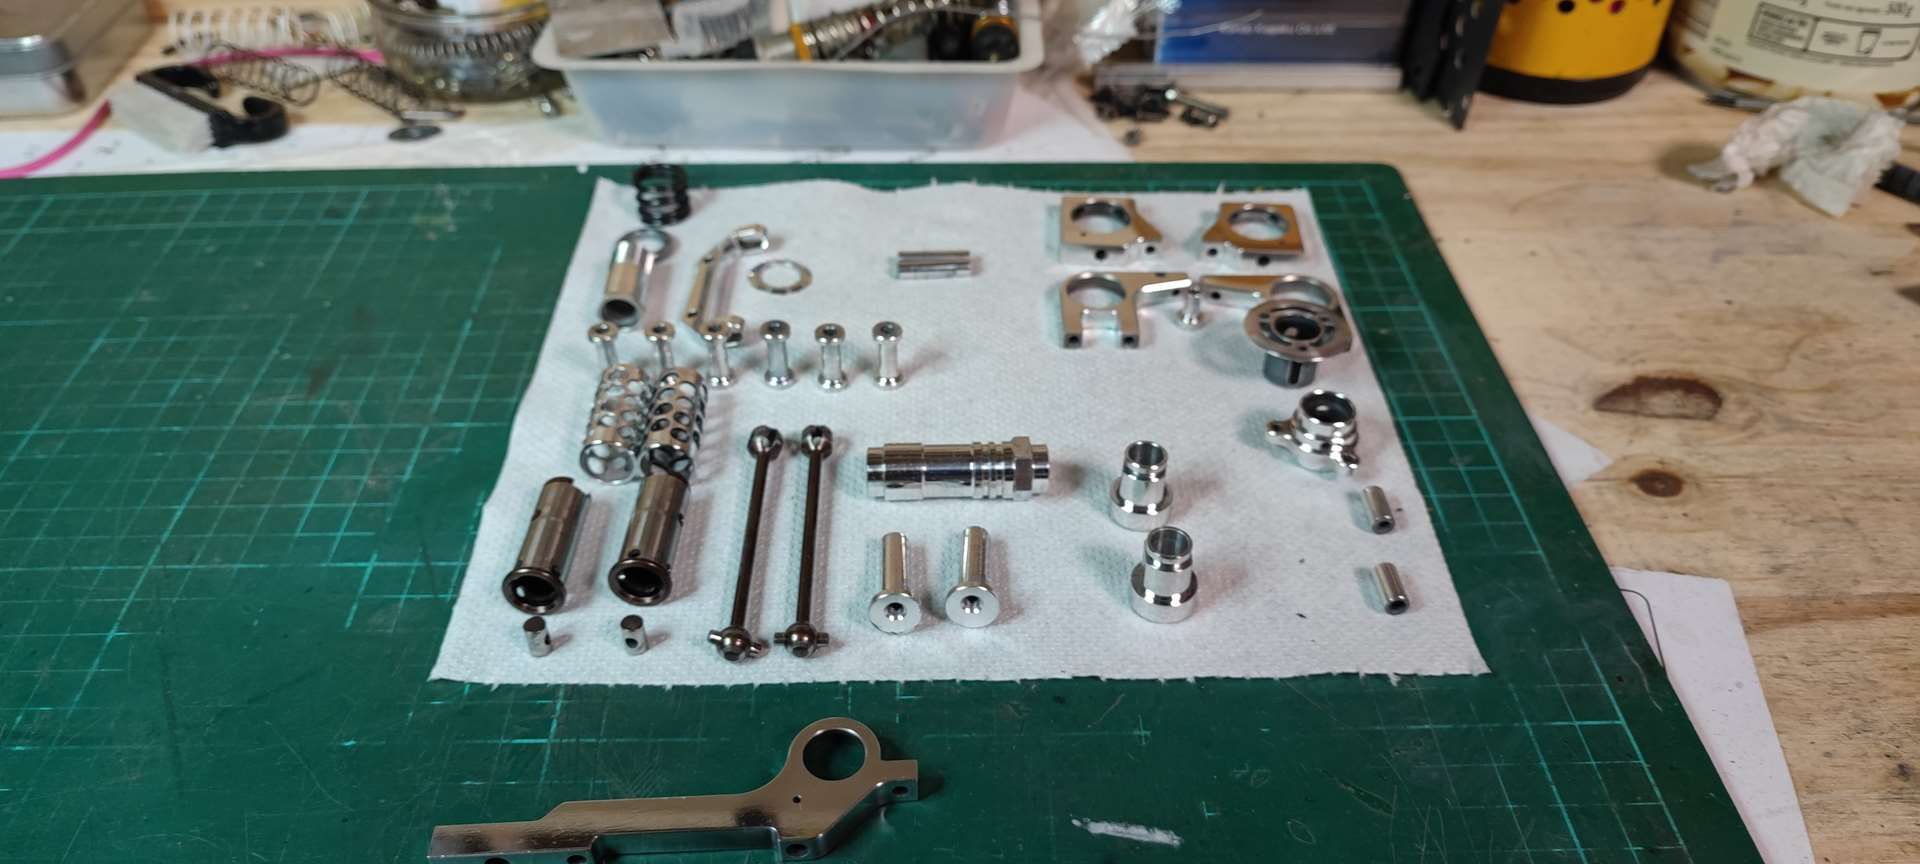
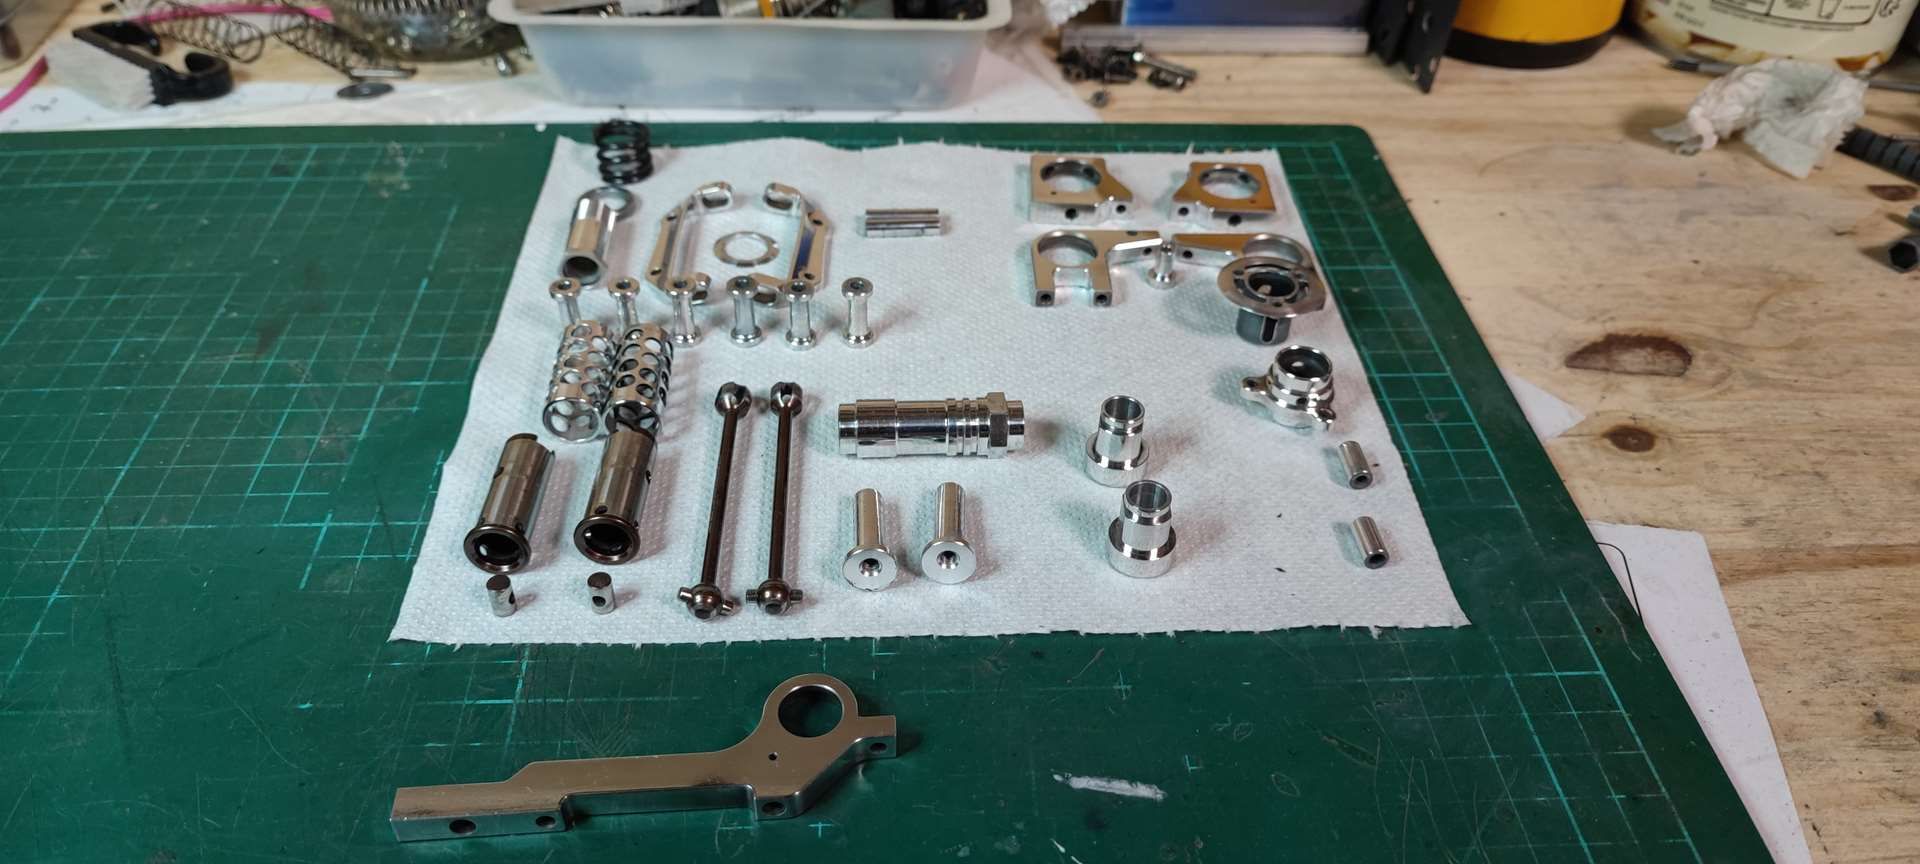
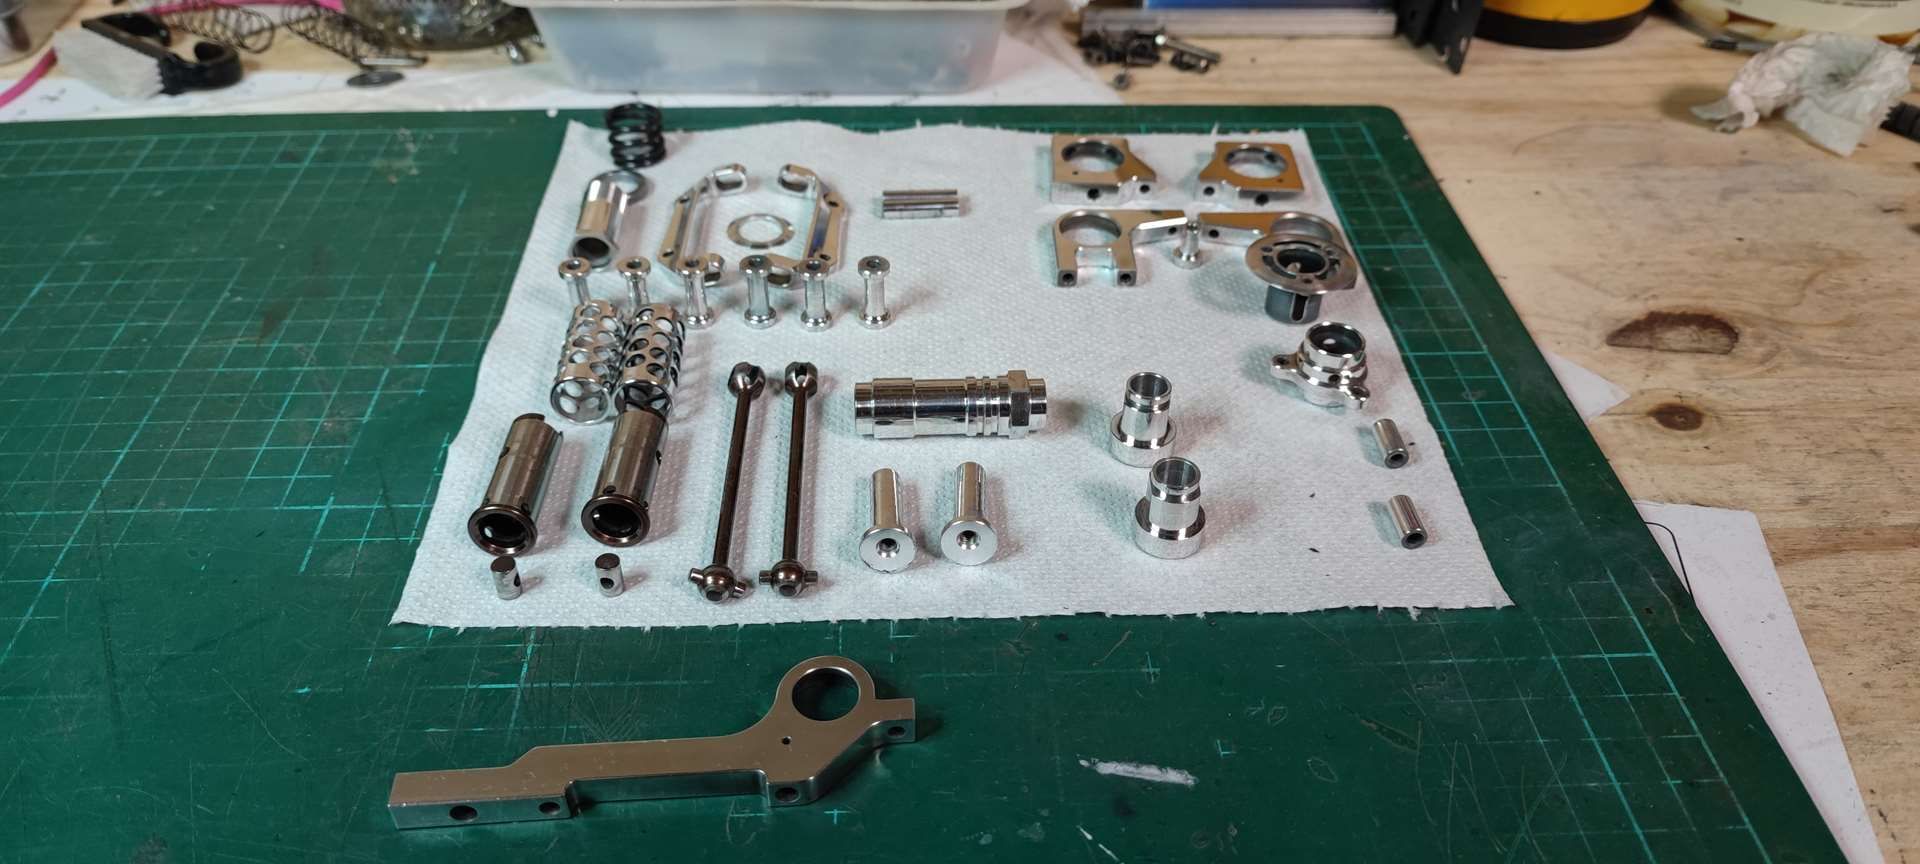
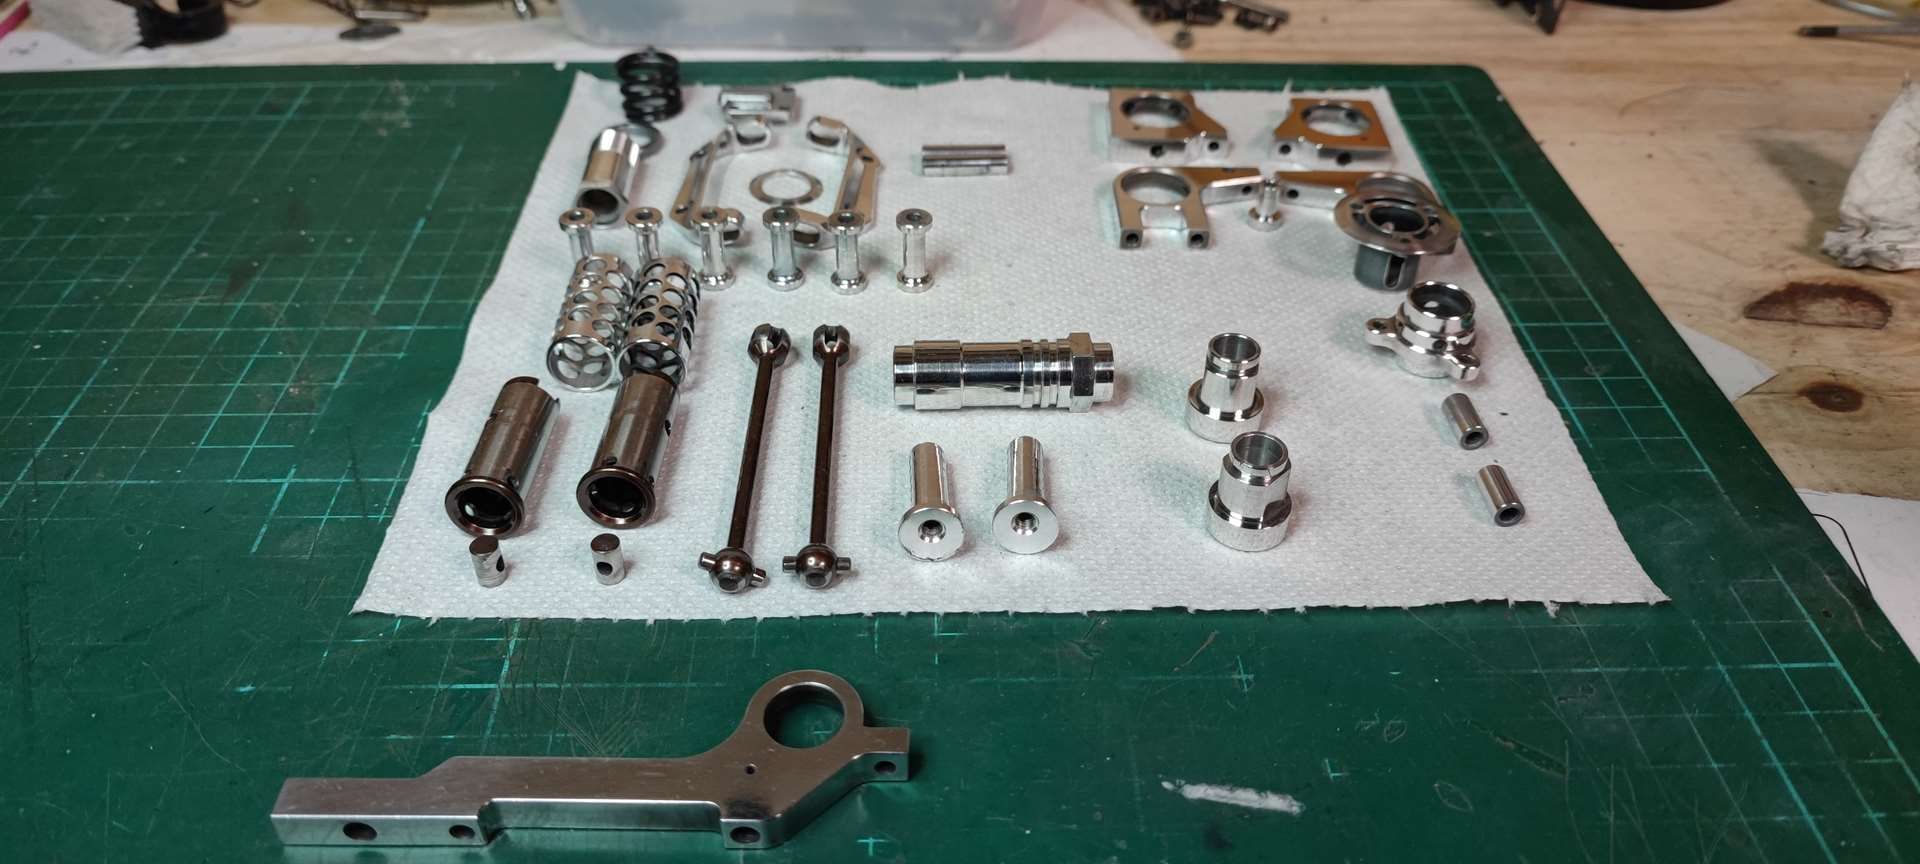
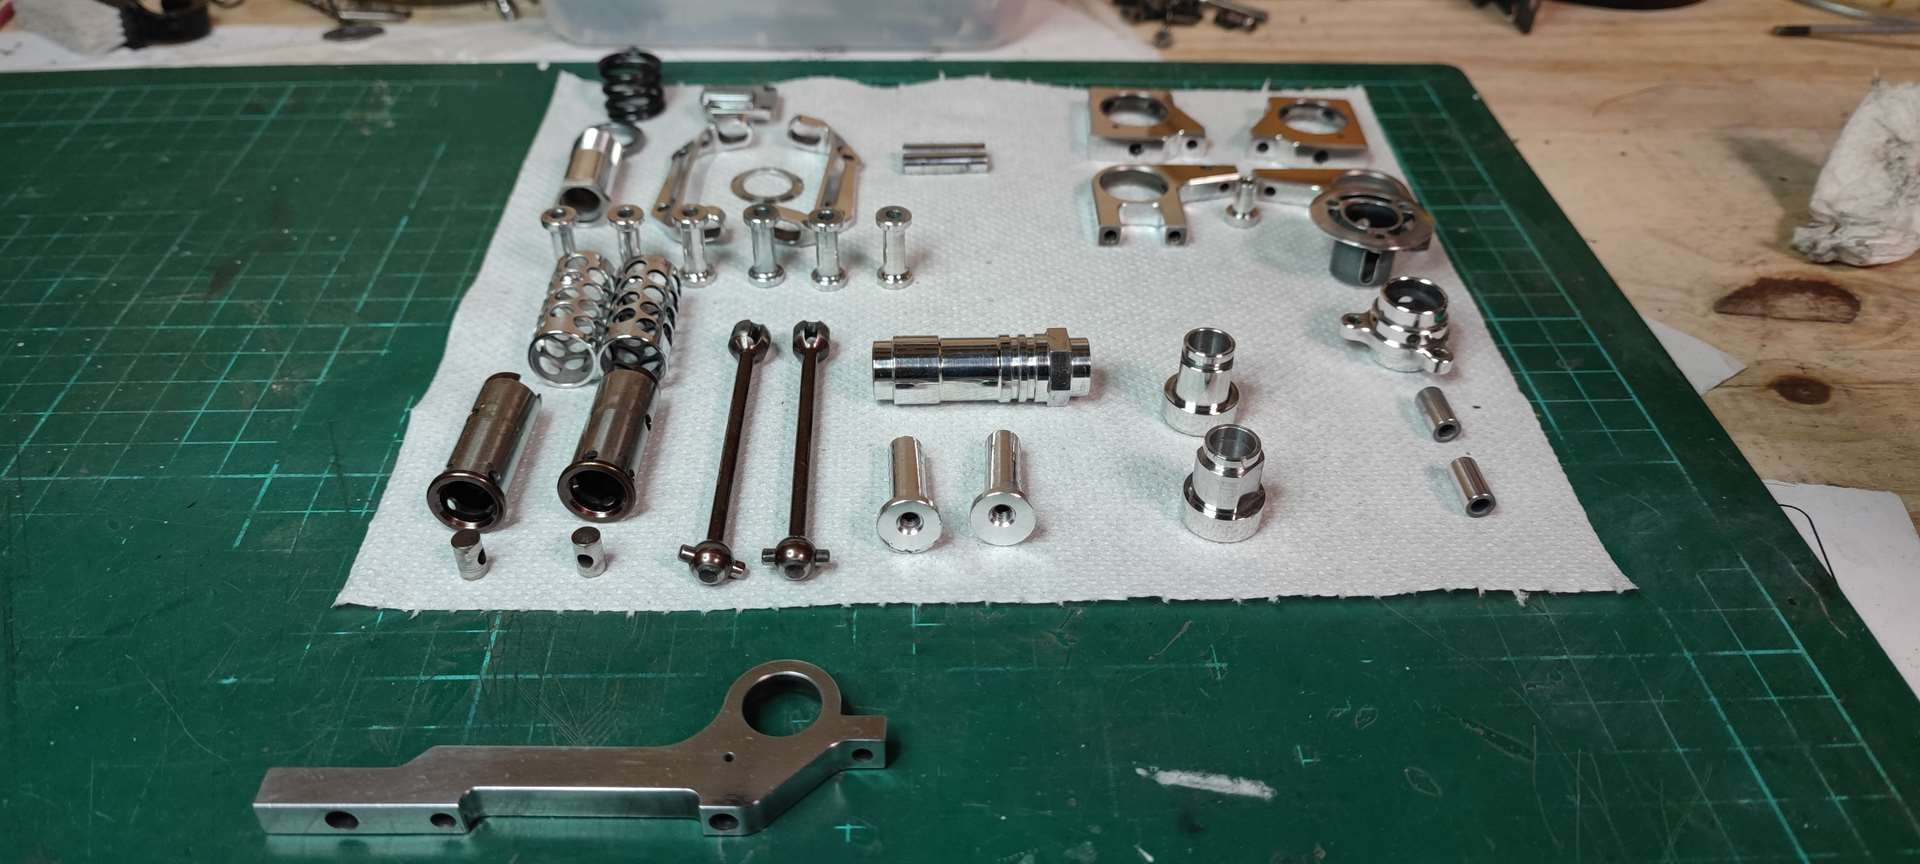
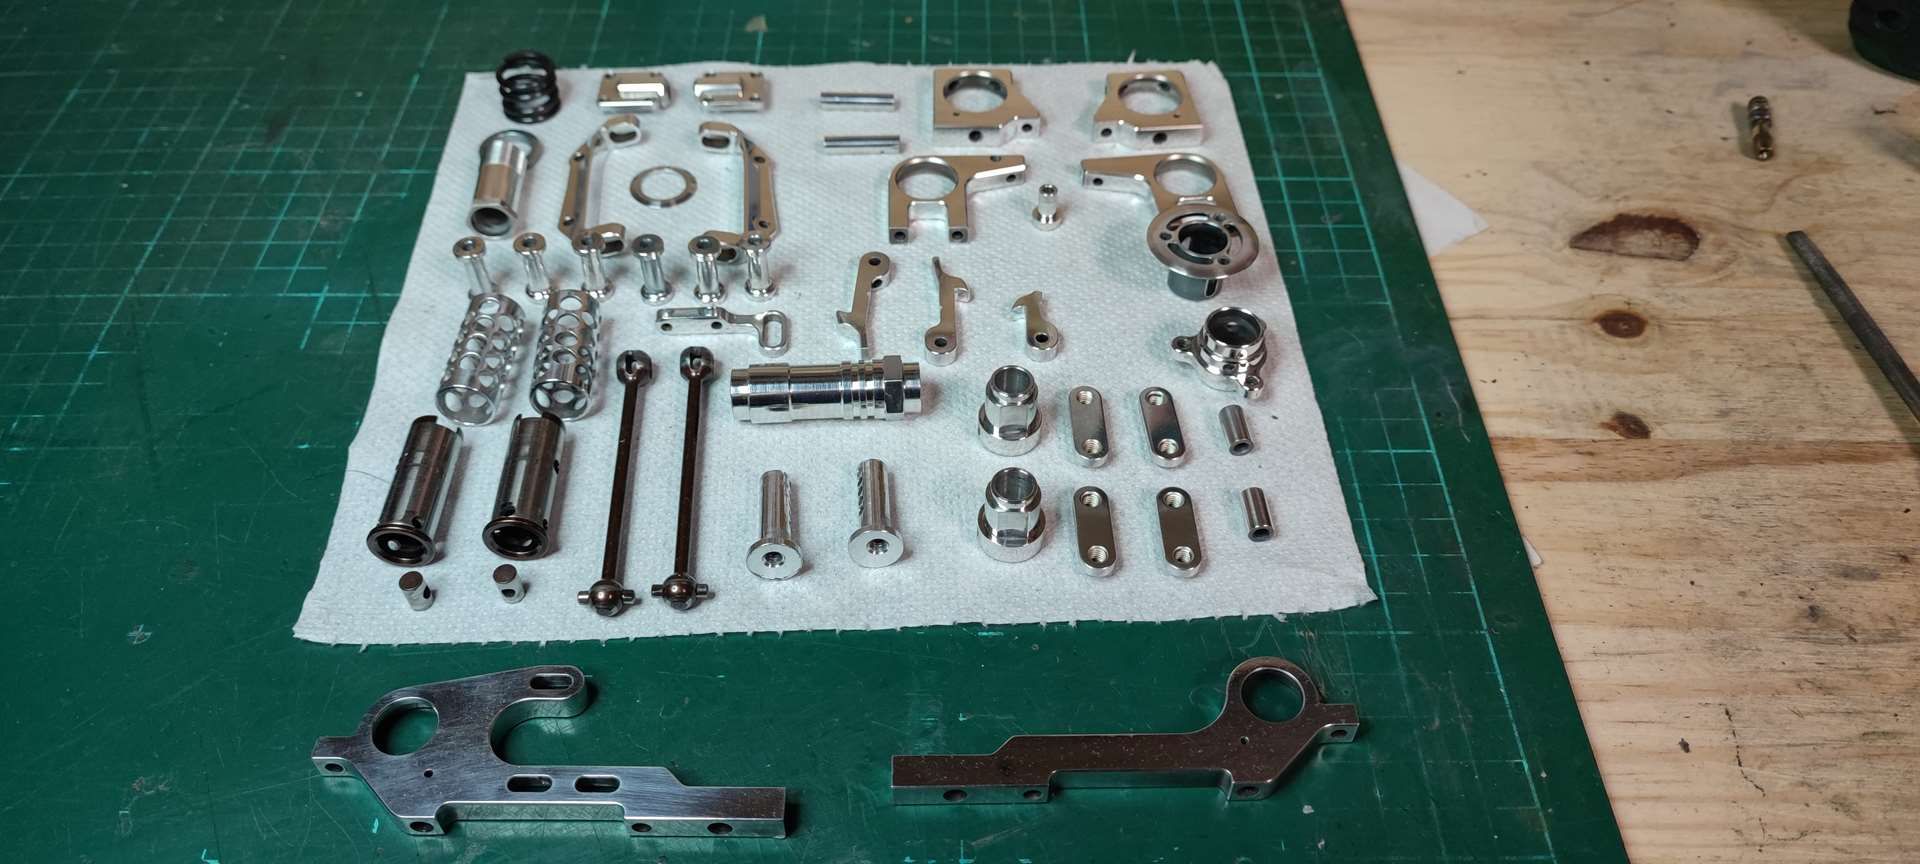
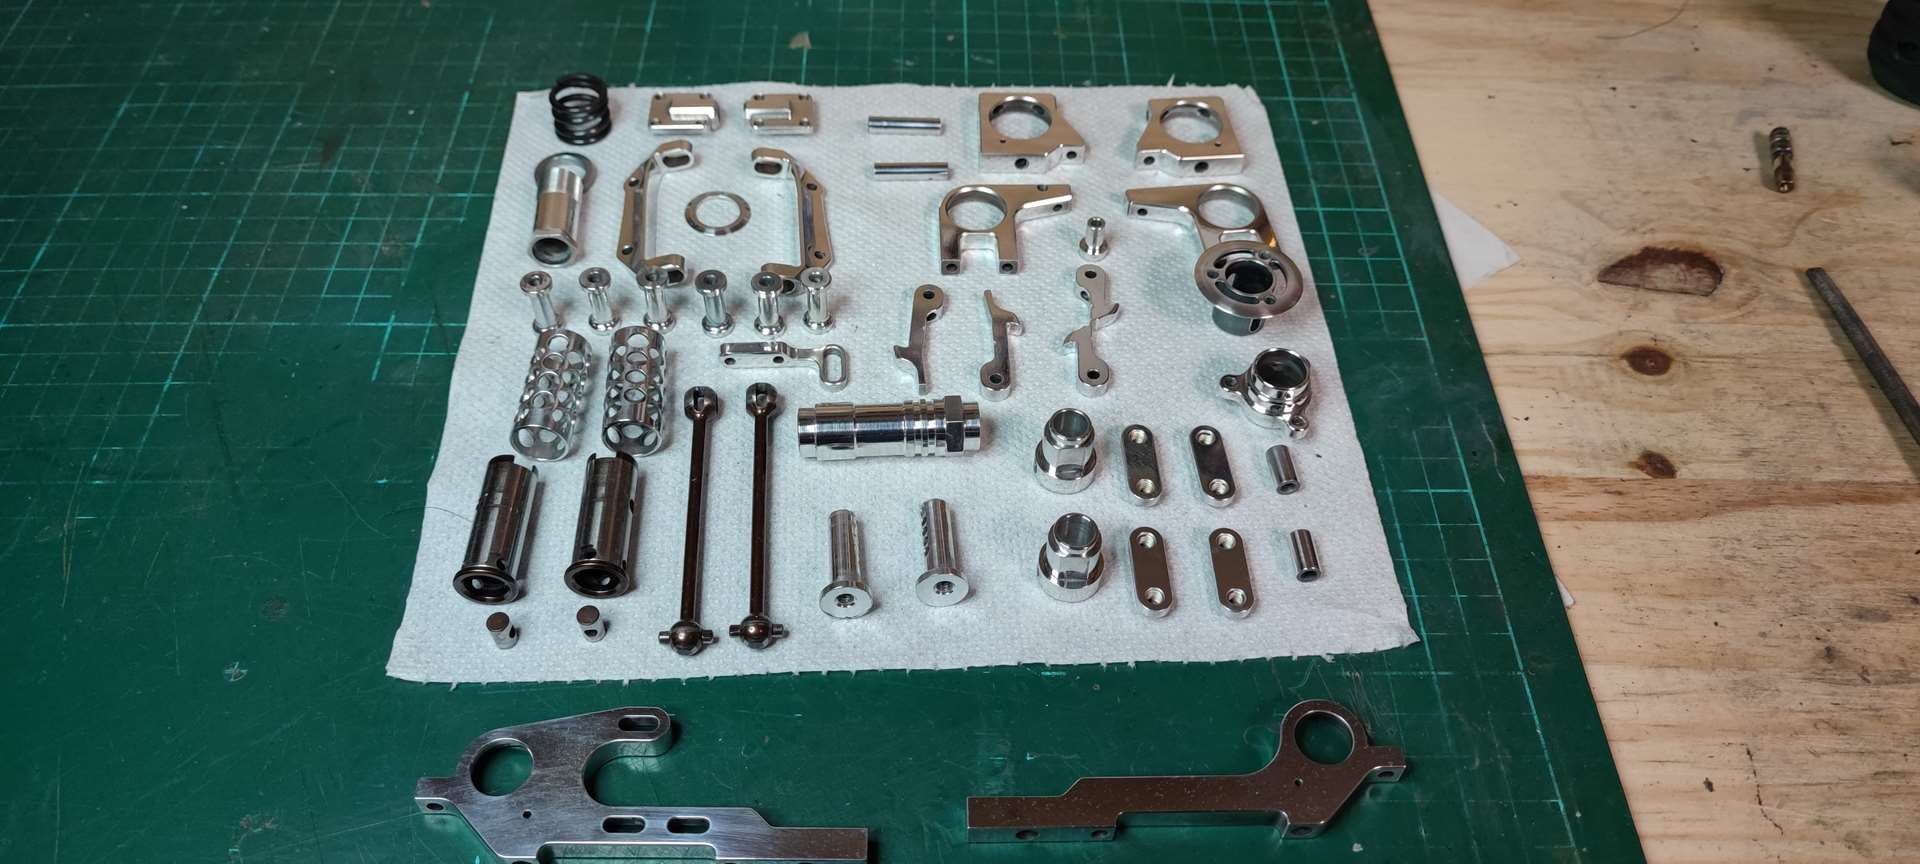
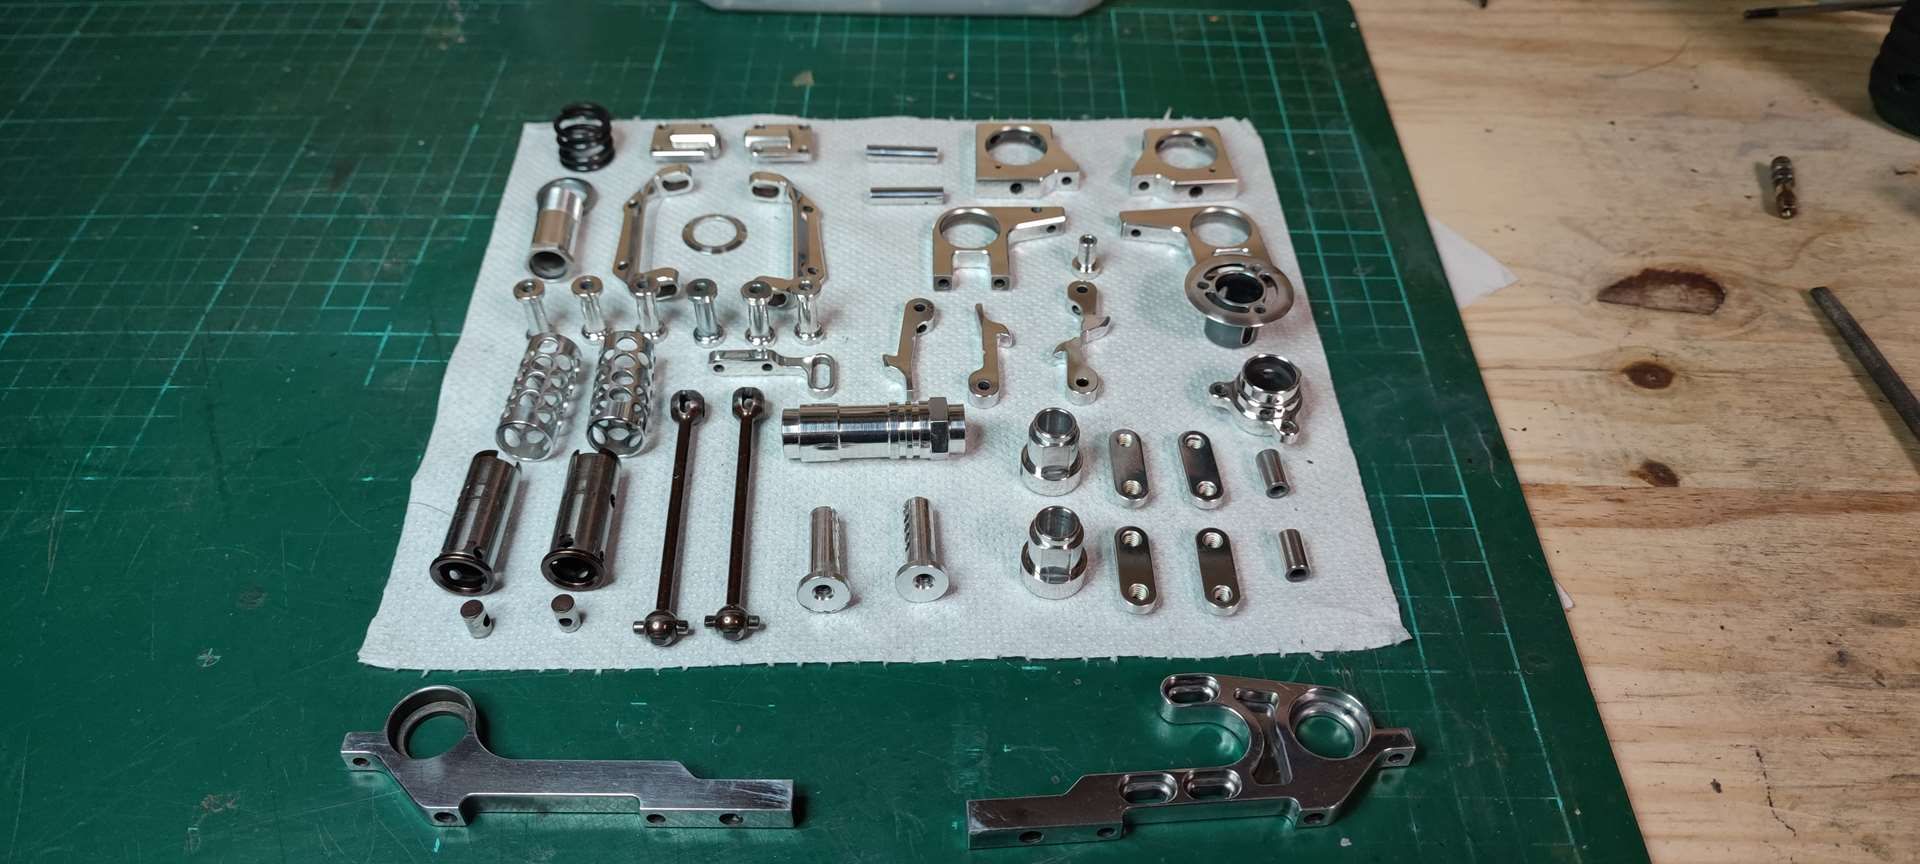
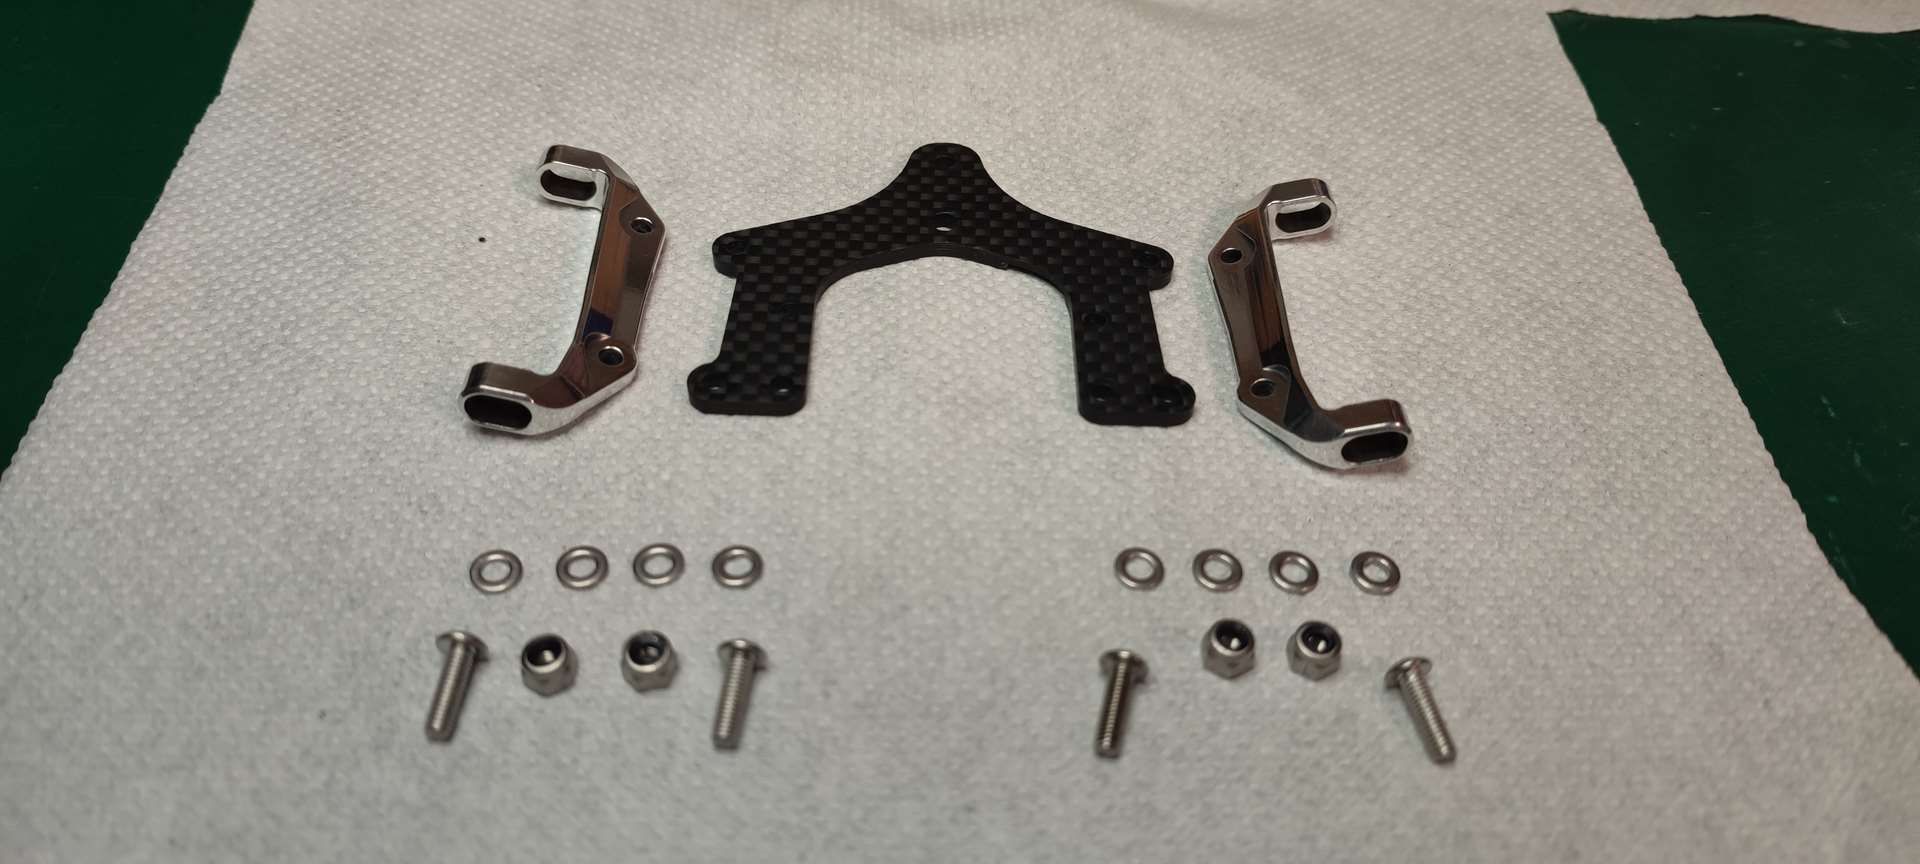
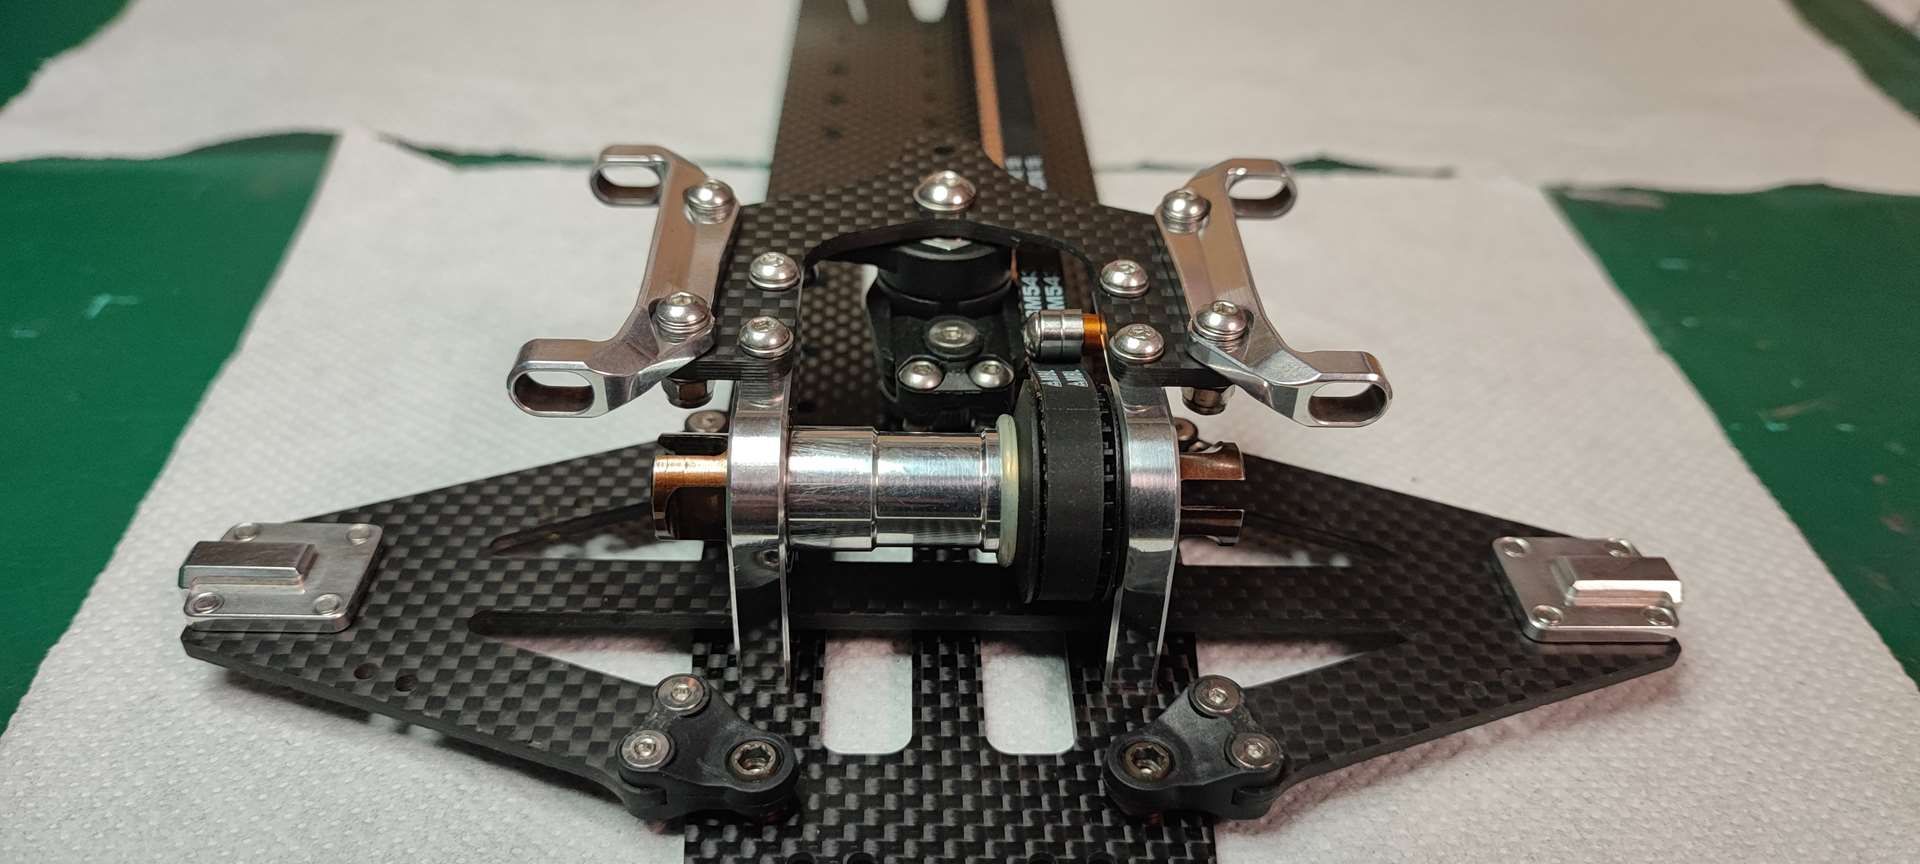
- fully deanodized and polished aluminum parts
- dummy electronic
- many new parts and/or options ones
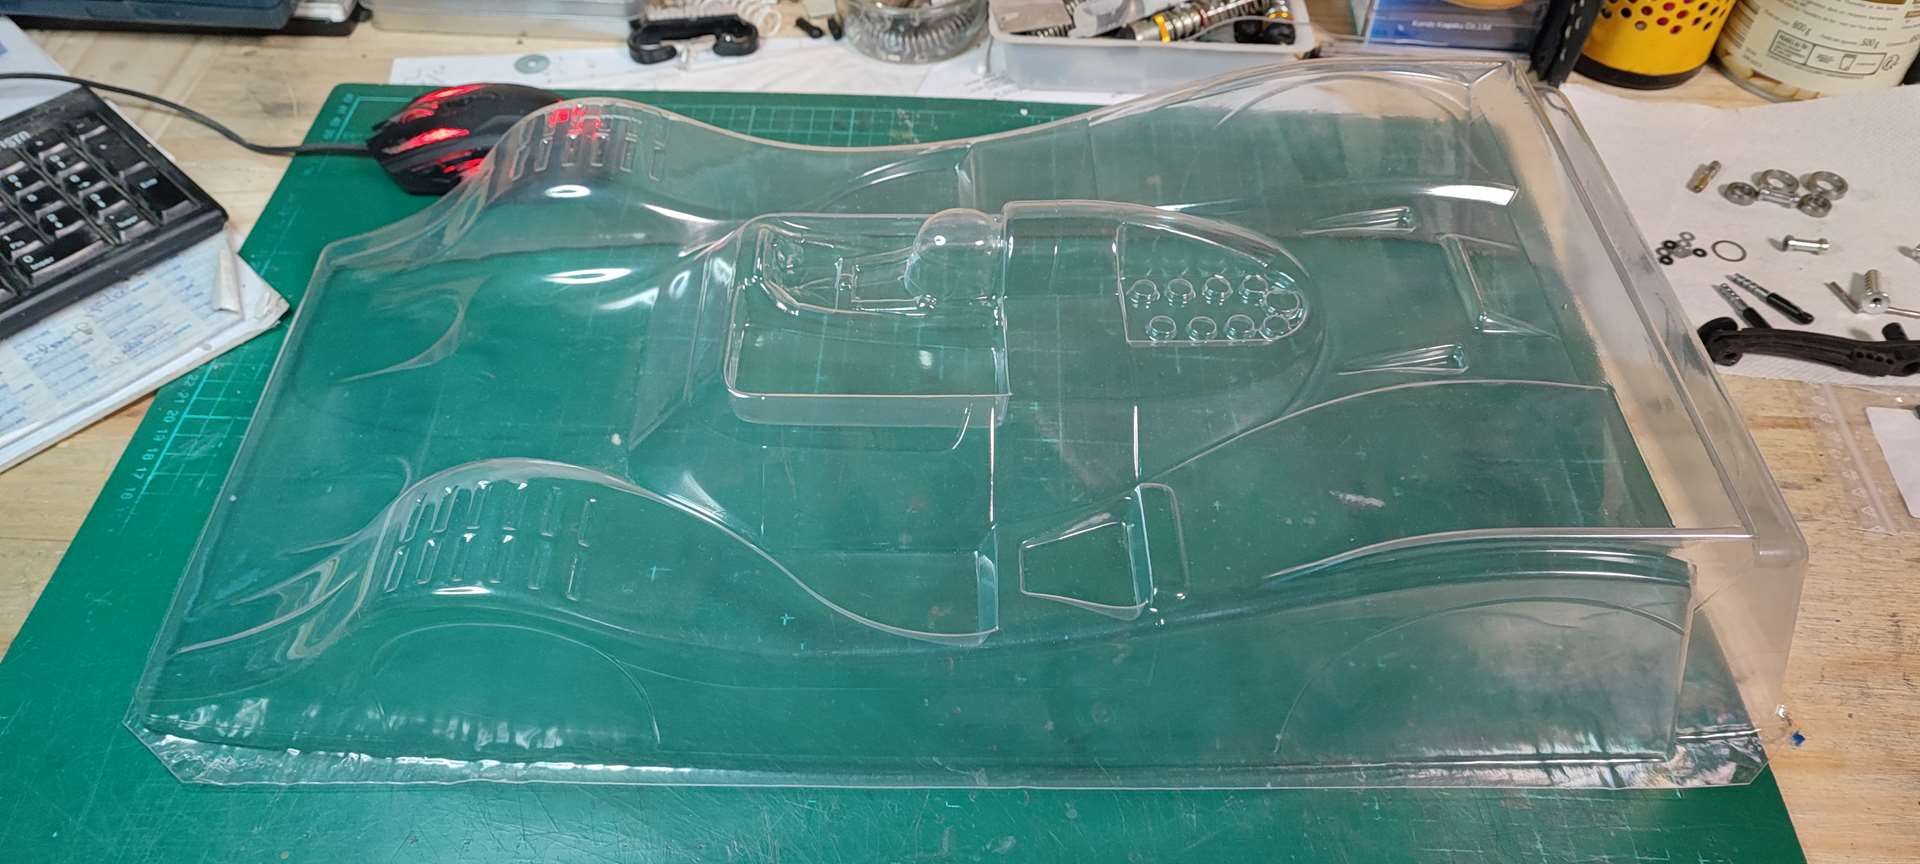
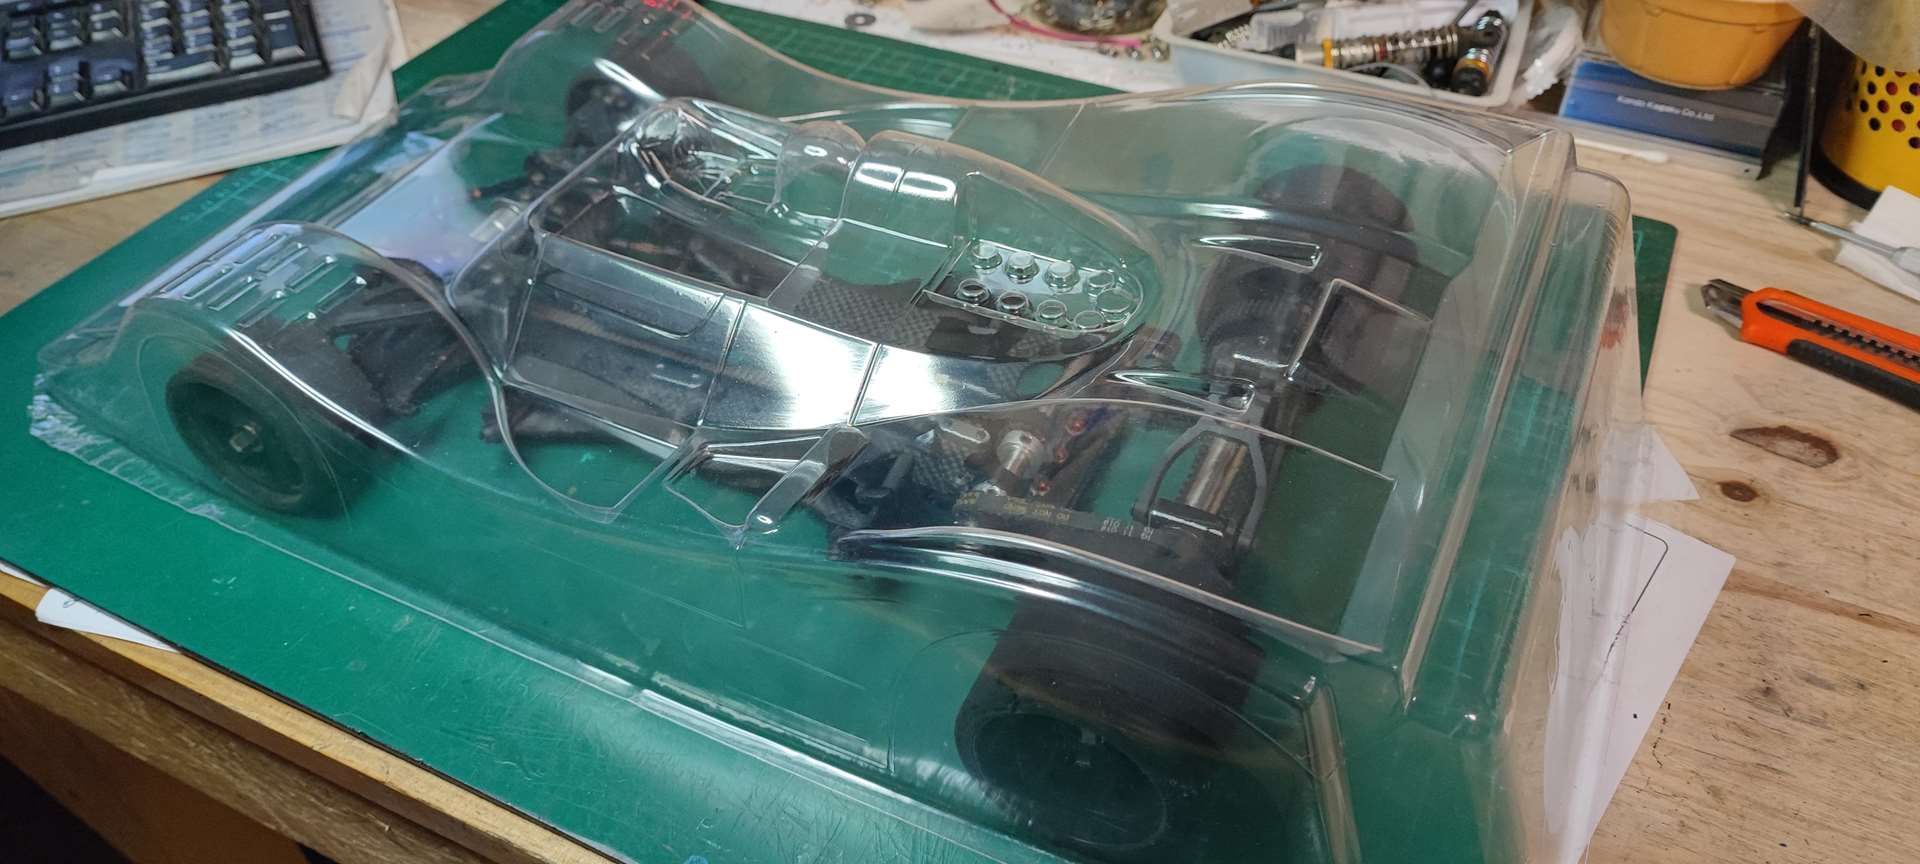
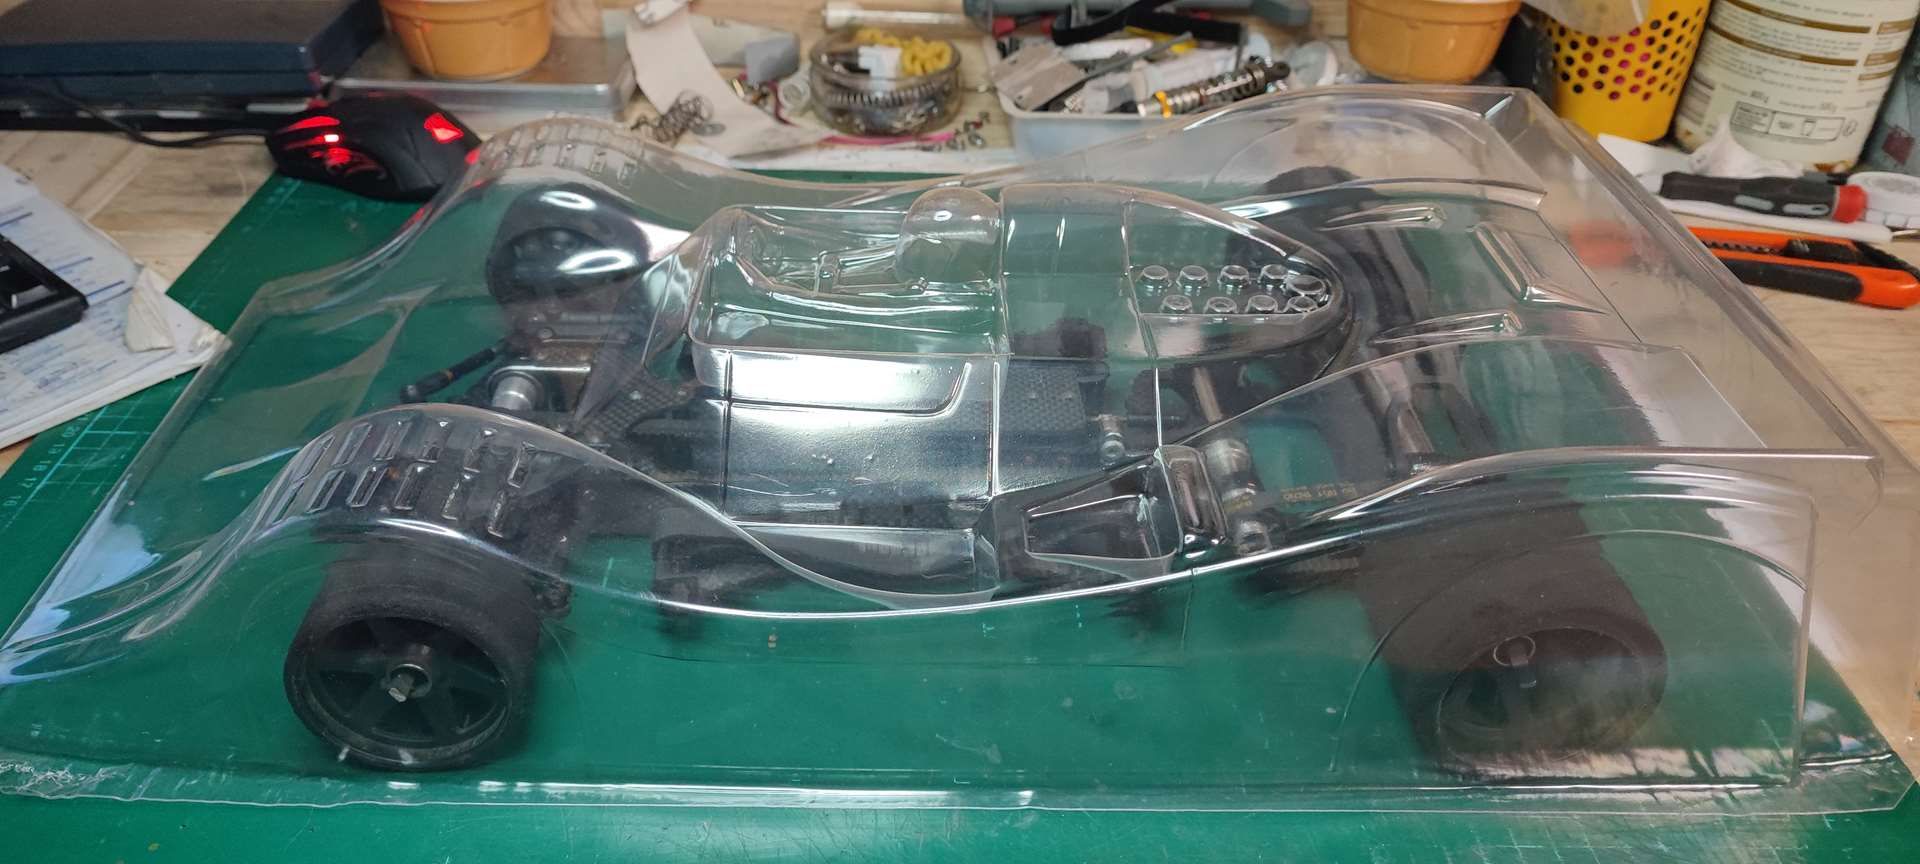
- a MAGNIFICENT rare body


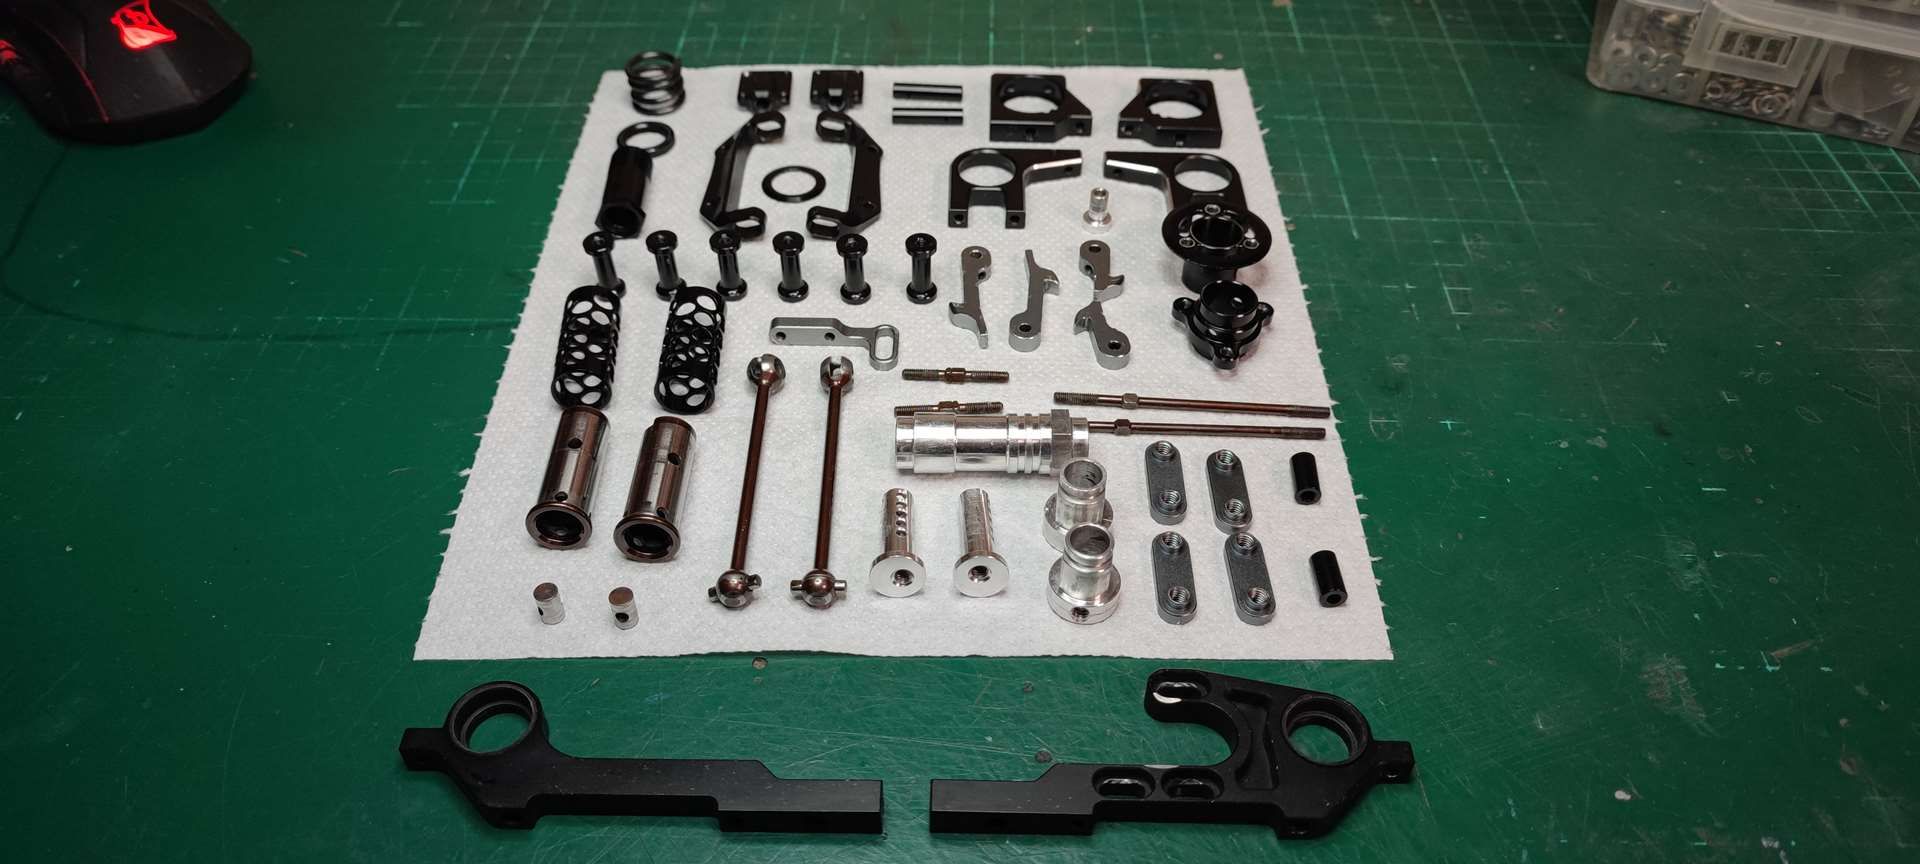
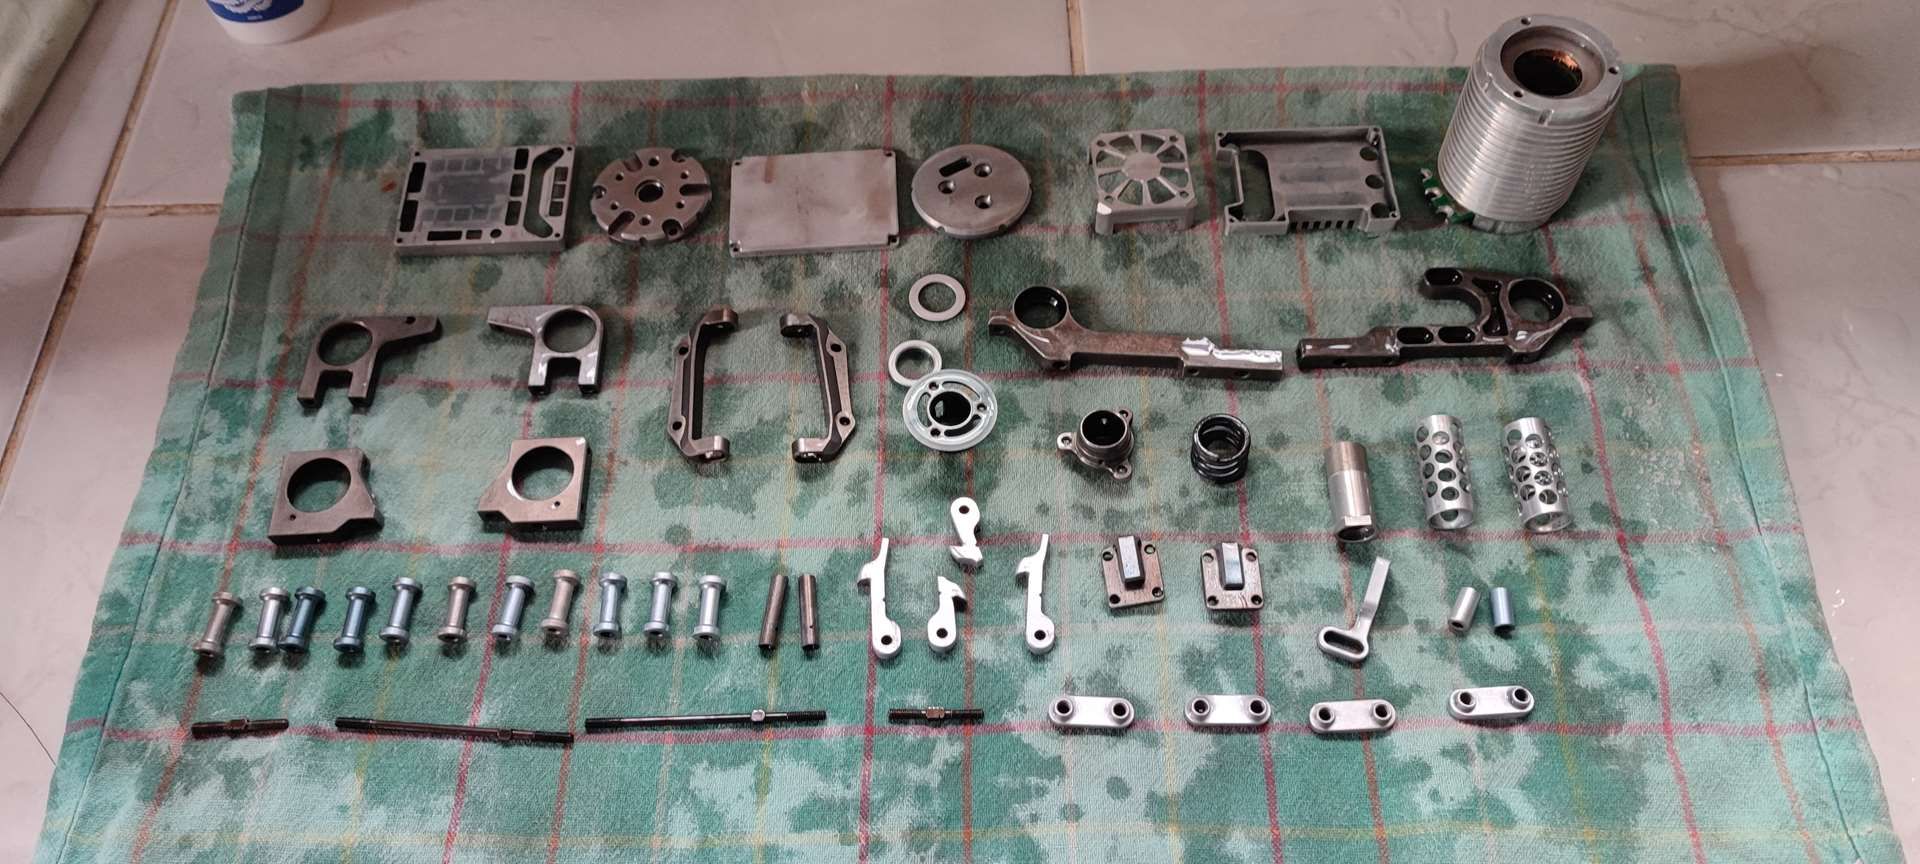
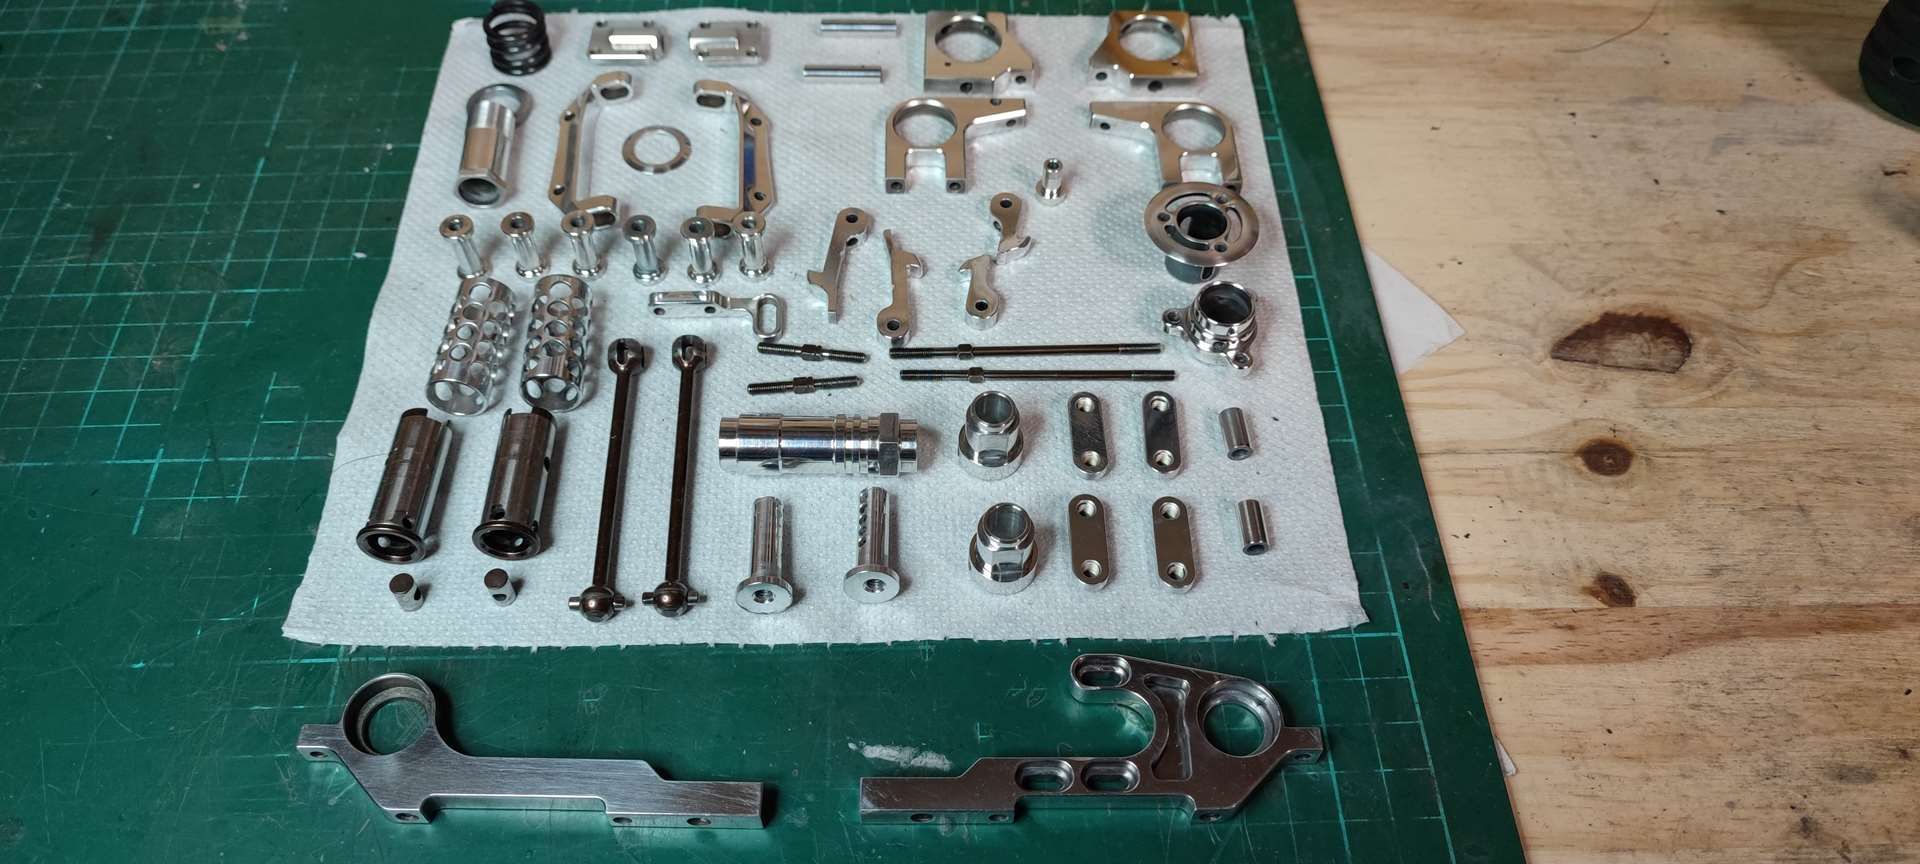
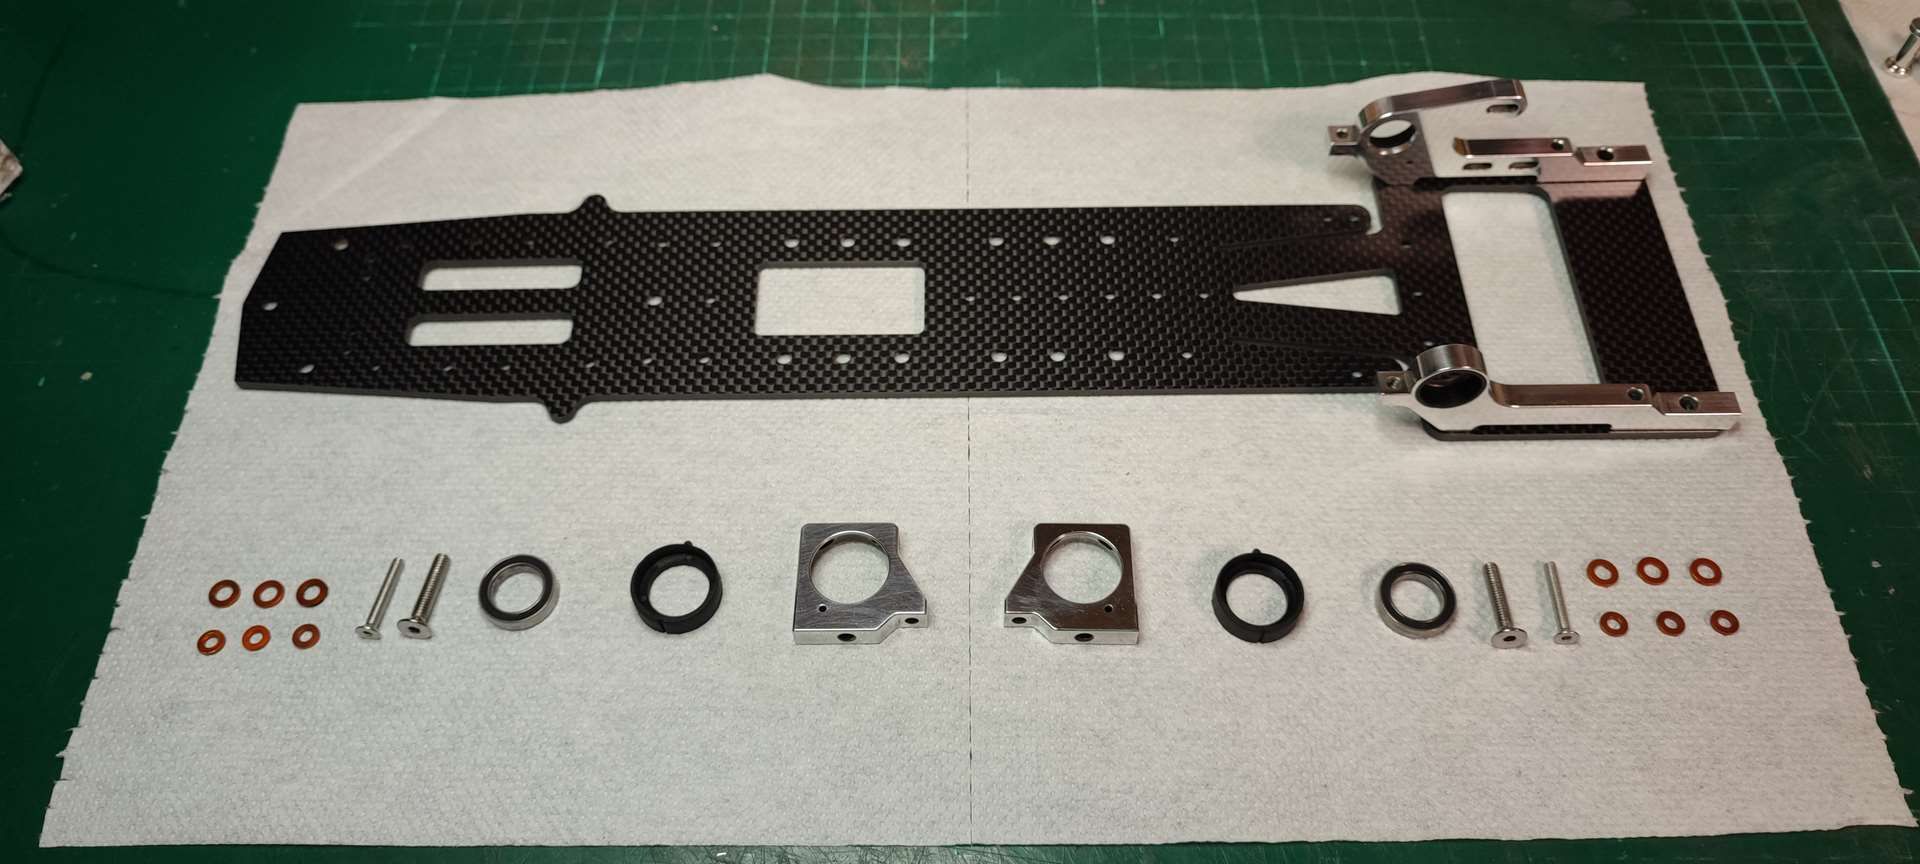
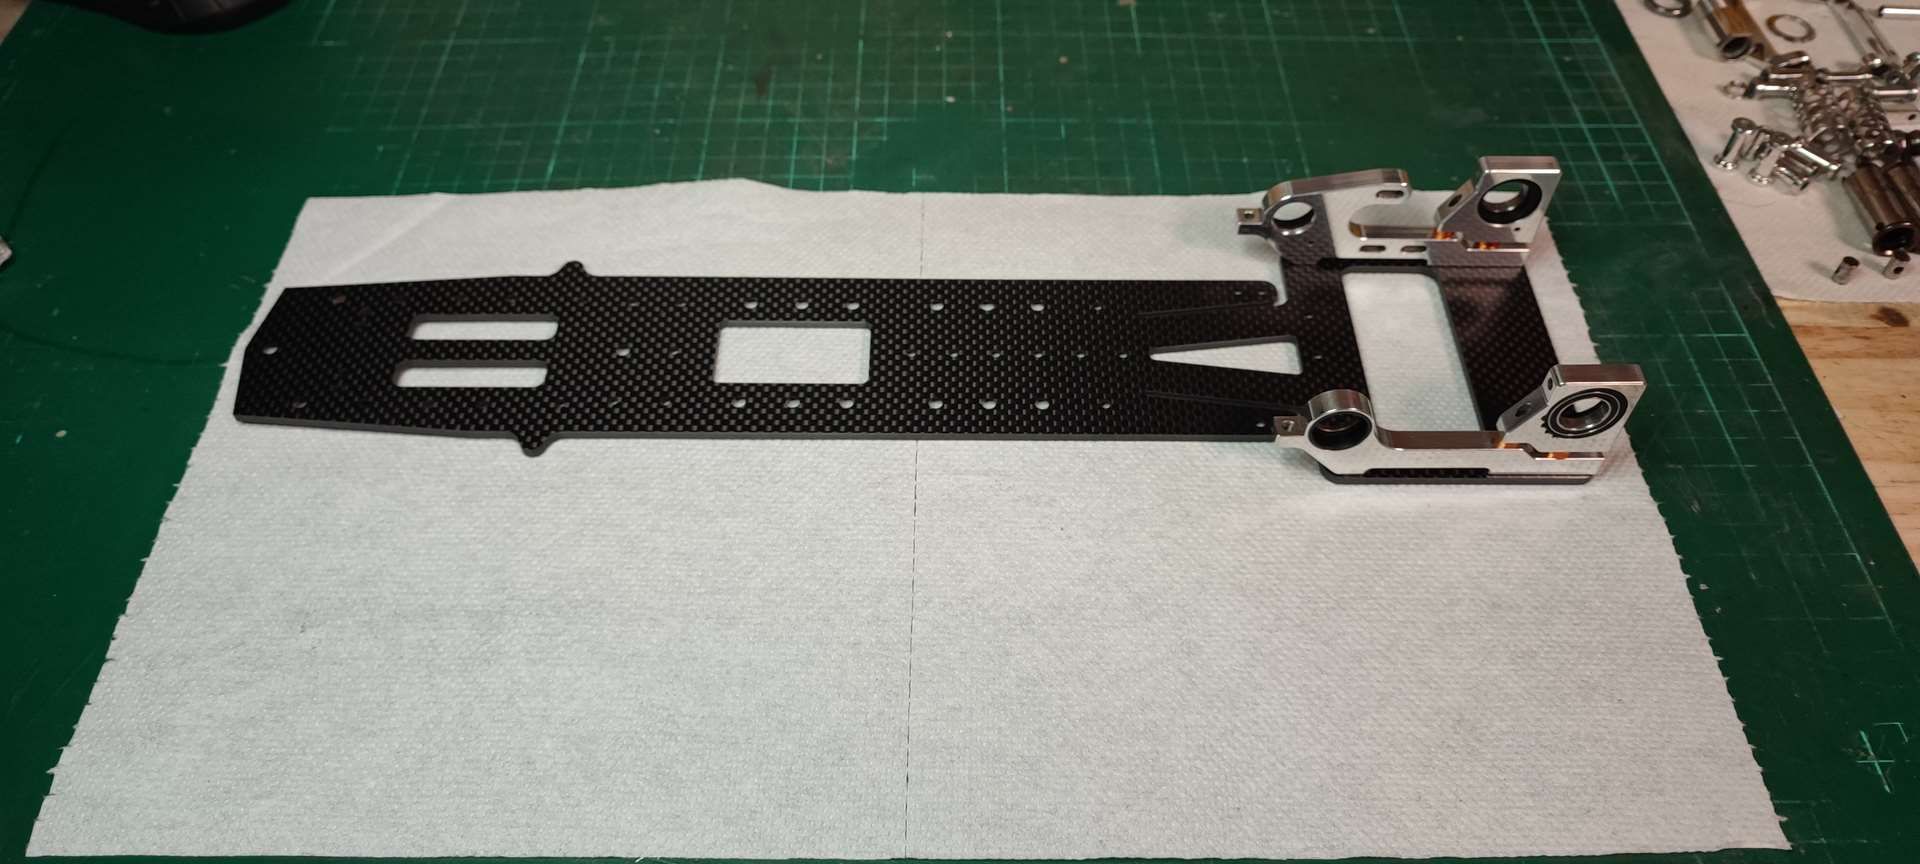
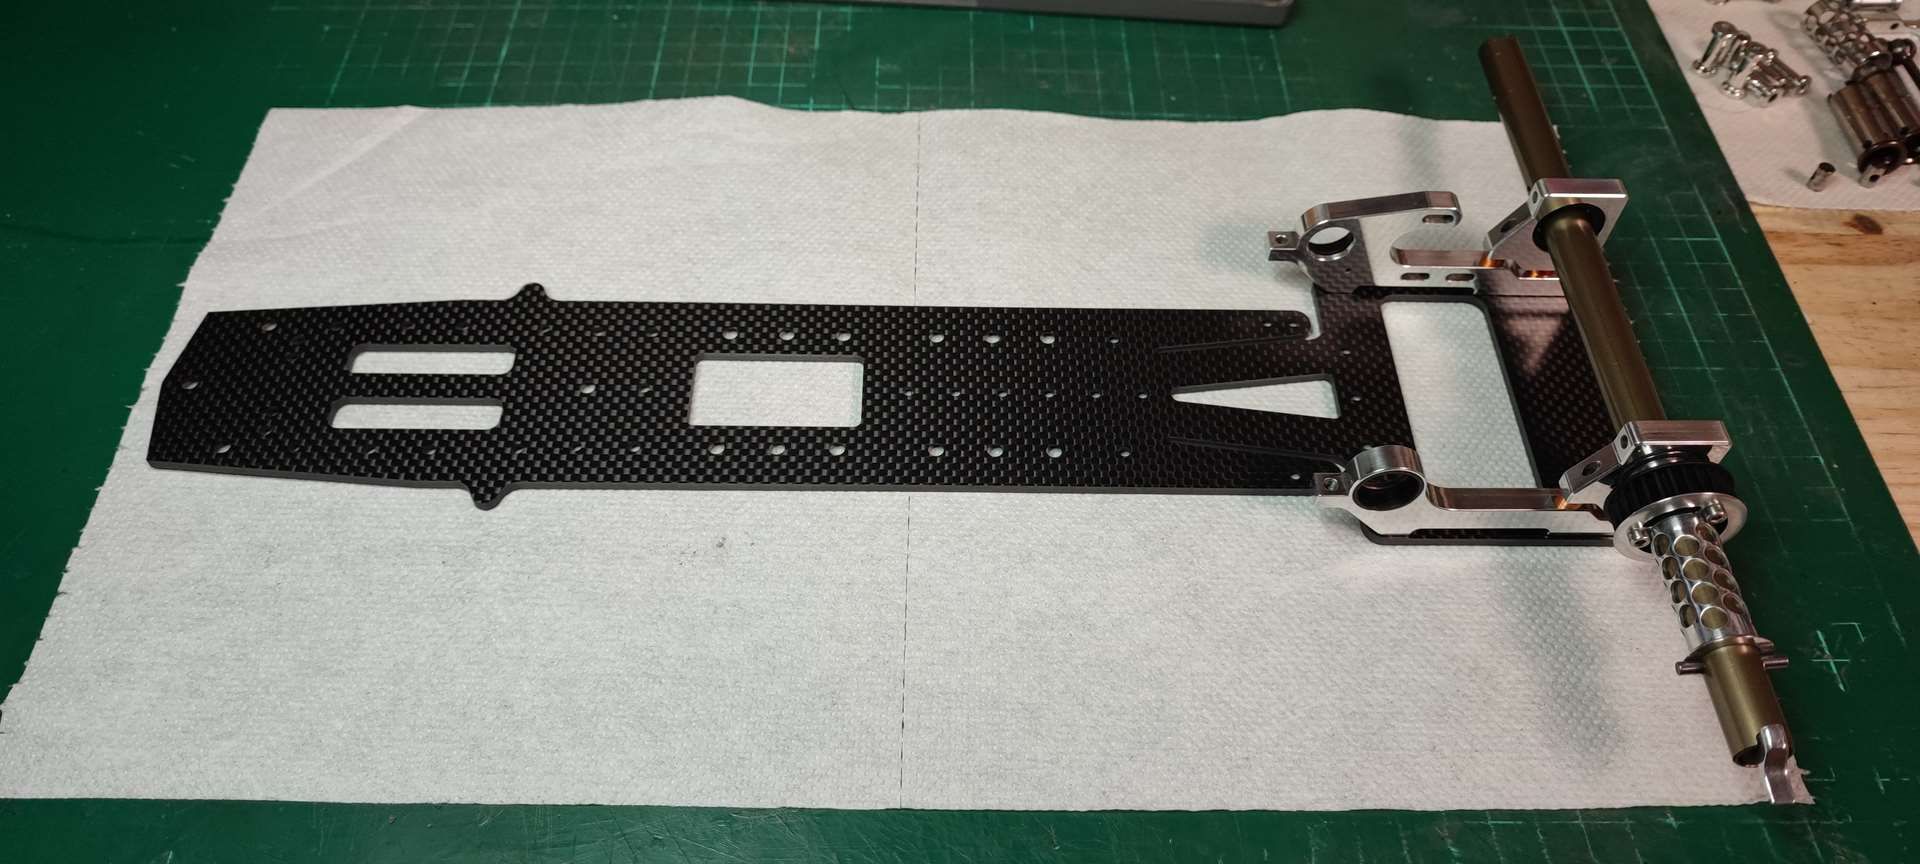
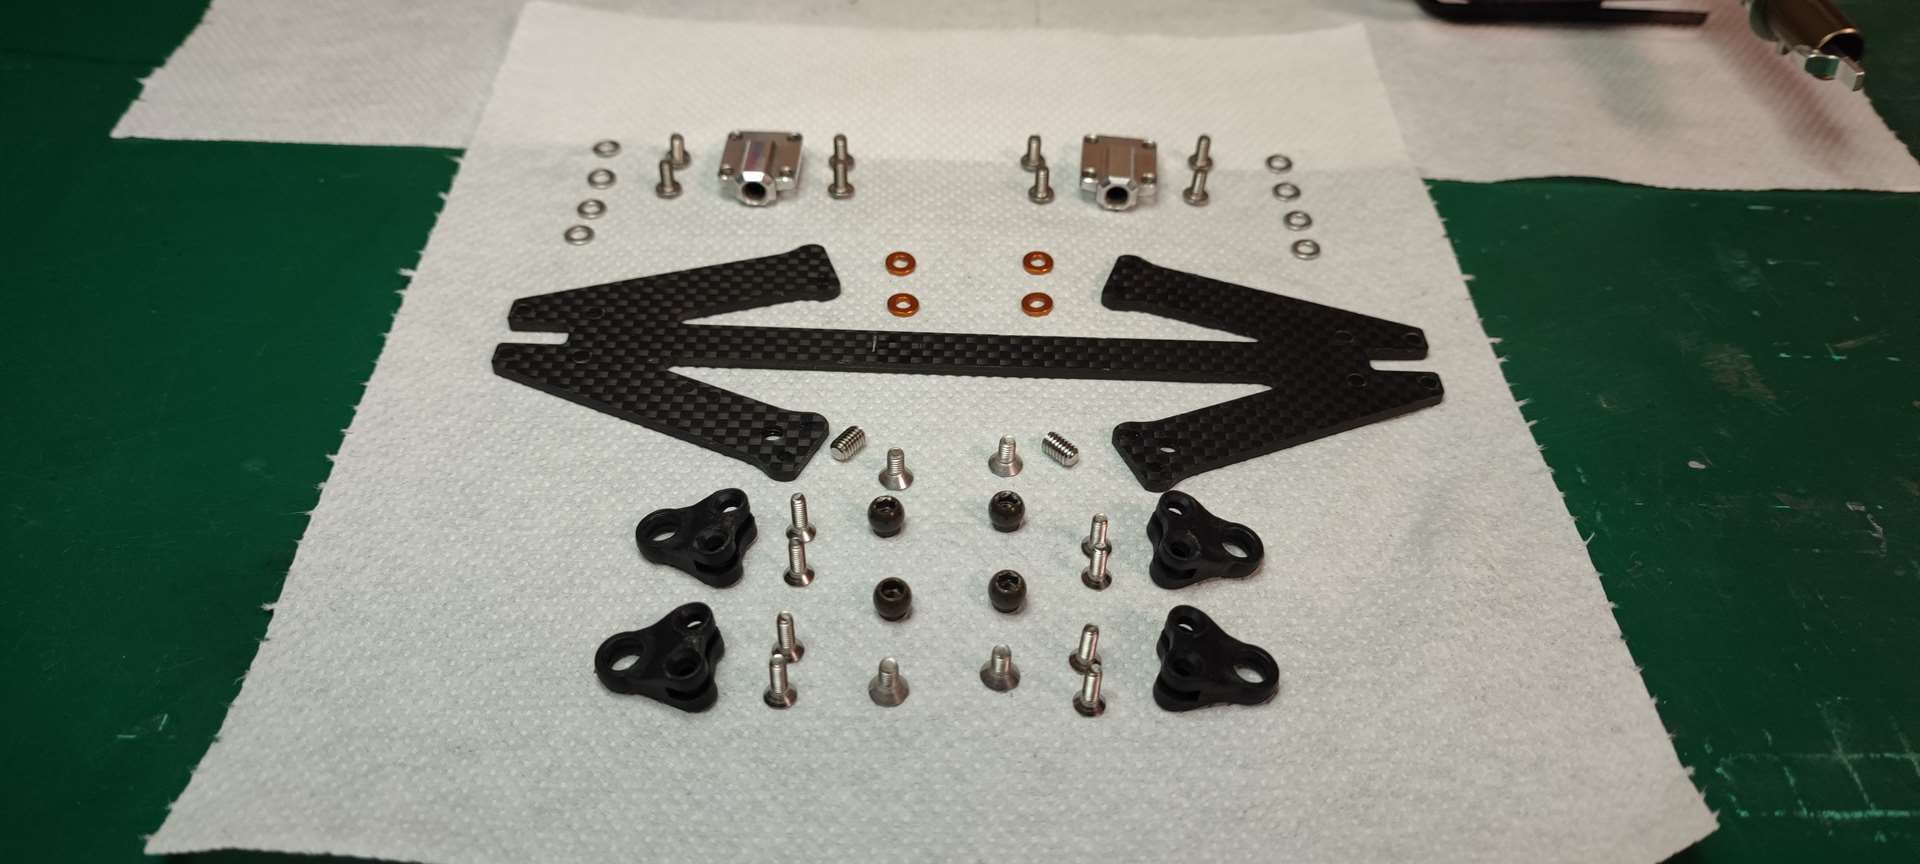
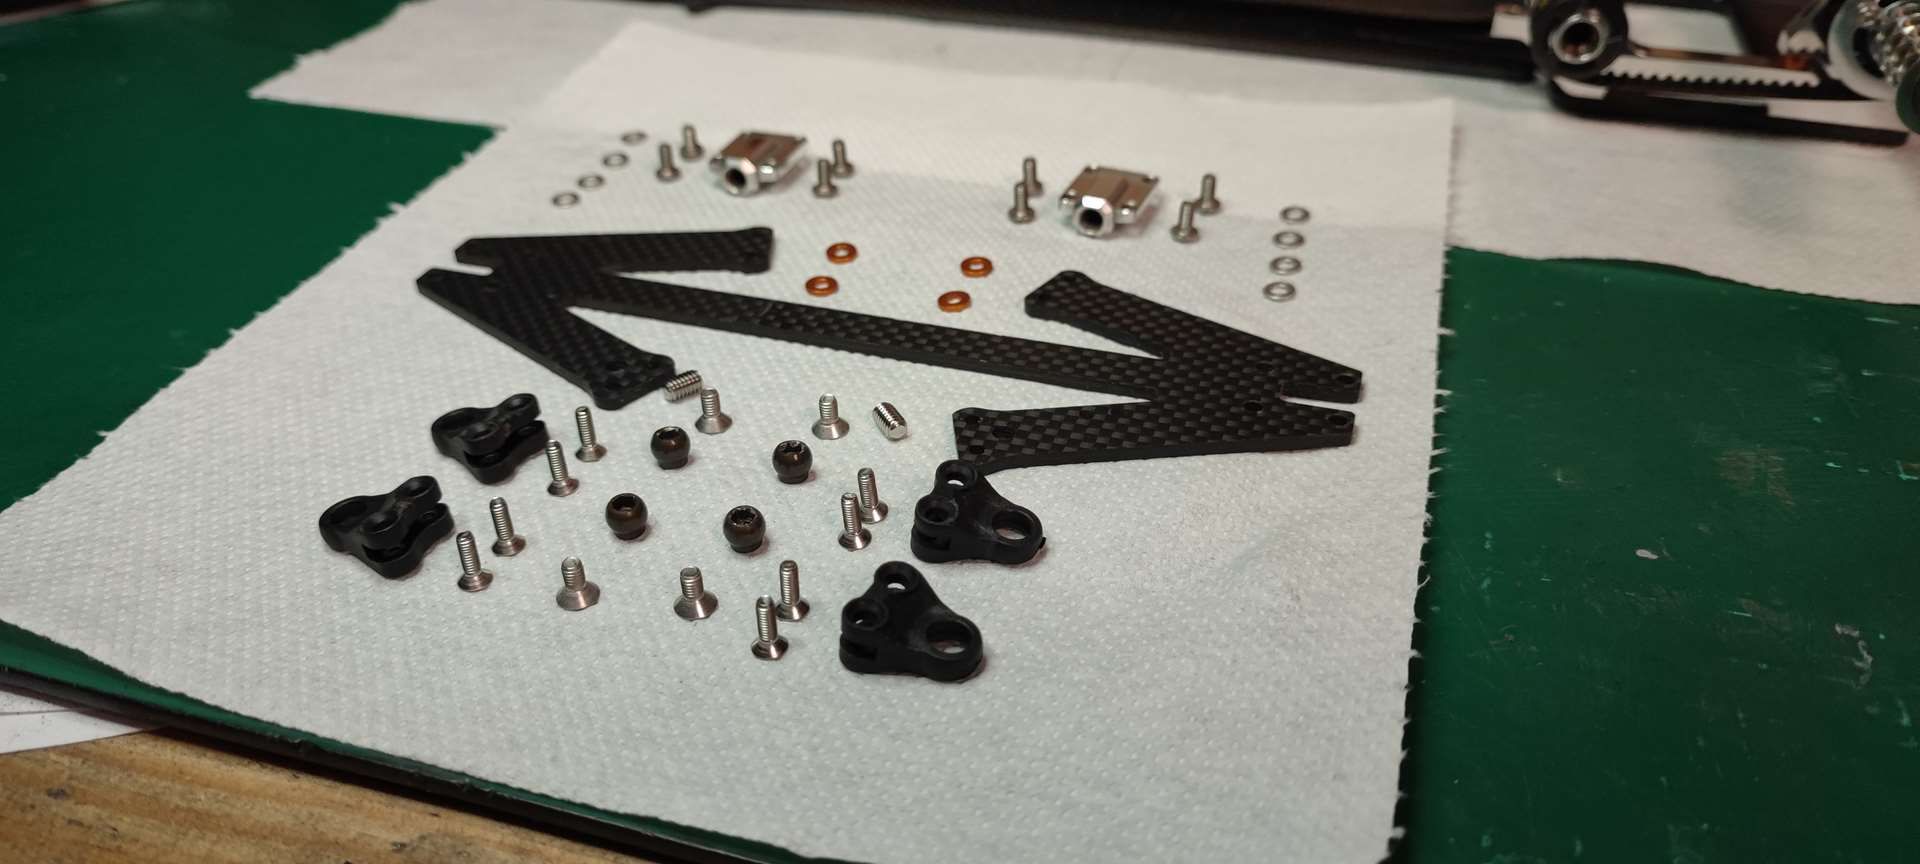
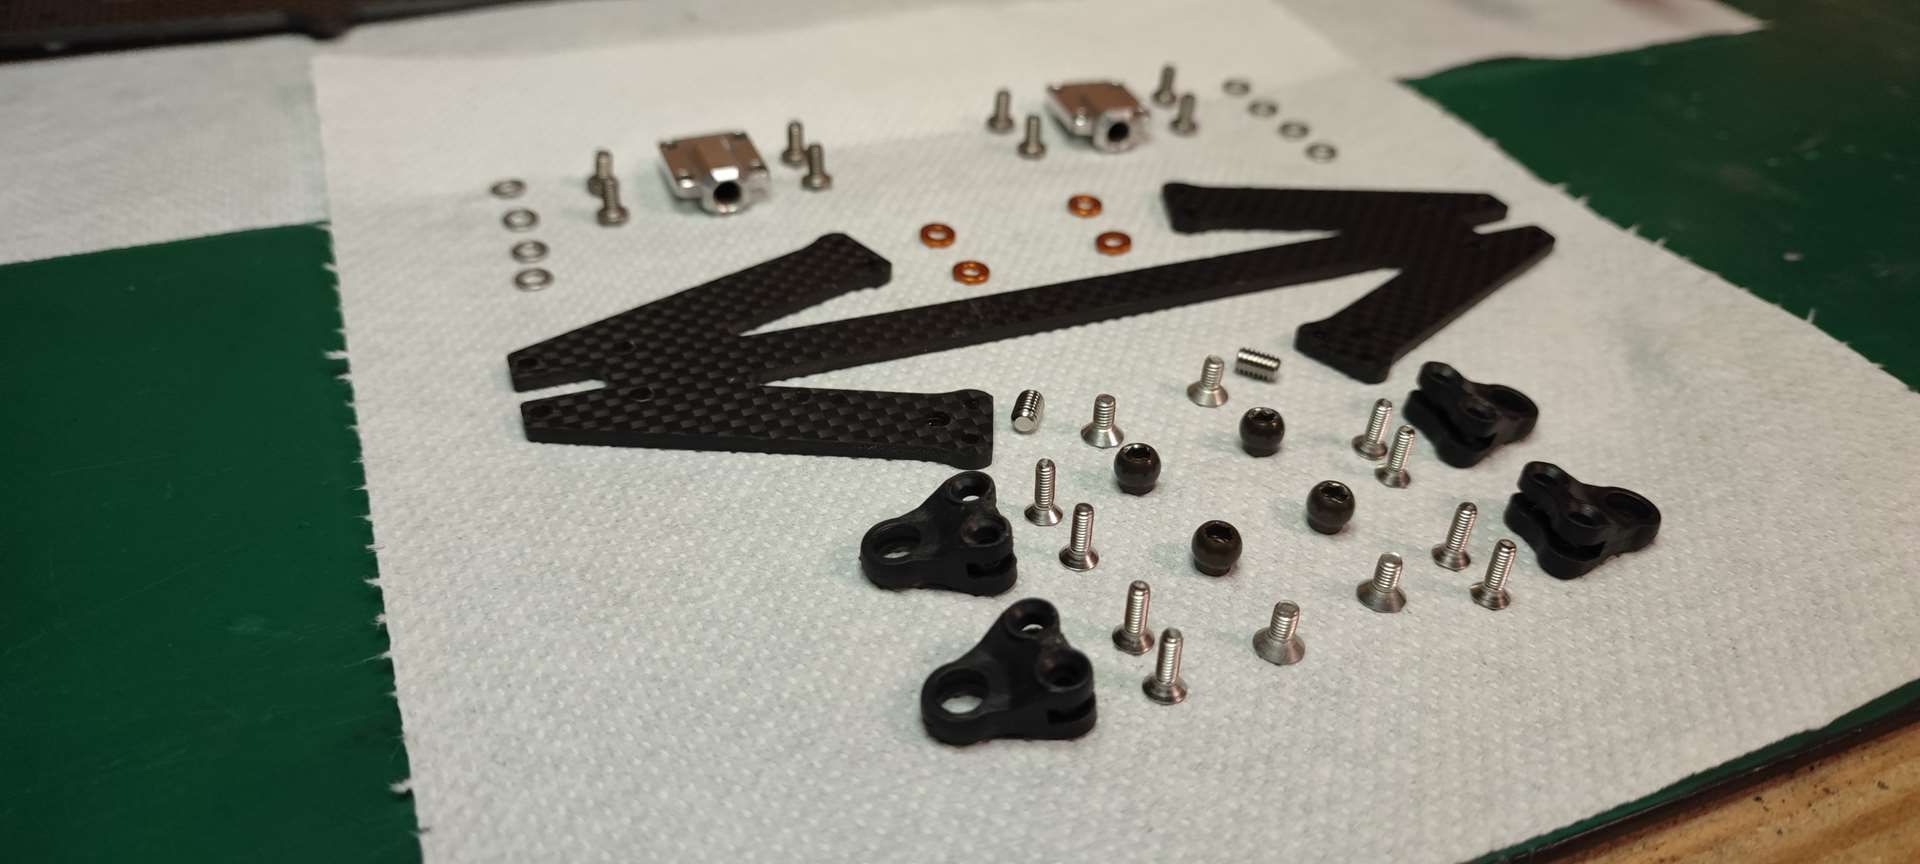
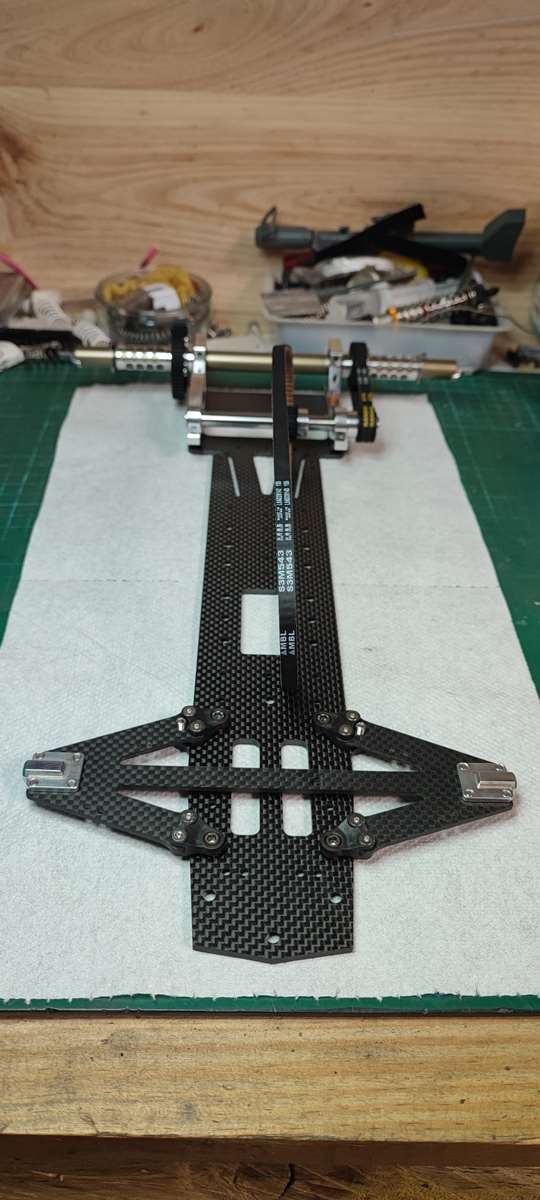
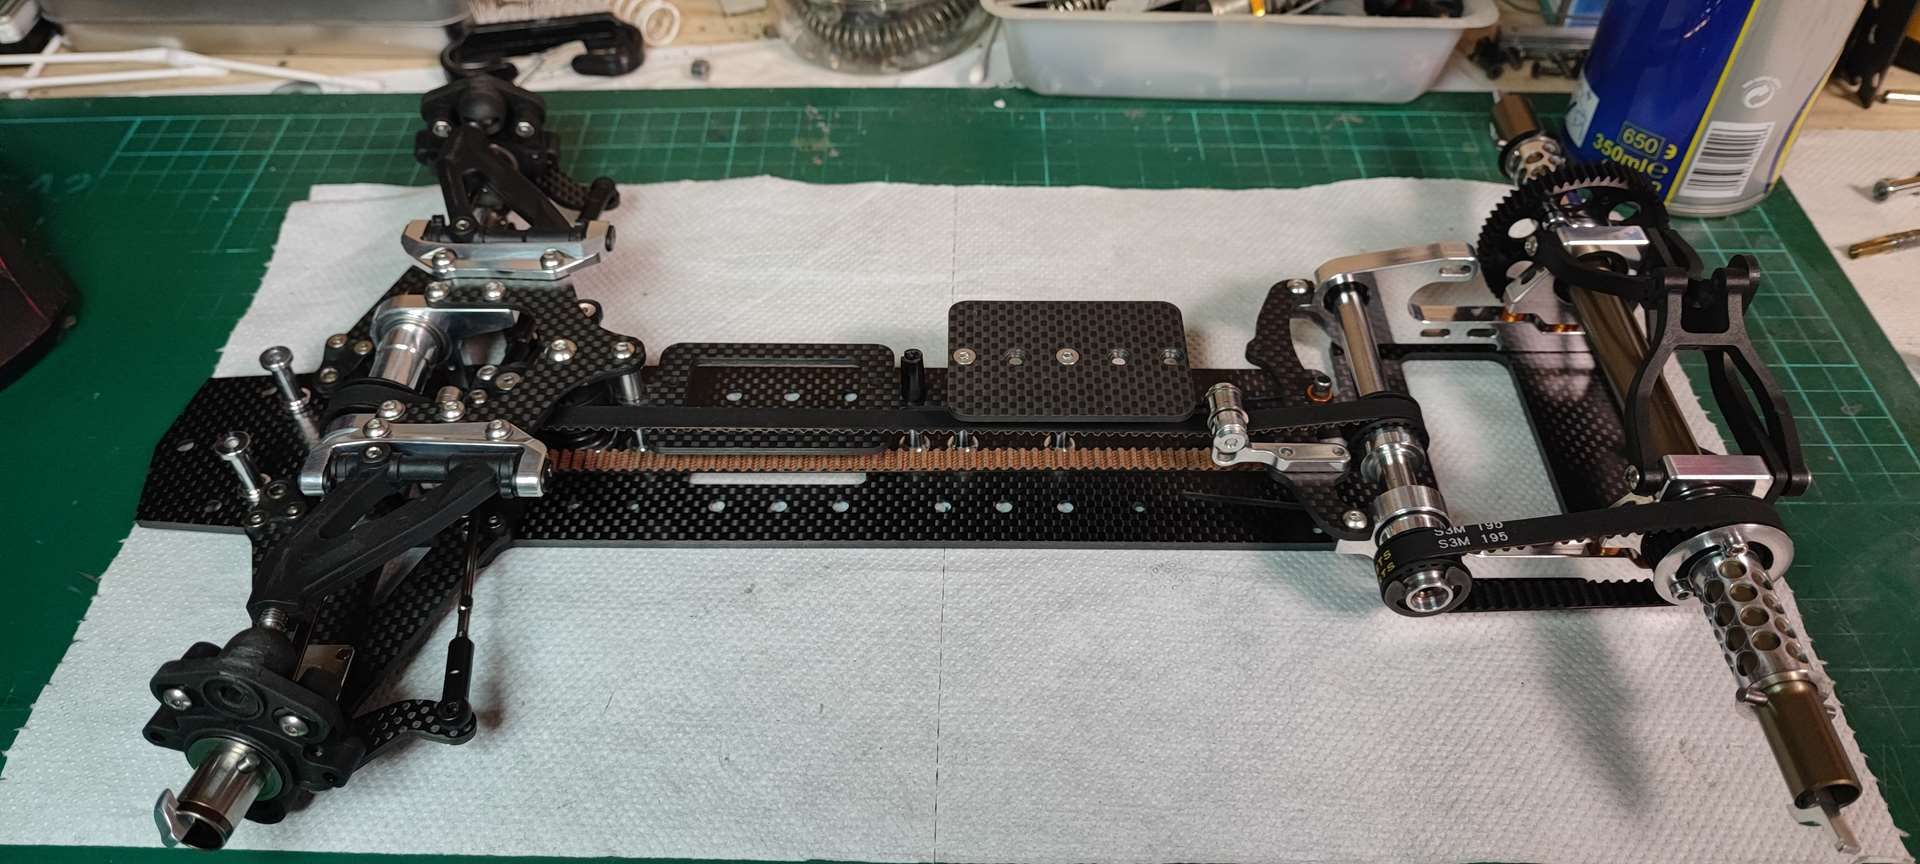
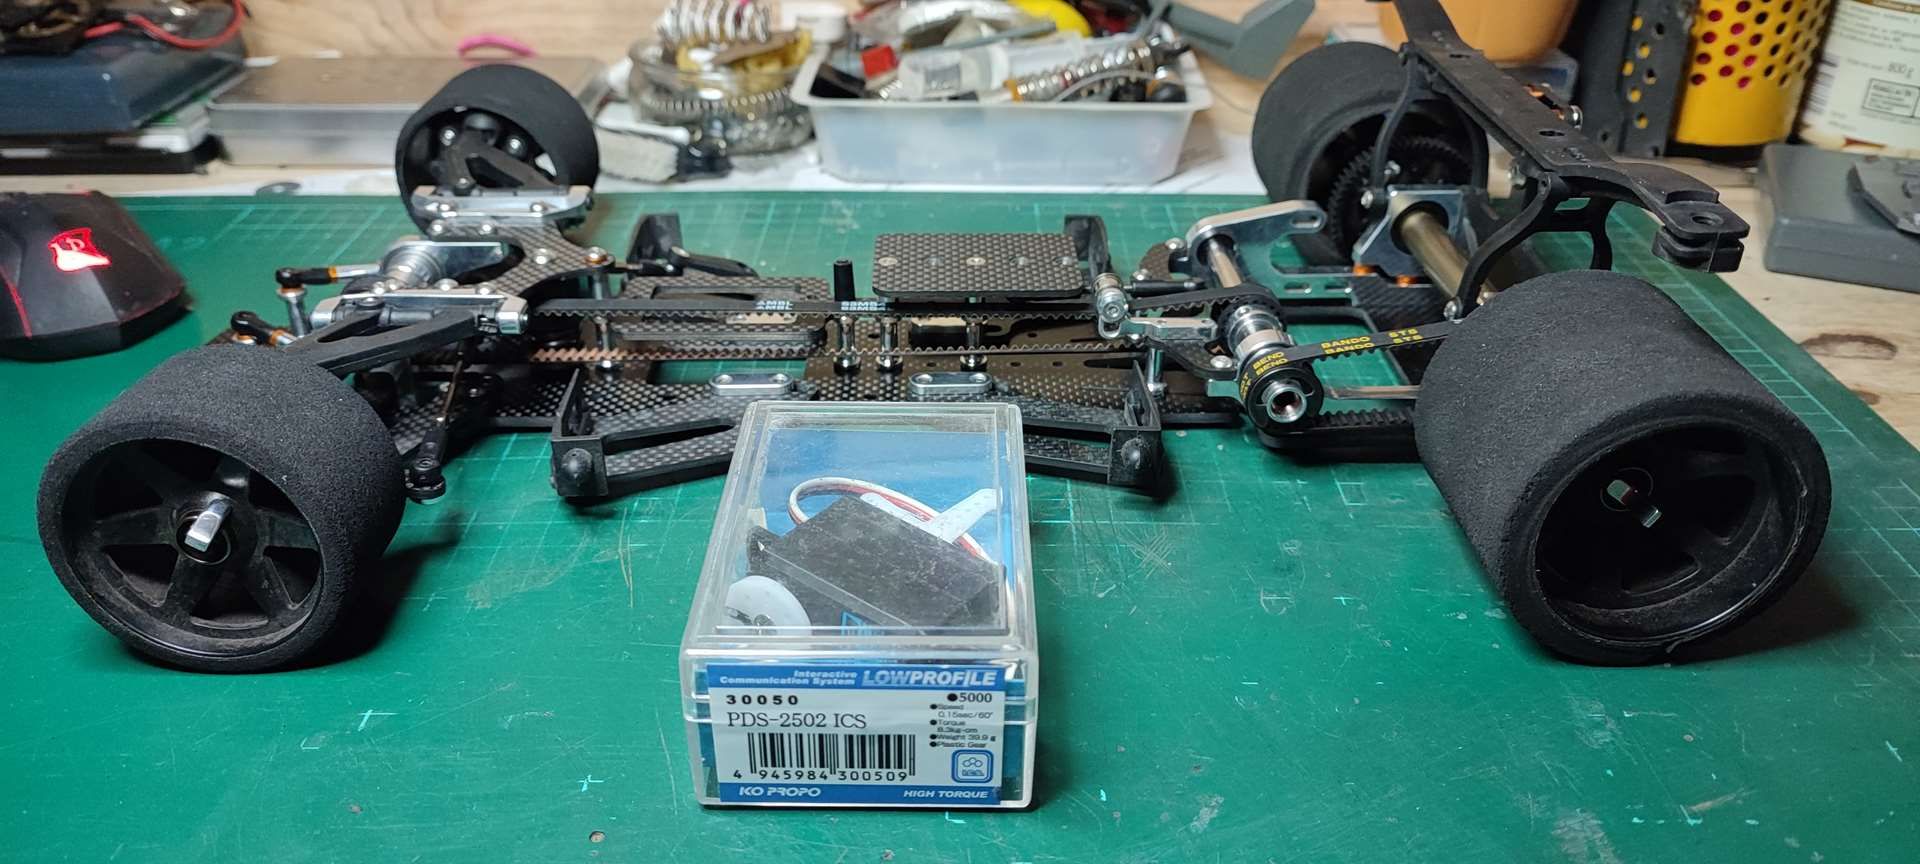
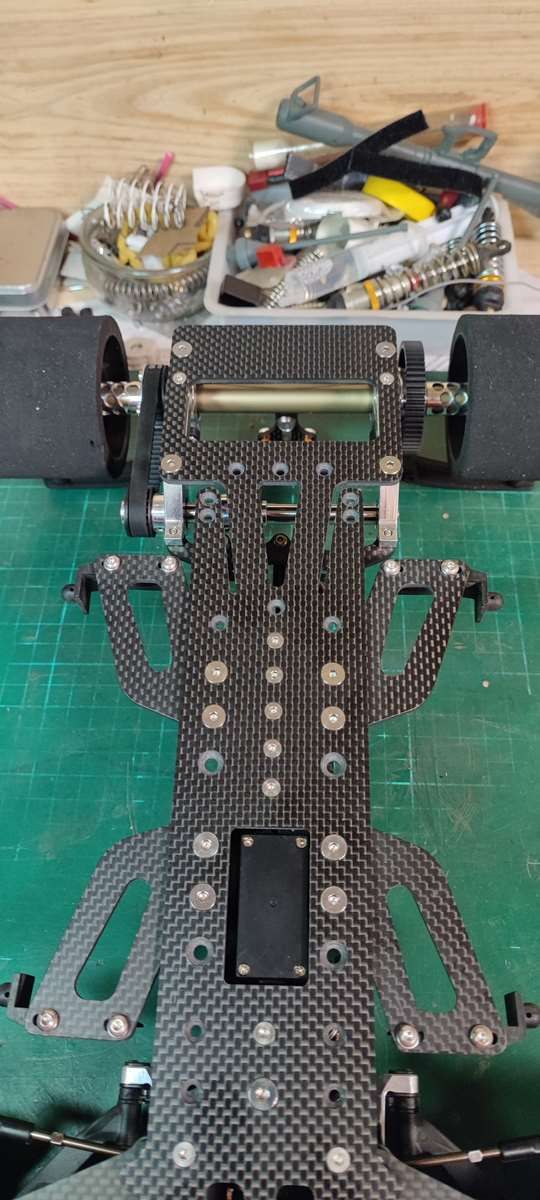
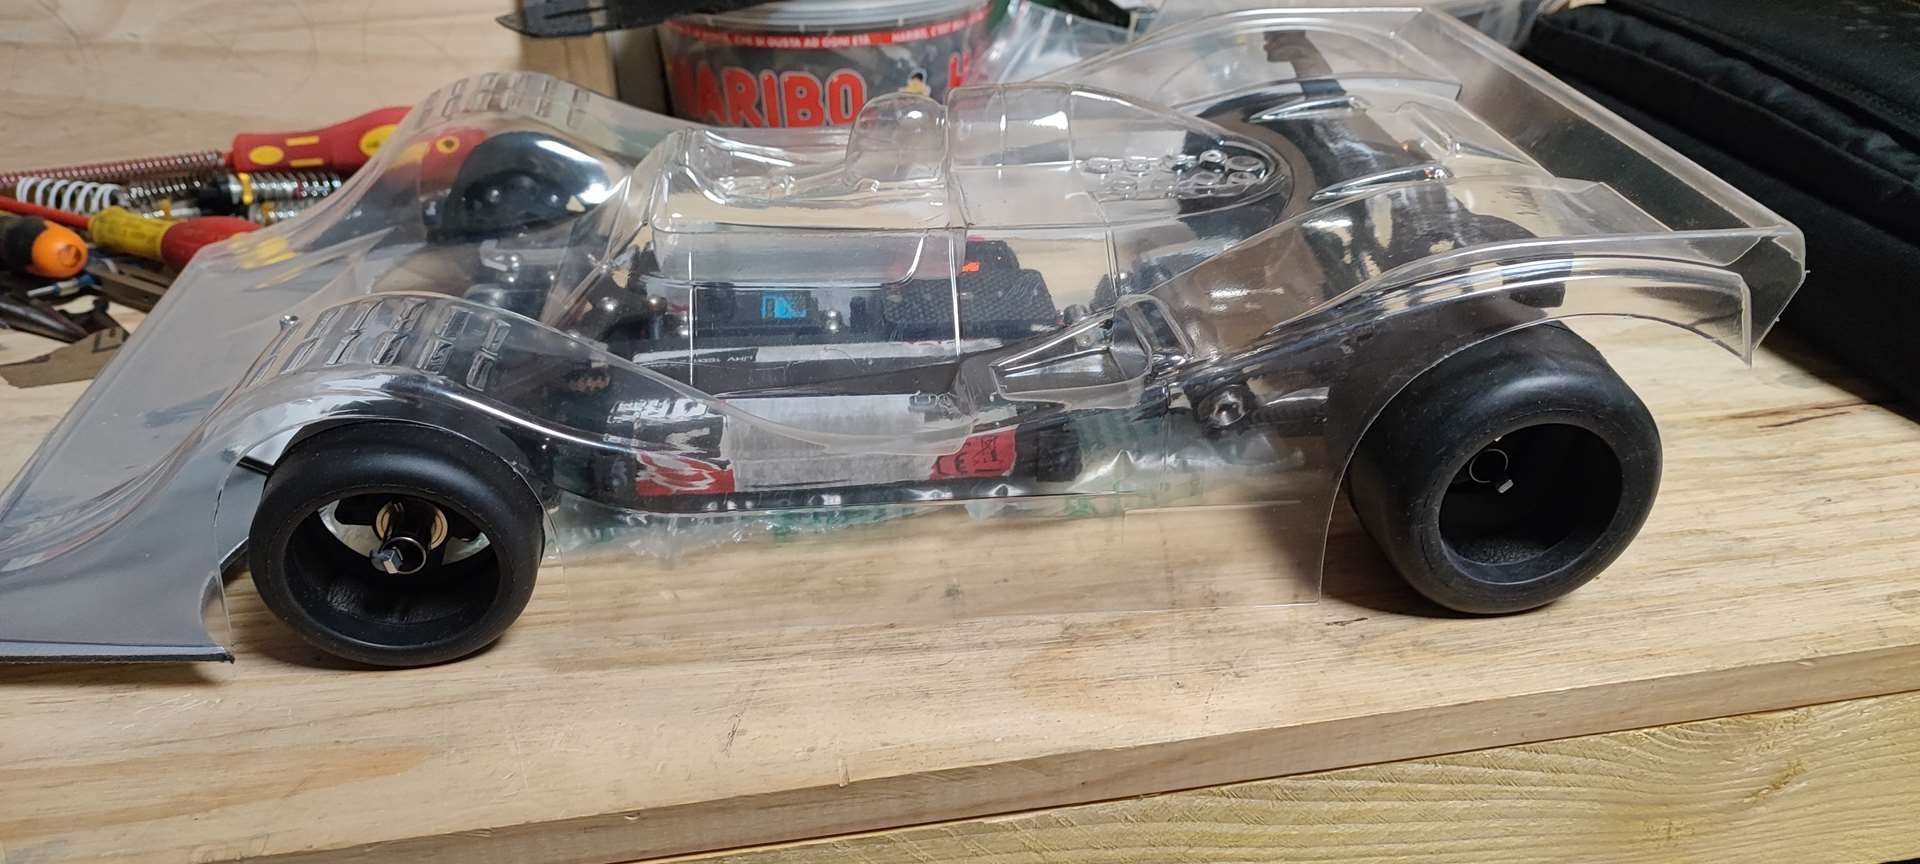
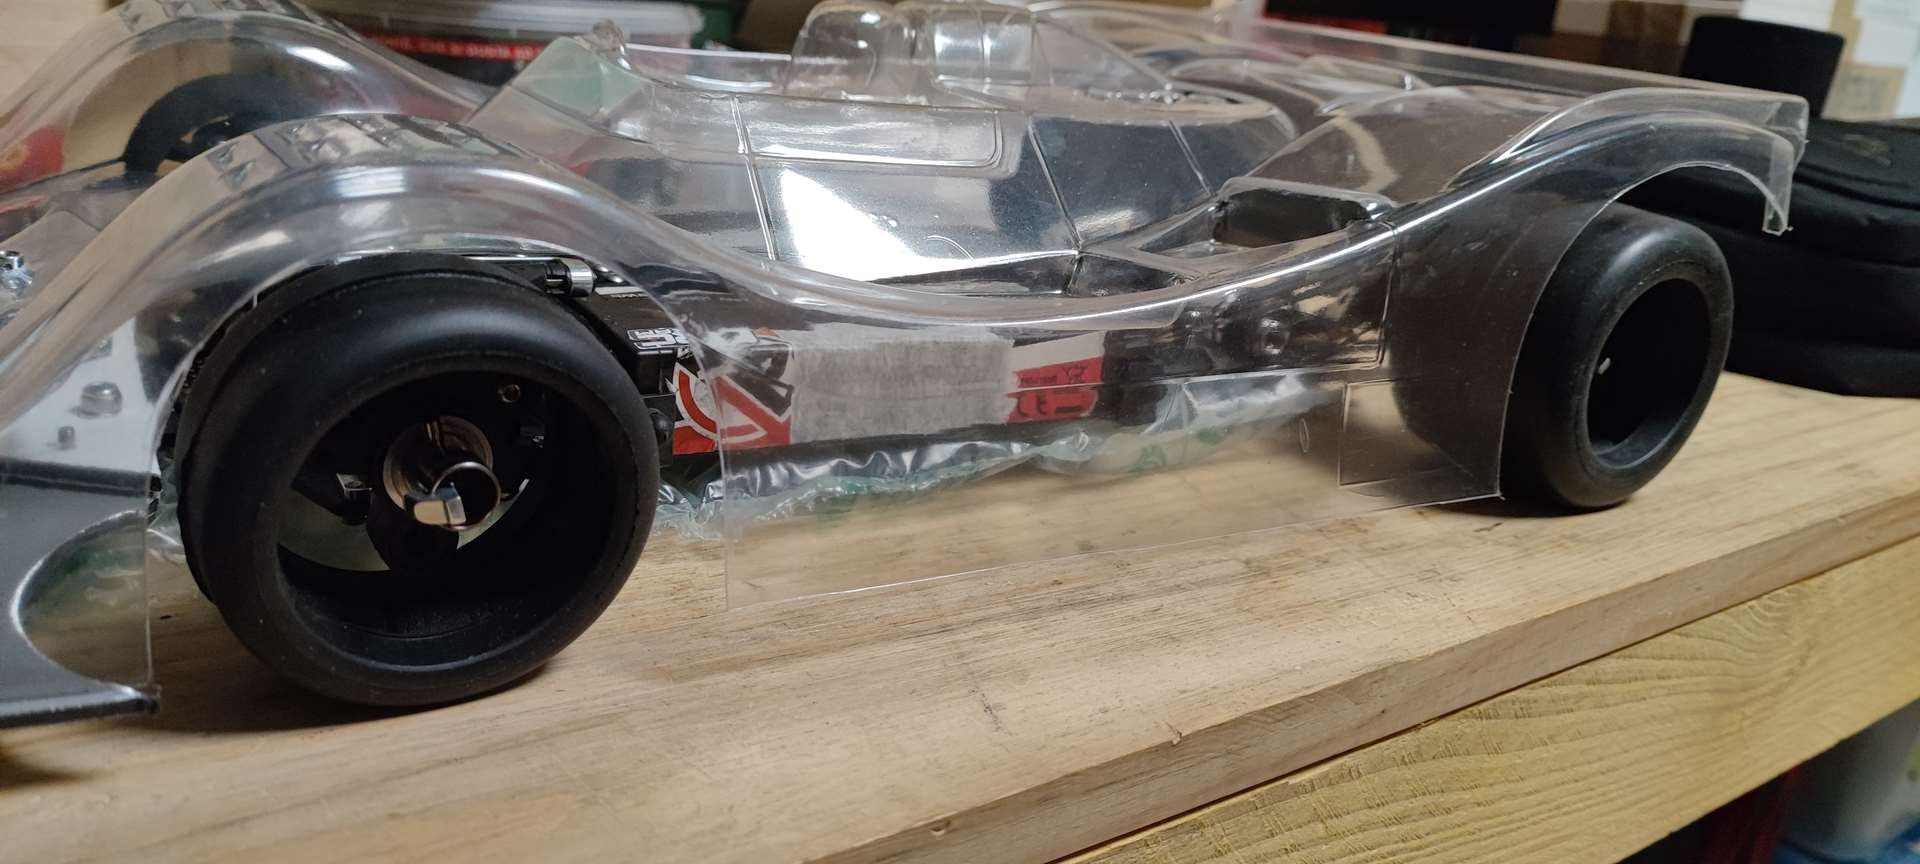
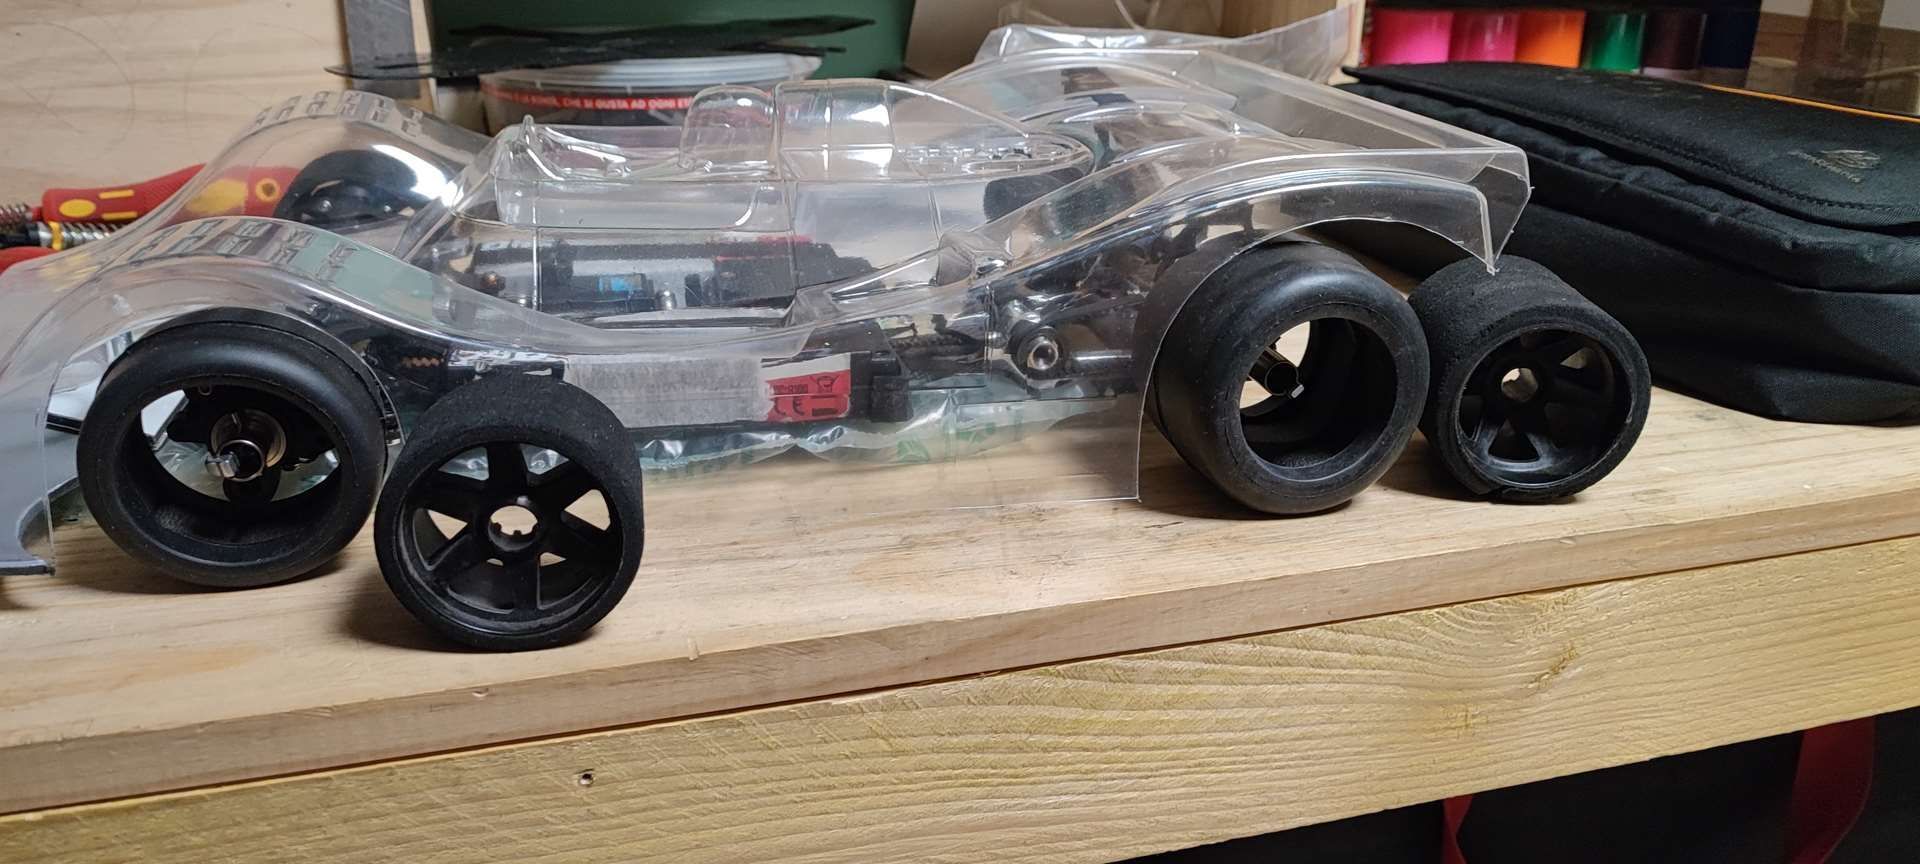
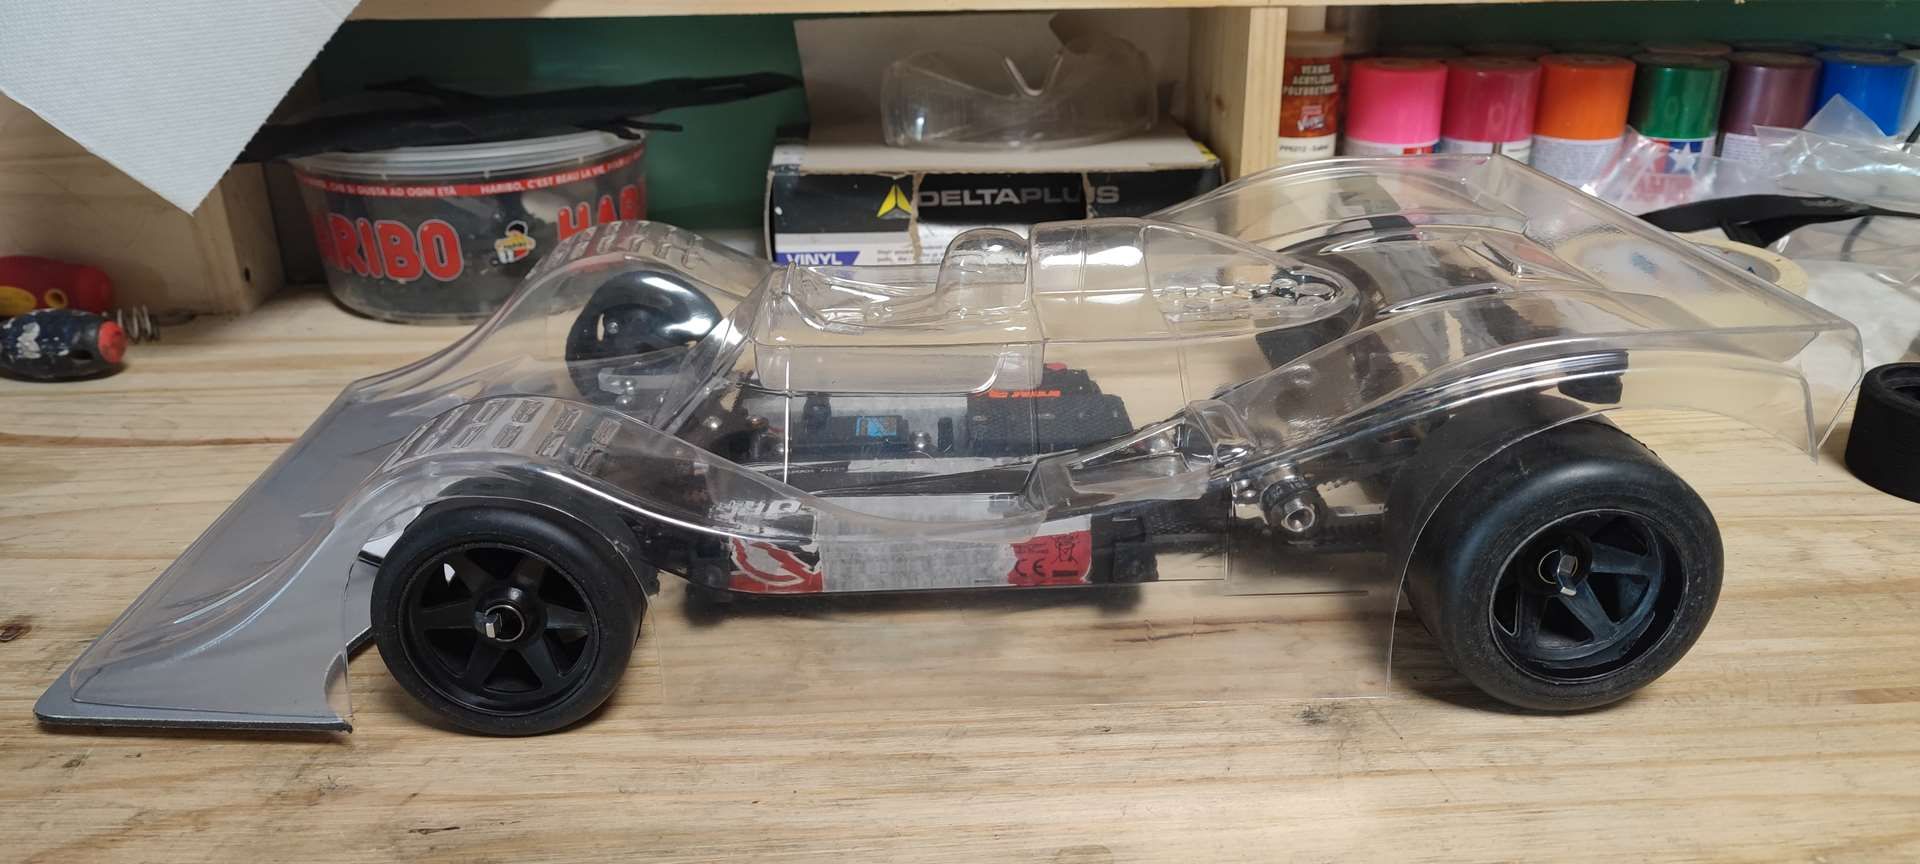
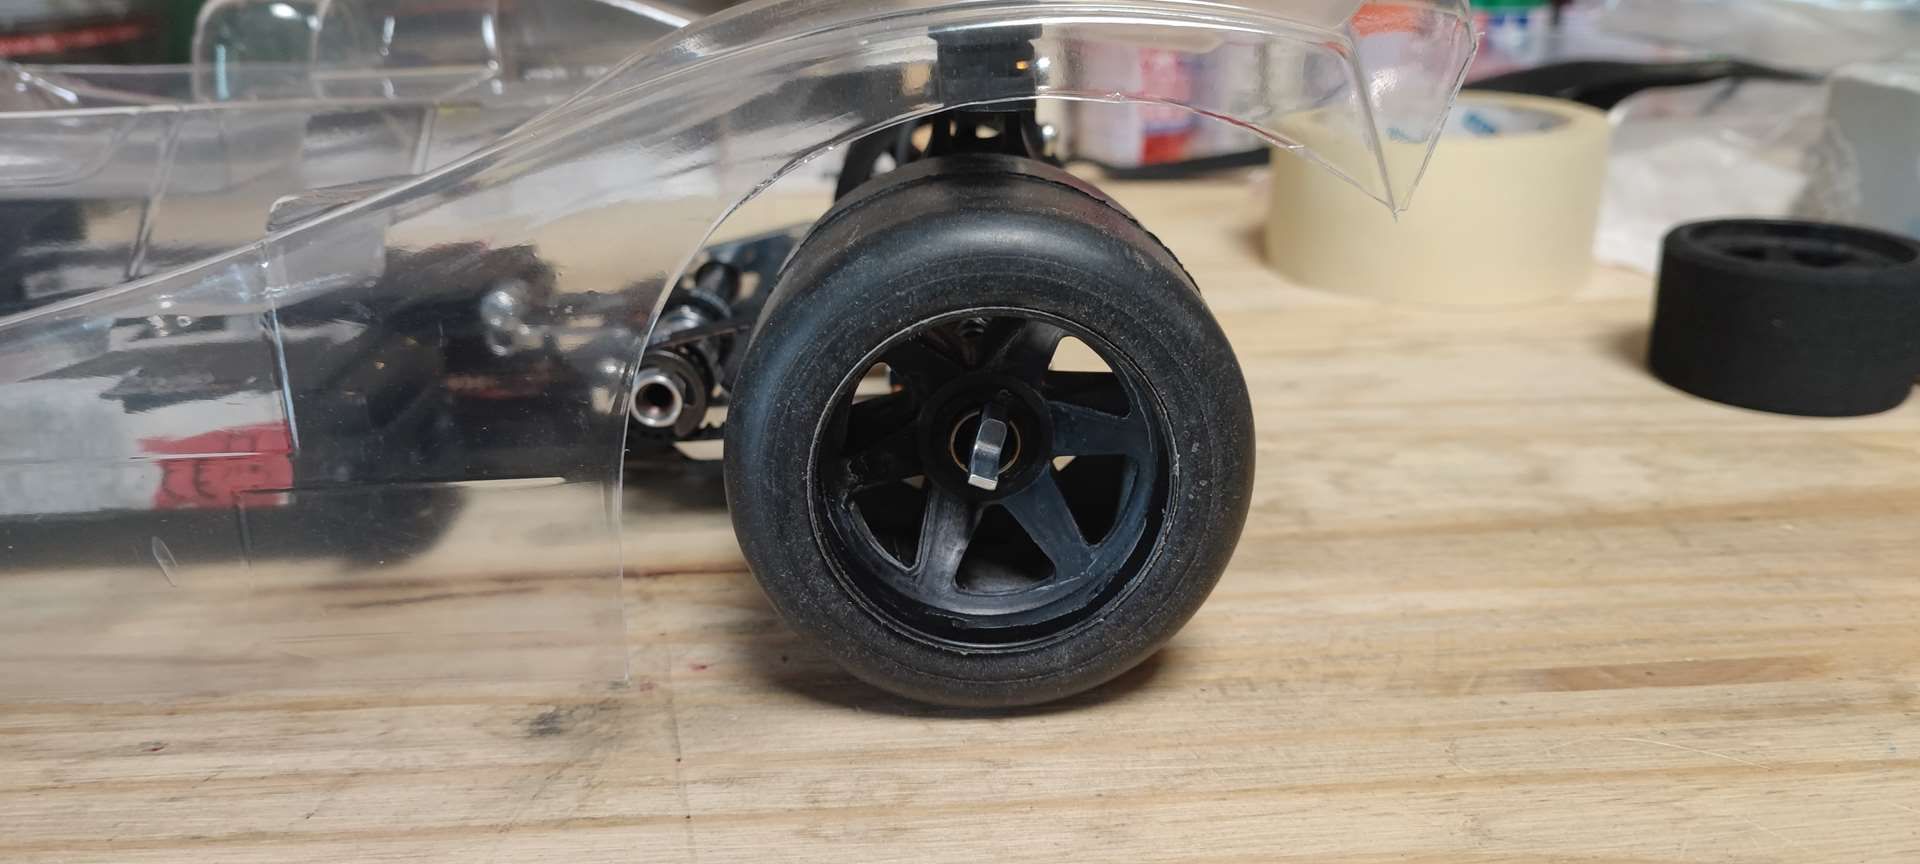
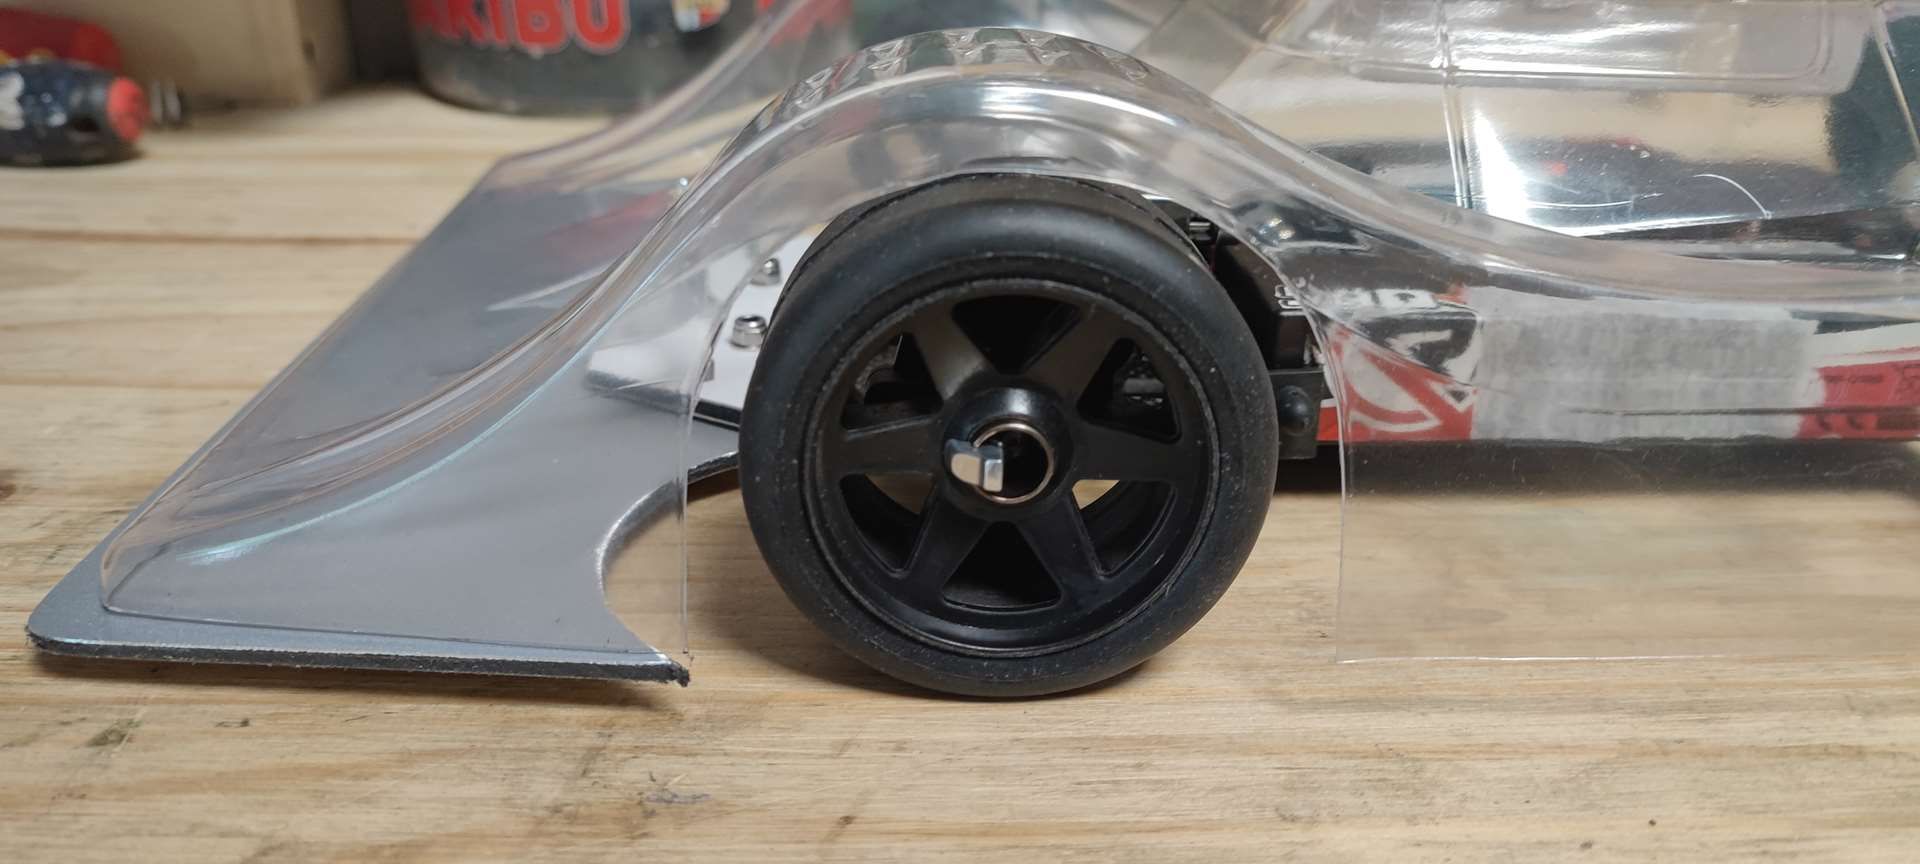
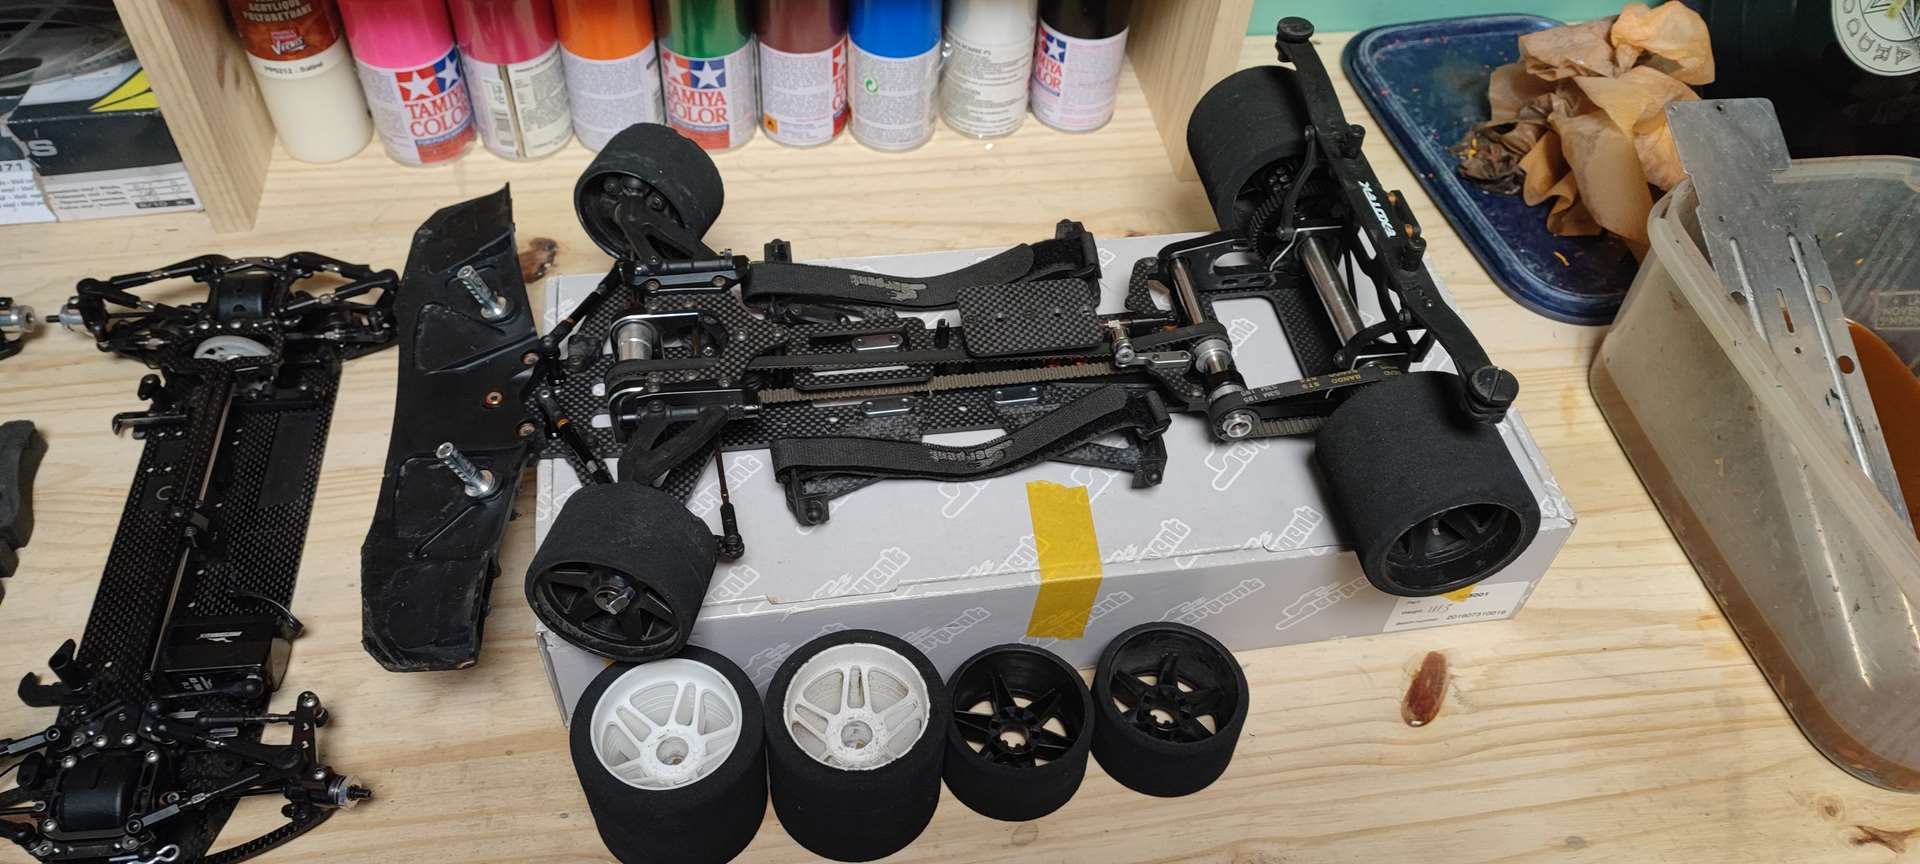
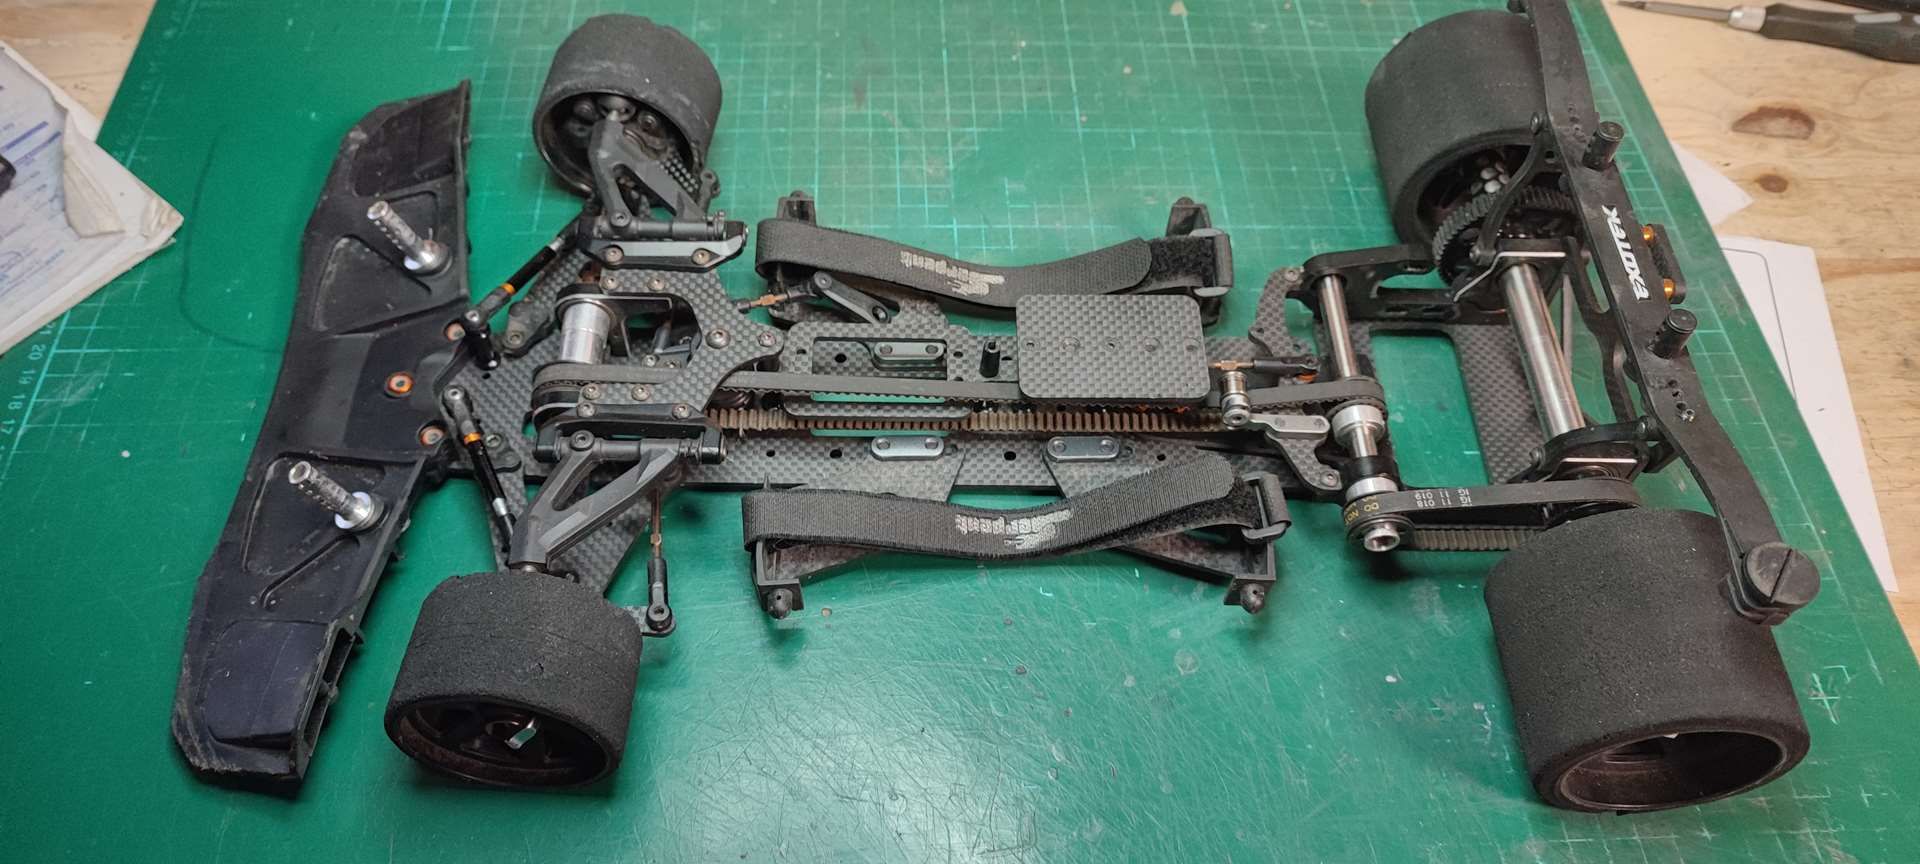
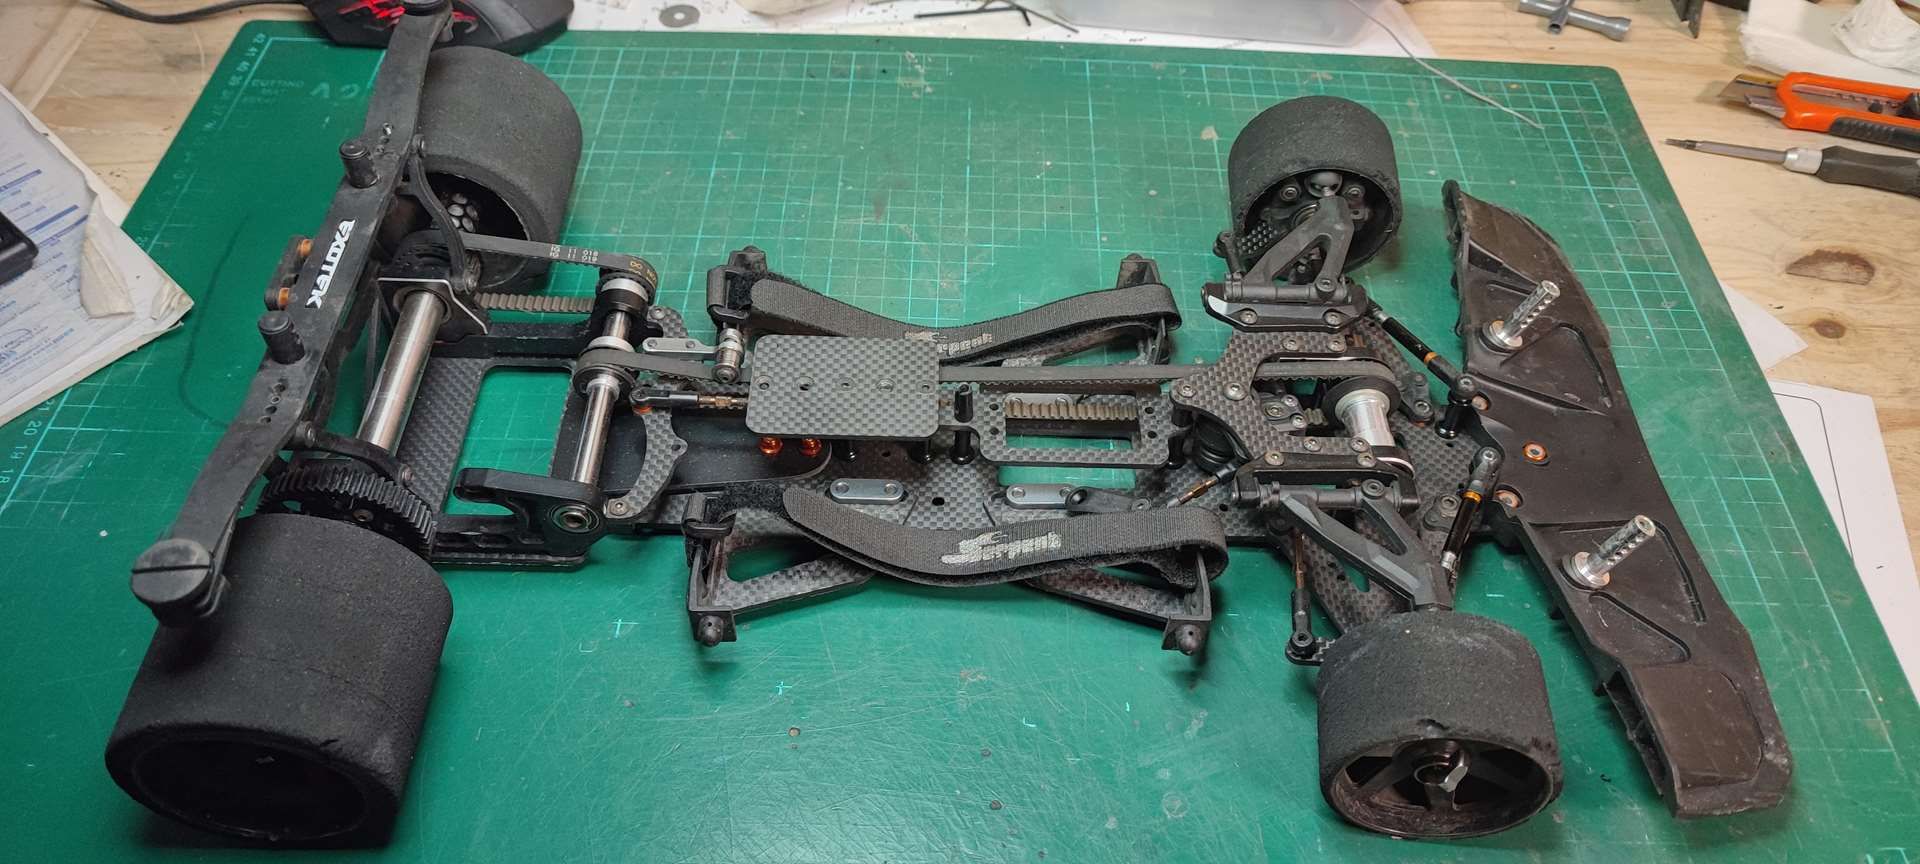
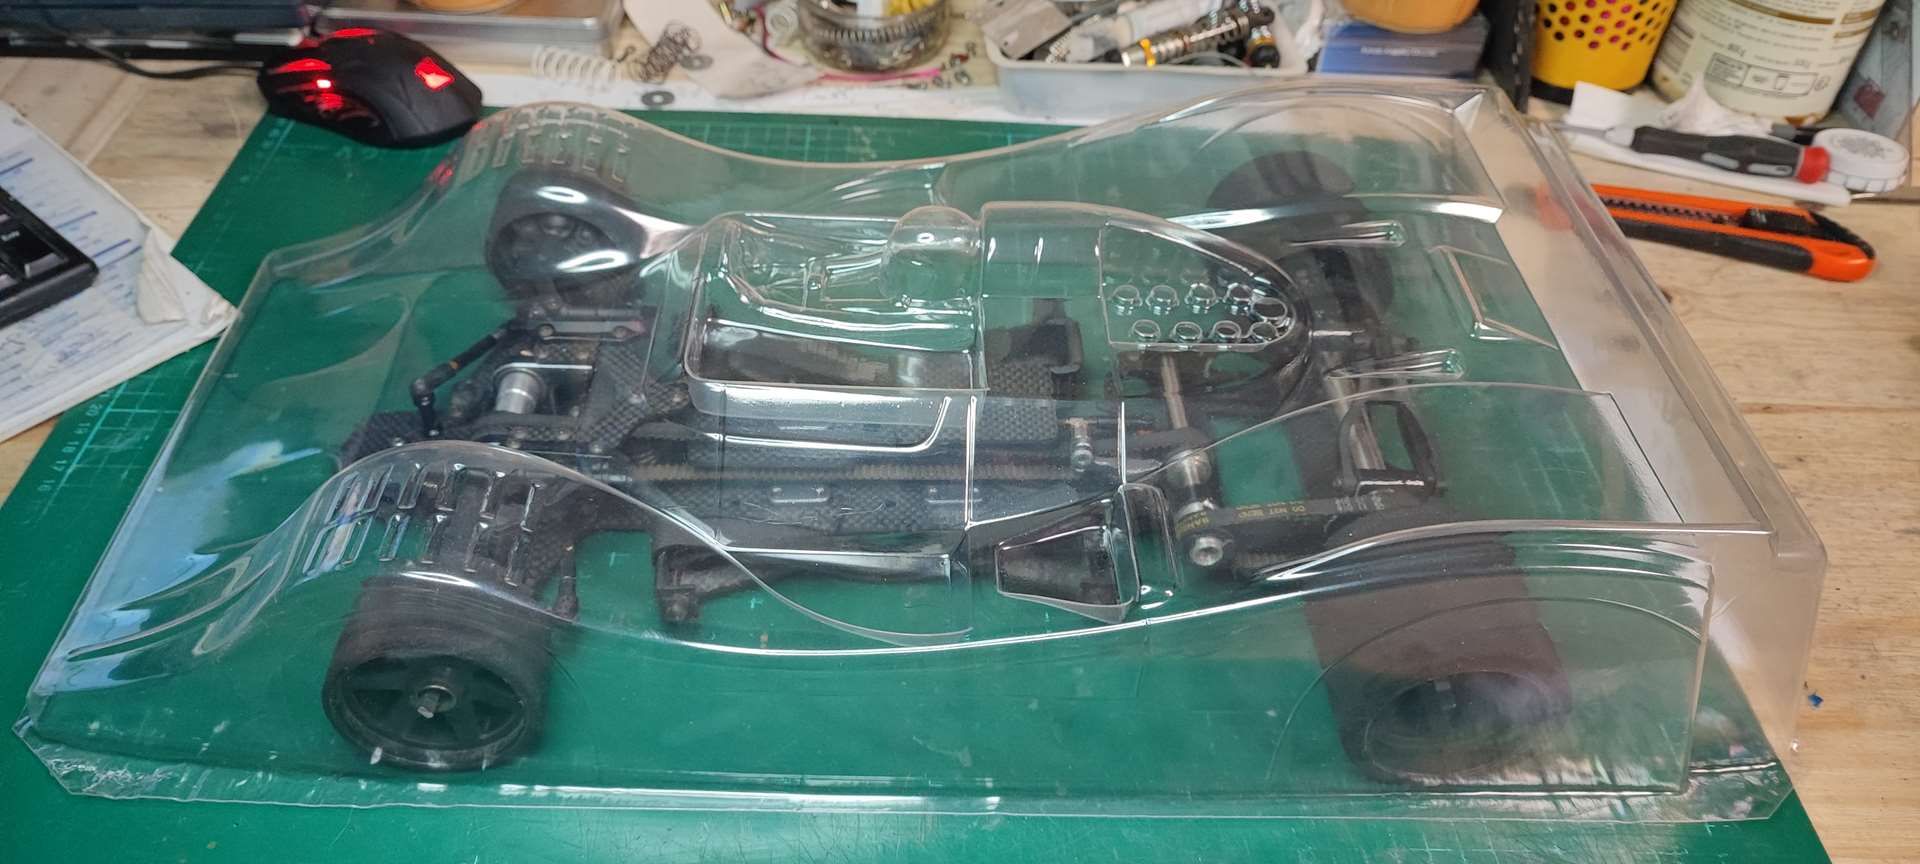
Here it is at his arrival with a batch of spart parts;


Image
Image
Image
Image
Image
Image
Image


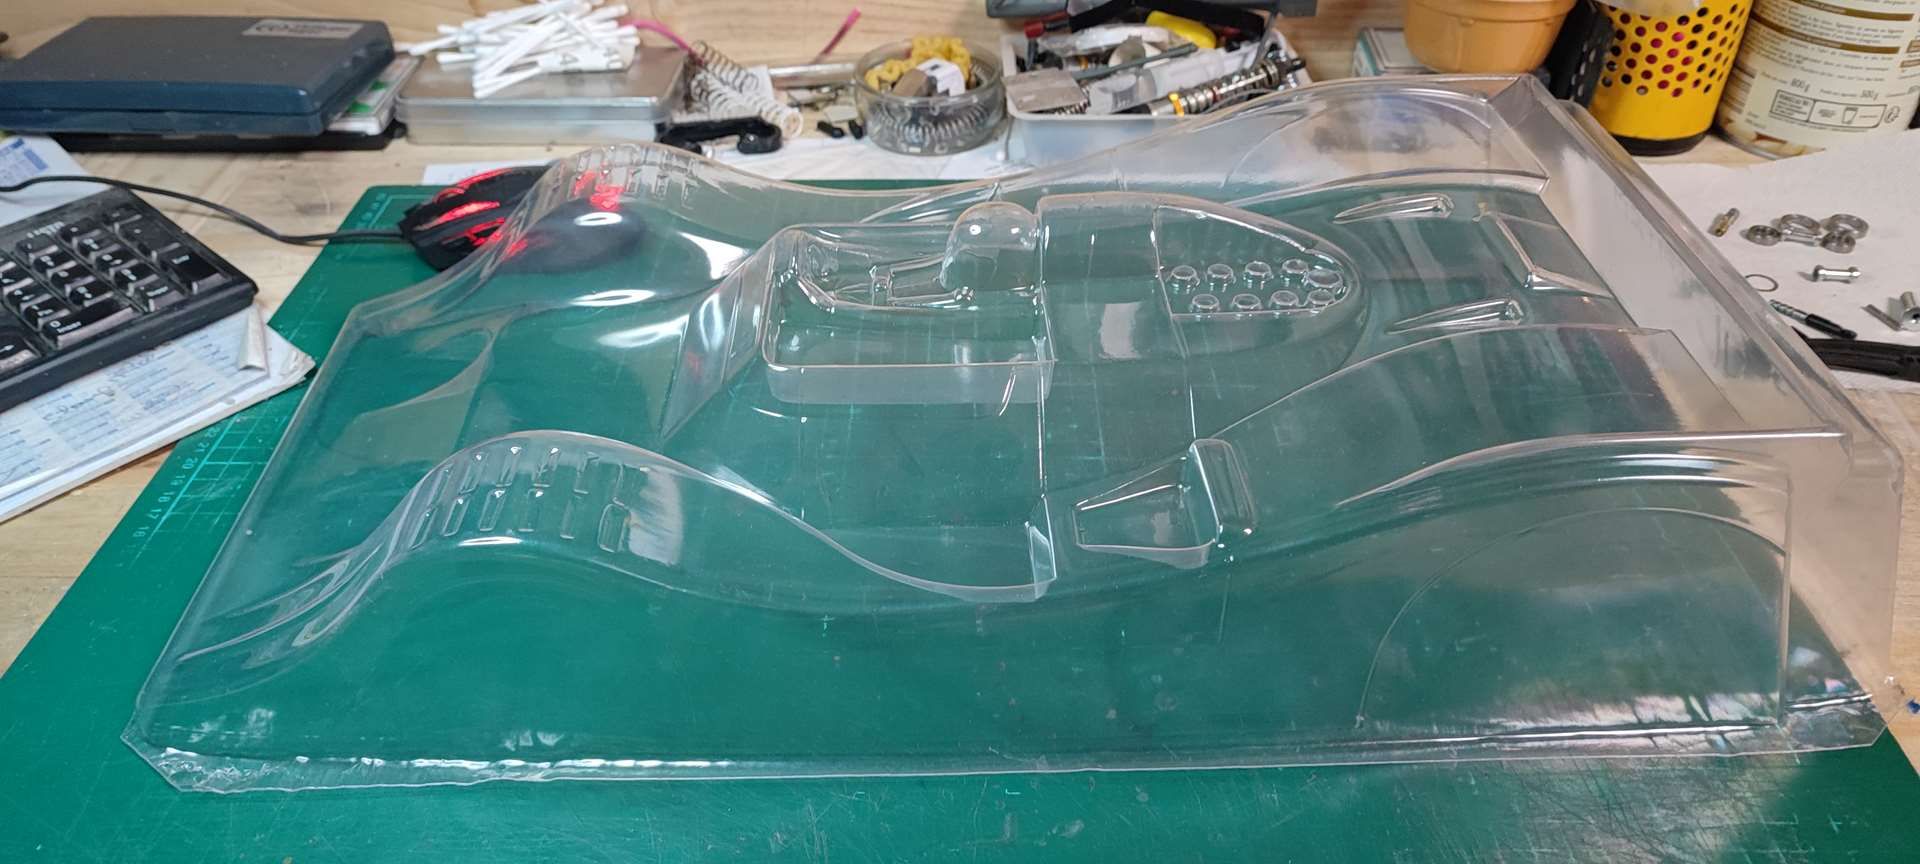
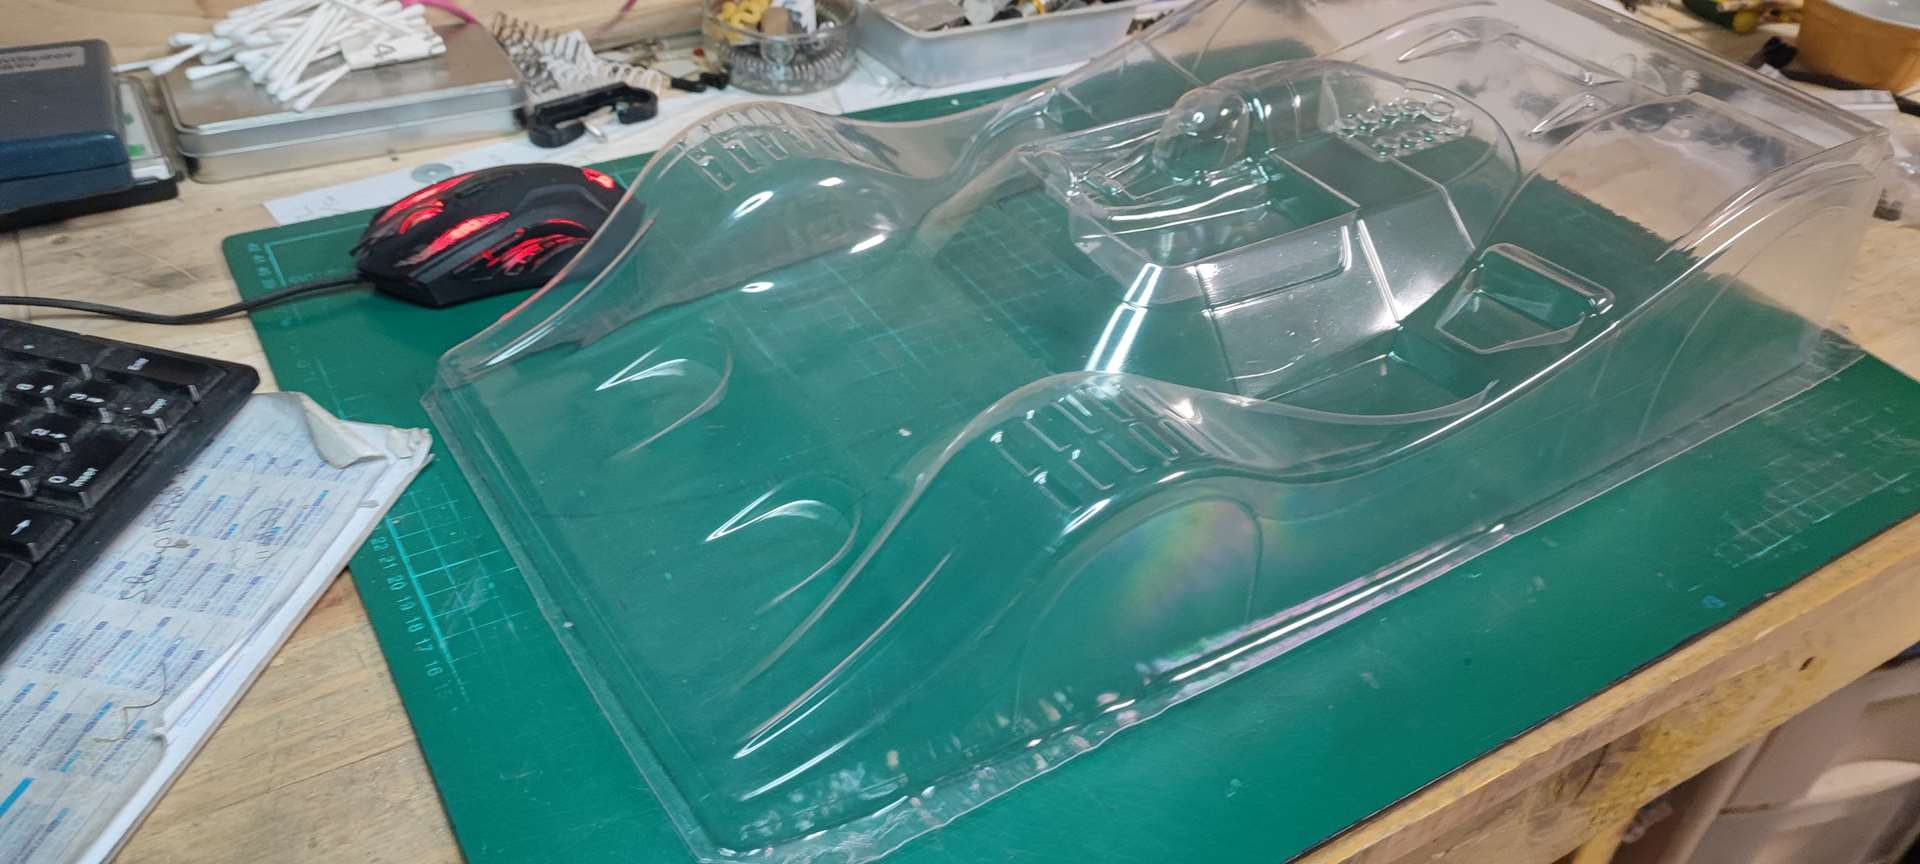
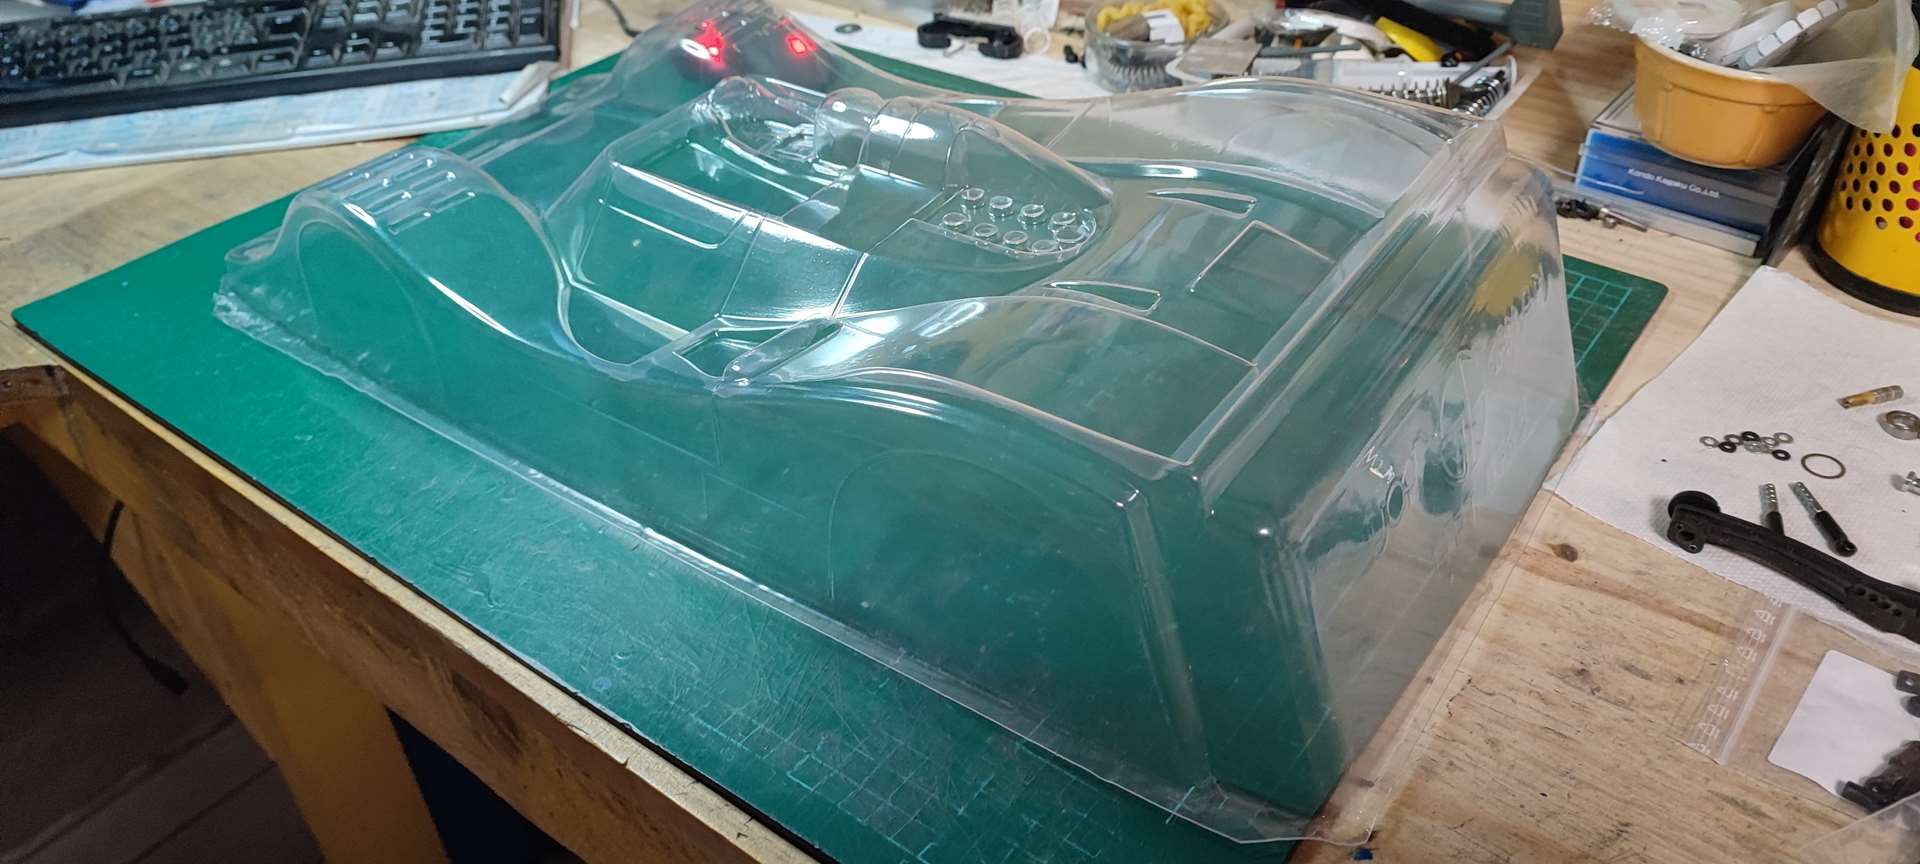
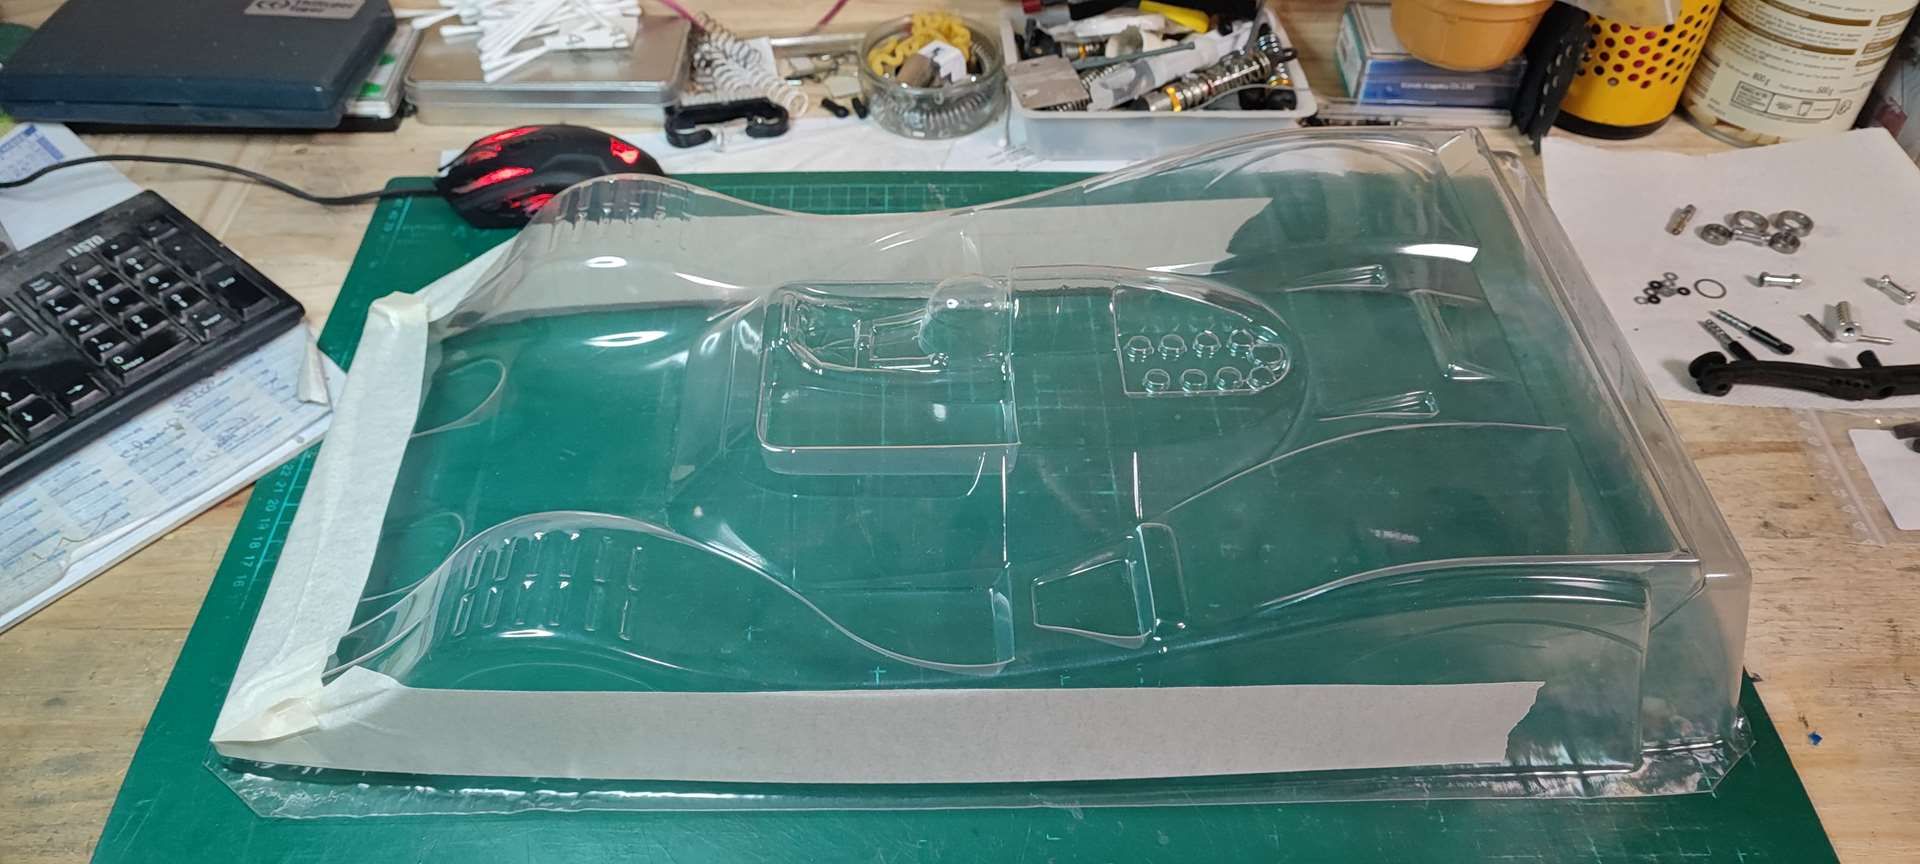
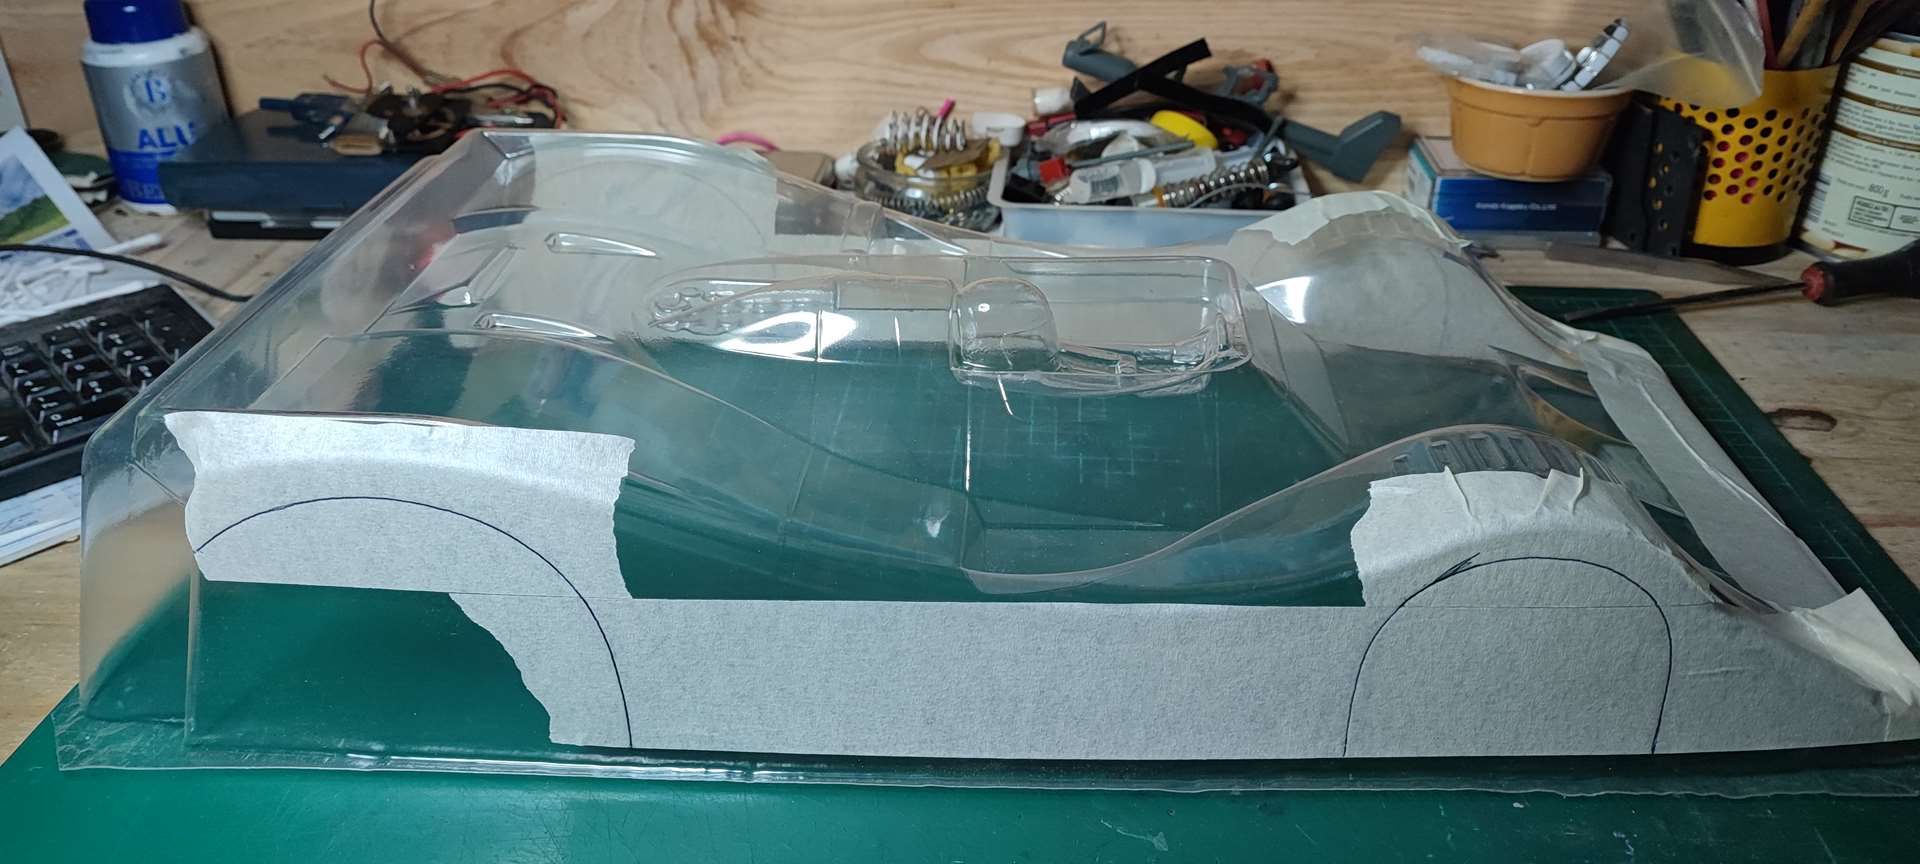
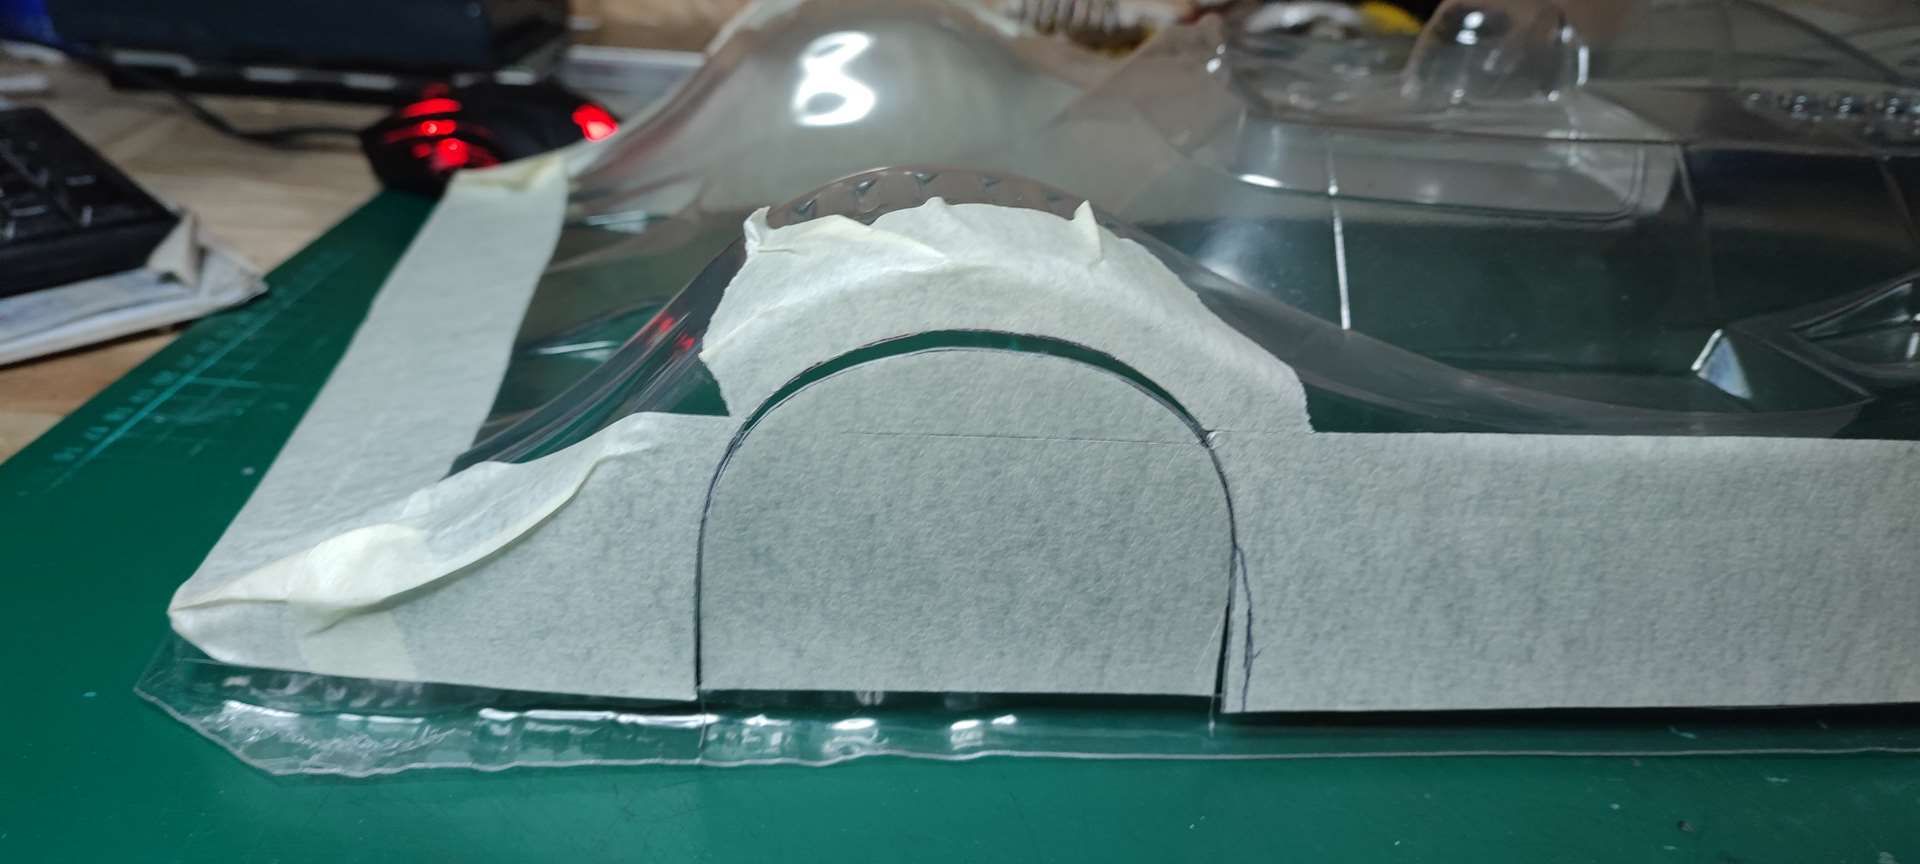
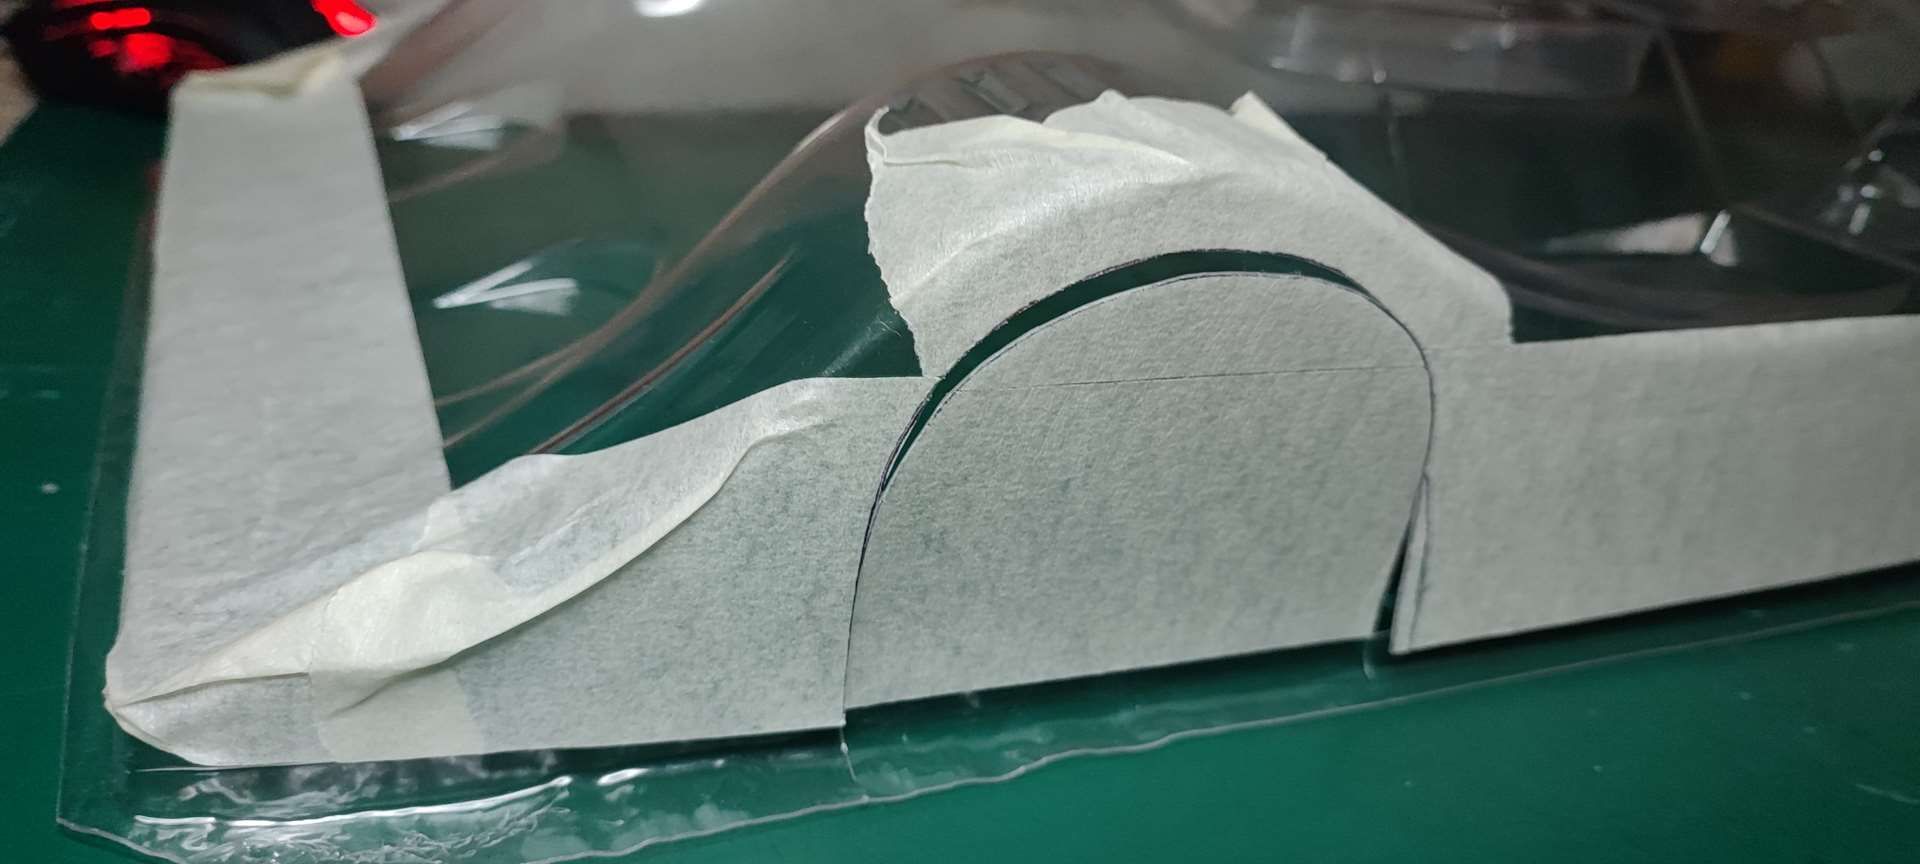
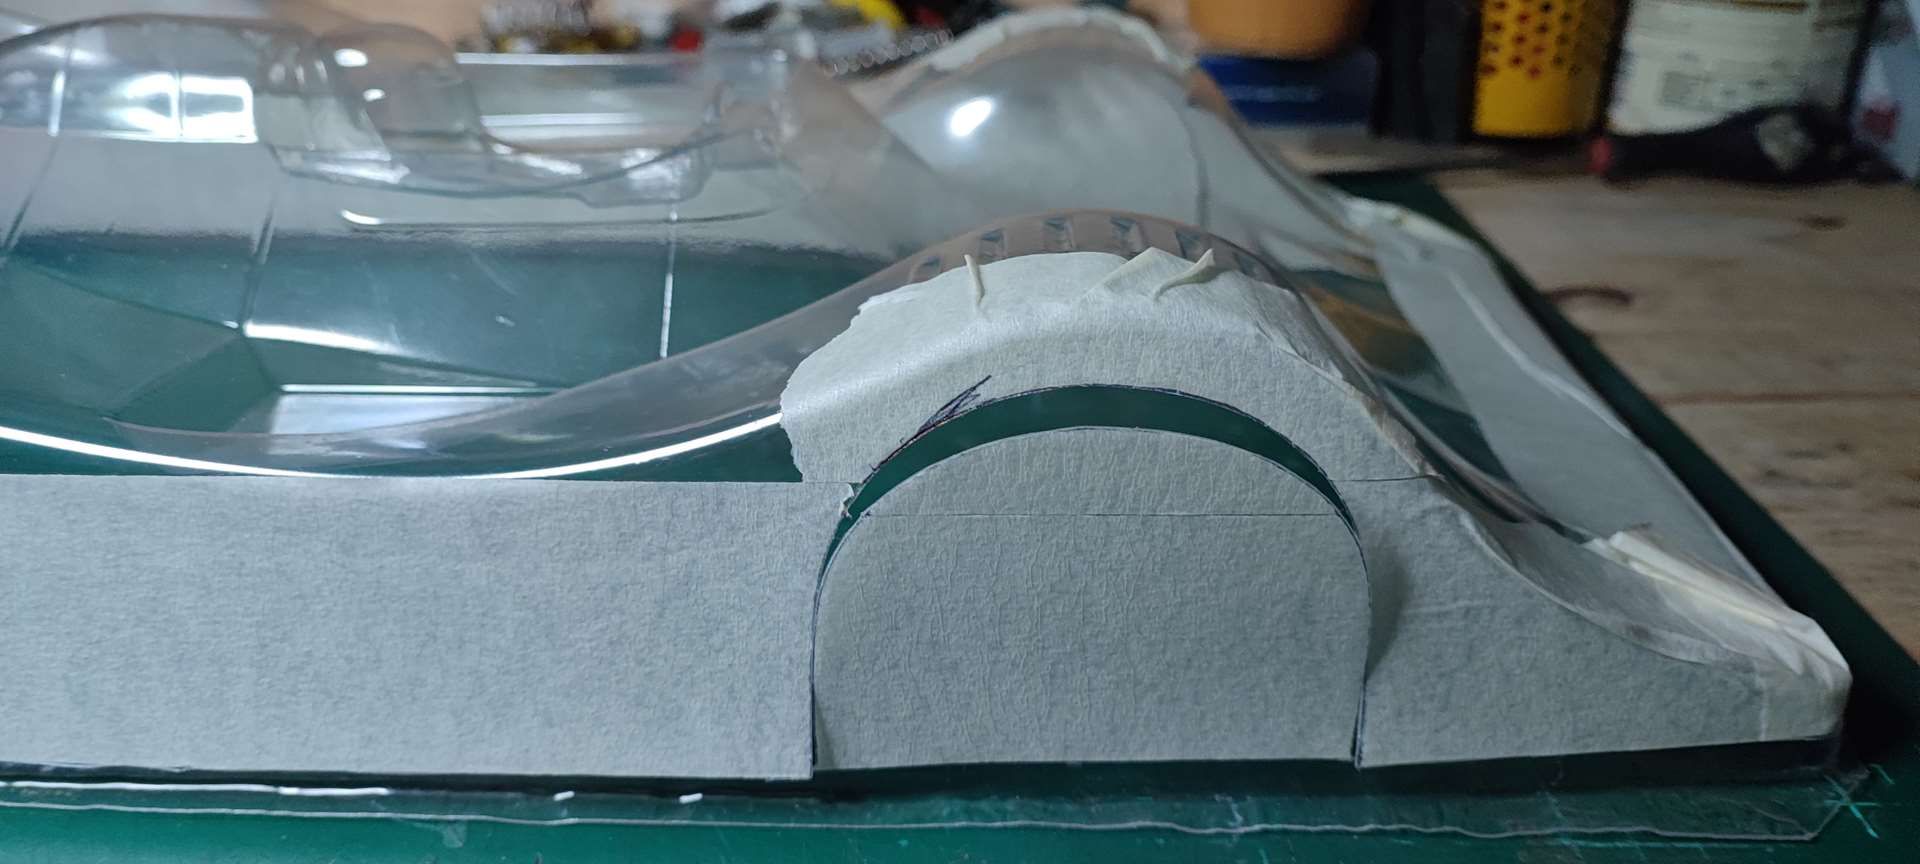
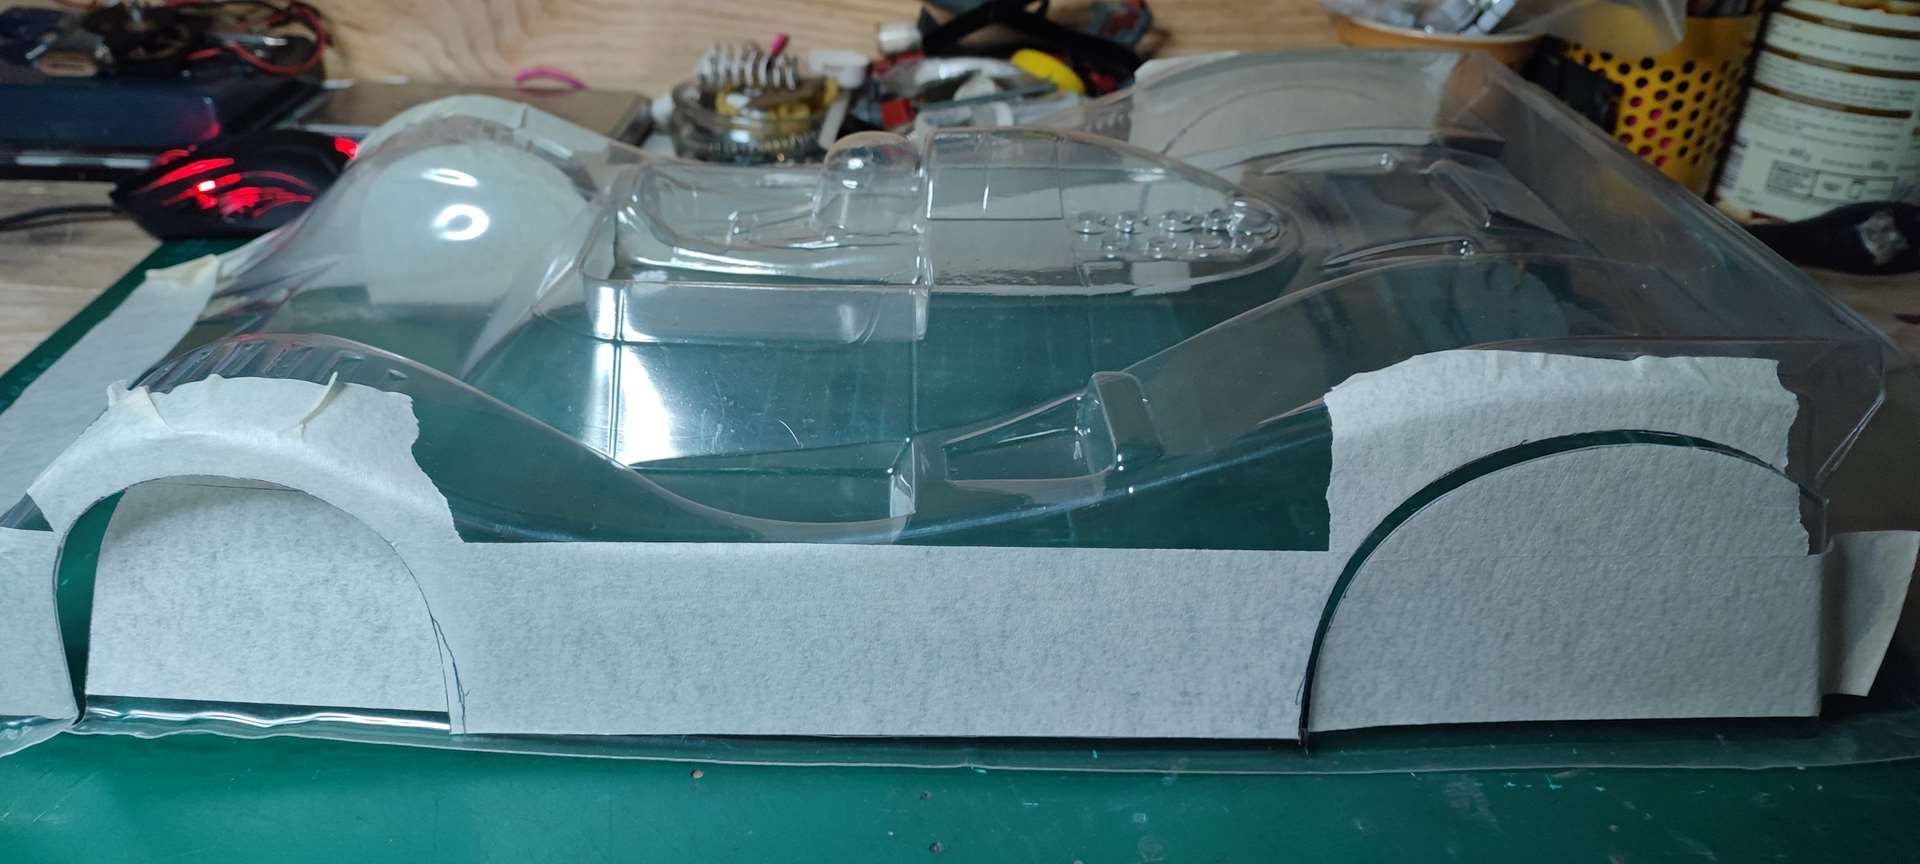
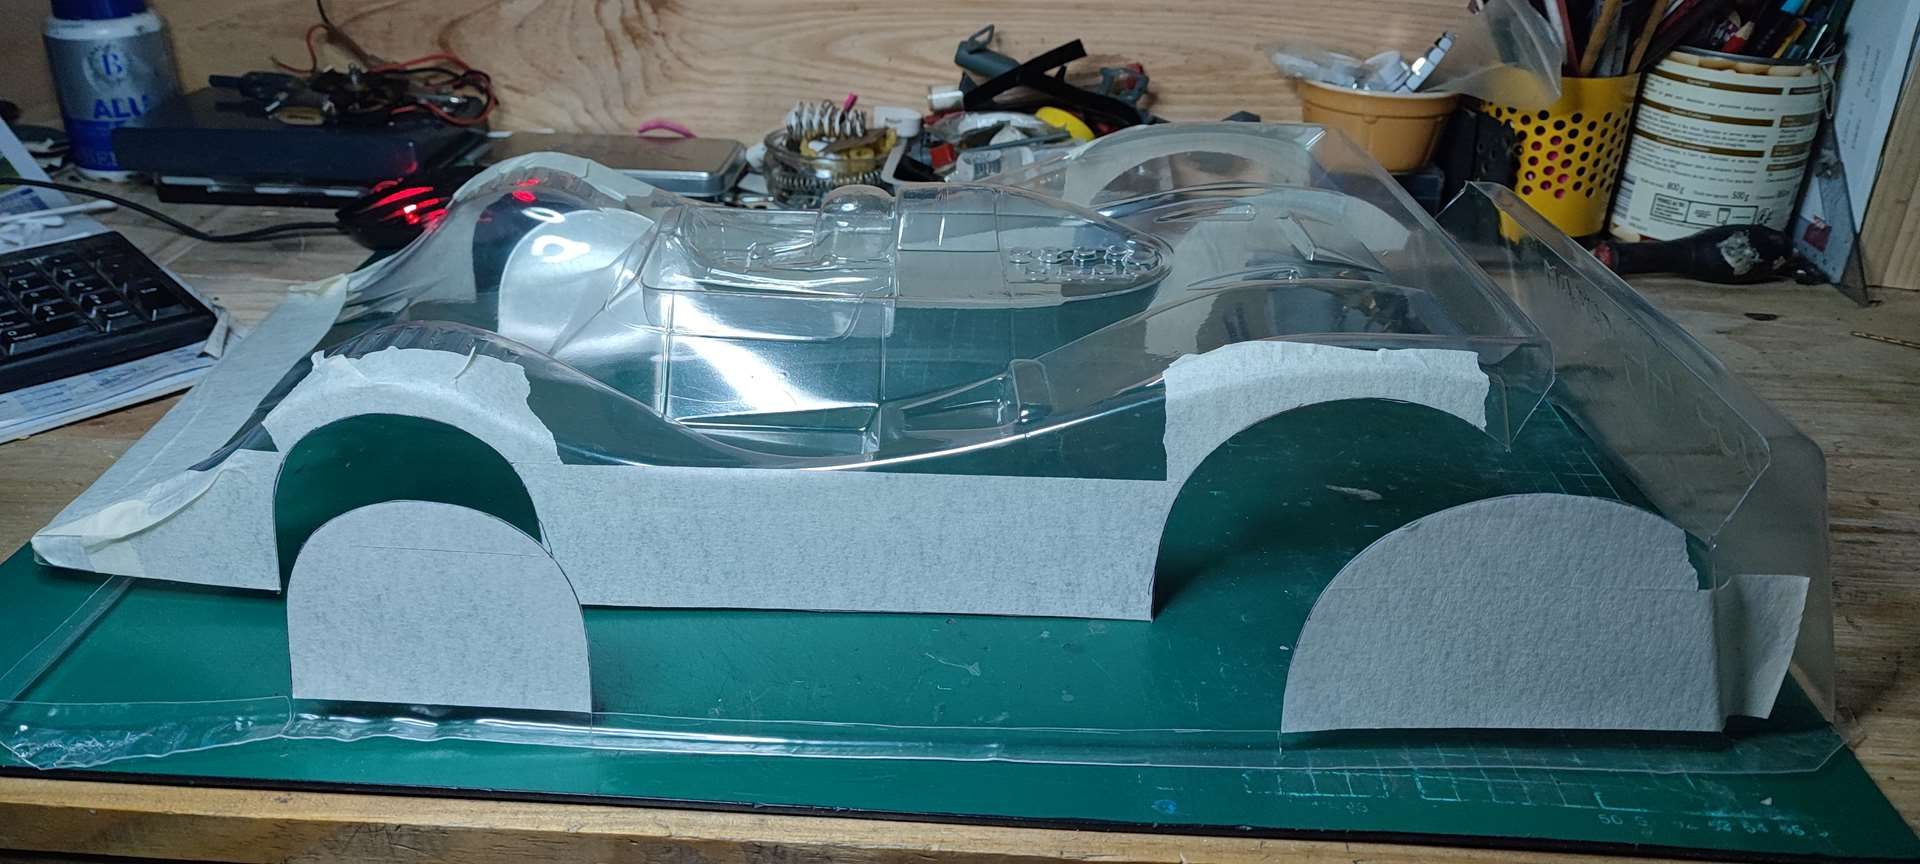
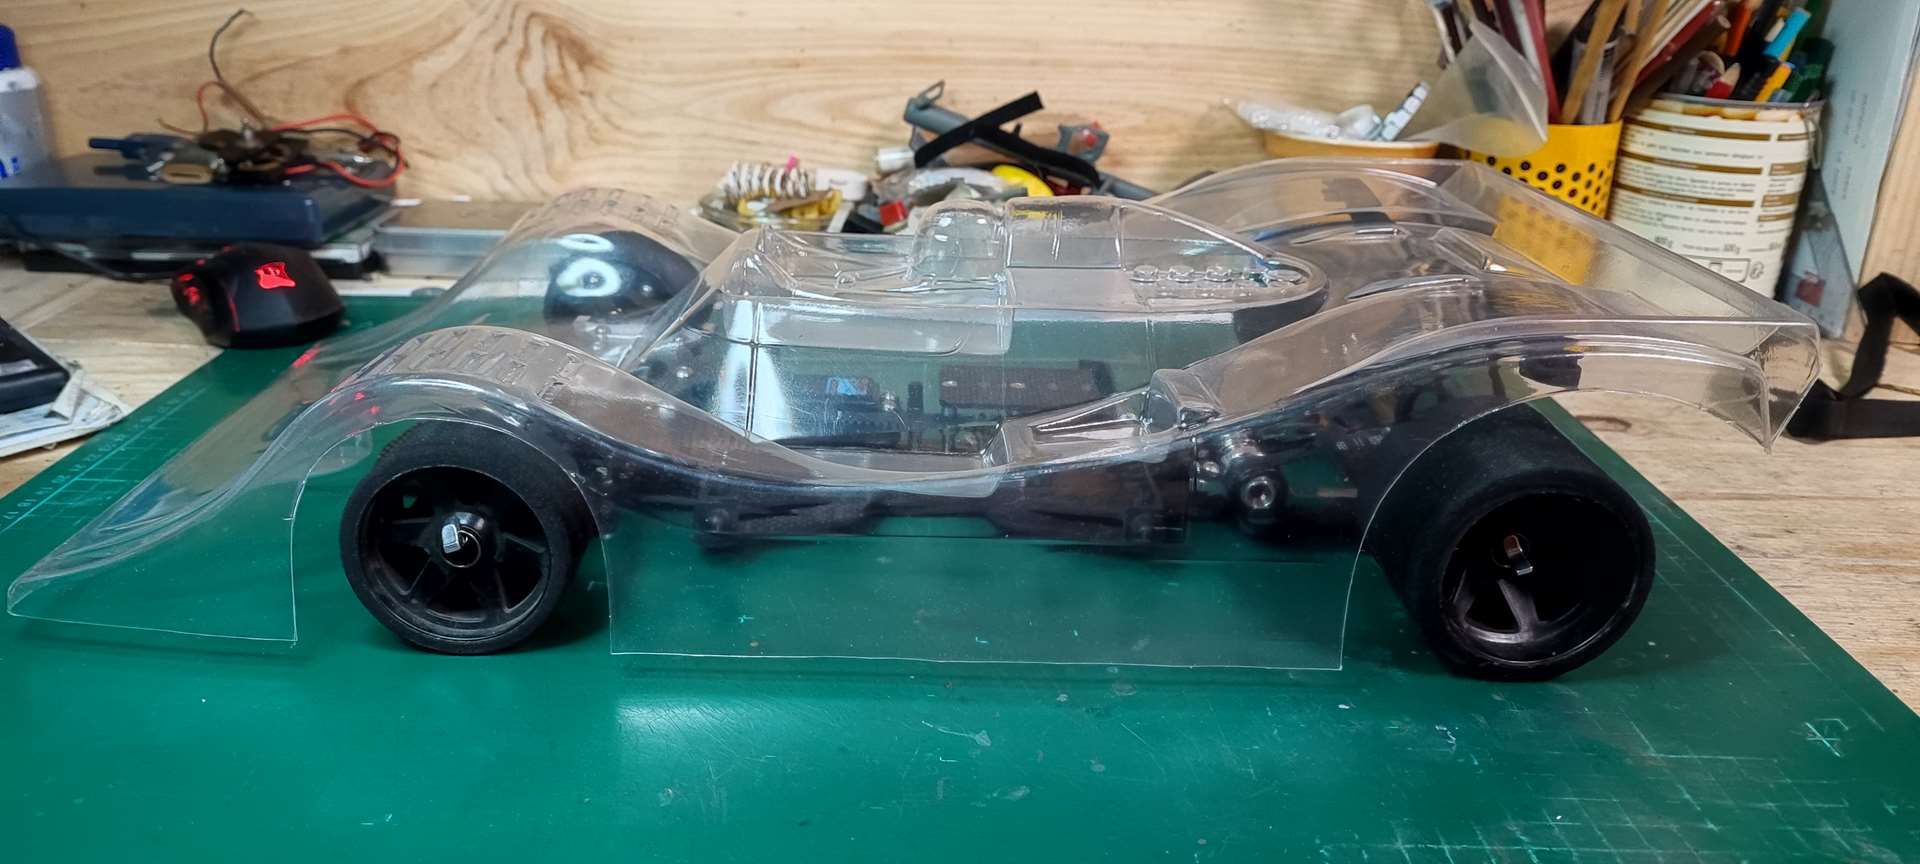
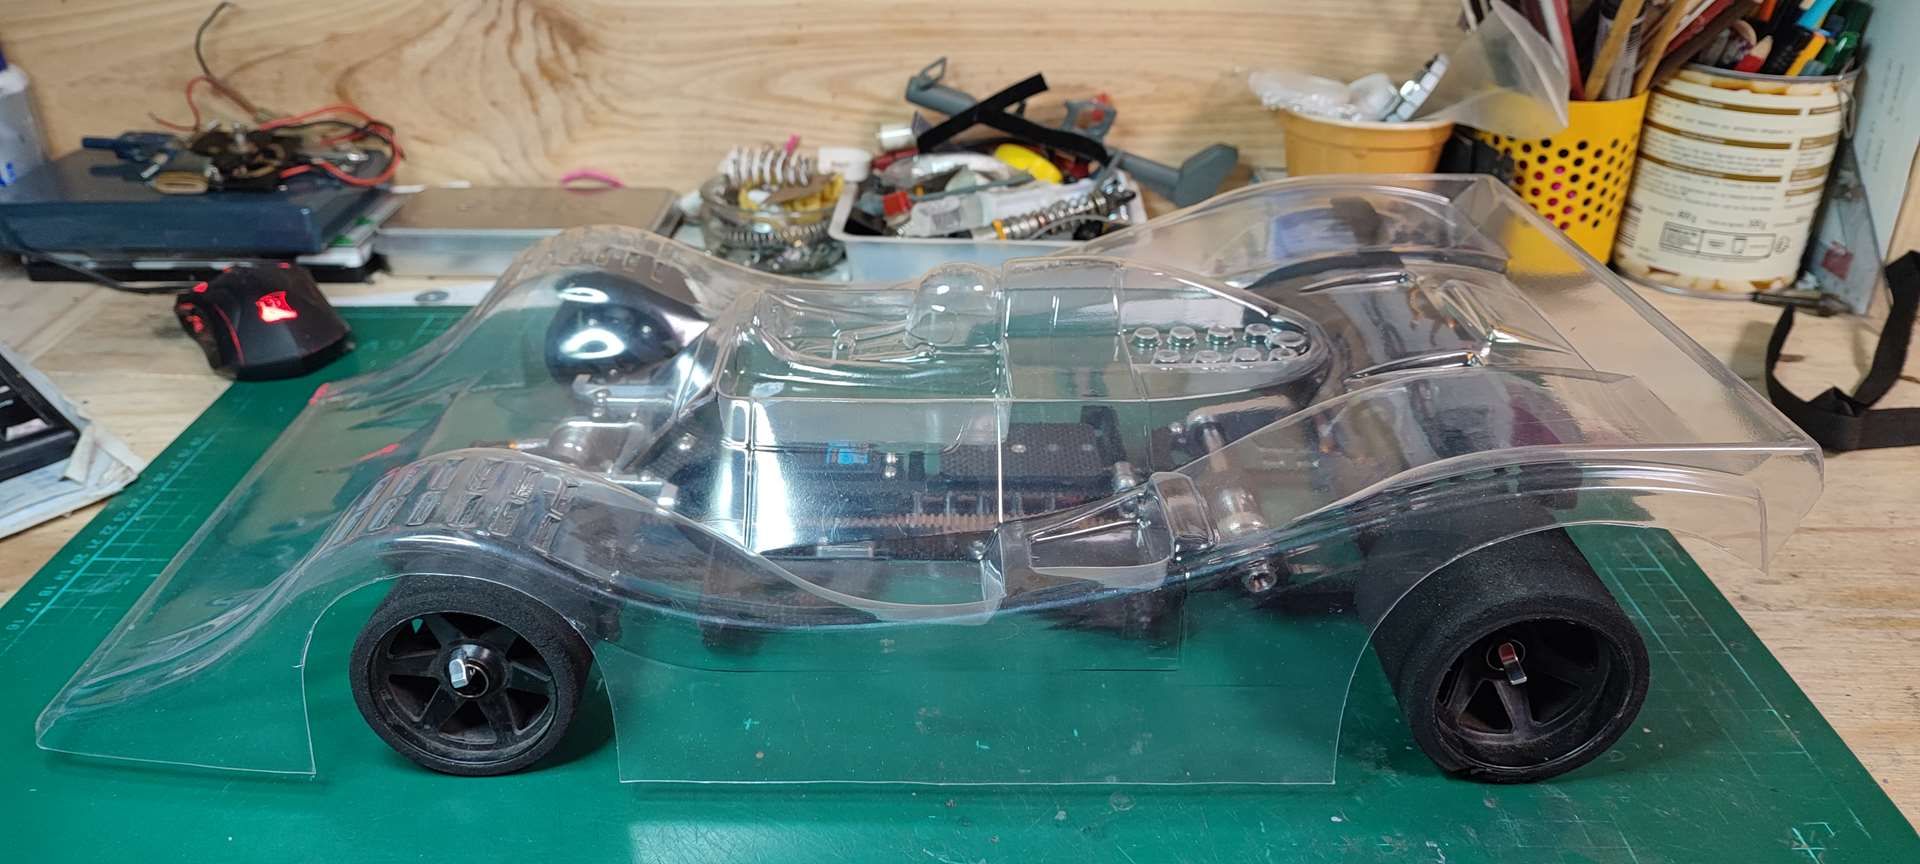
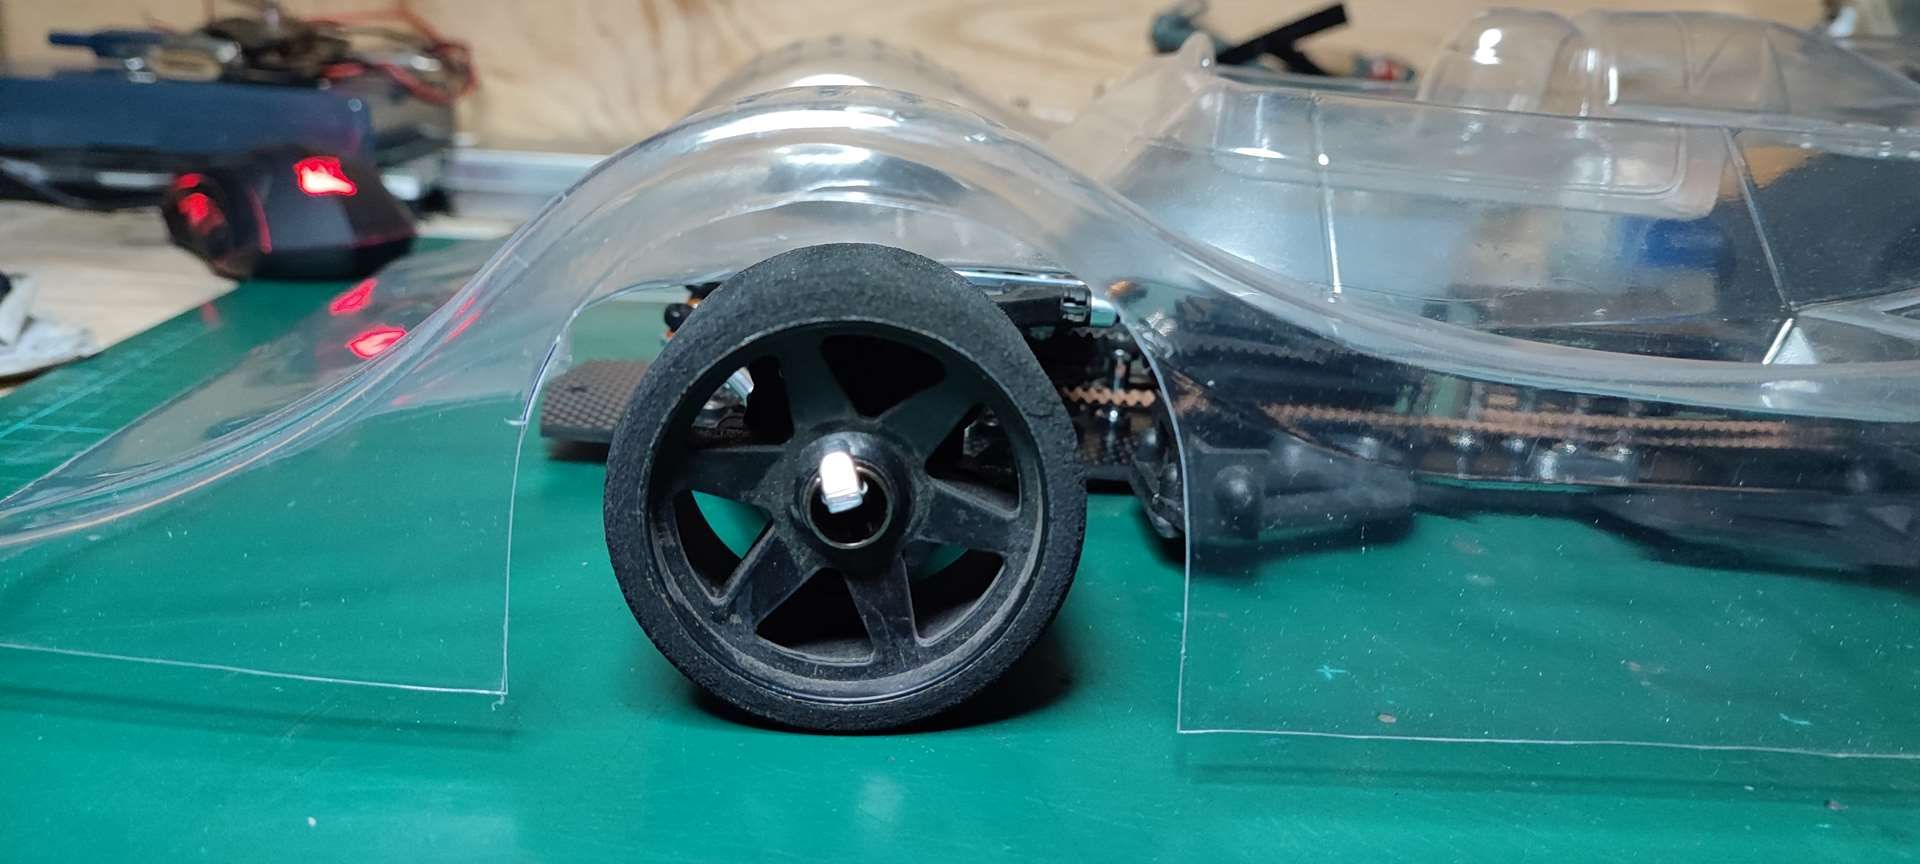
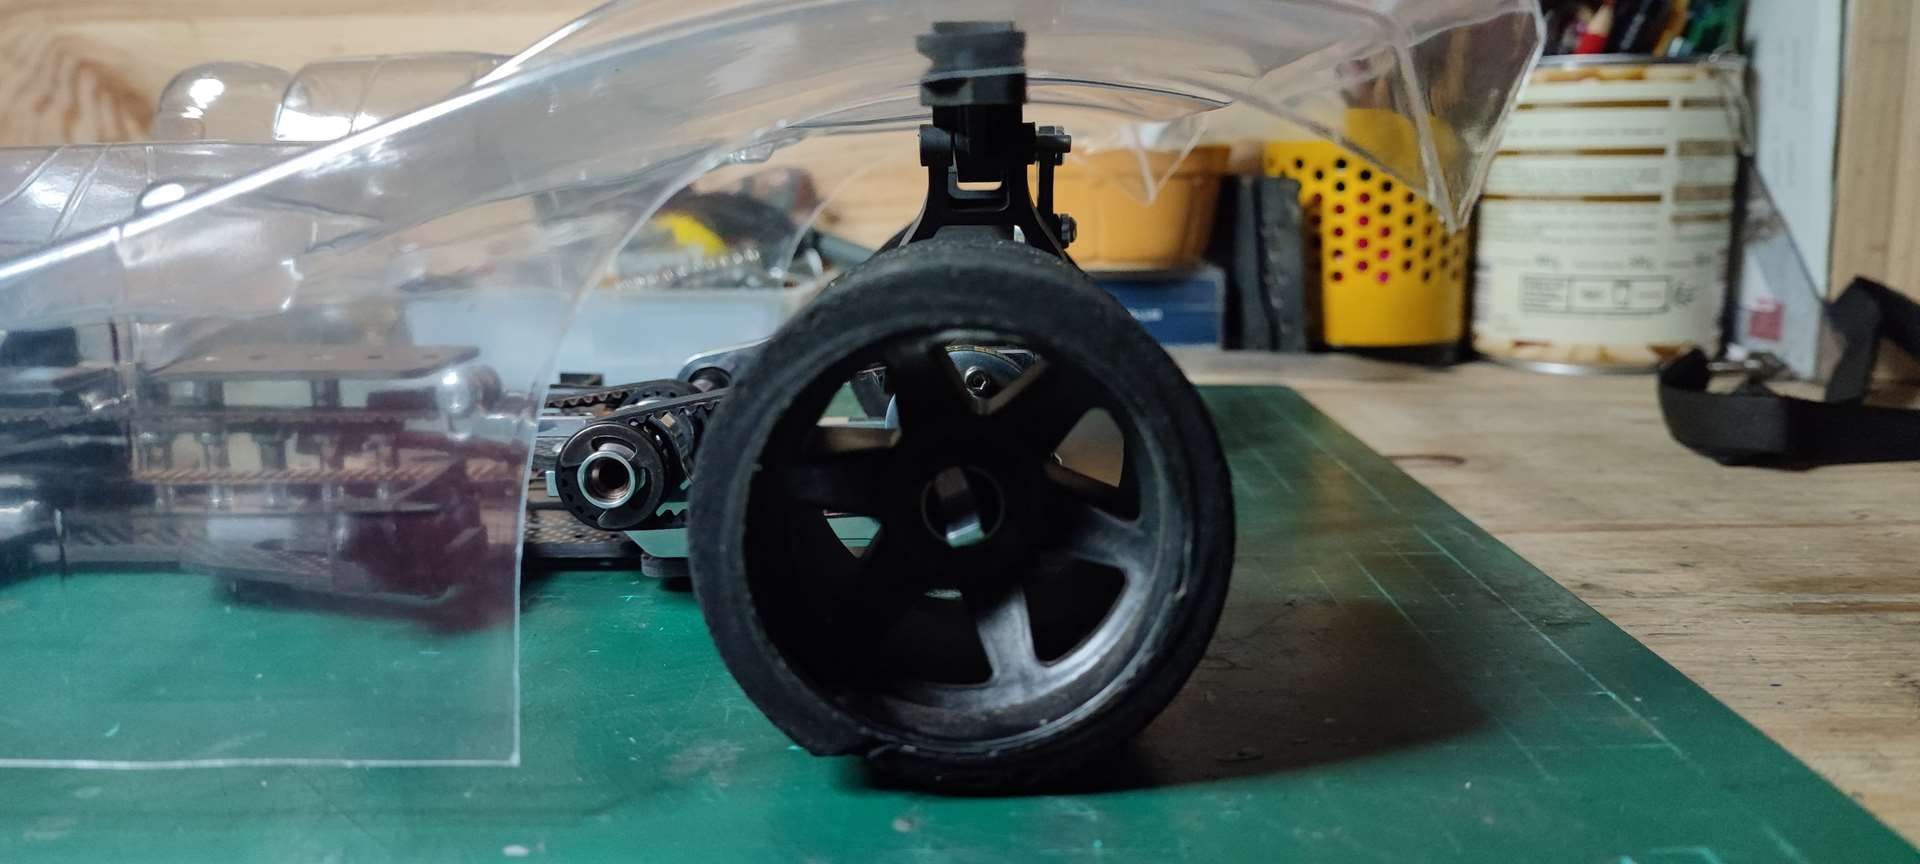
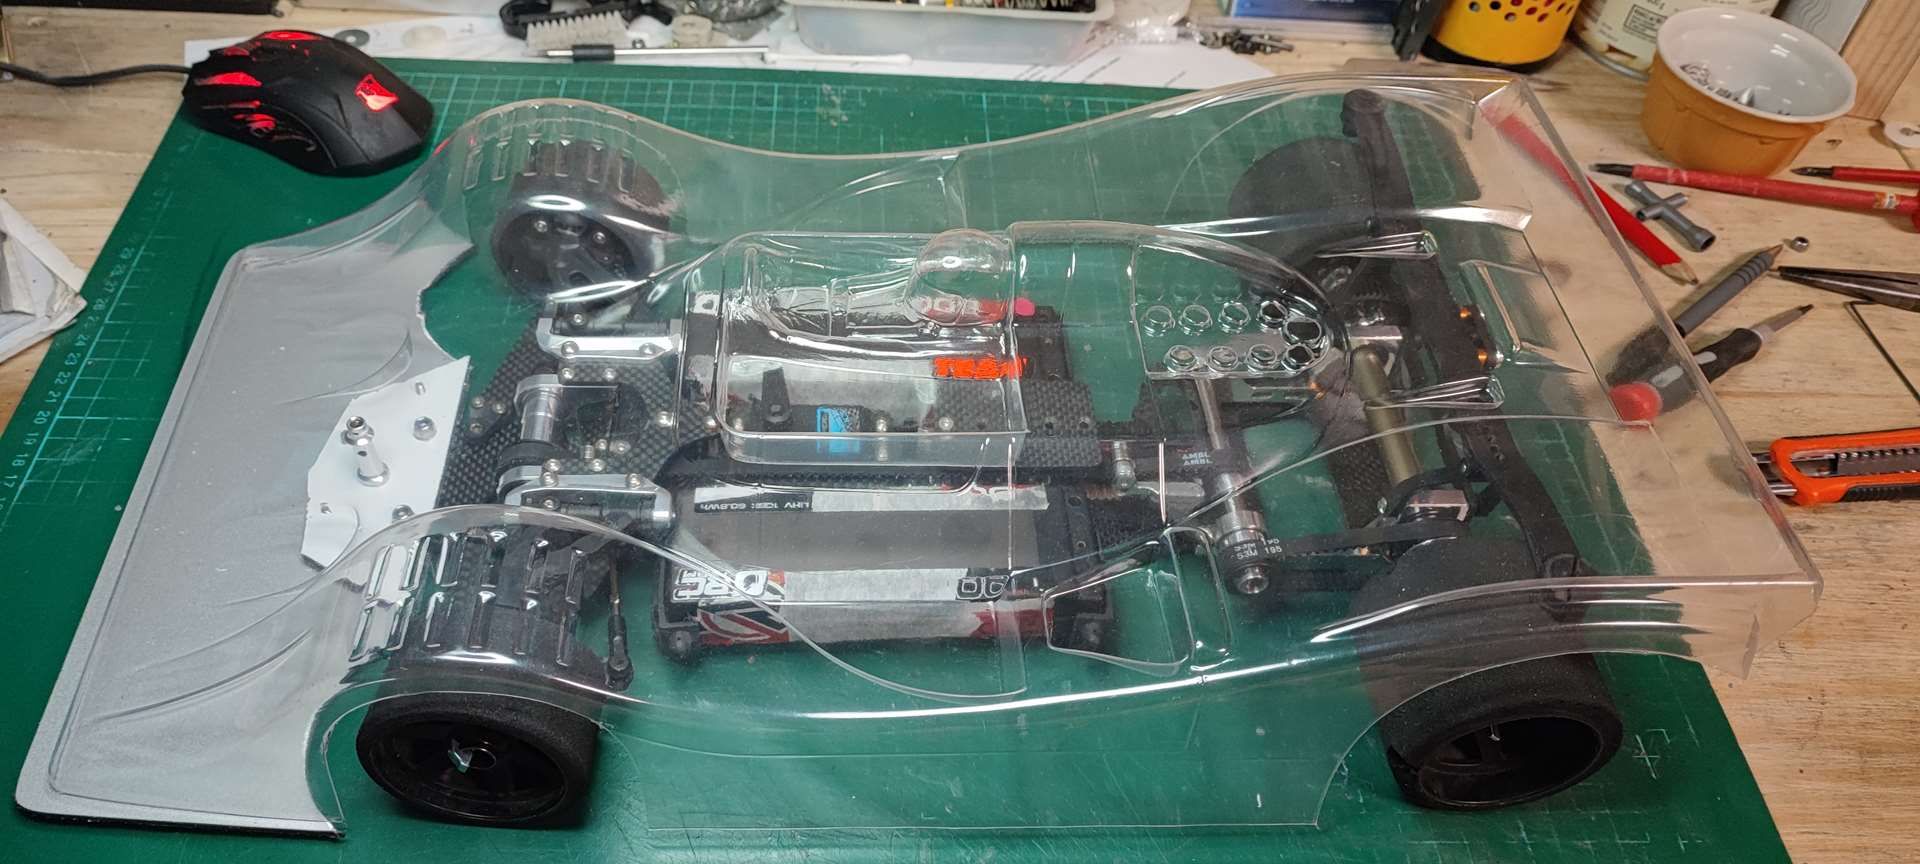
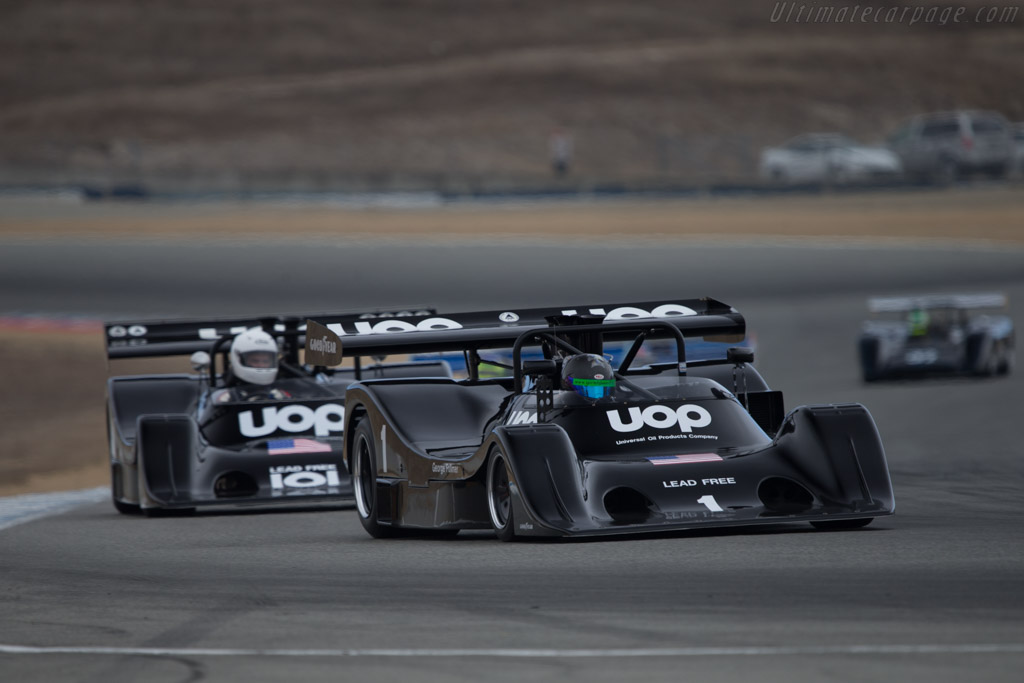
I was very anxious to try the marvellous 1/8 body i have

it's UOP SHADOW DN4

https://www.google.com/search?q=UOP+SHADOW+DN4&rlz=1C1VDKB_frFR1009FR1009&oq=UOP+SHADOW+DN4&aqs=chrome..69i57.5064j0j7&sourceid=chrome&ie=UTF-8


Image


Image
Image
Image
Image


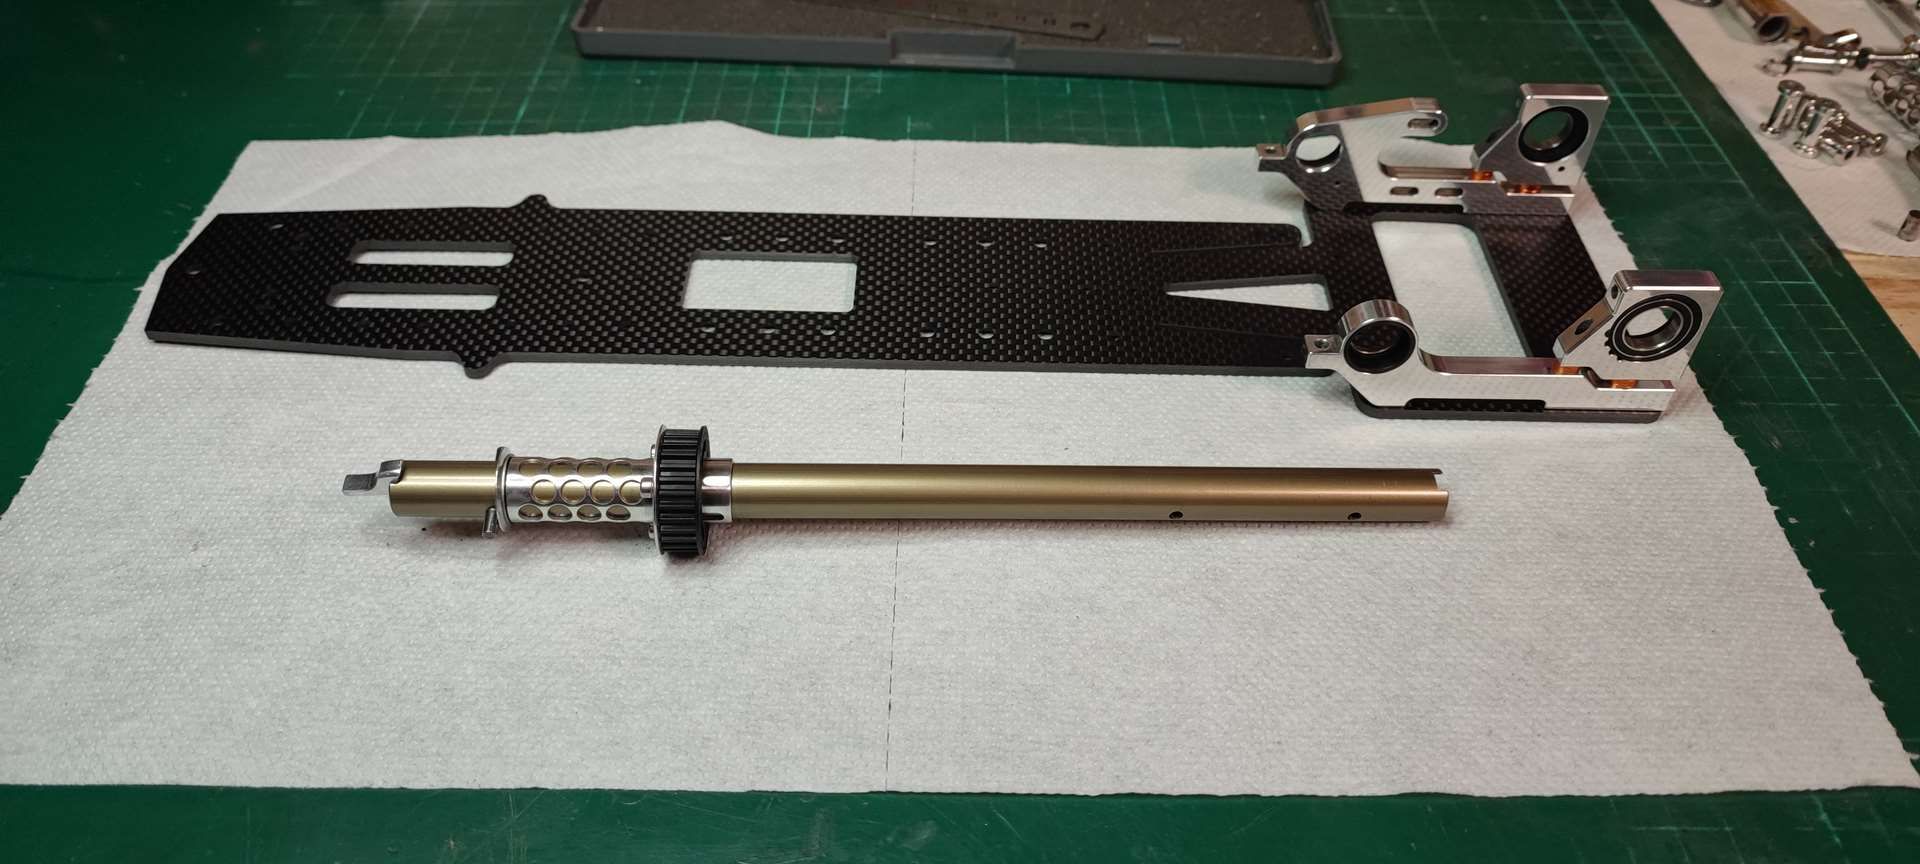
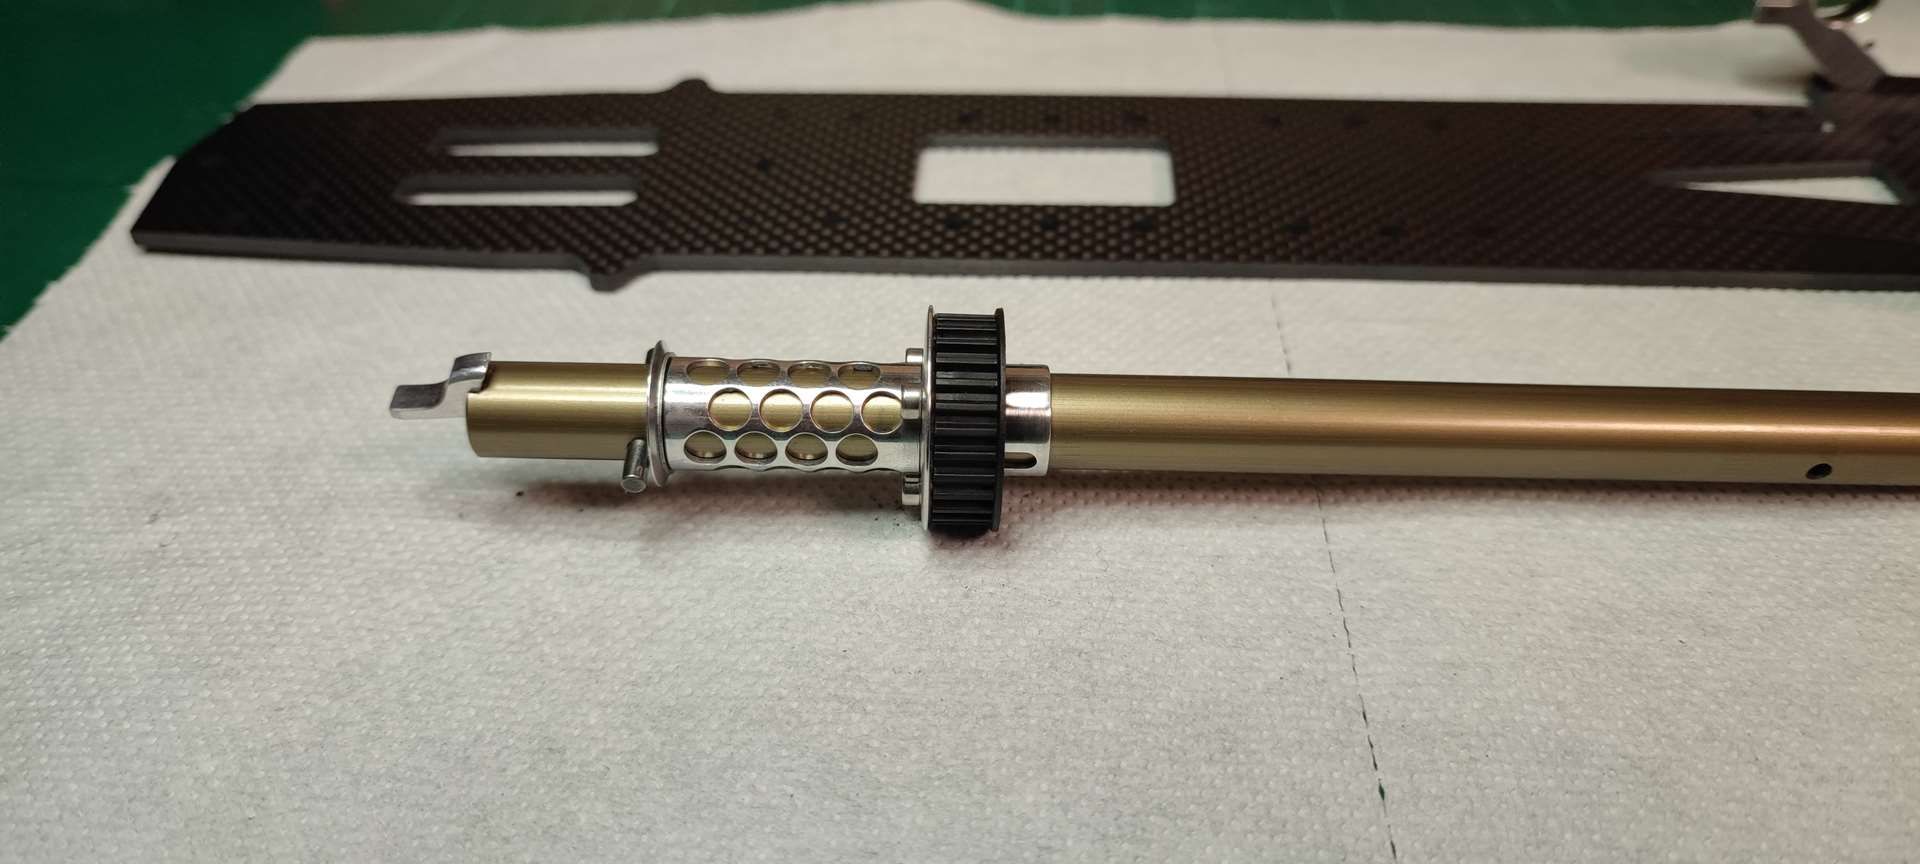
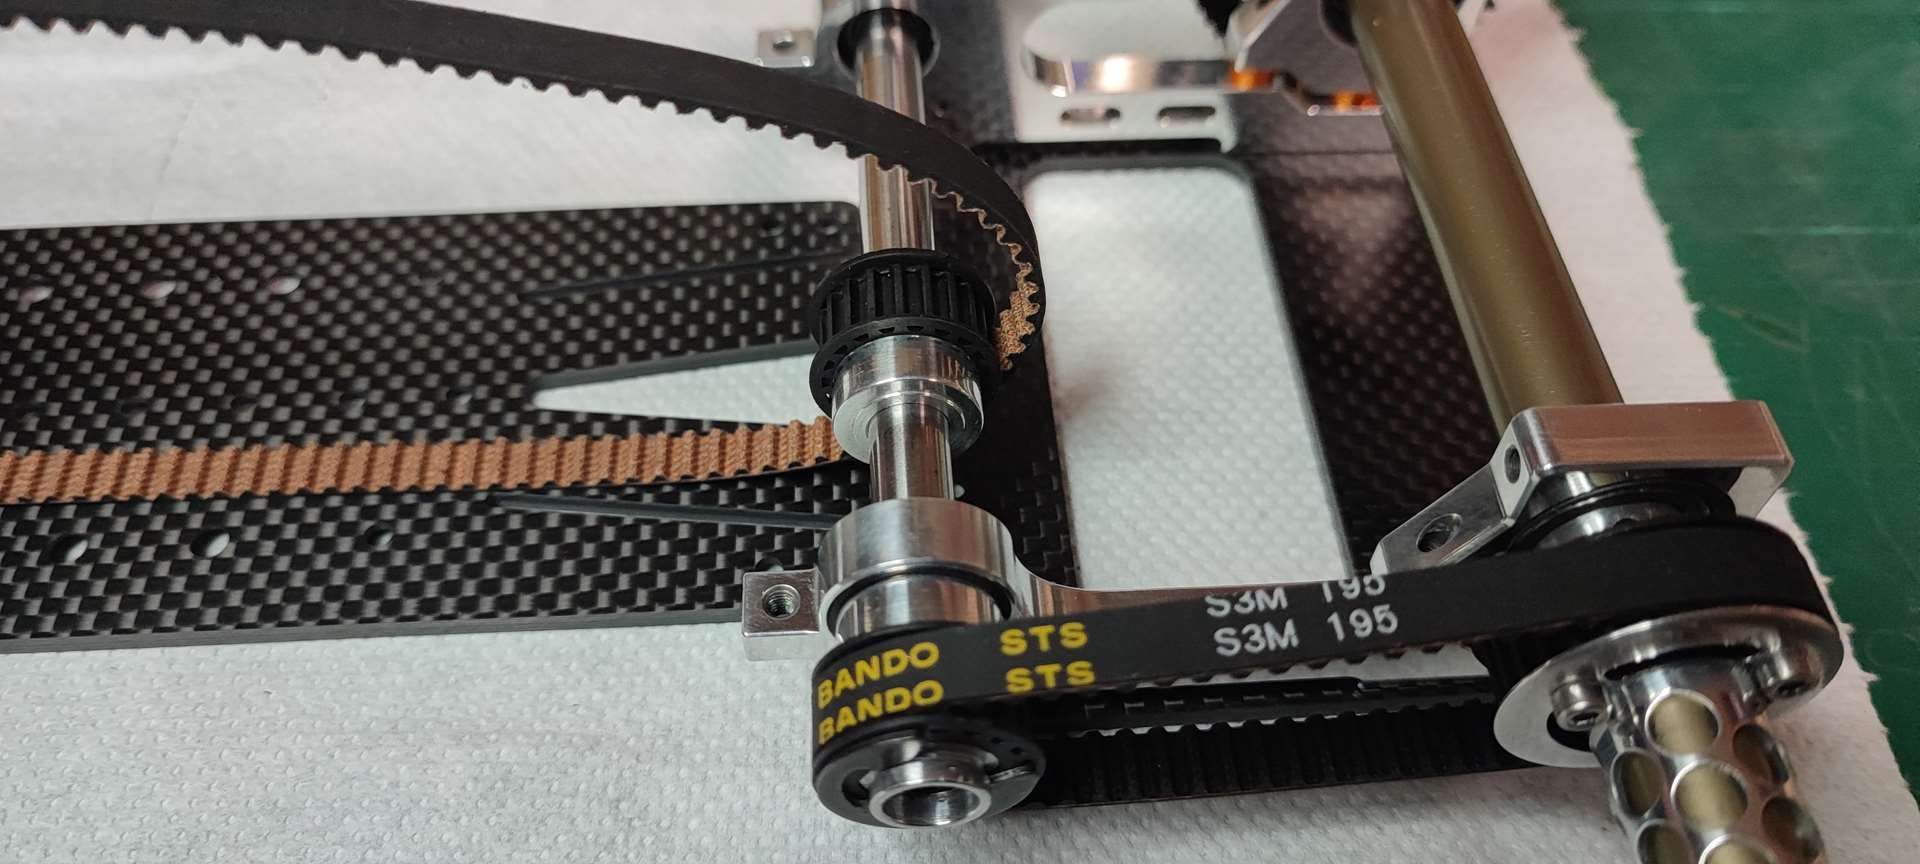
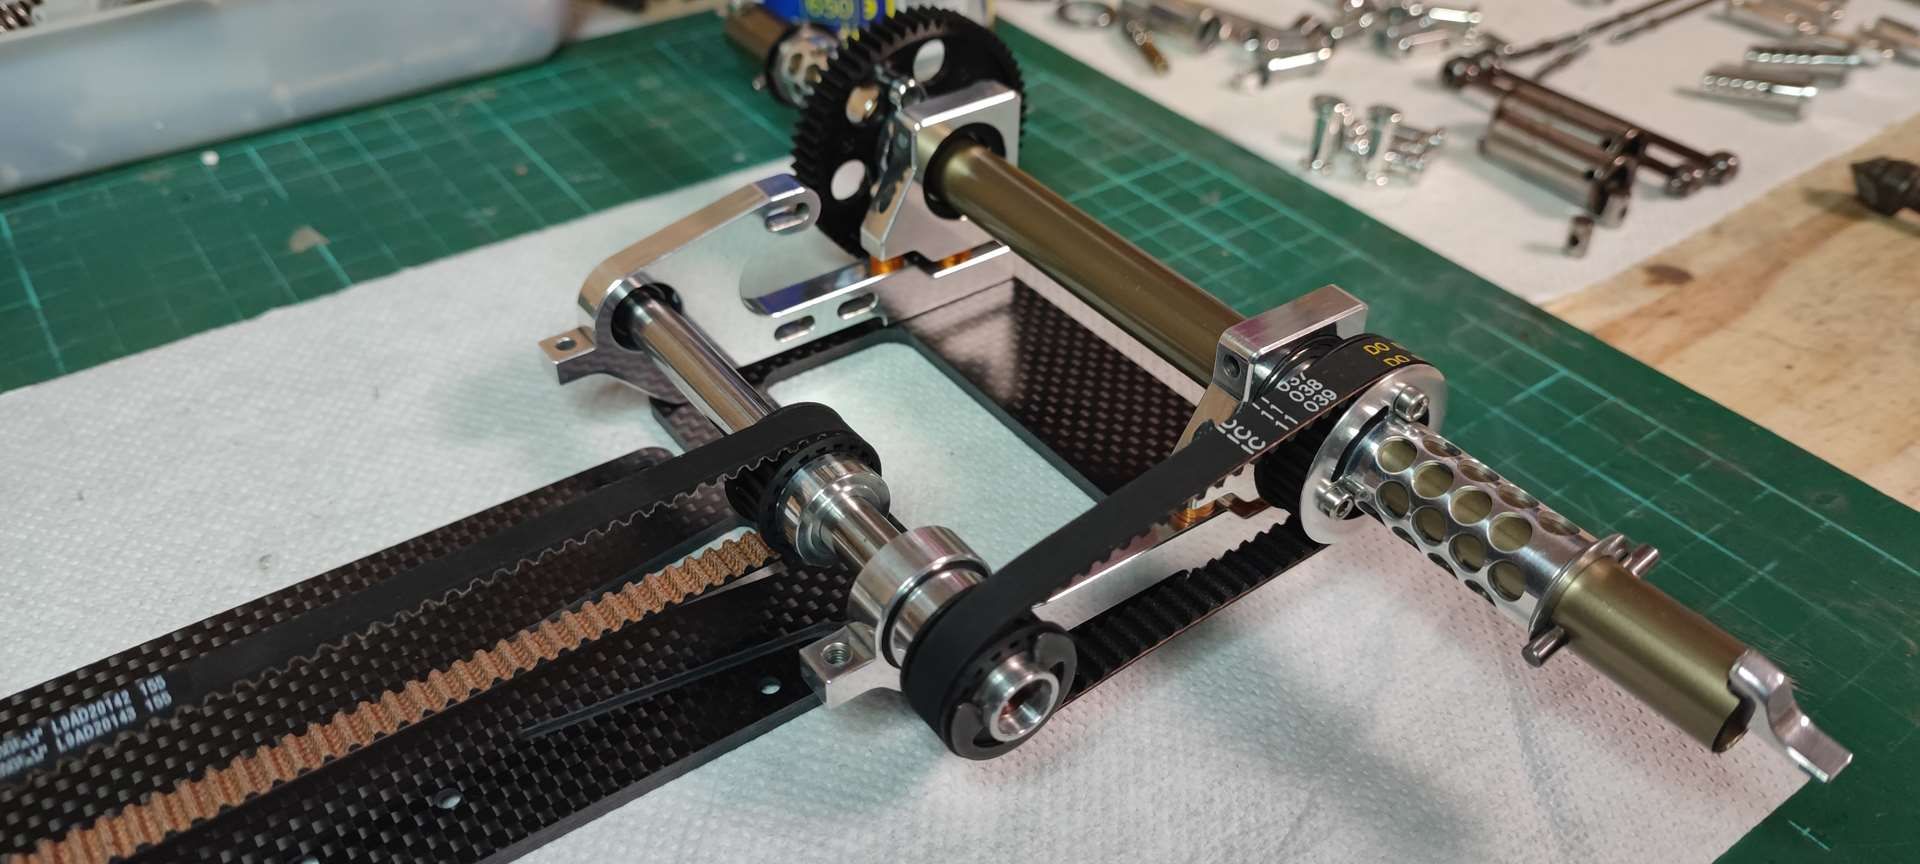
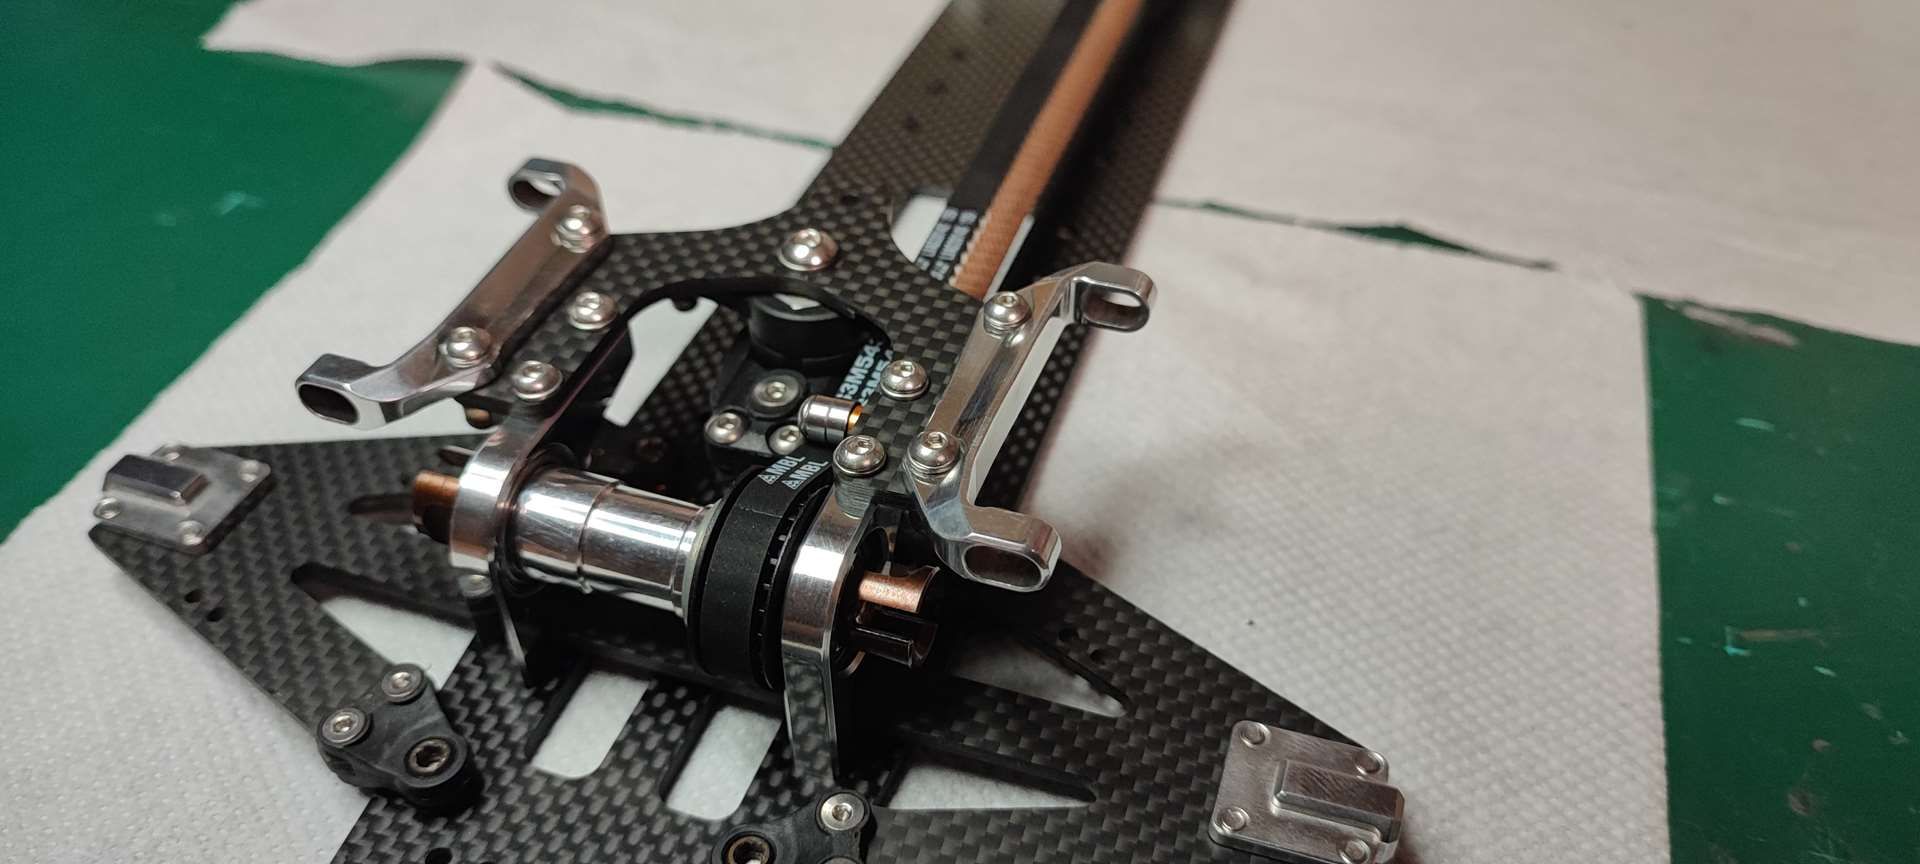
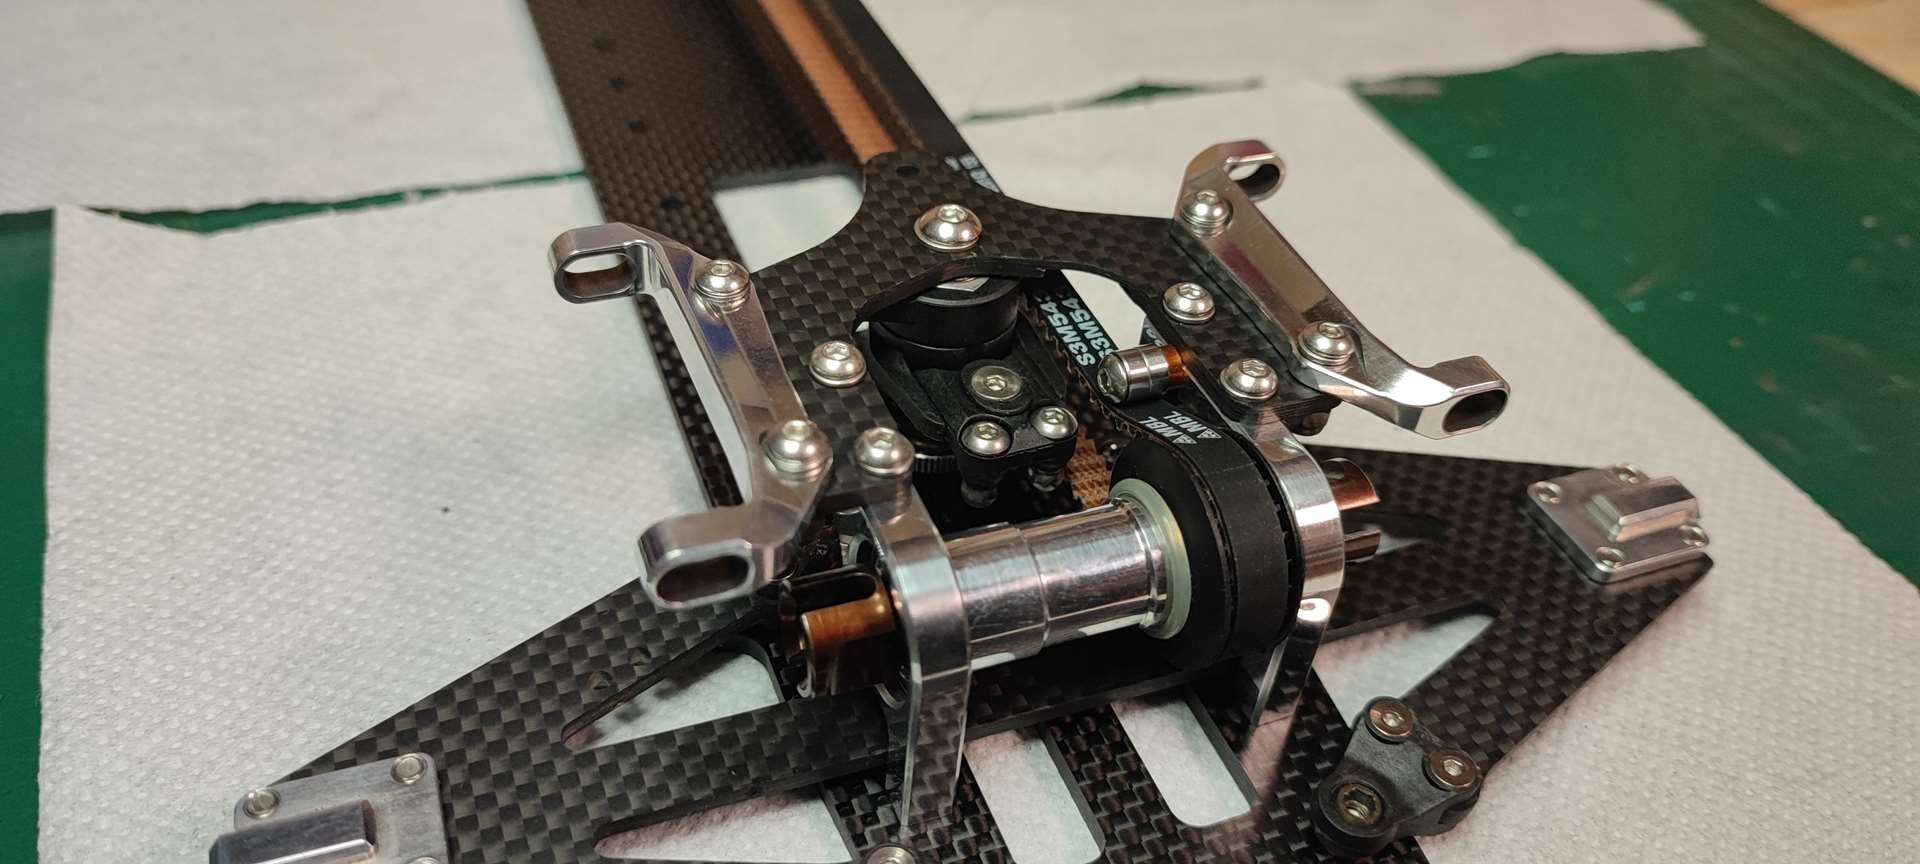
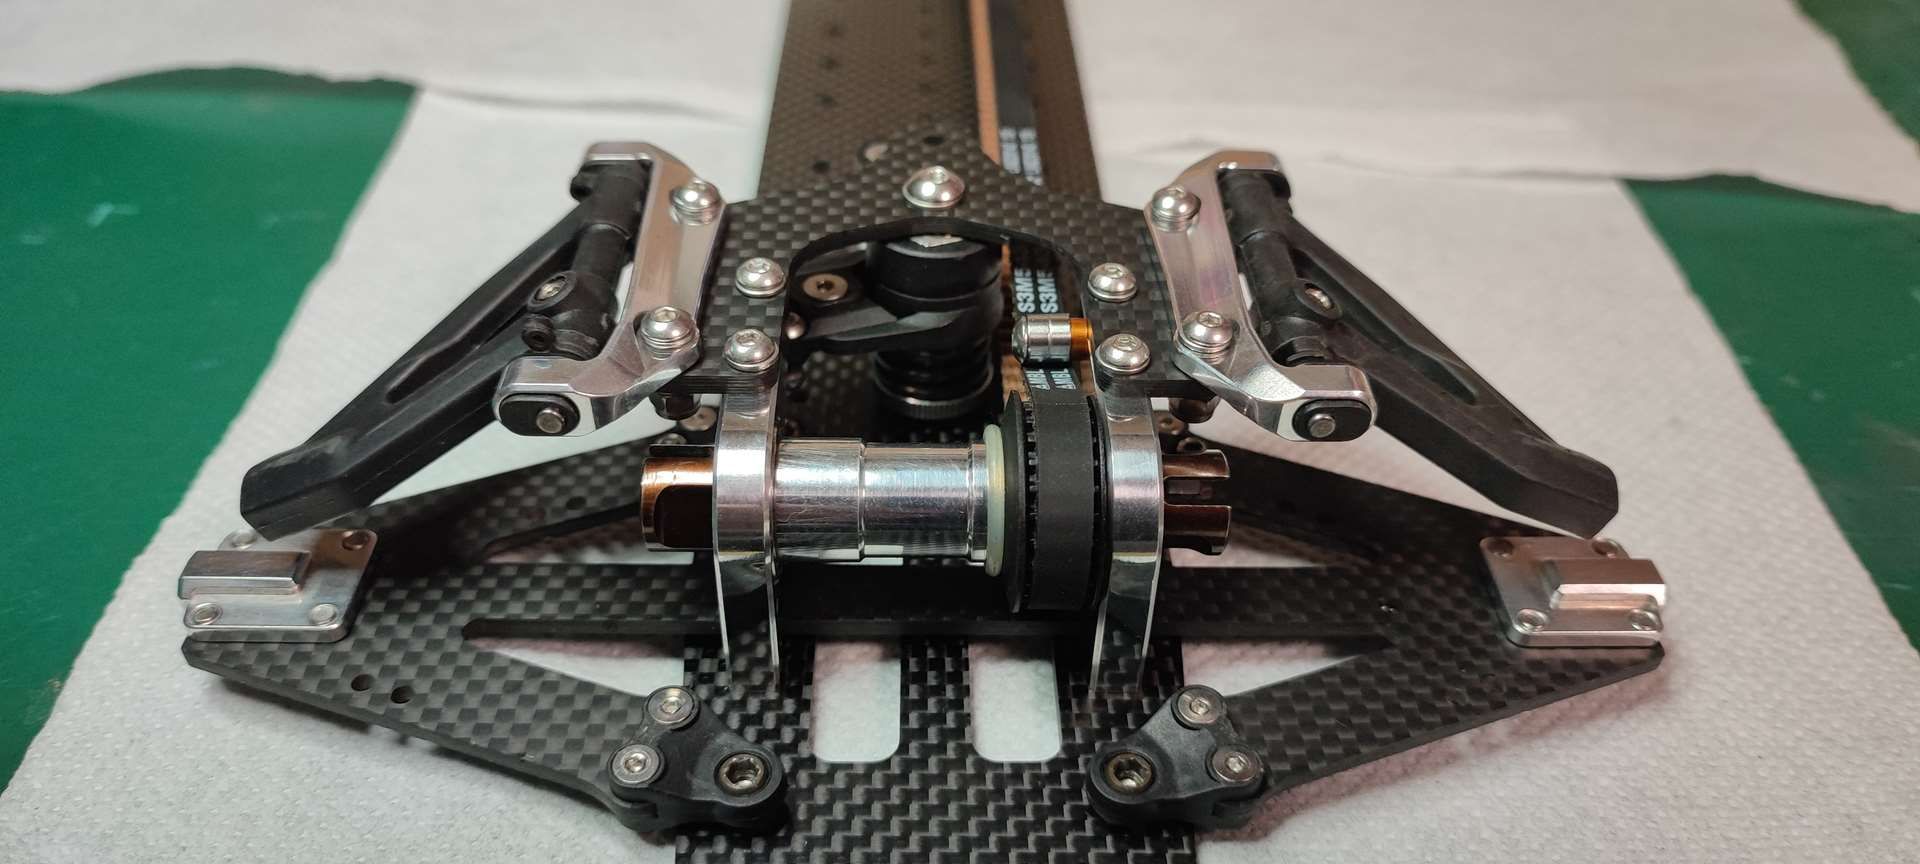
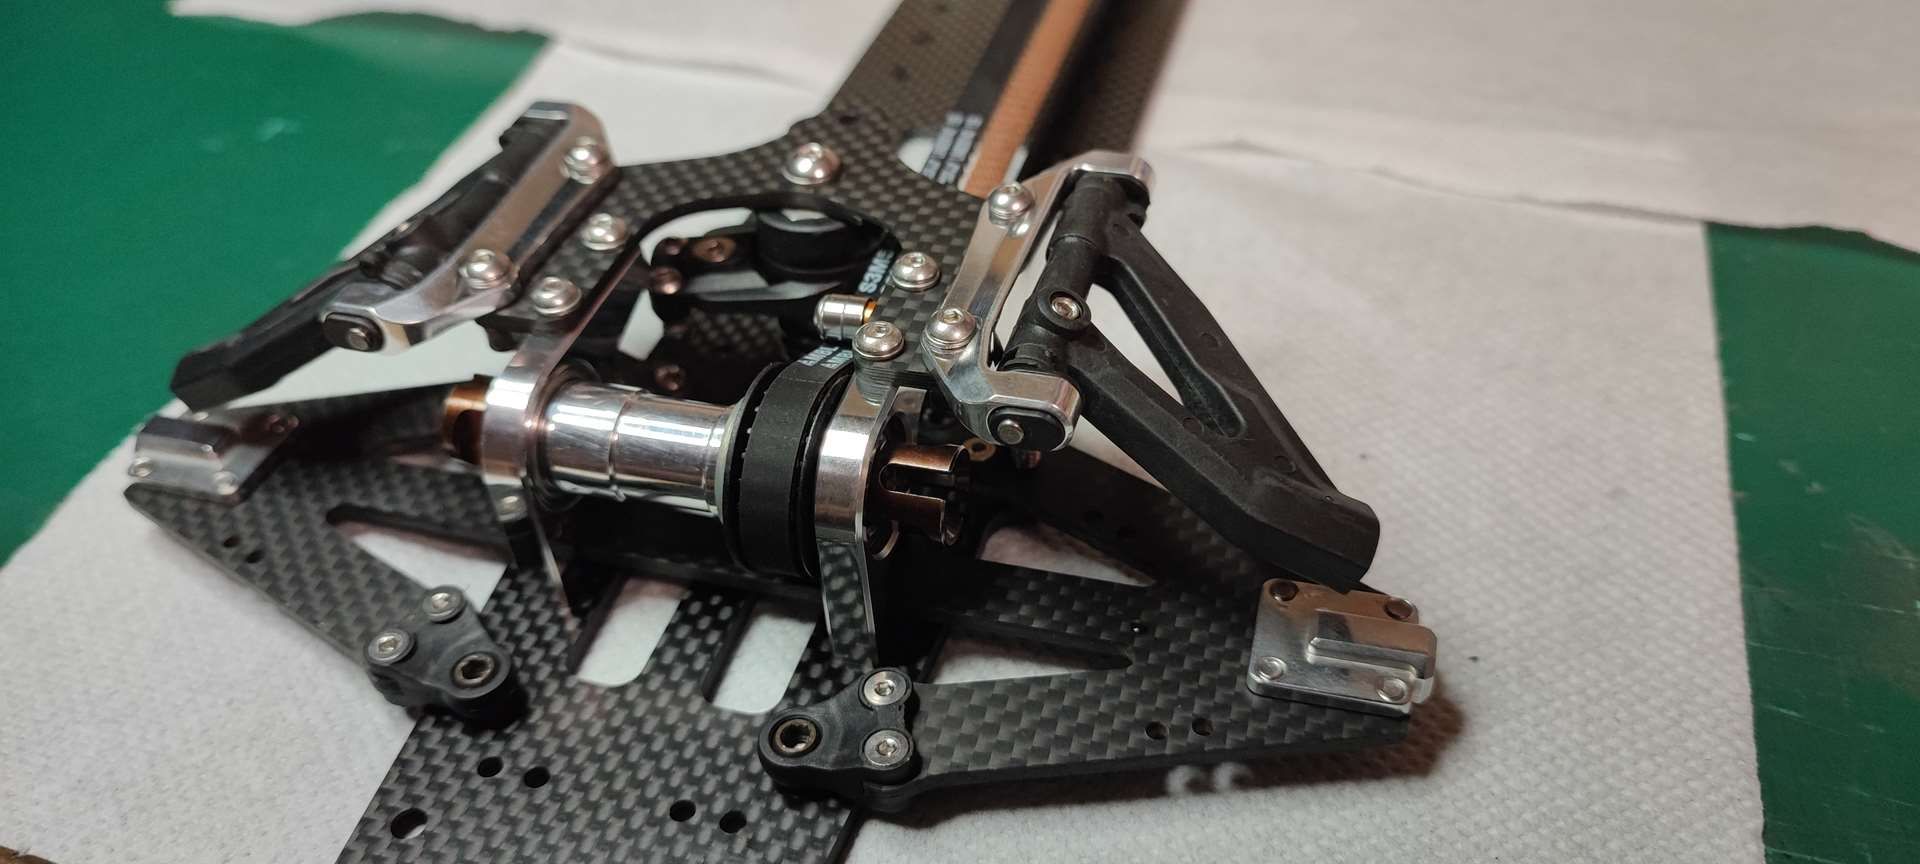
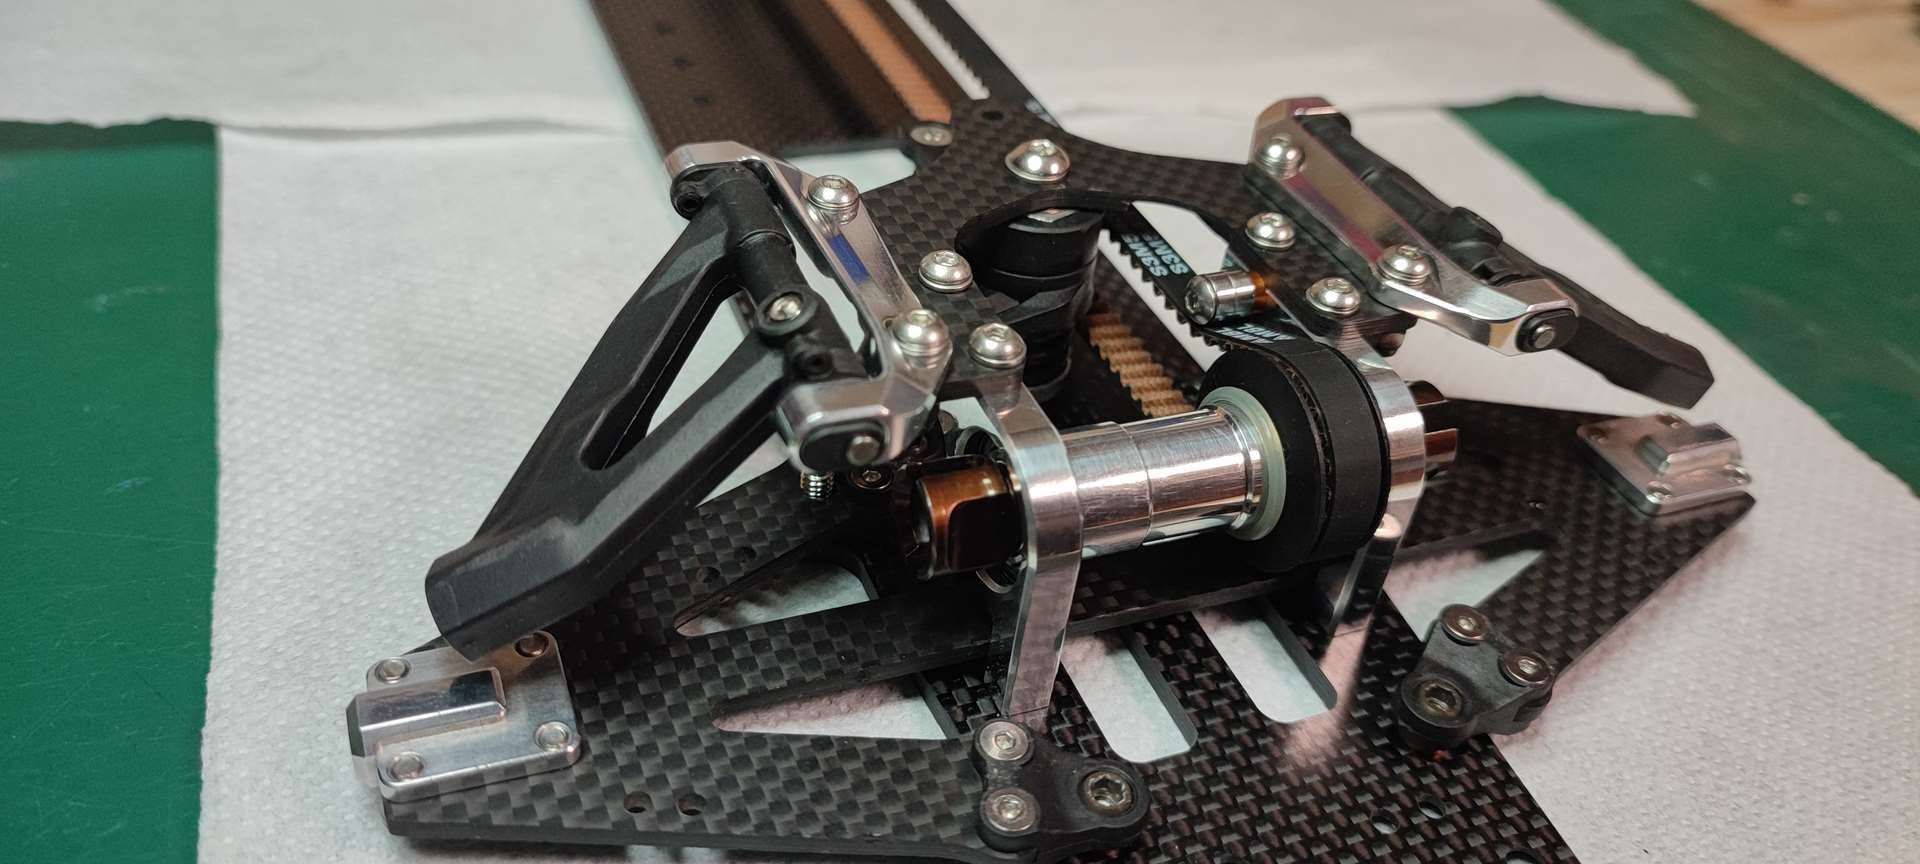
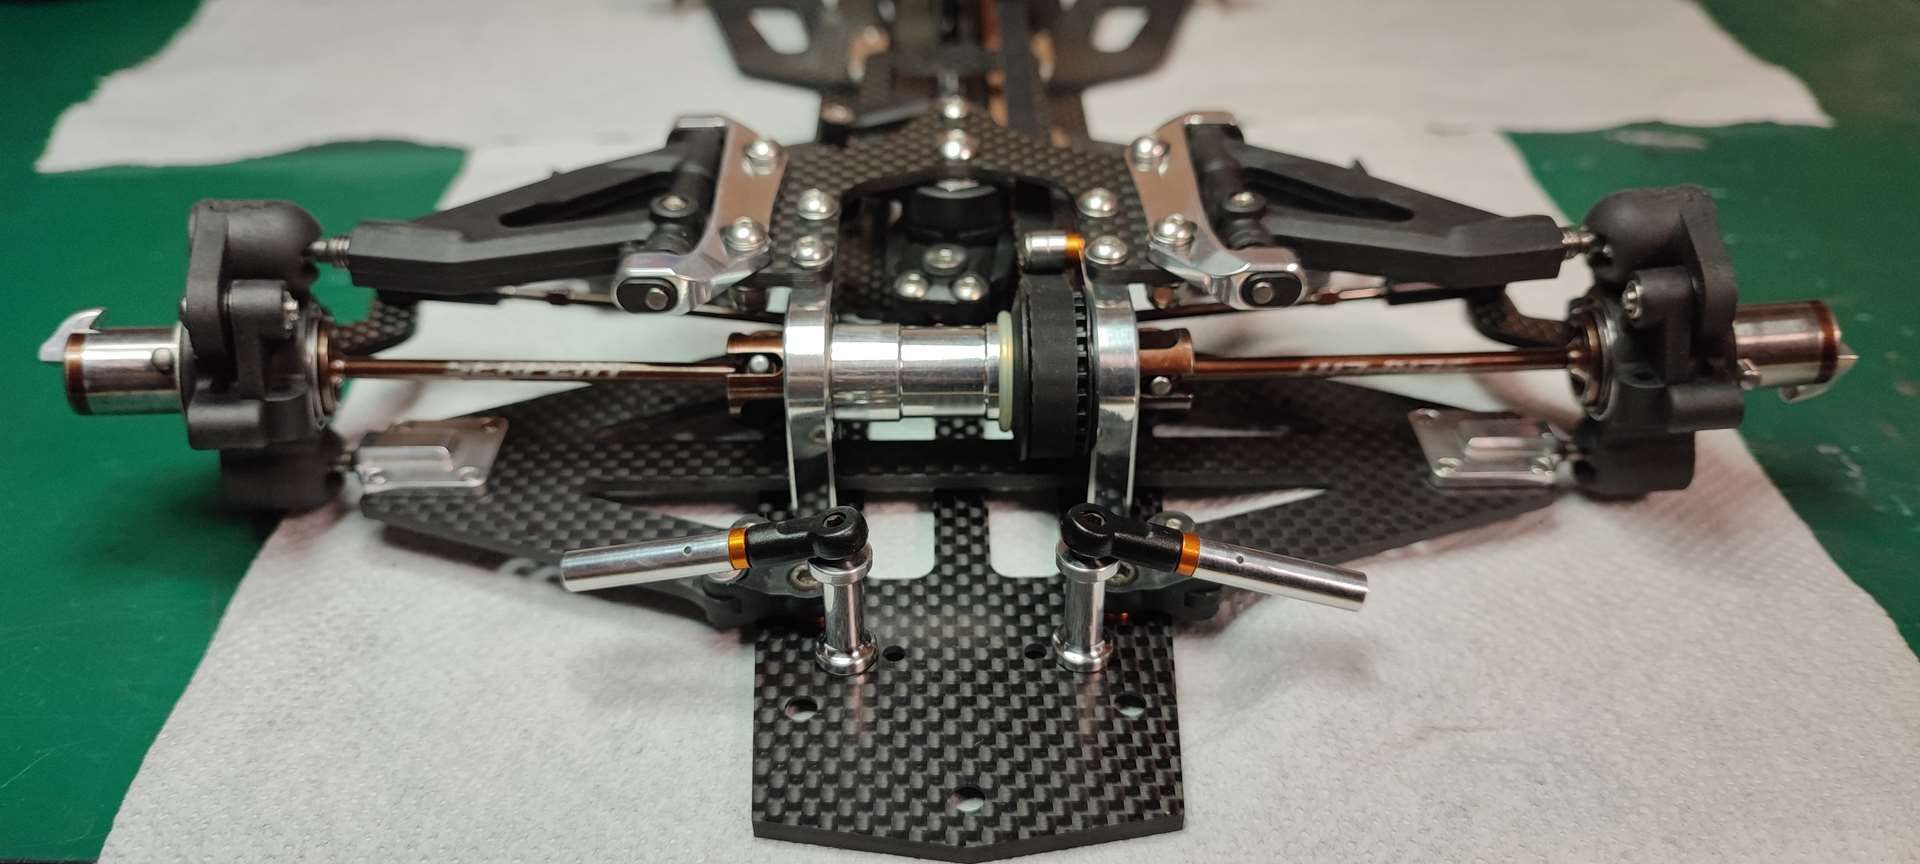
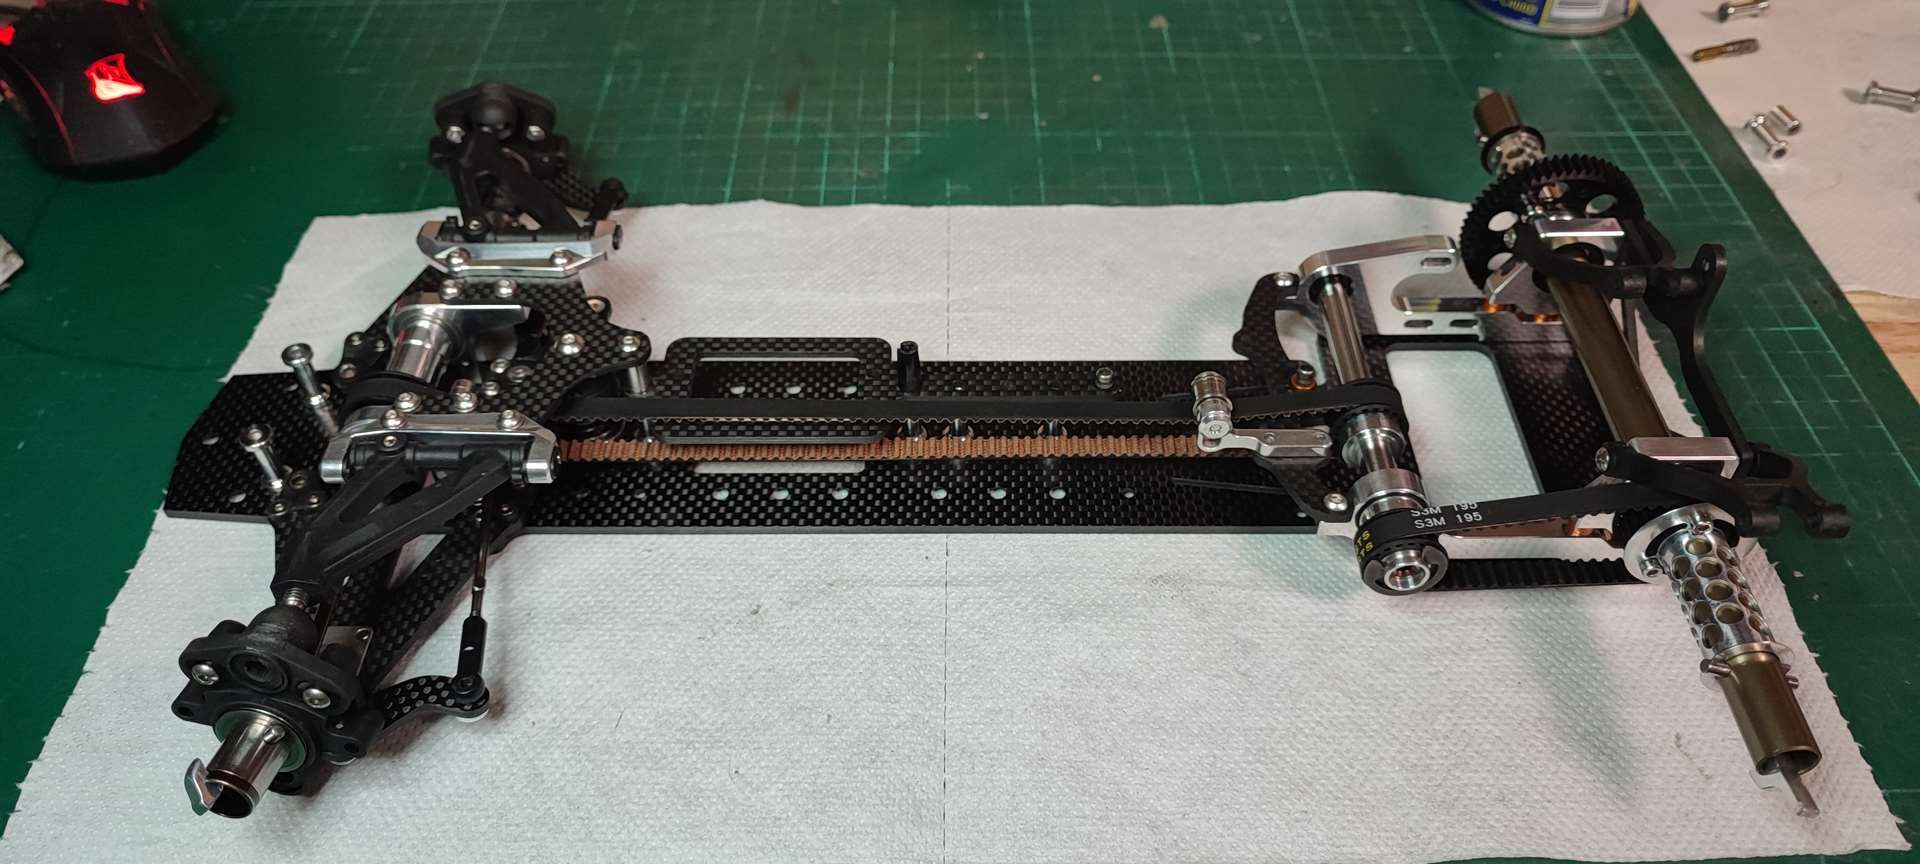
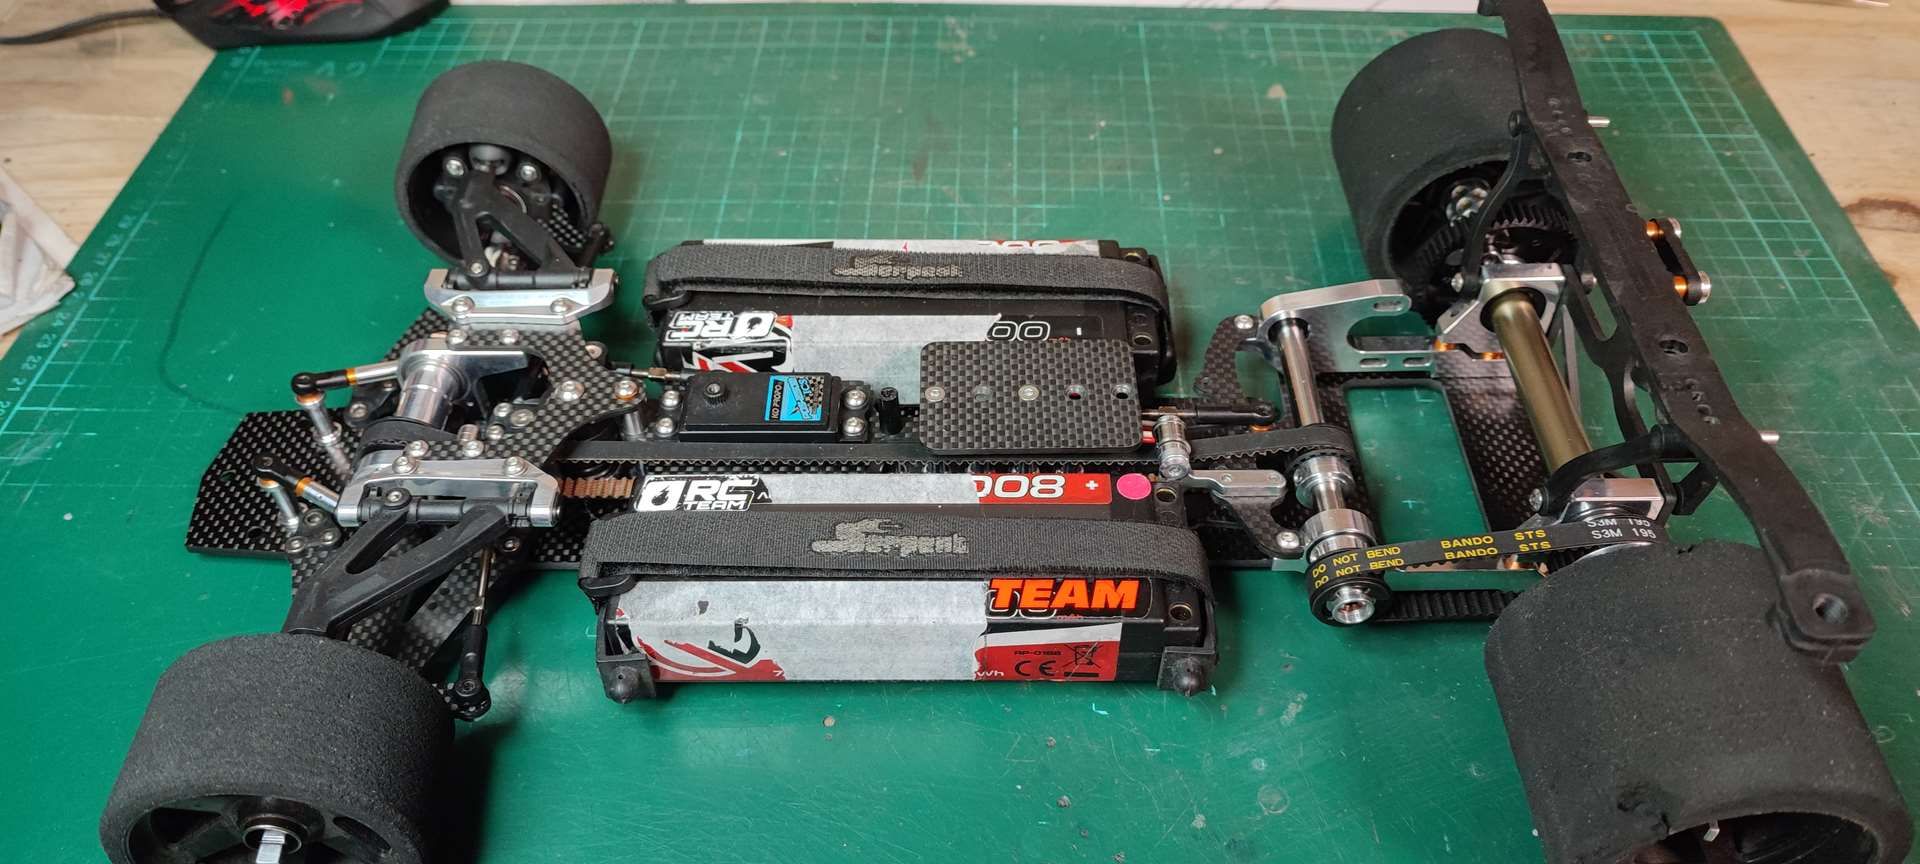
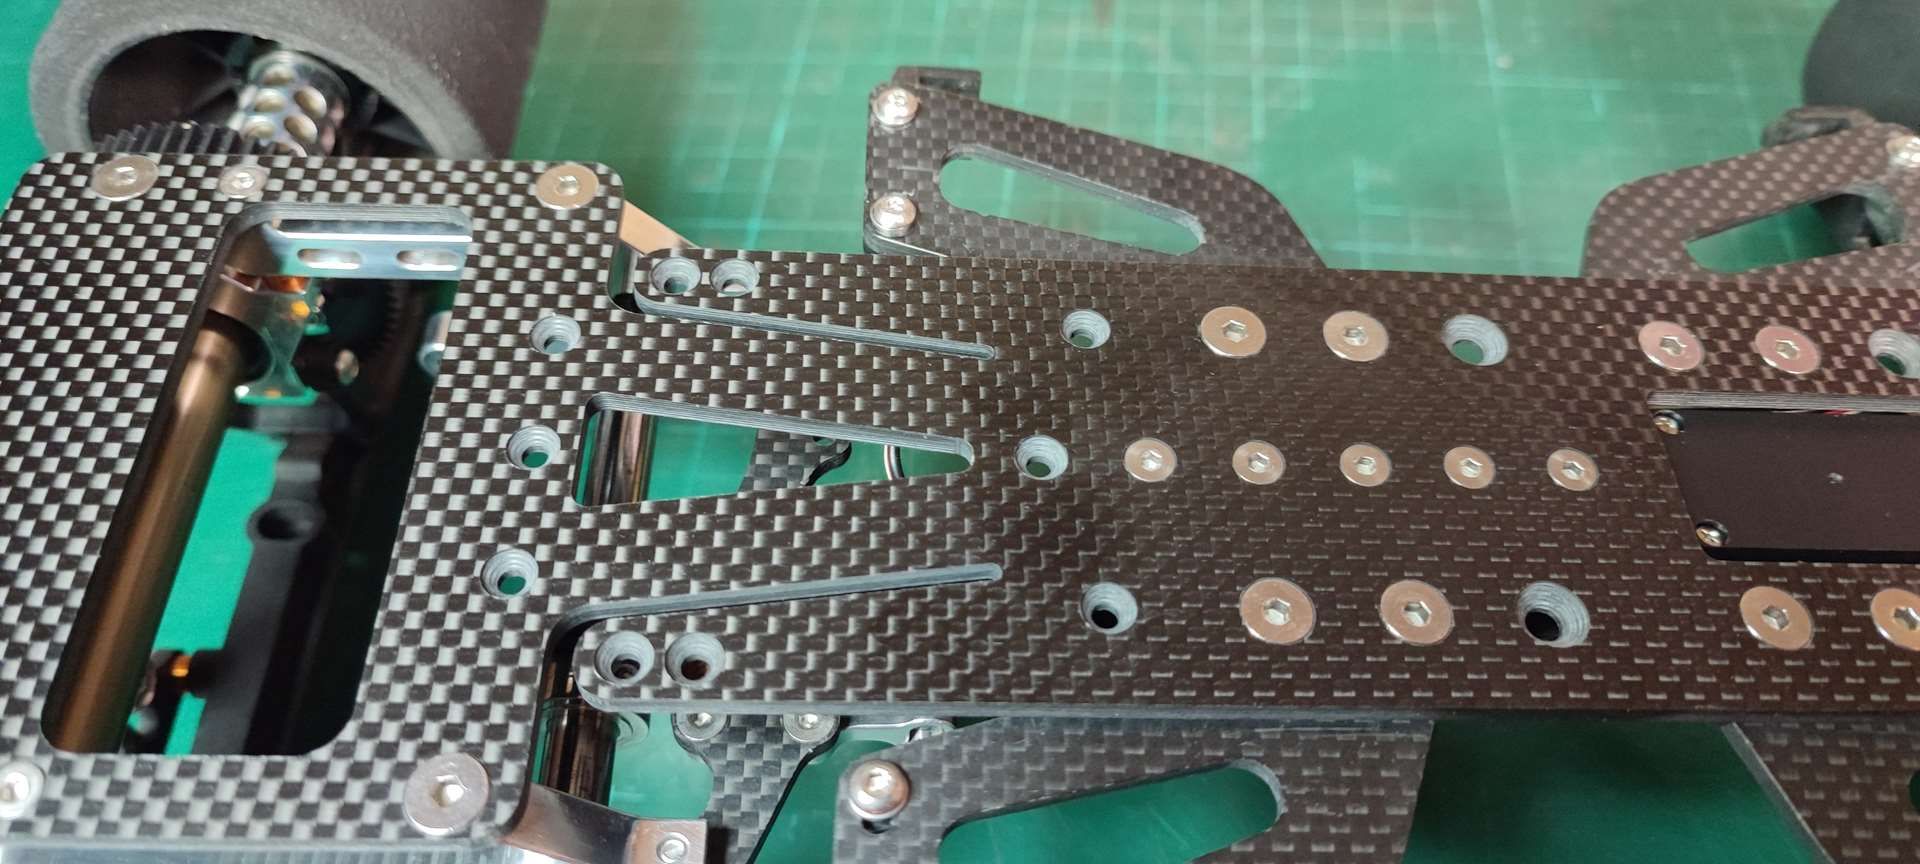
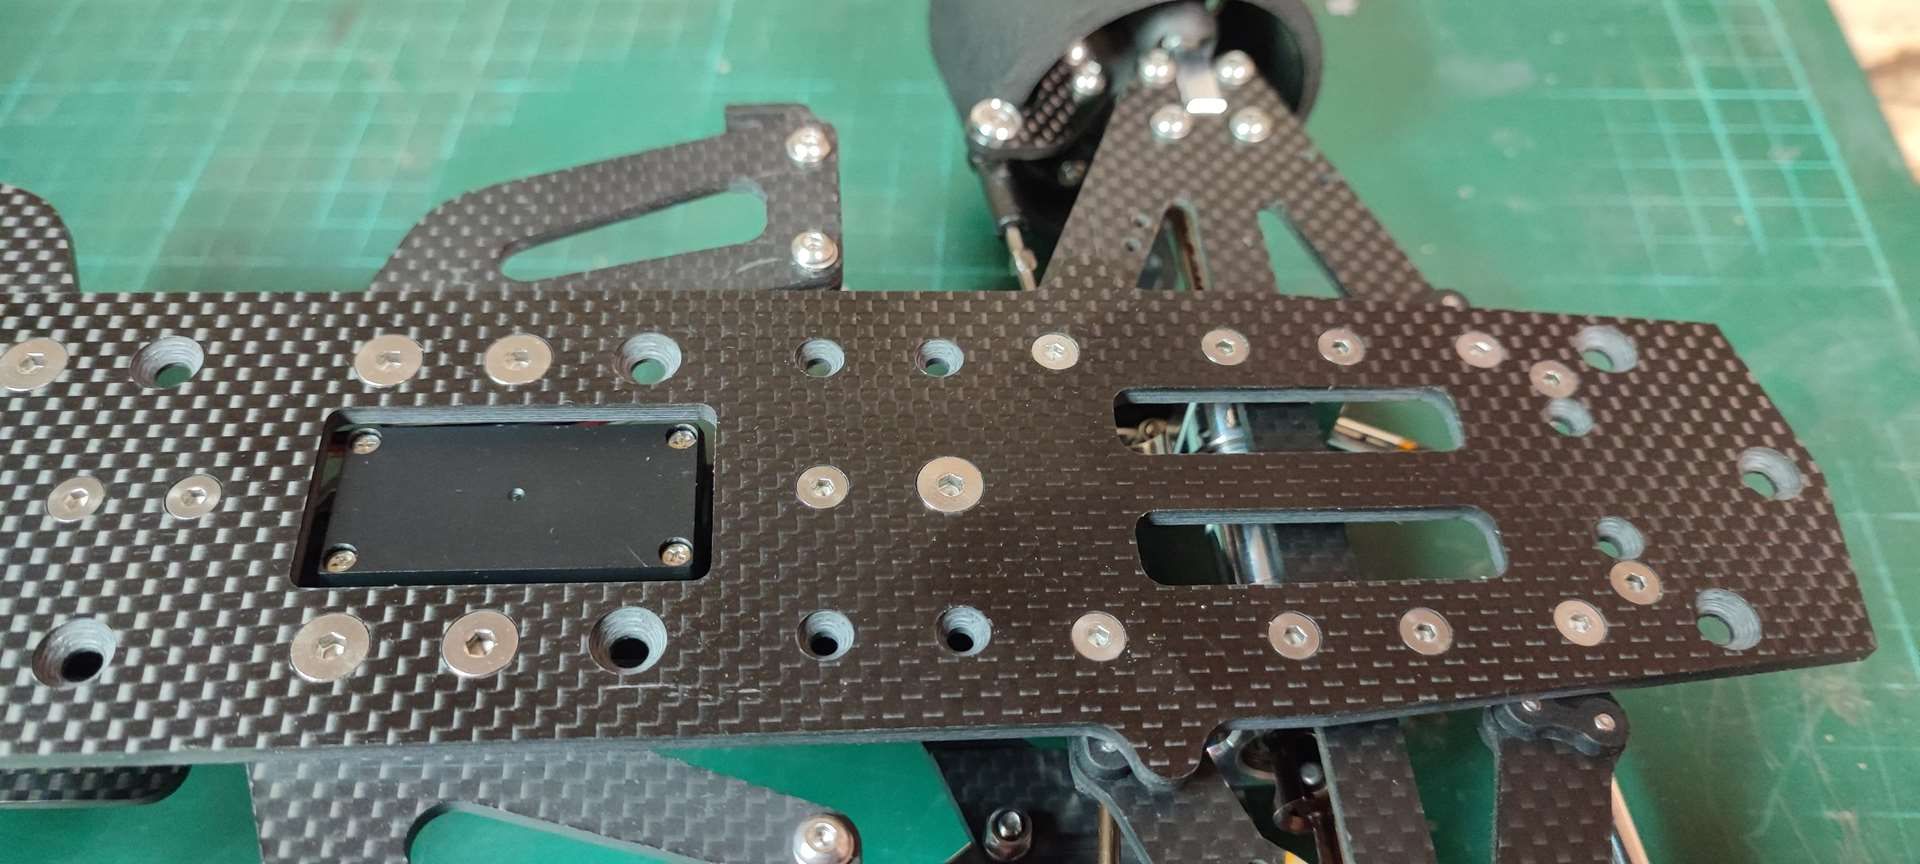
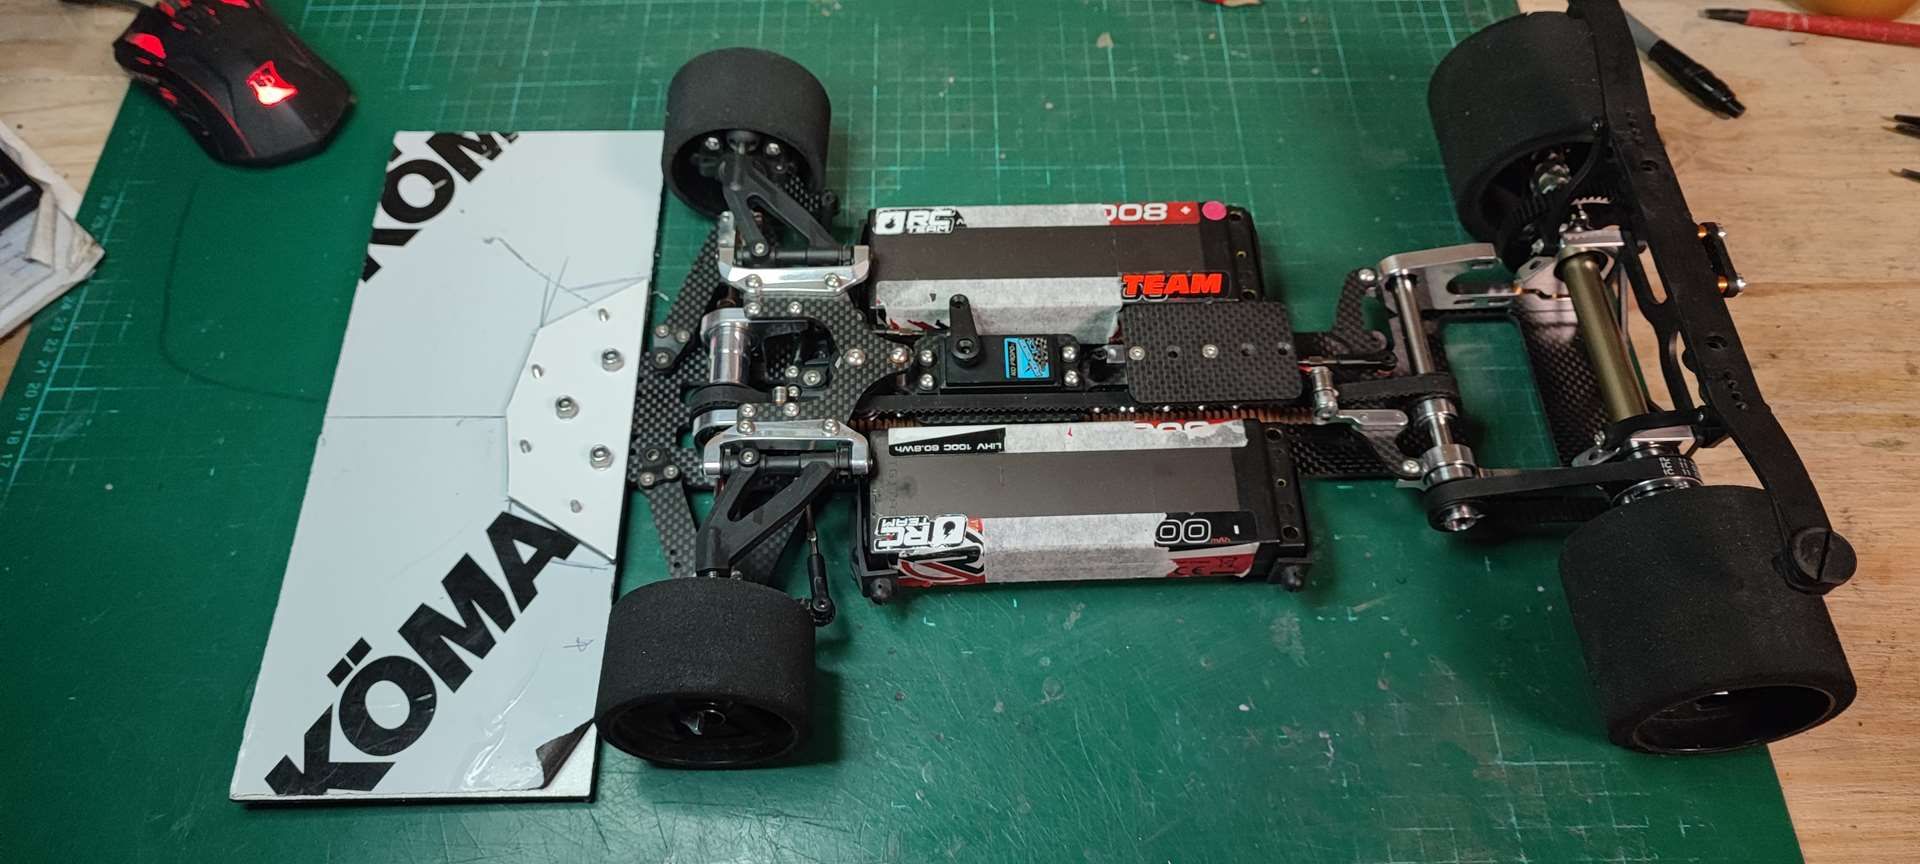
This chassis looks like it has been run a lot, mechanical parts are pretty sane and in good condition, the damage is mainly visual.


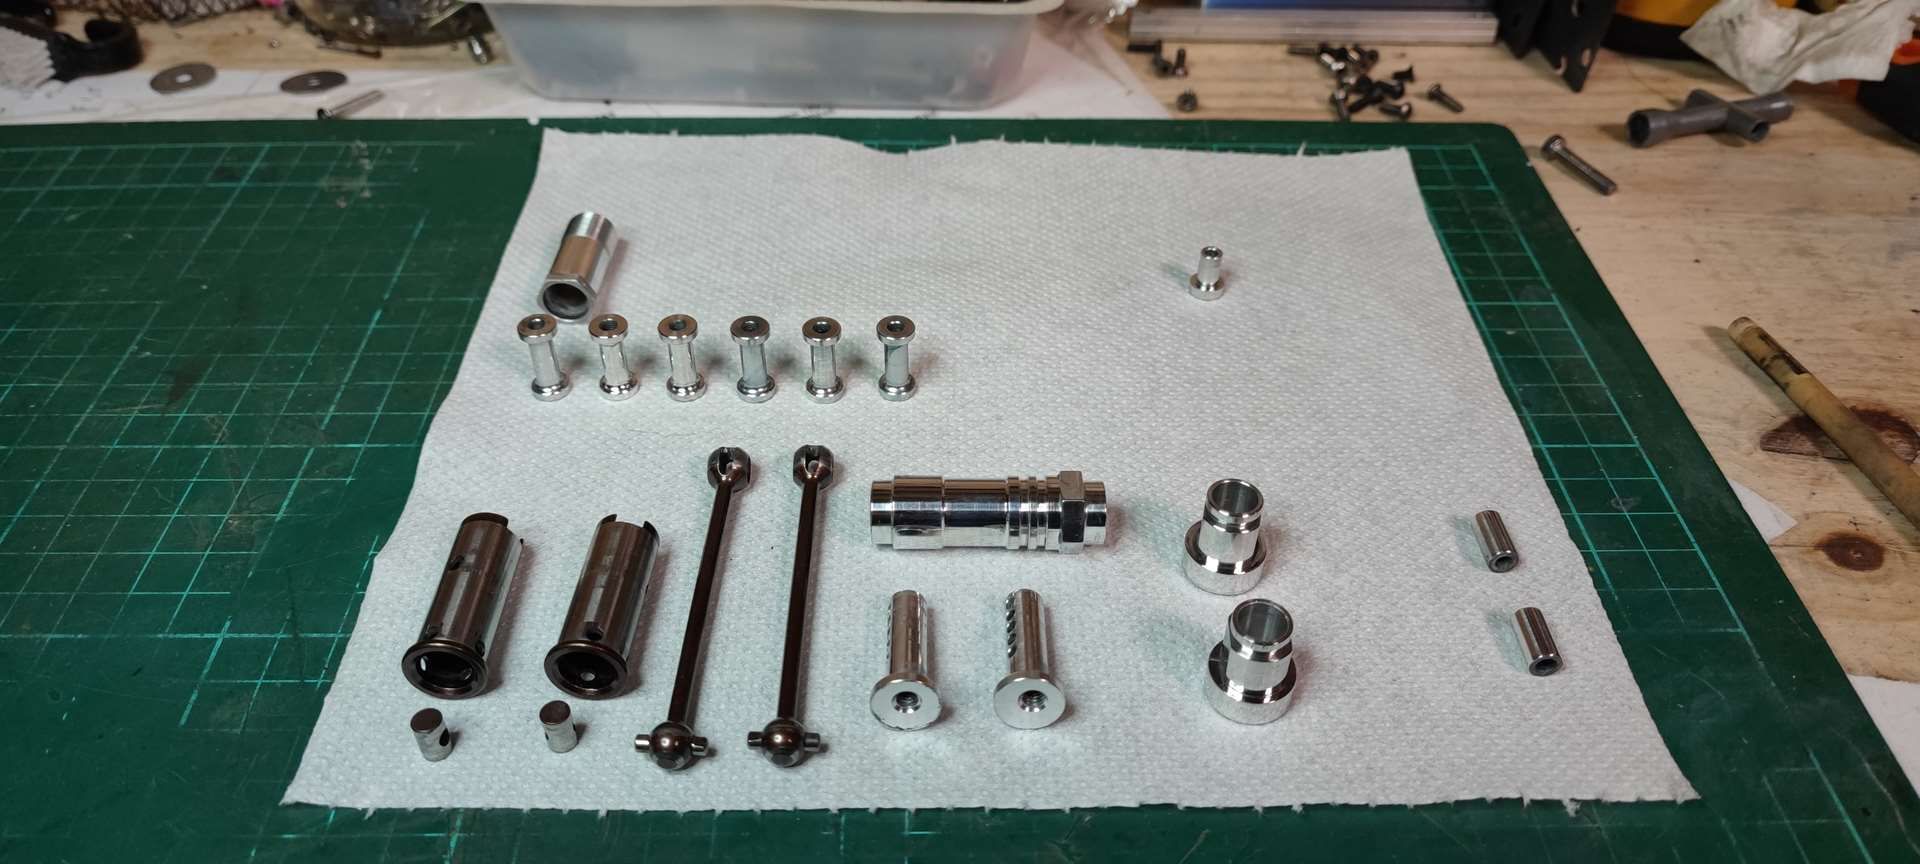
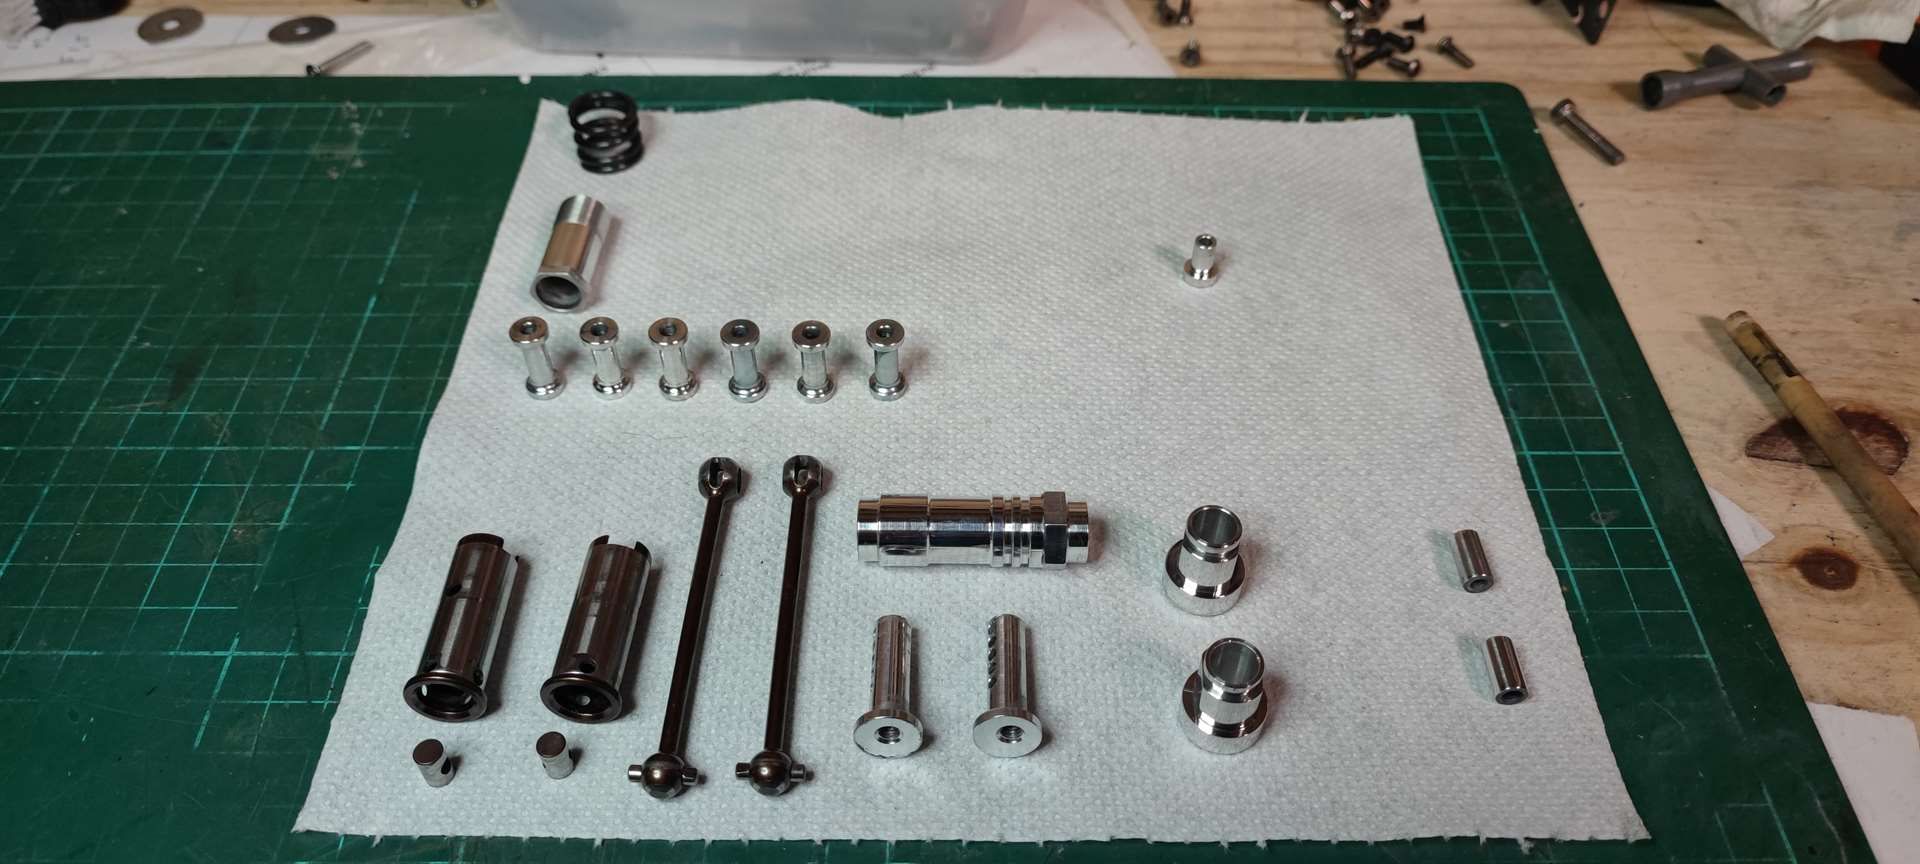
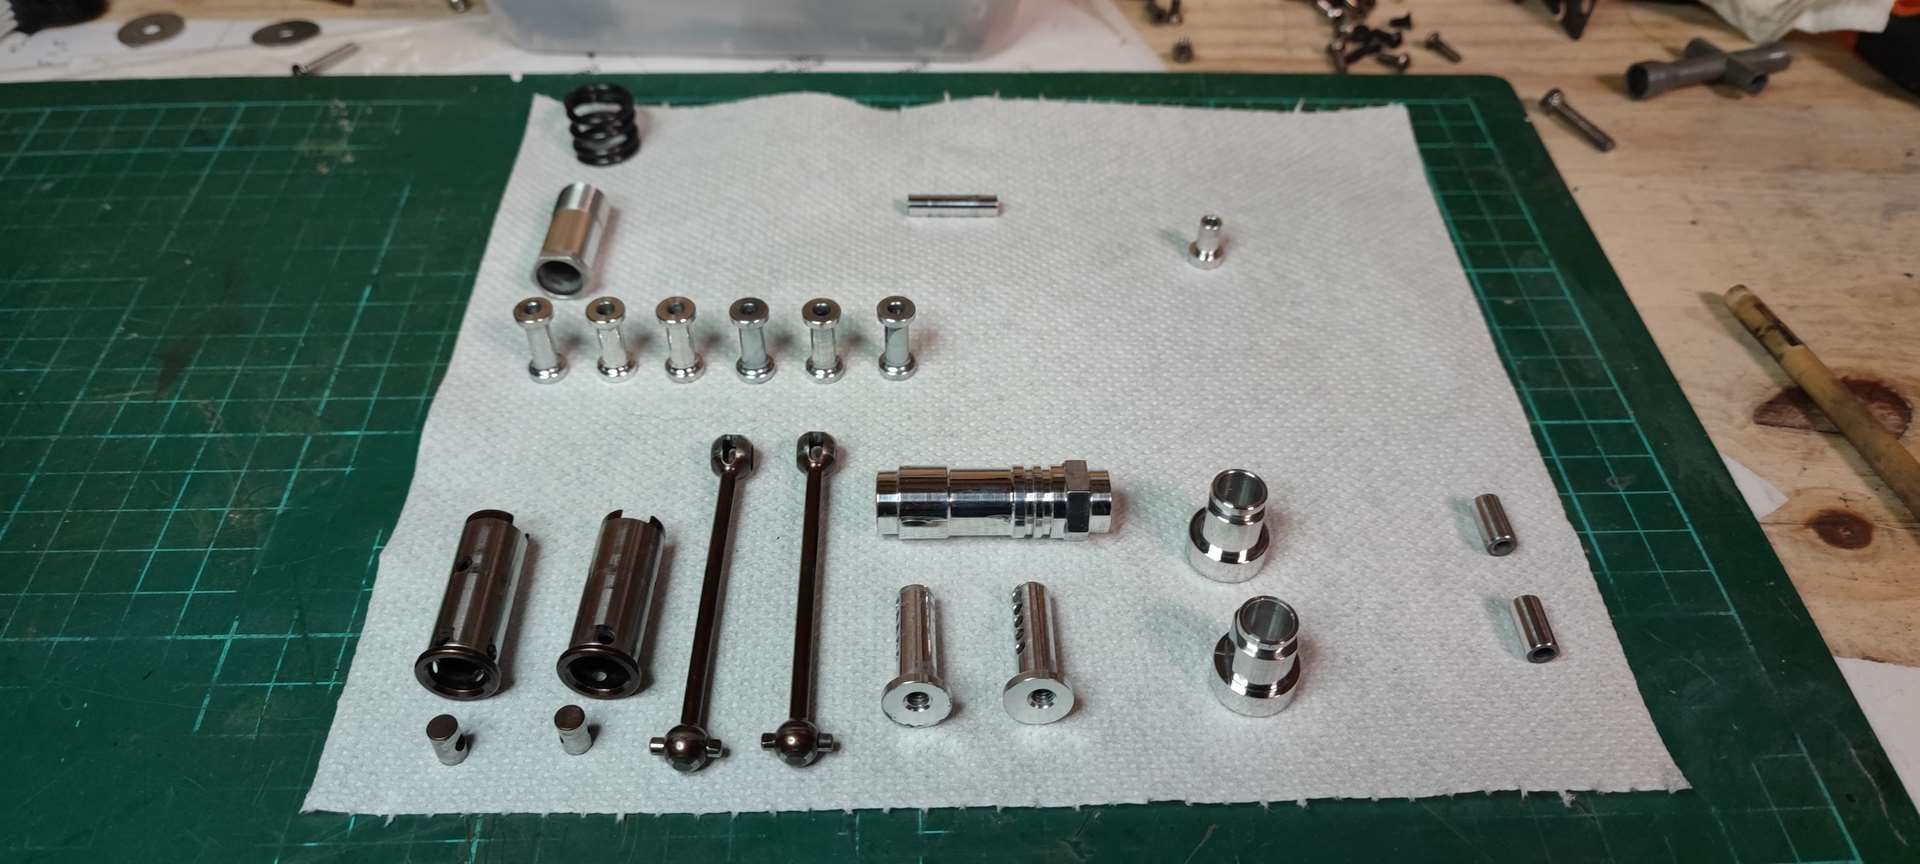
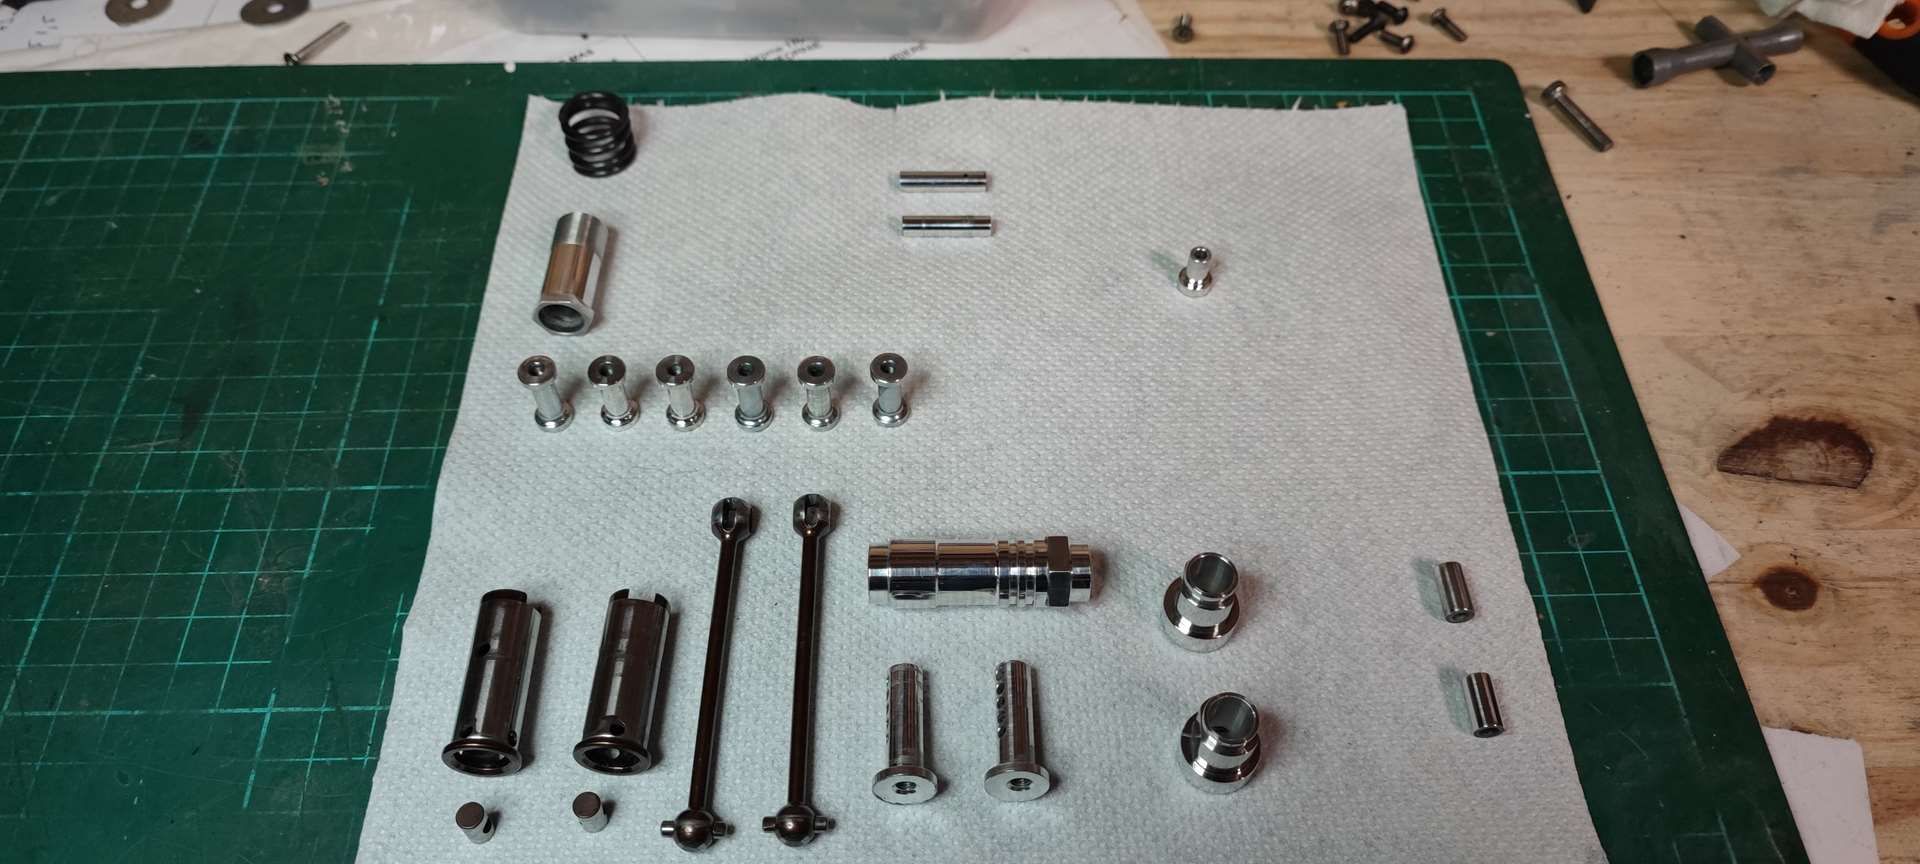
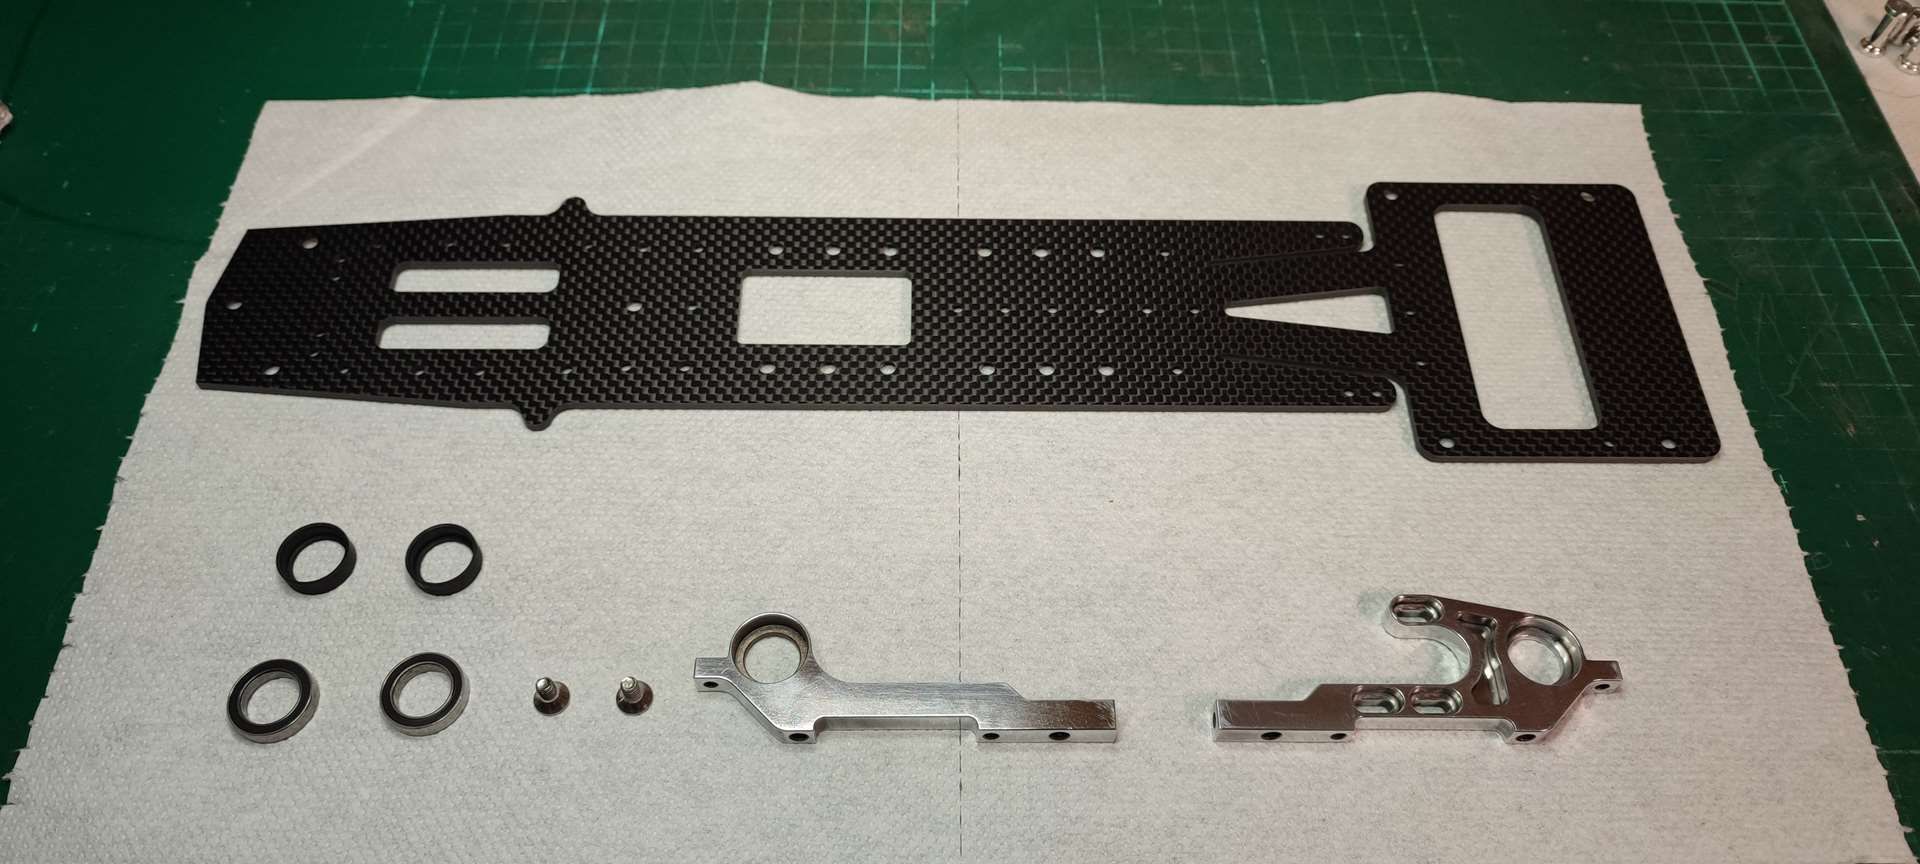
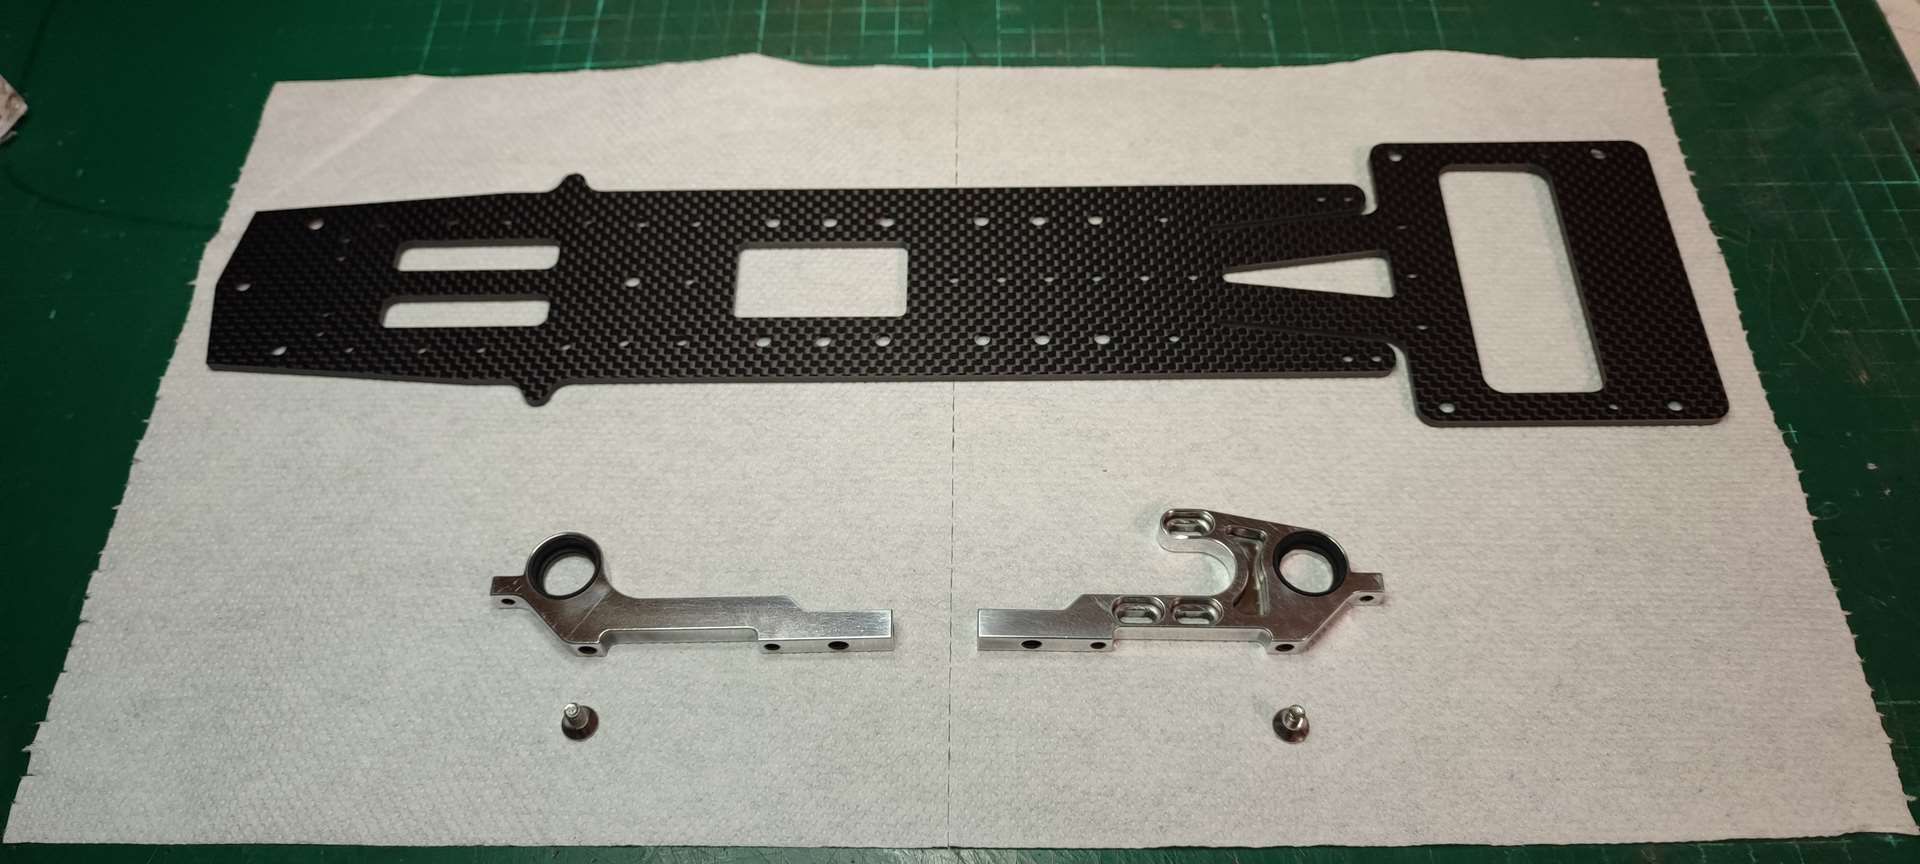
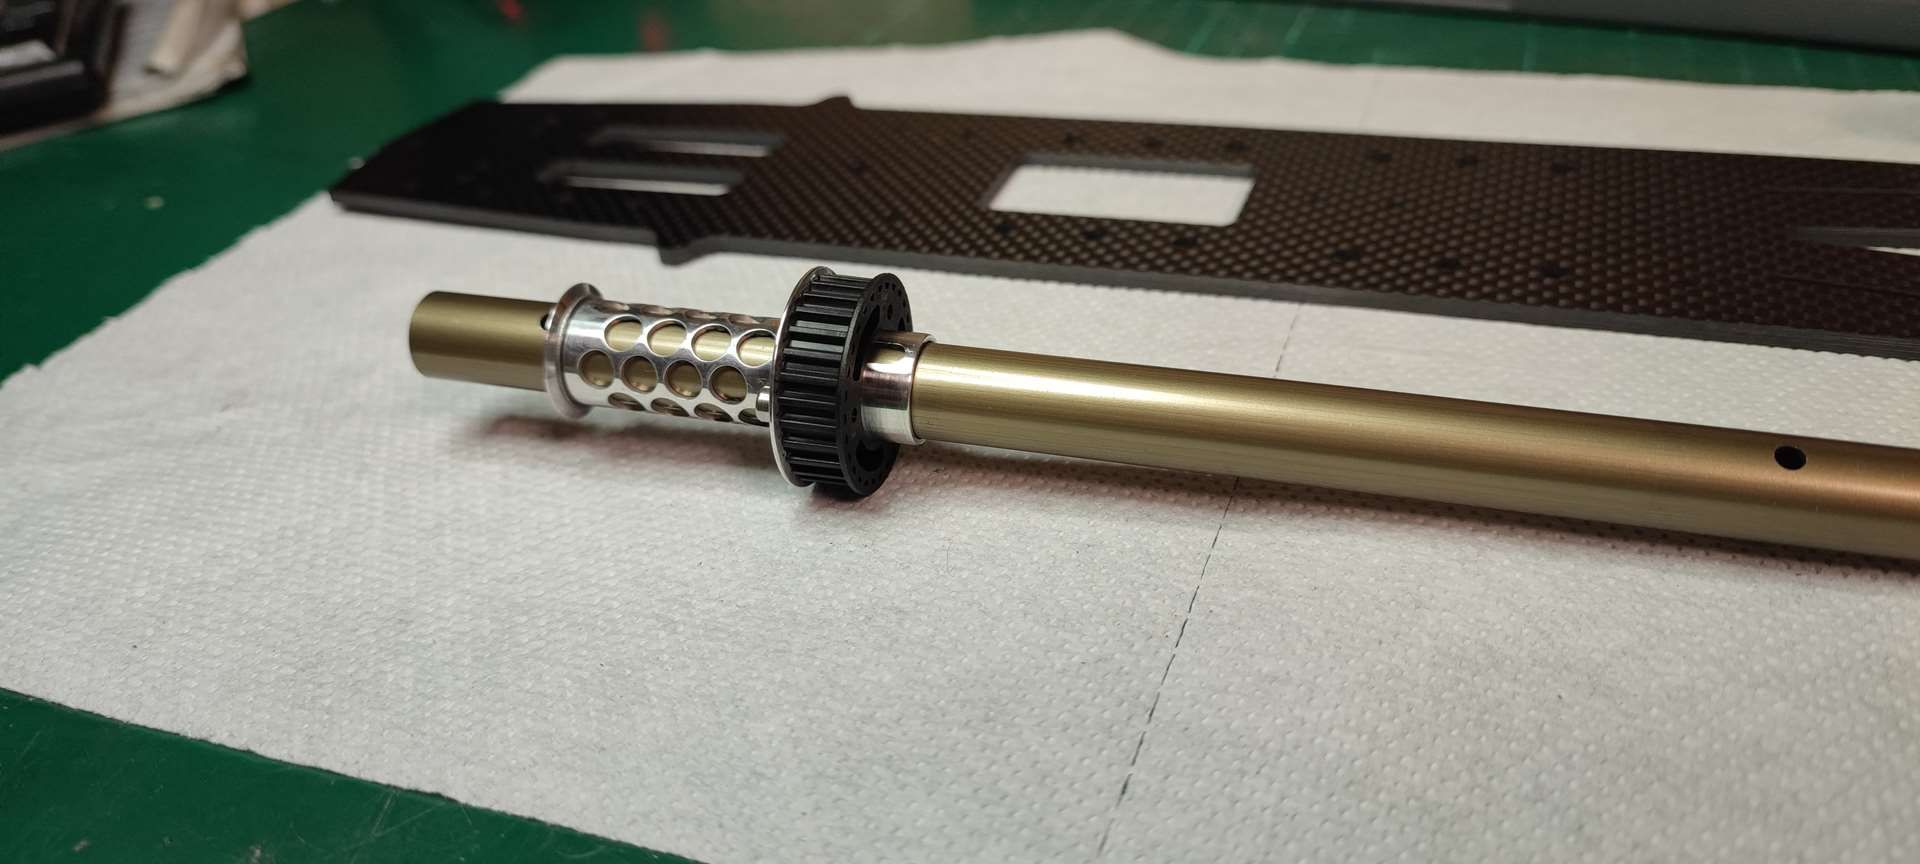
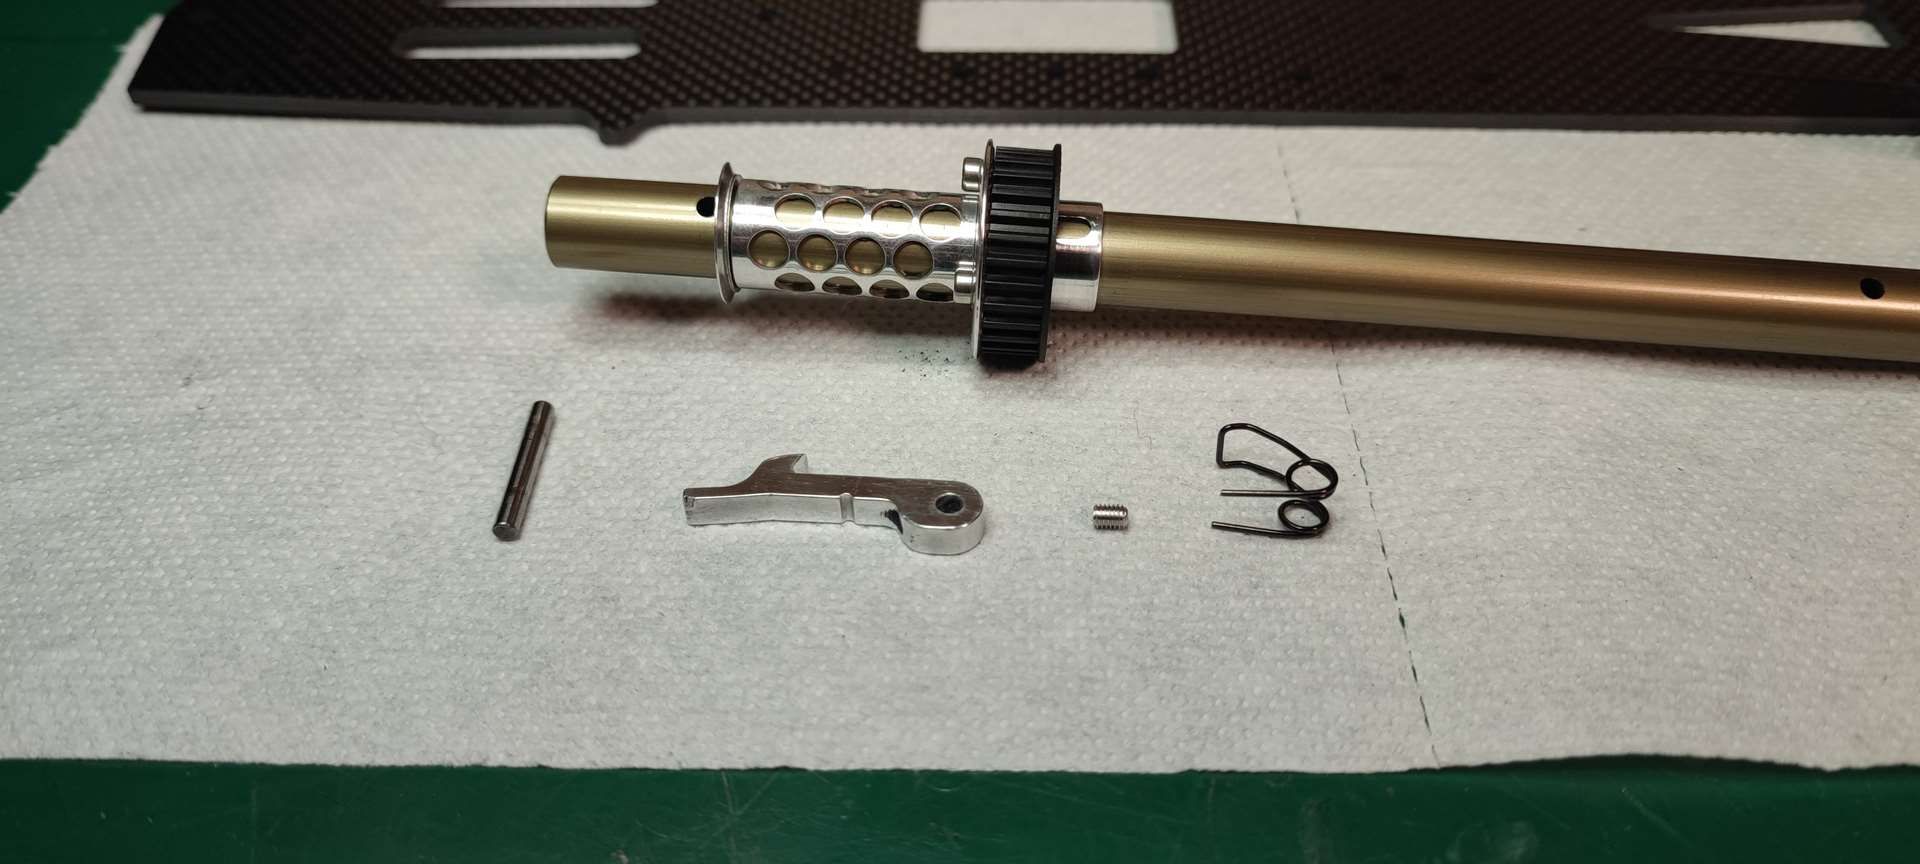
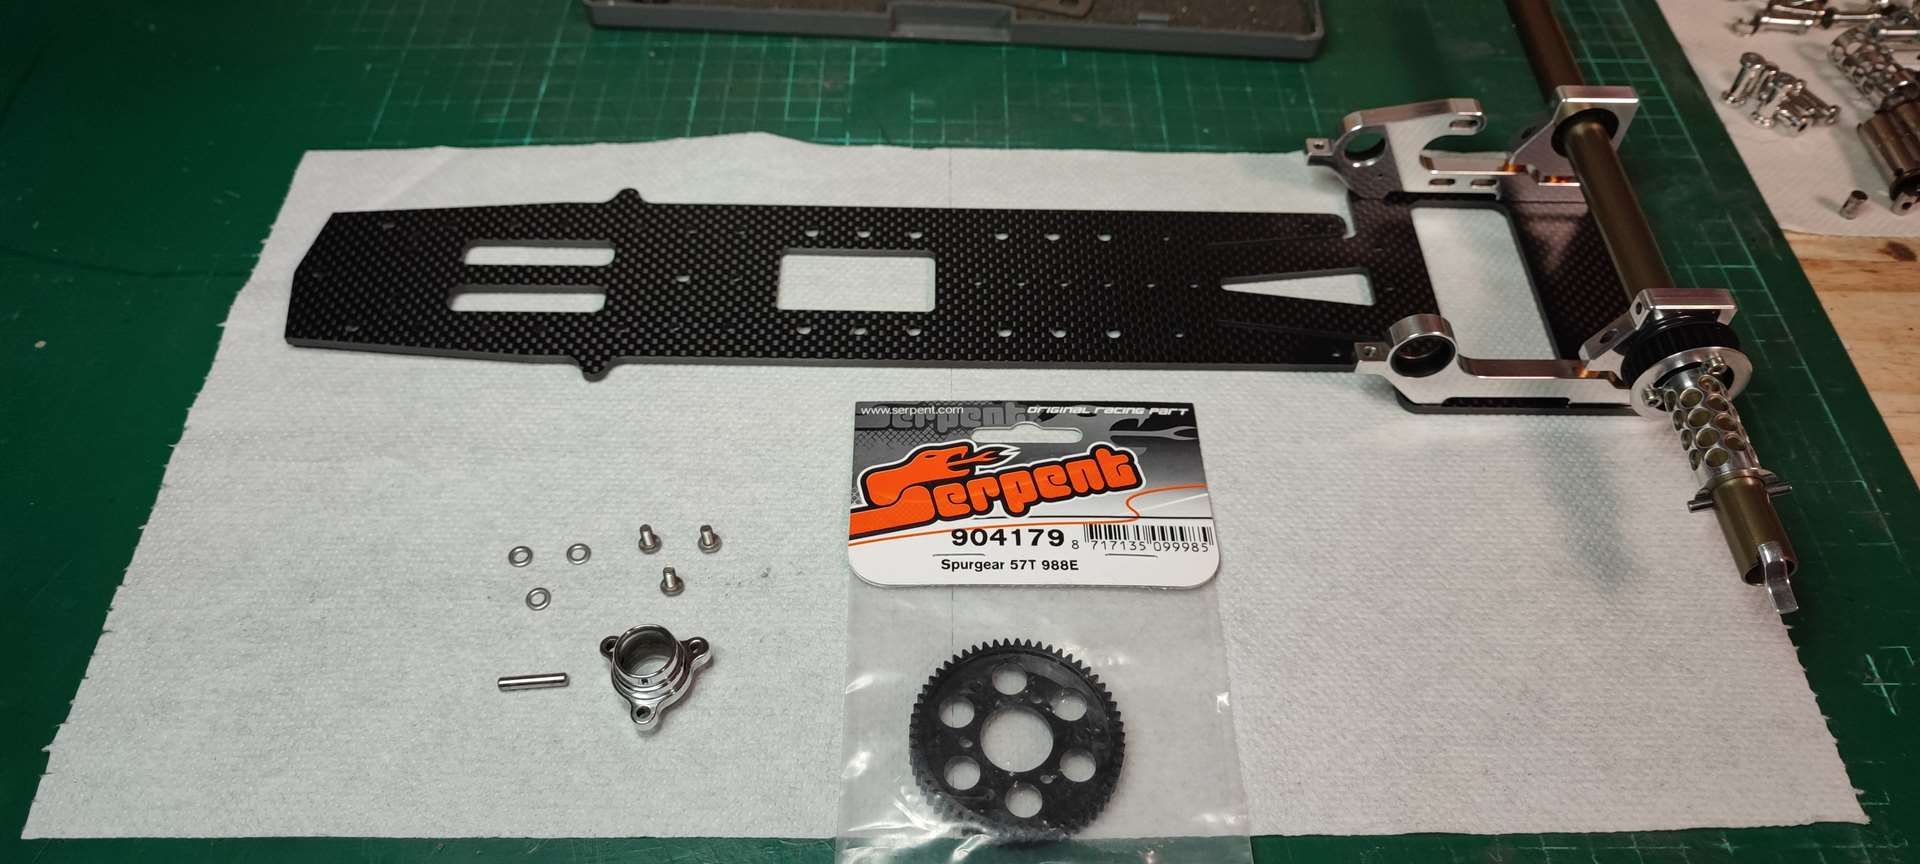
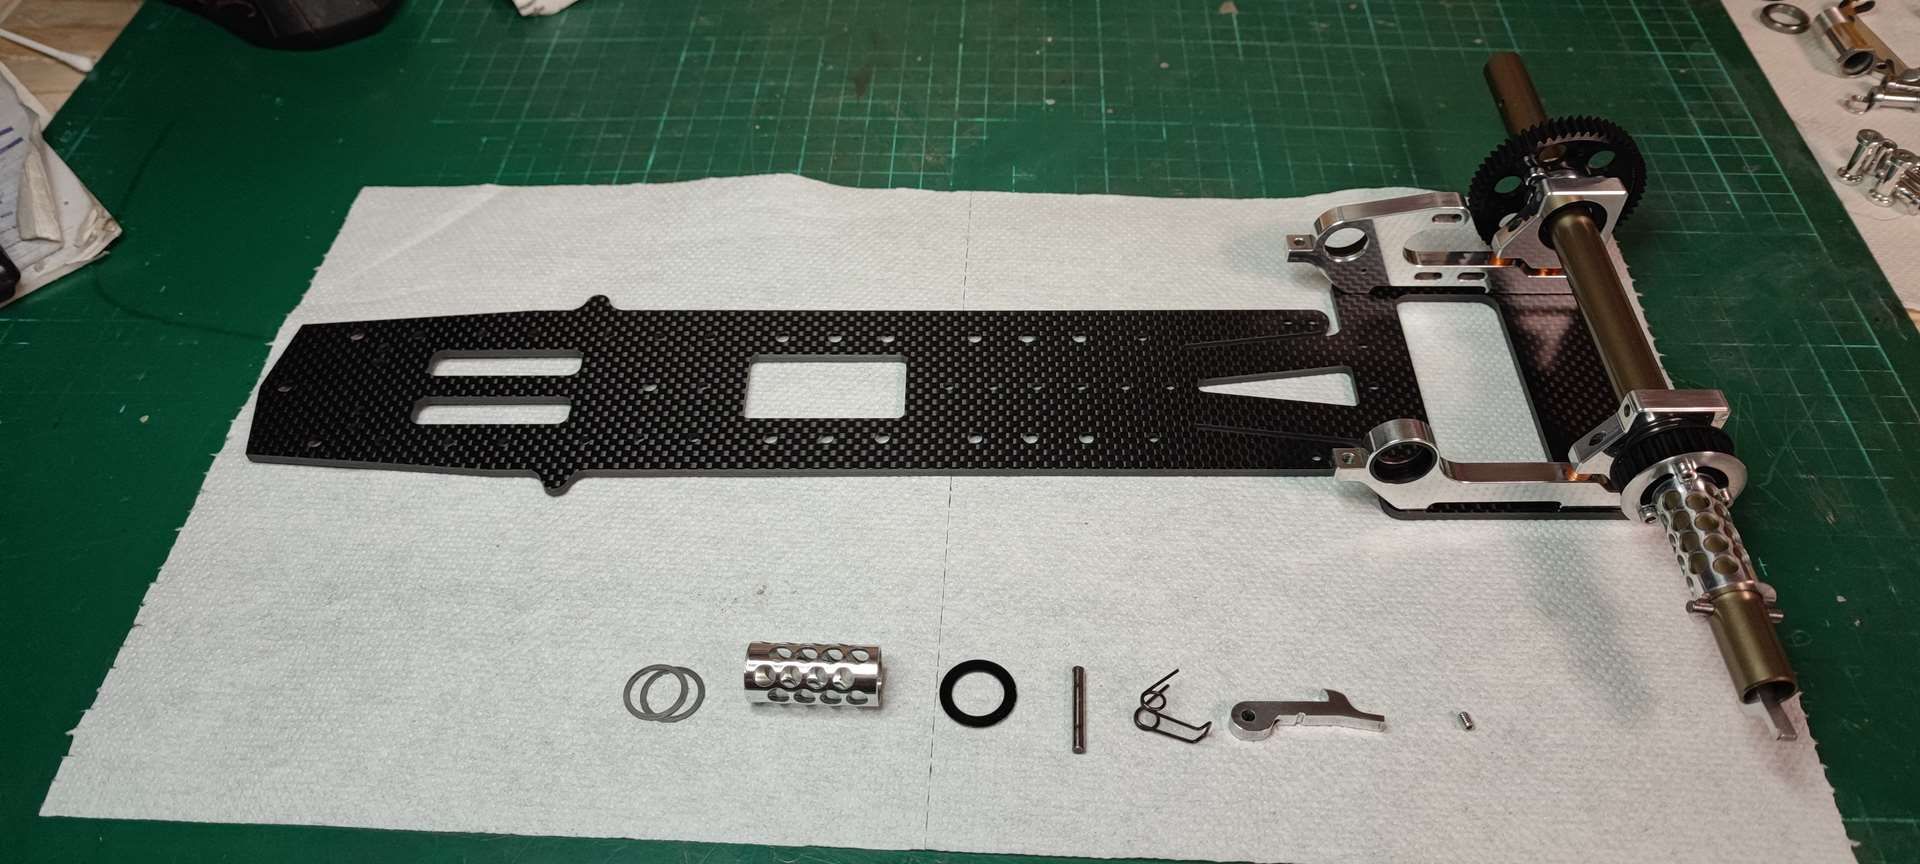
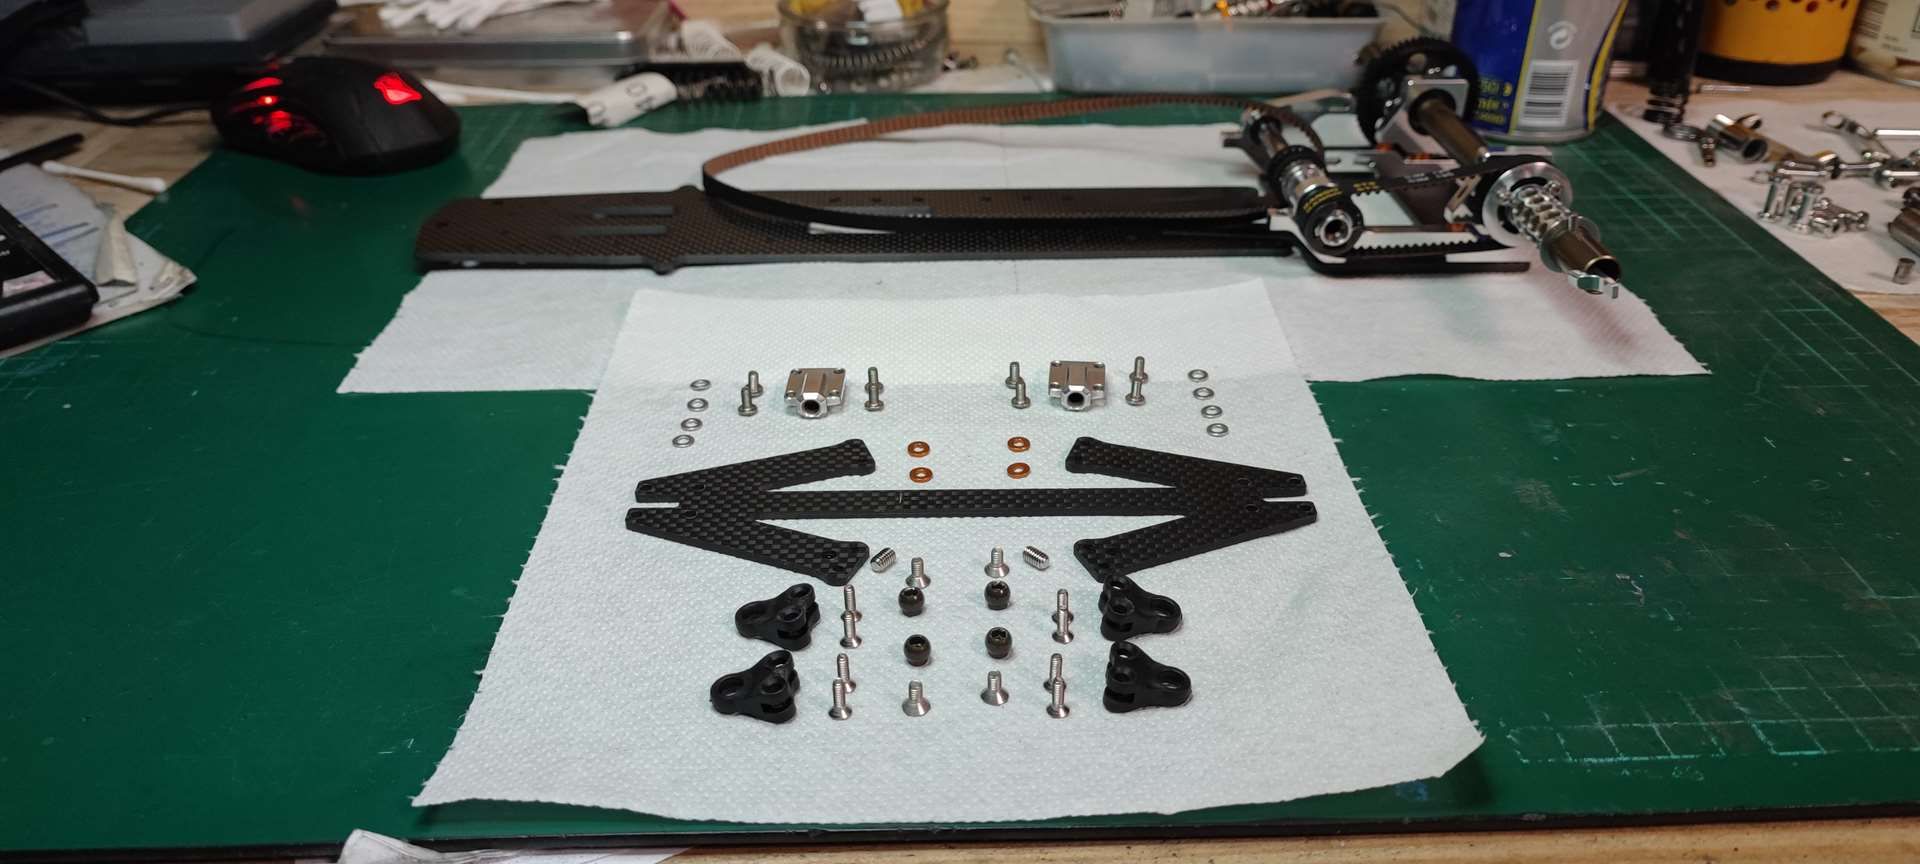
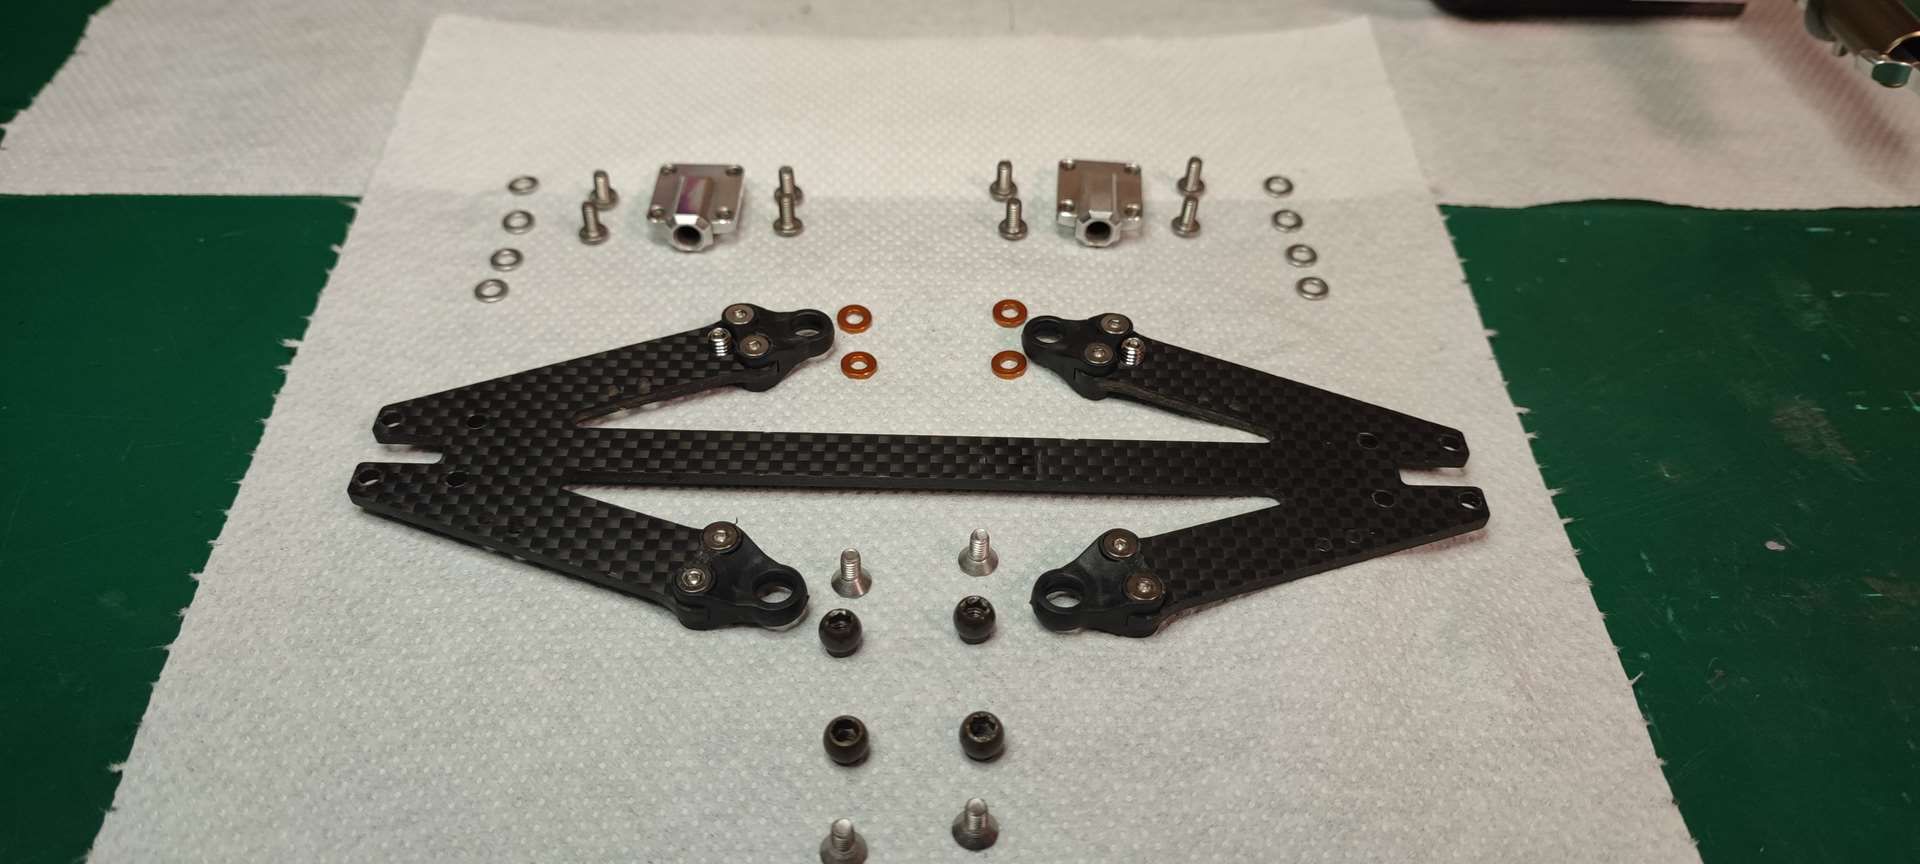
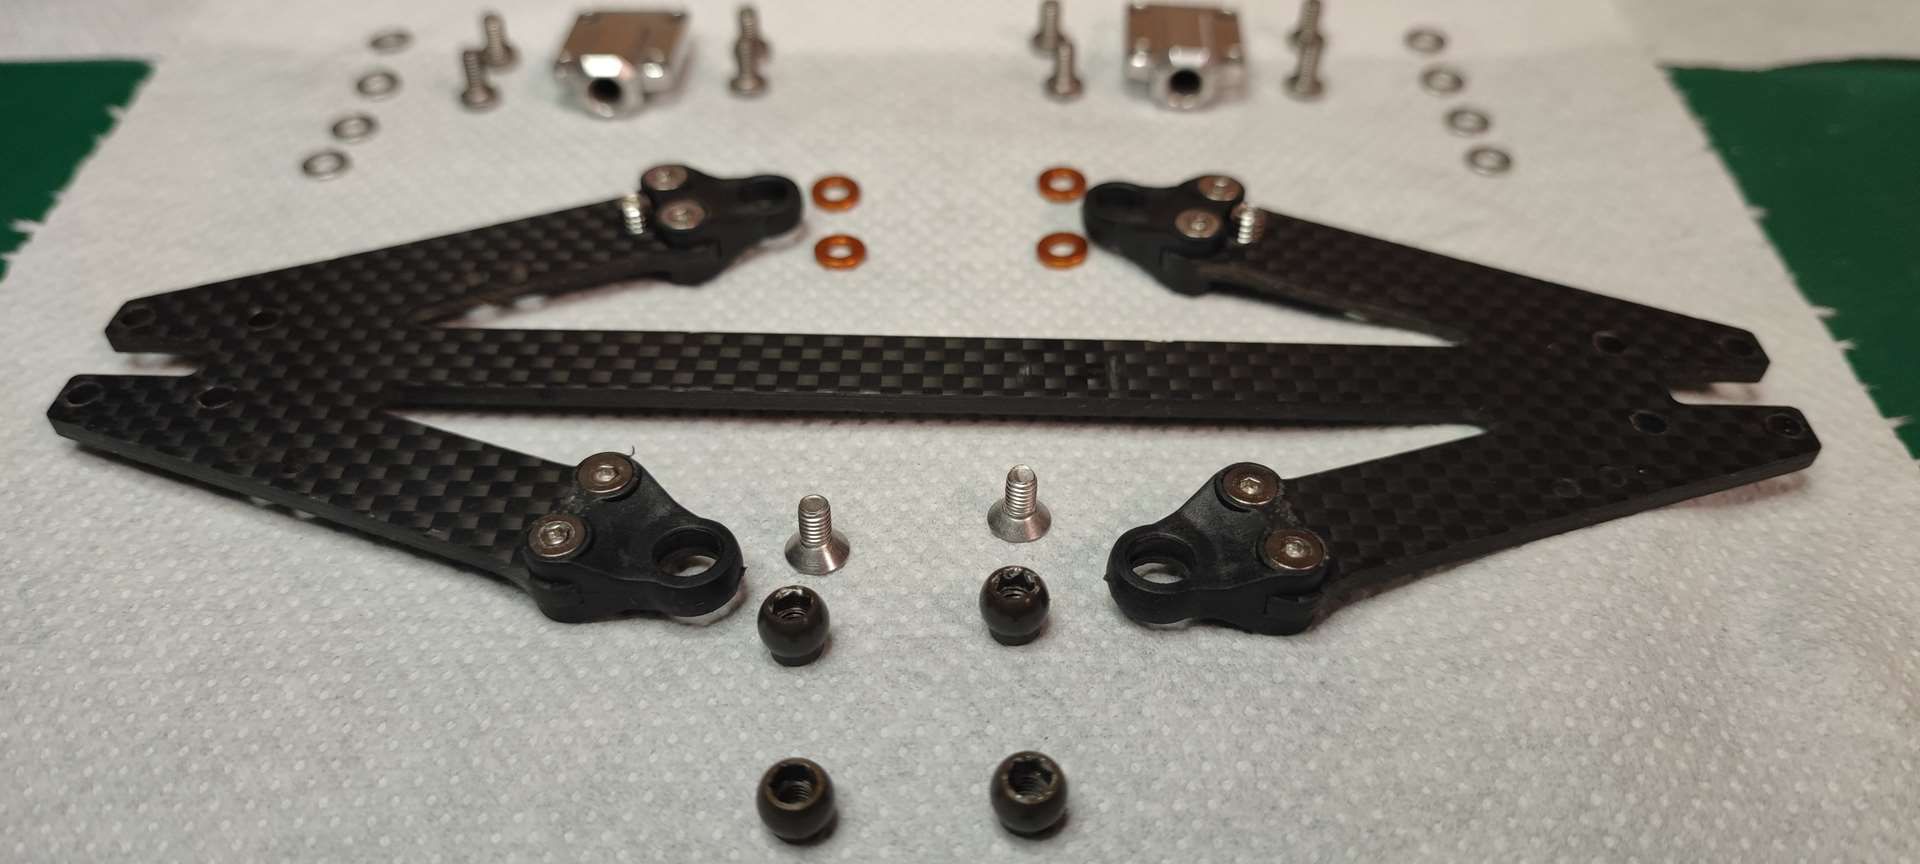
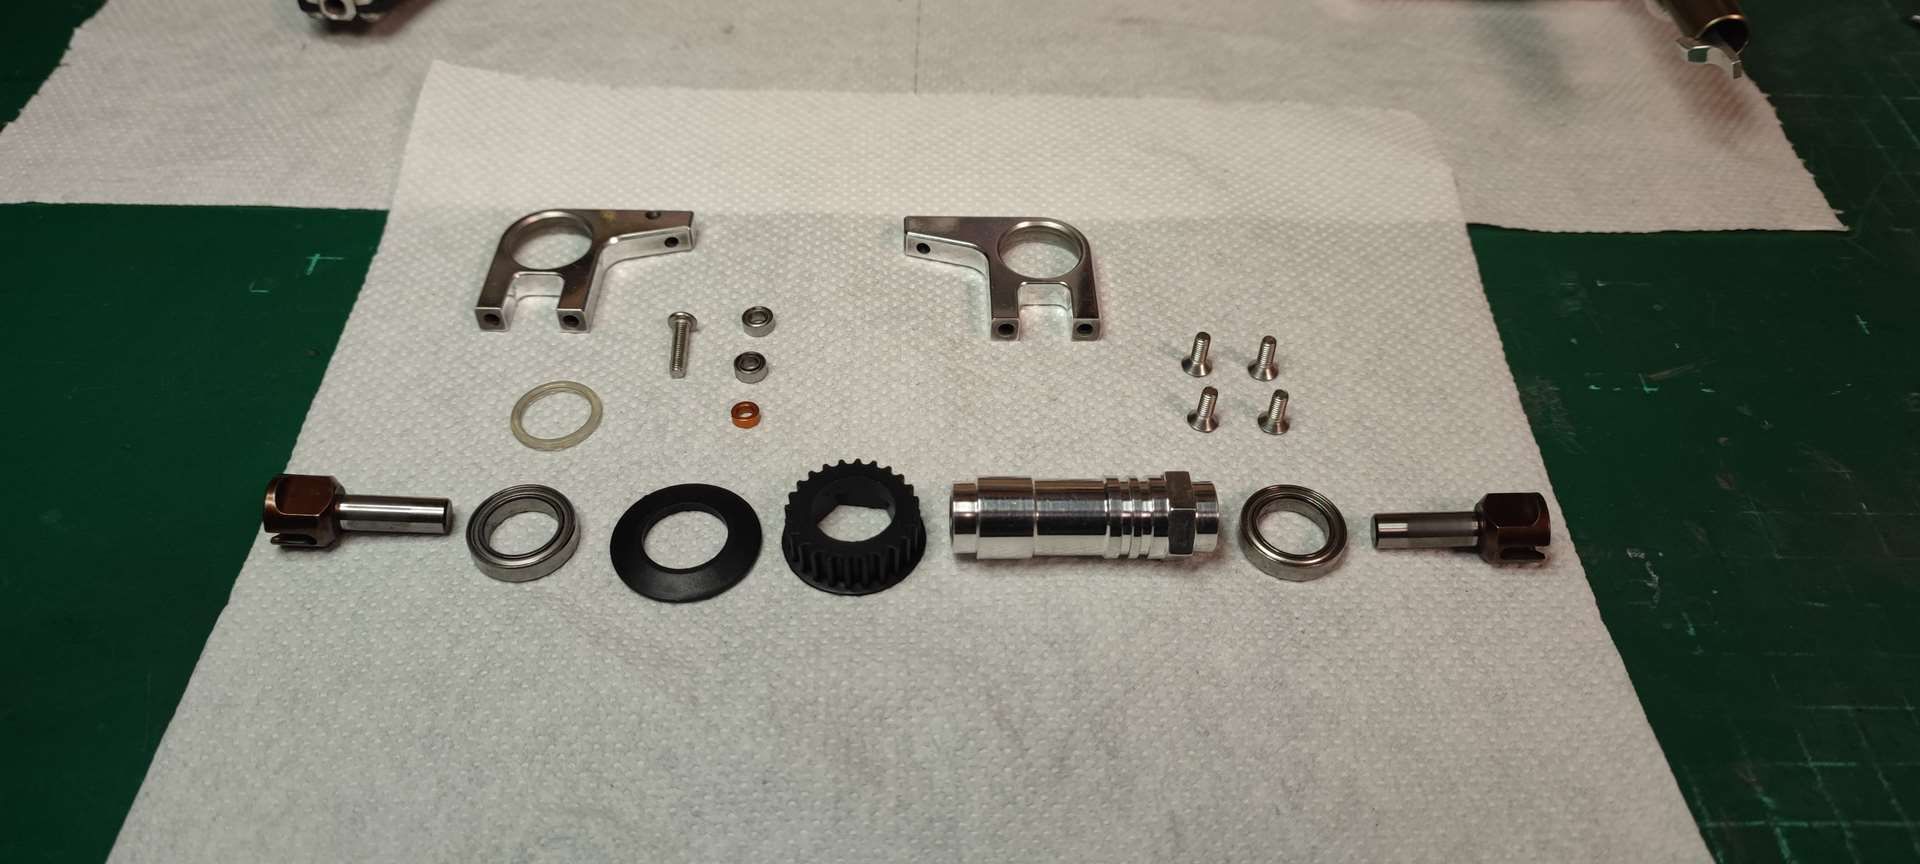
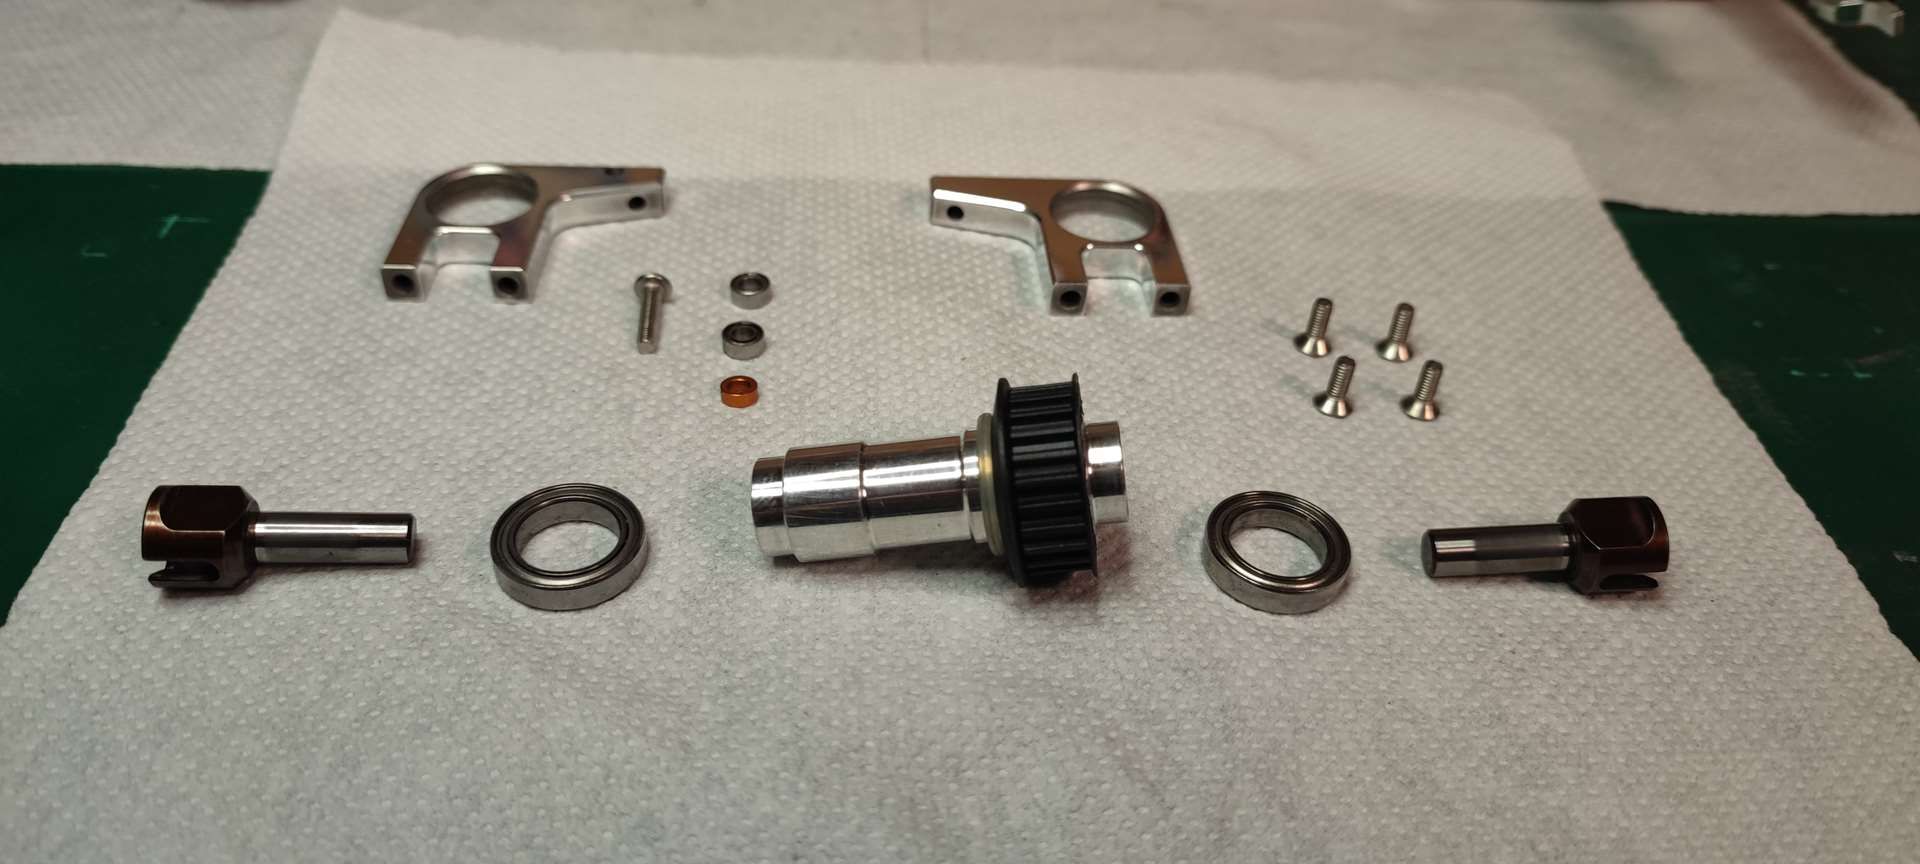
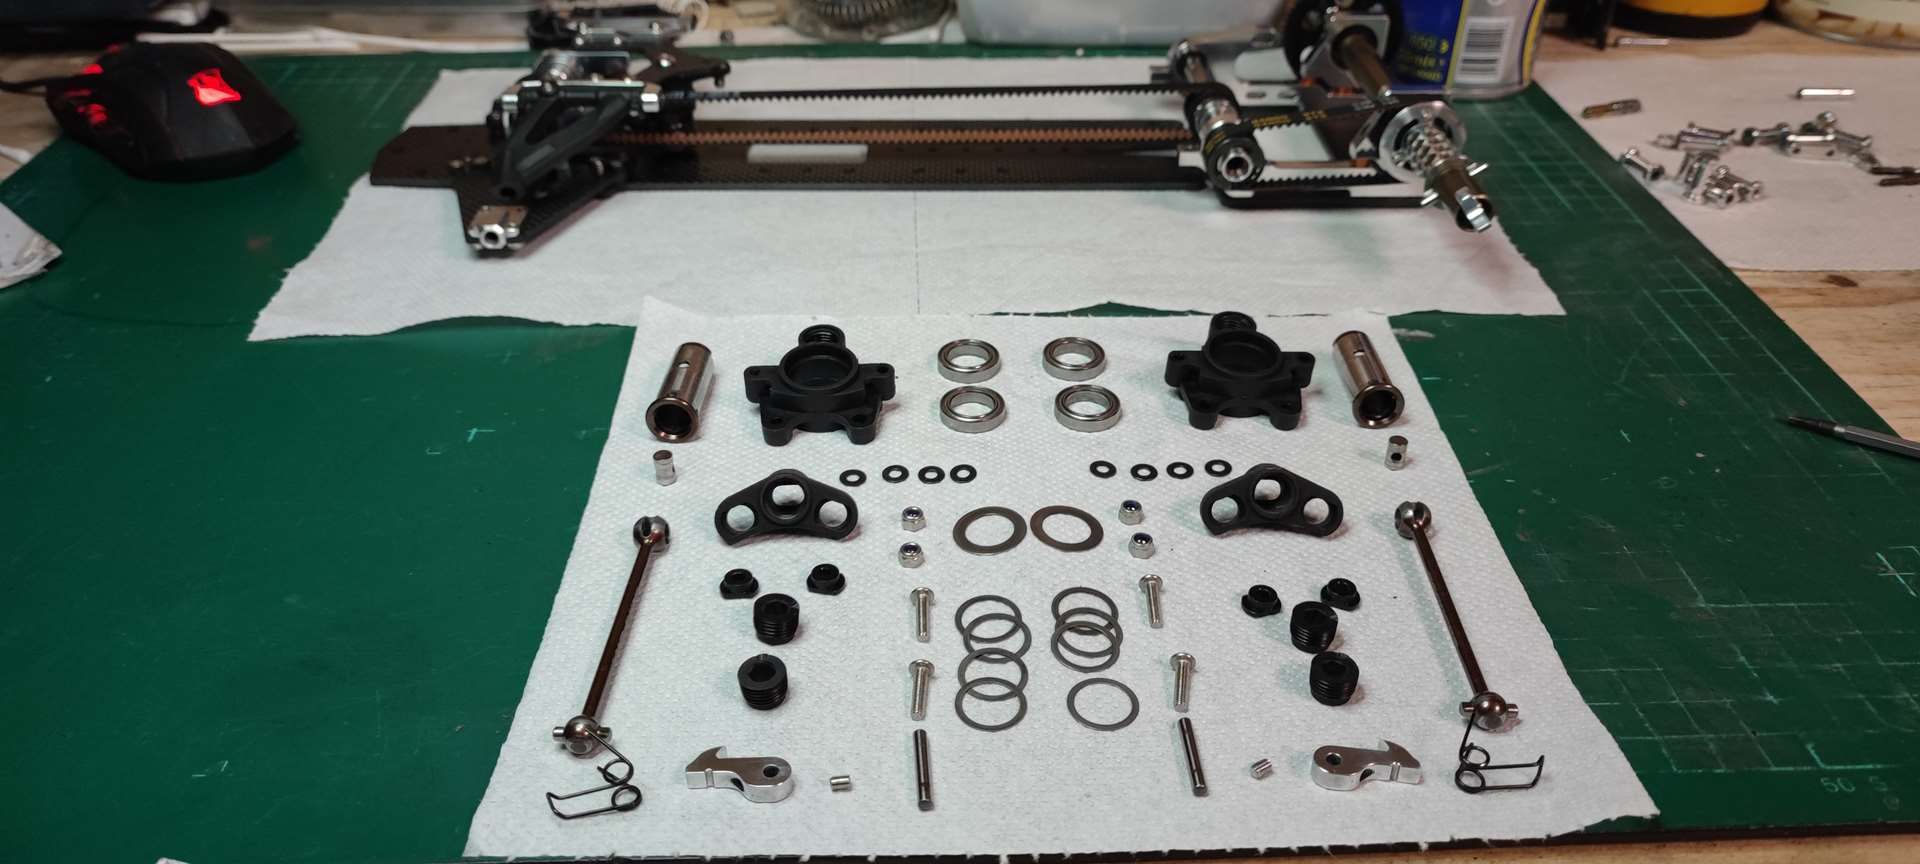
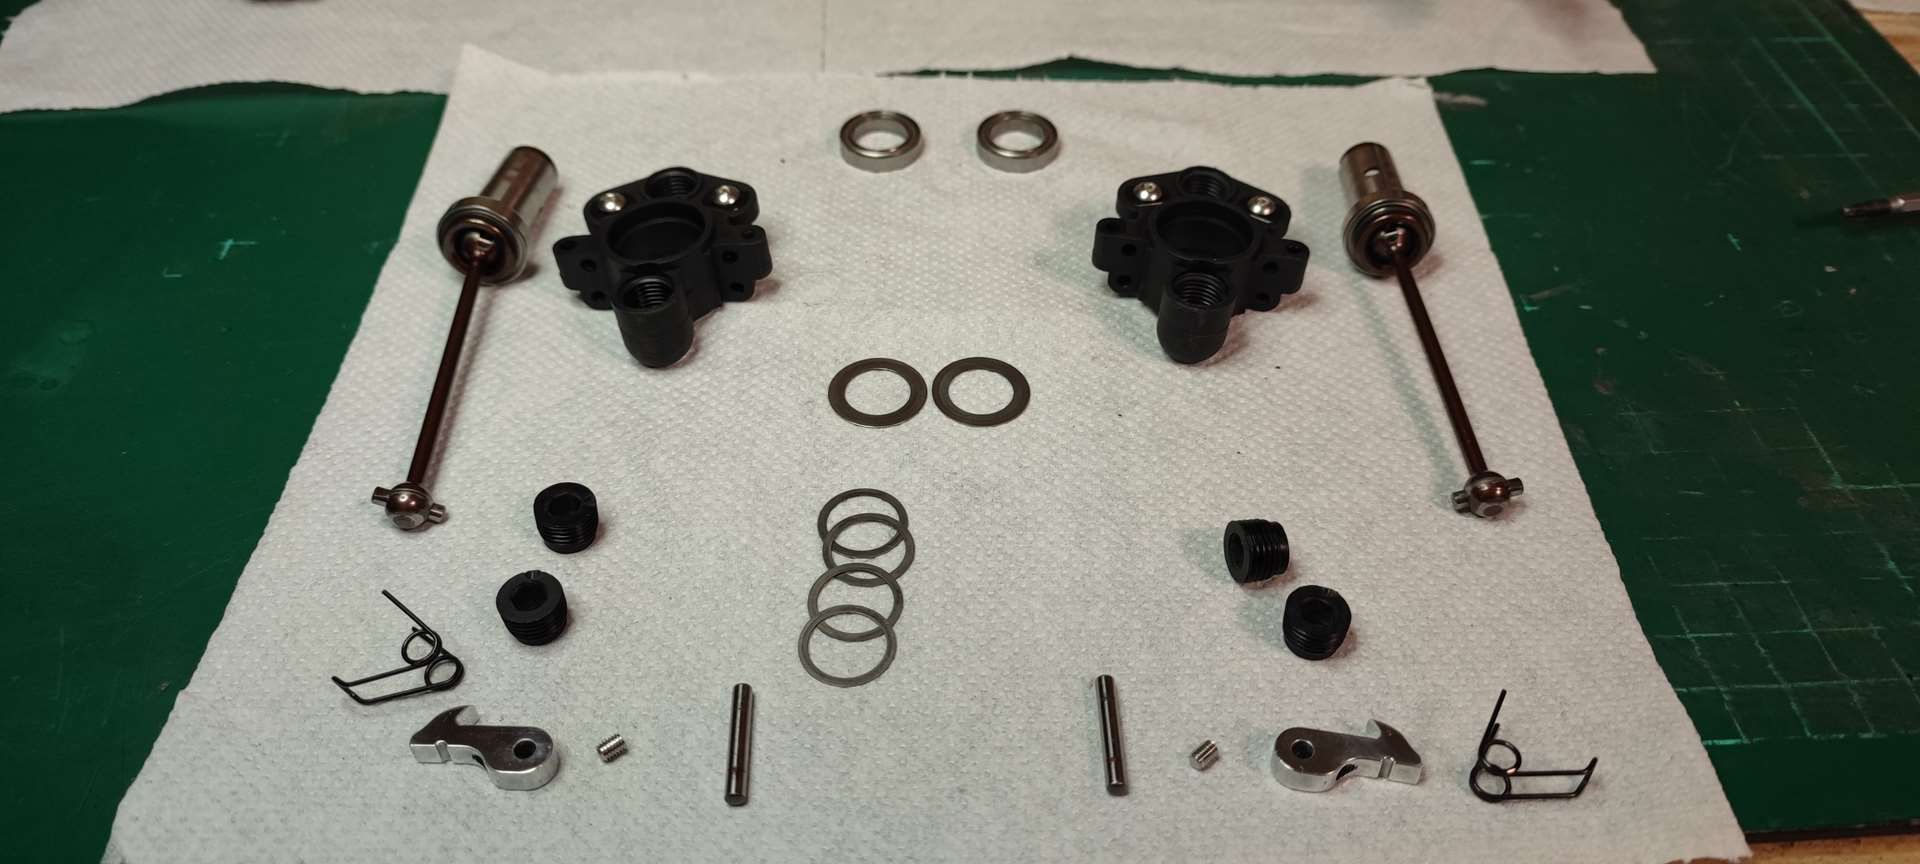
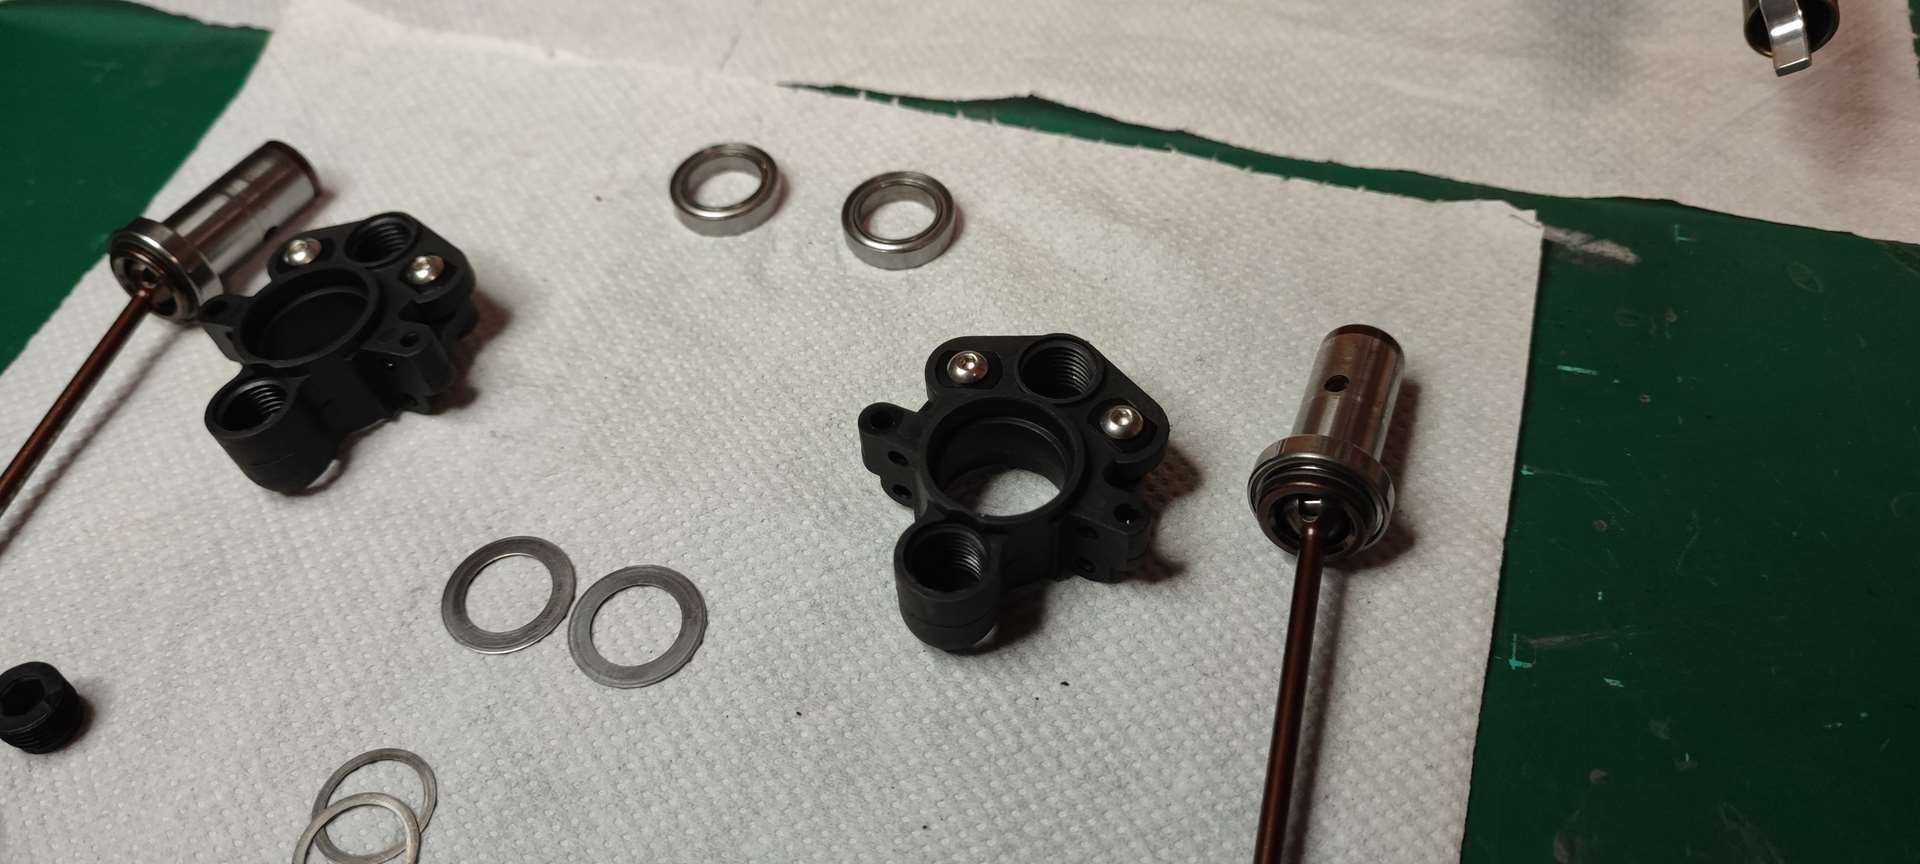
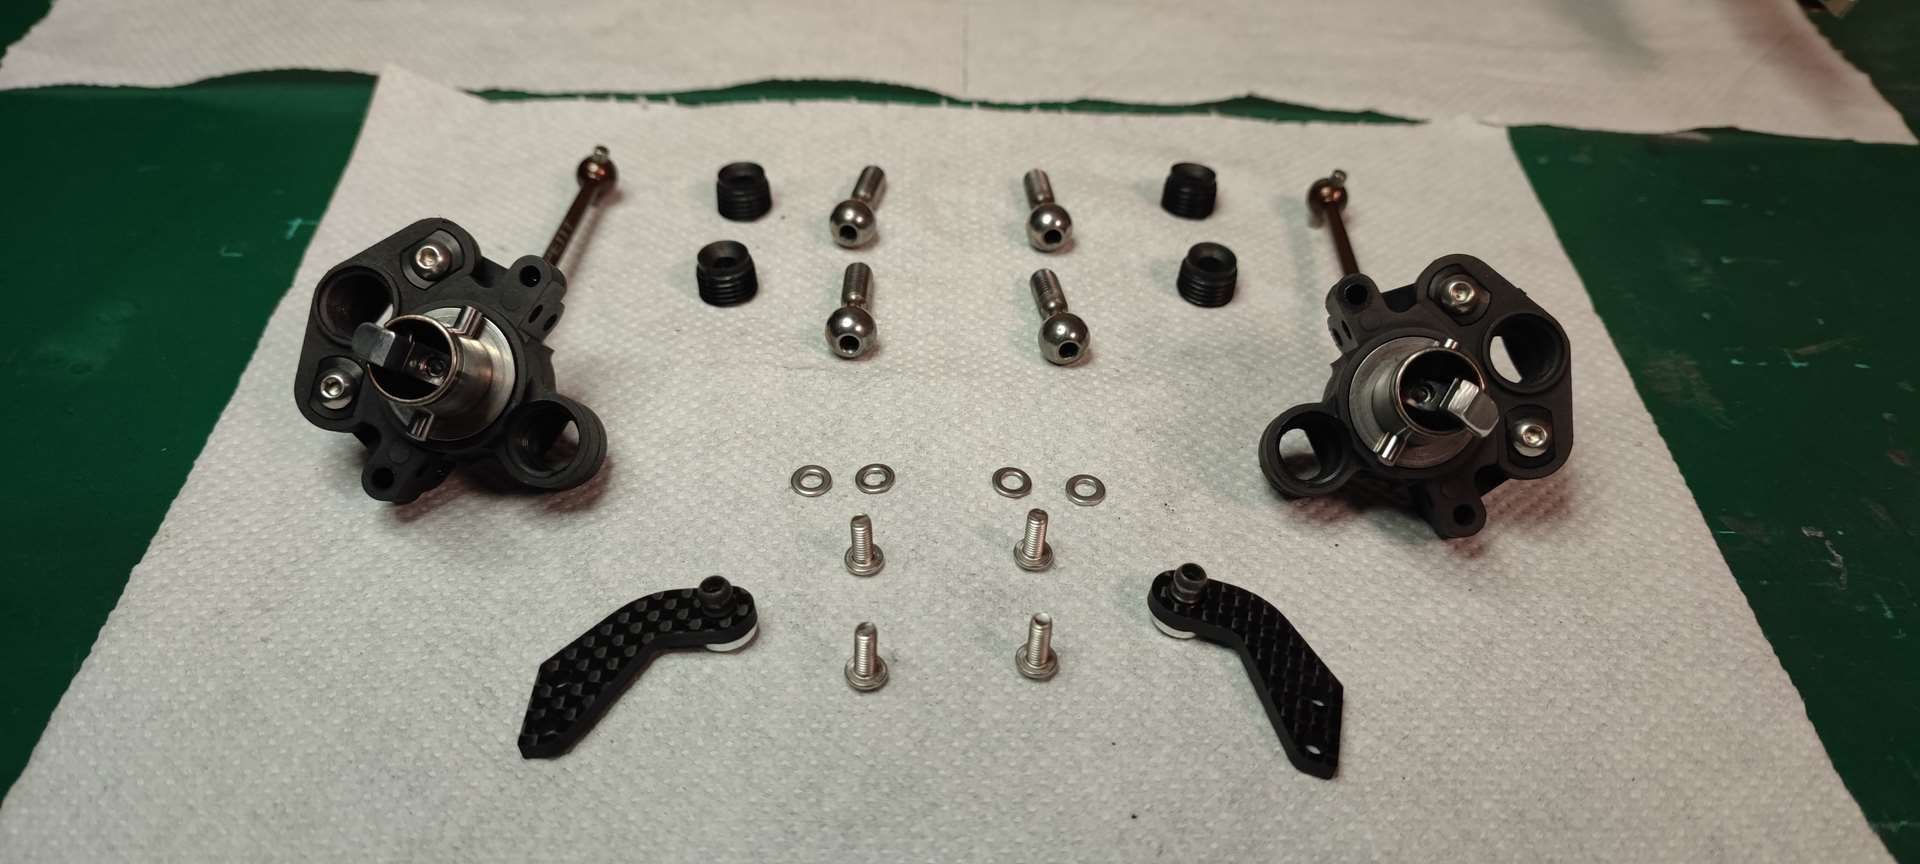
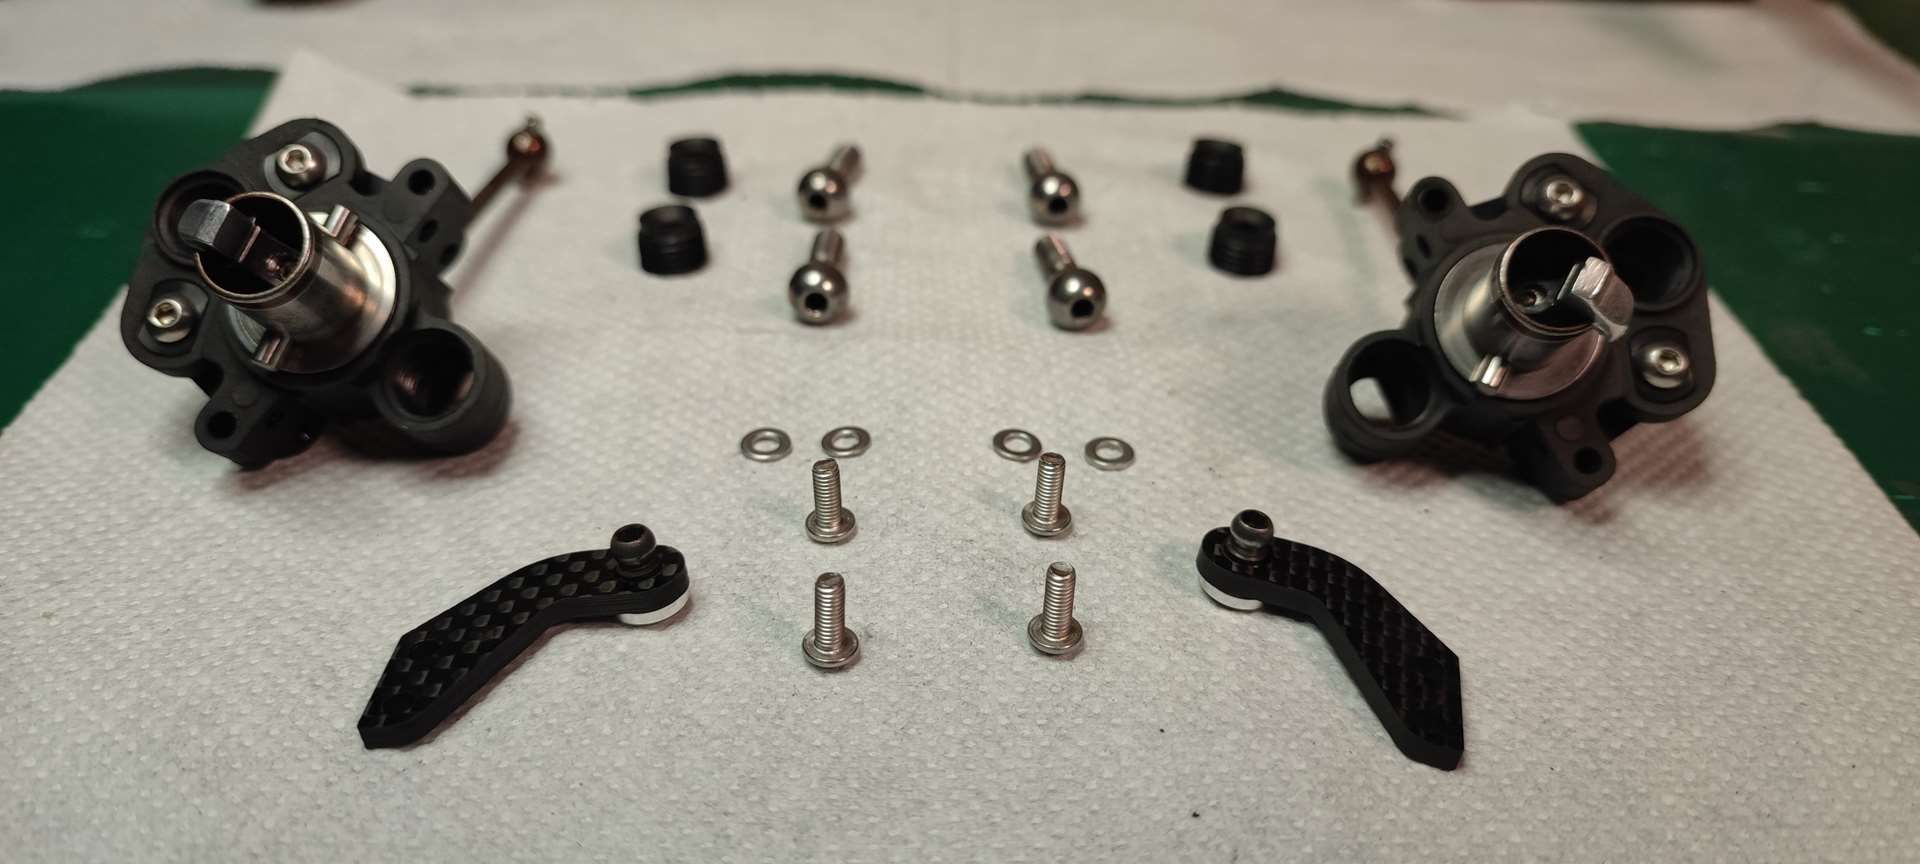
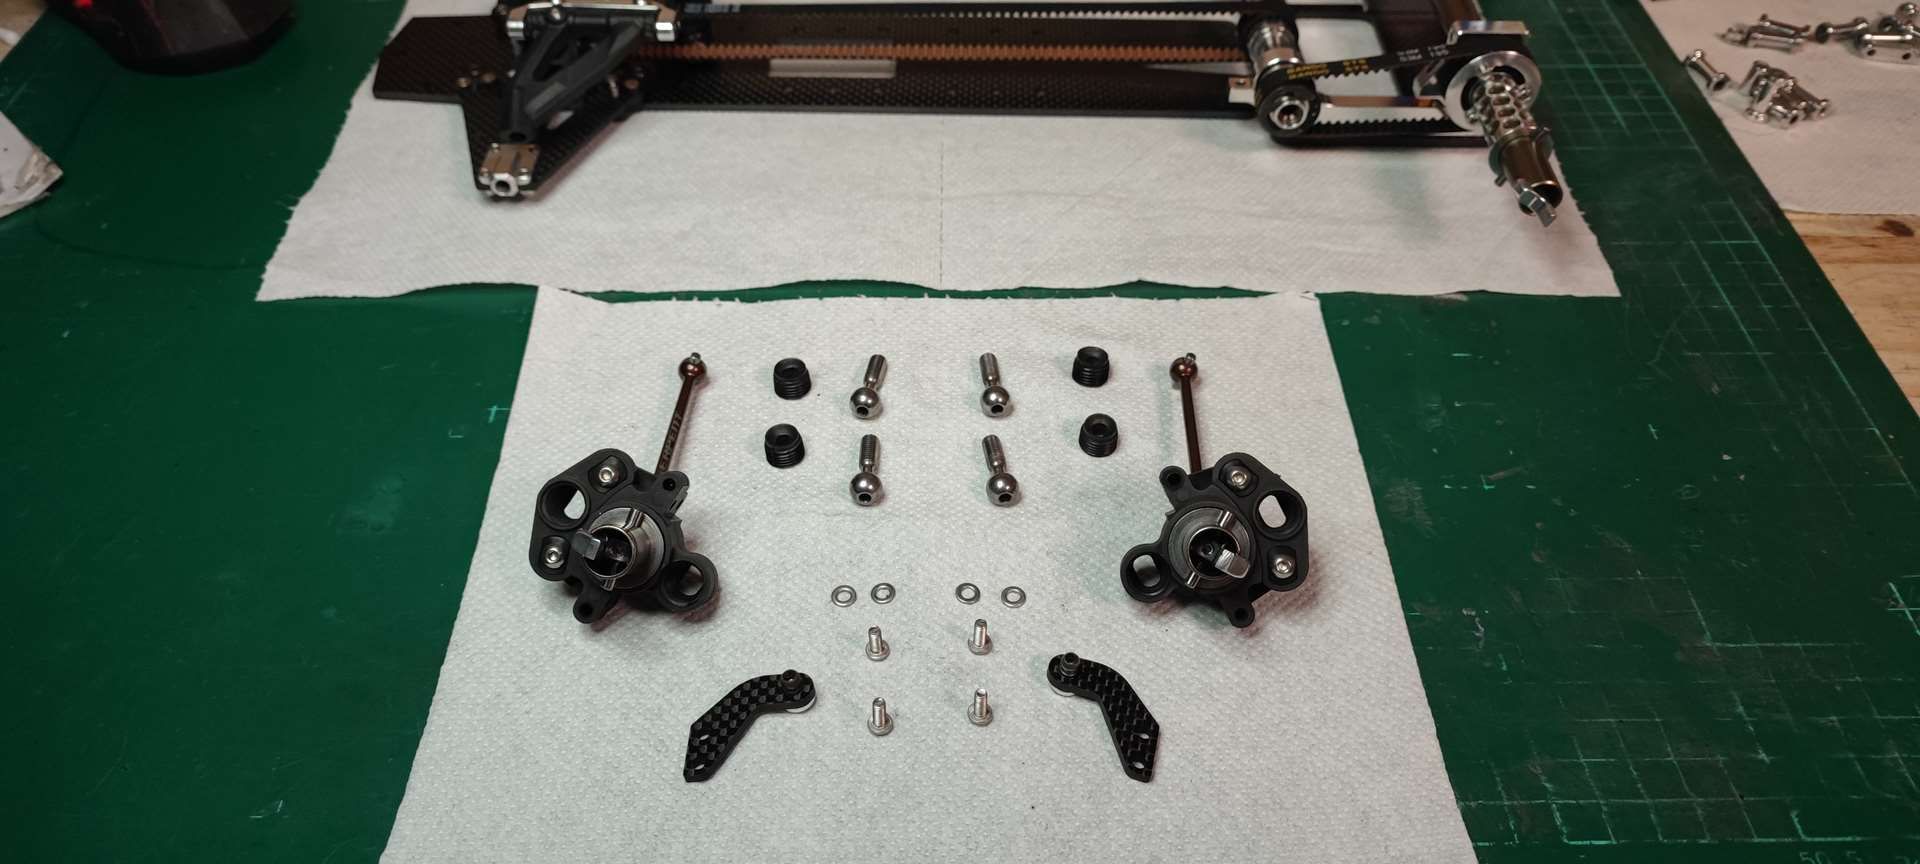
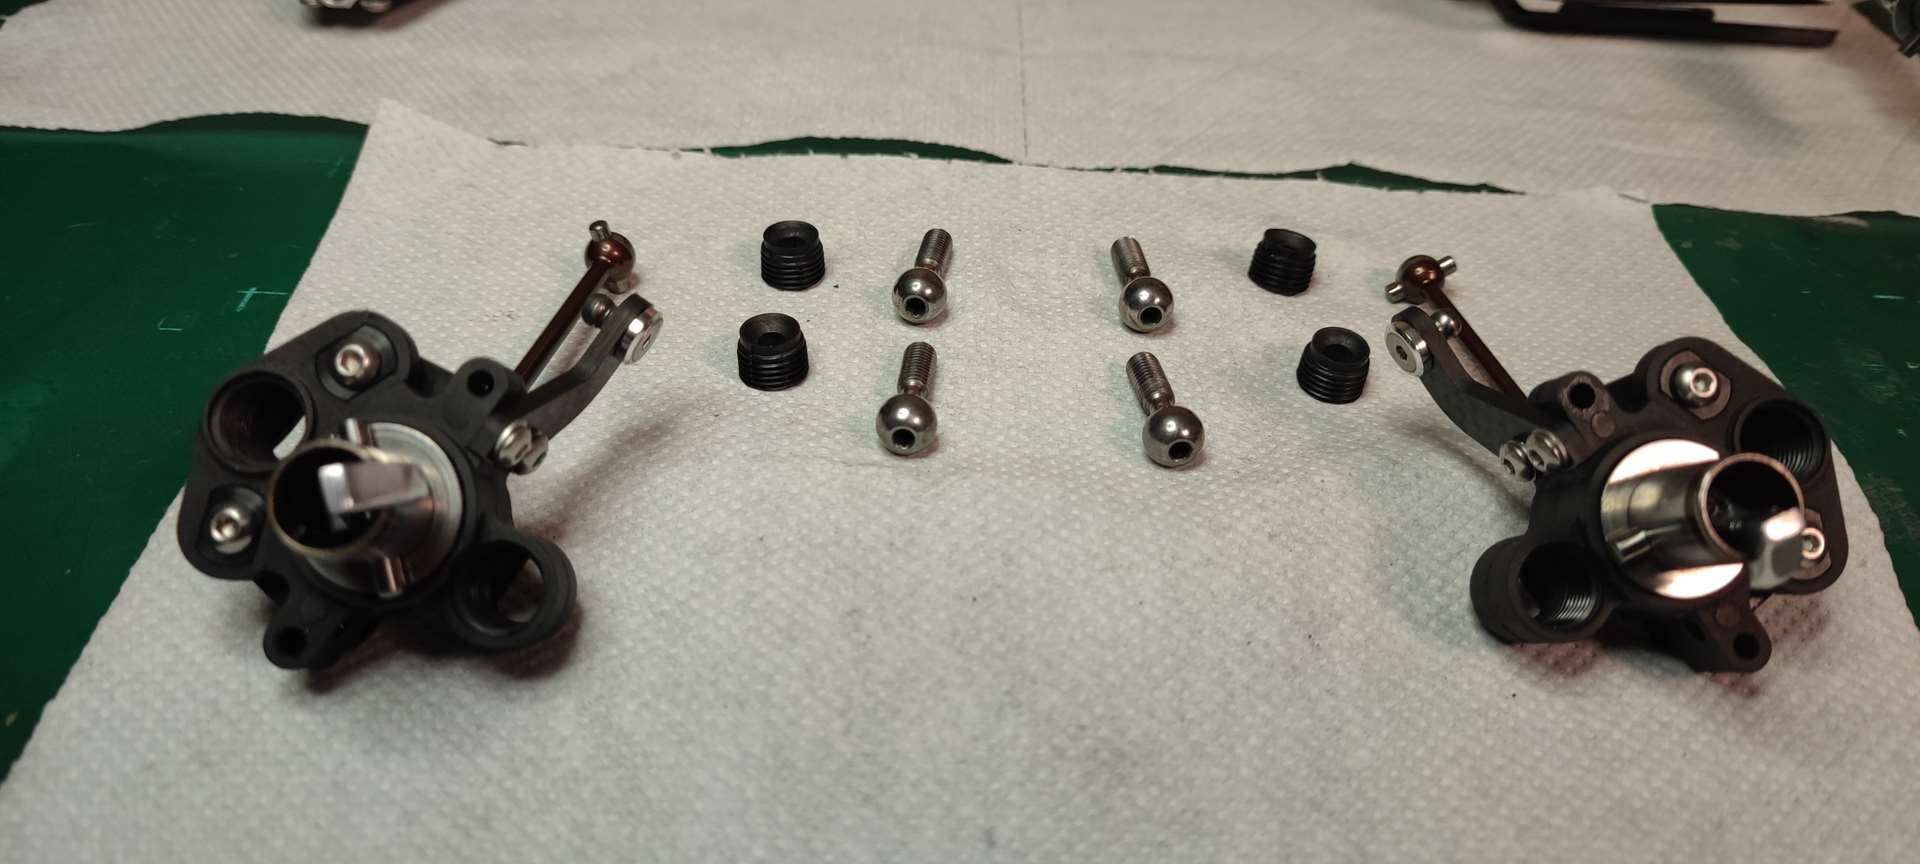
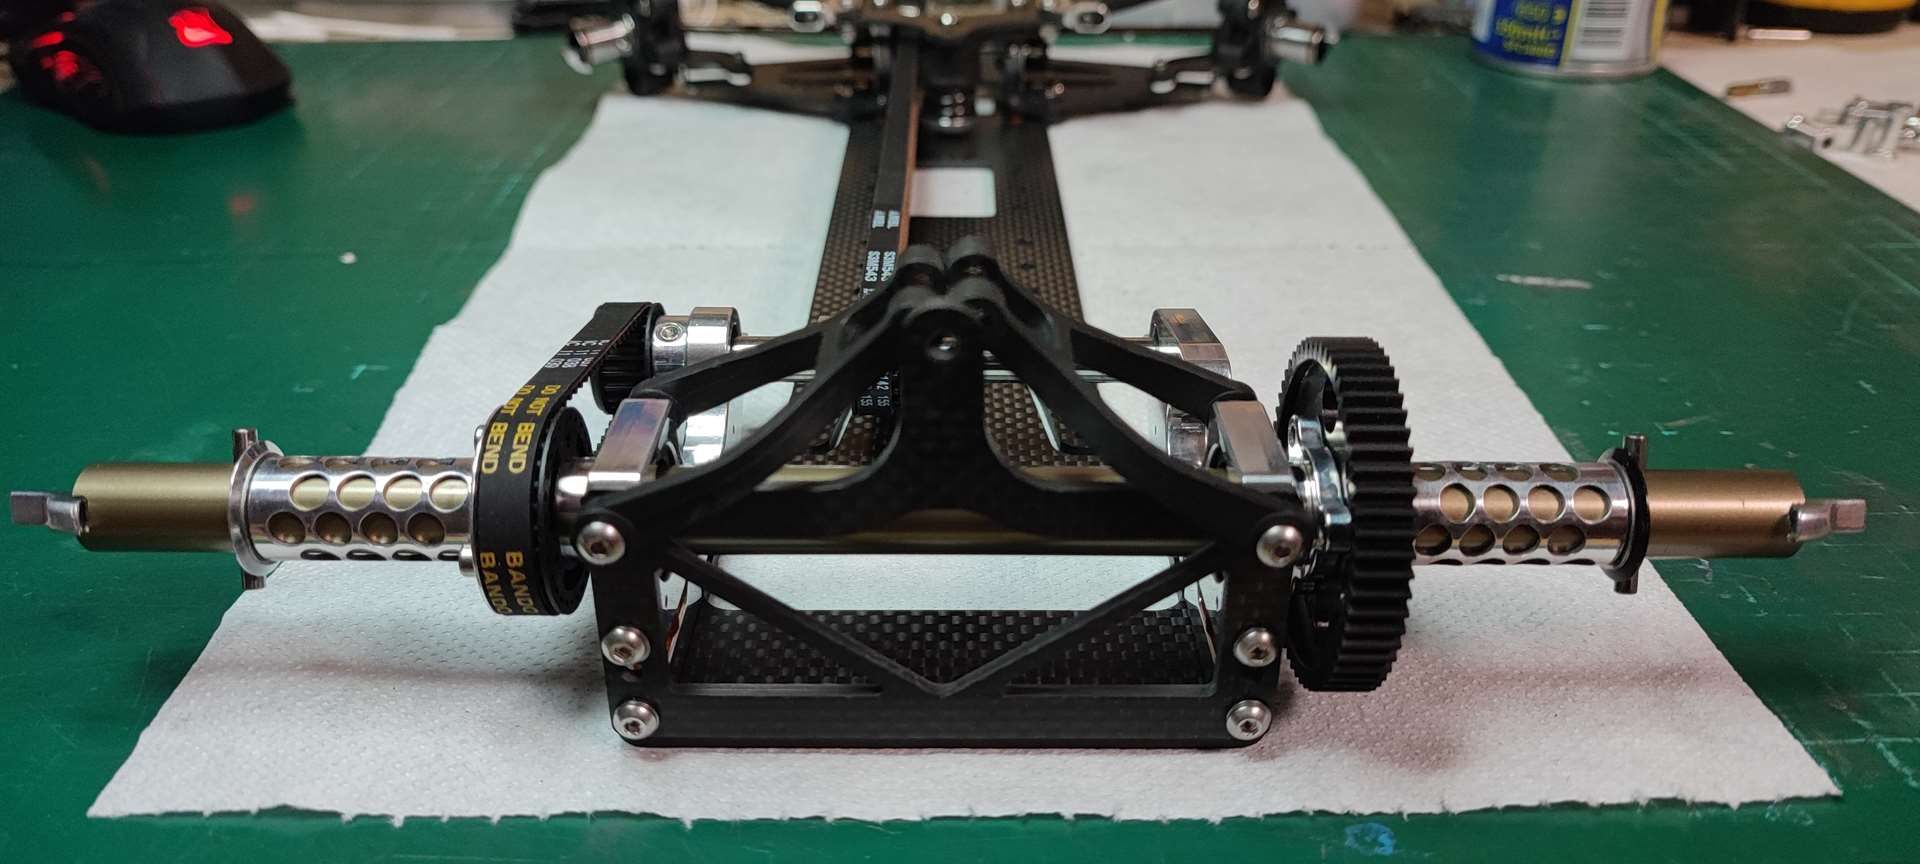
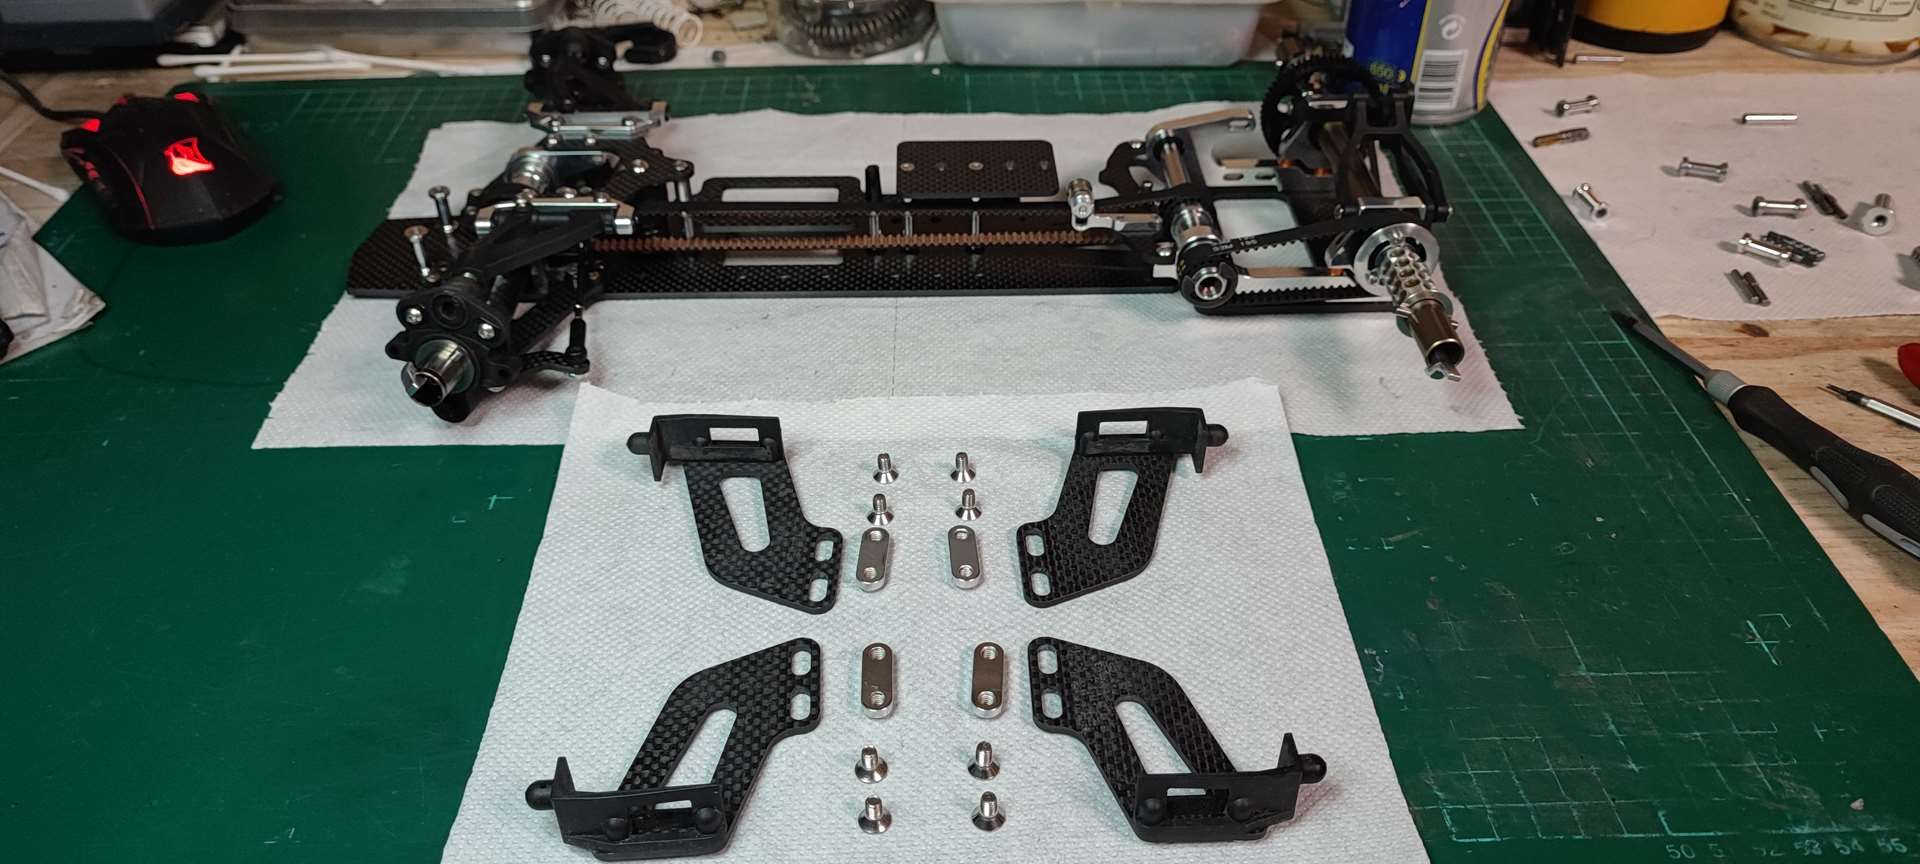
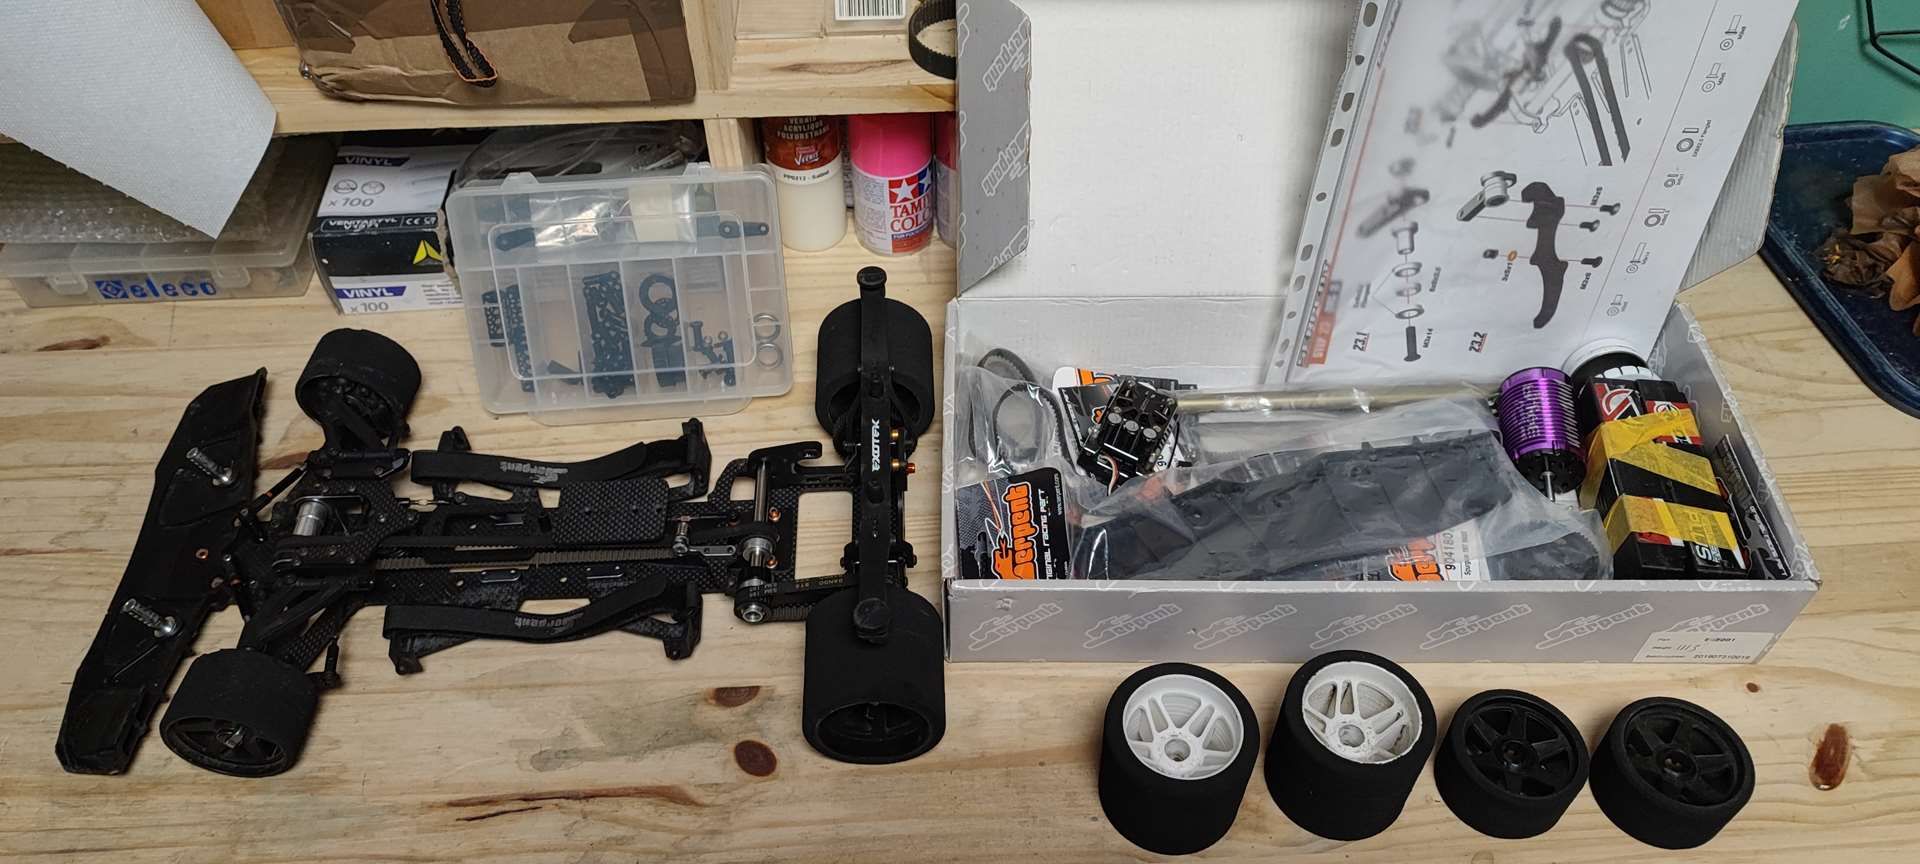
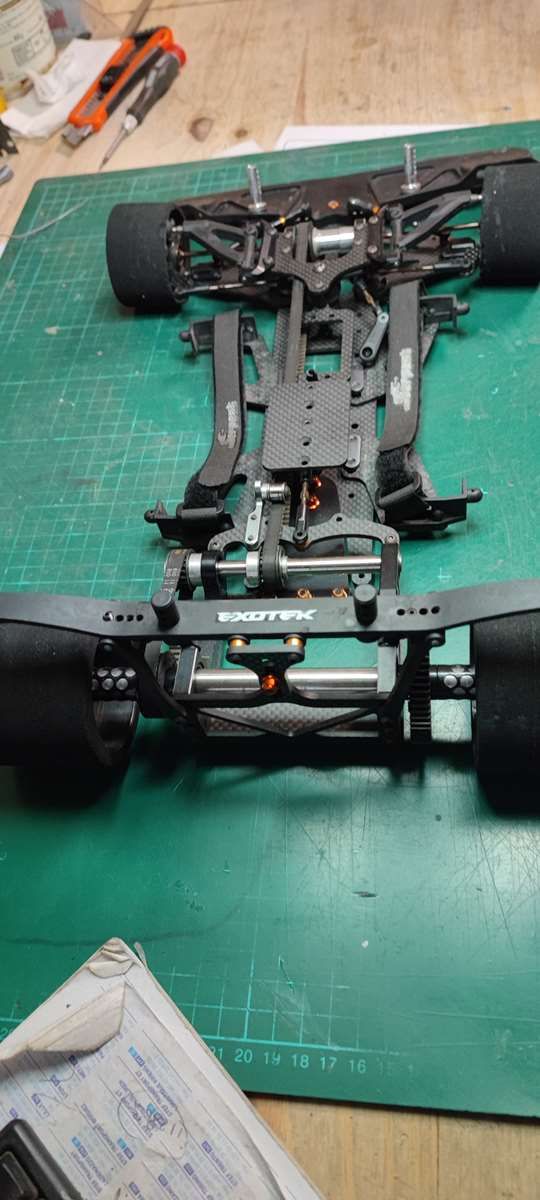
Of course, I started dismantling right away last night ;)

Image
Image
Image
Image
Image
Image
Image
Image
Image
Image
Image
Image
Image
Image

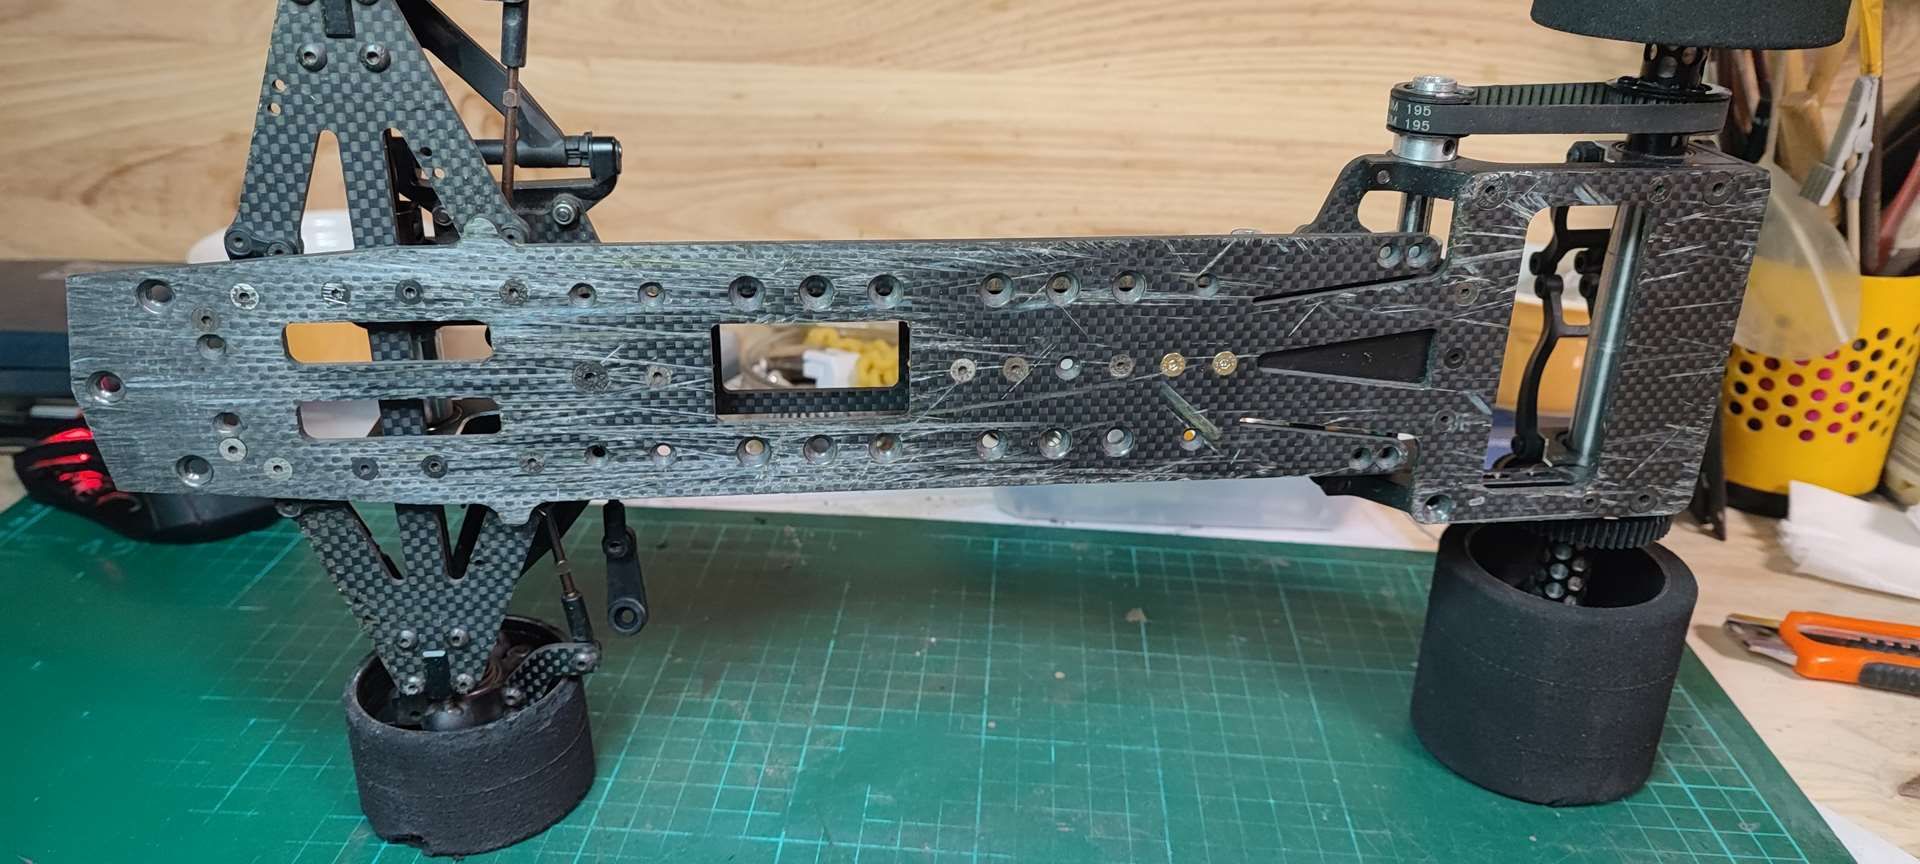
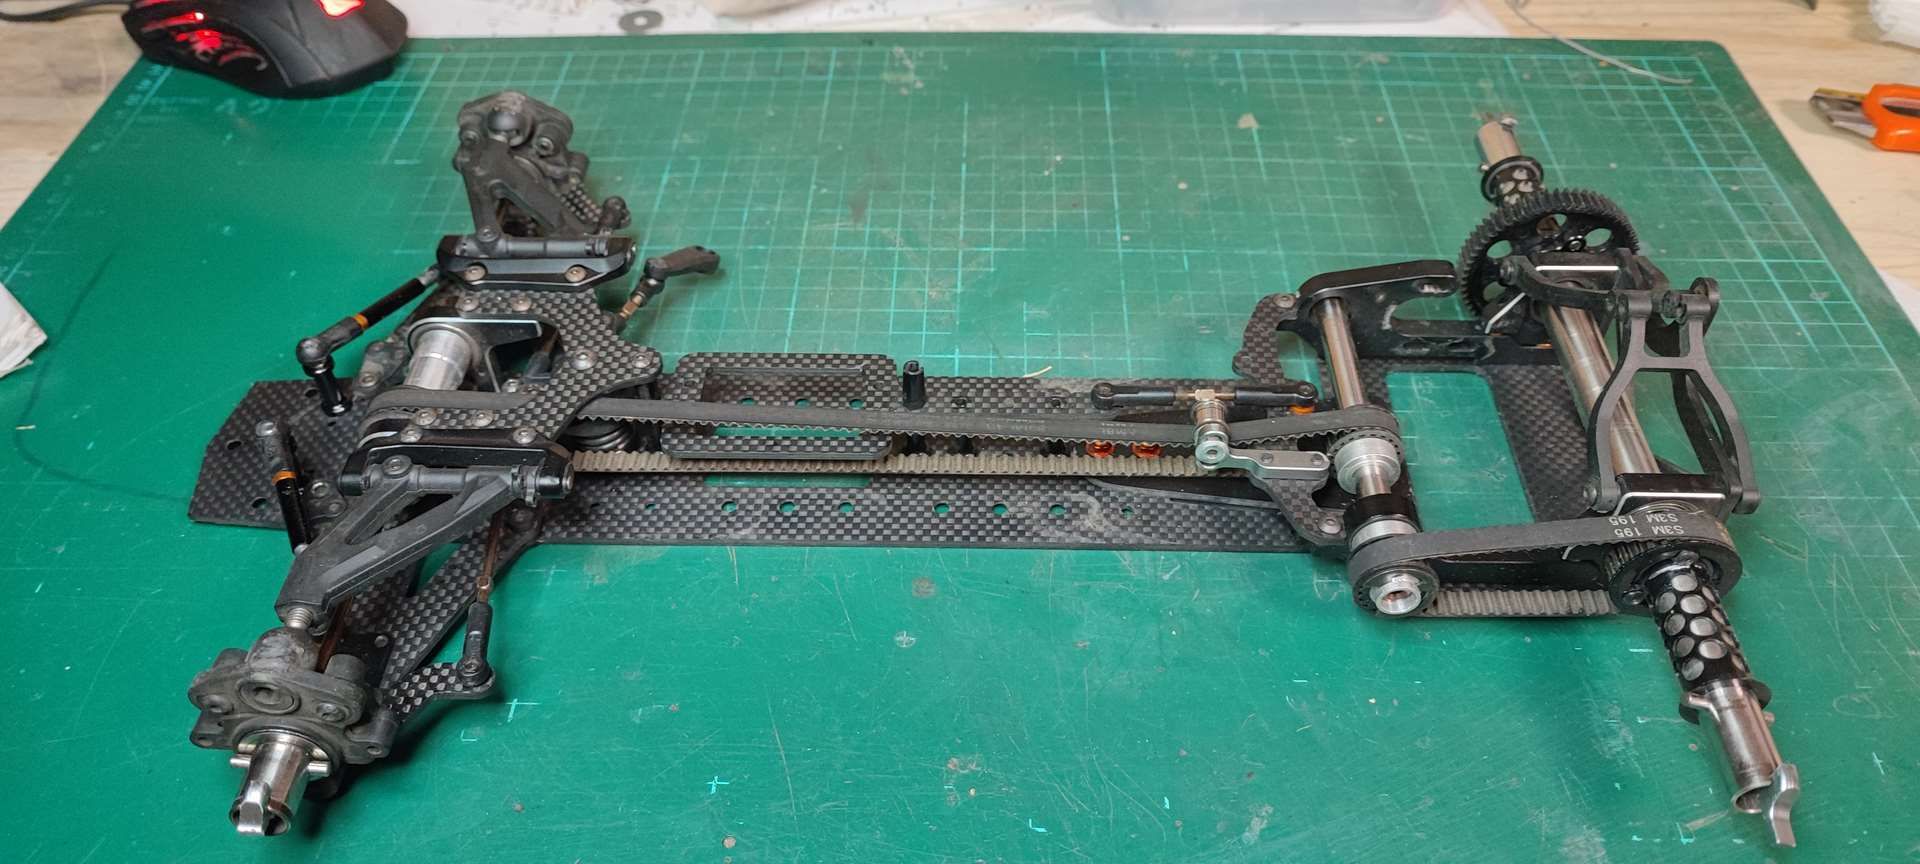
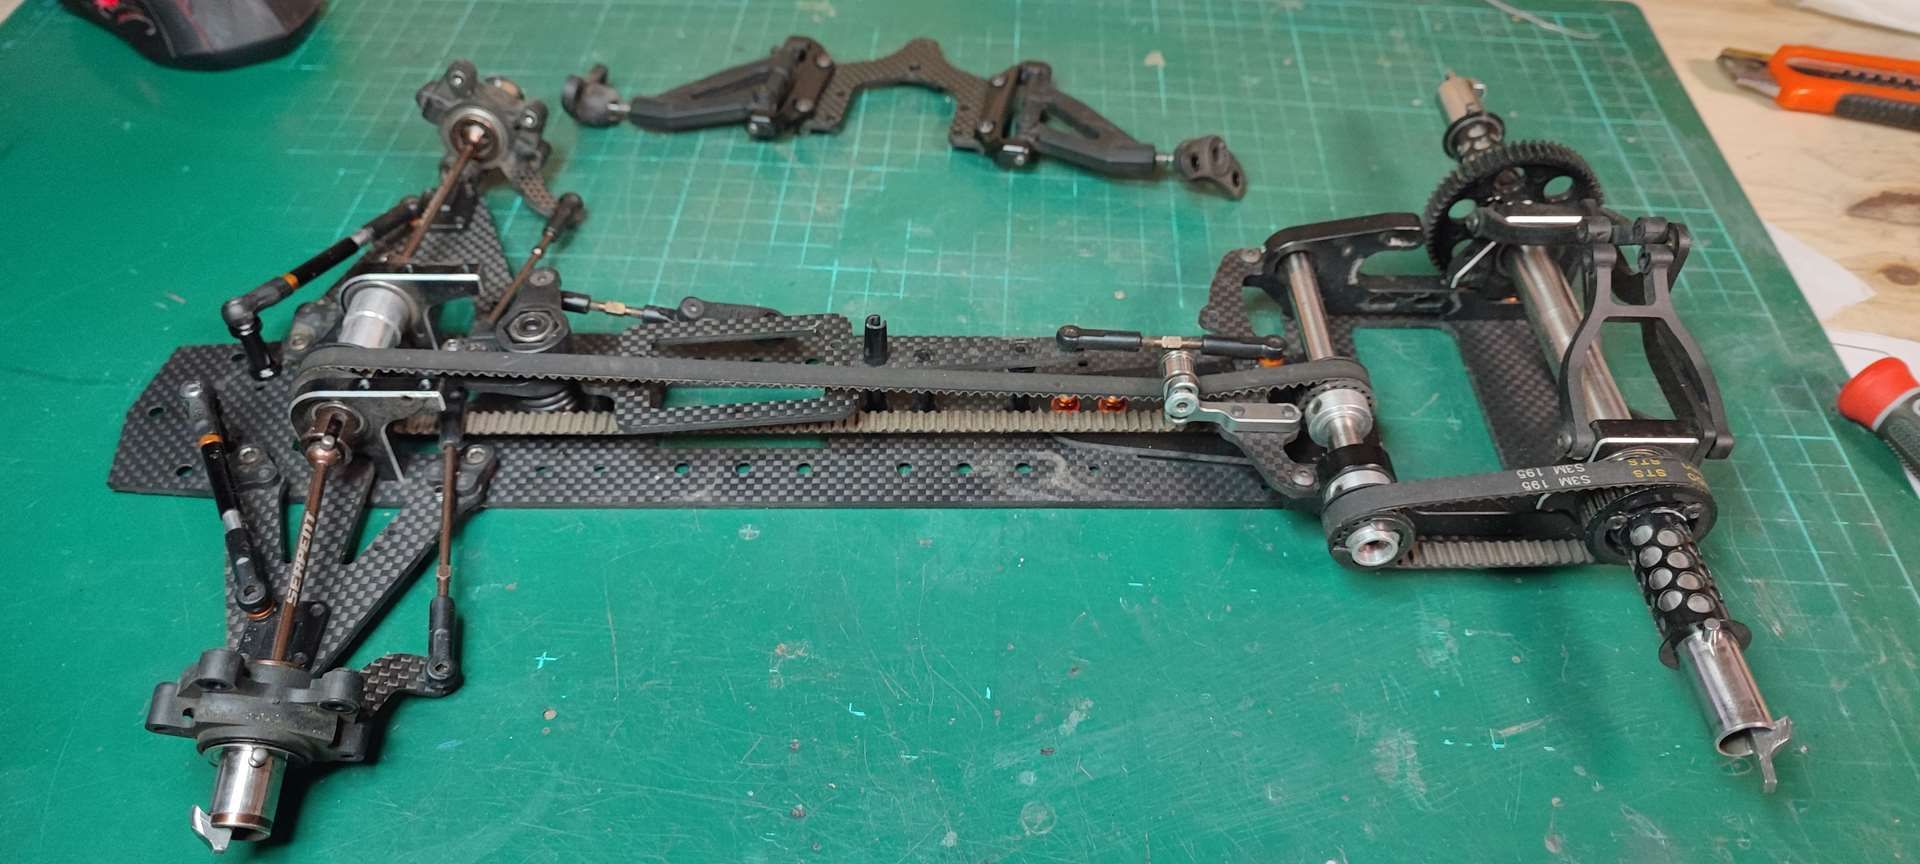
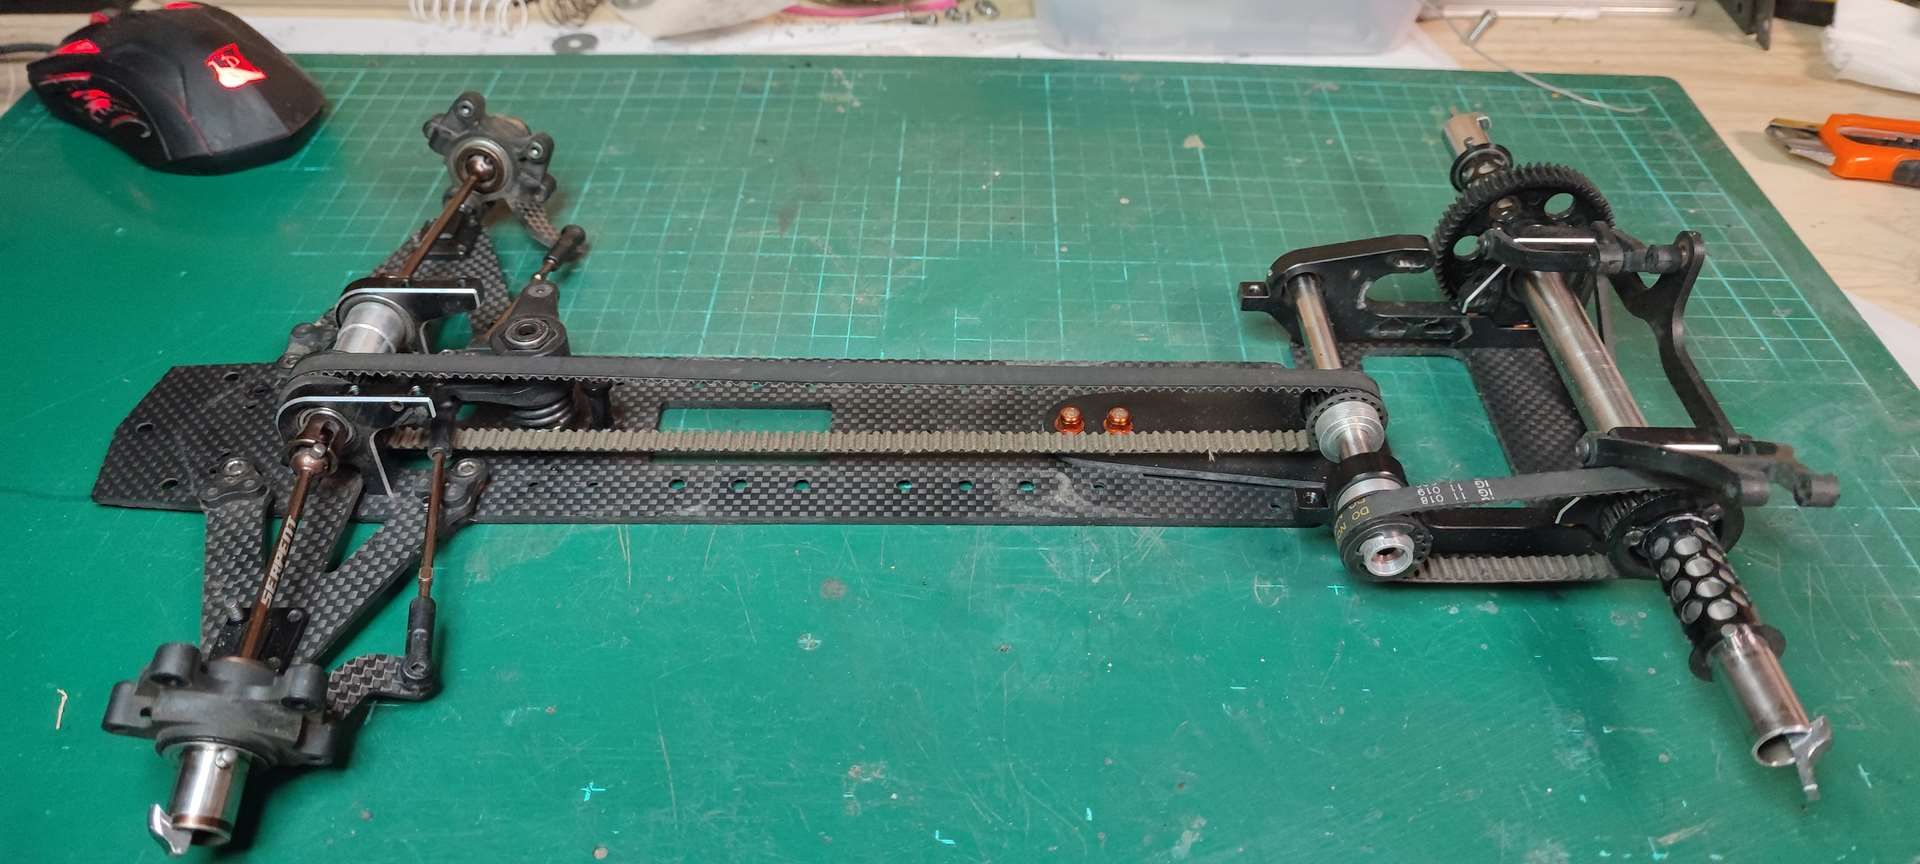
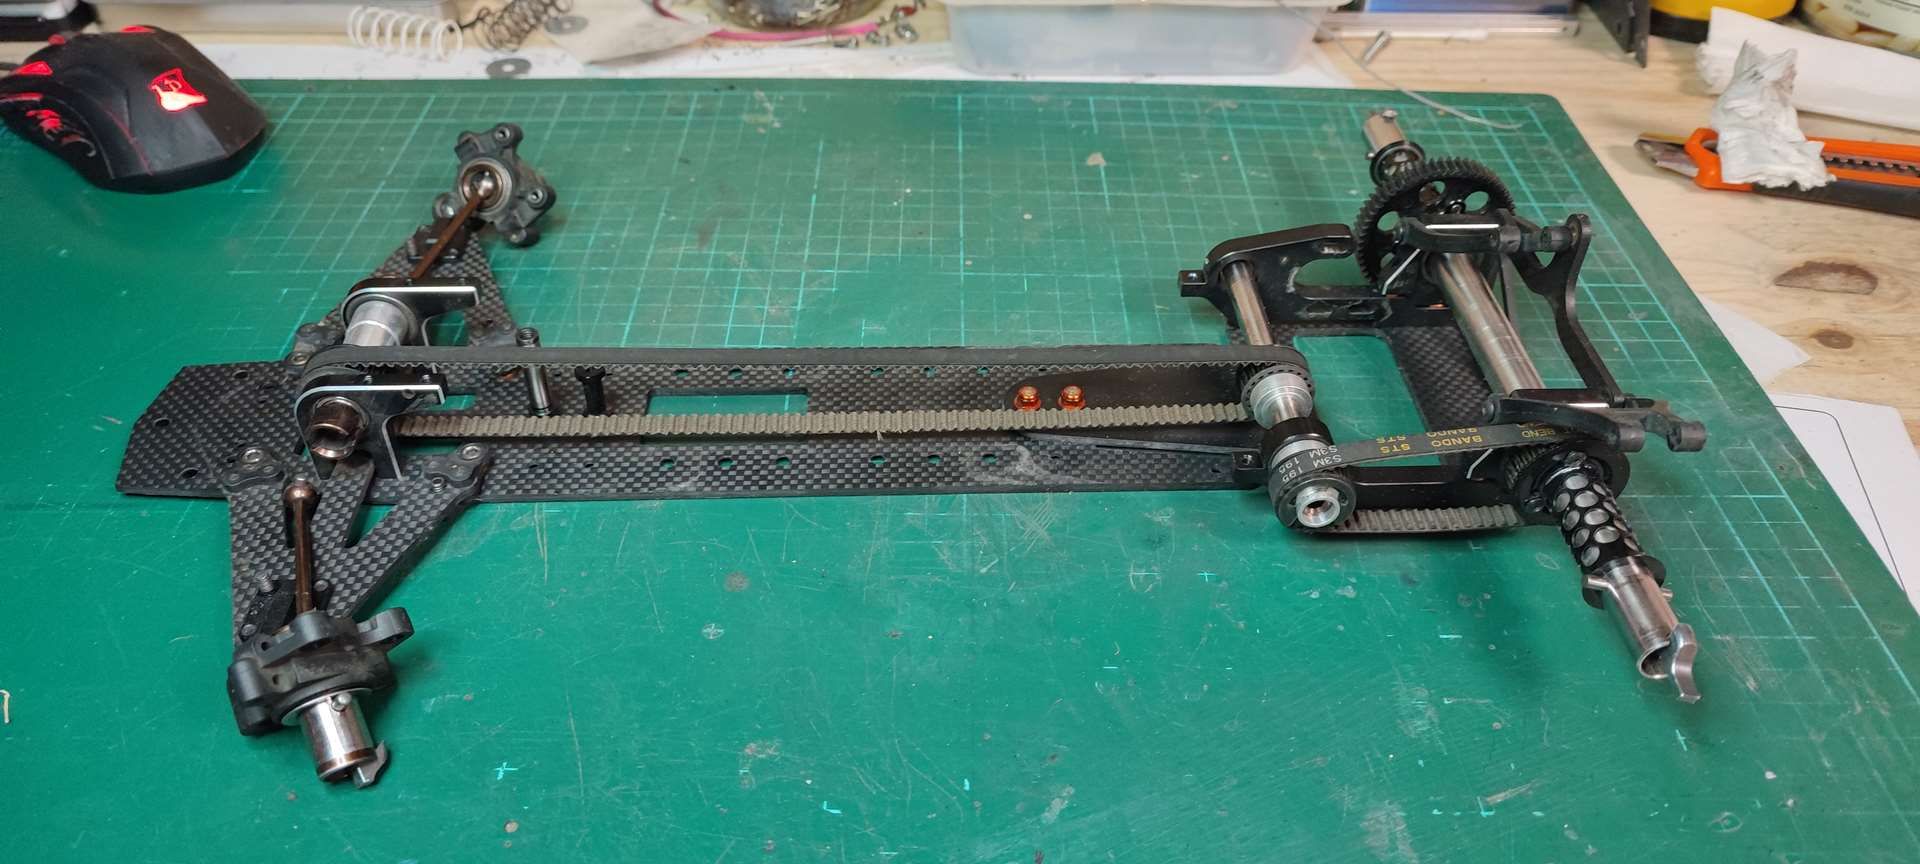
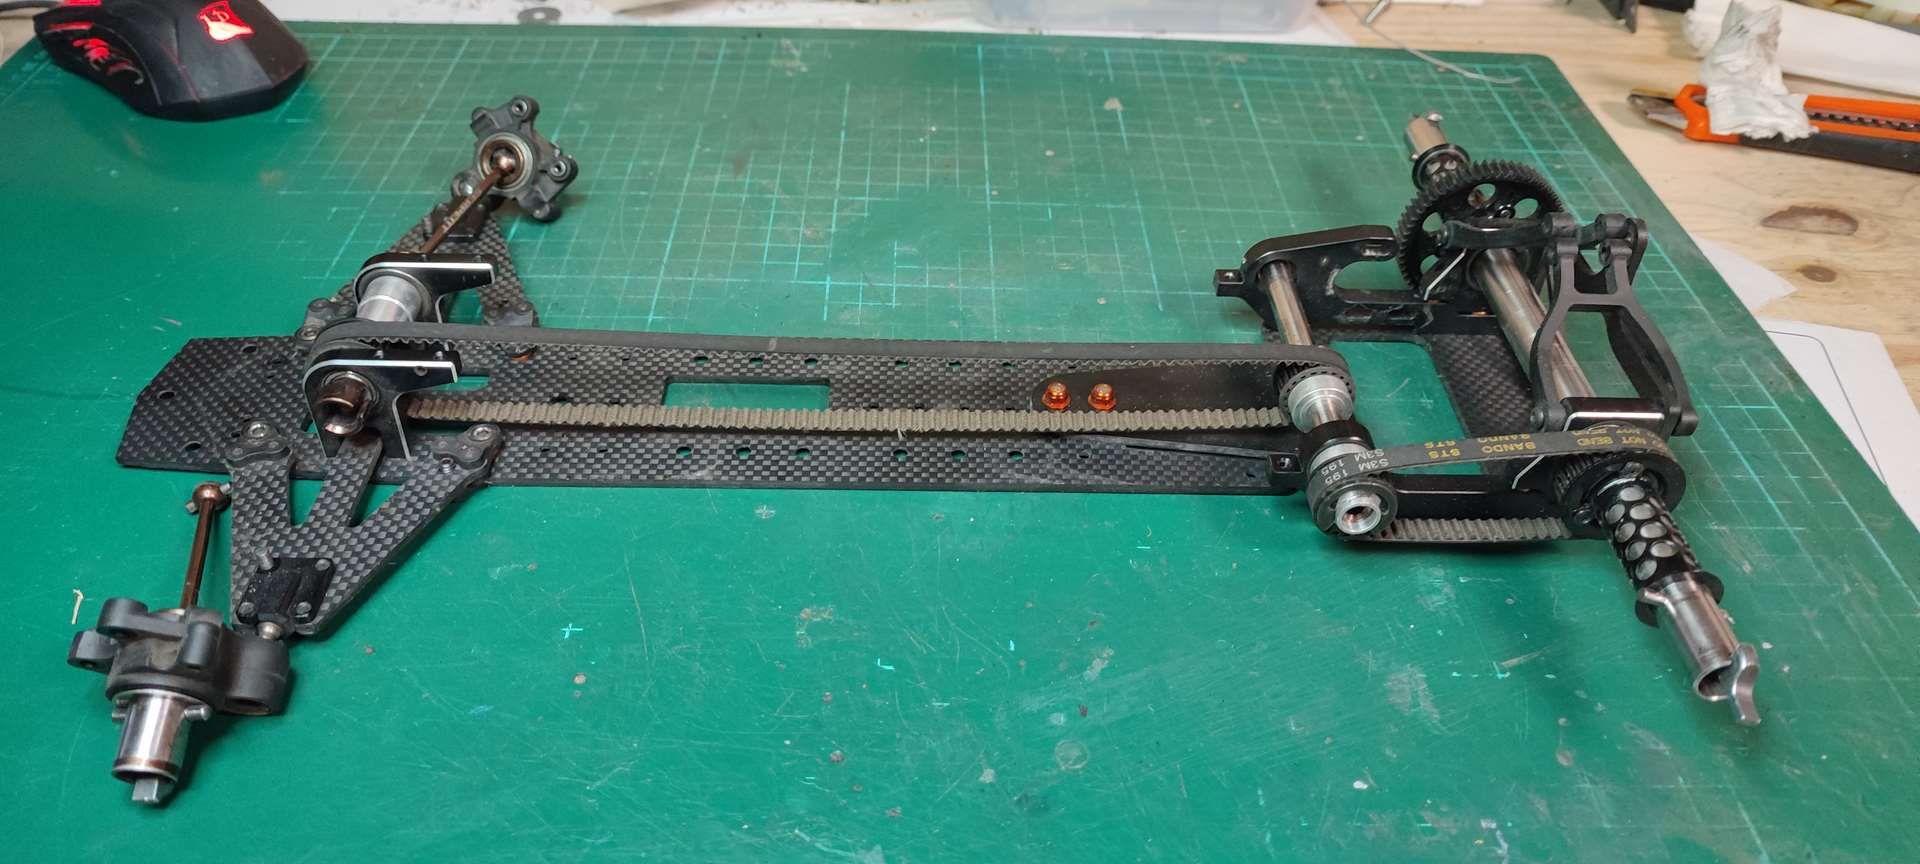
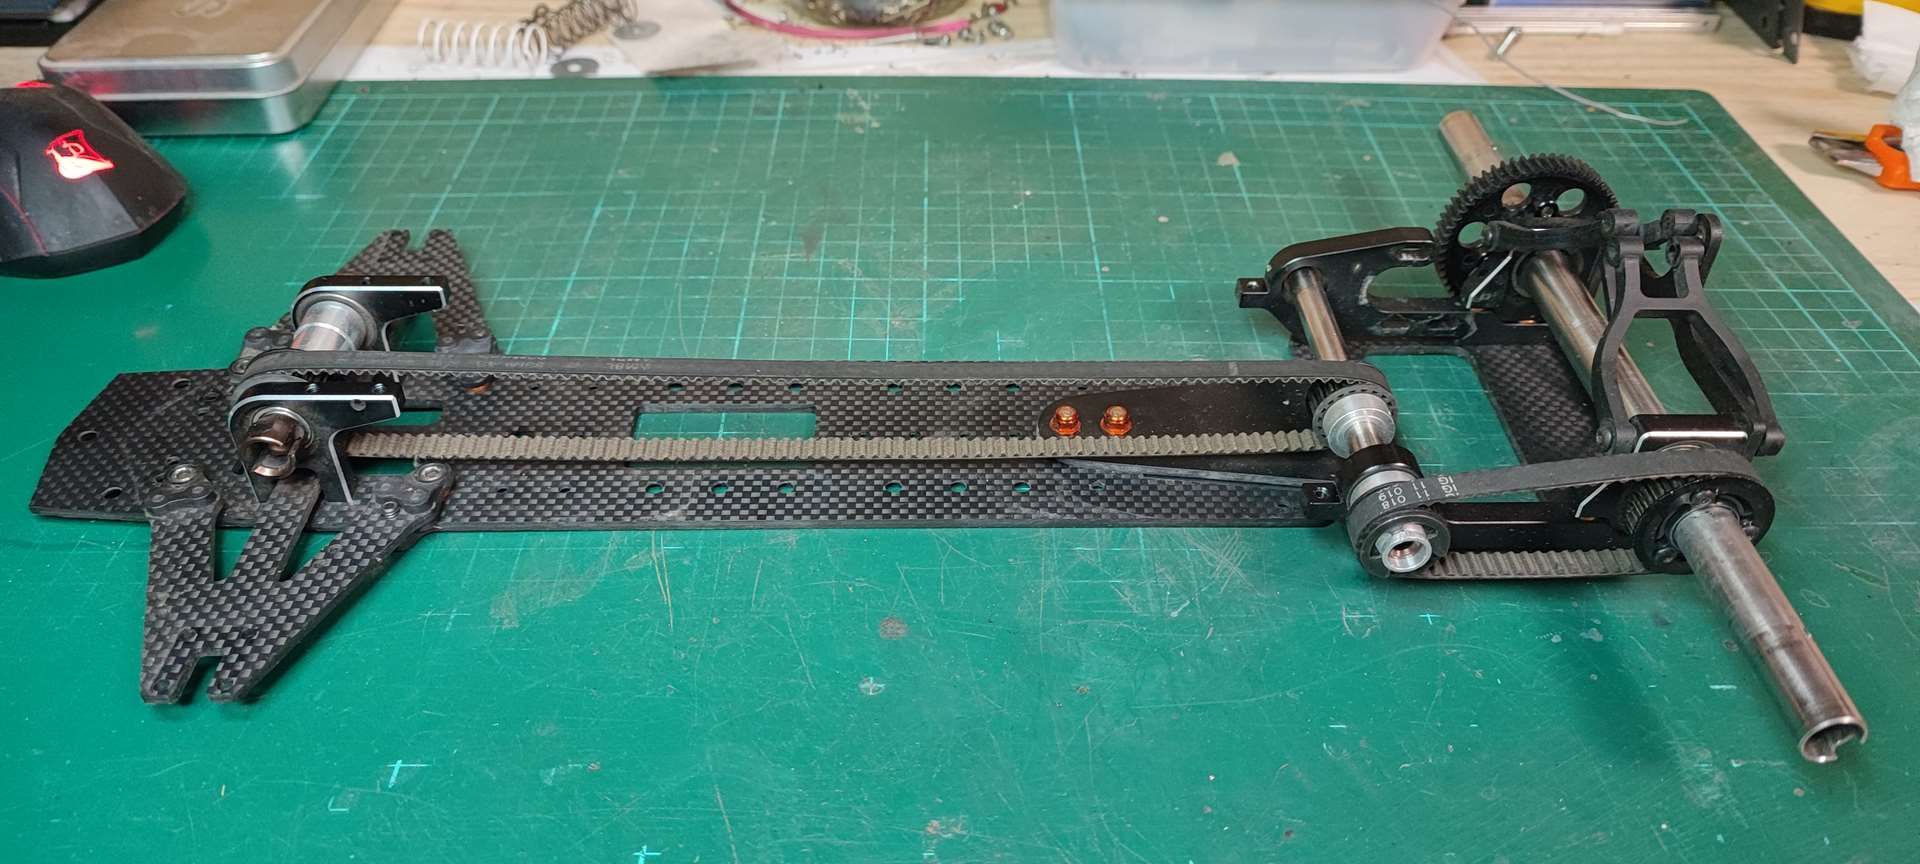
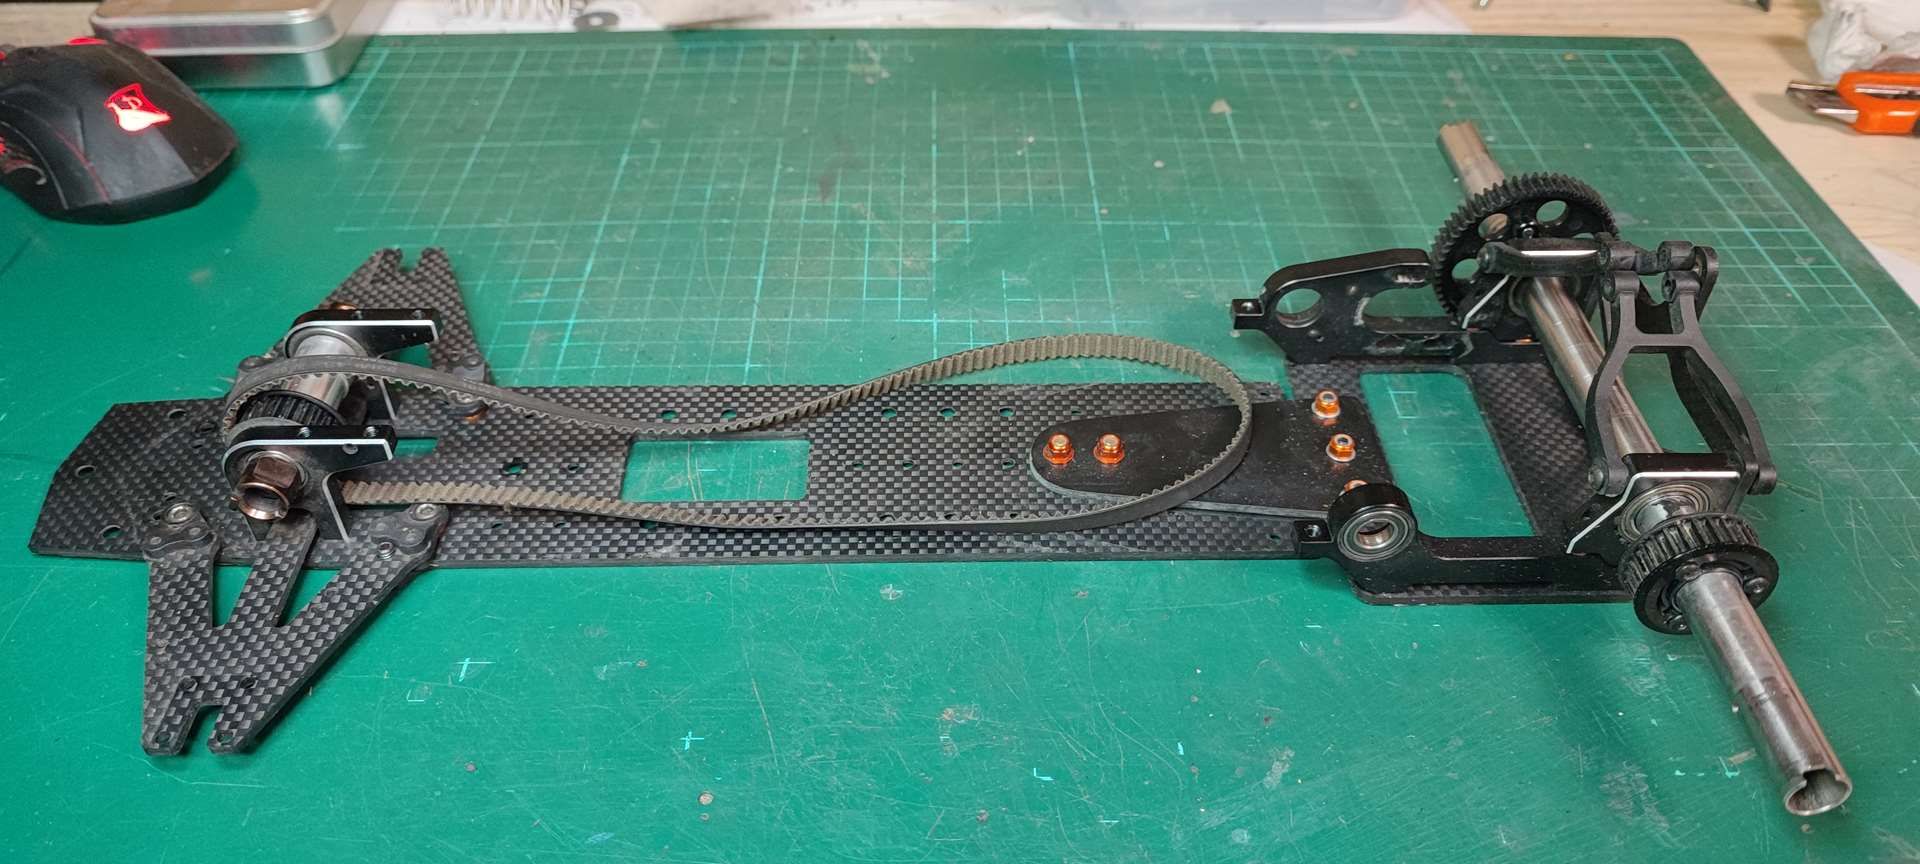
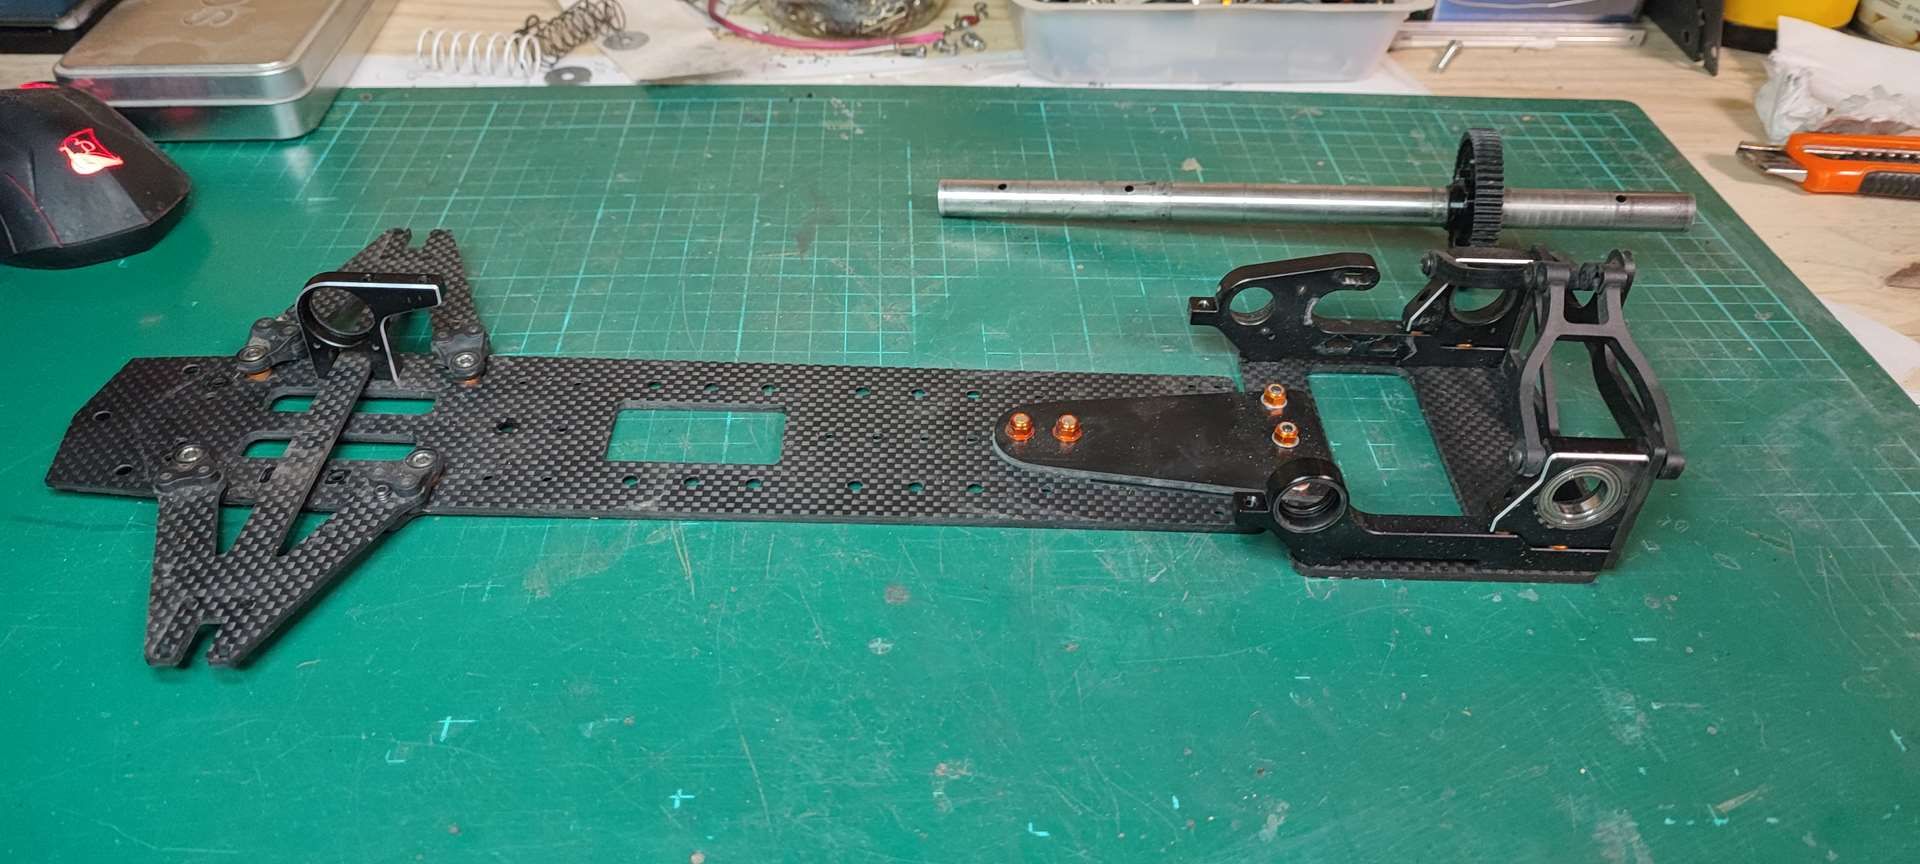
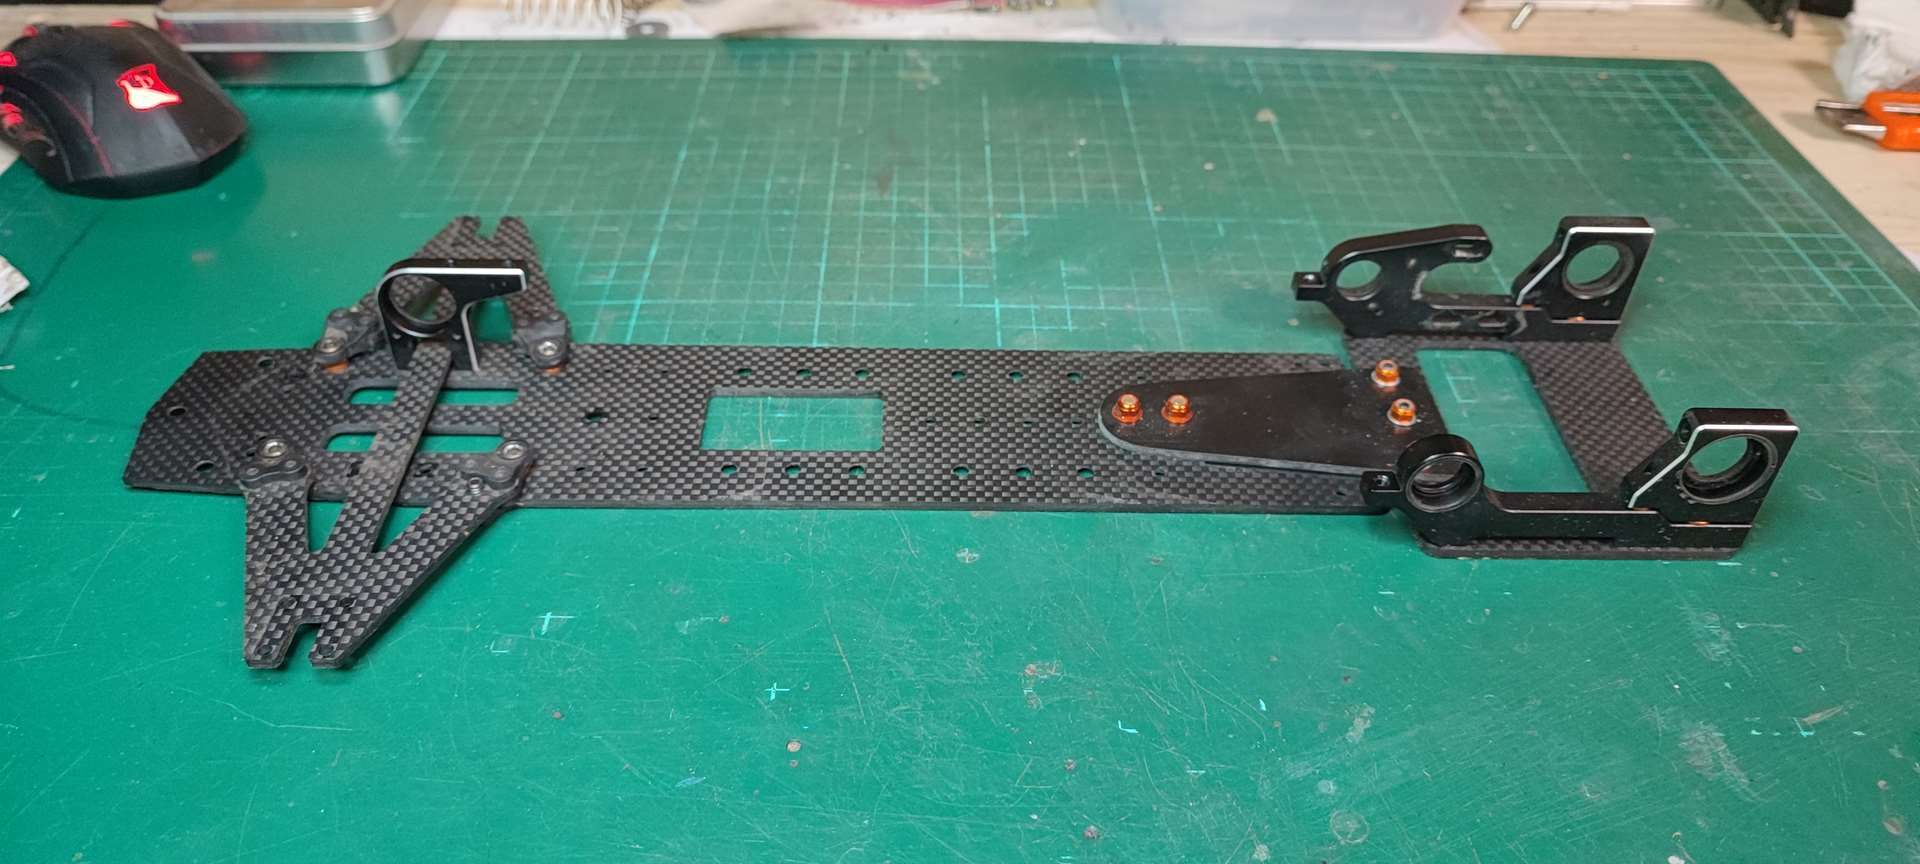
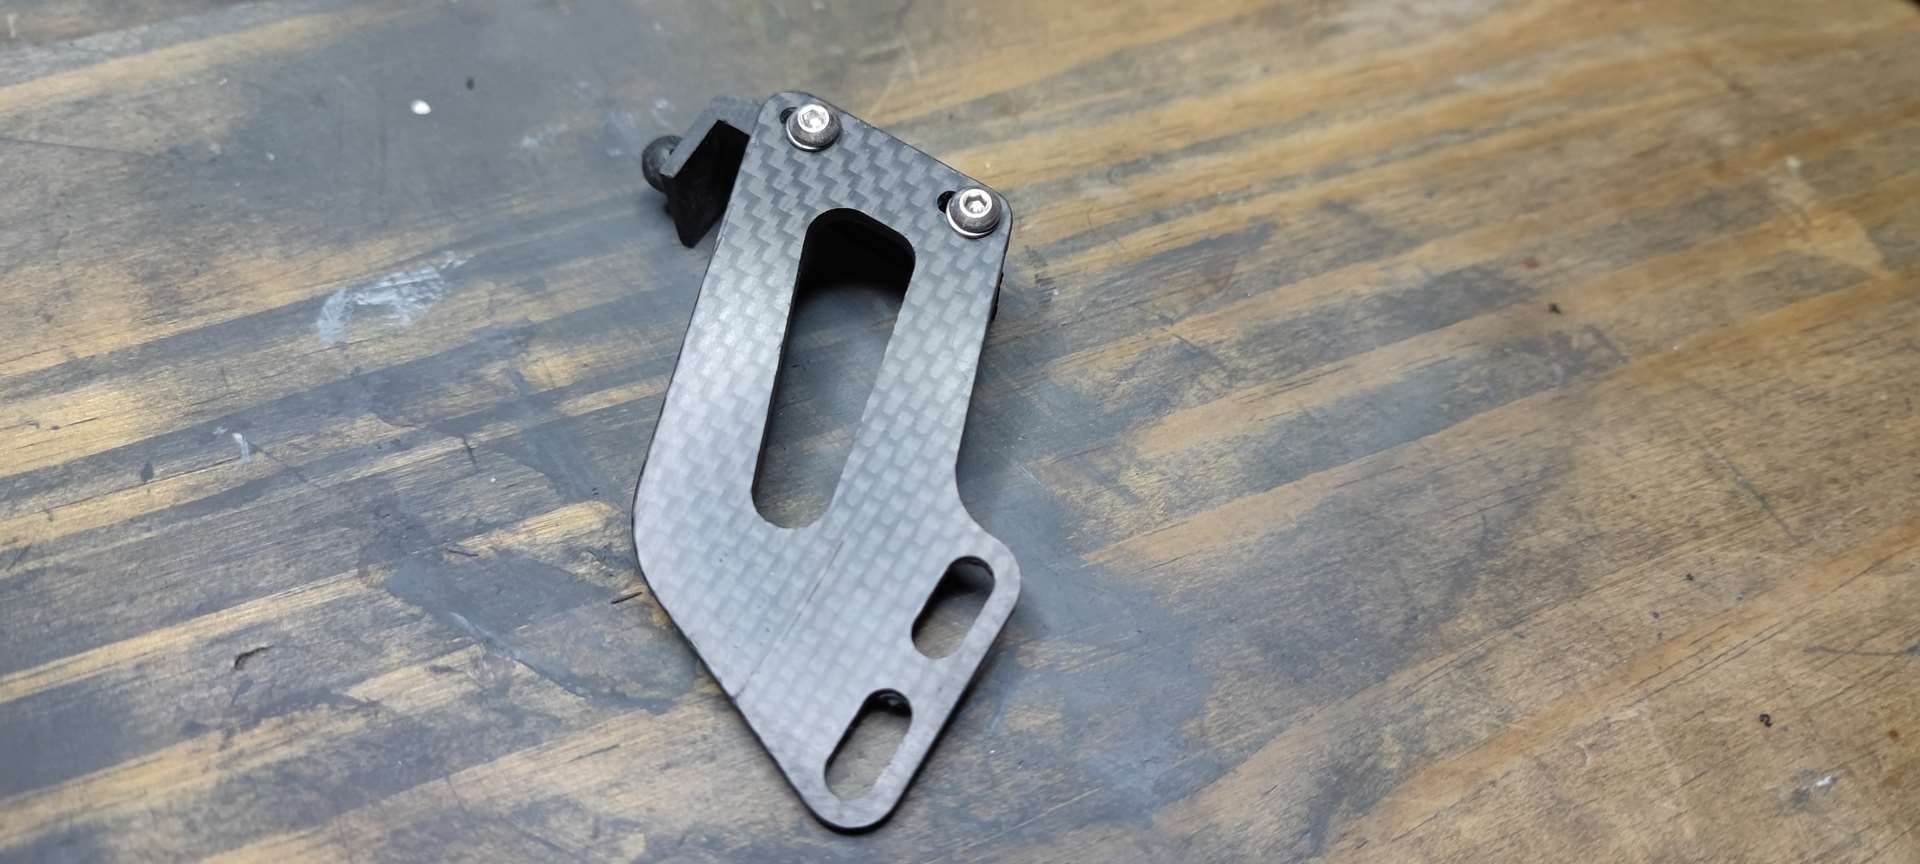
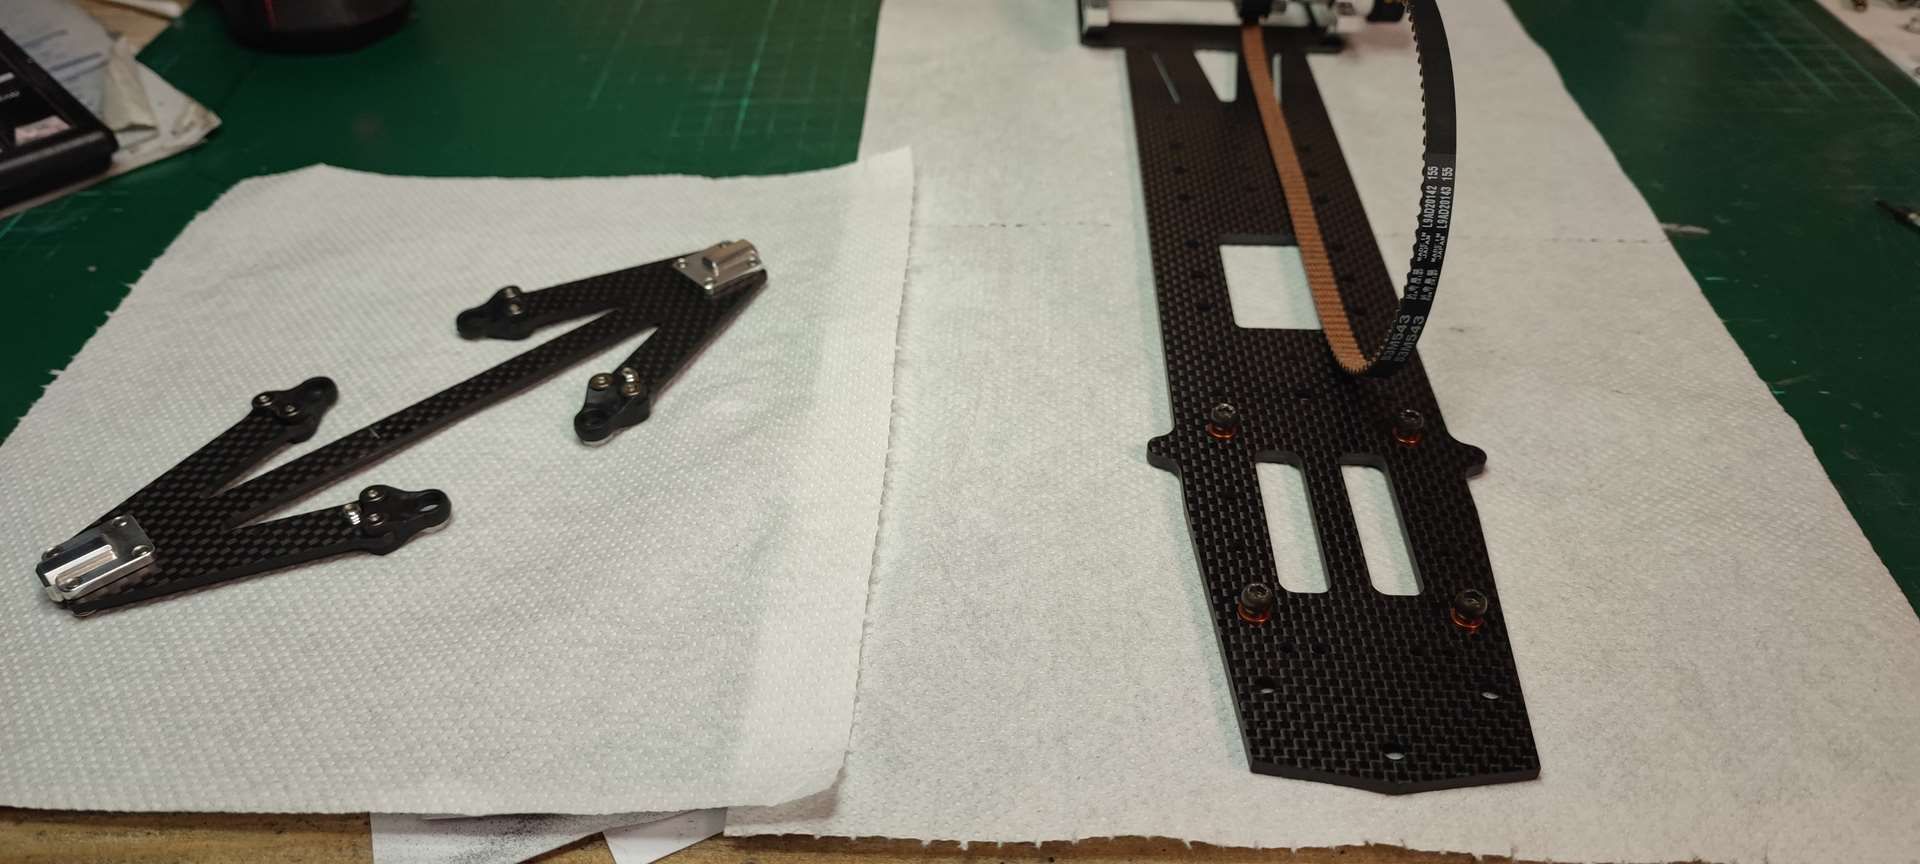
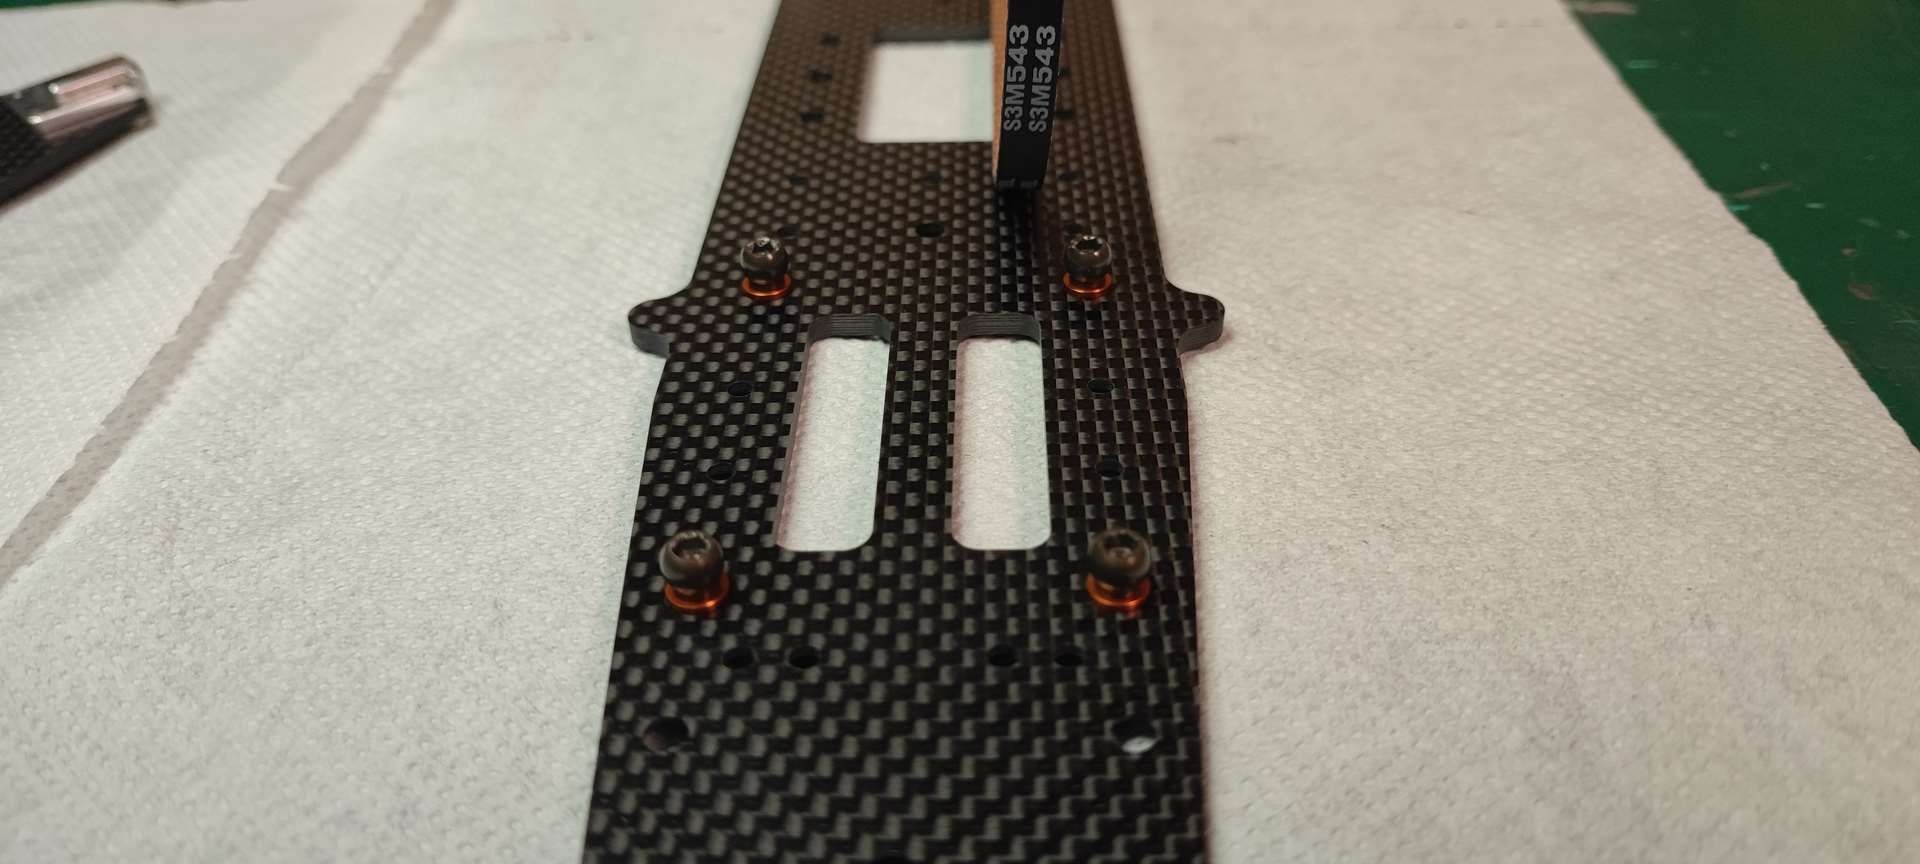
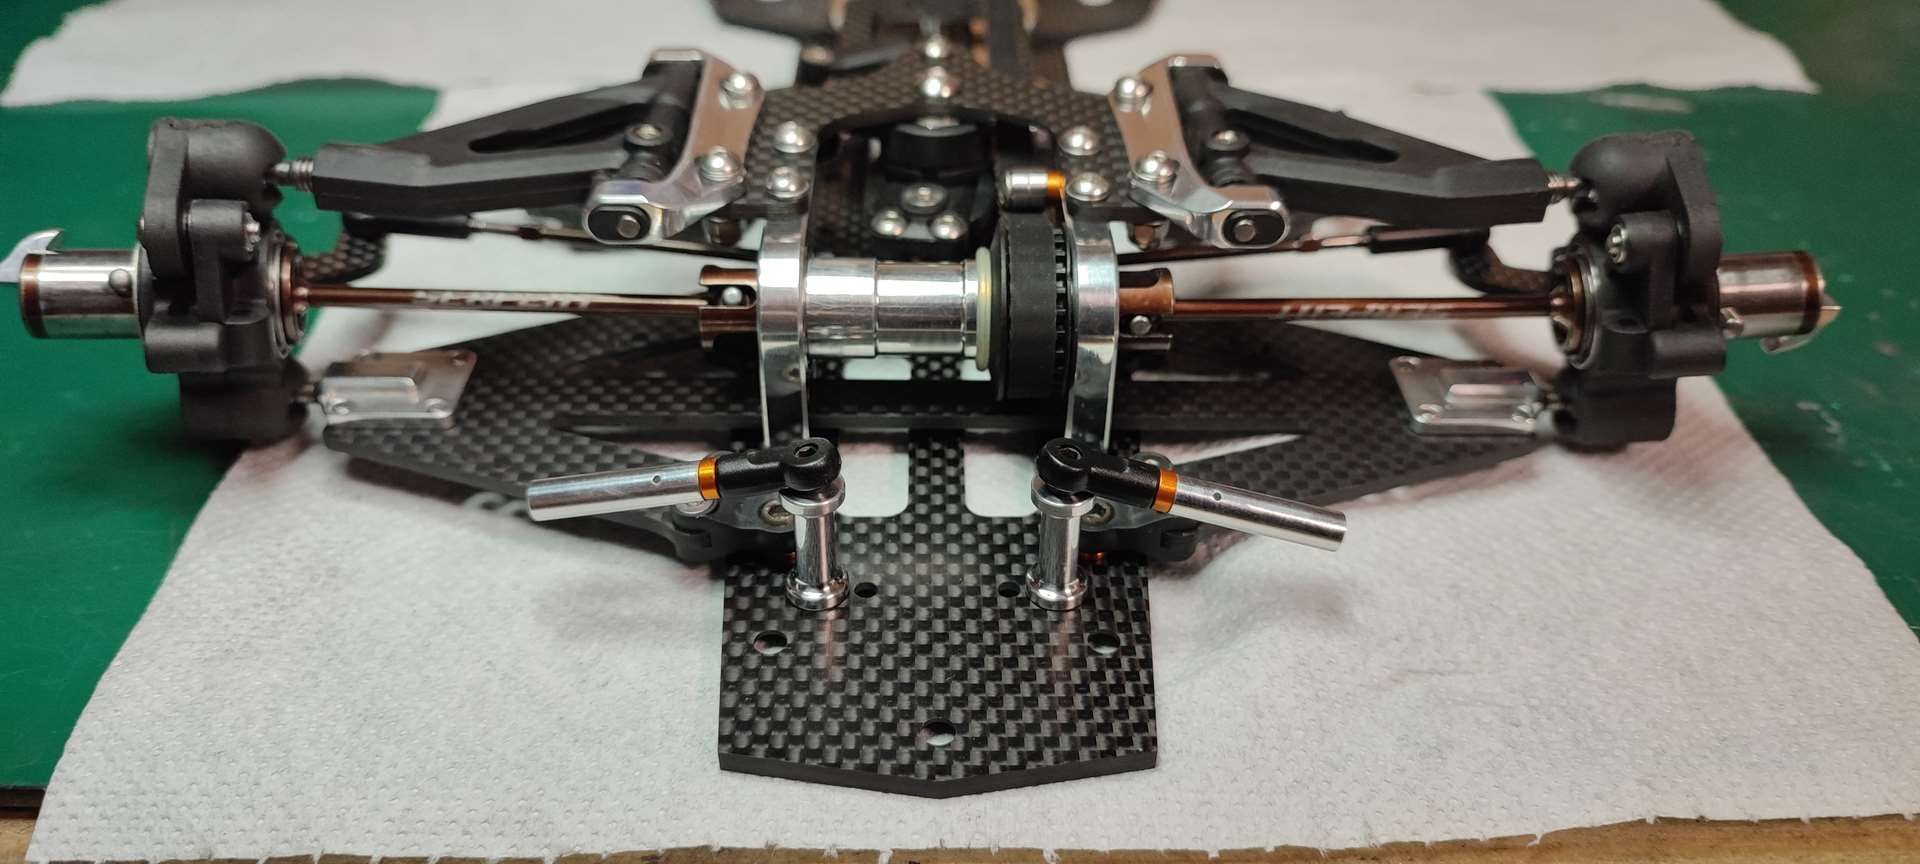
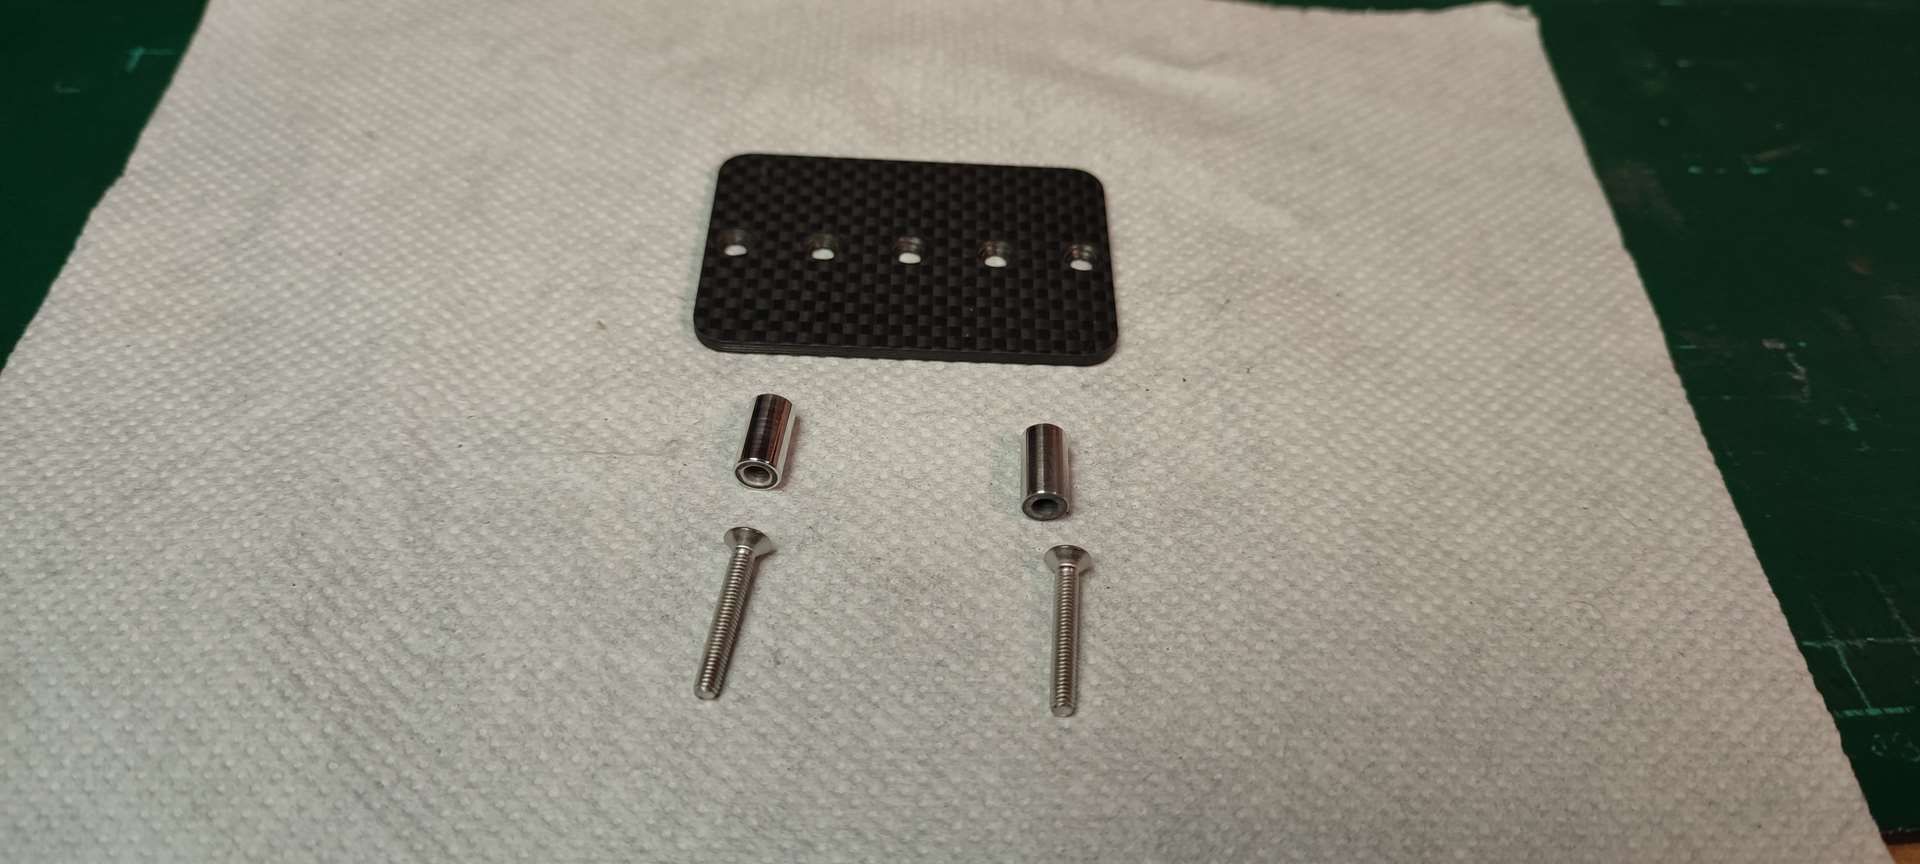
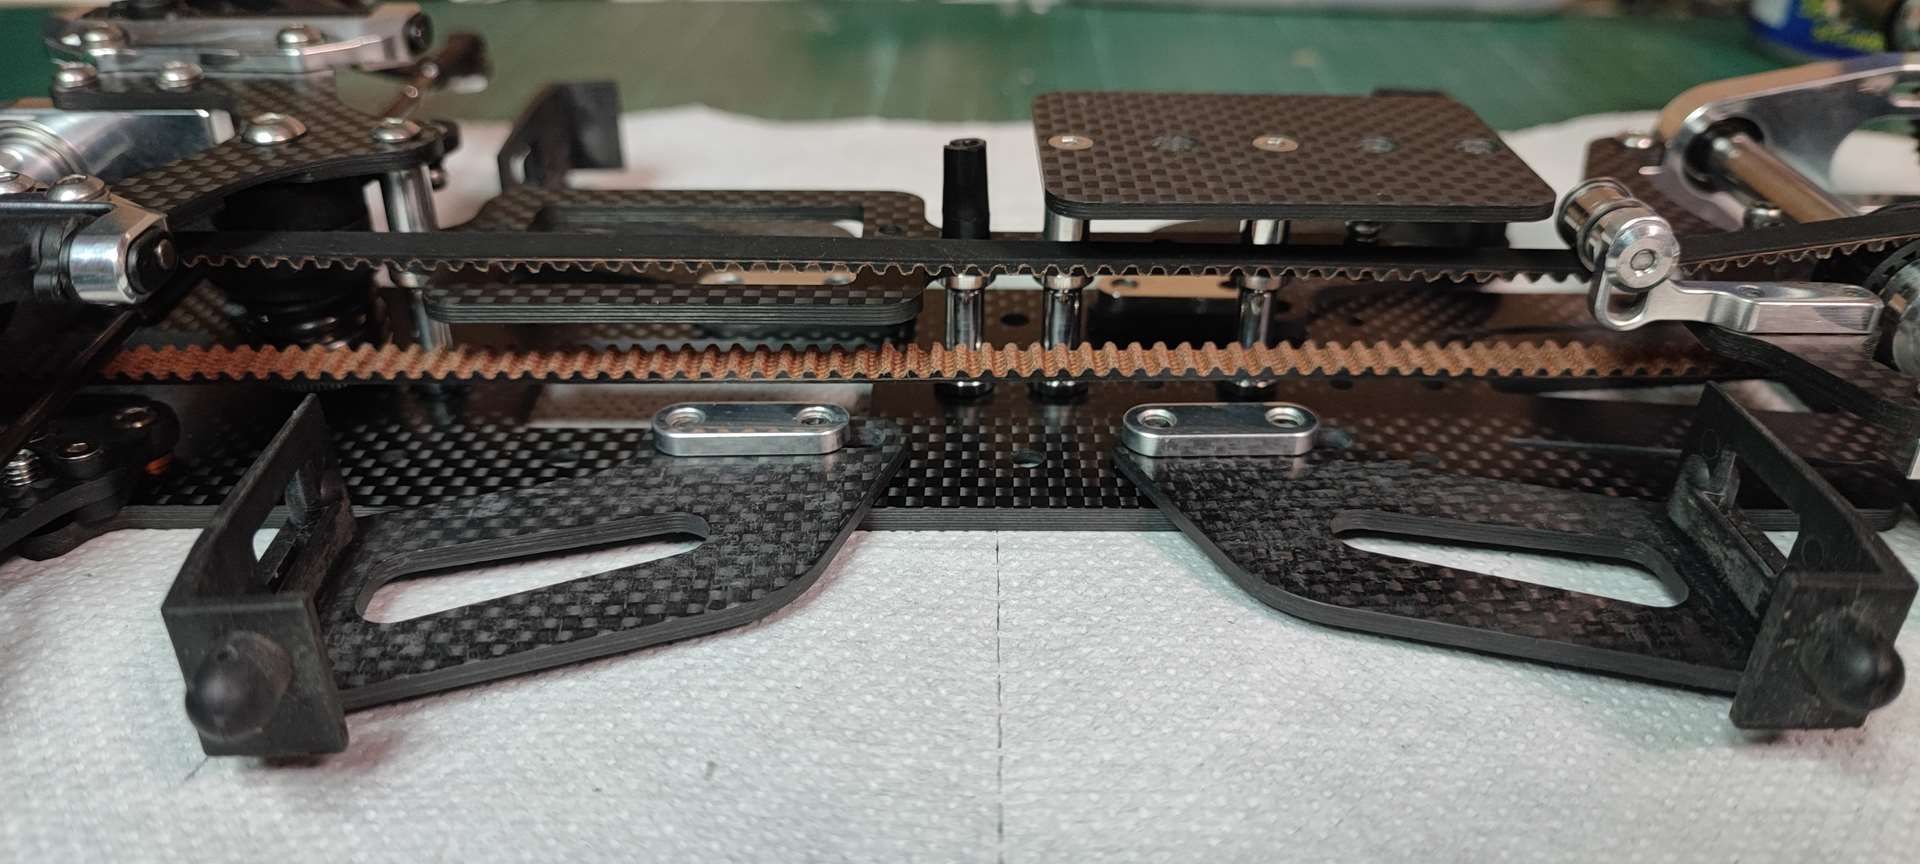
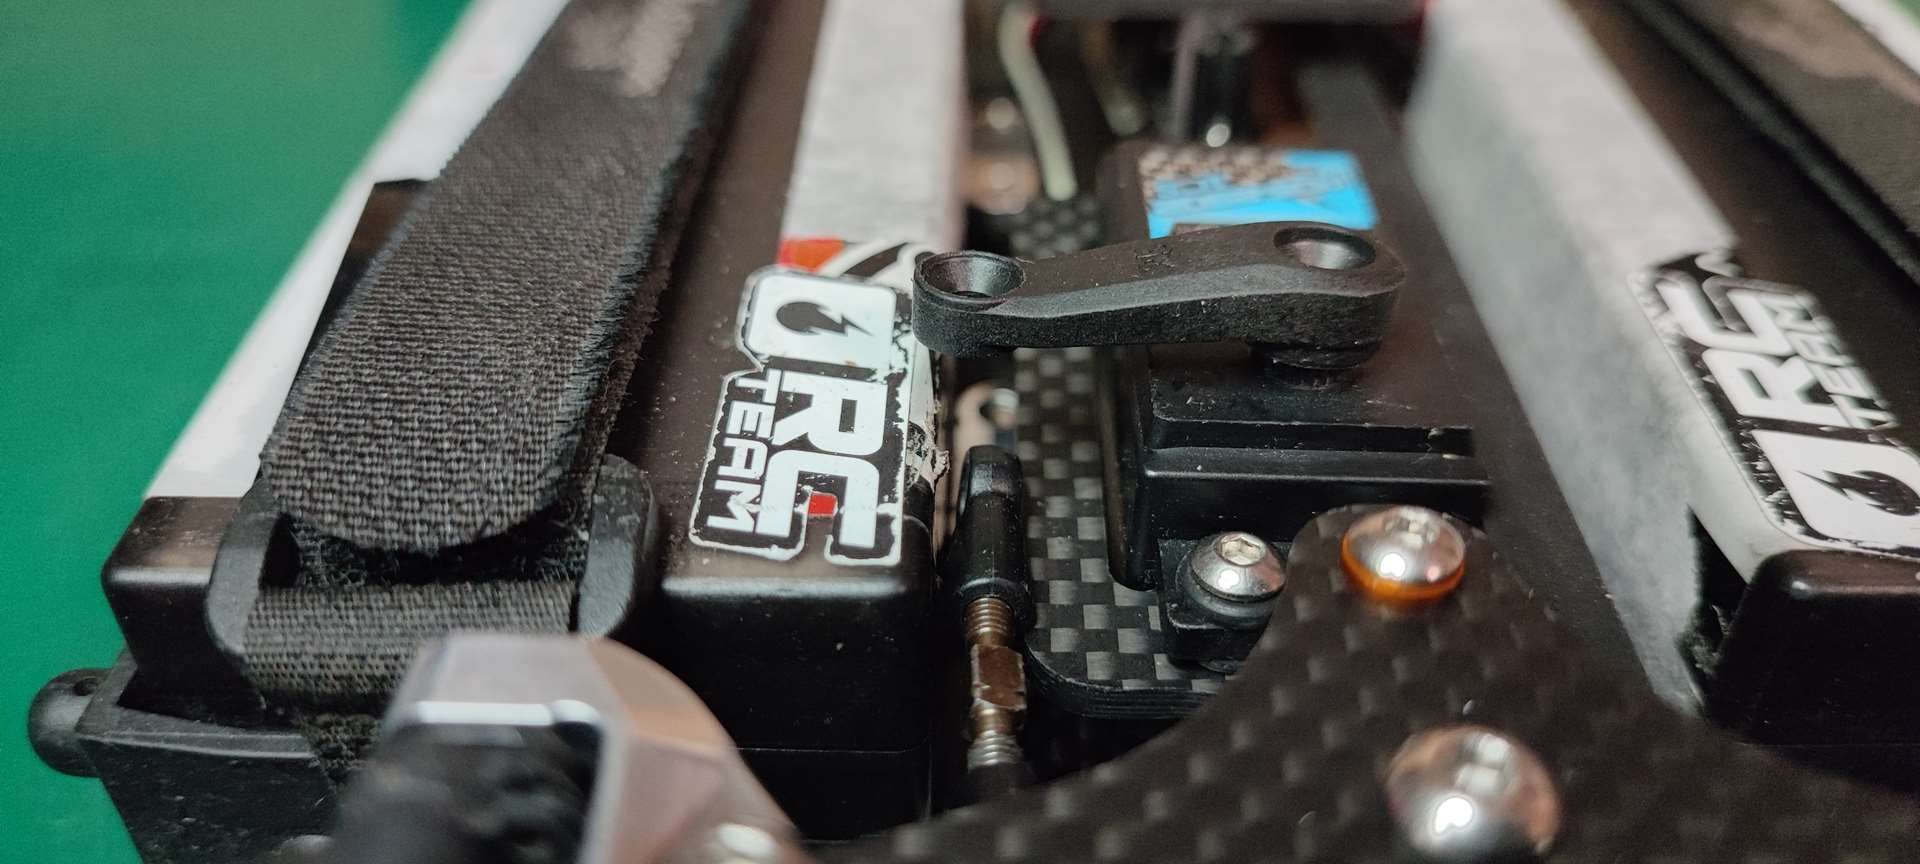
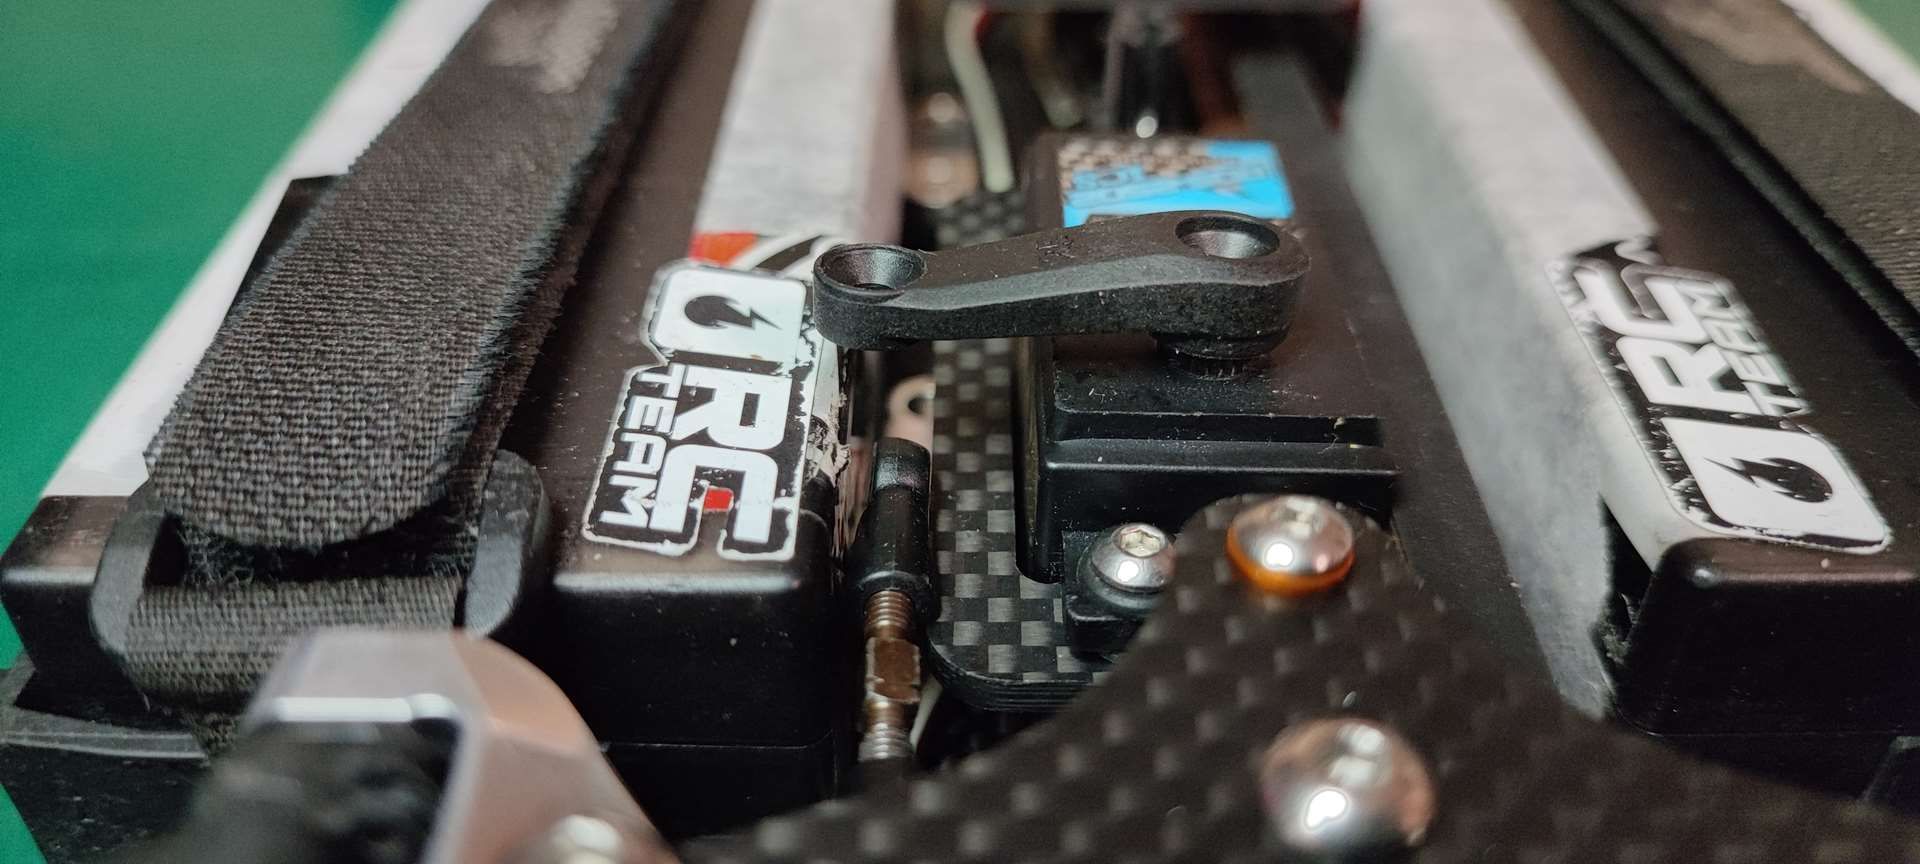
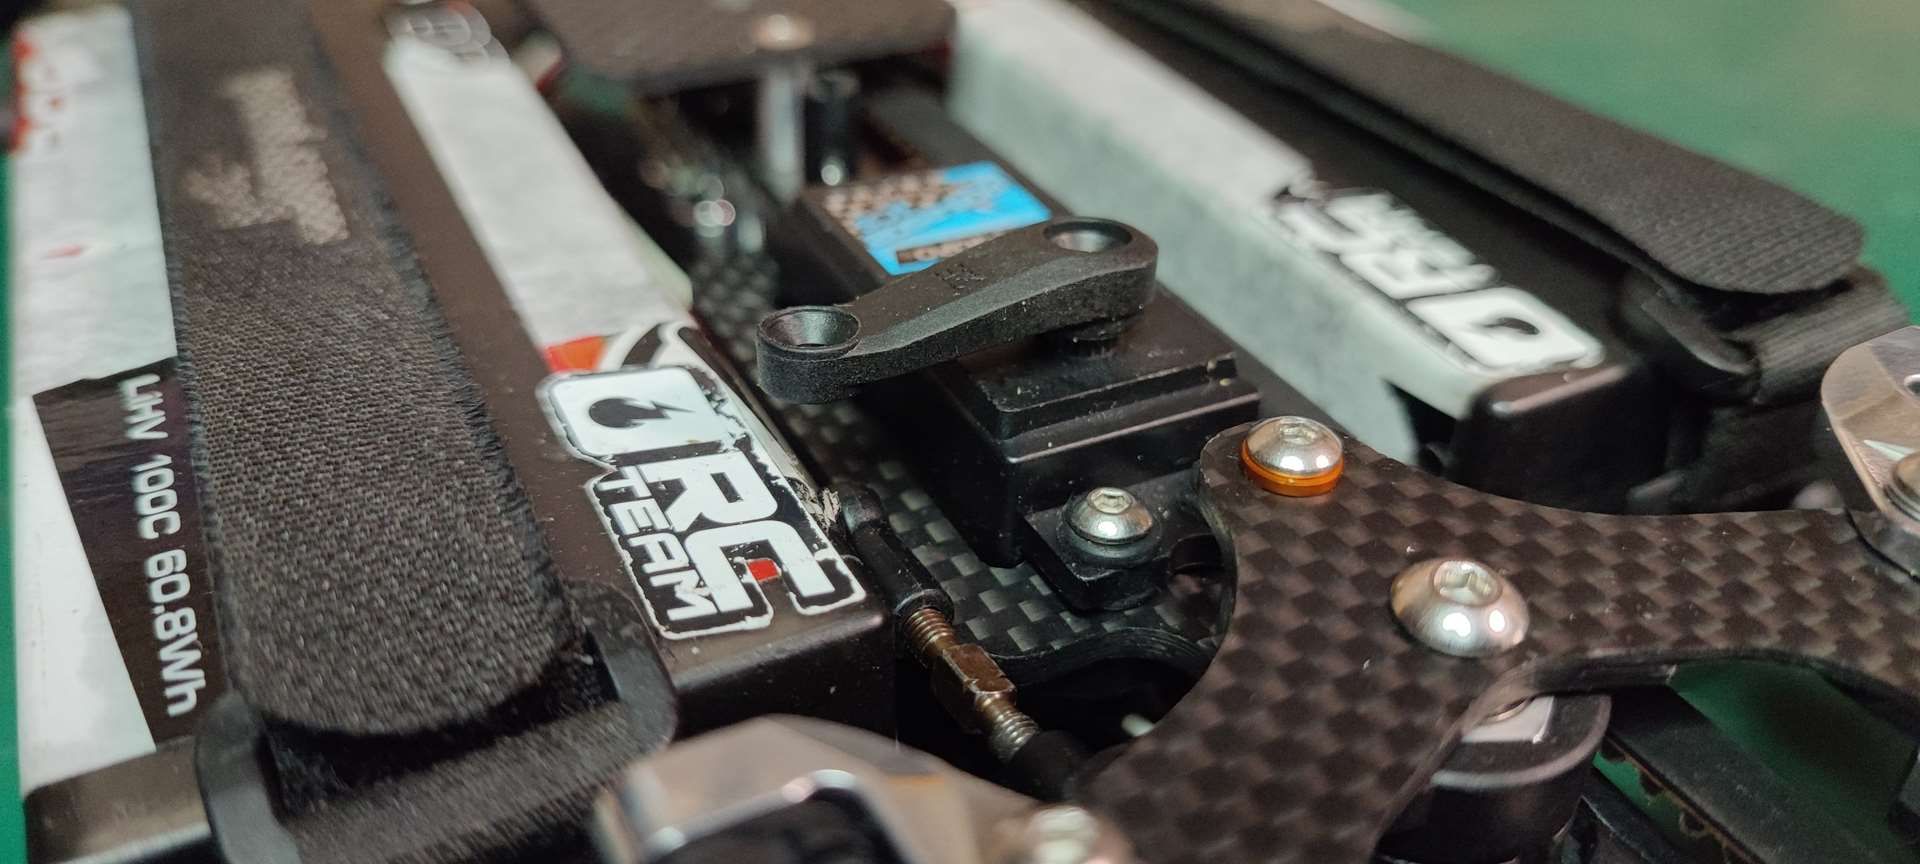
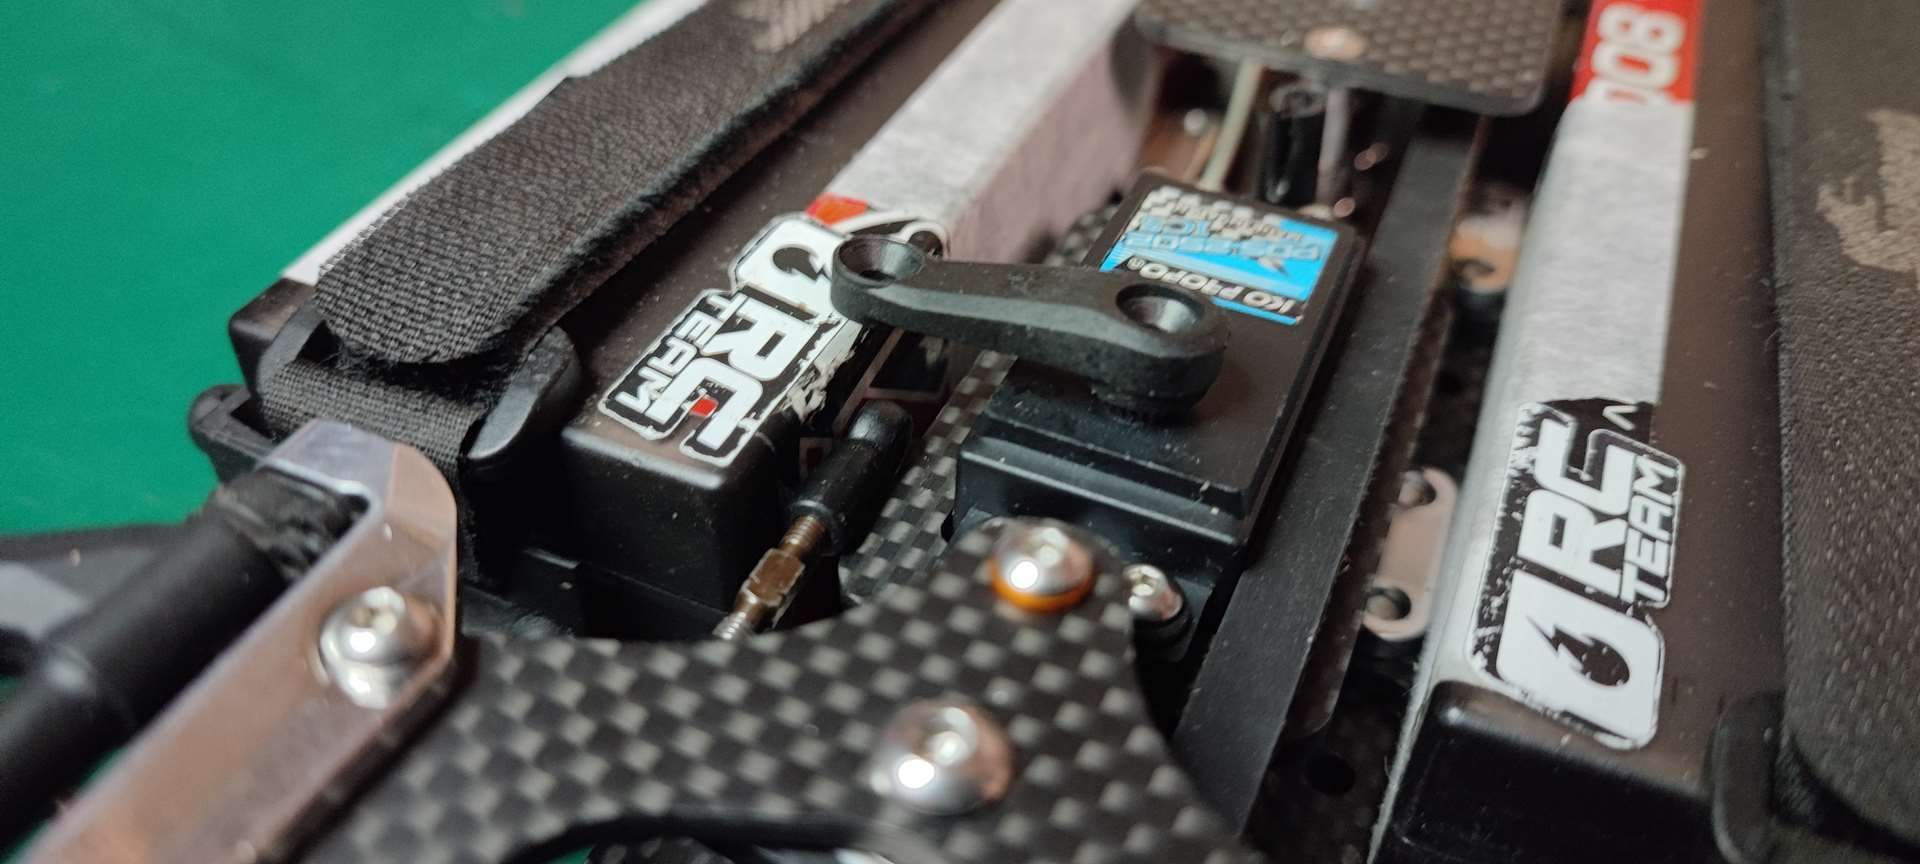
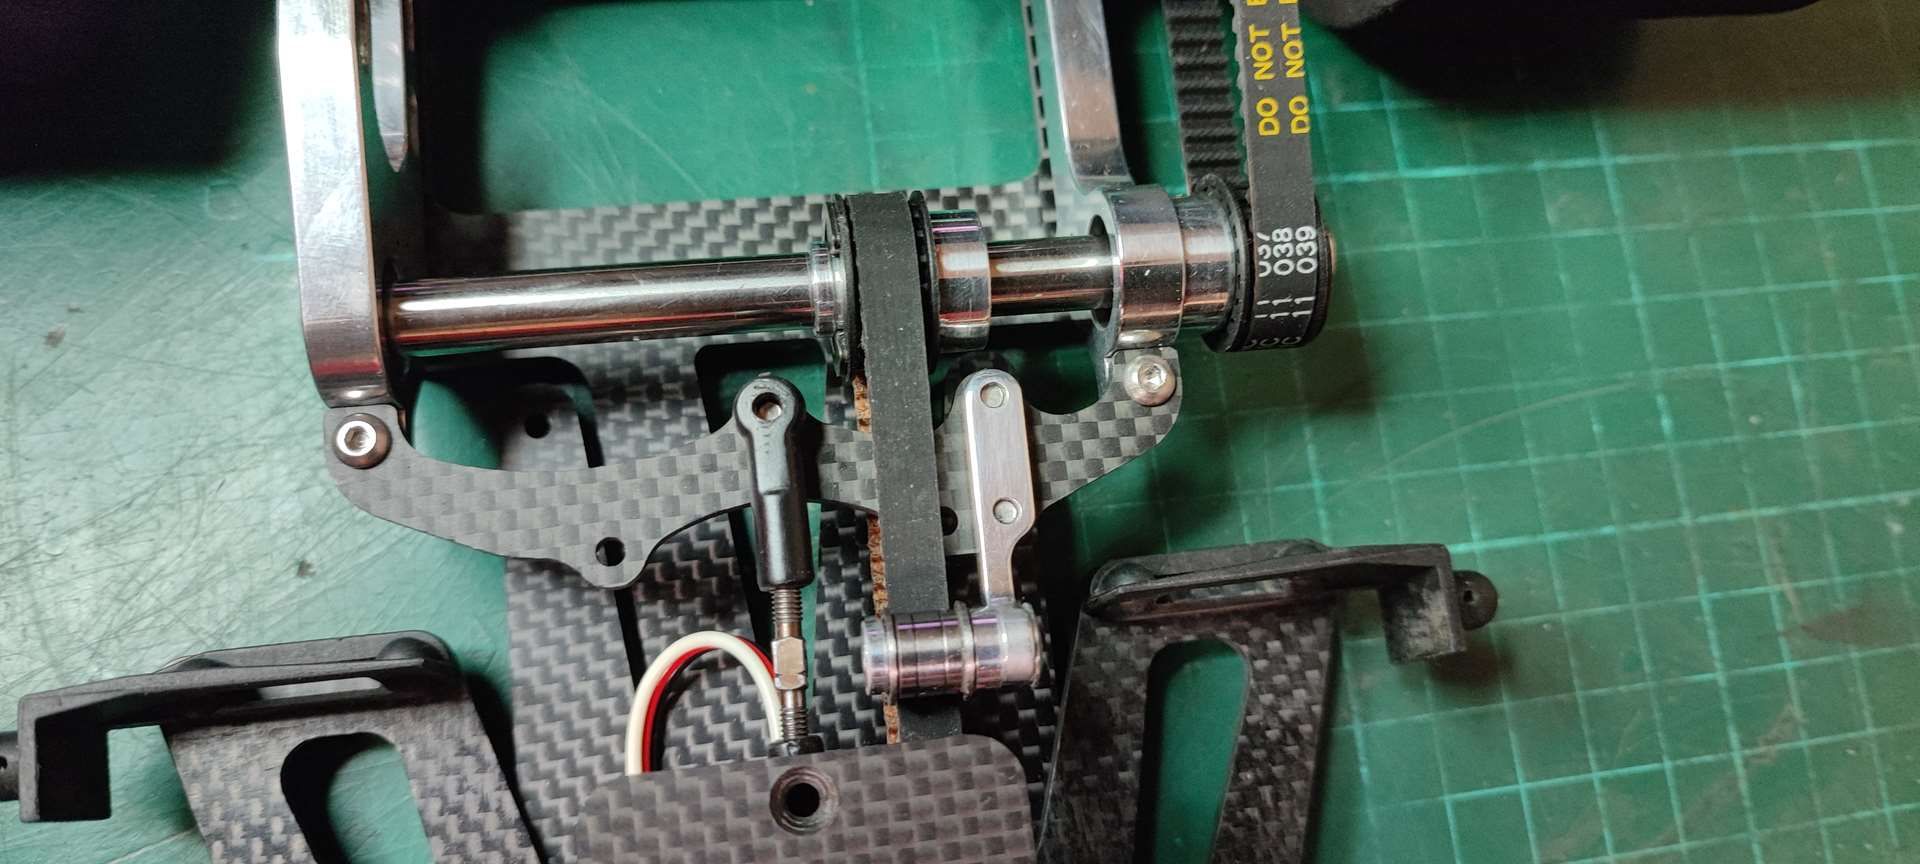
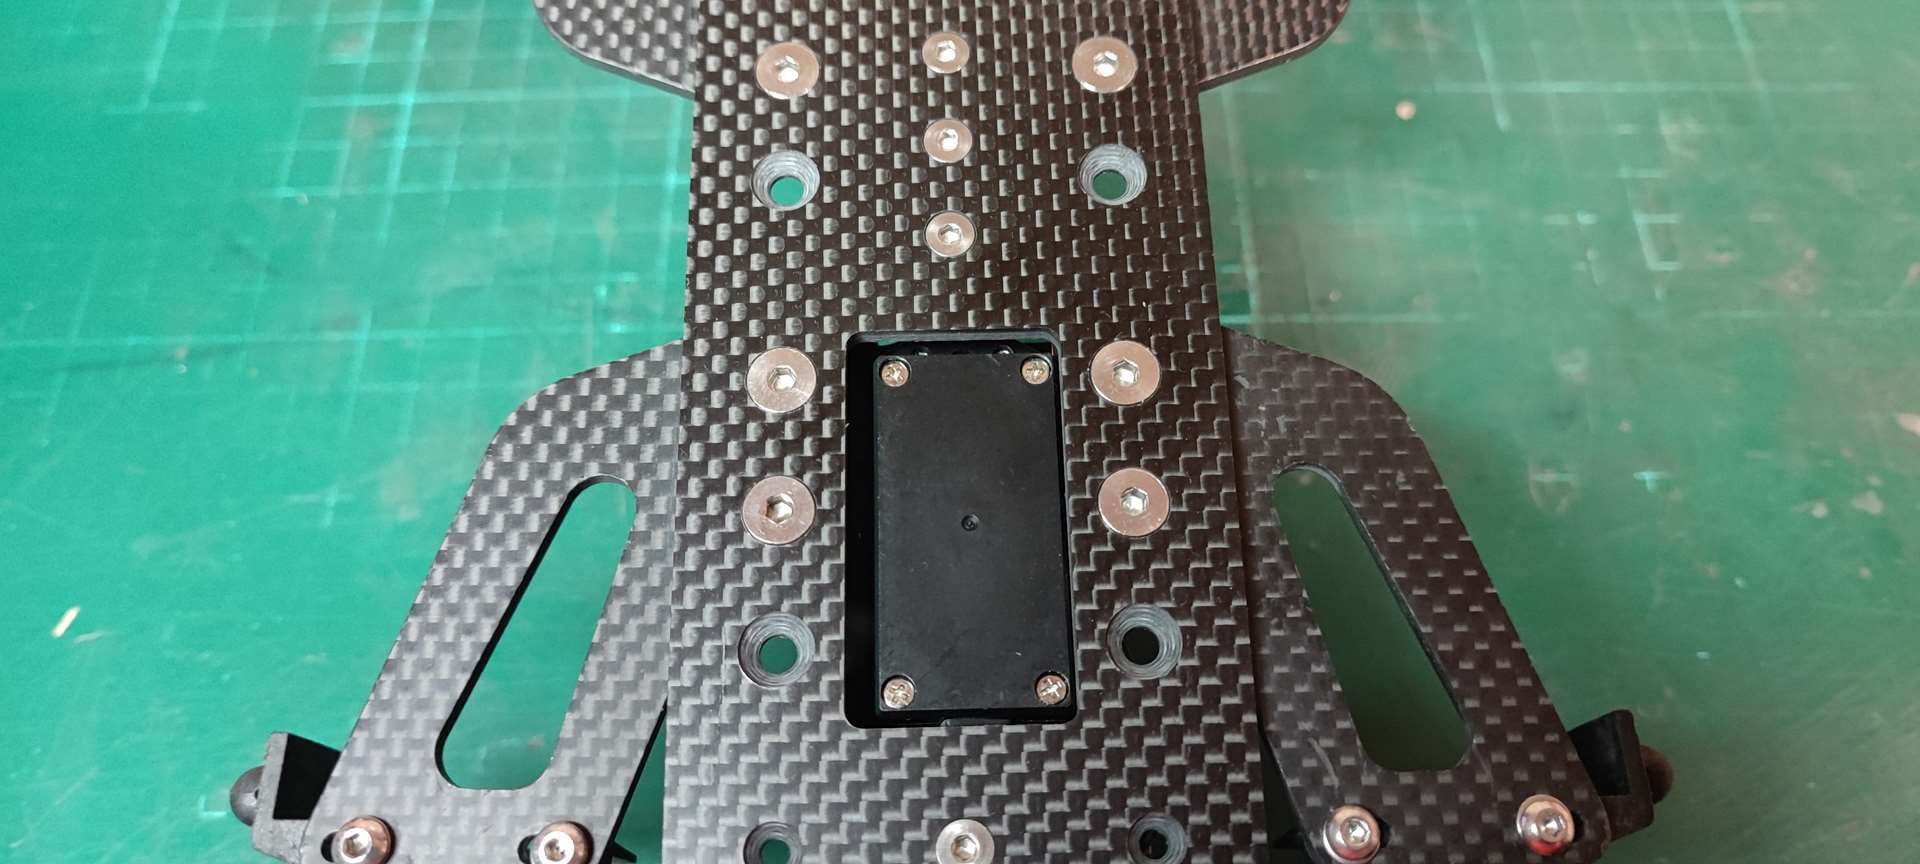
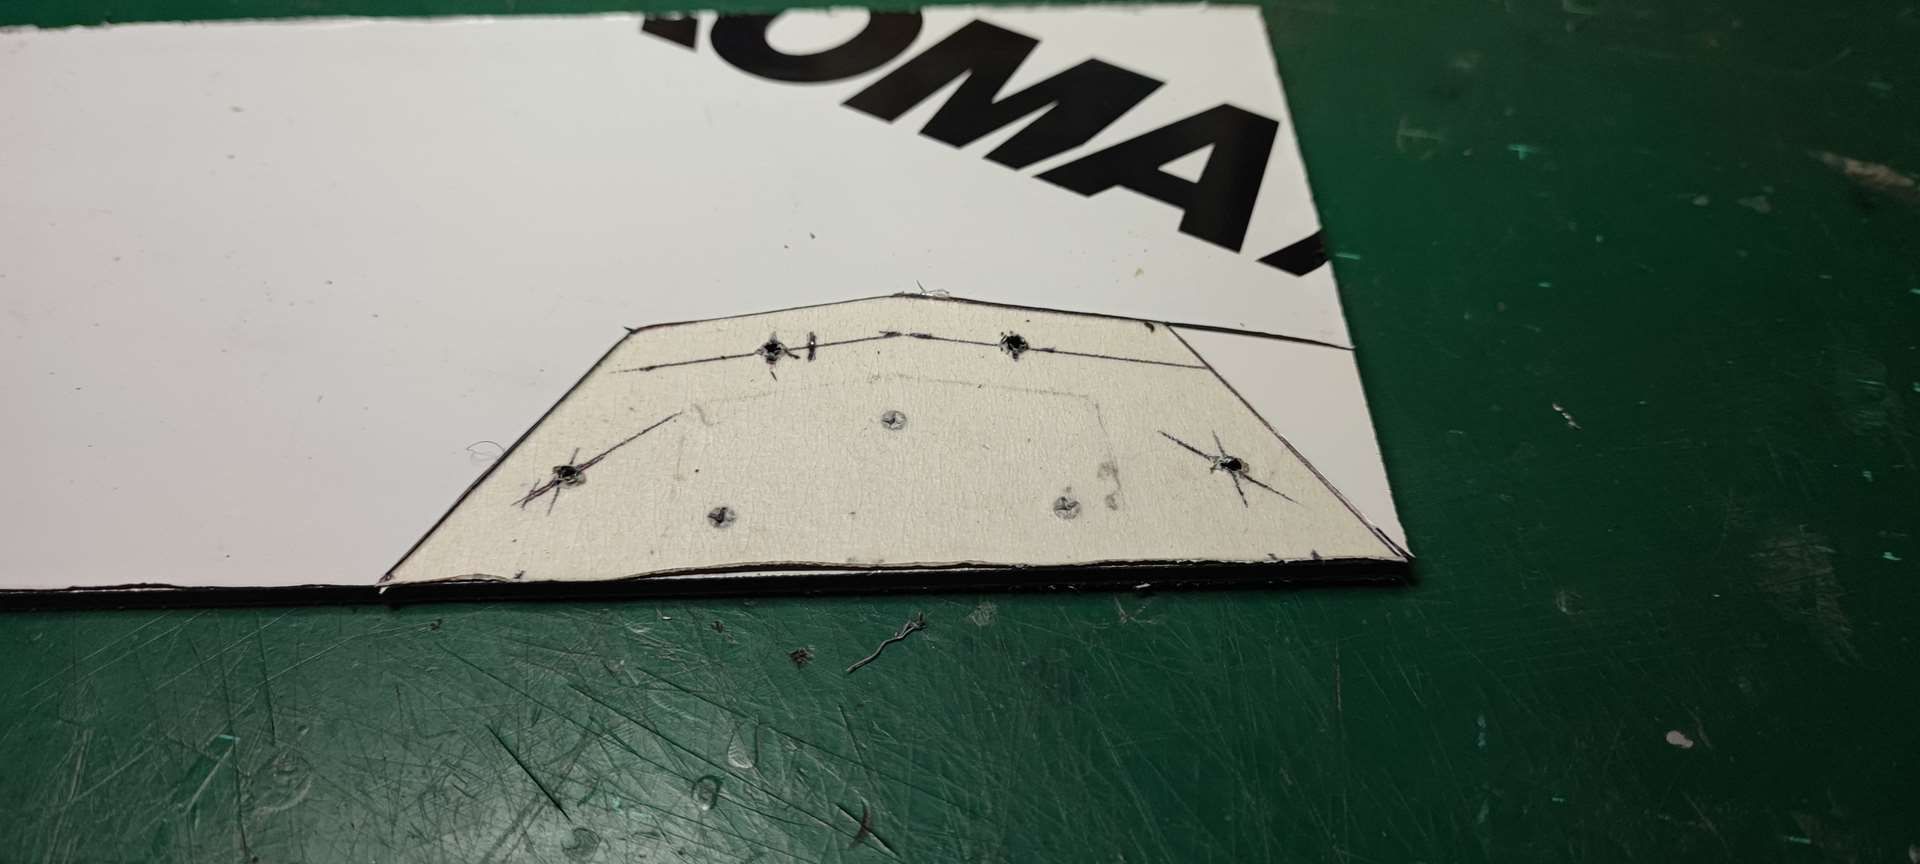
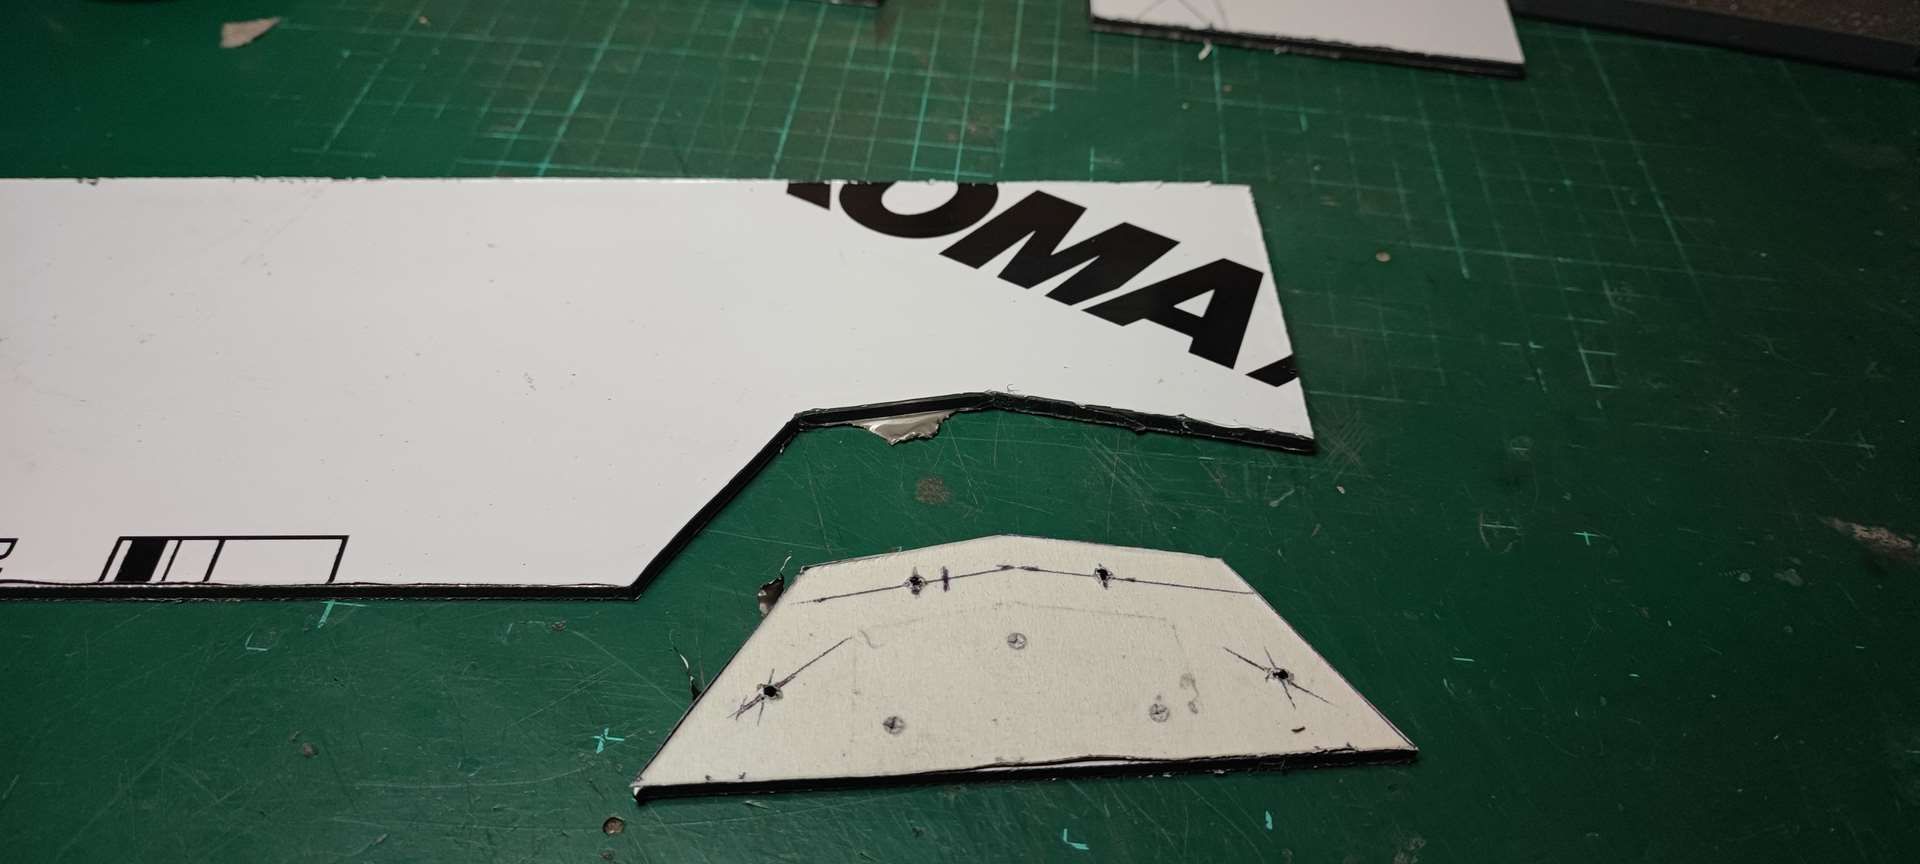
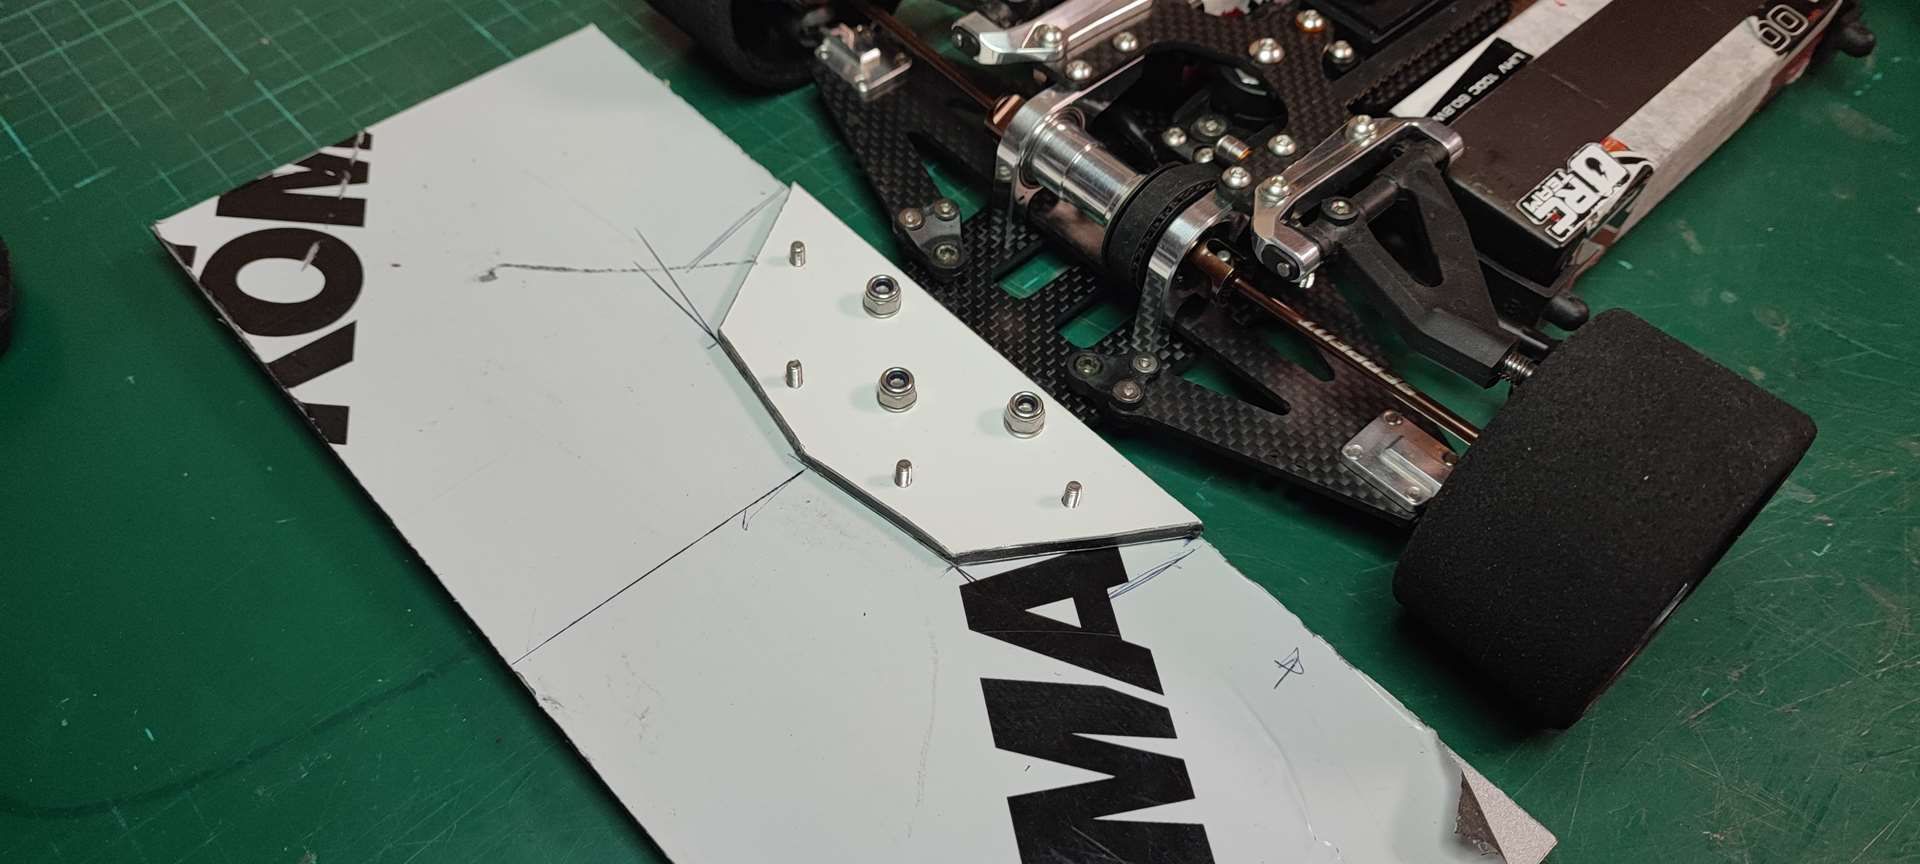
The part fixed with the 5 "orange" bolts, is a homemade part made by the previous owner in order to stiffening the action of the original chassis. This part will certainly not be taken up for reassembly.

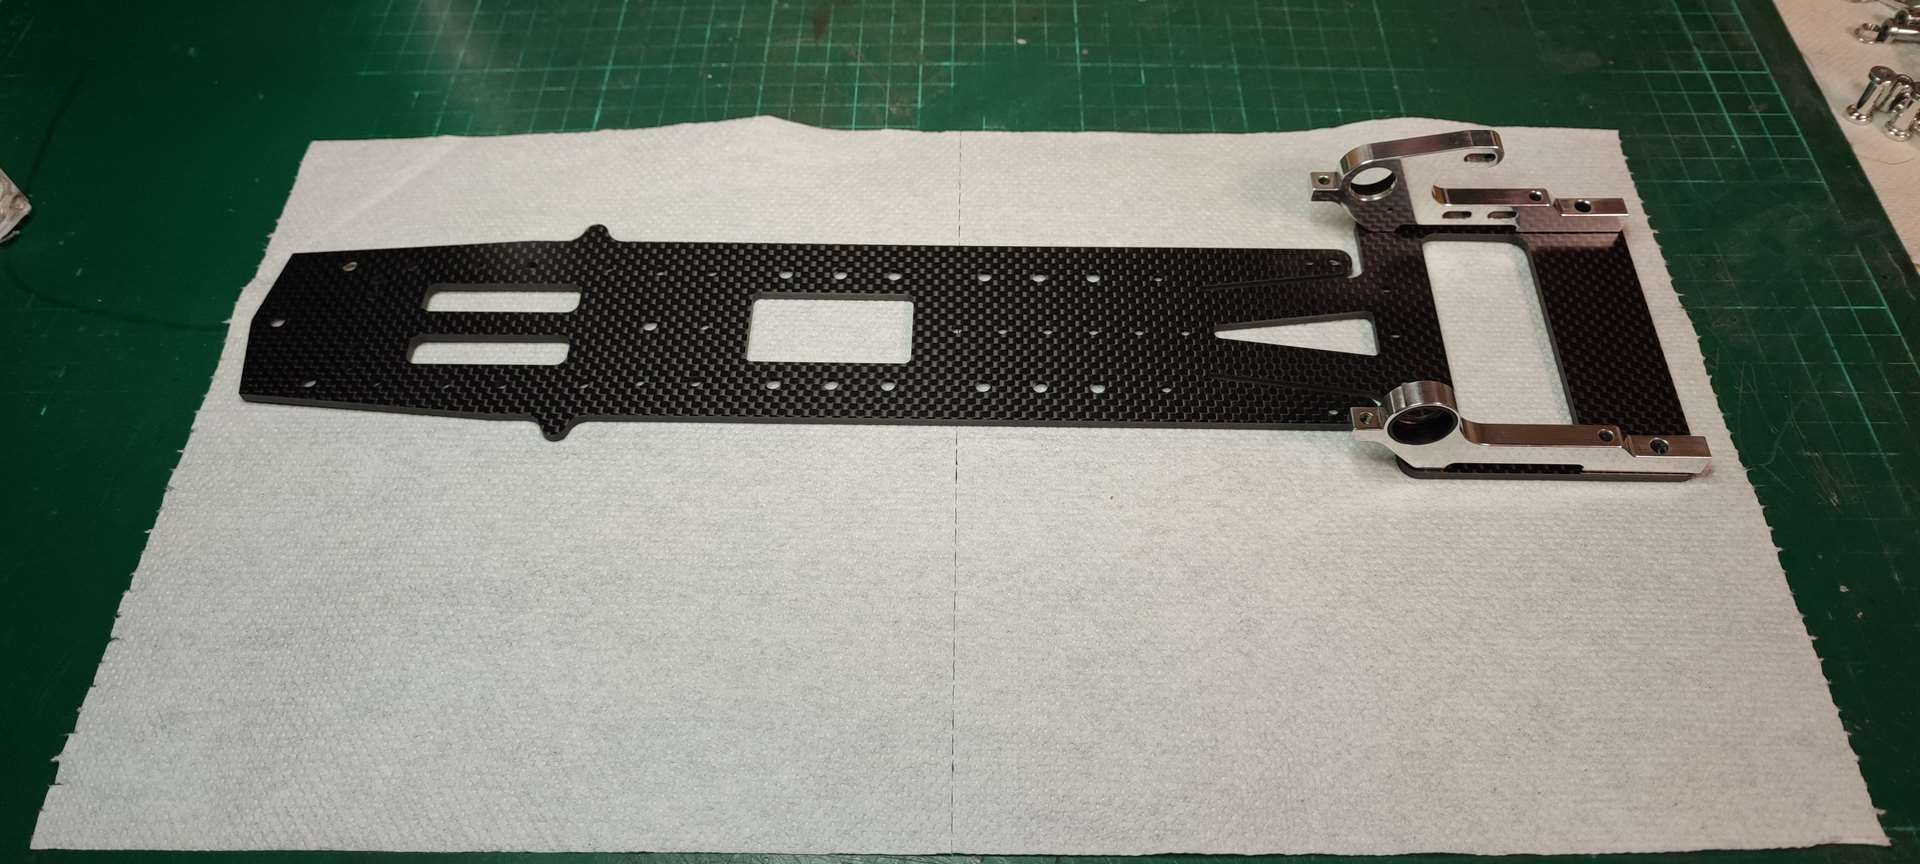
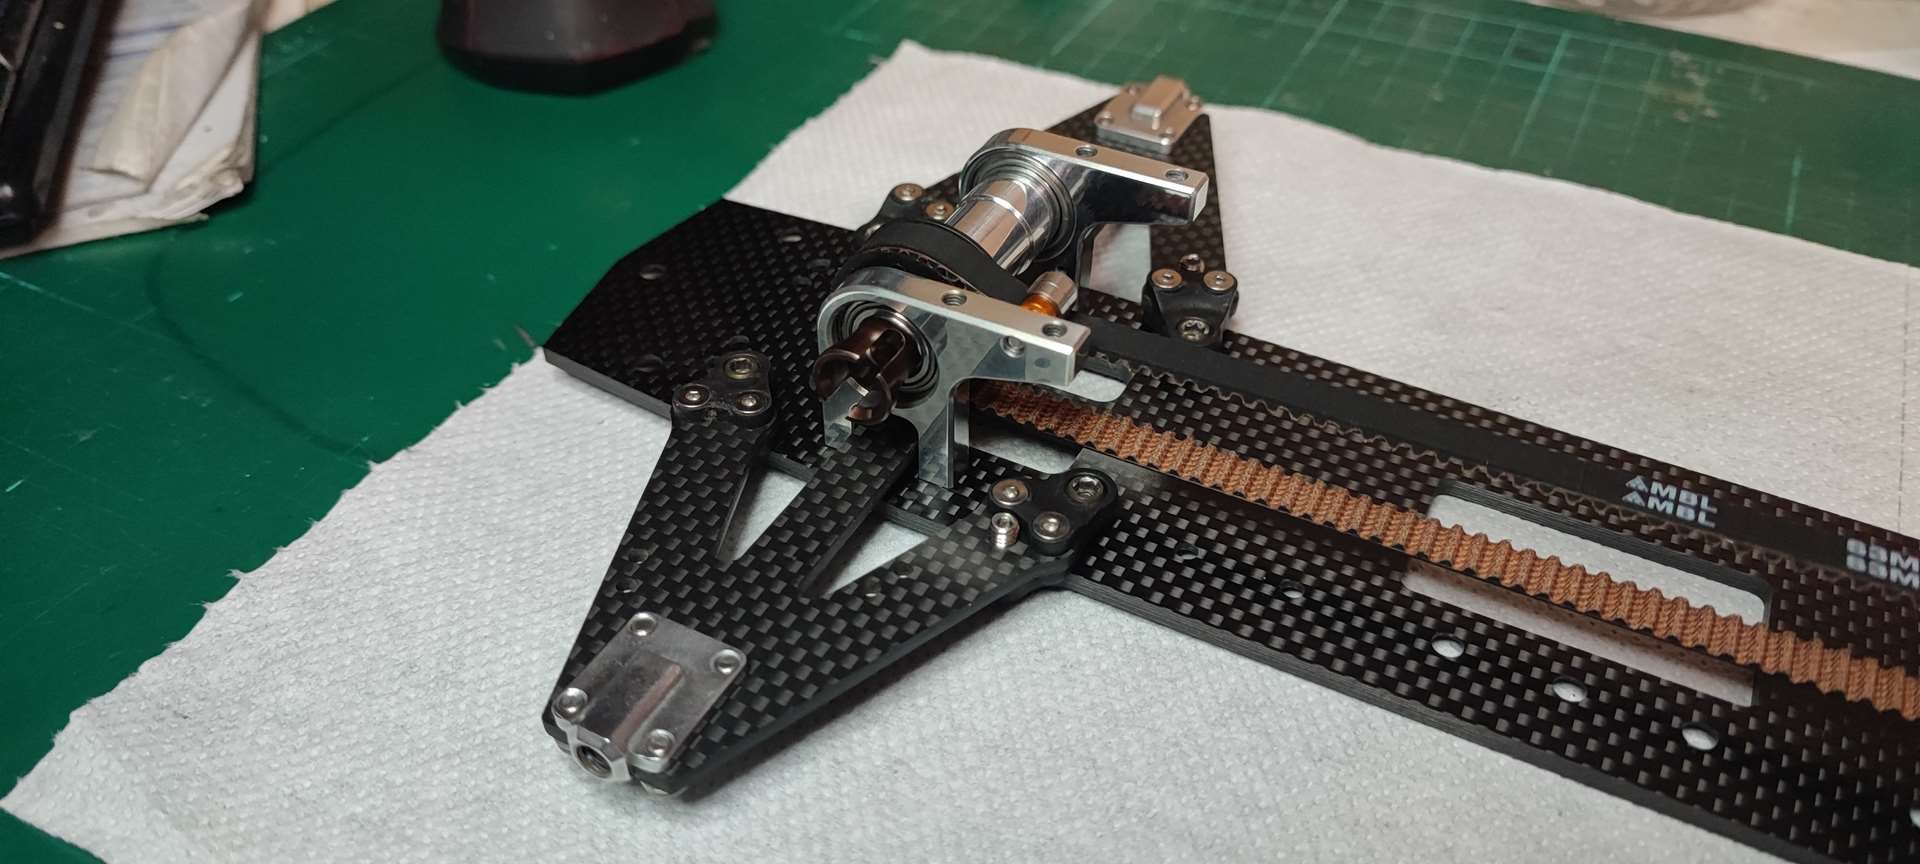
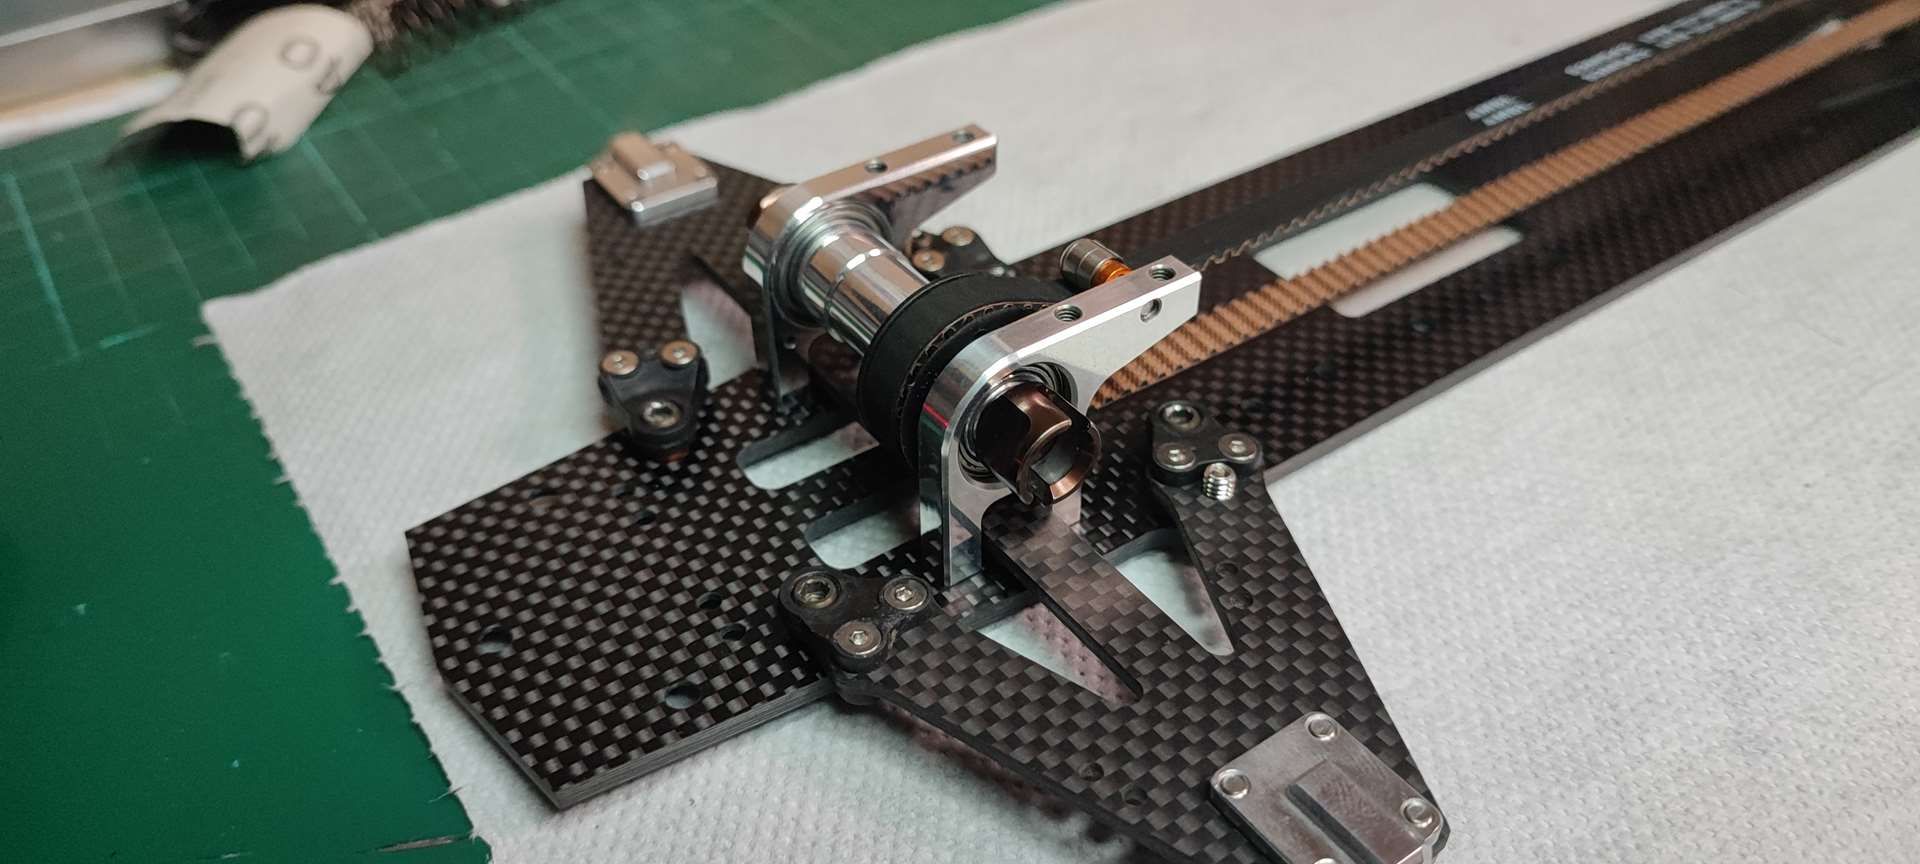
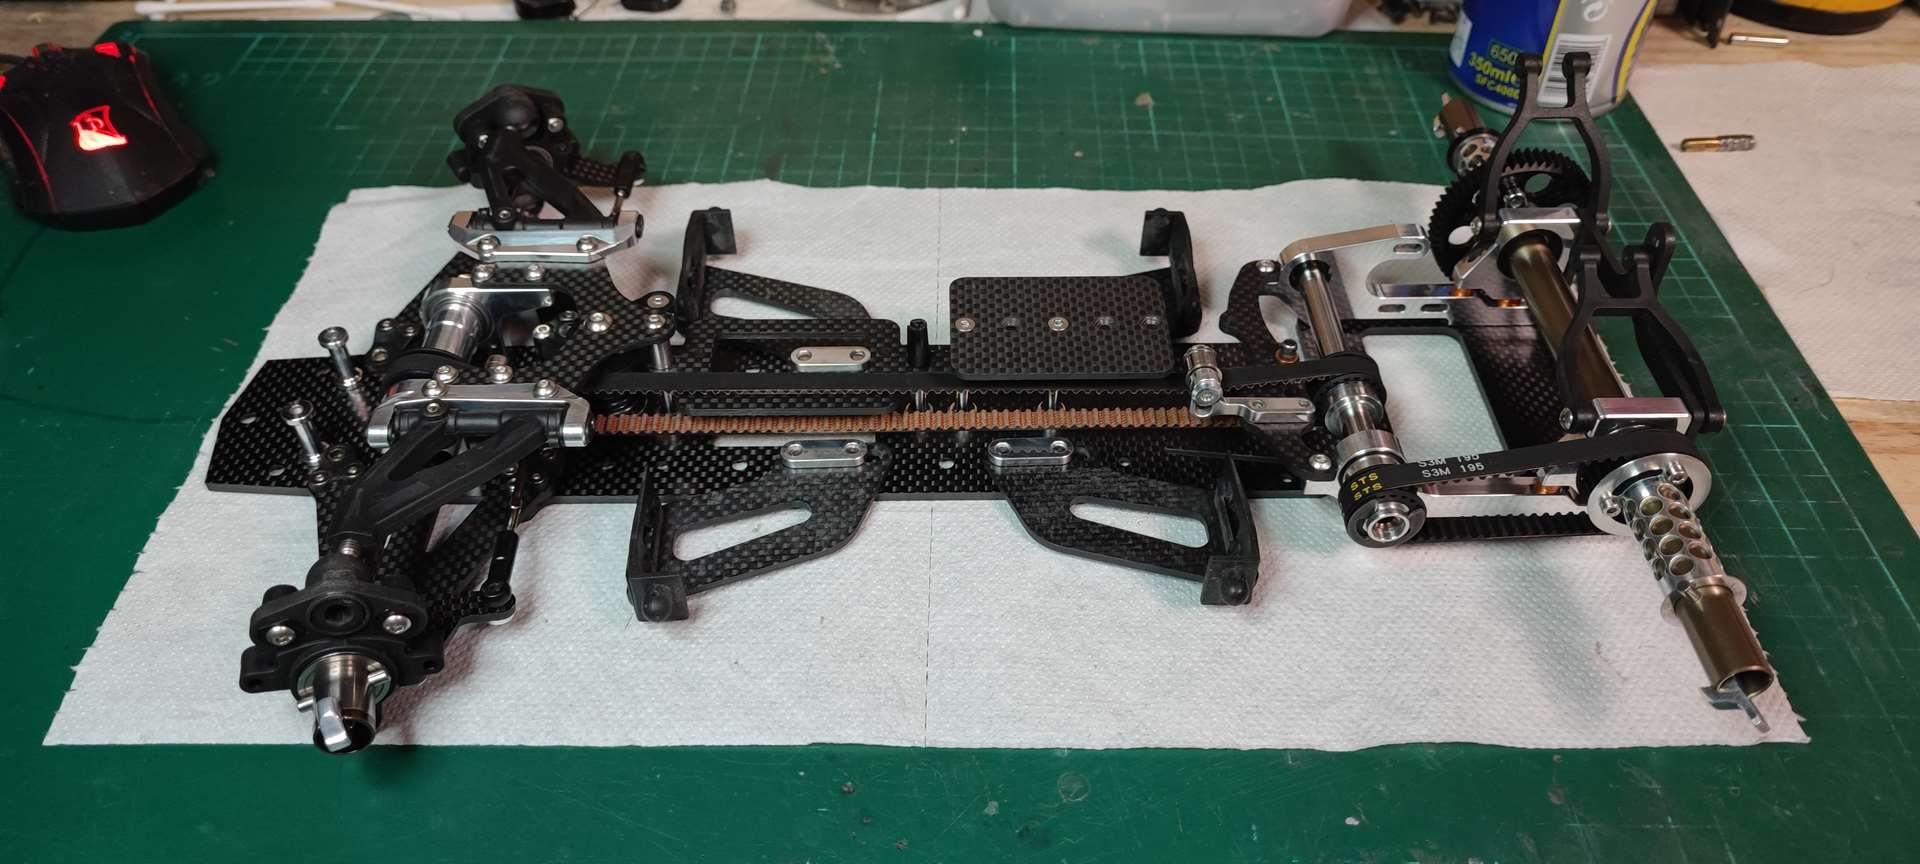
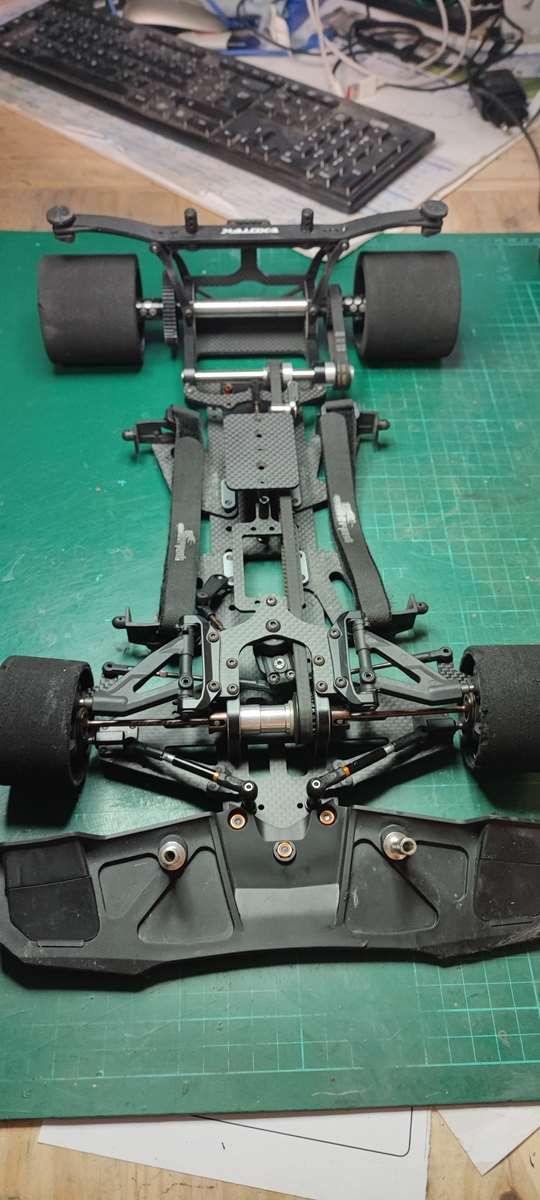
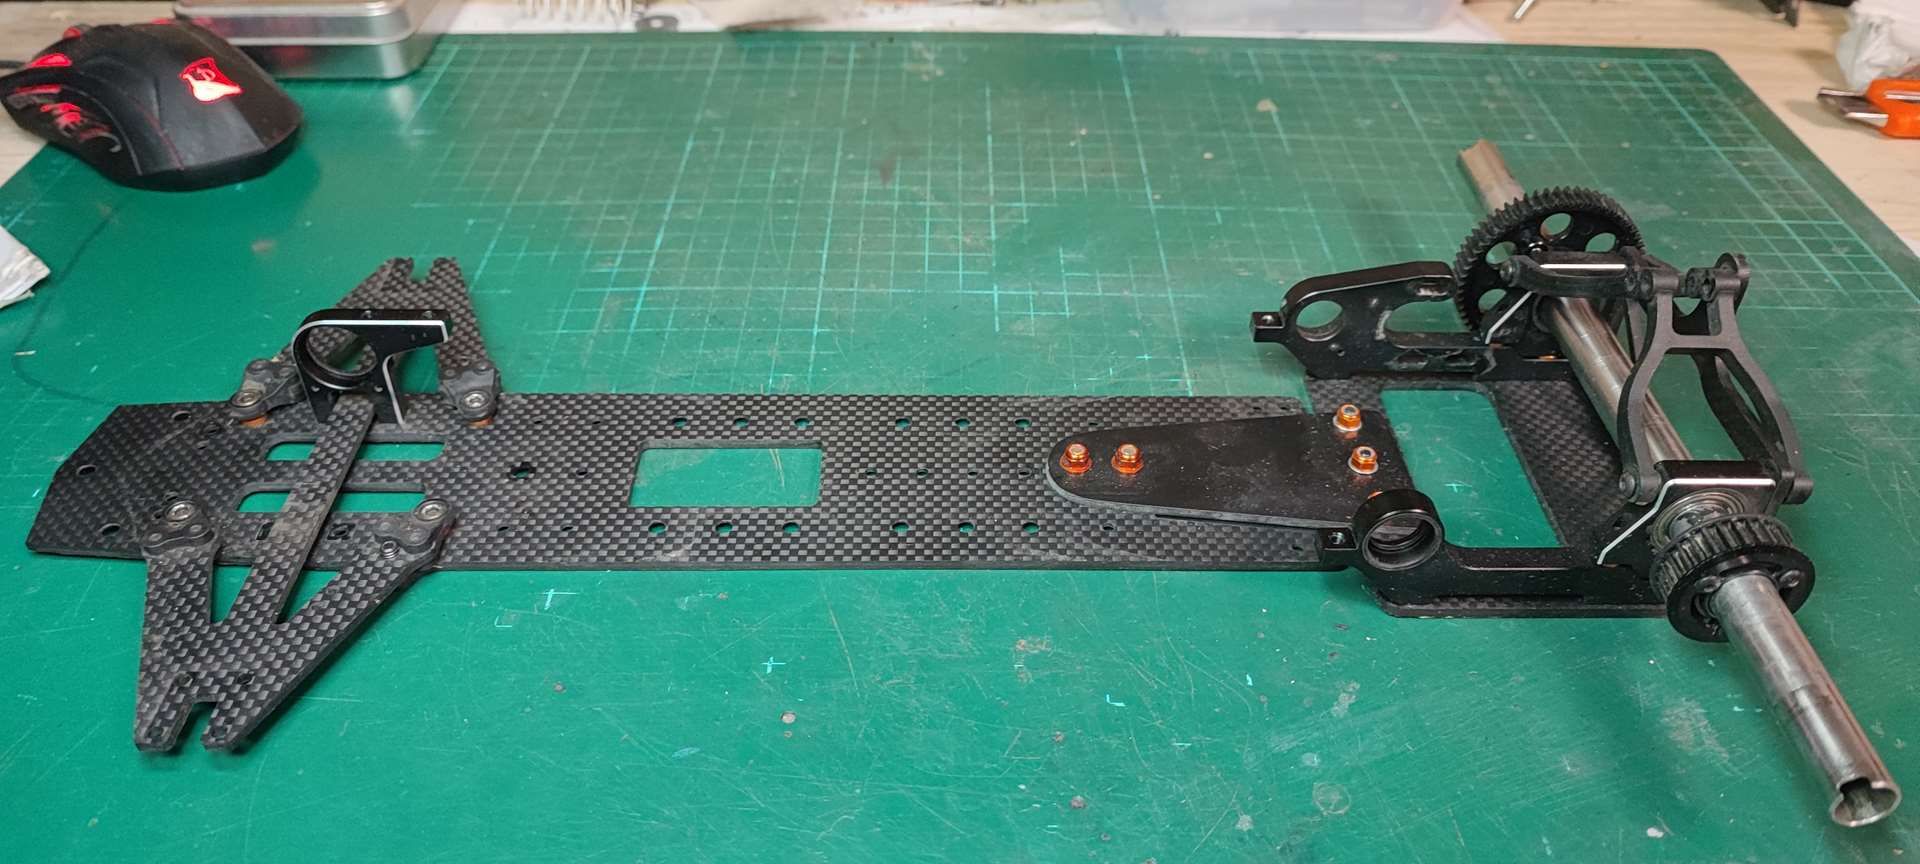
The right front part of the front bulk was still in place because the screws were blocked

Image


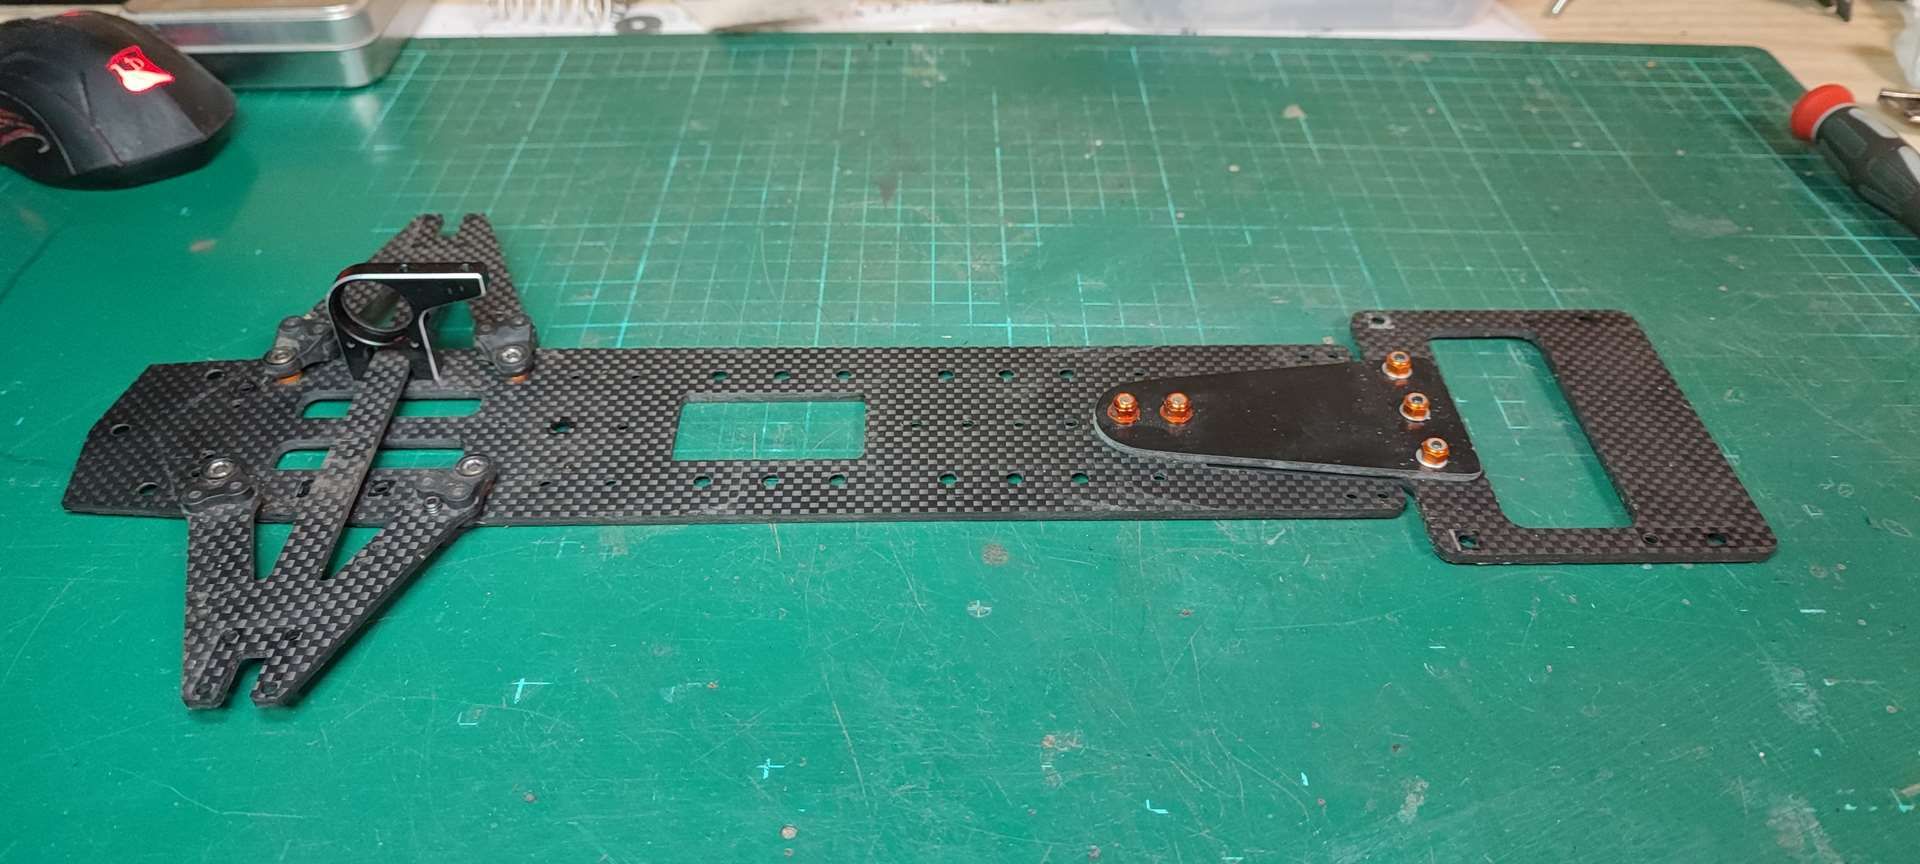
I managed to unscrew the screws of the front bulk after passing the assembly over the wood stove and a spray of "cold" air on the screw... and it came quite easily.

Image
Image


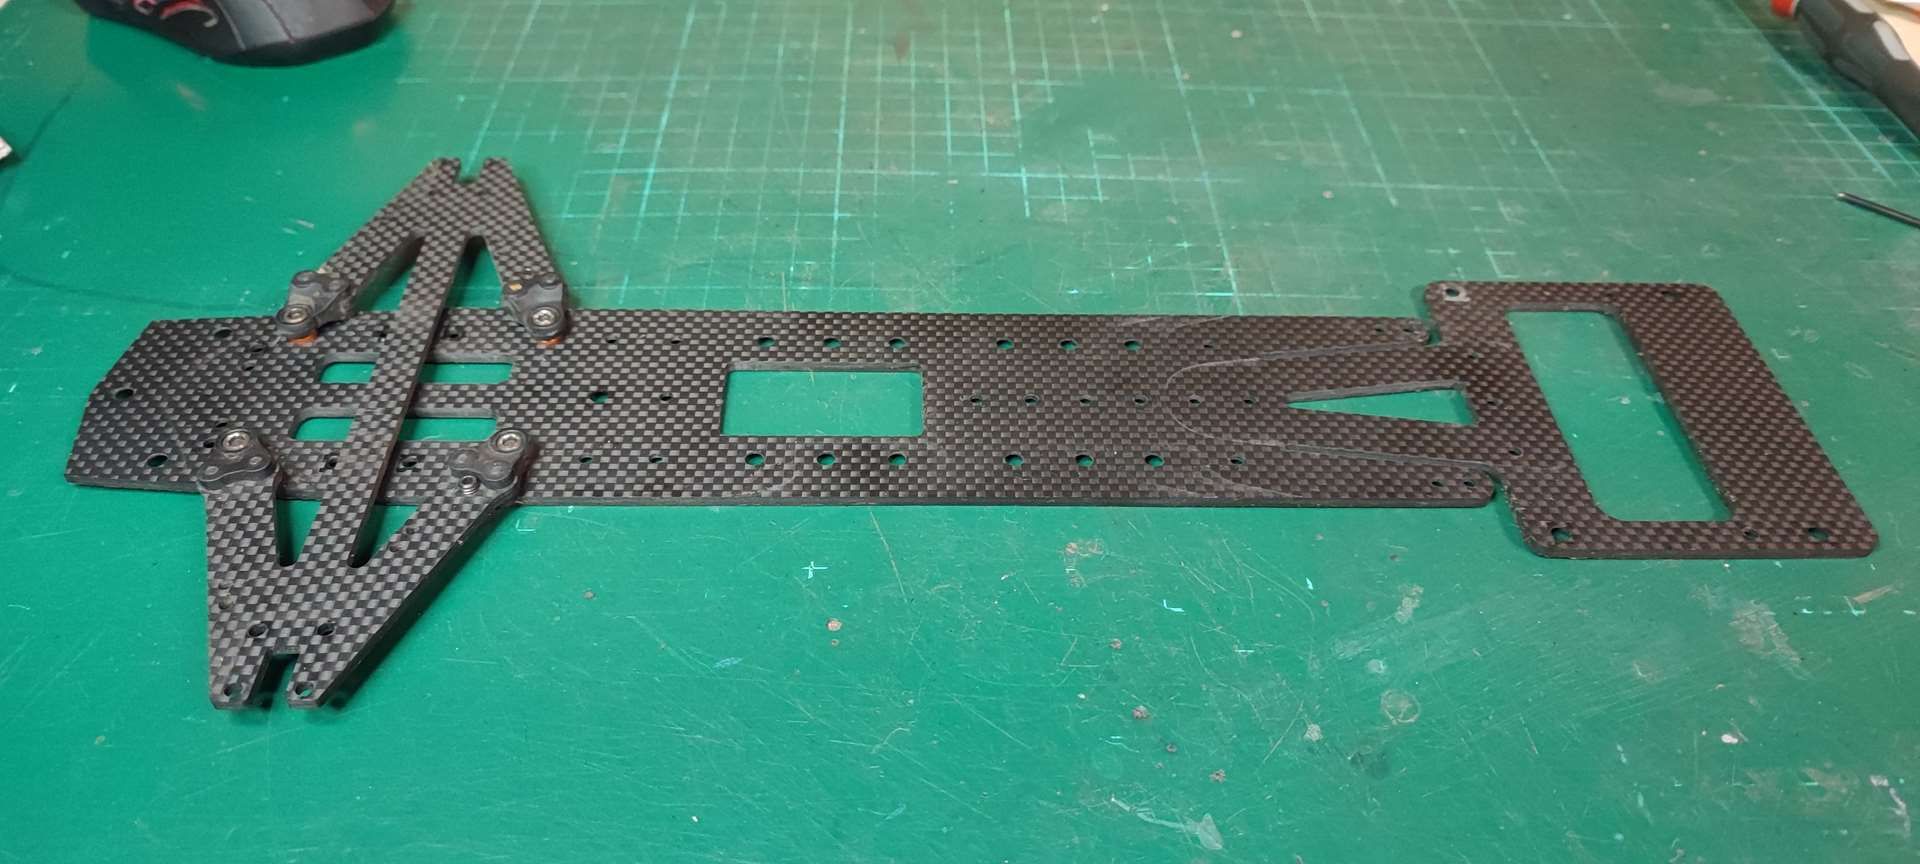
It will be a money hole ... ;)

For the rebuild, i need to :

- find a new chassis
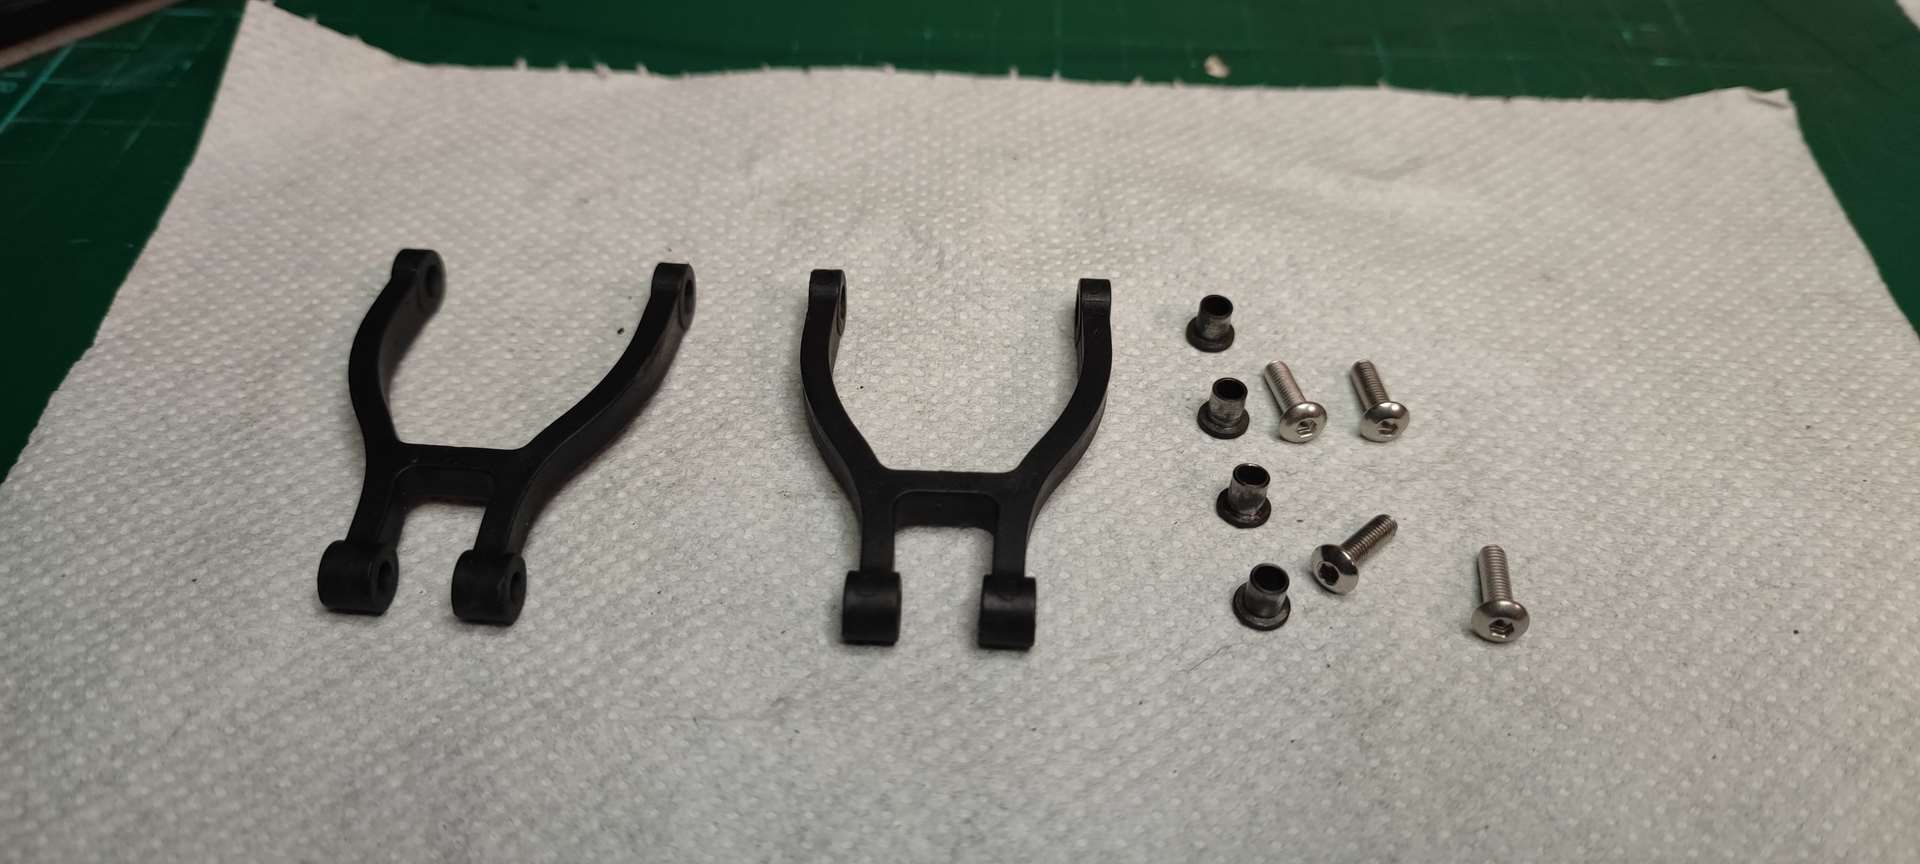
- find some small missing plastic parts (front "shock absorber" attachment)
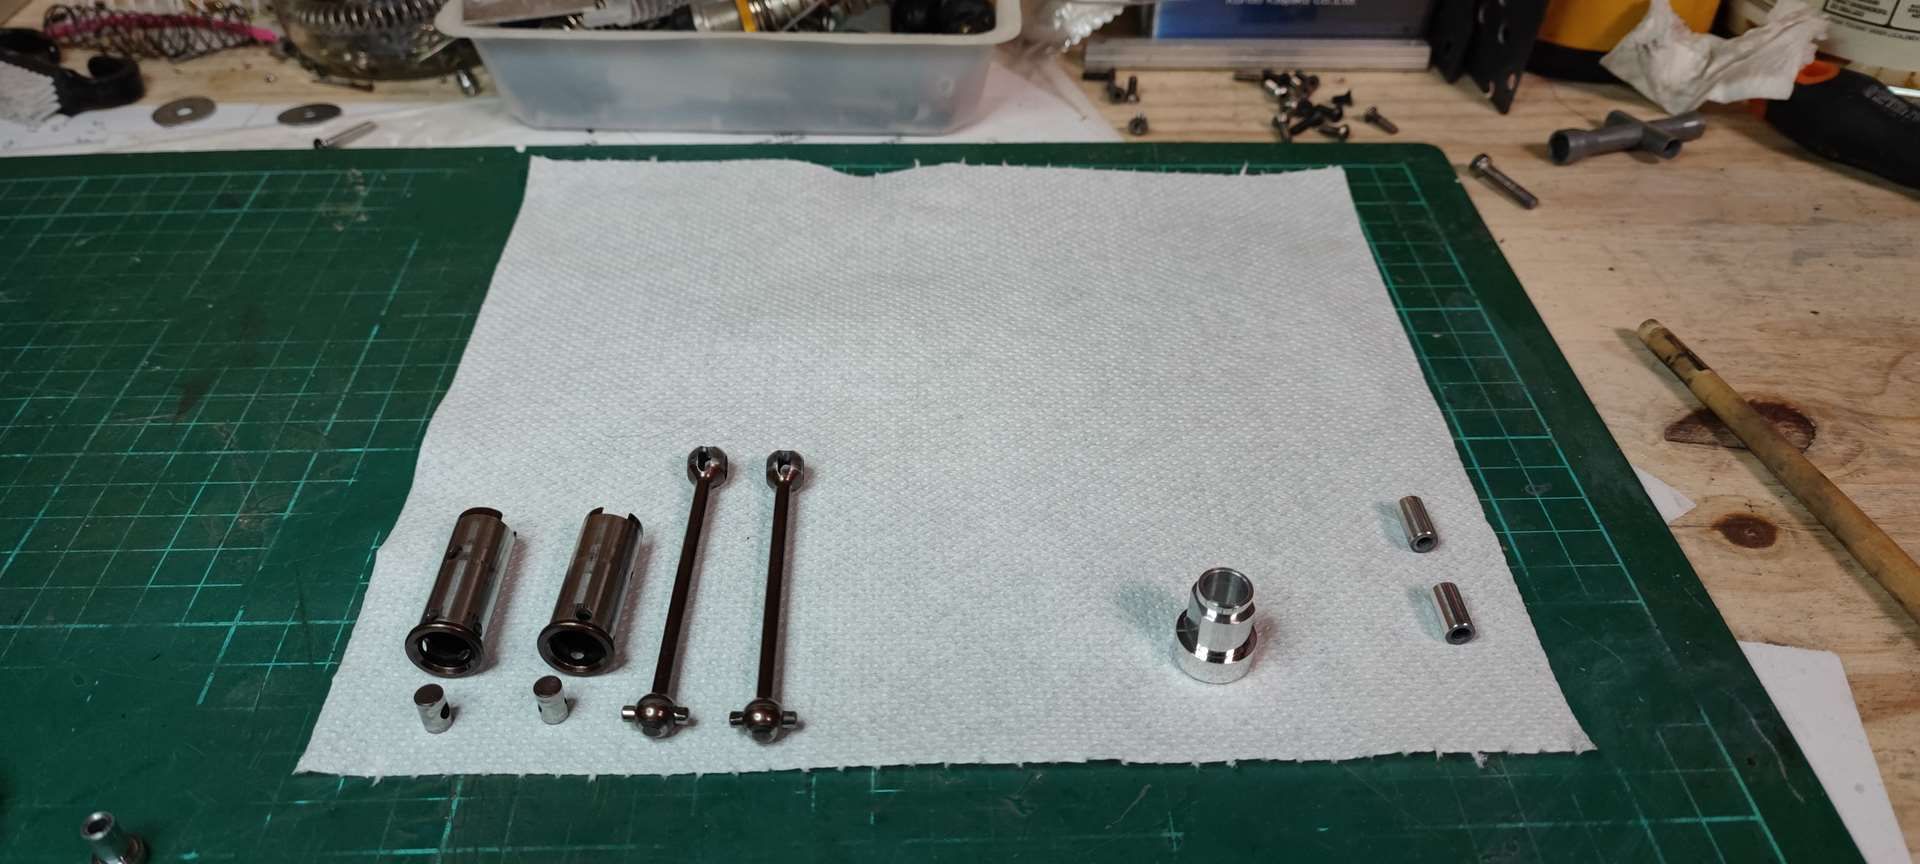
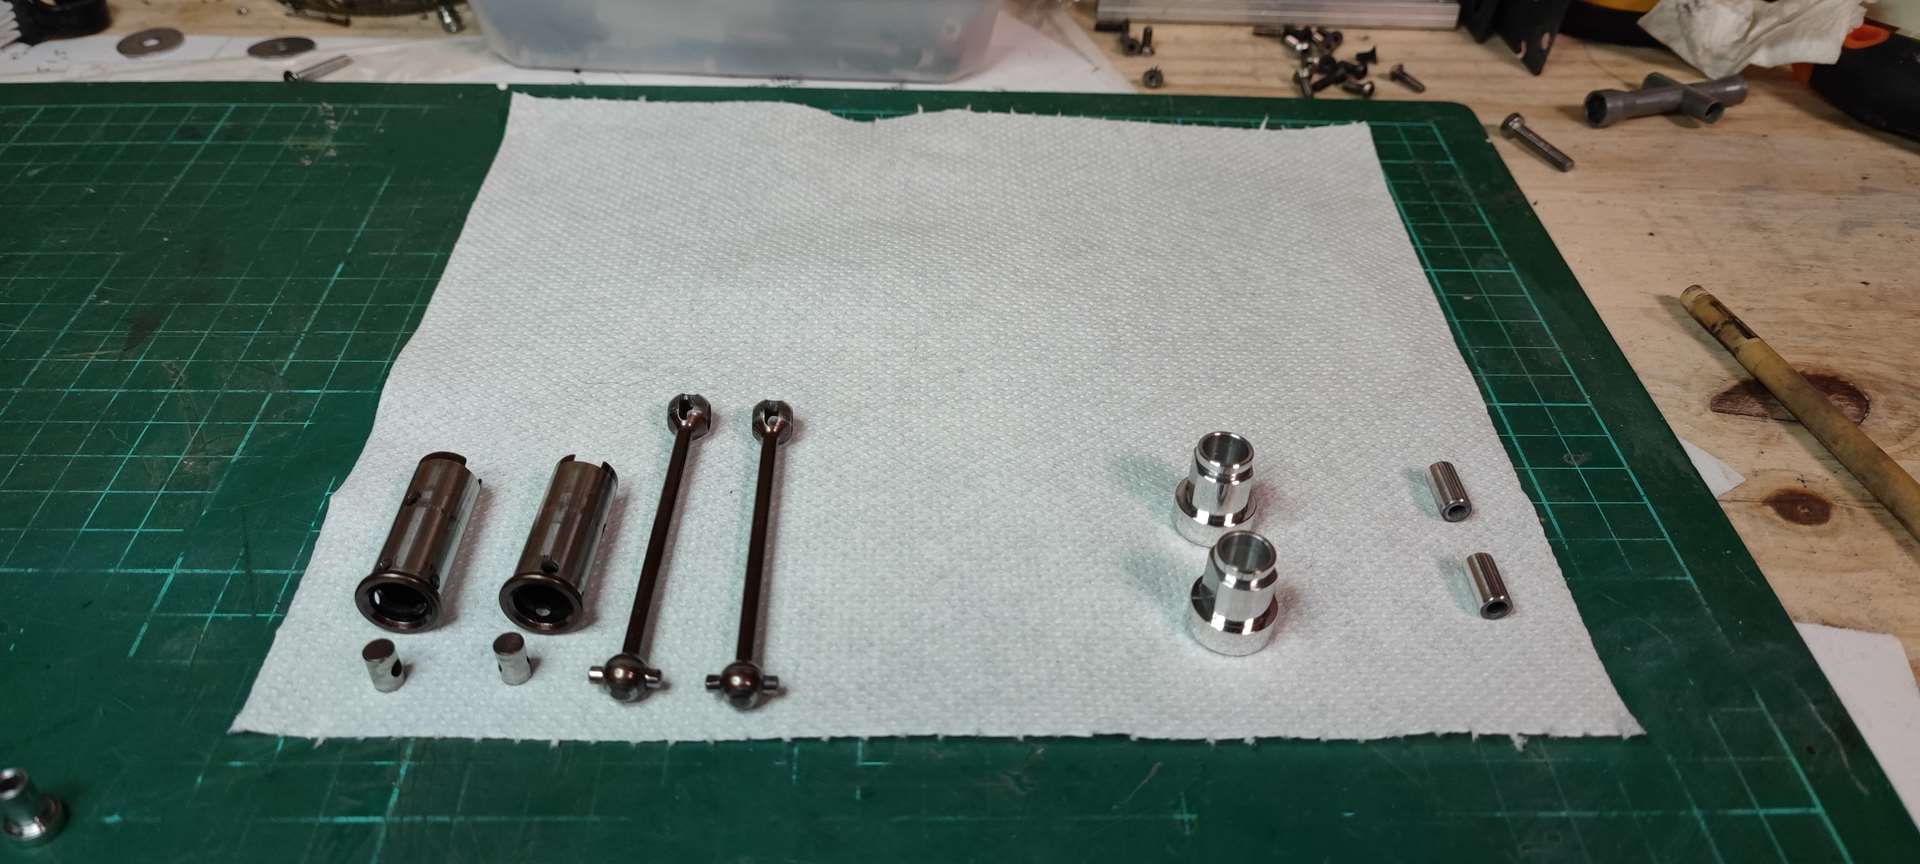
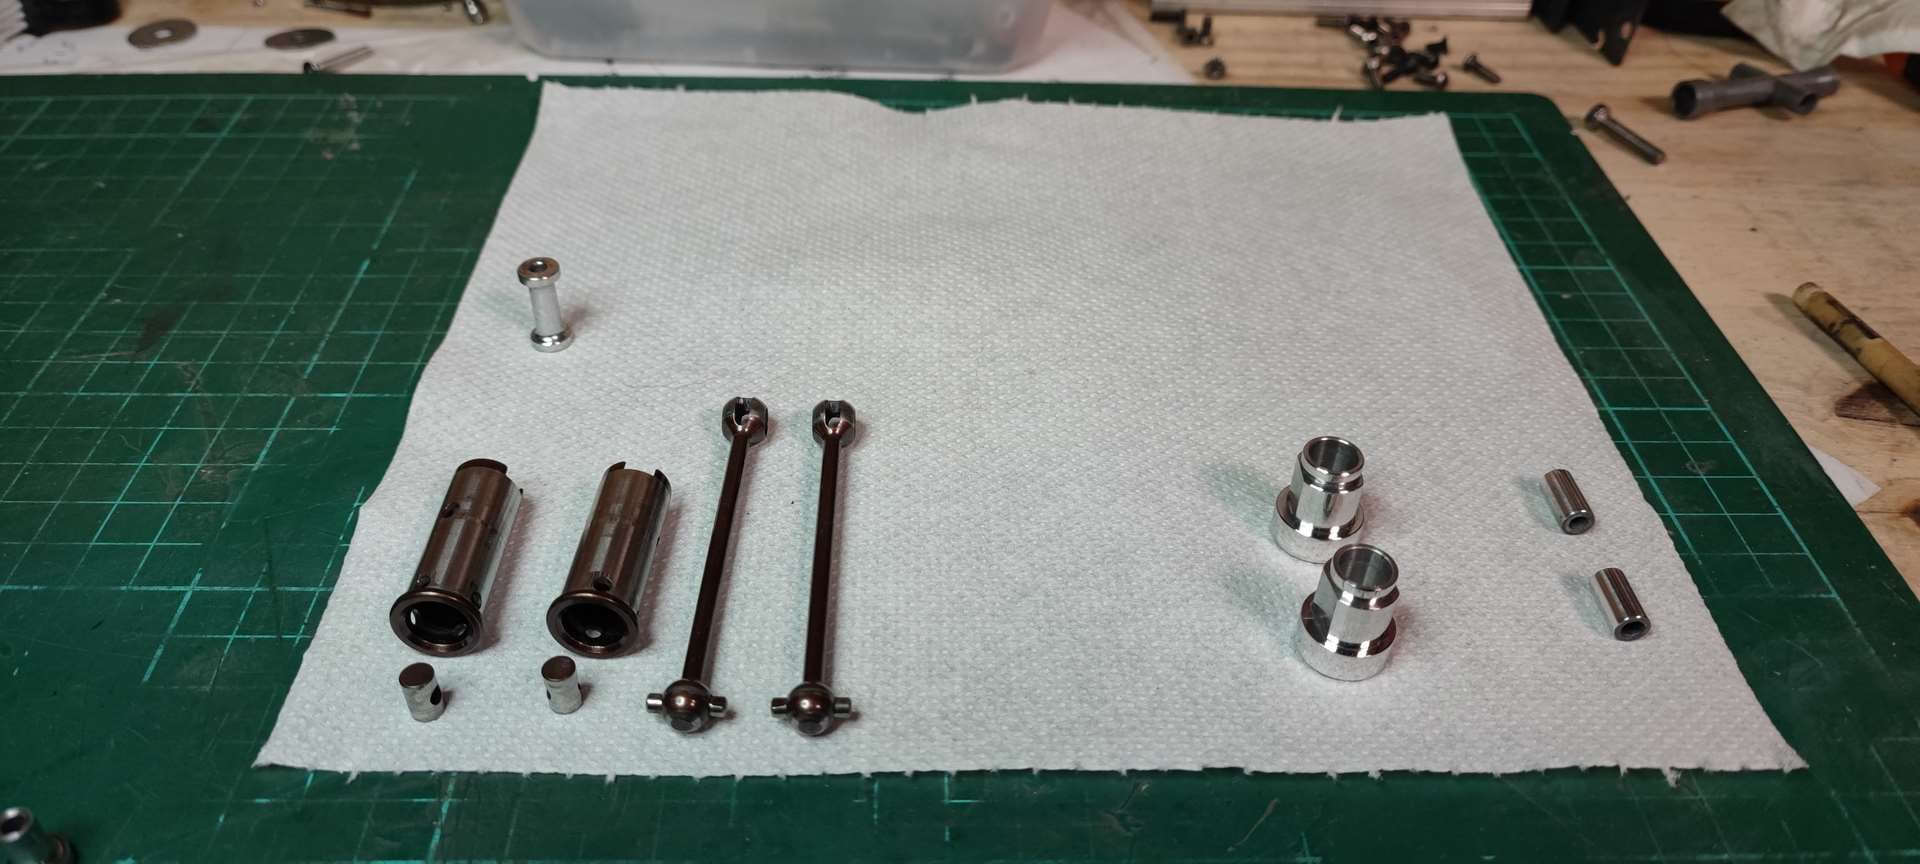
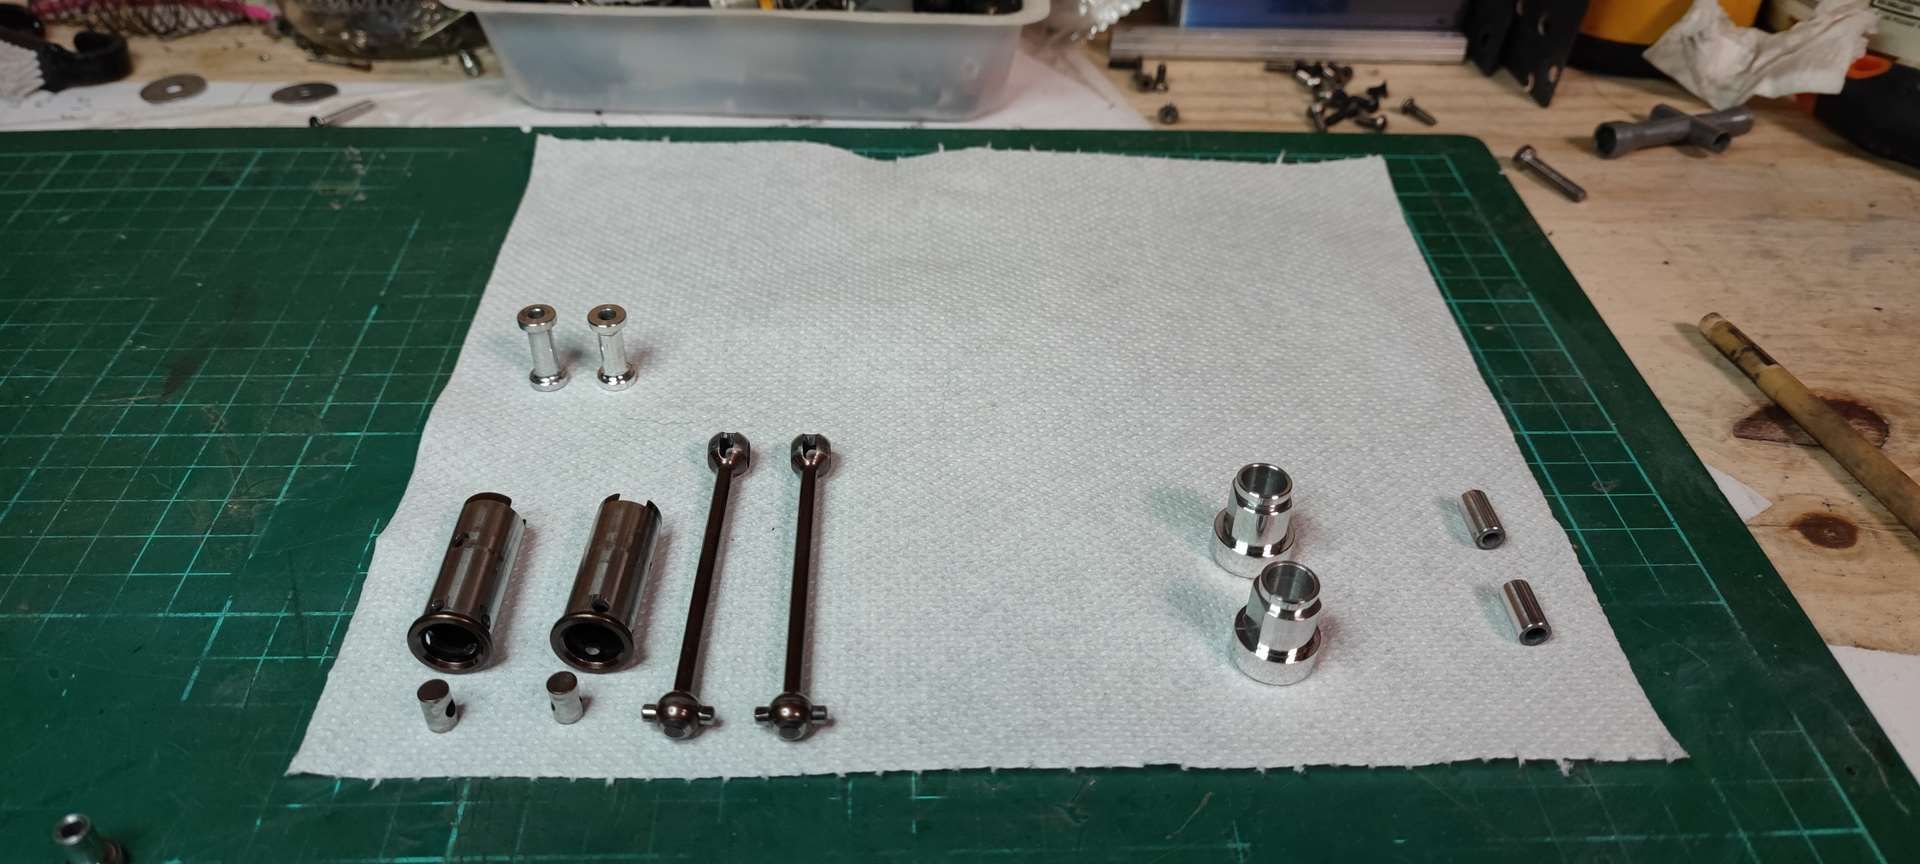
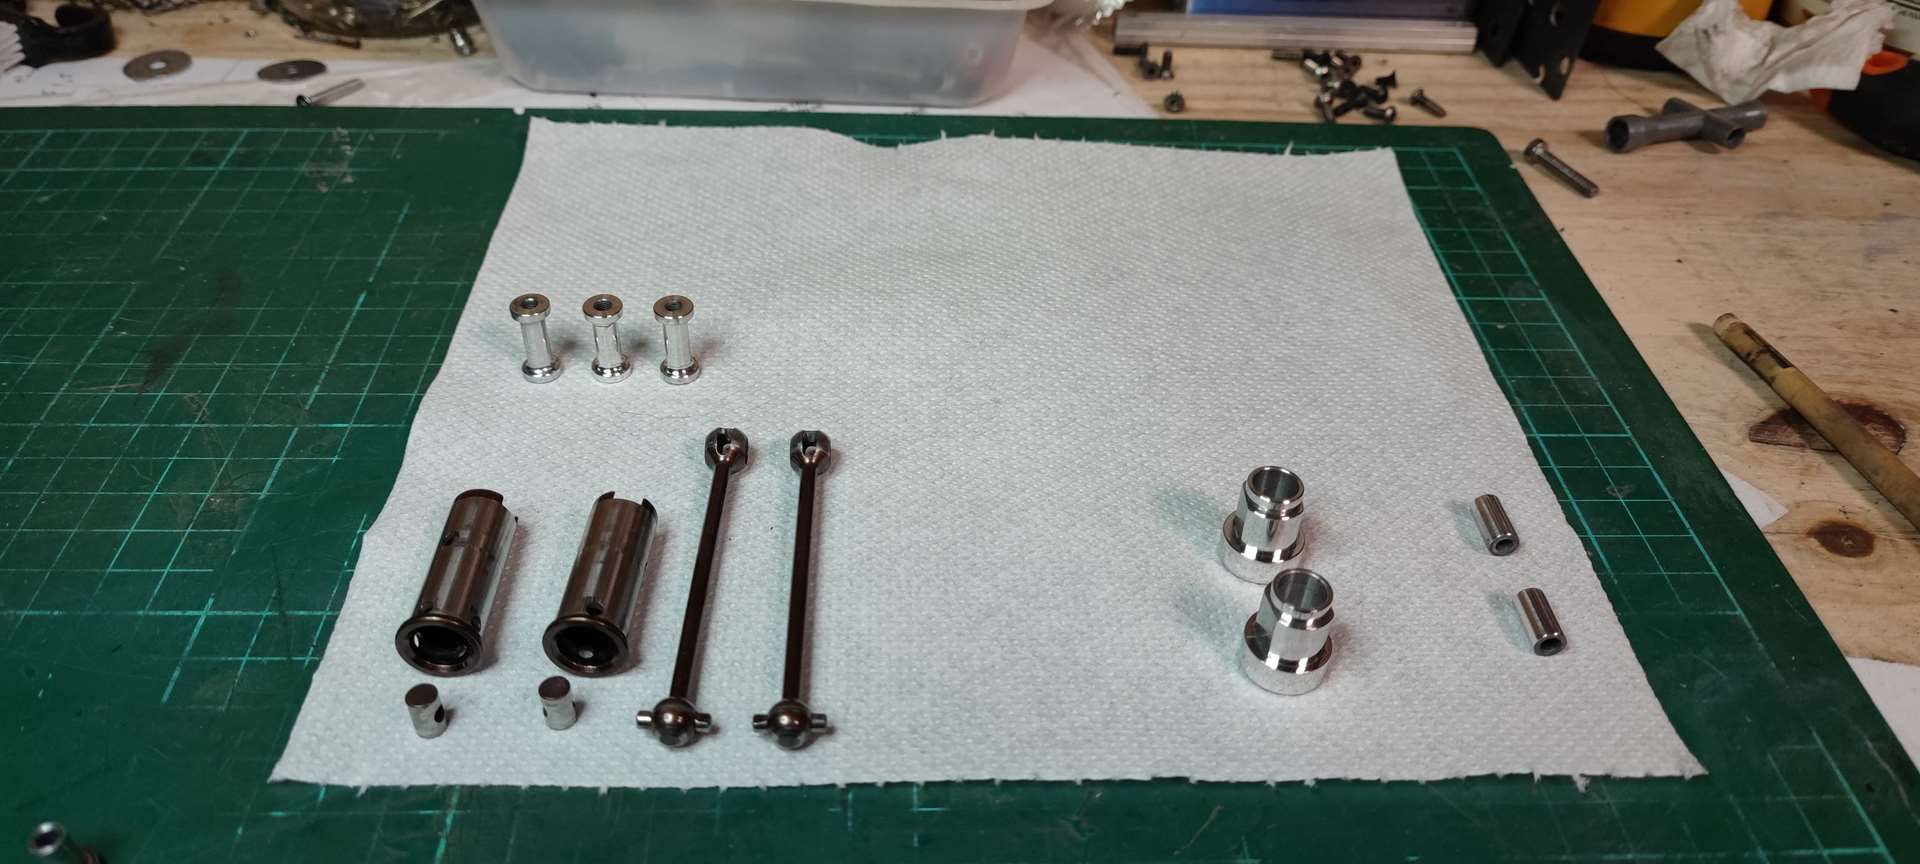
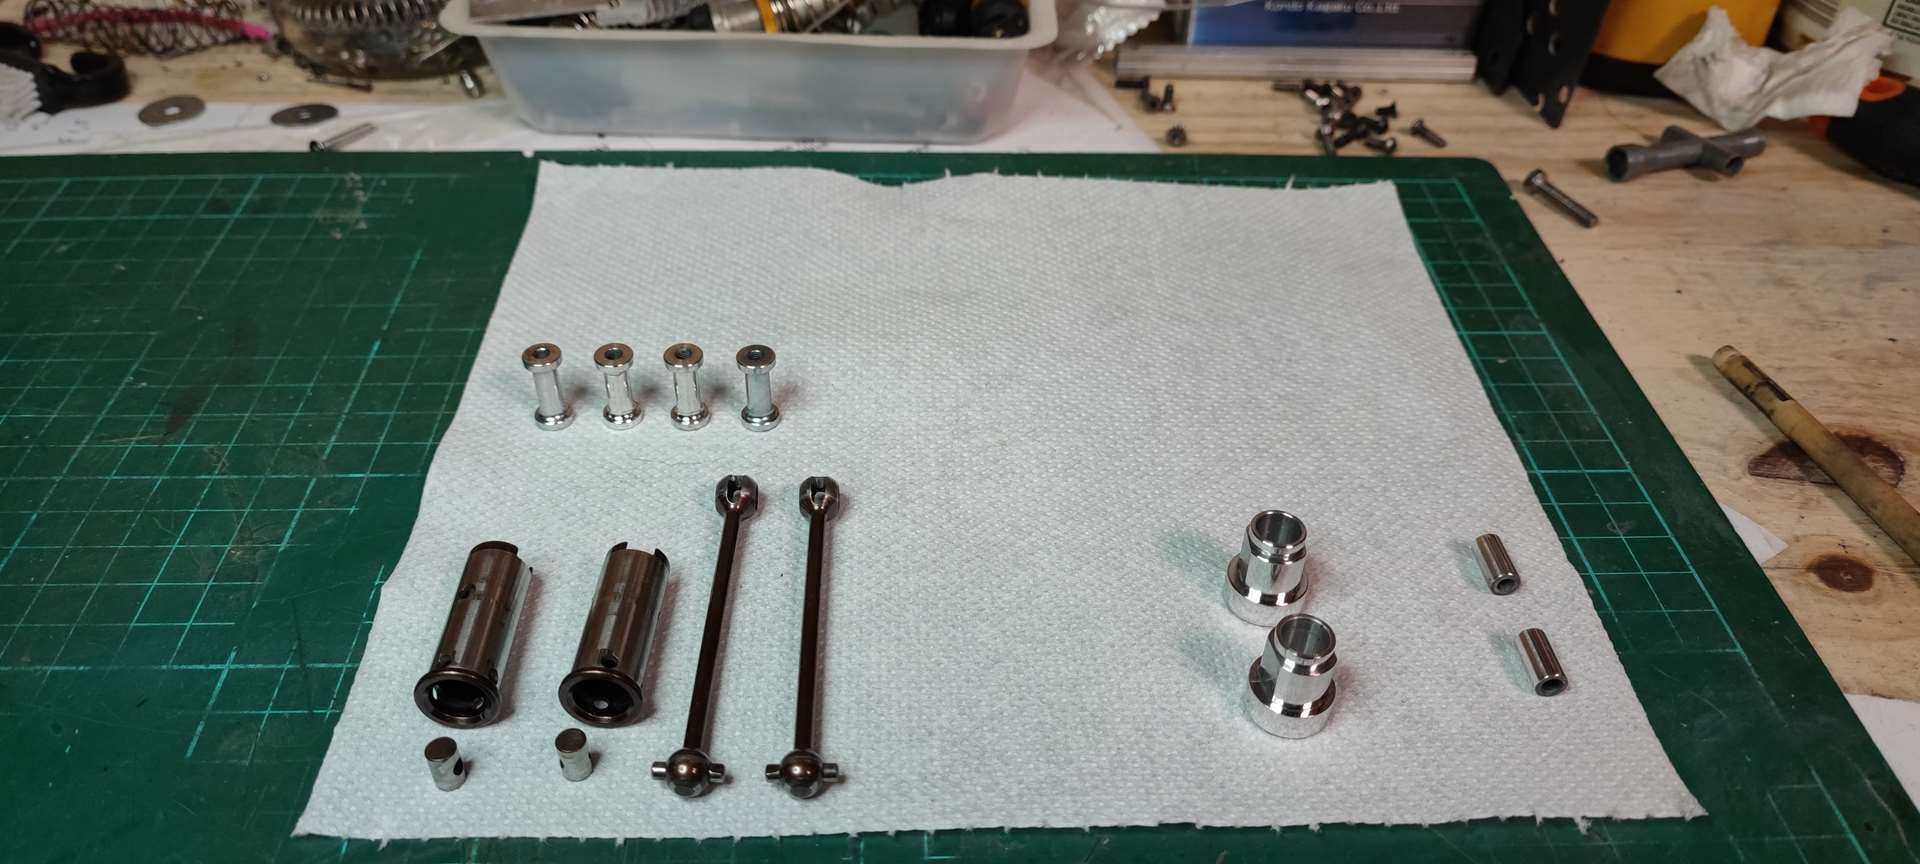
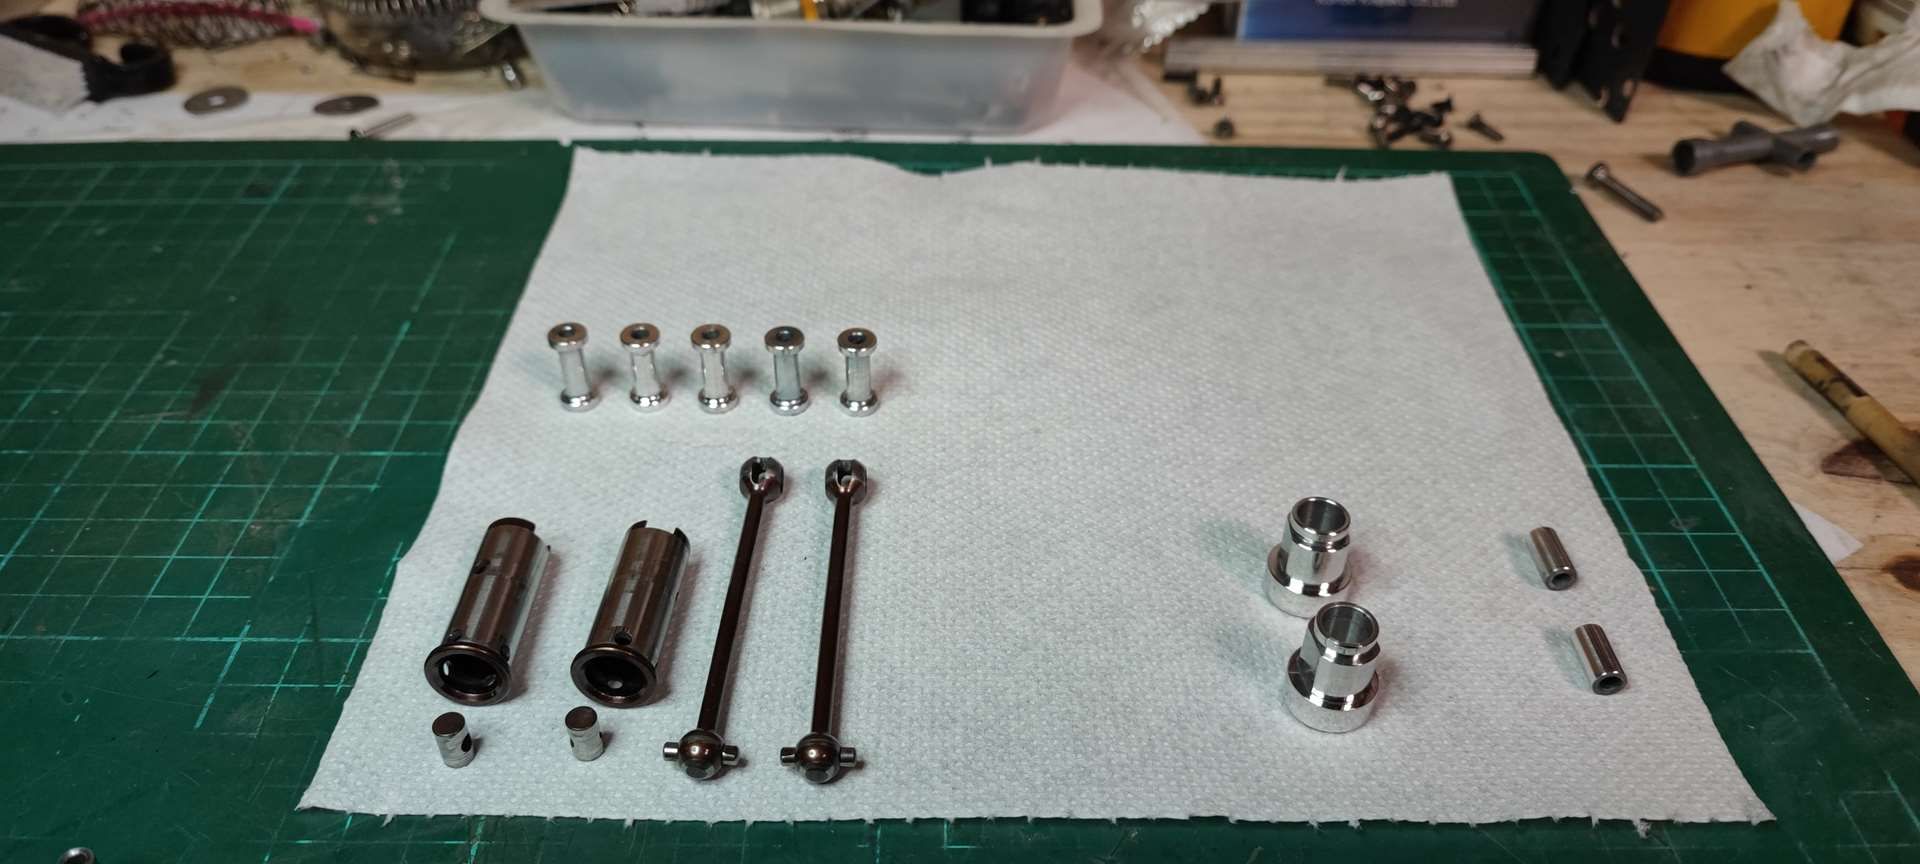
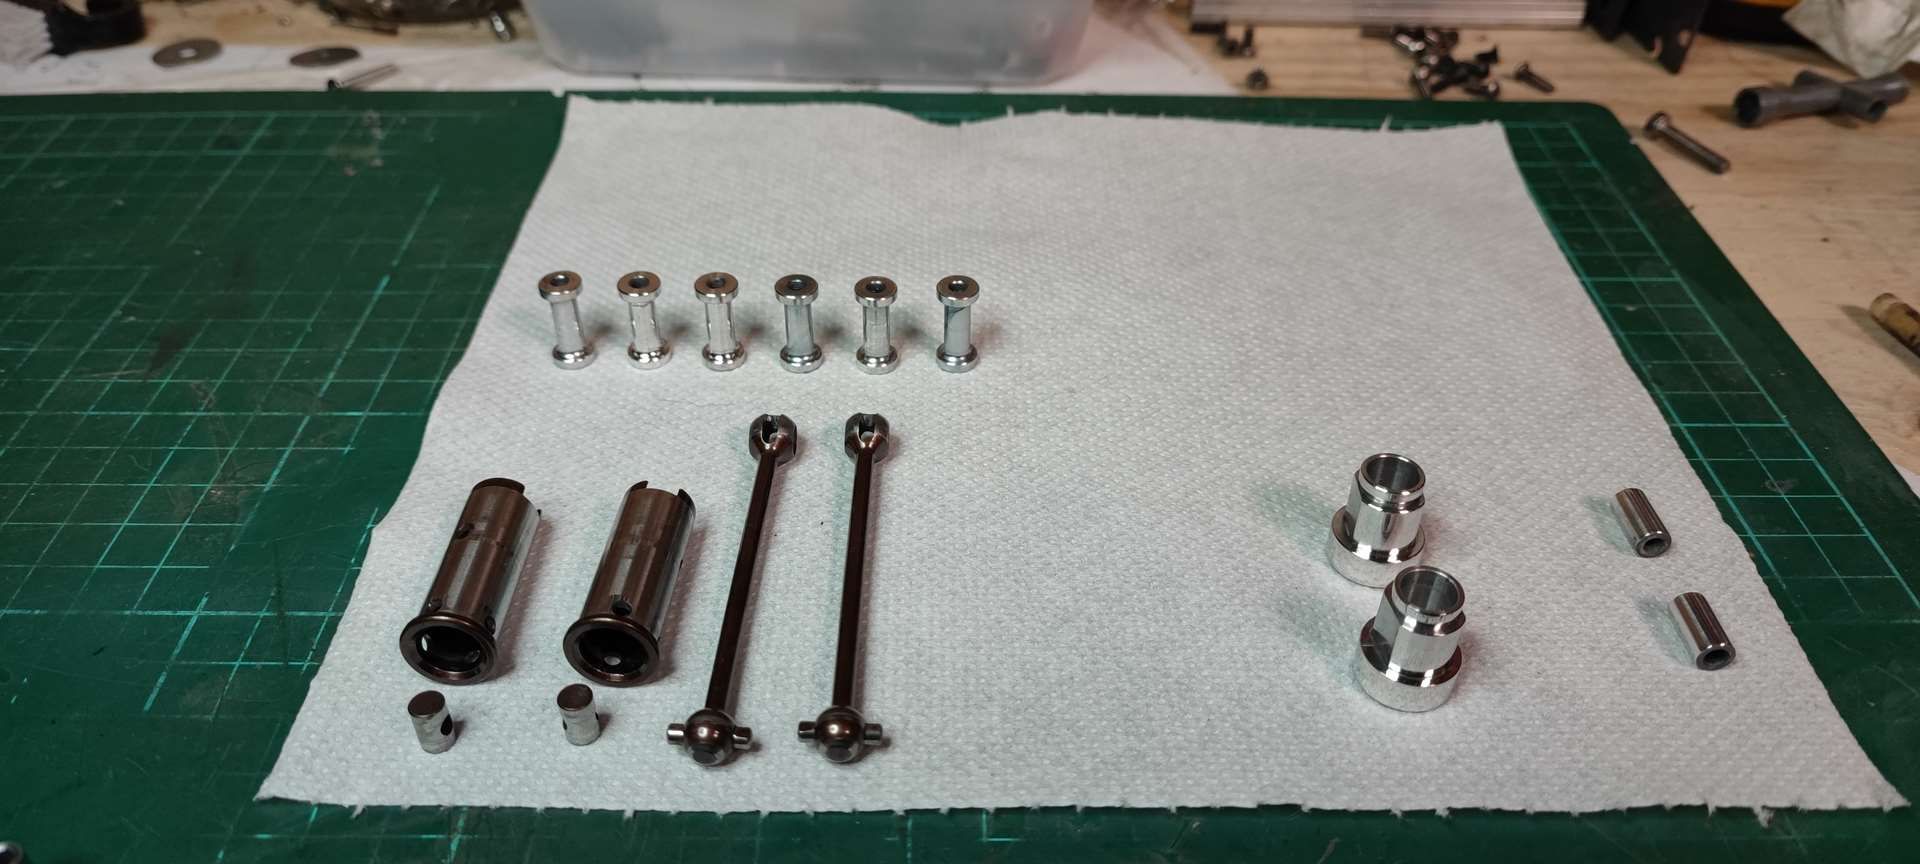
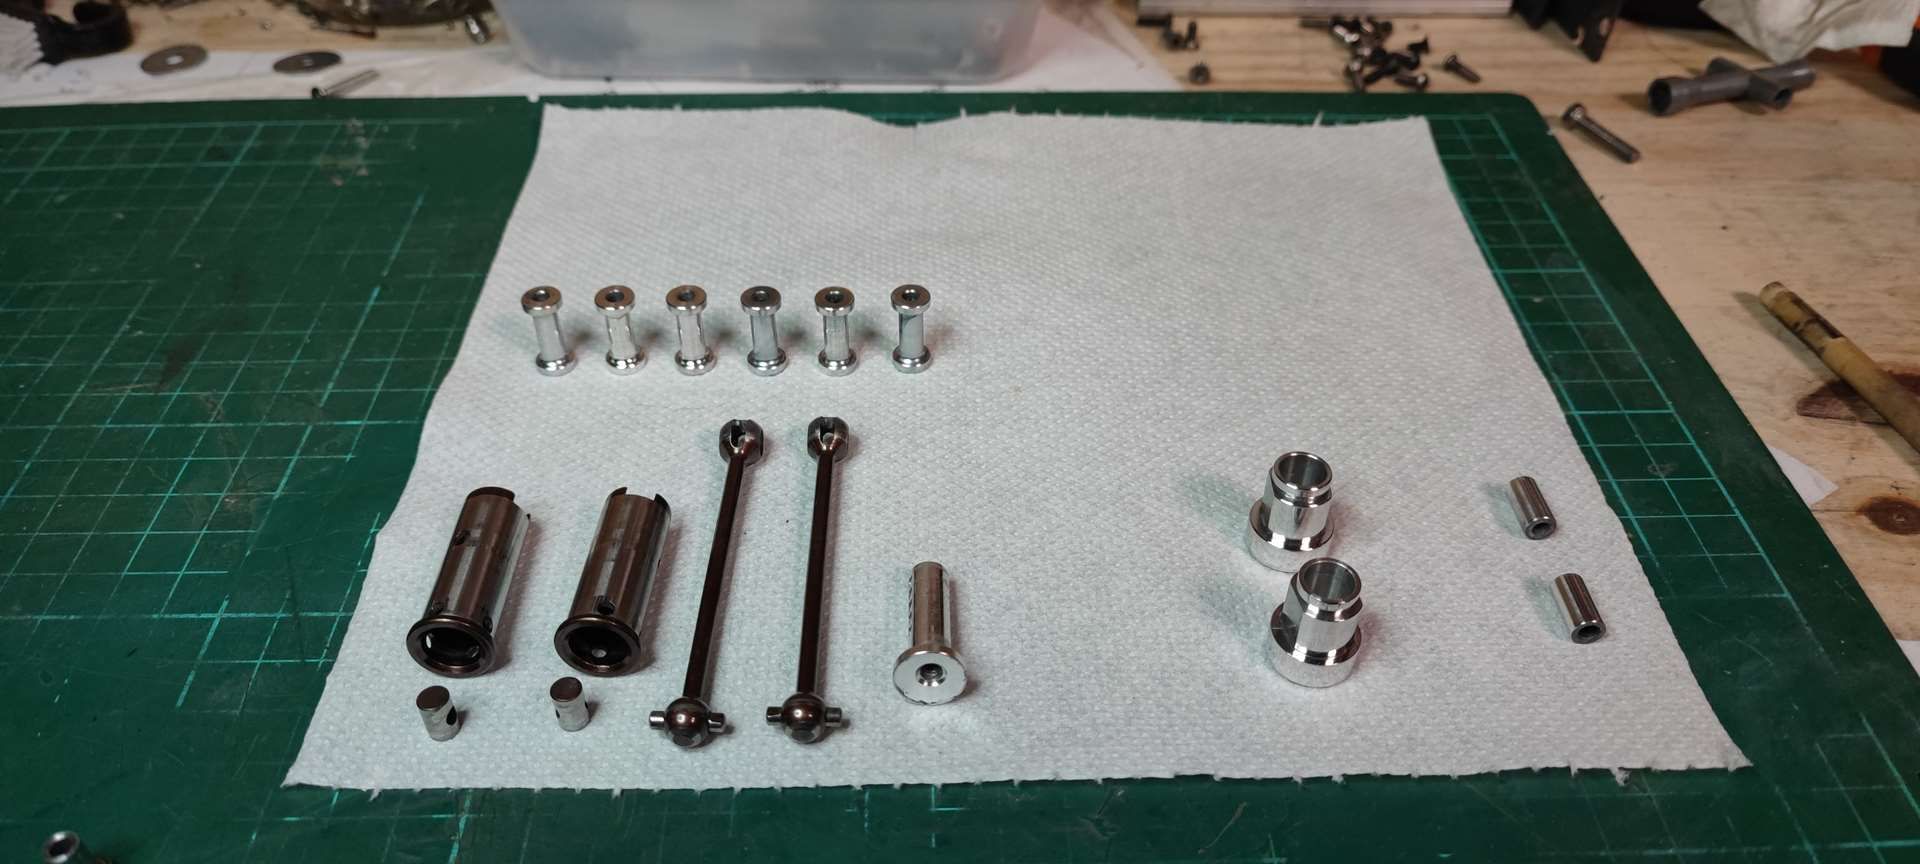
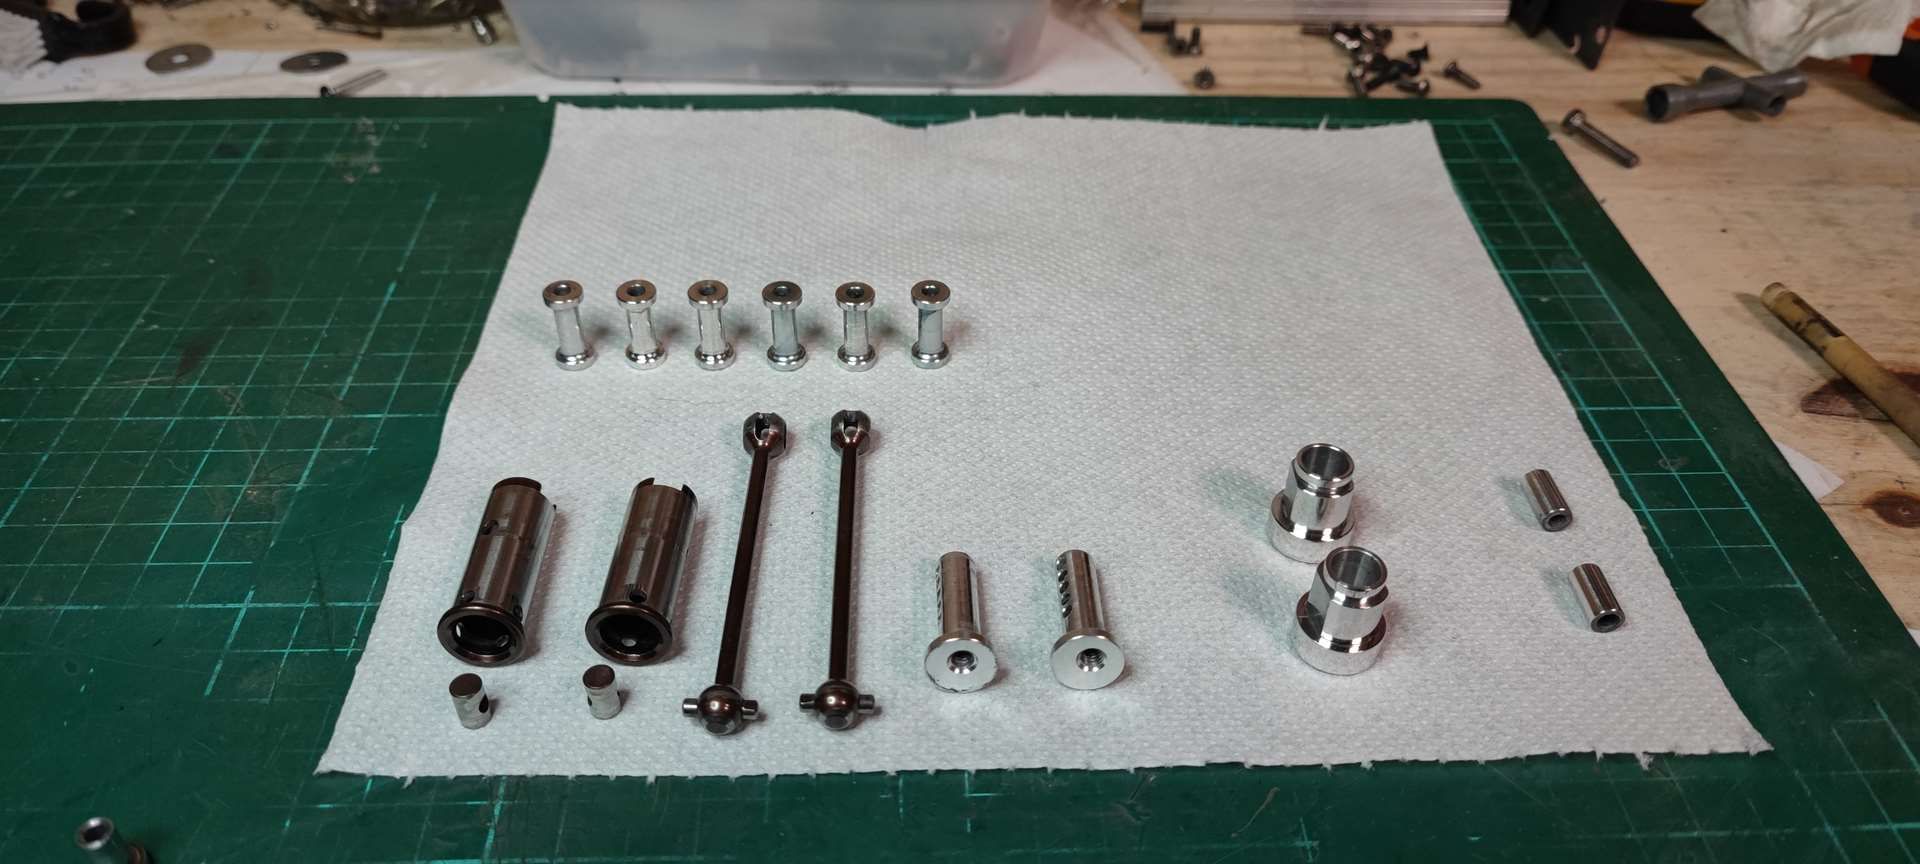
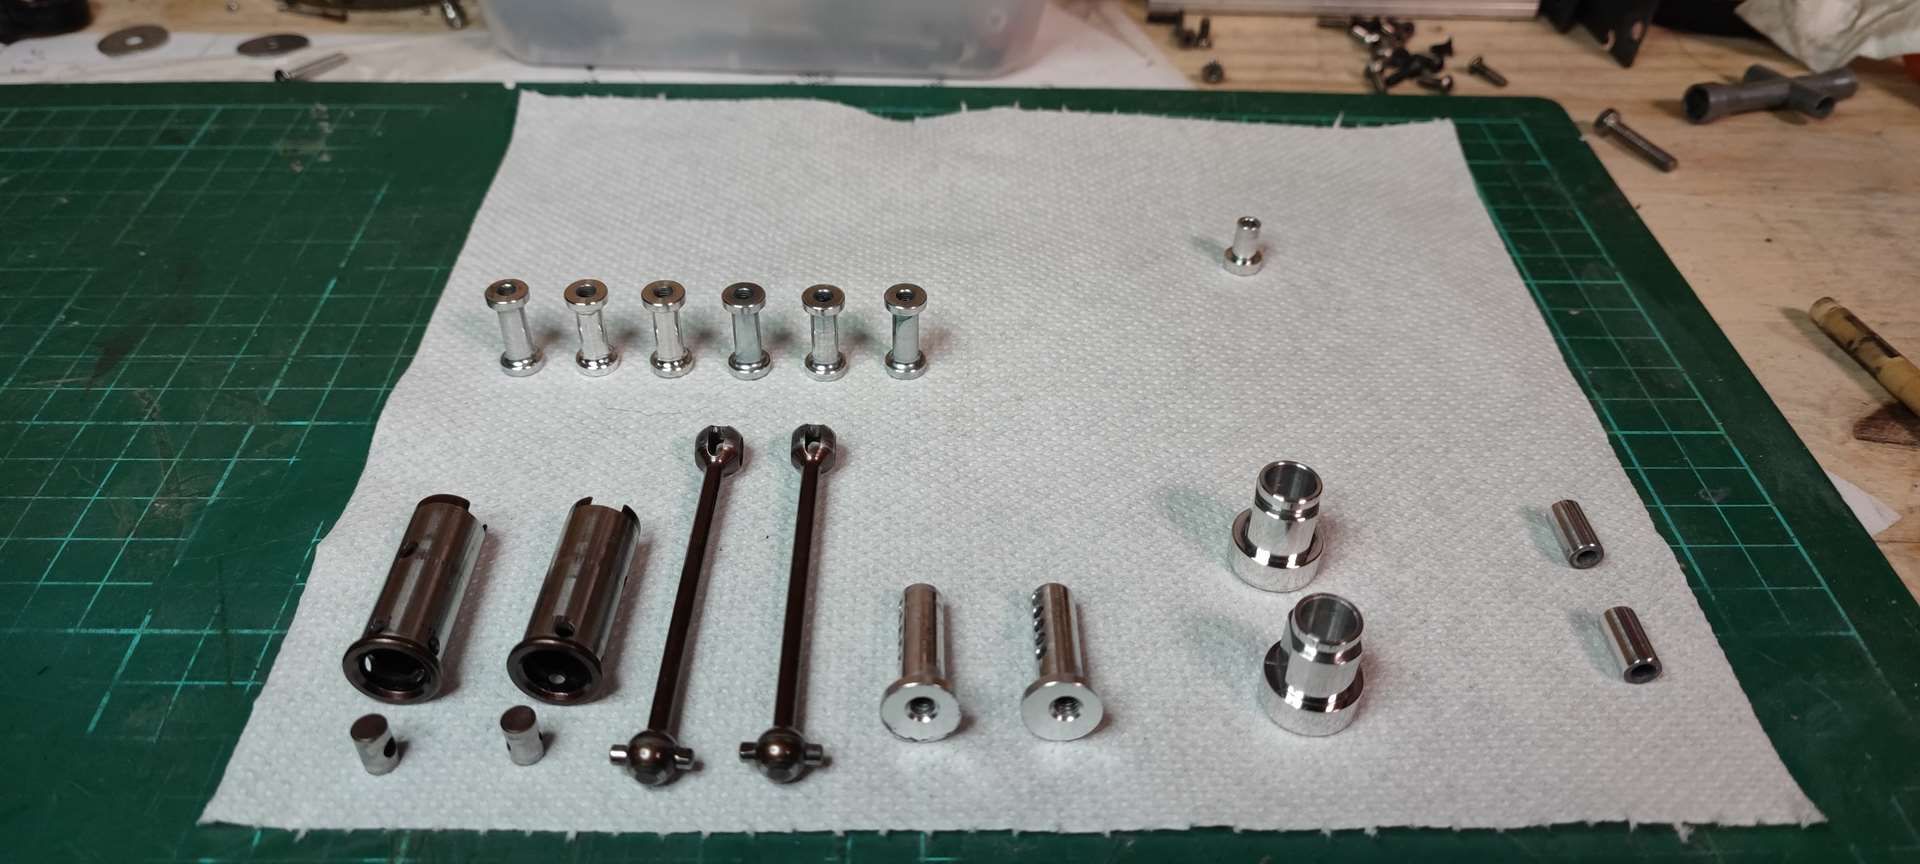
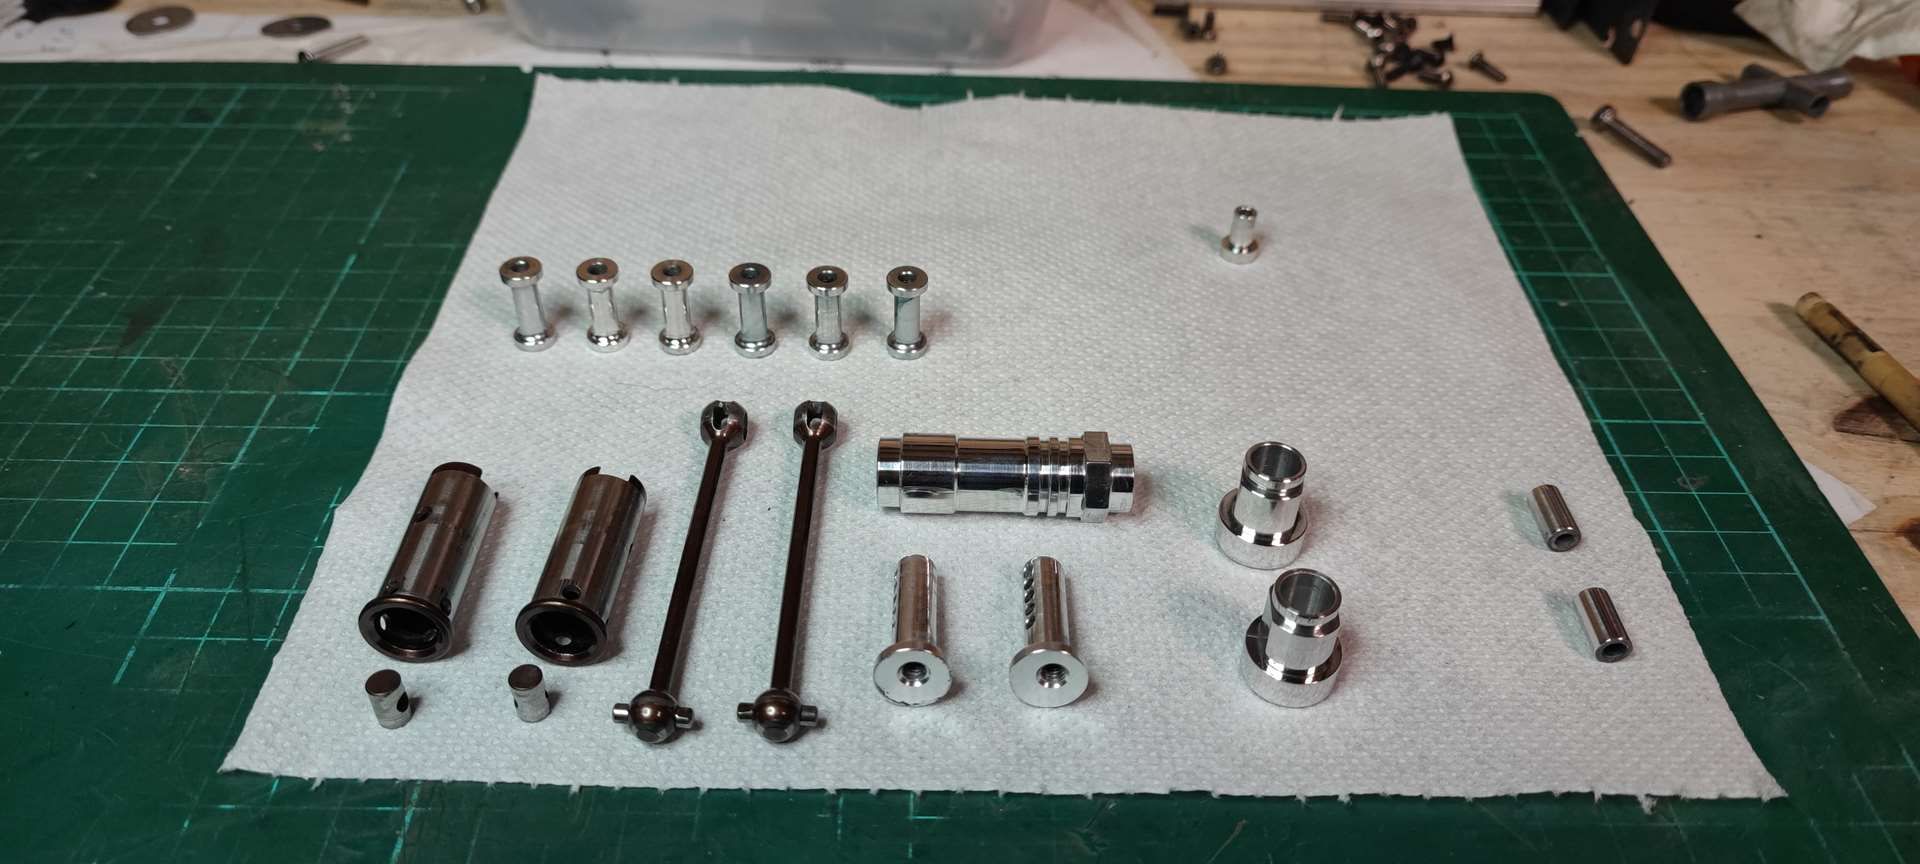
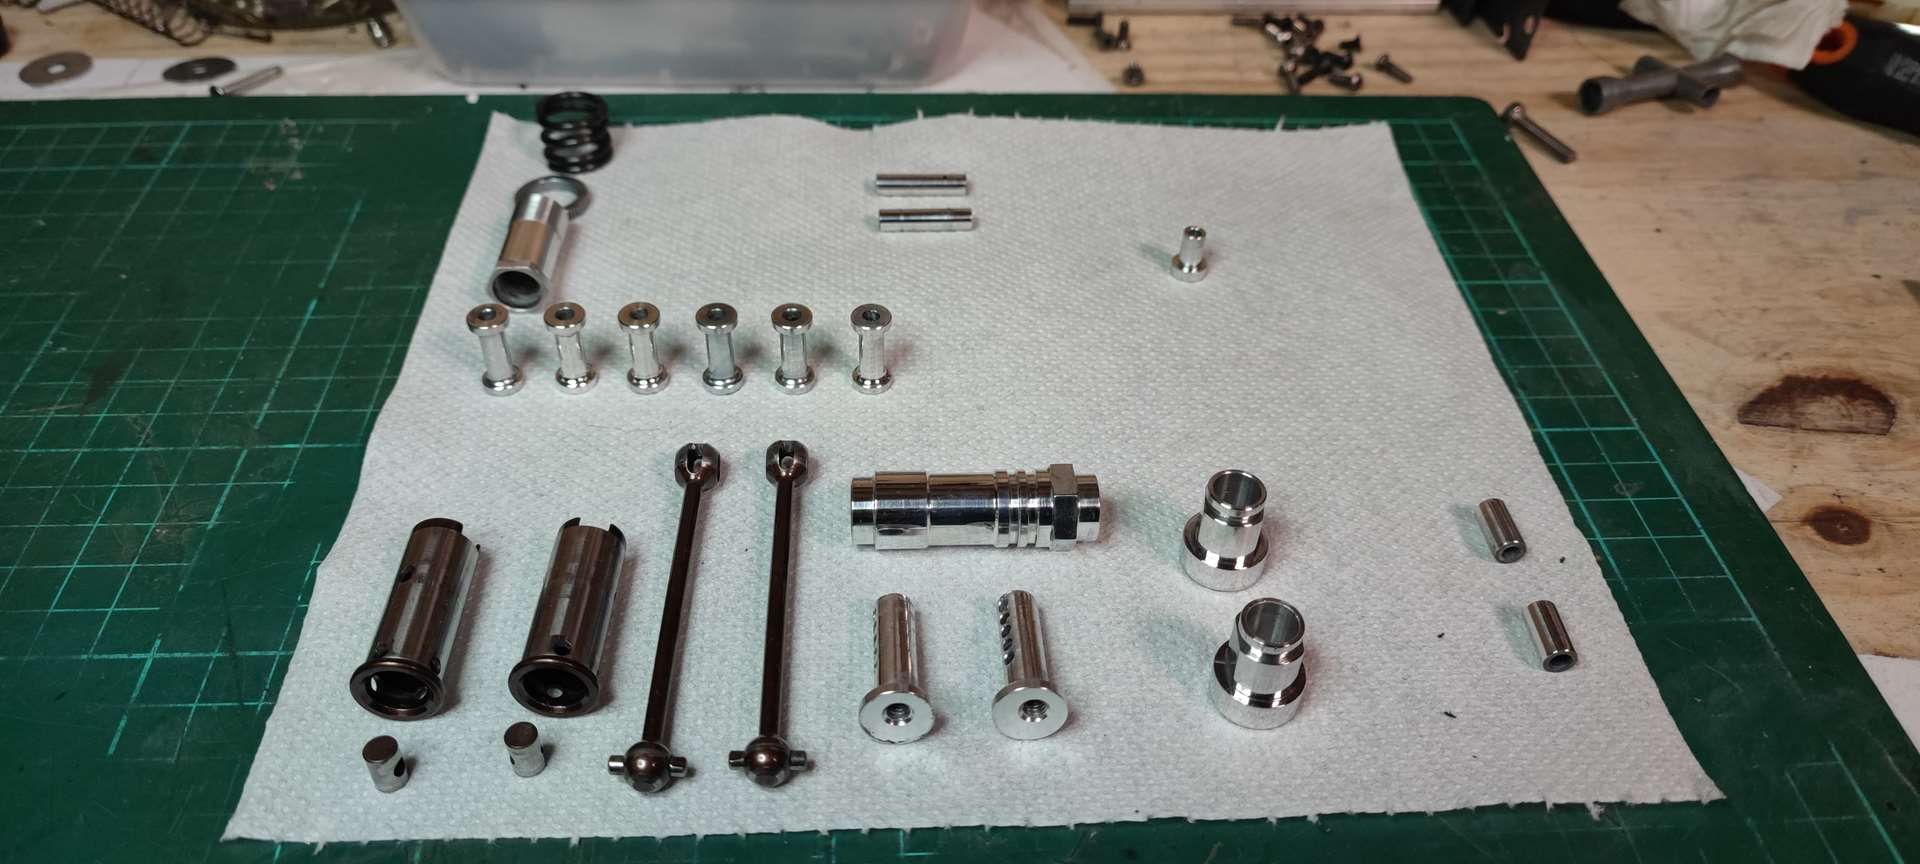
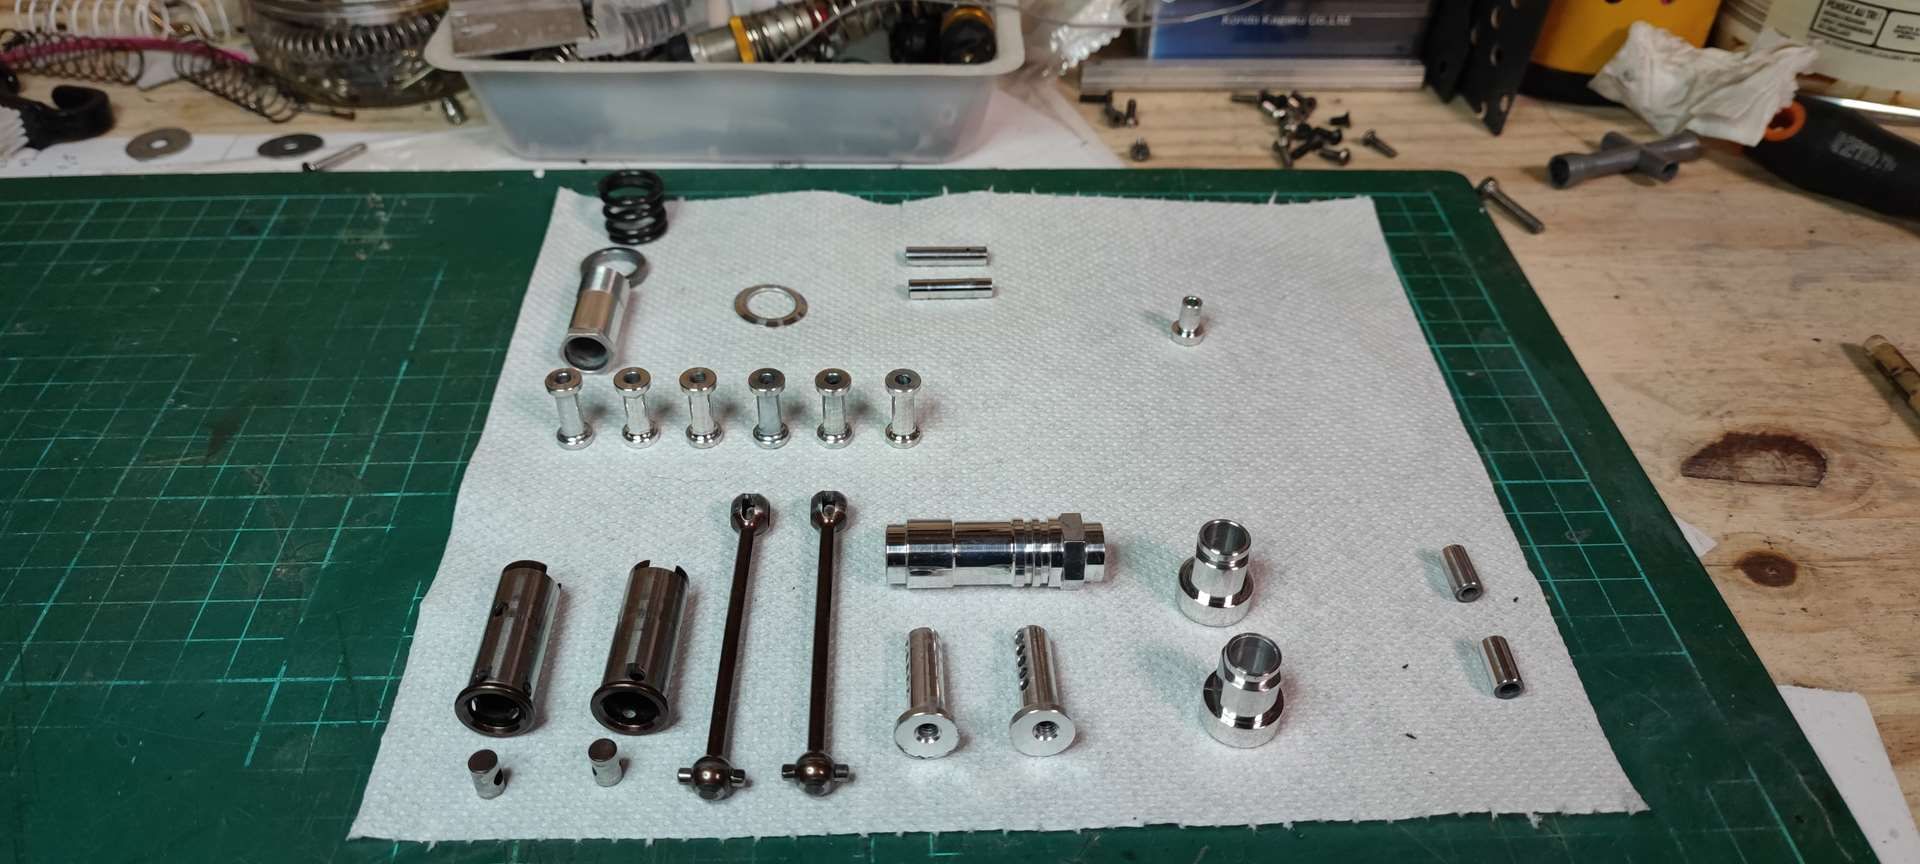
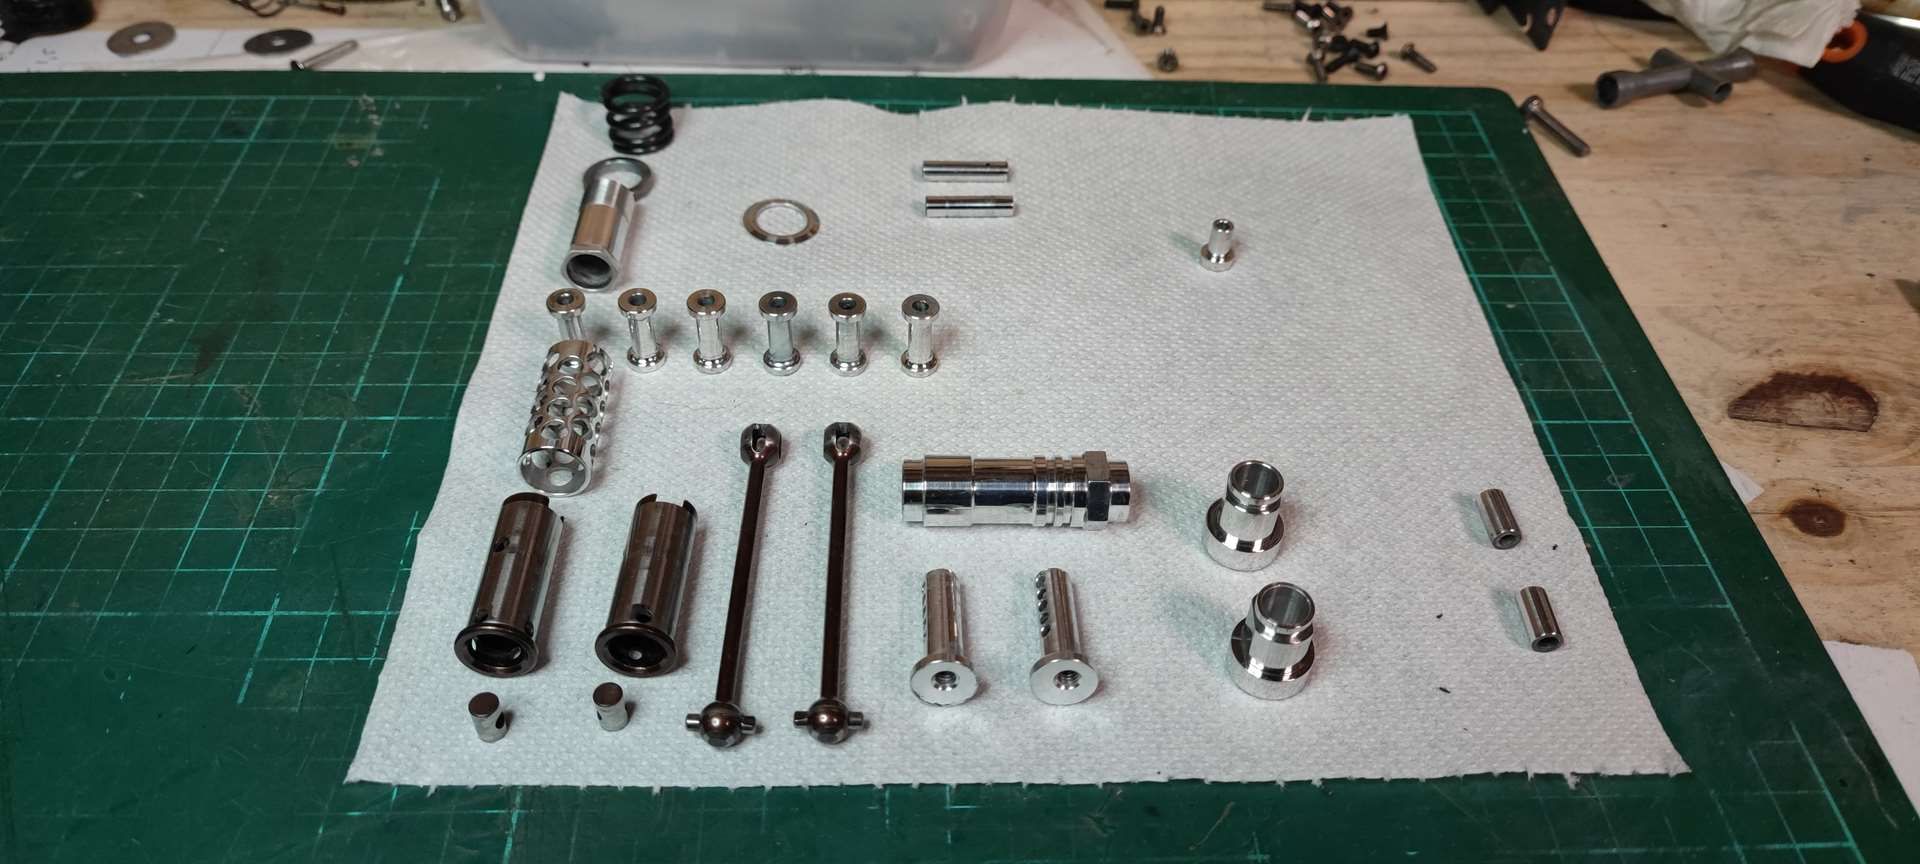
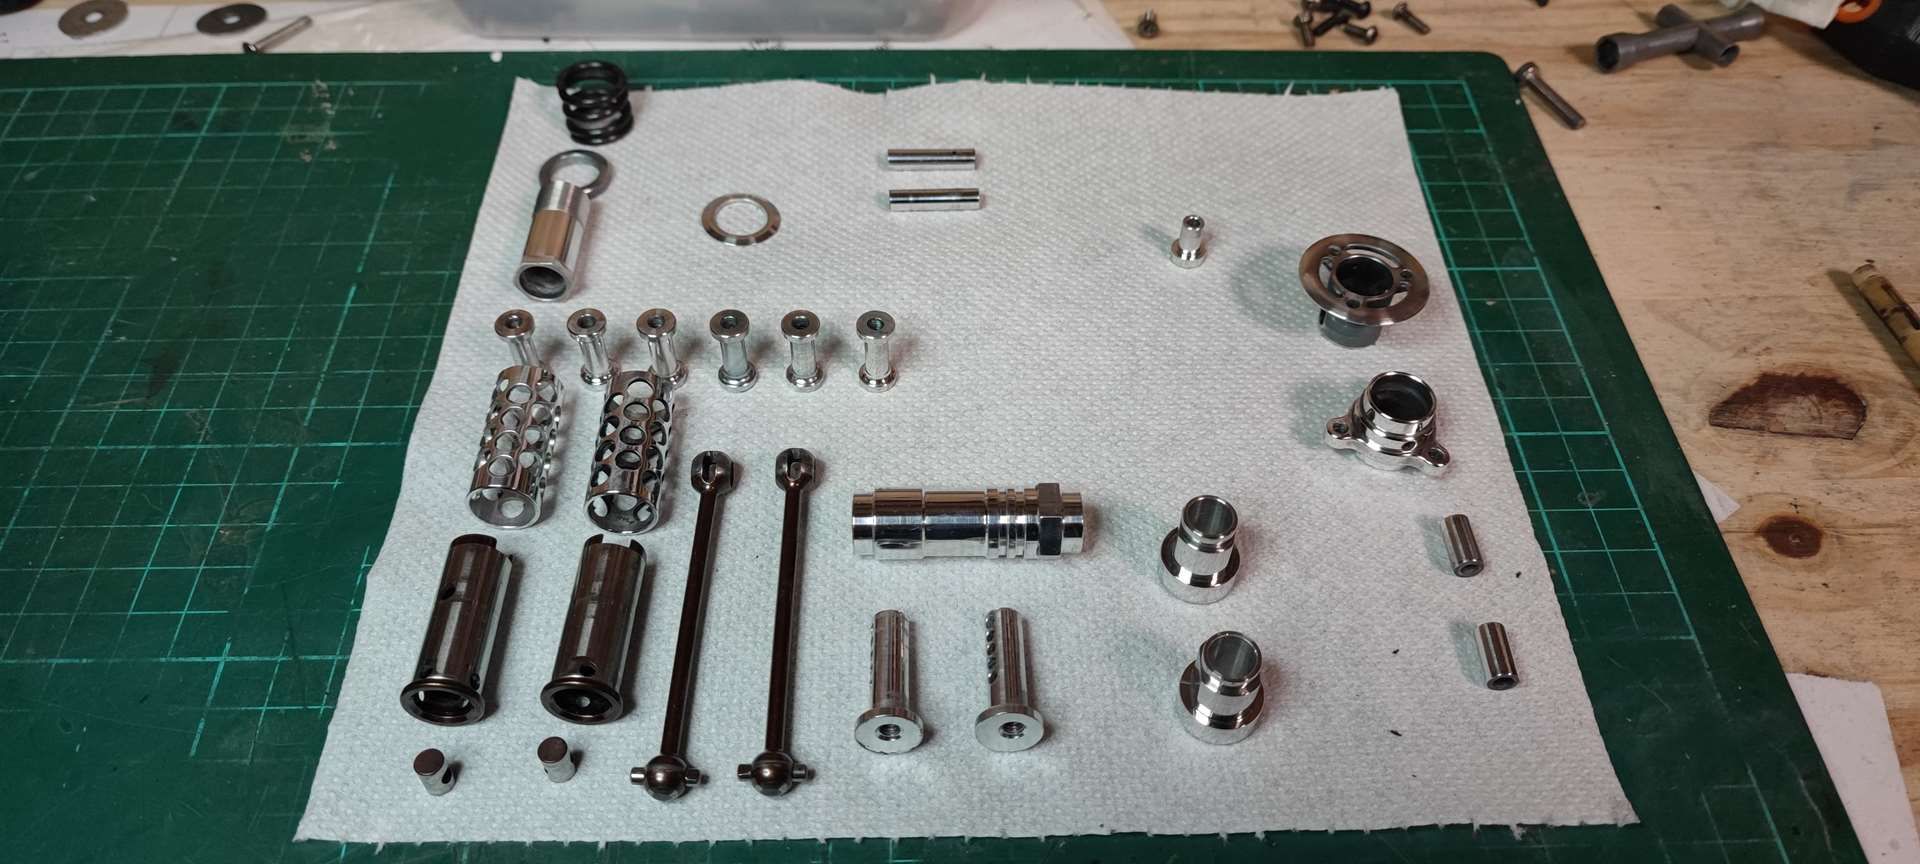
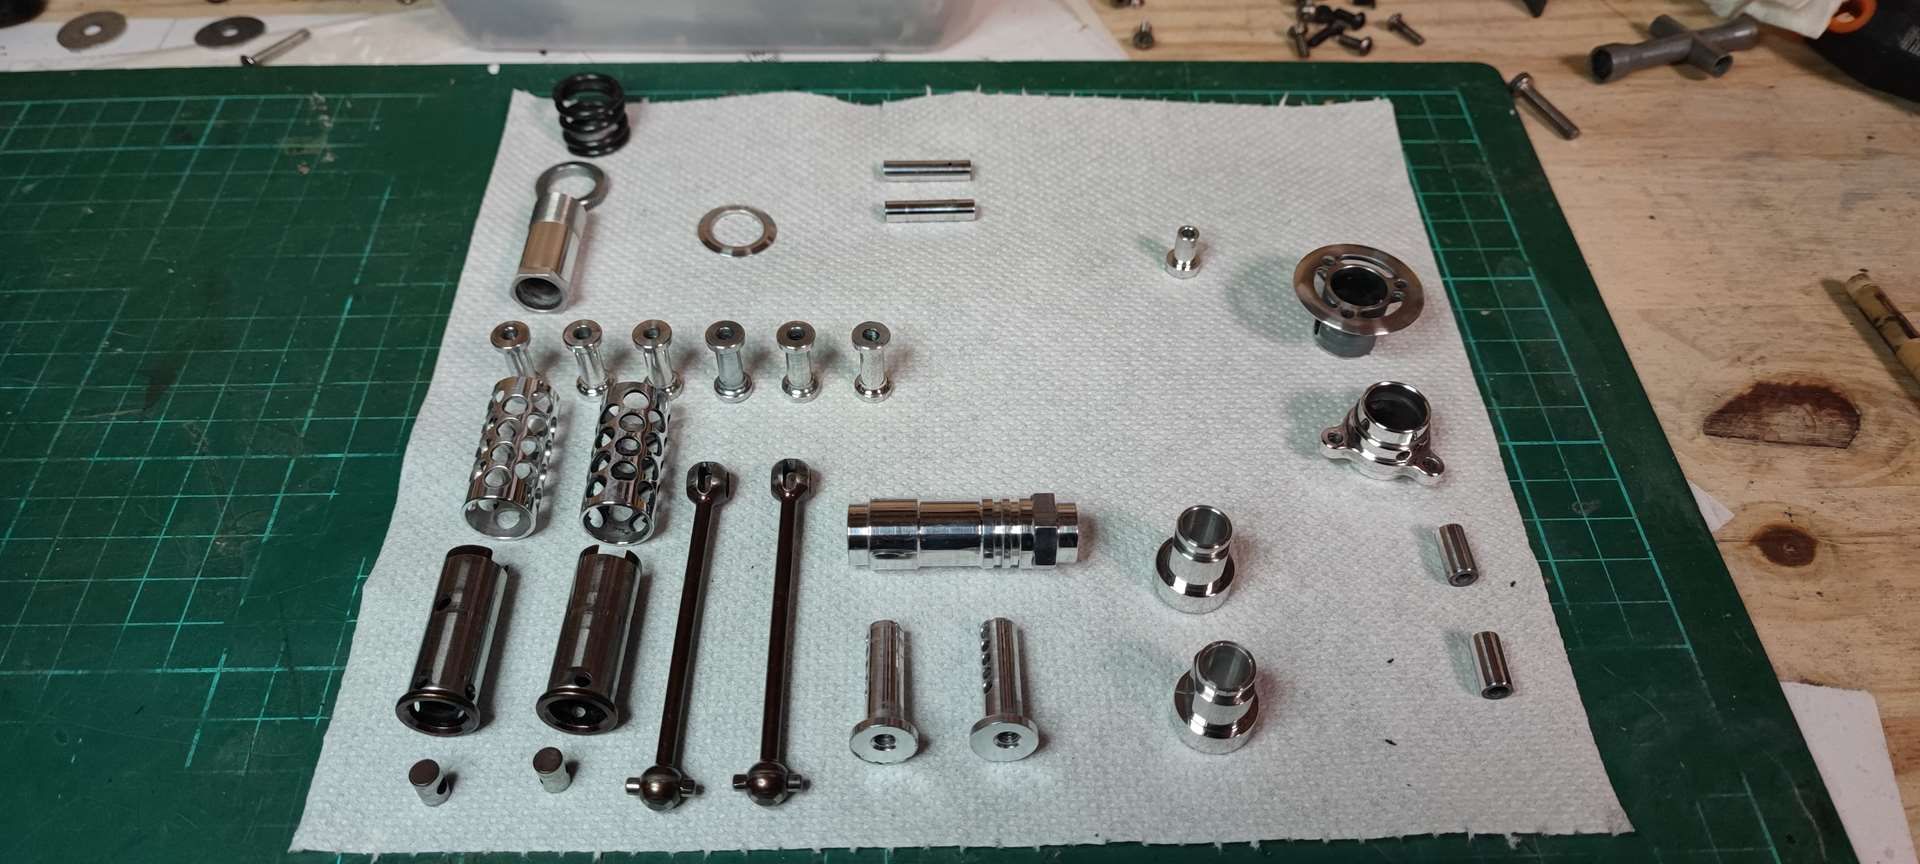
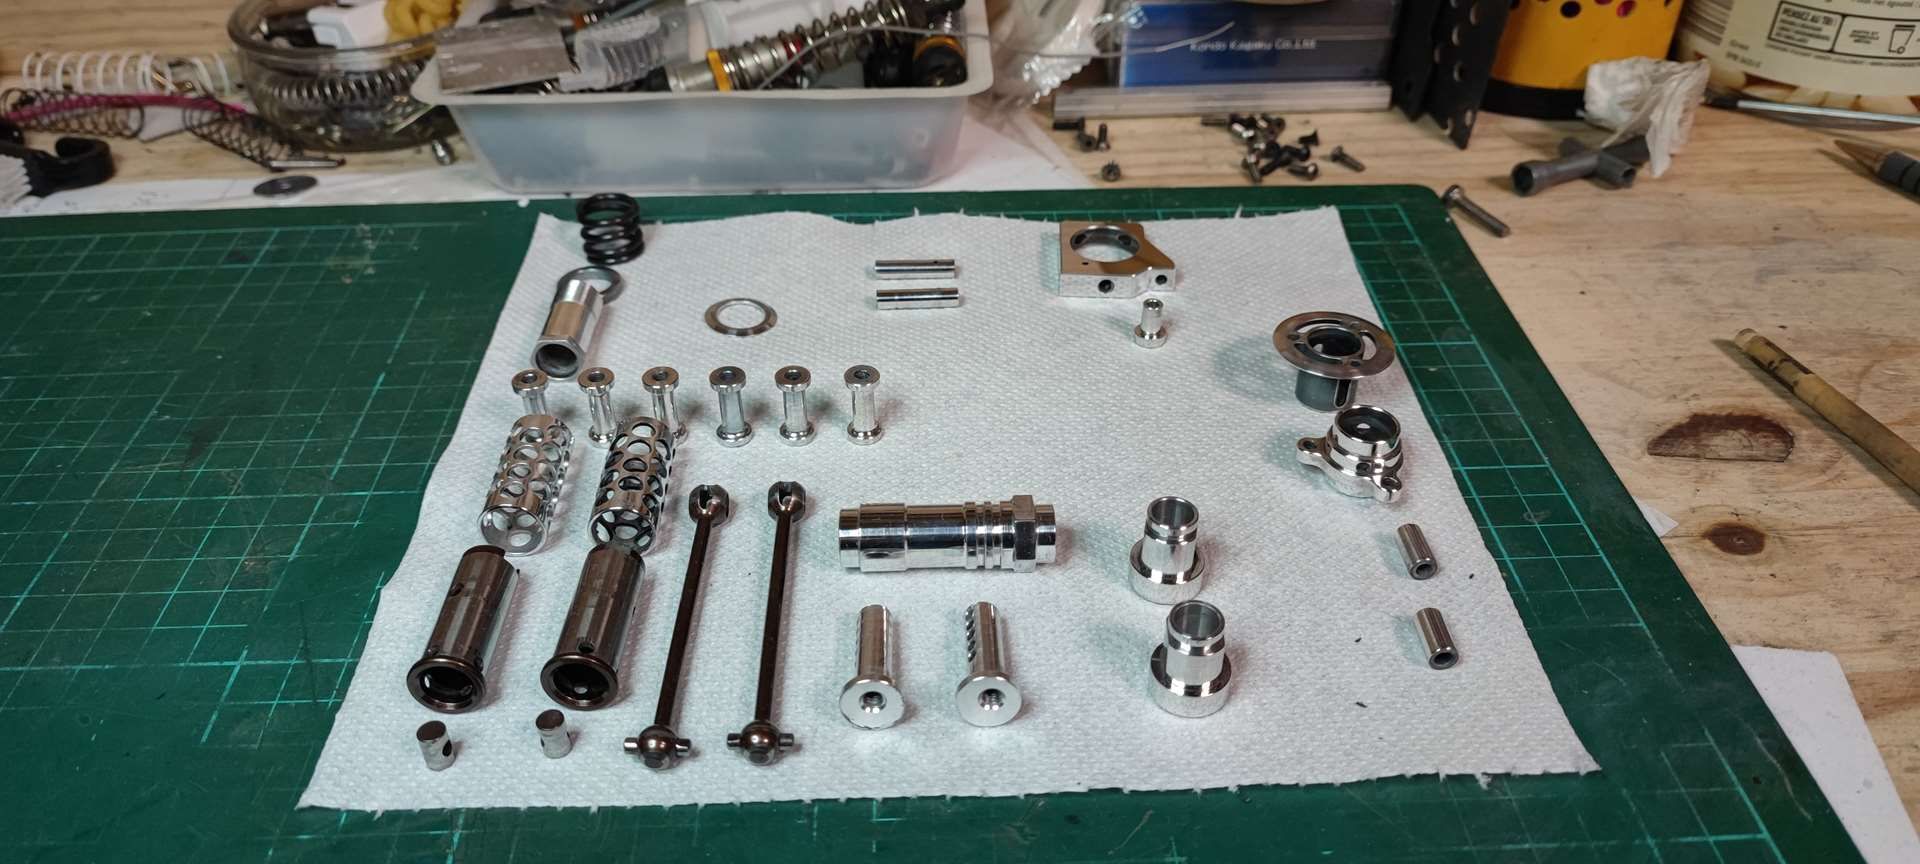
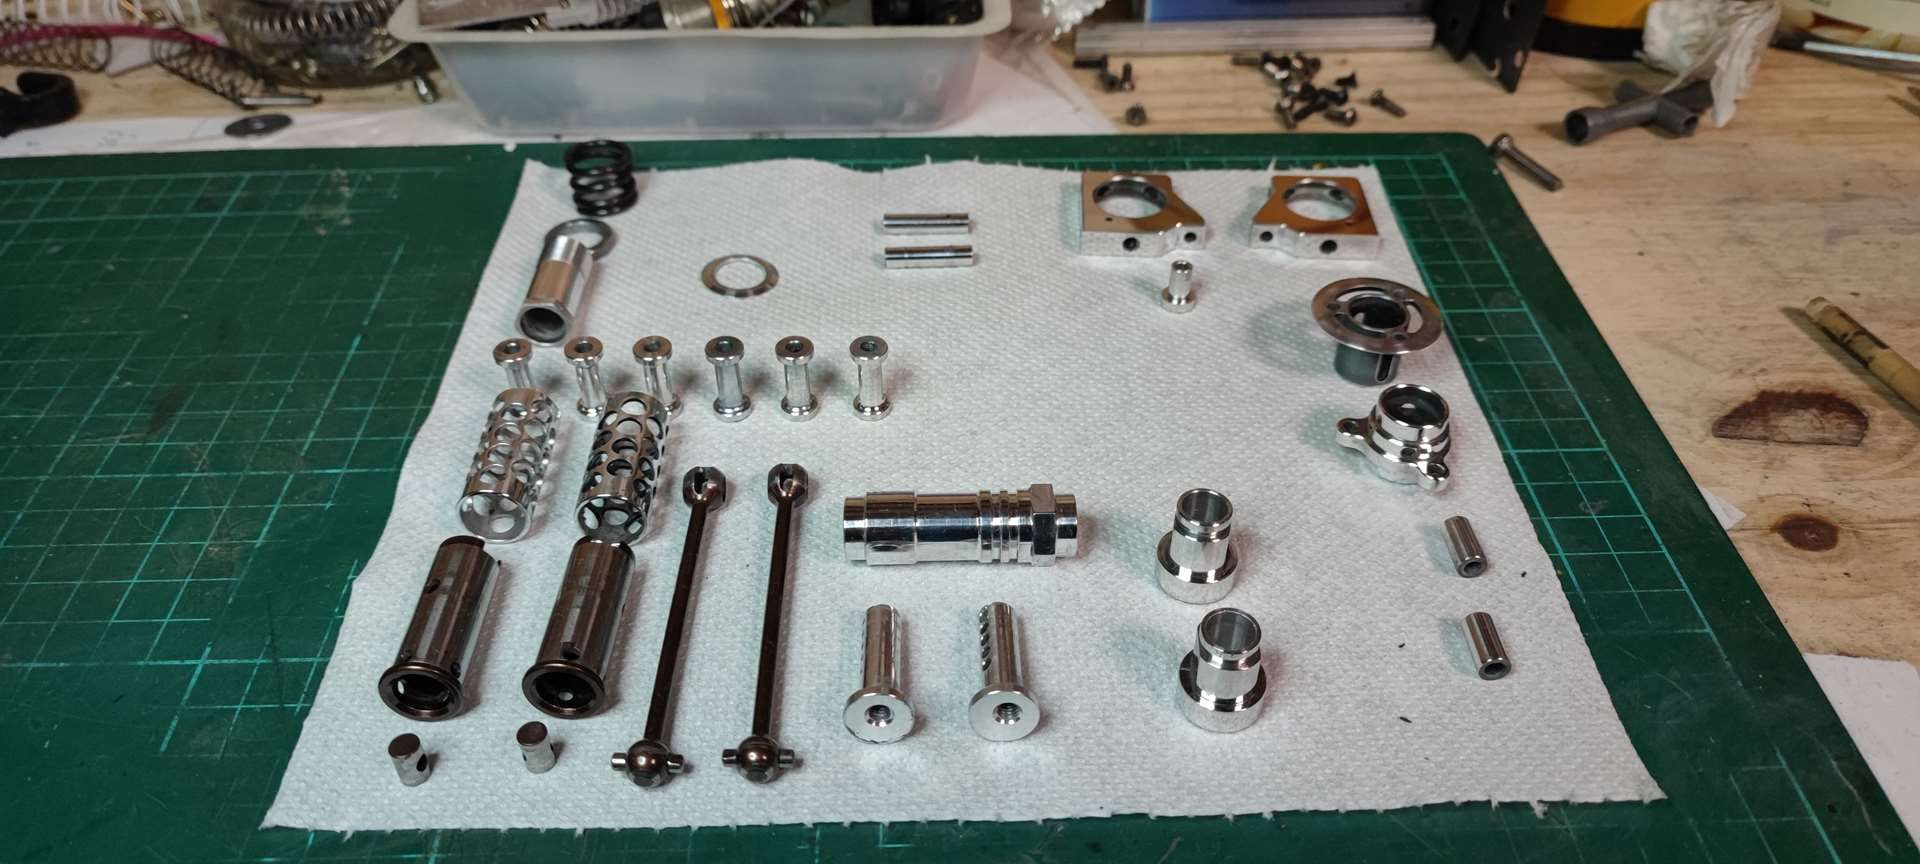
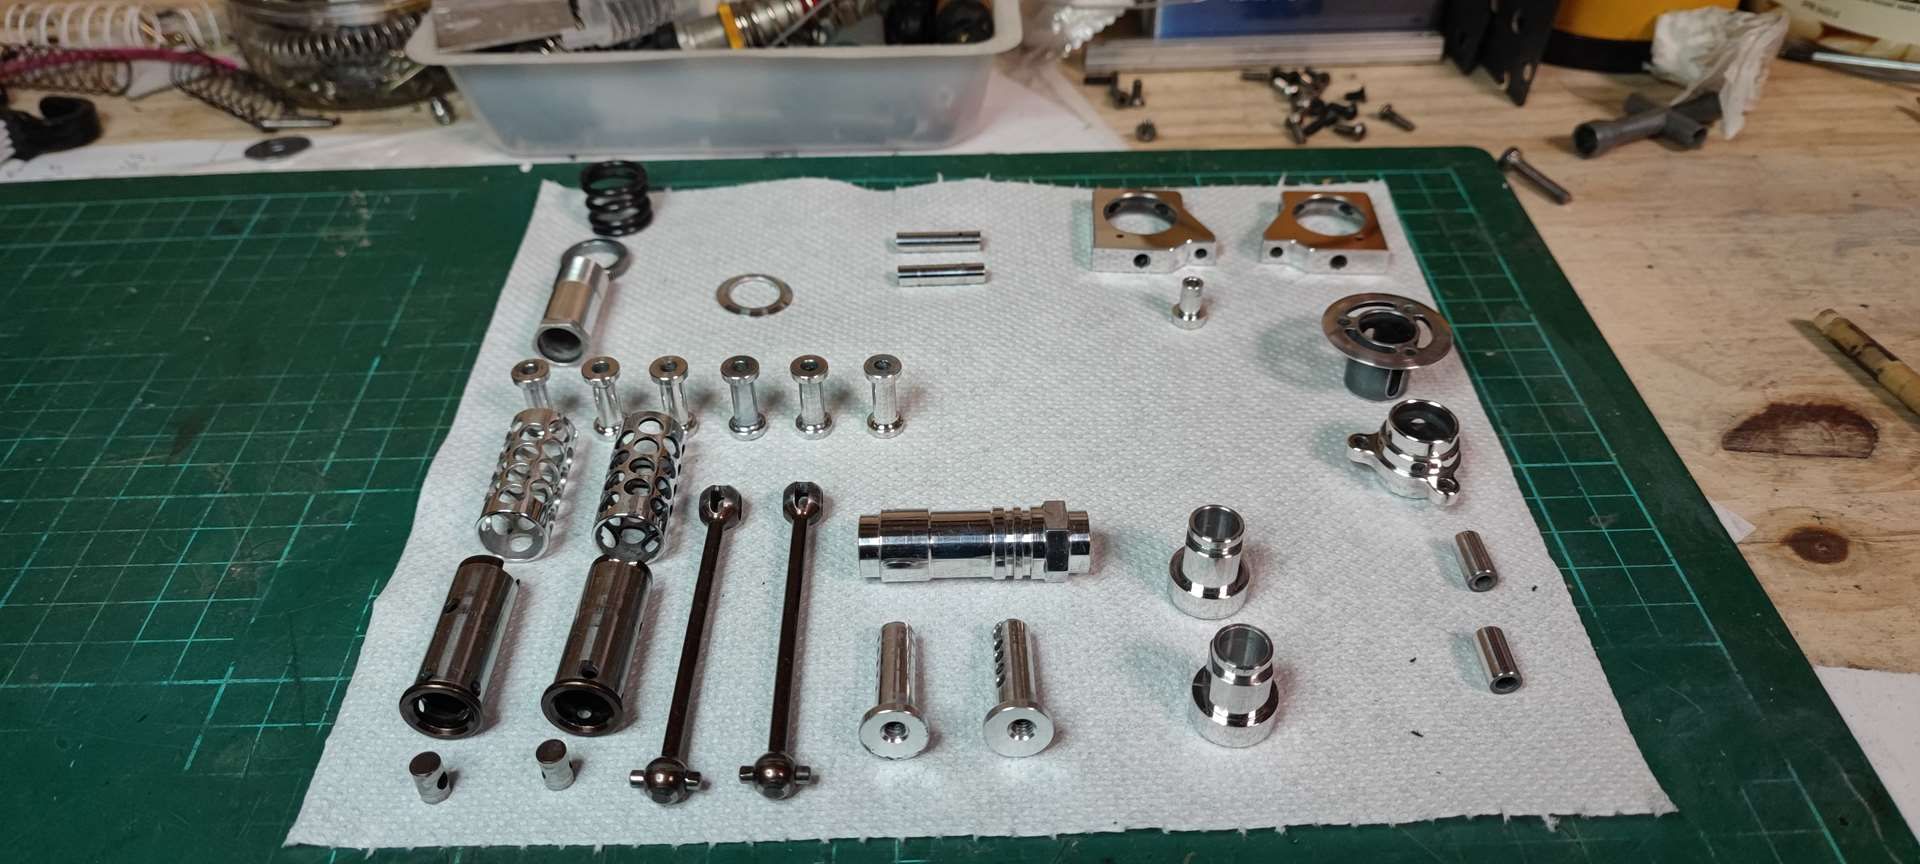
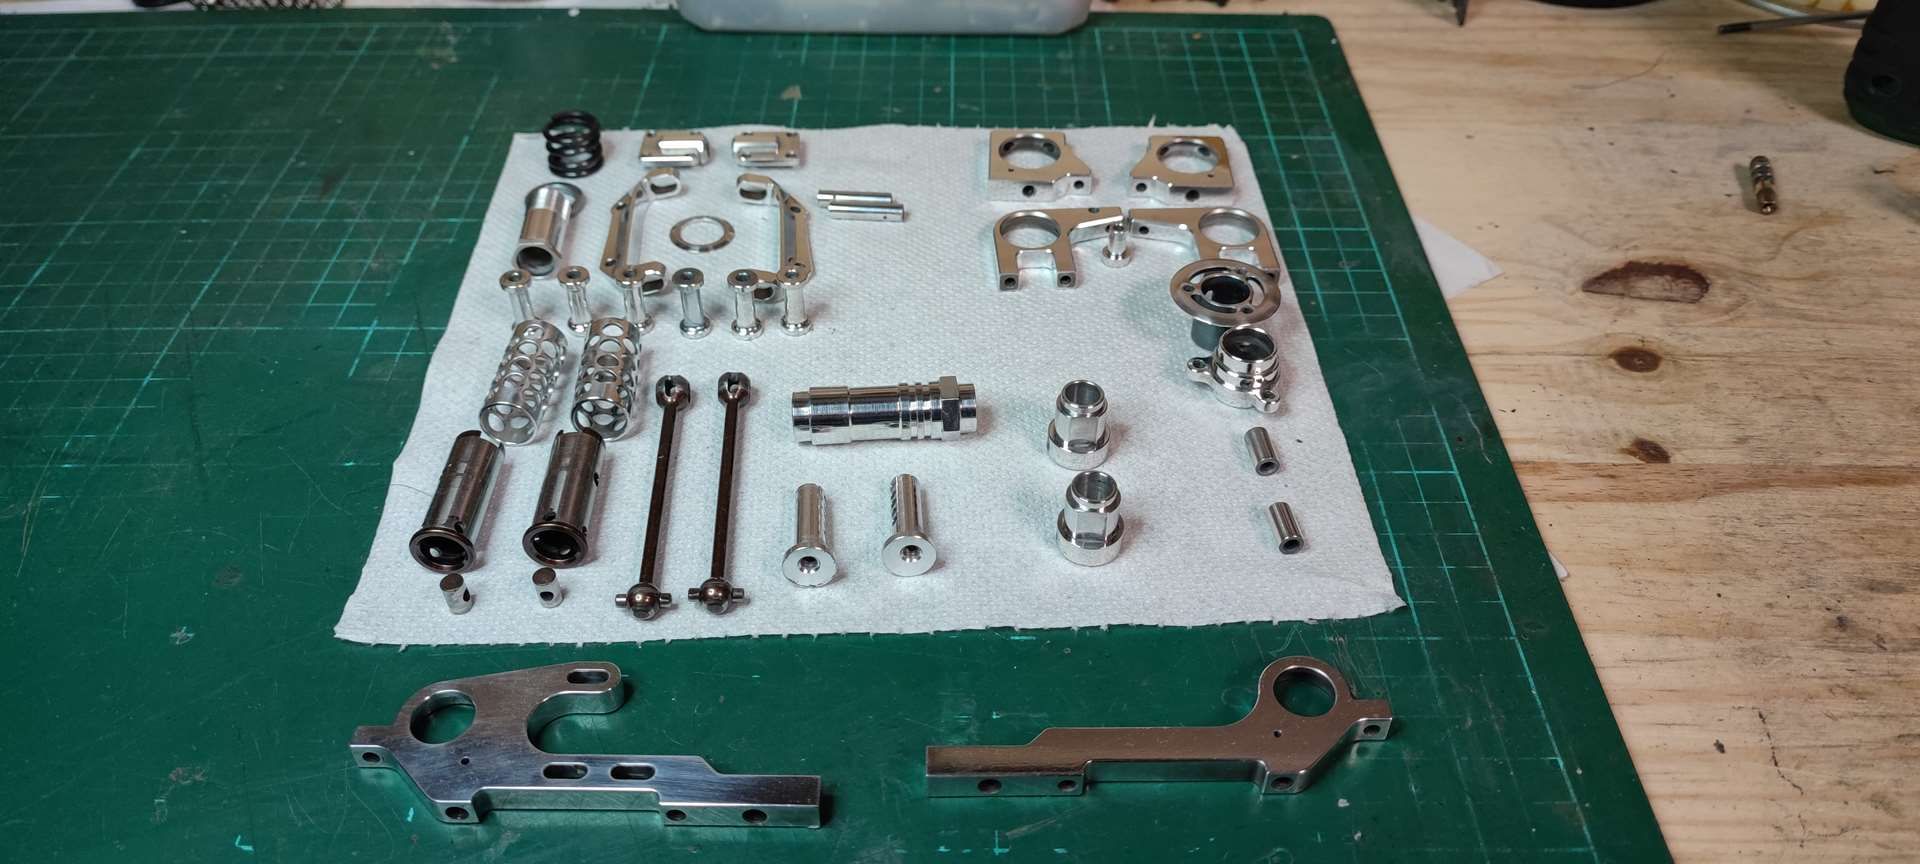
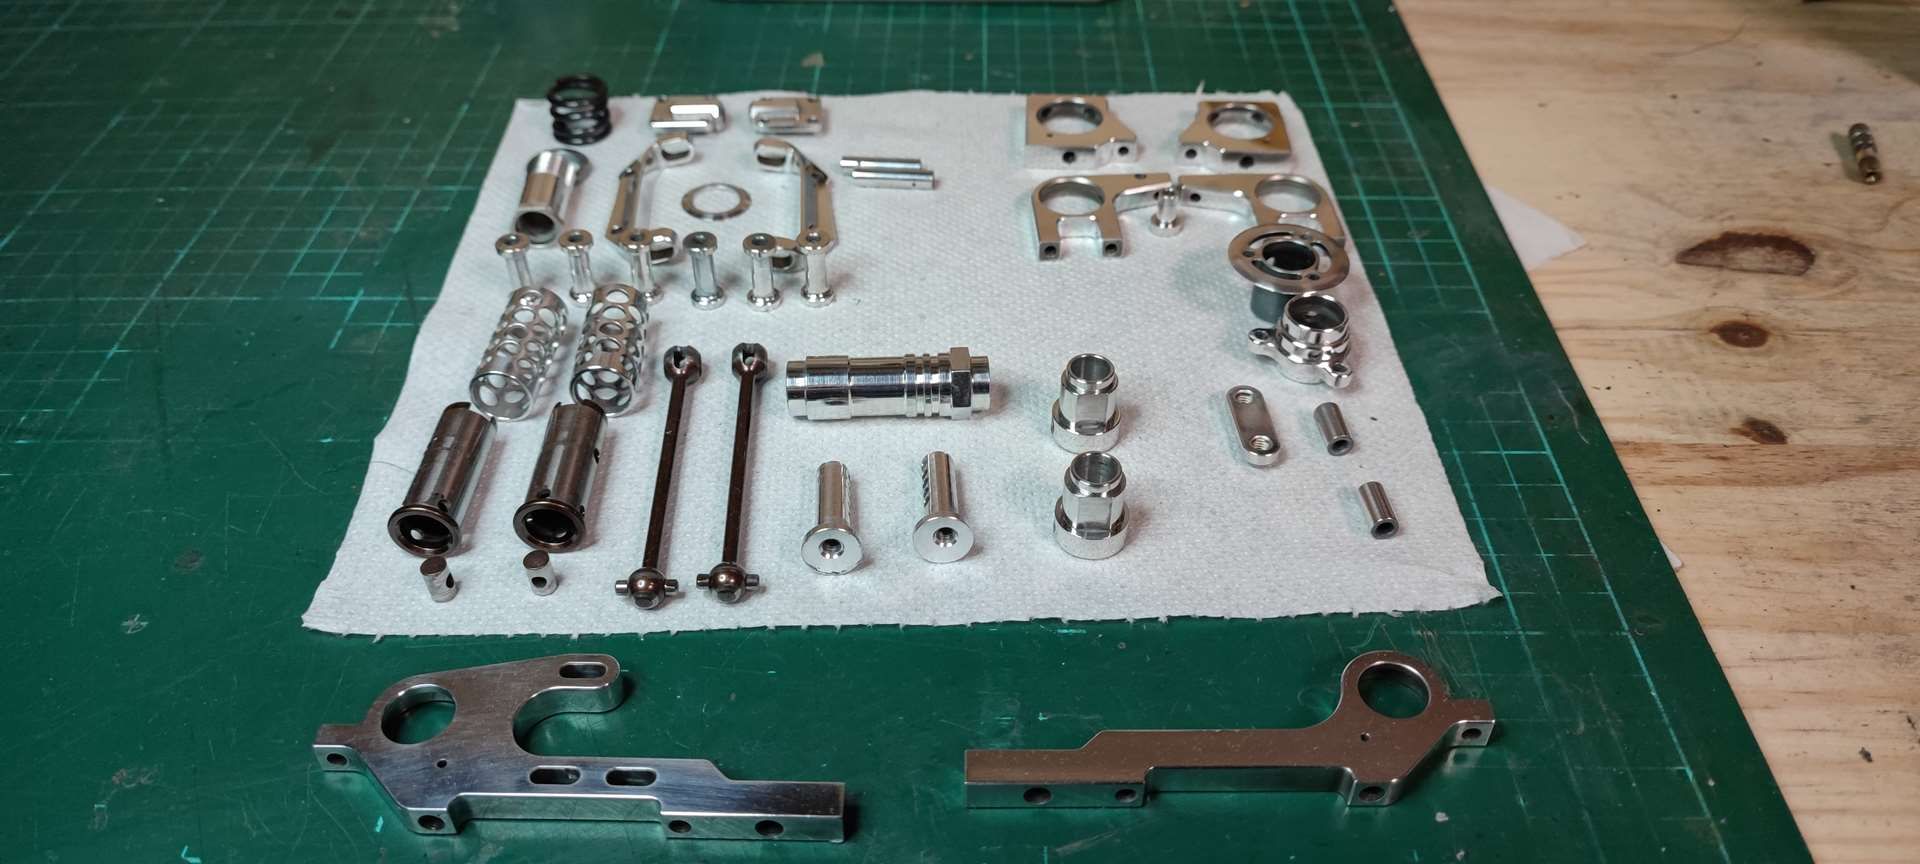
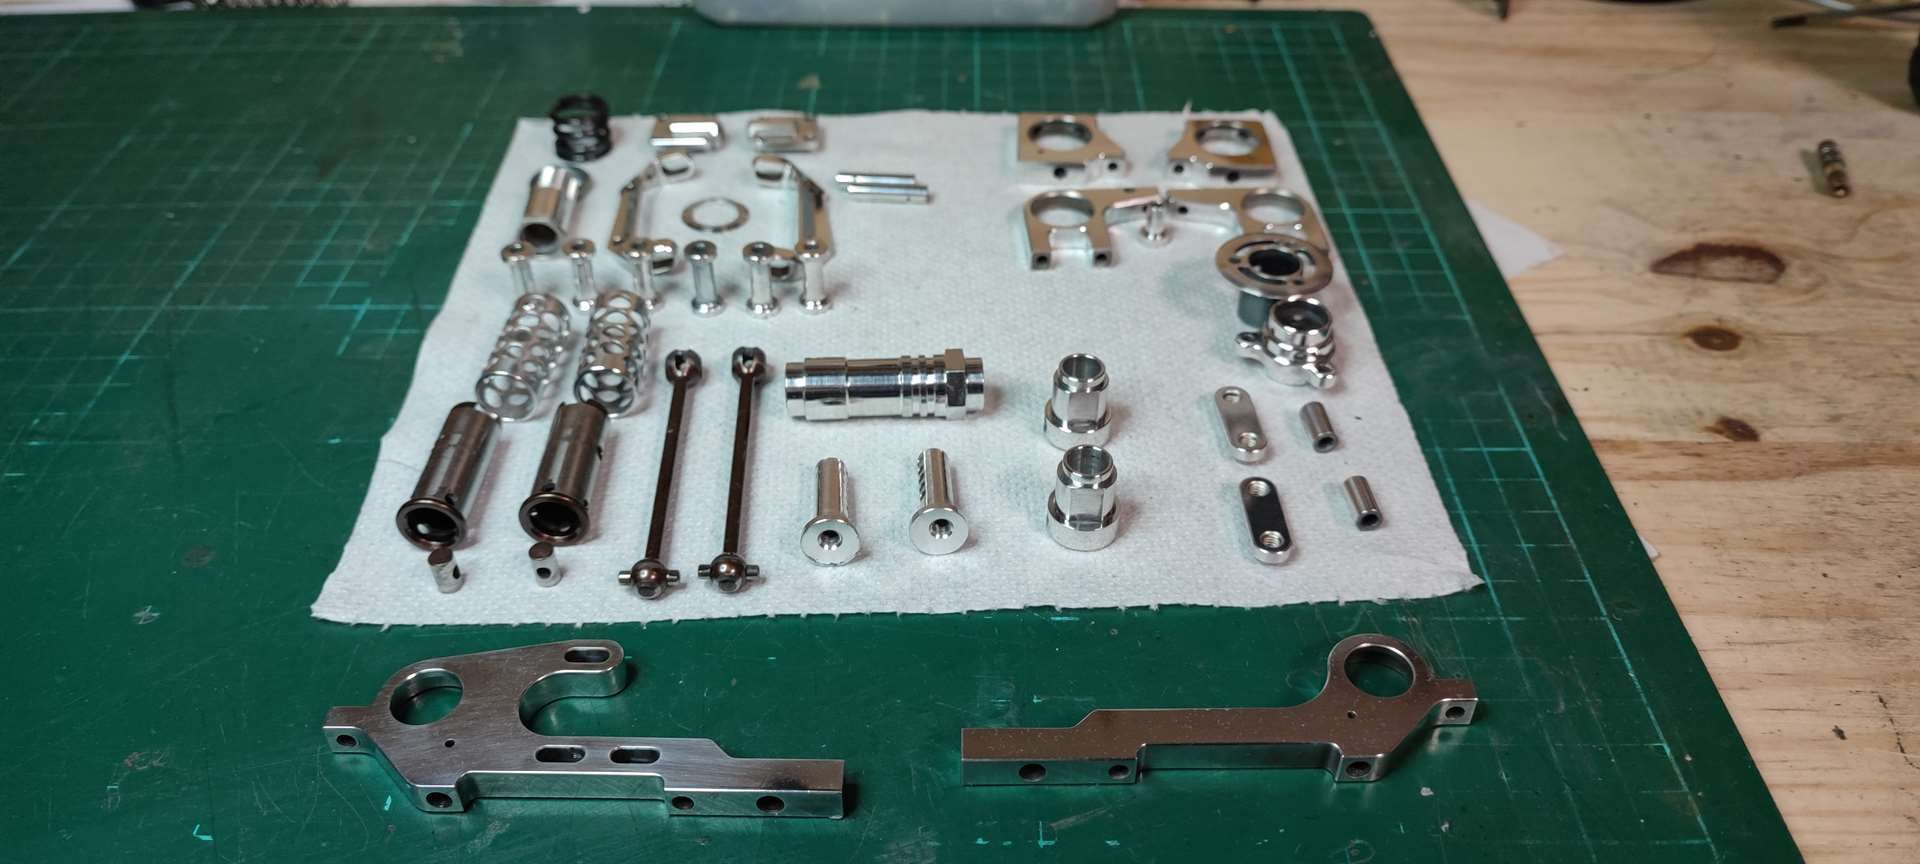
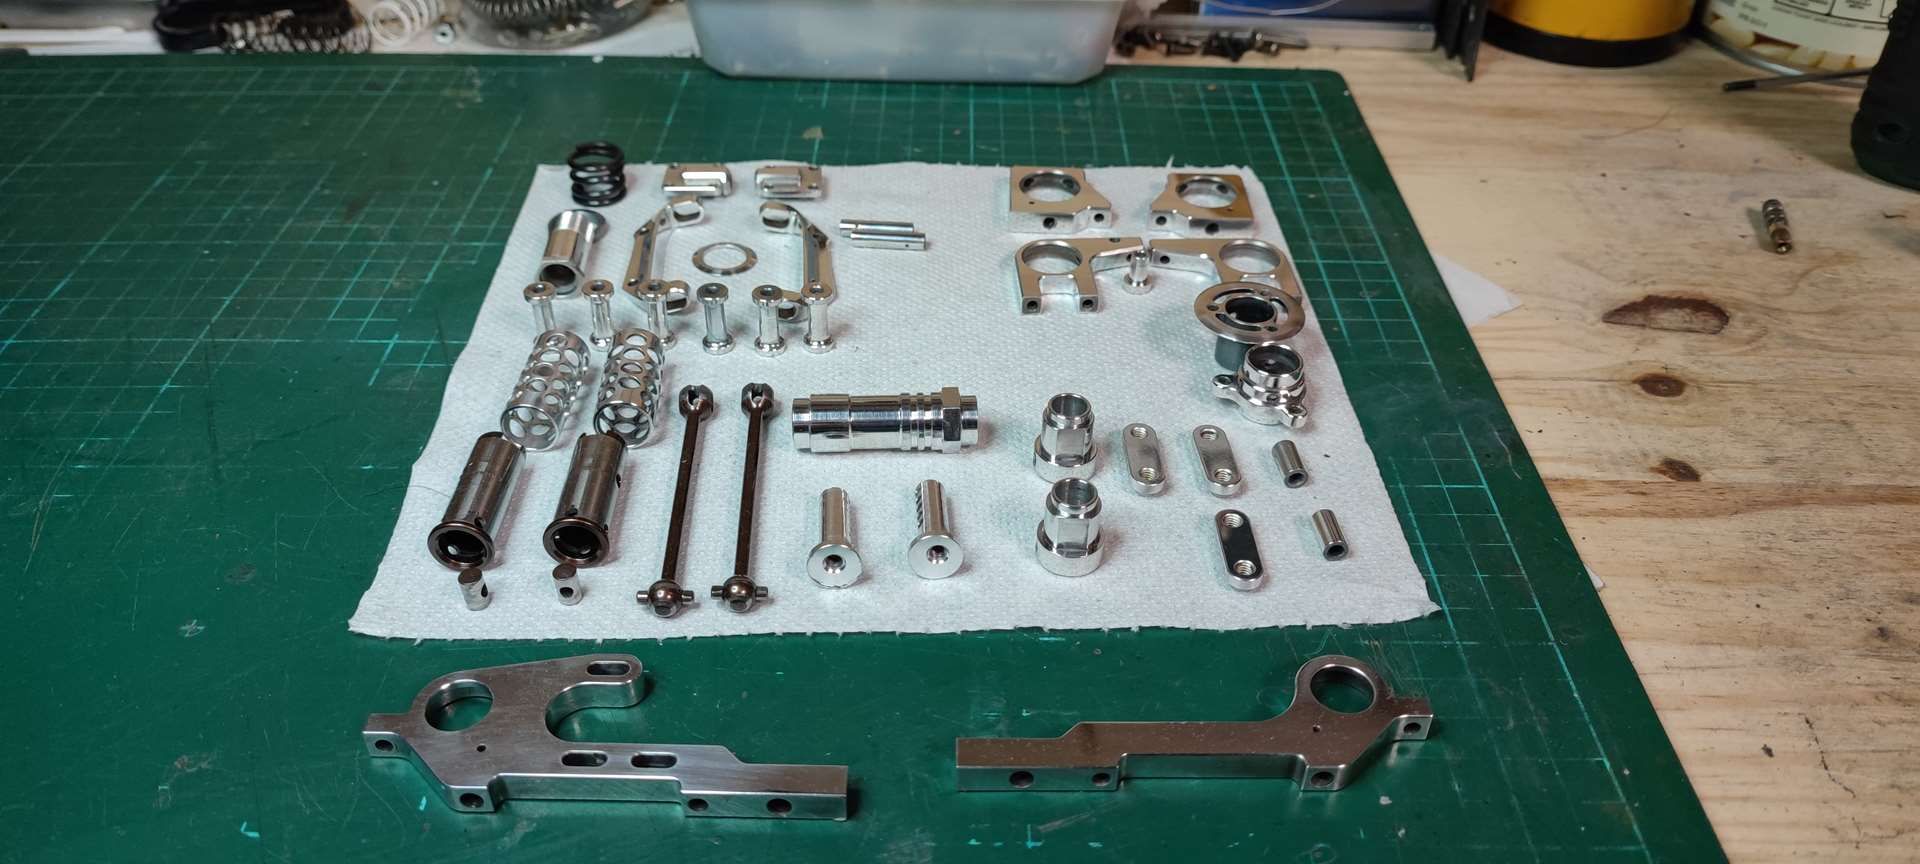
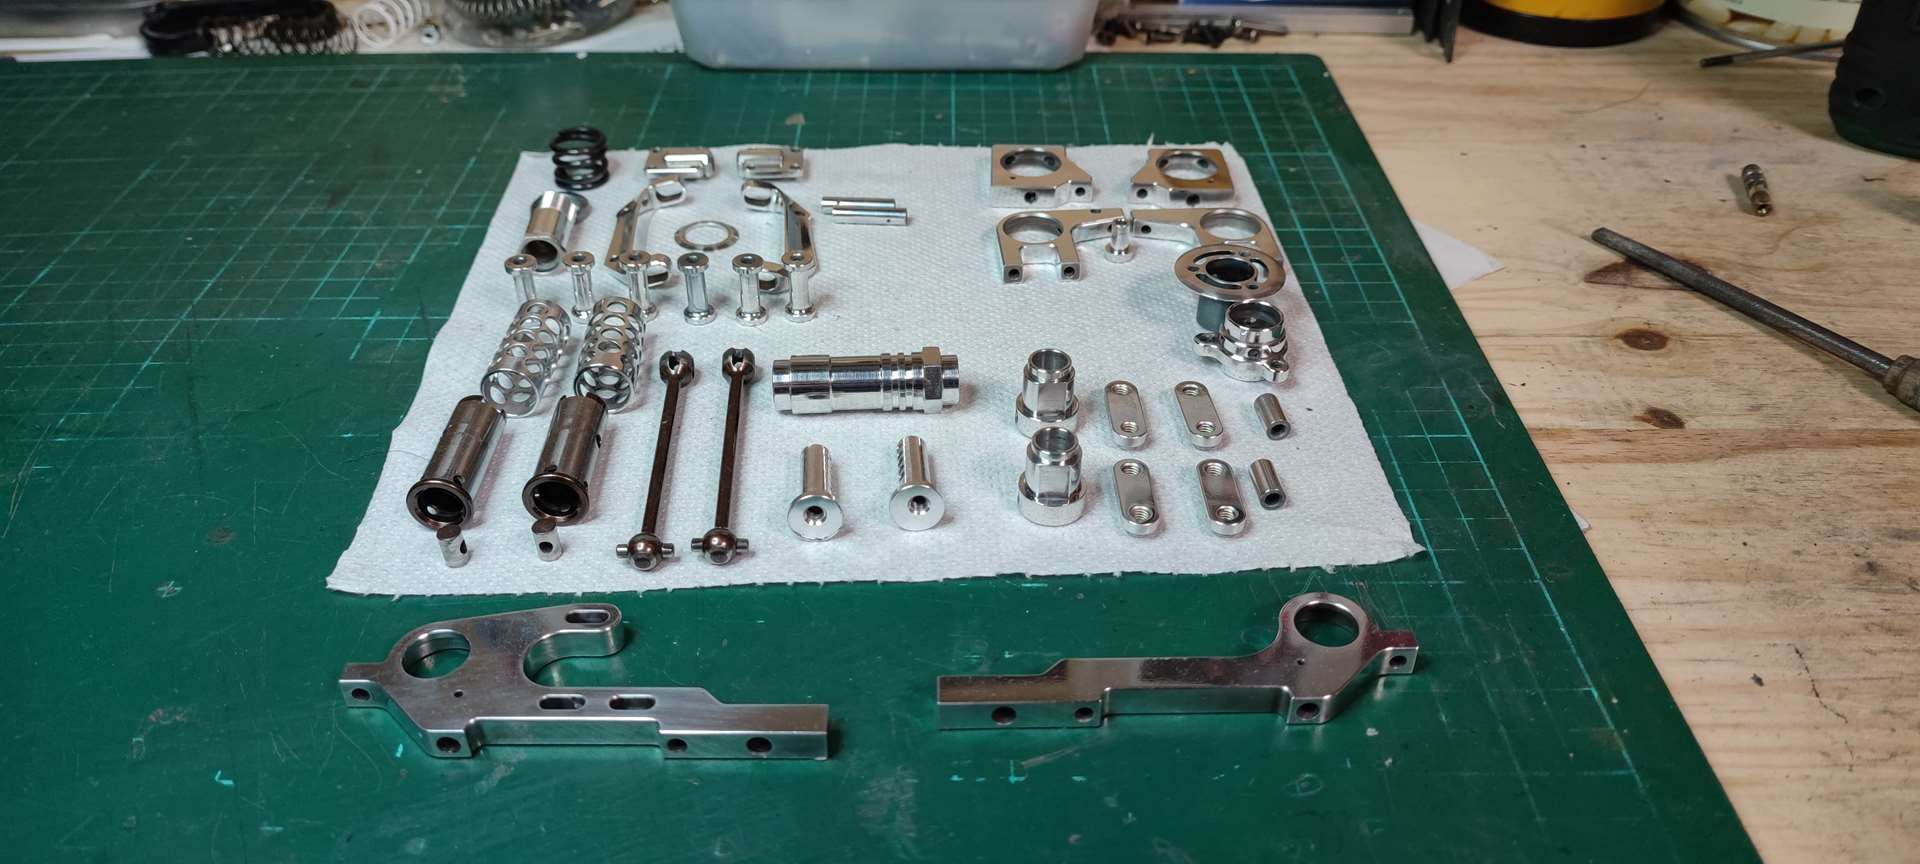
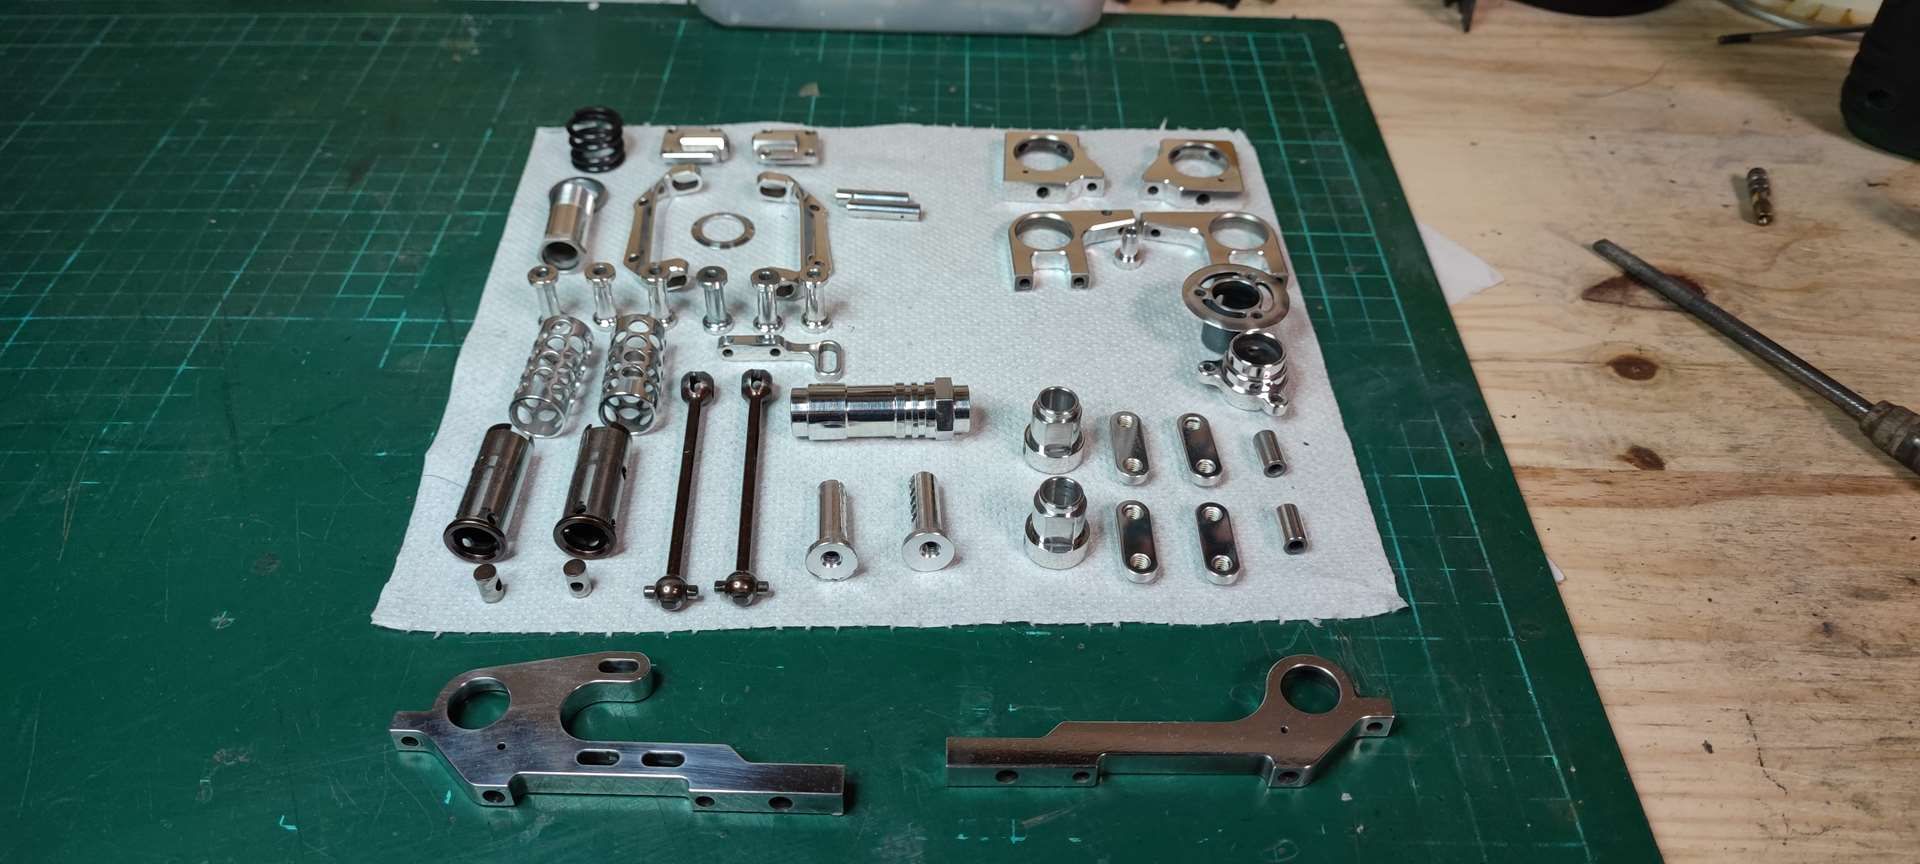
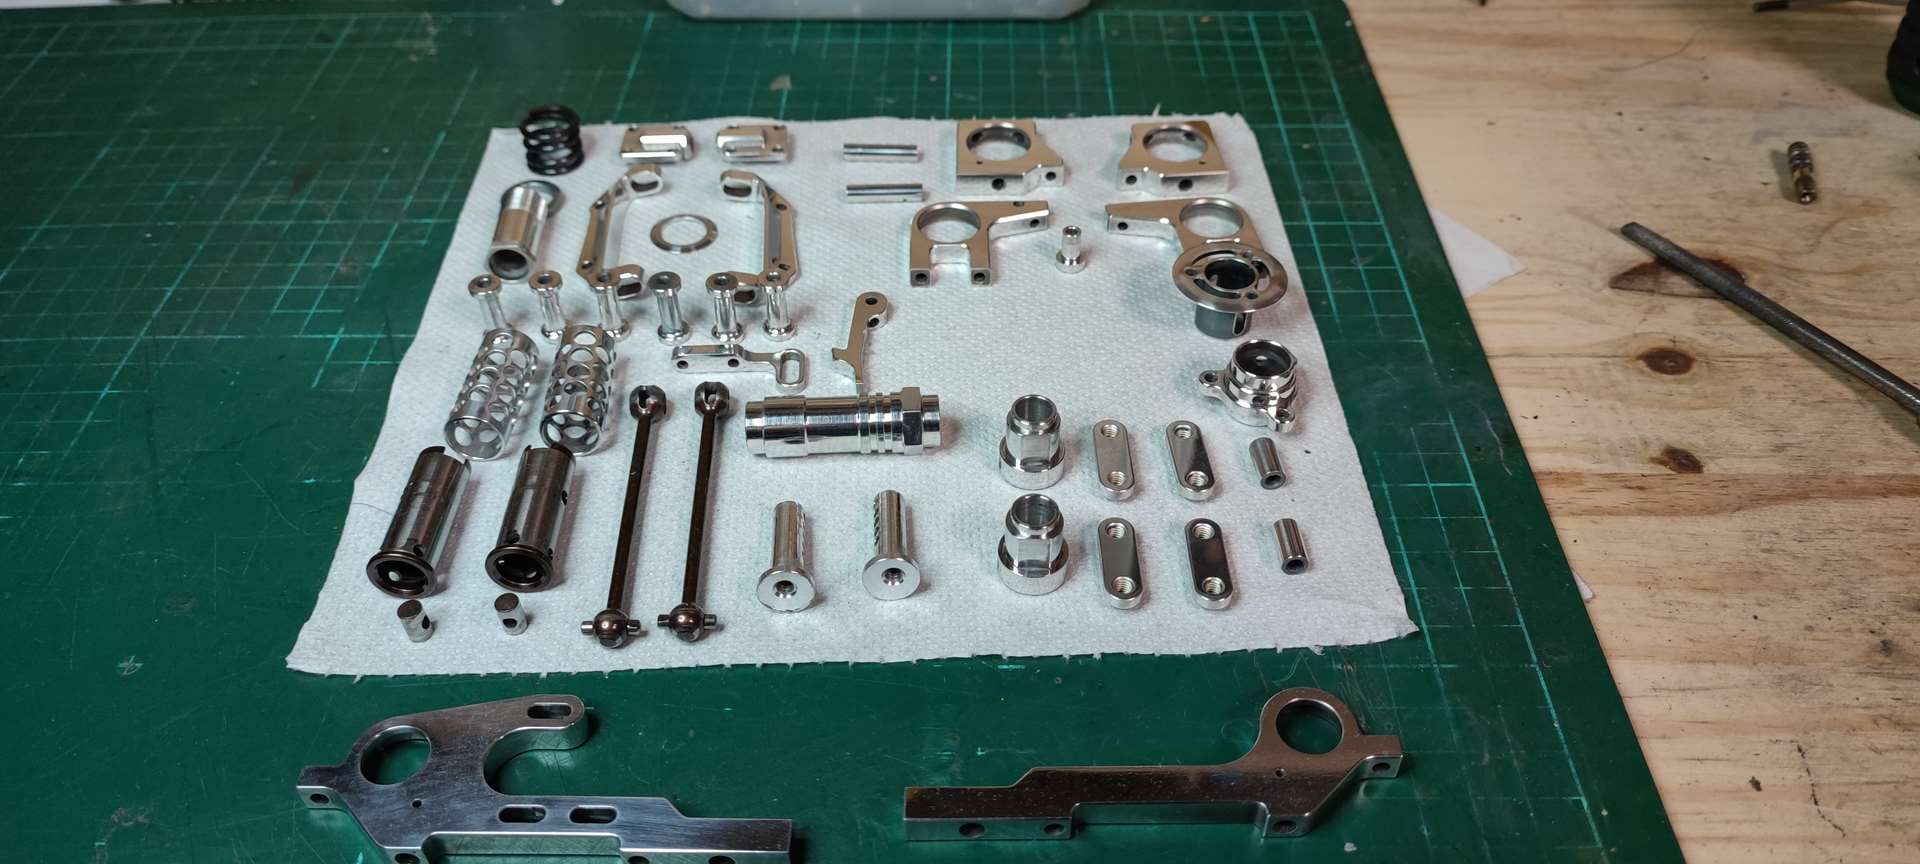
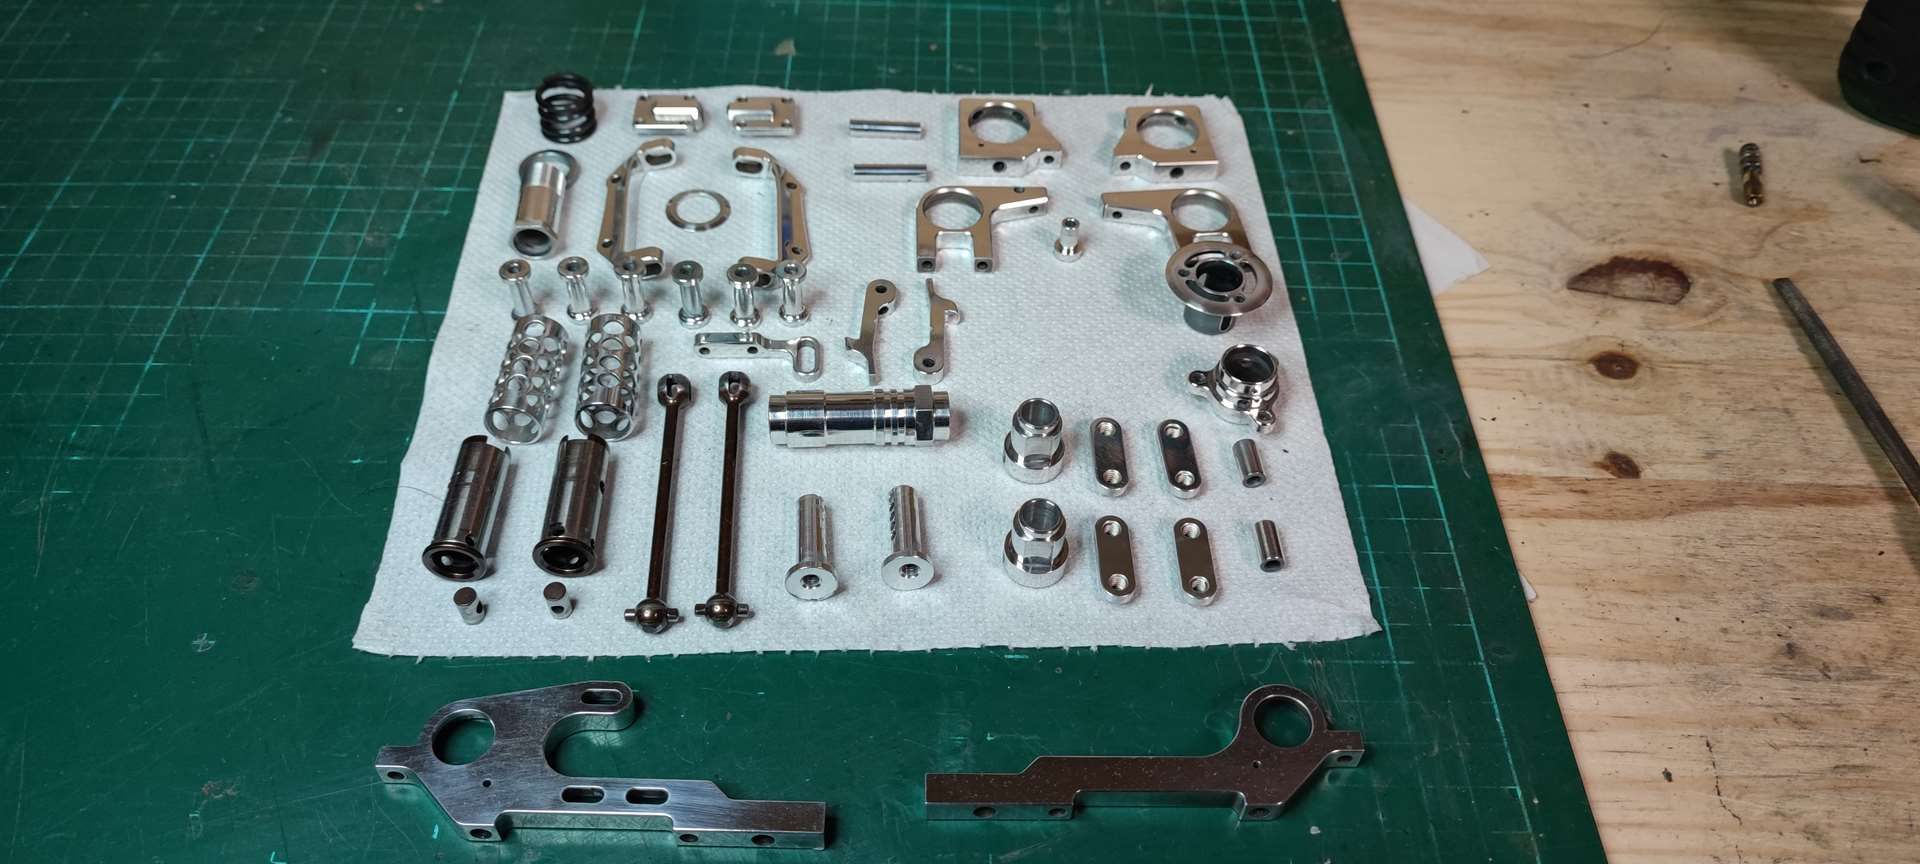
- deanodize all the aluminum parts
- polish the aluminum parts once deanodized
- change all screws
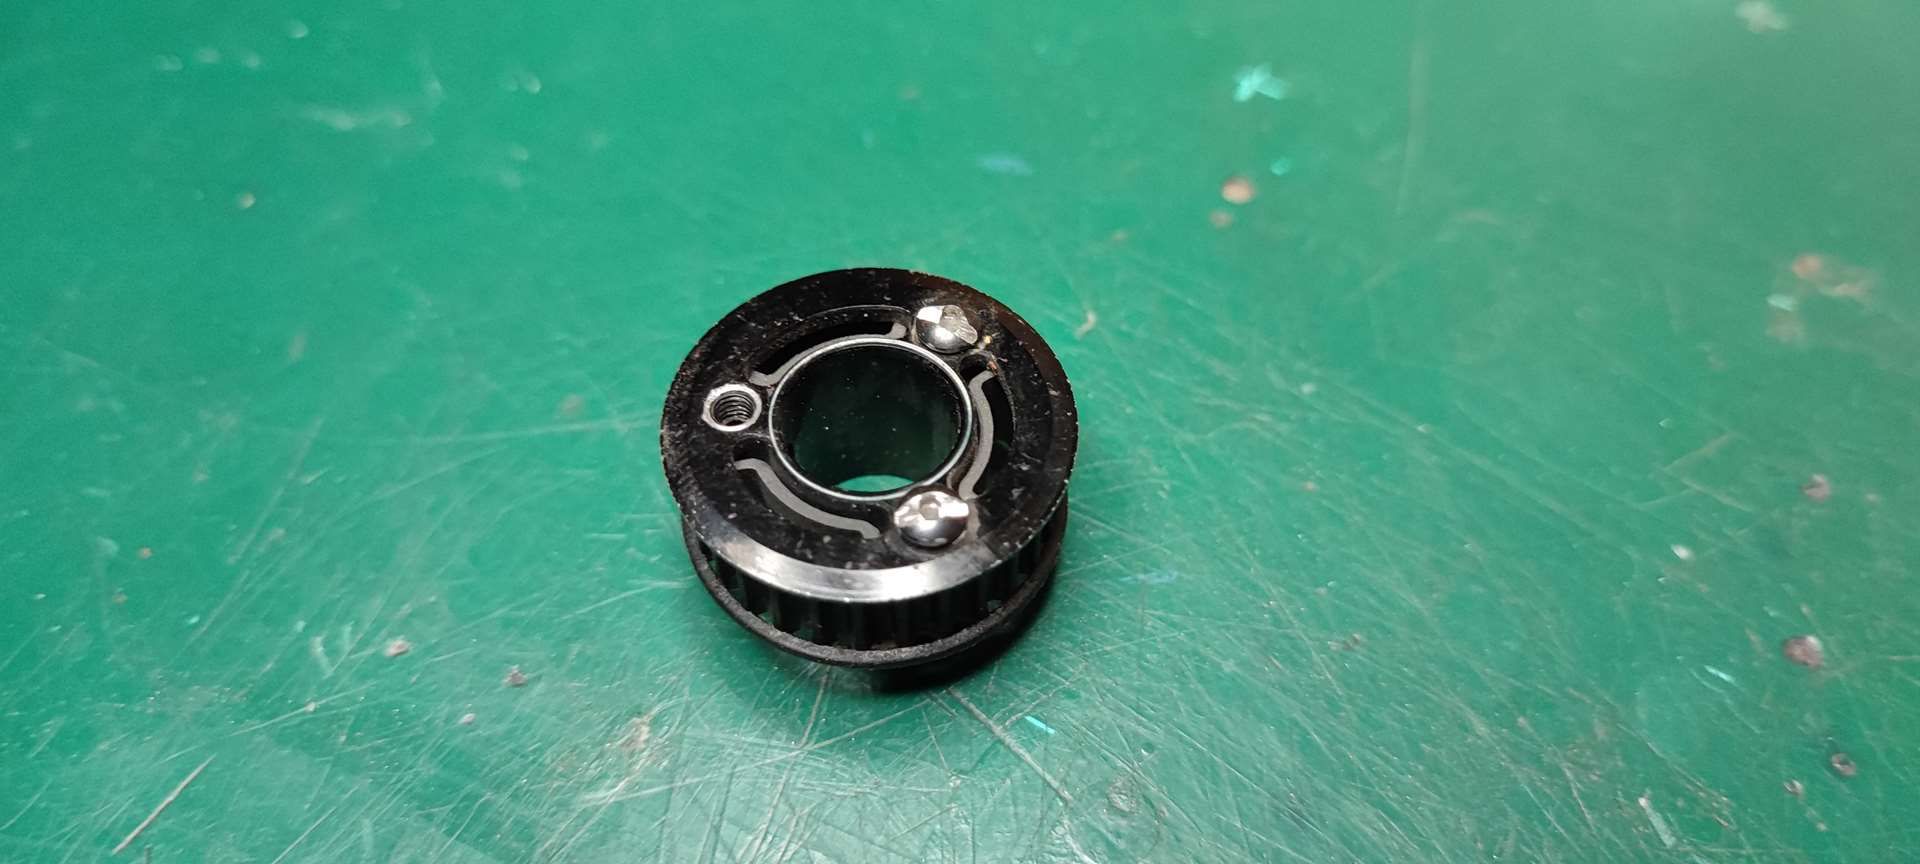
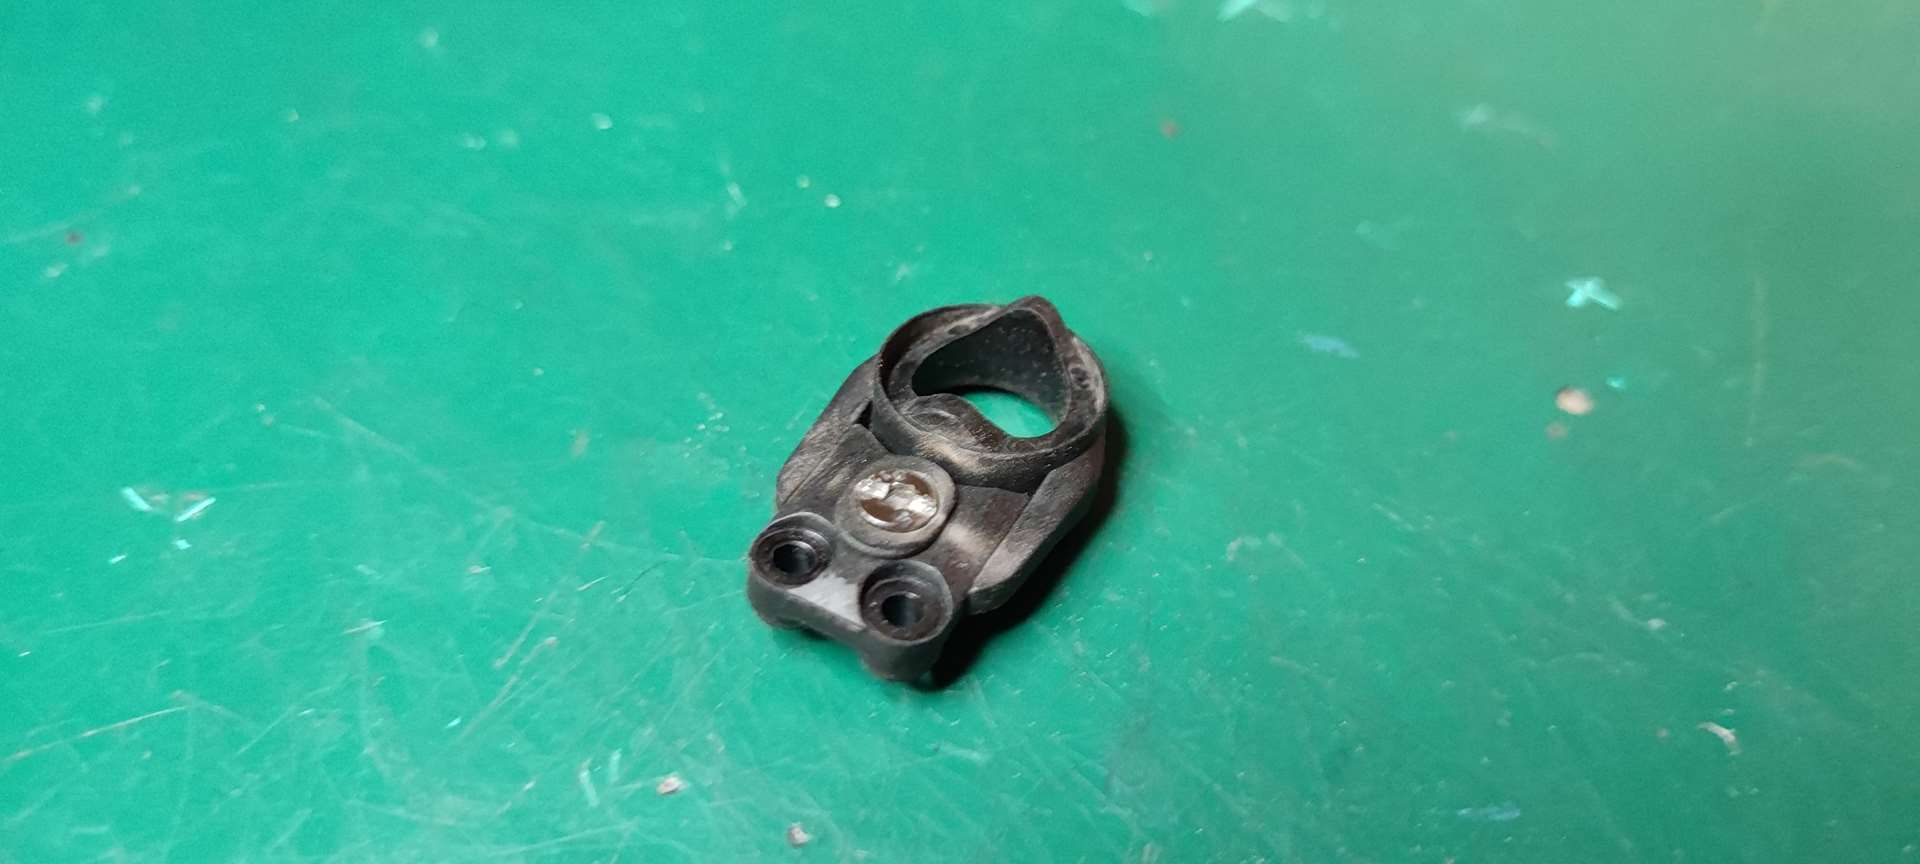
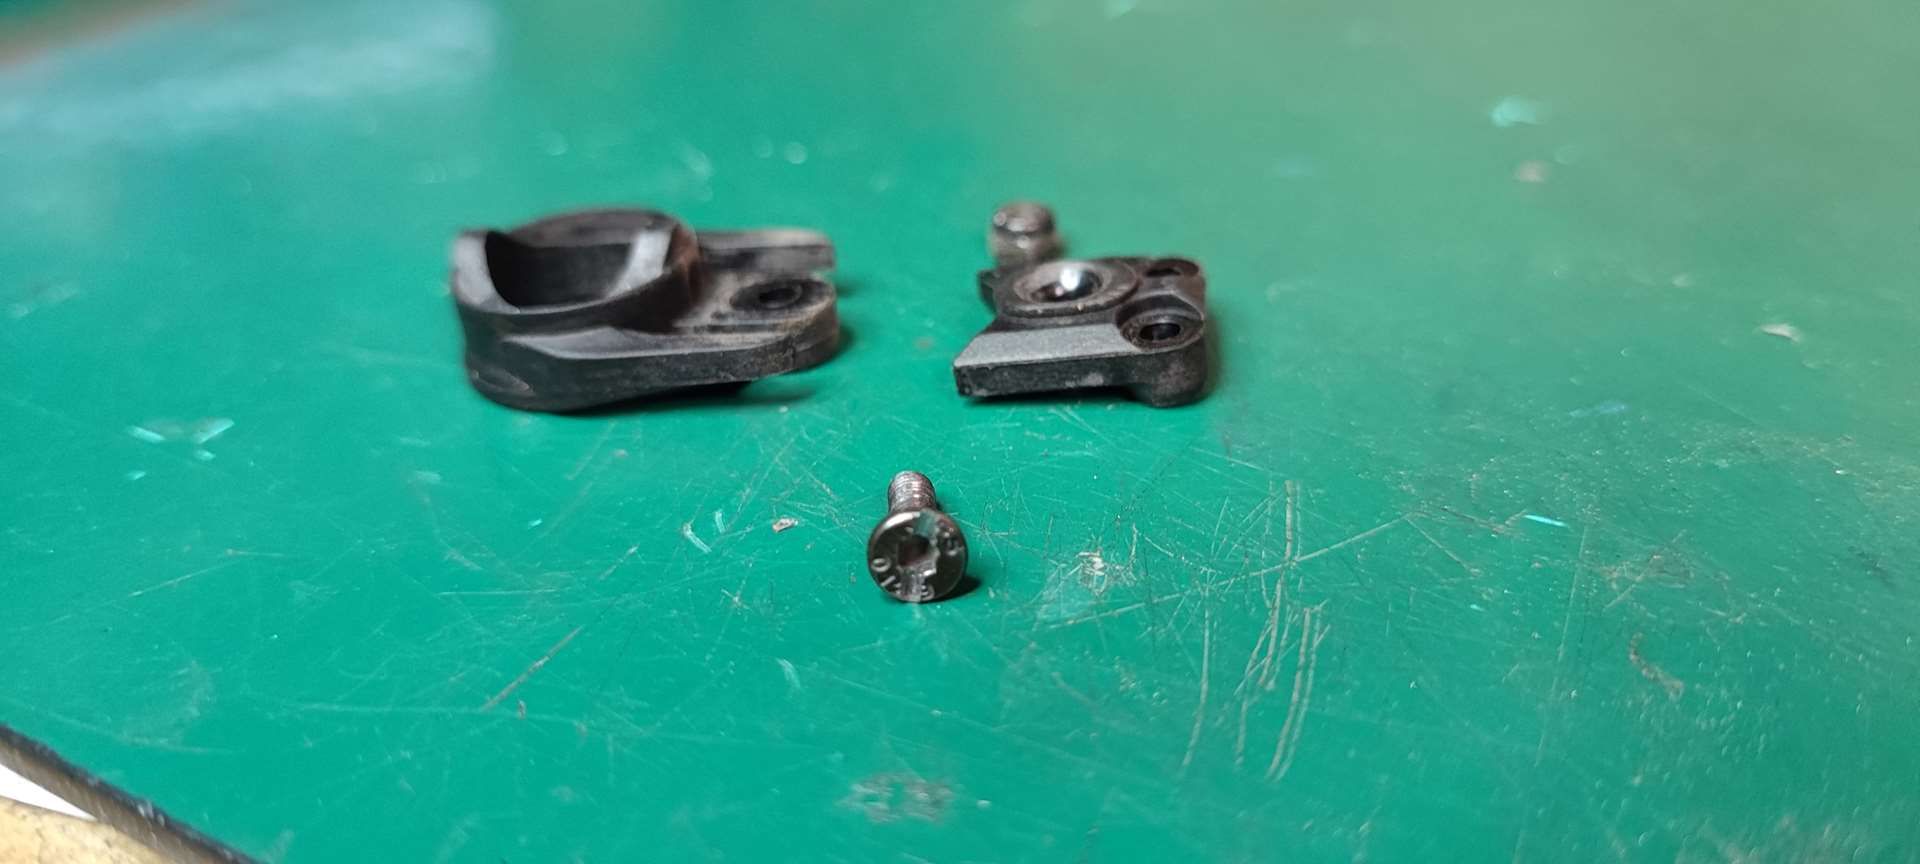
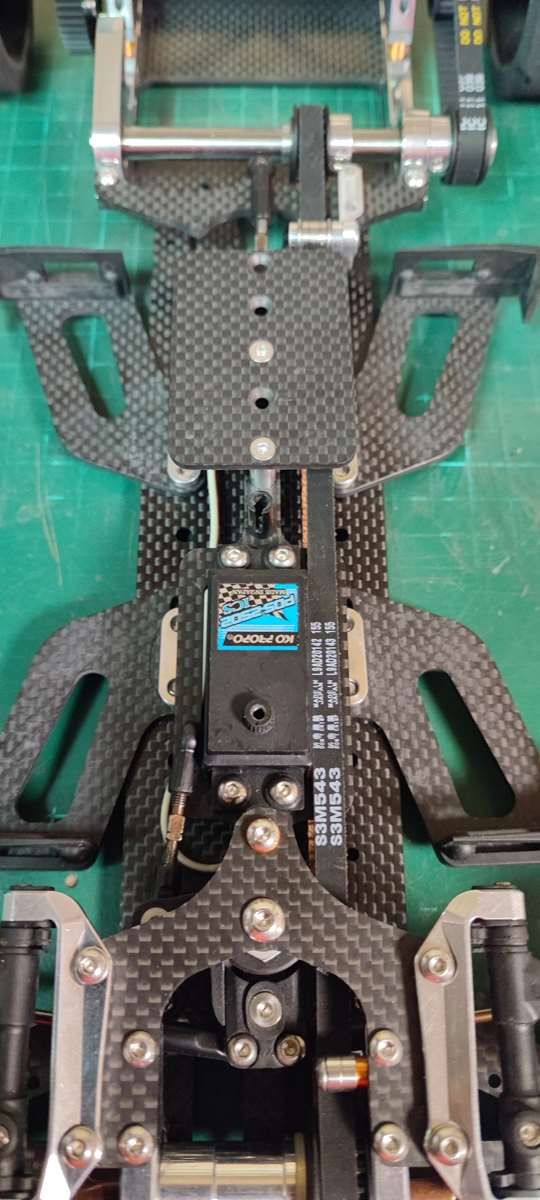
- unscrewing a screw on the servo saver that is locked
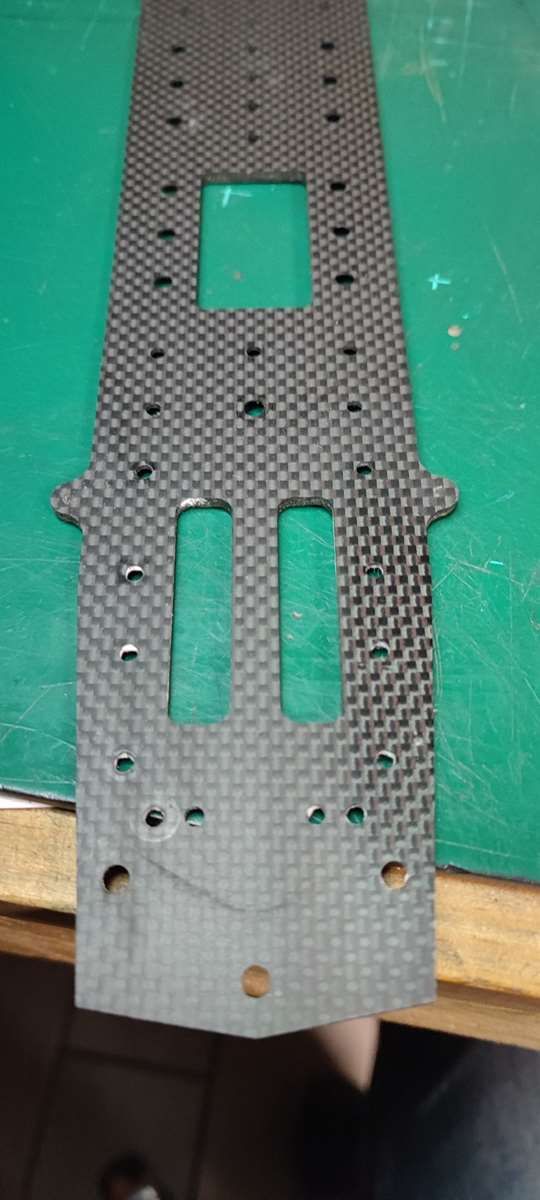
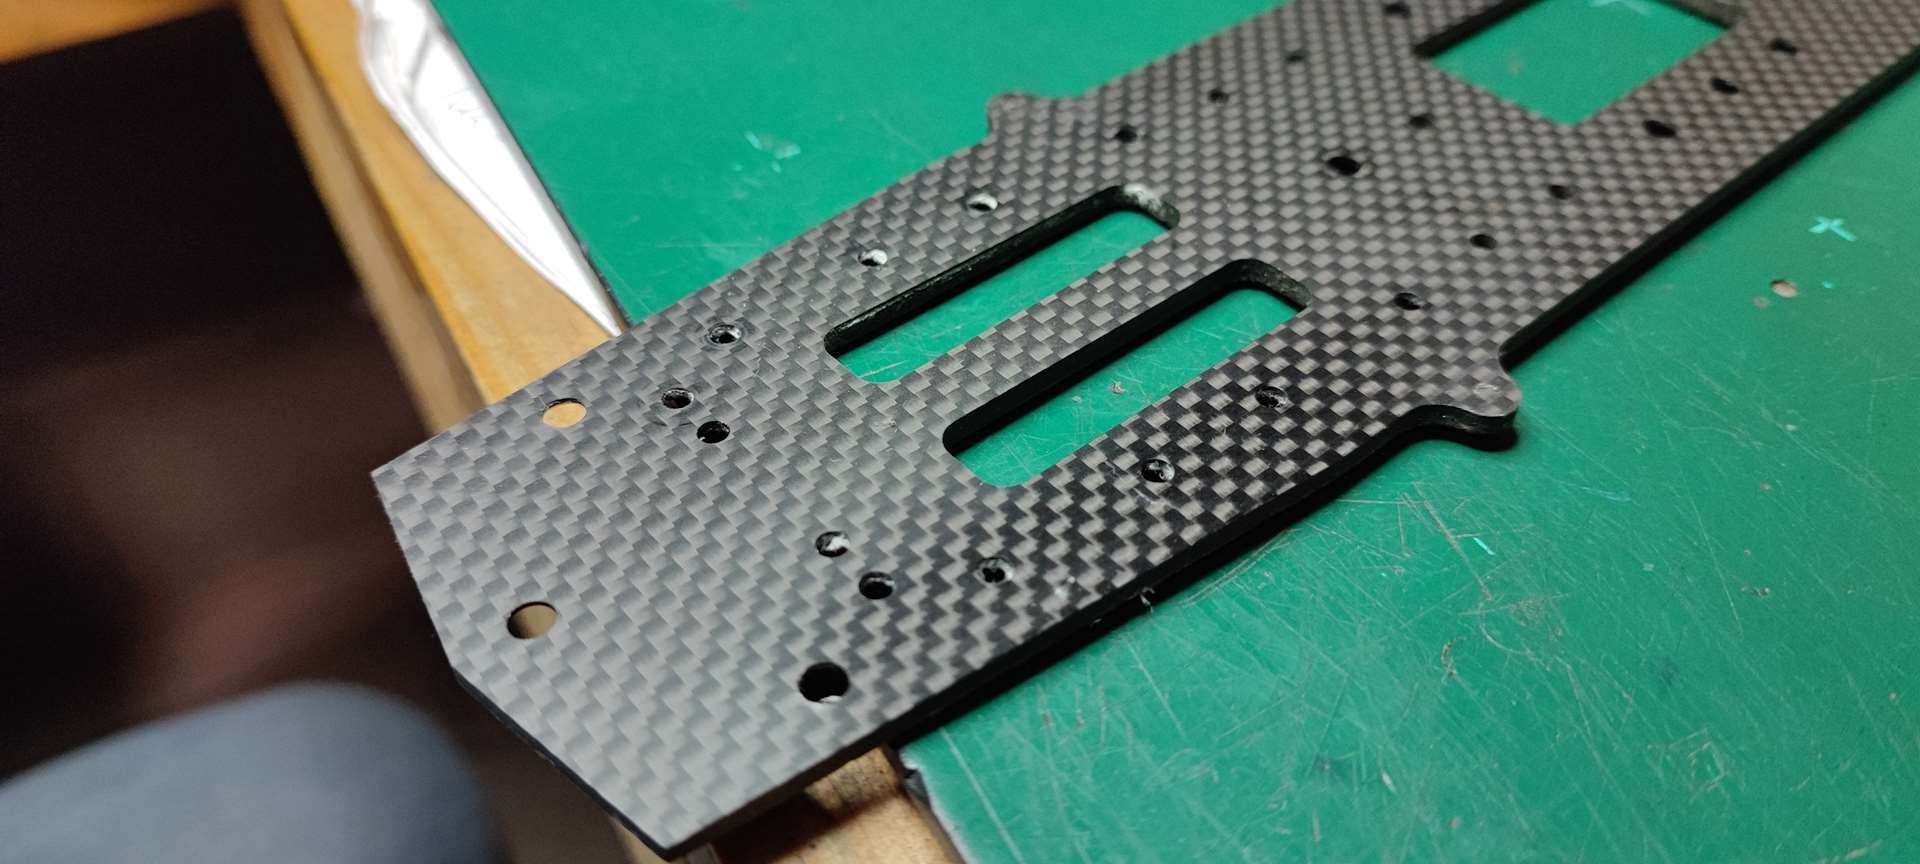
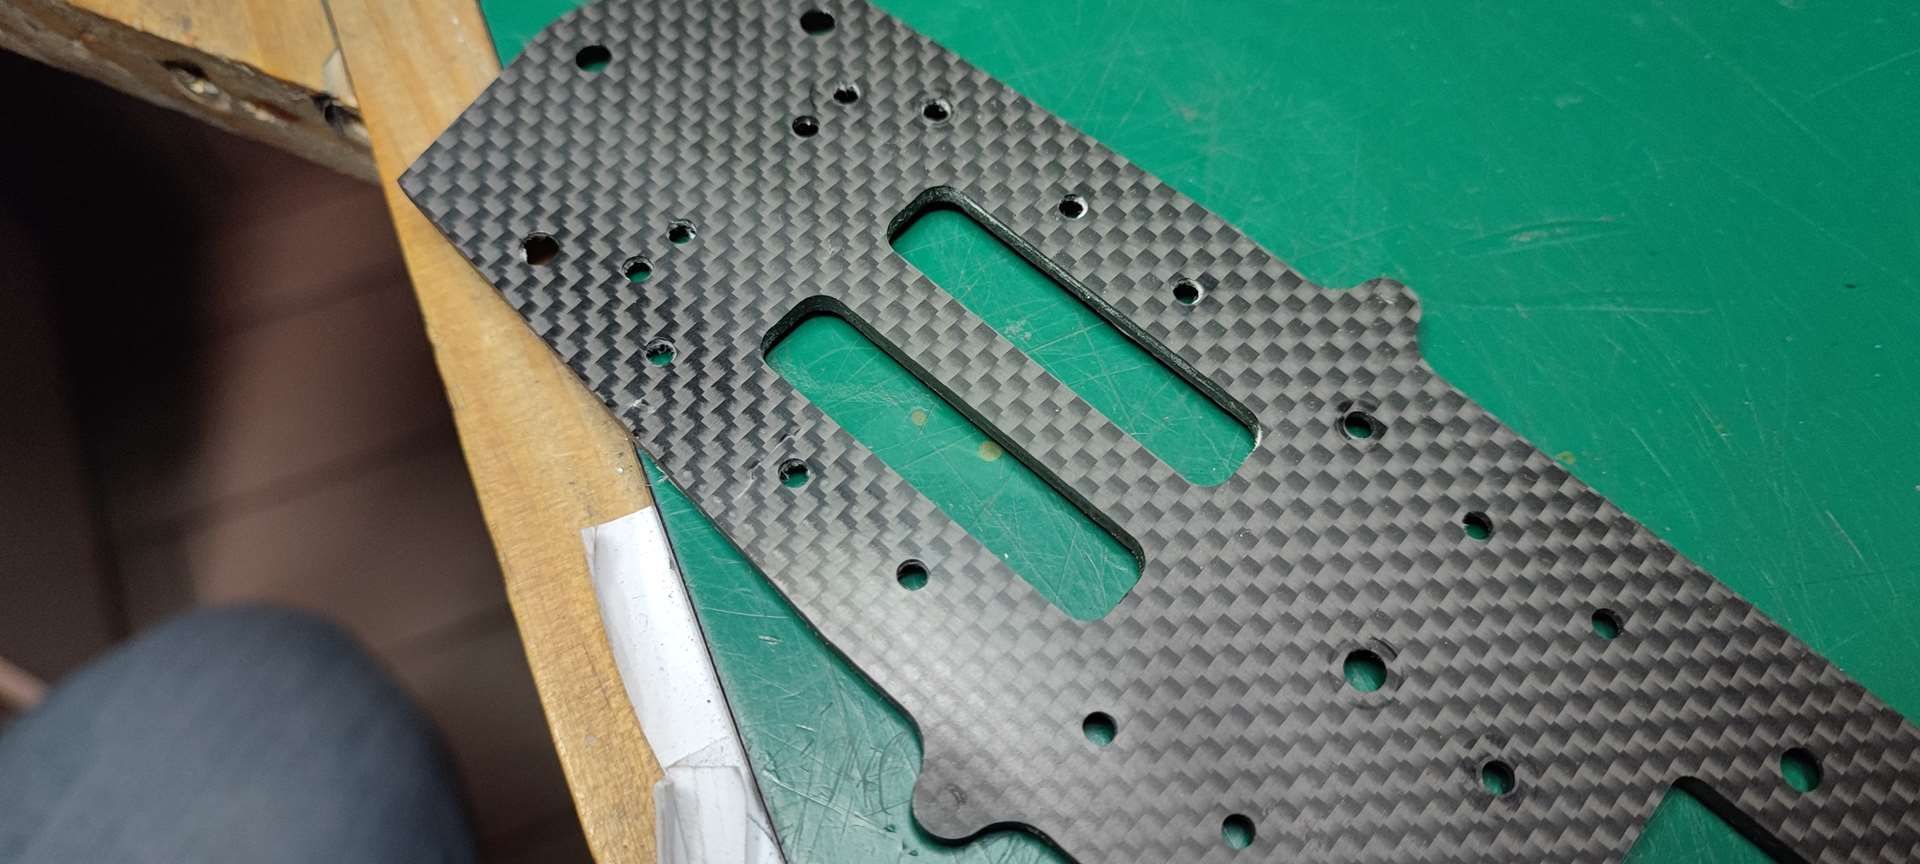
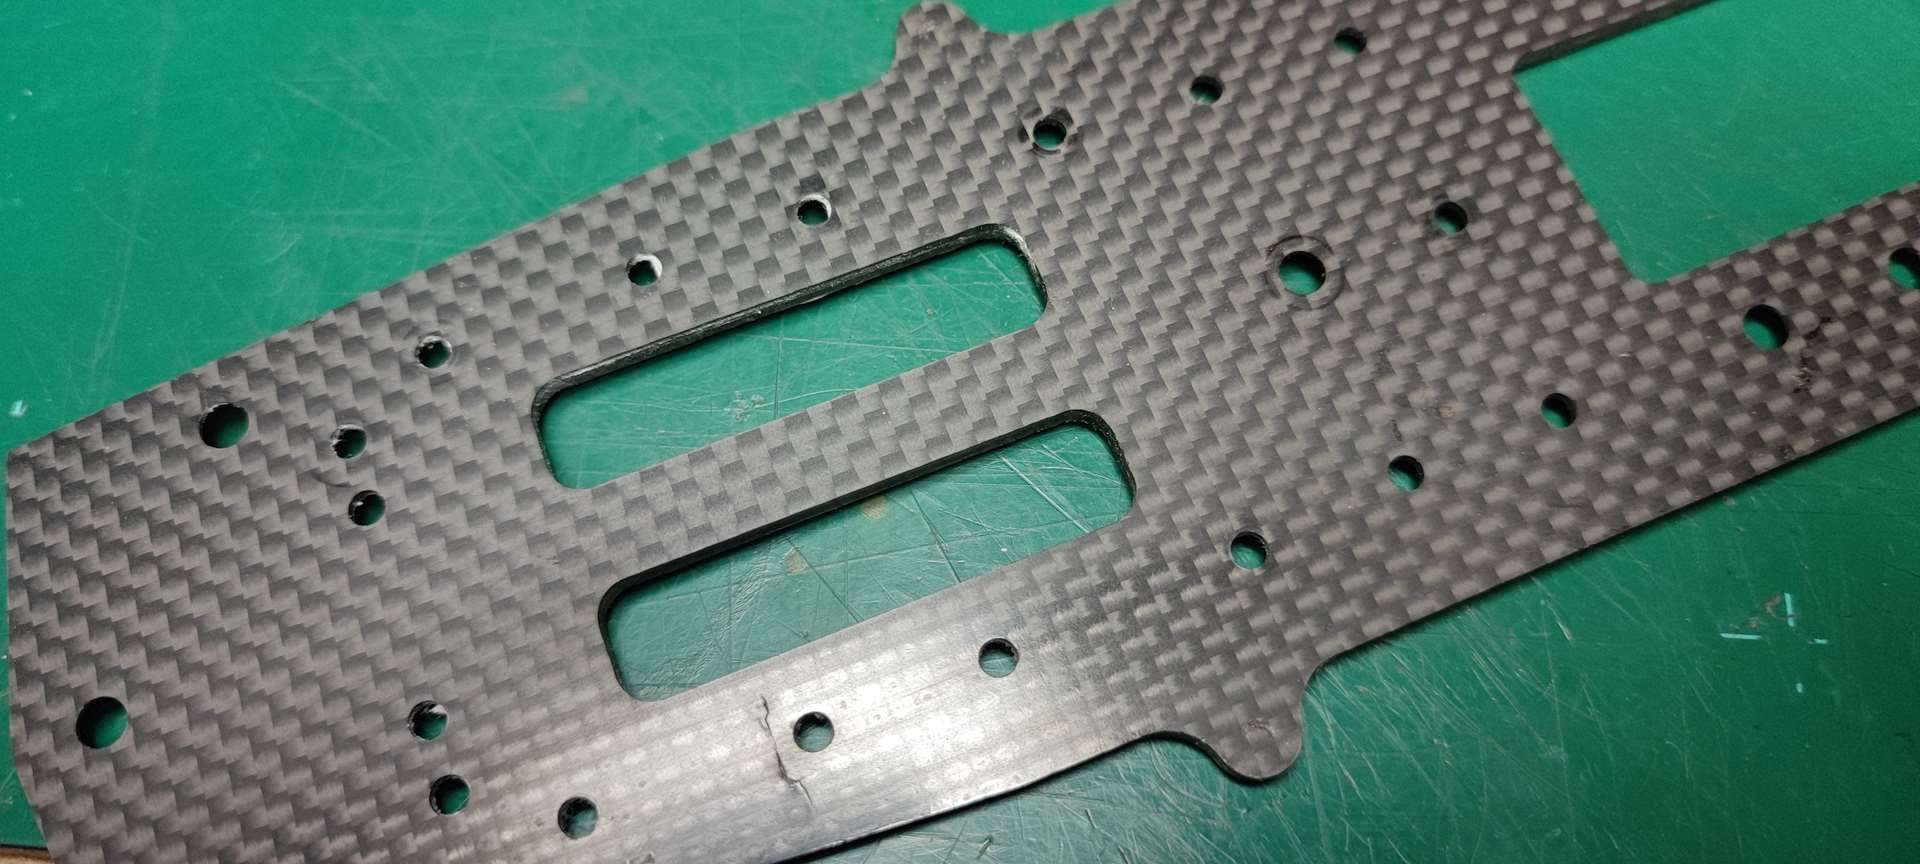
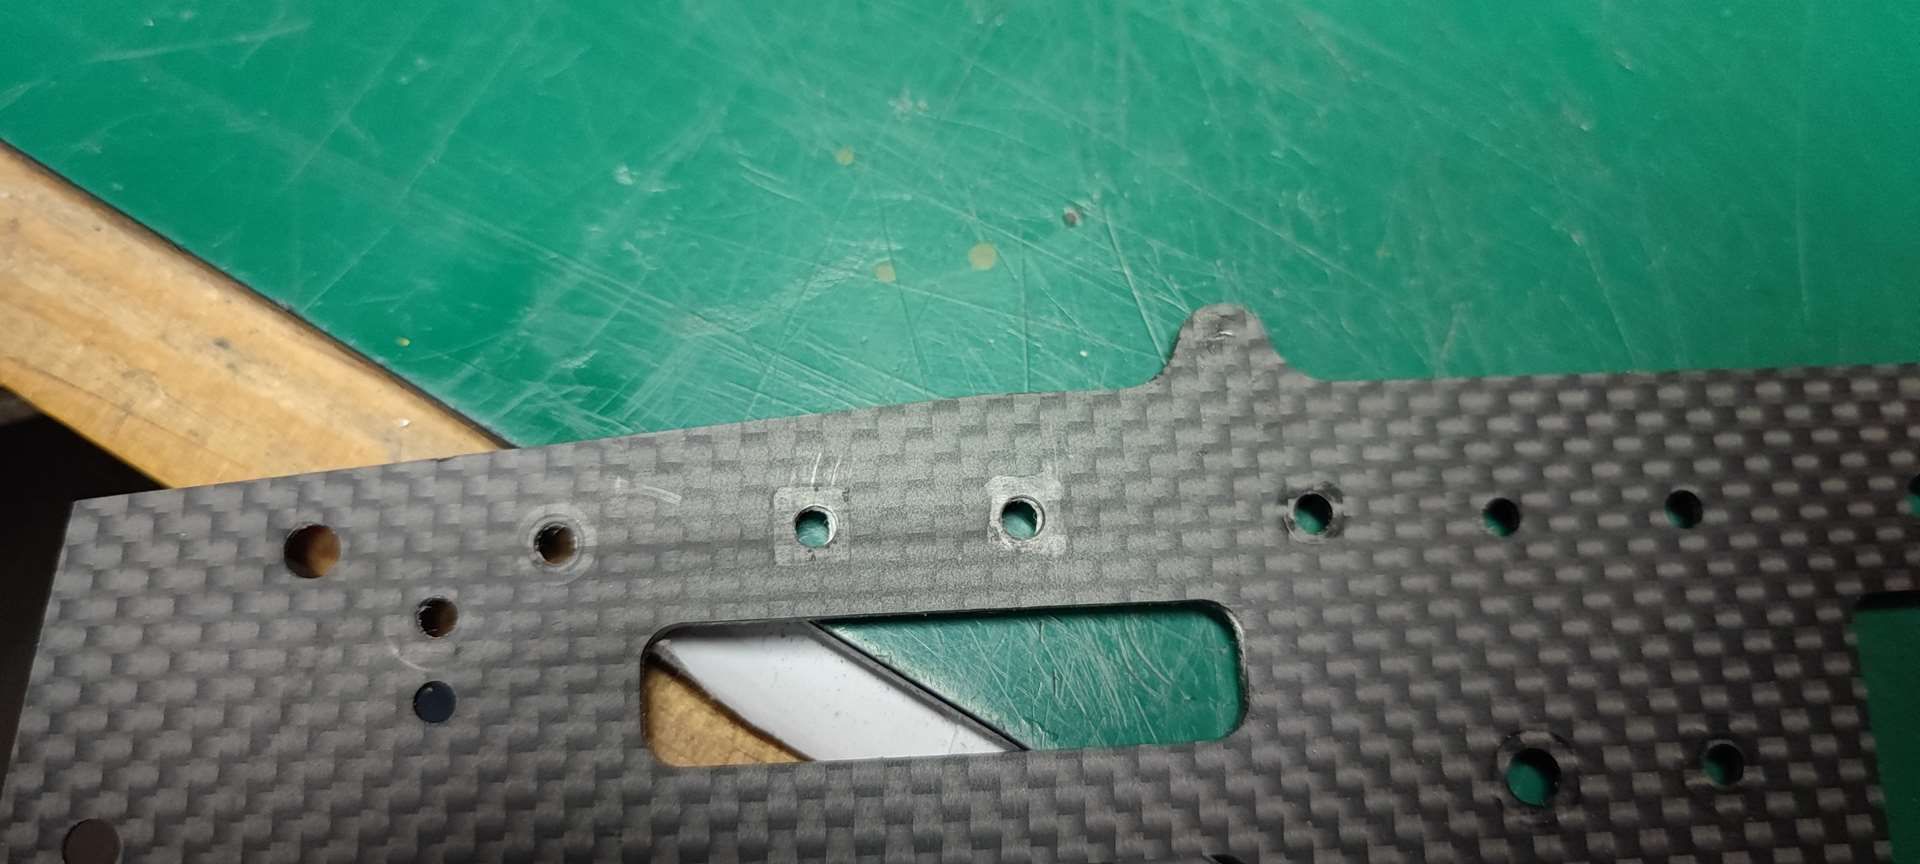
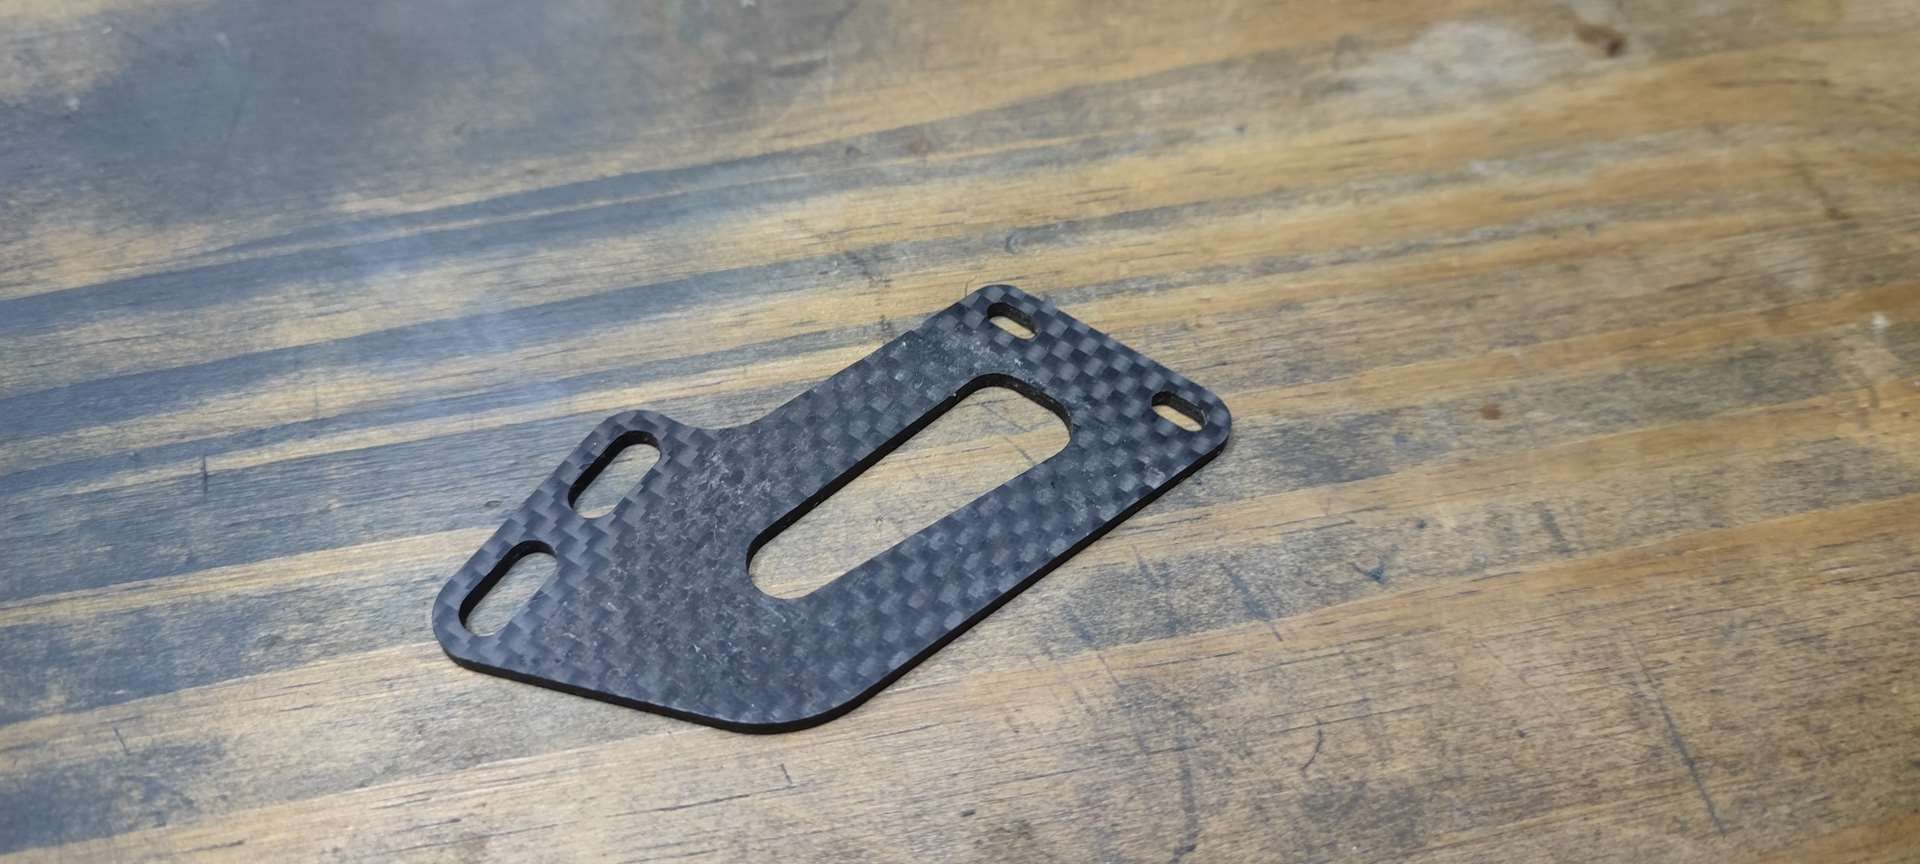
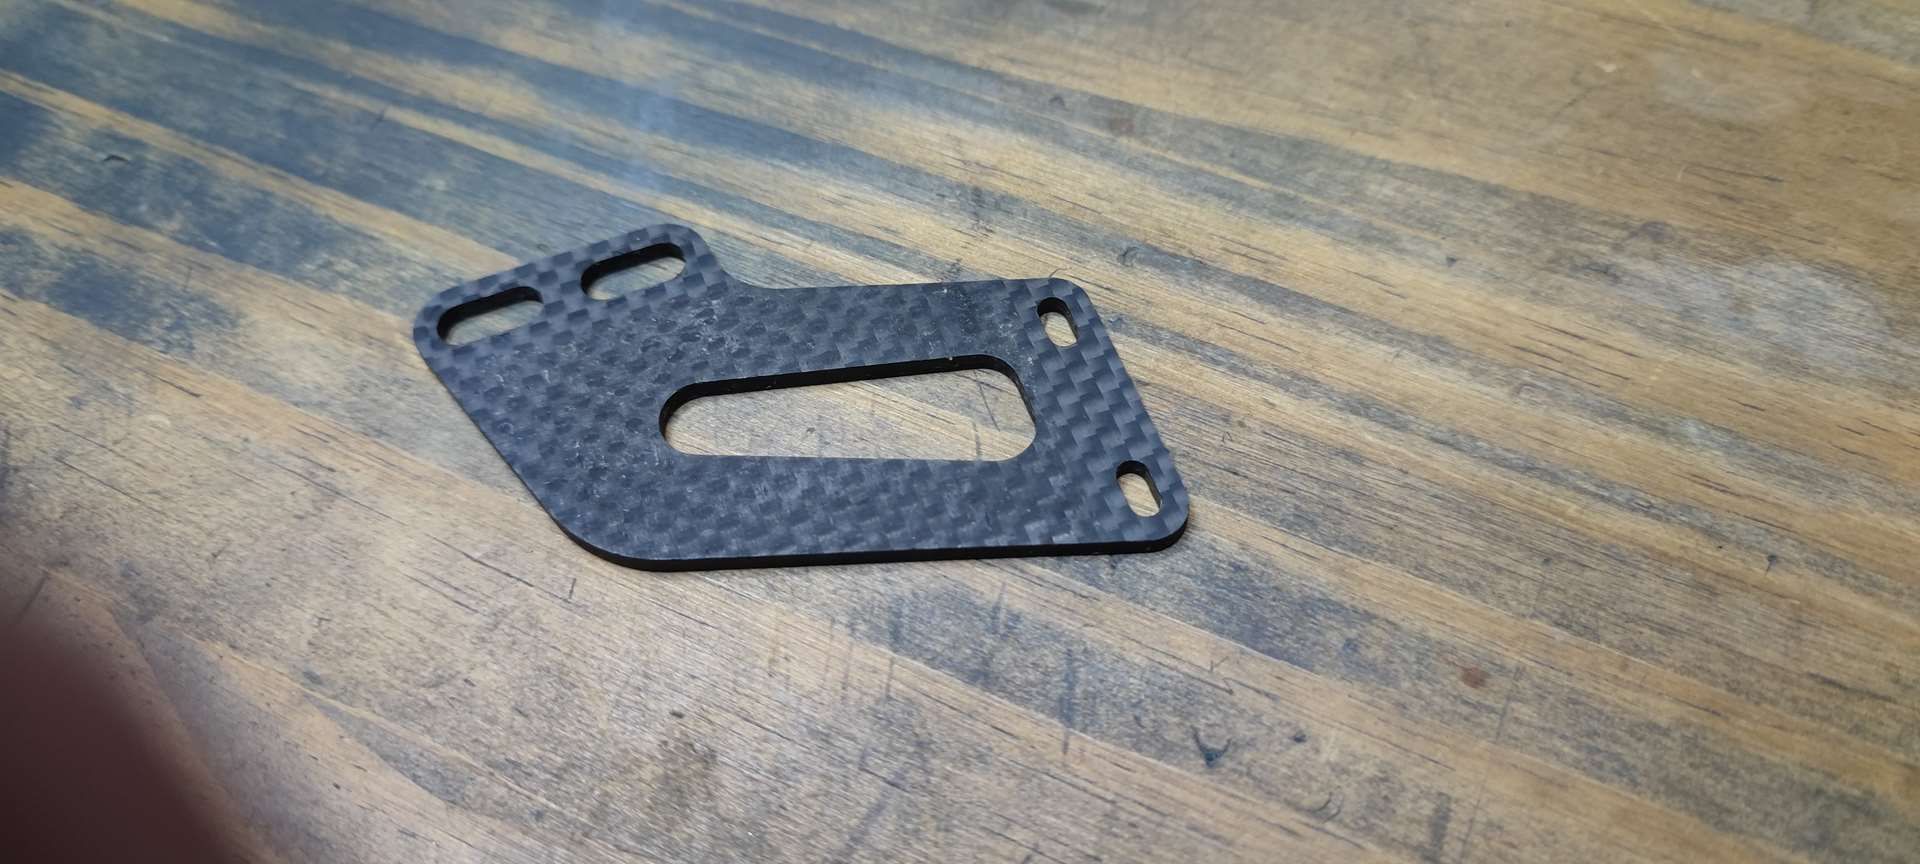
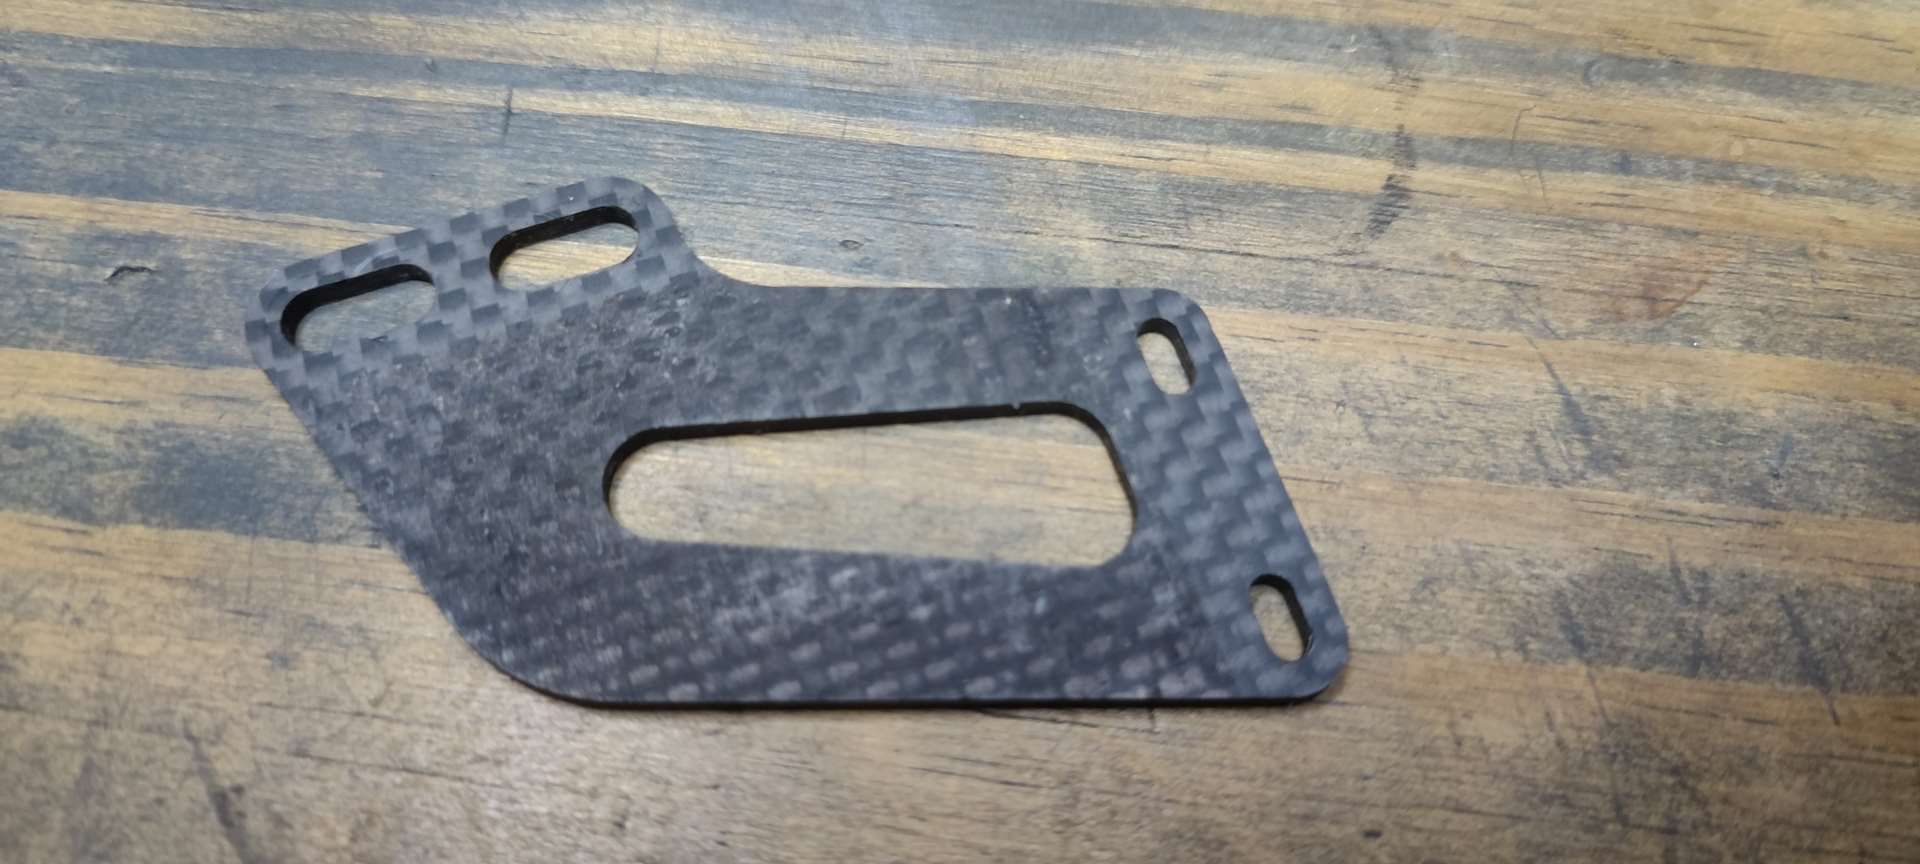
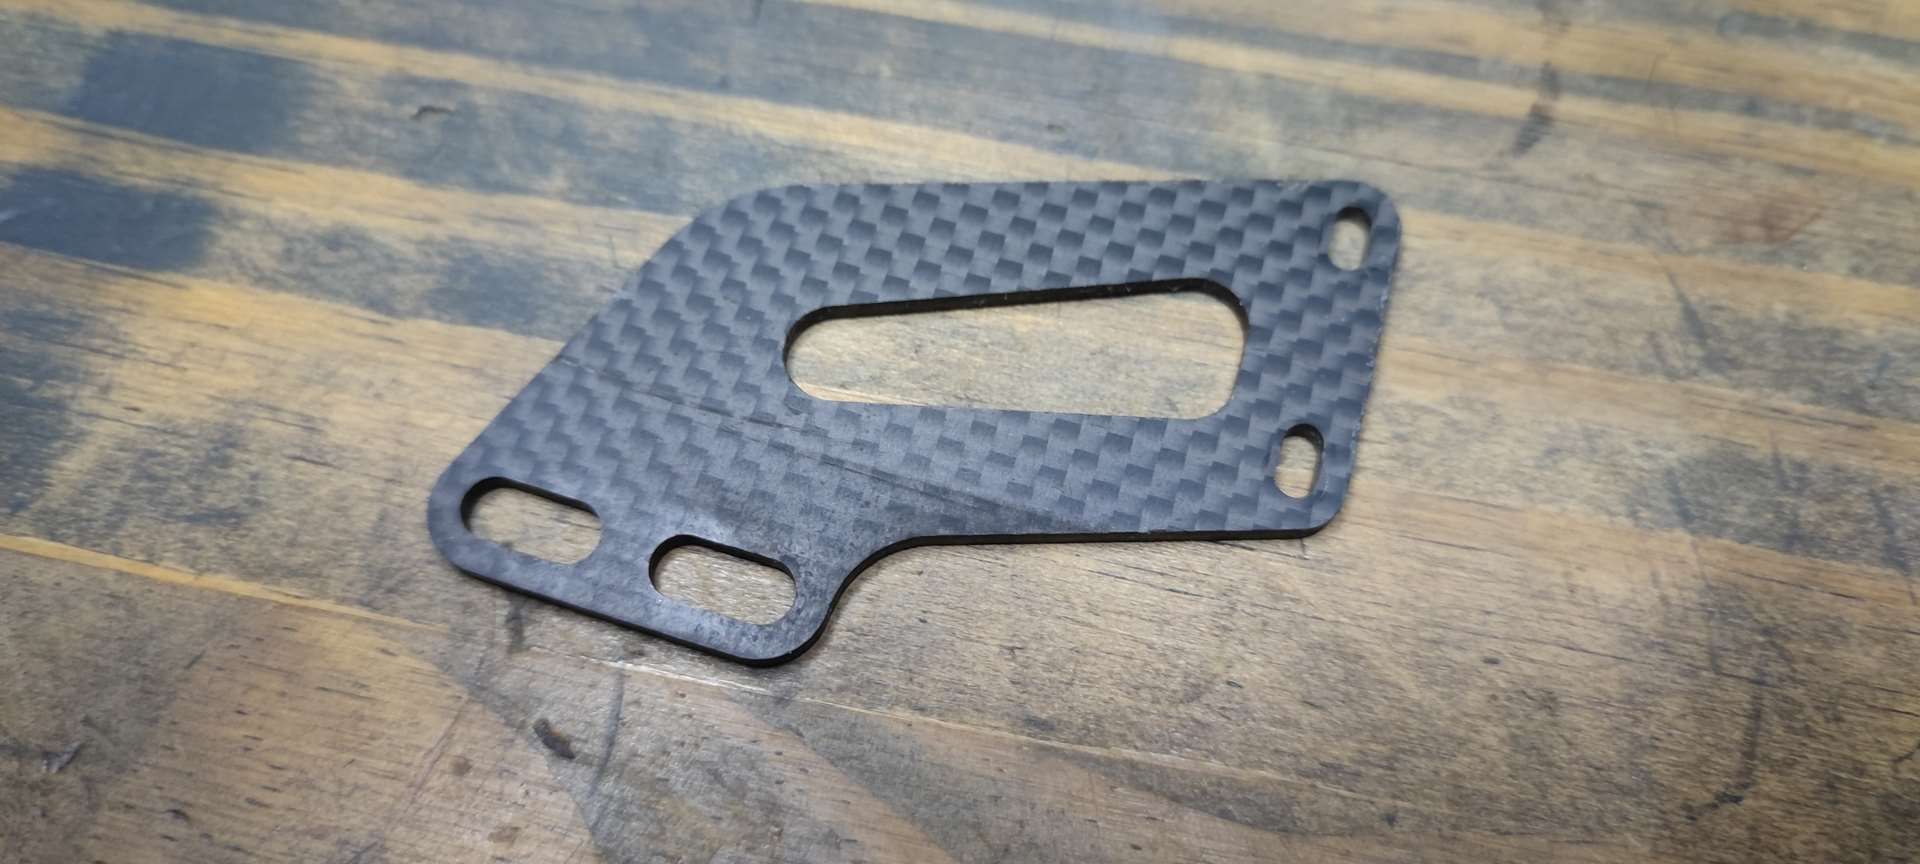
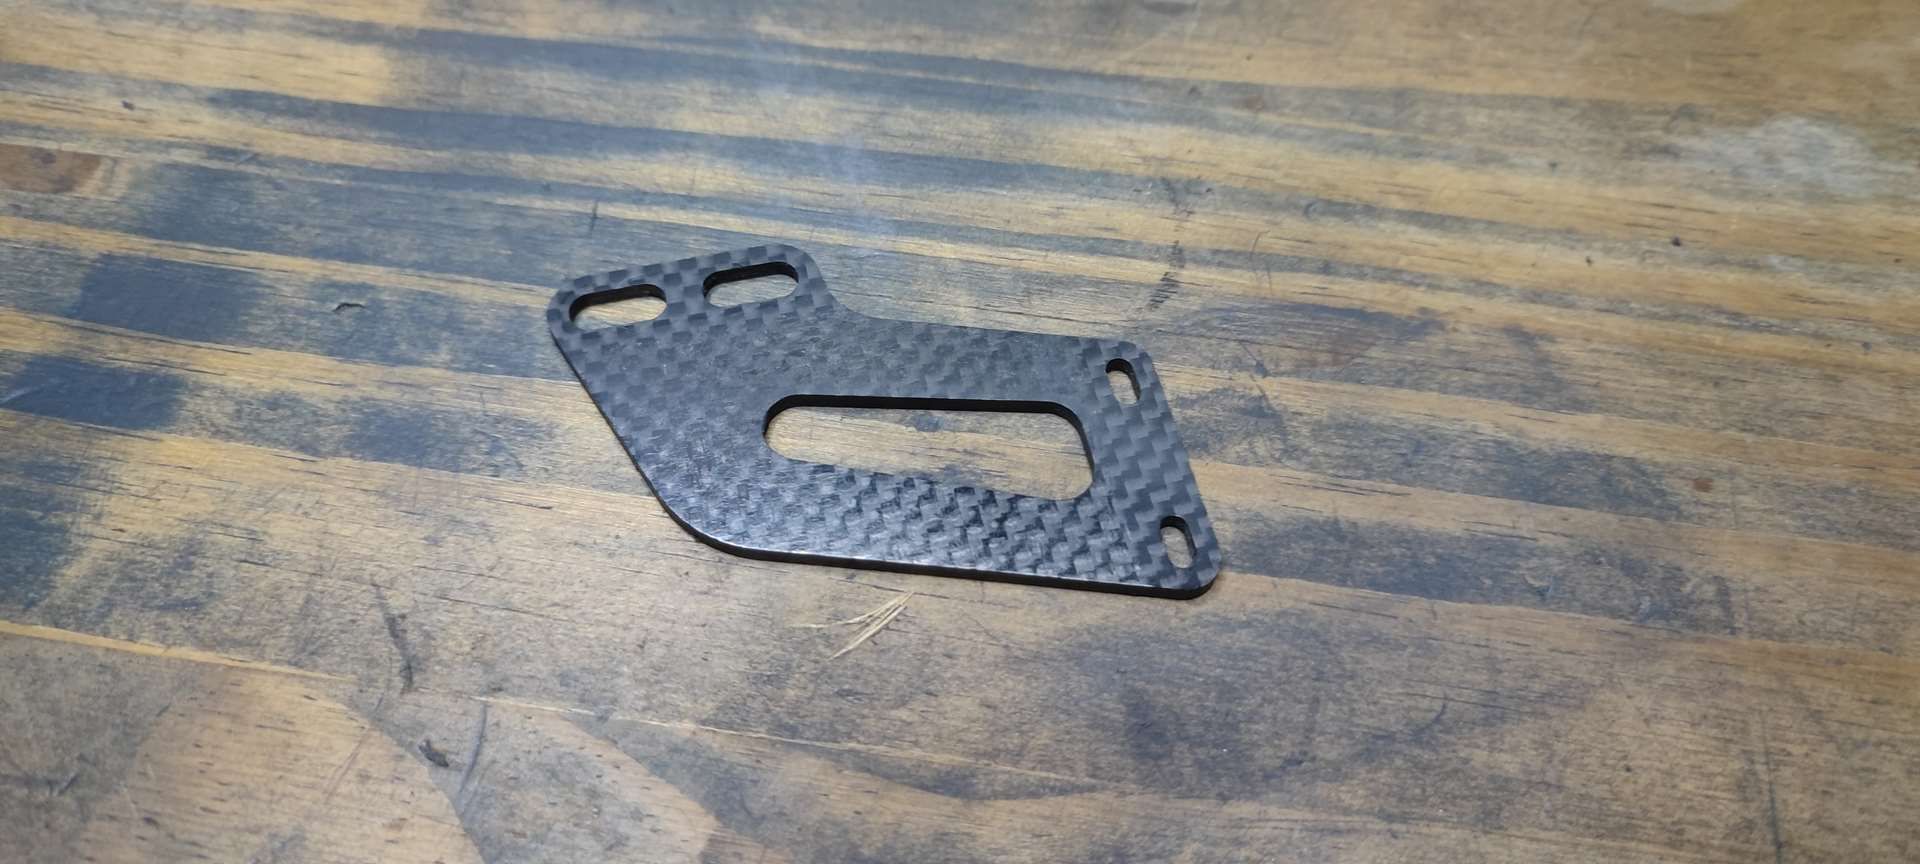
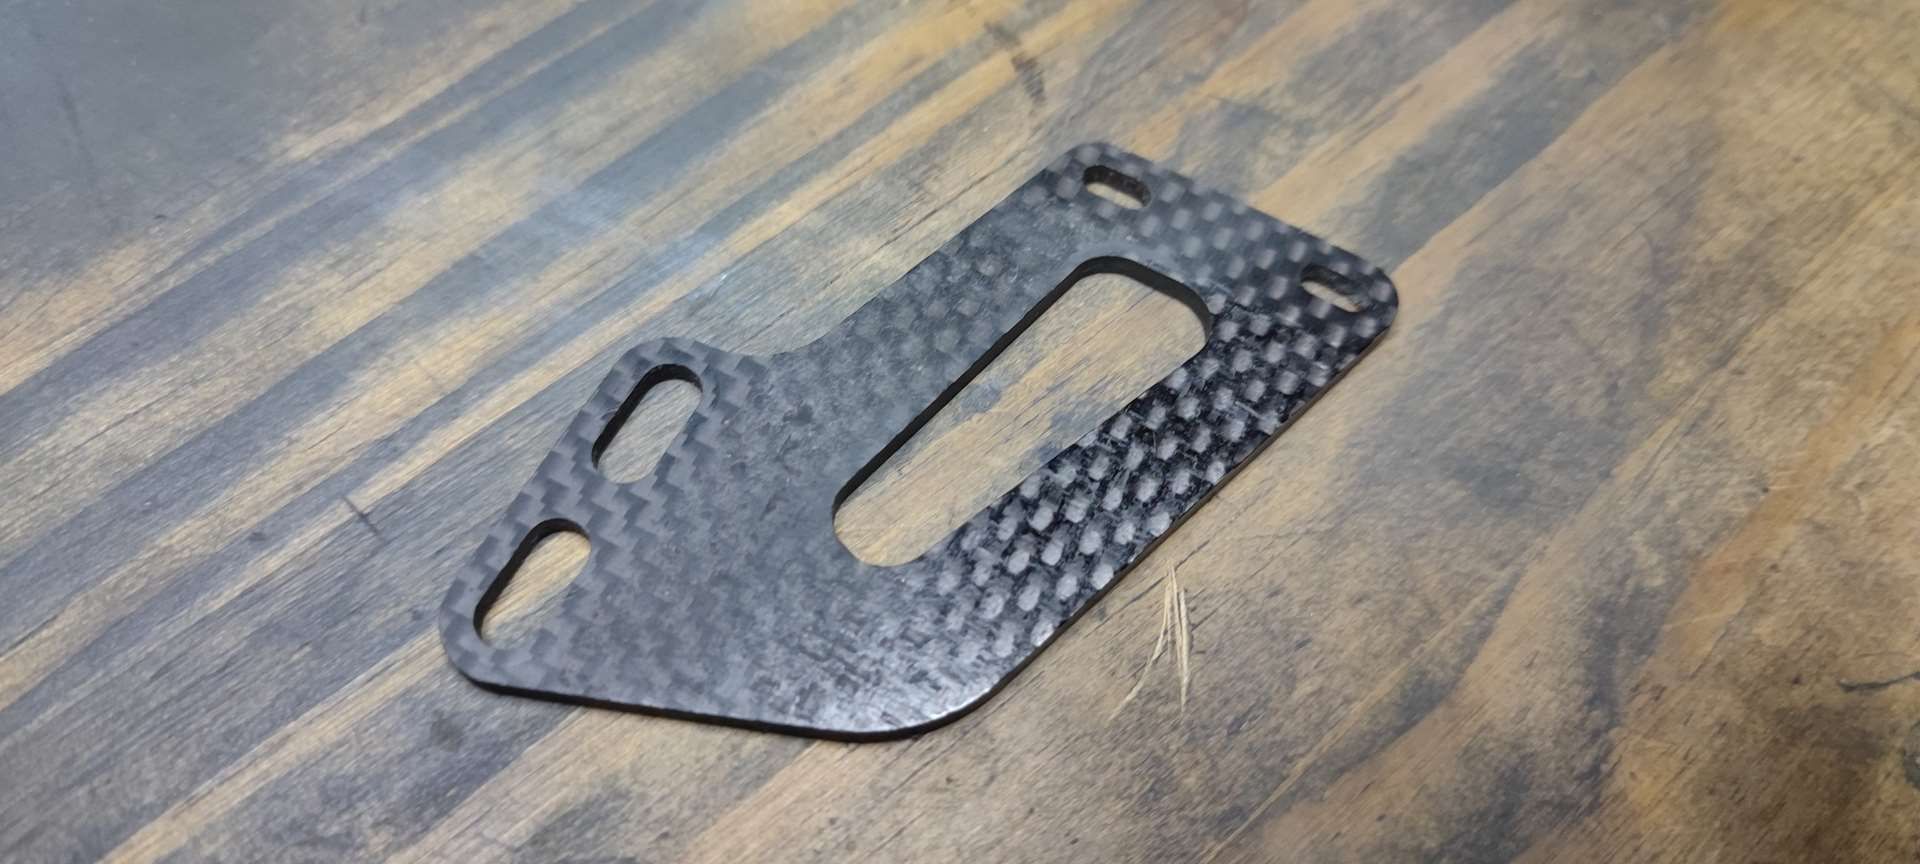
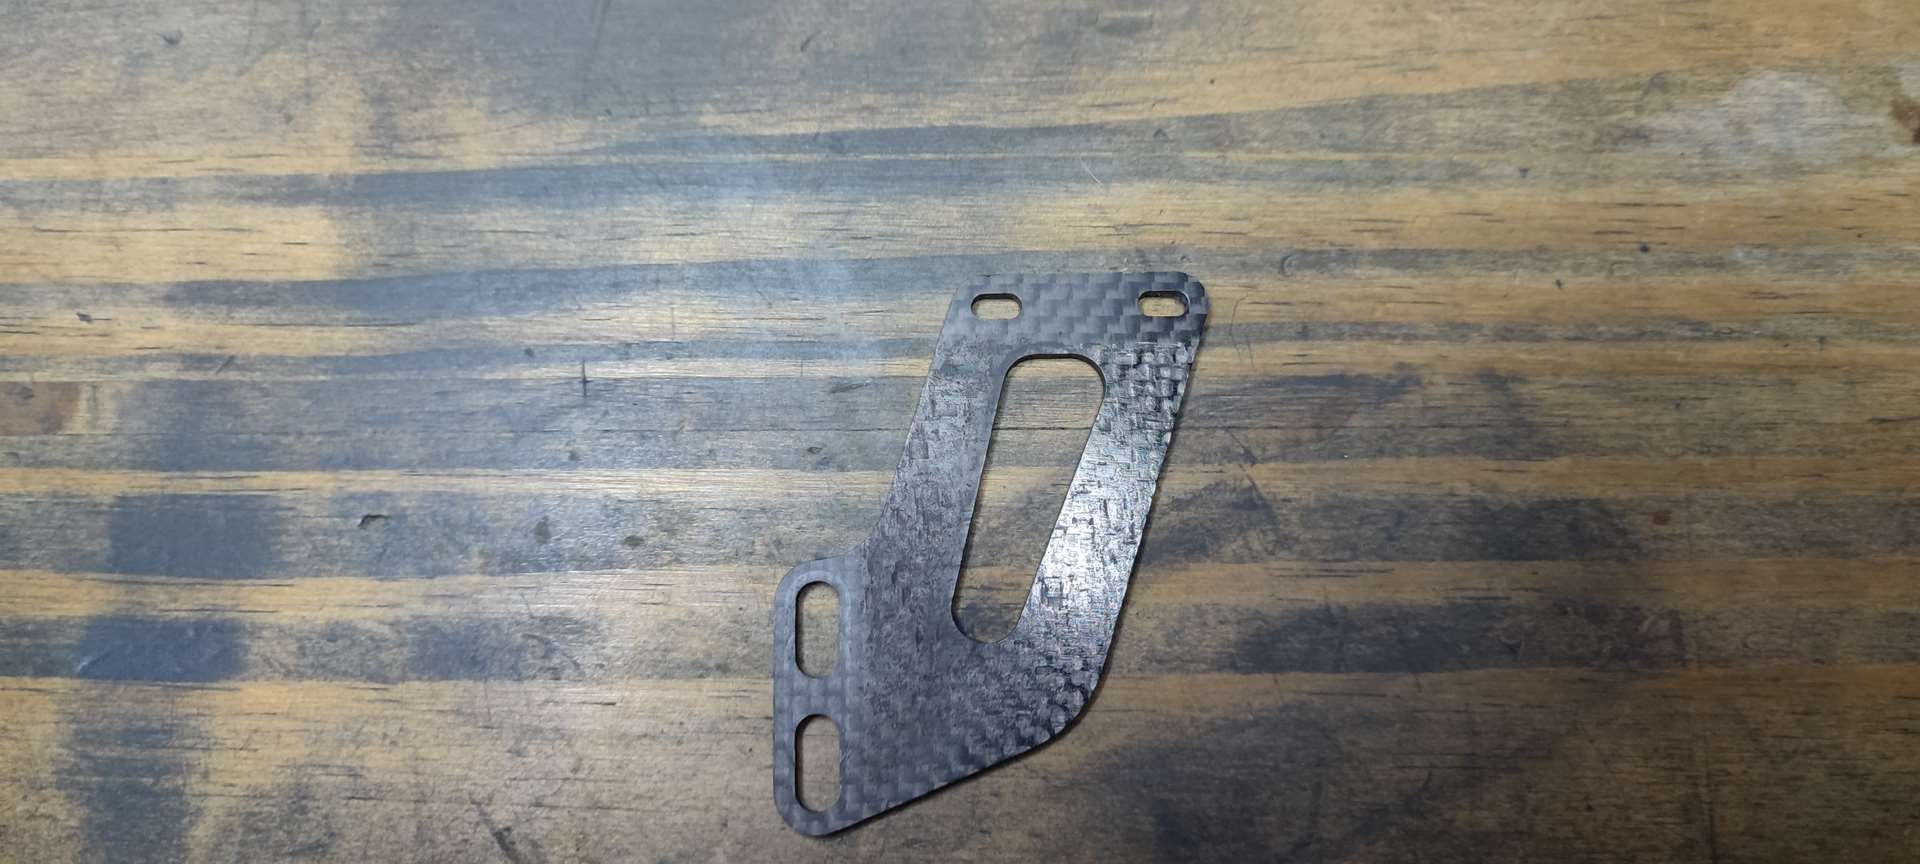
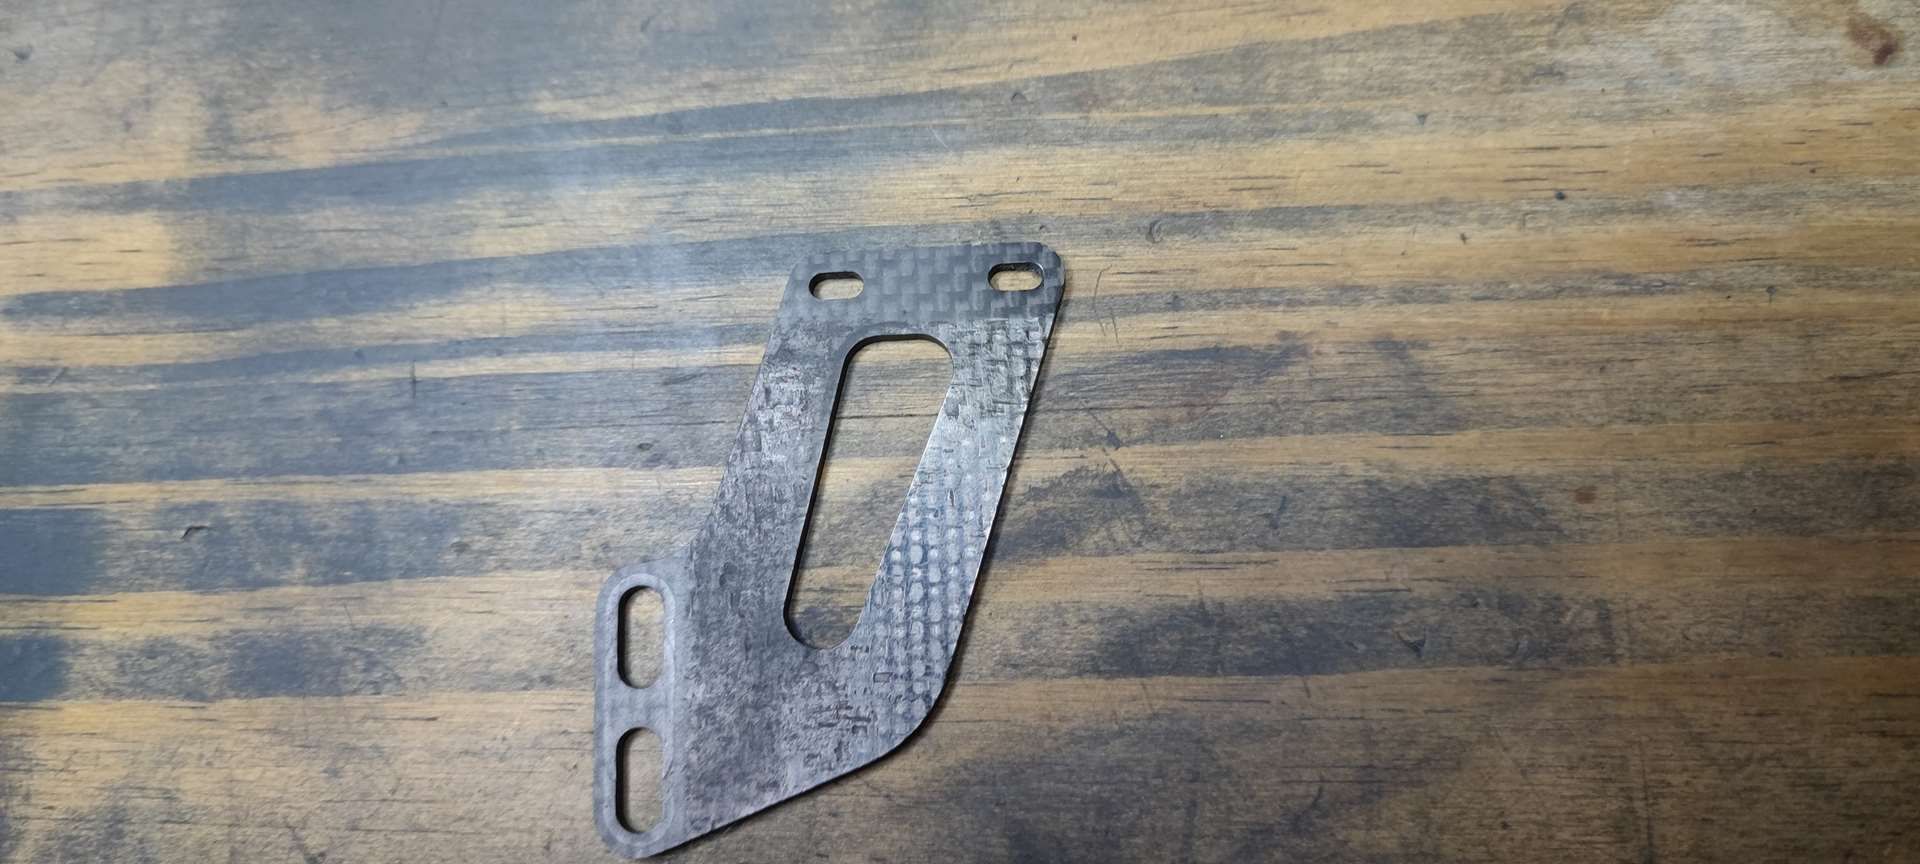
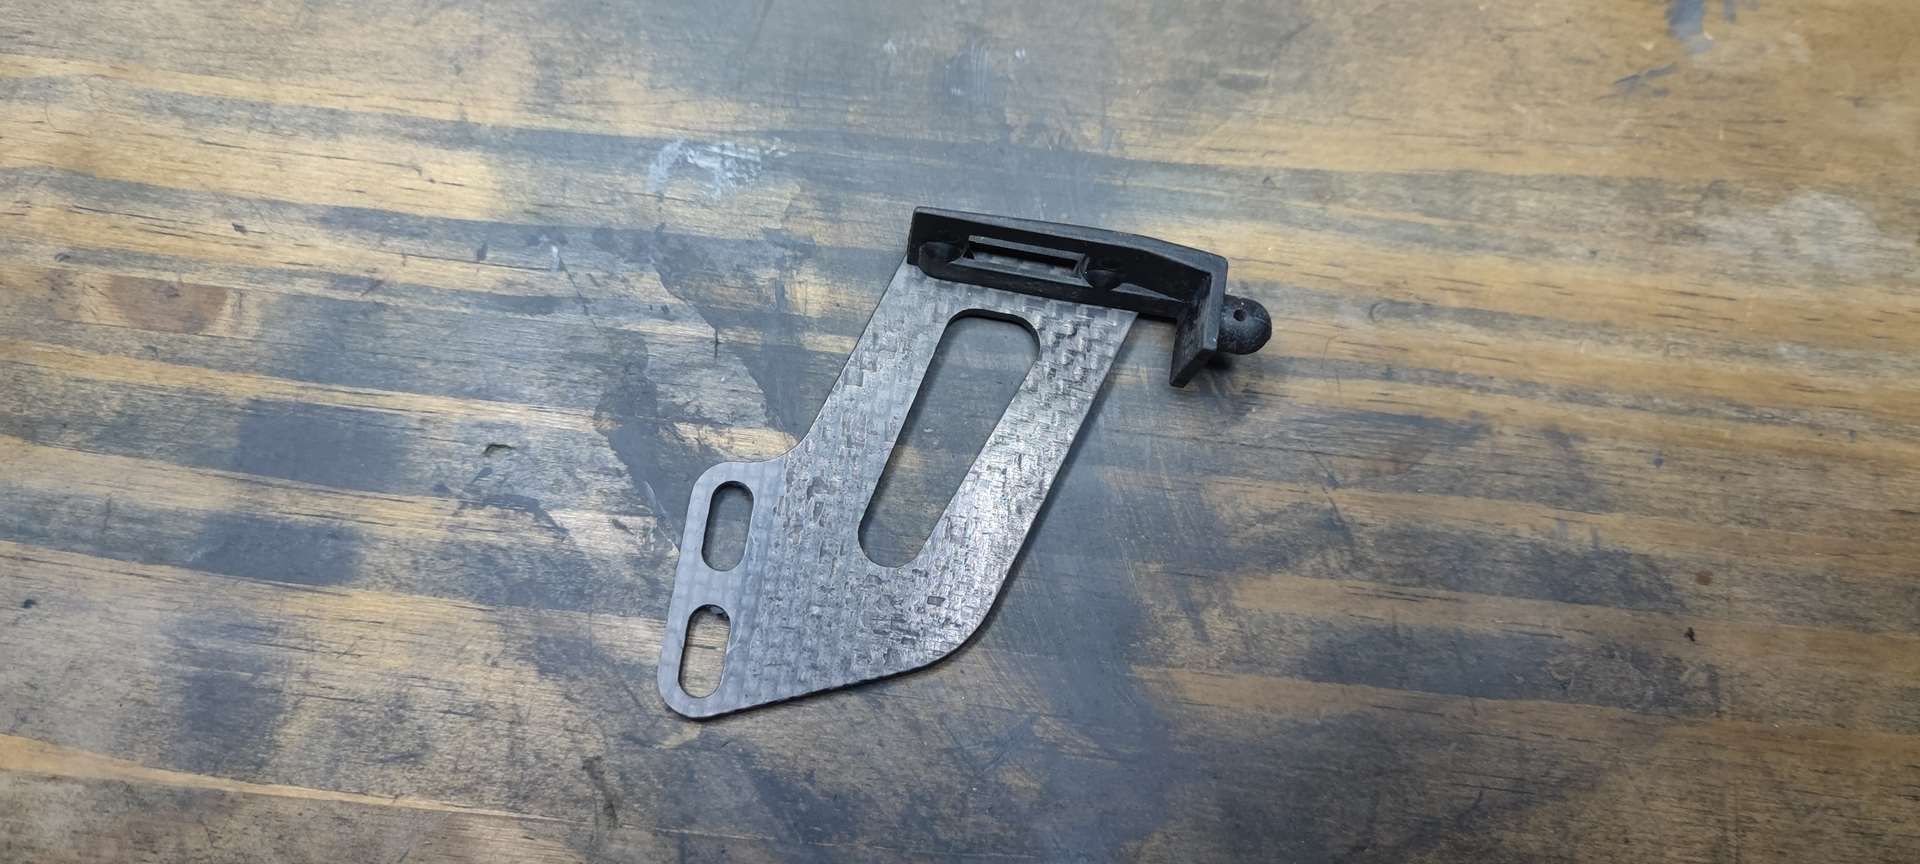
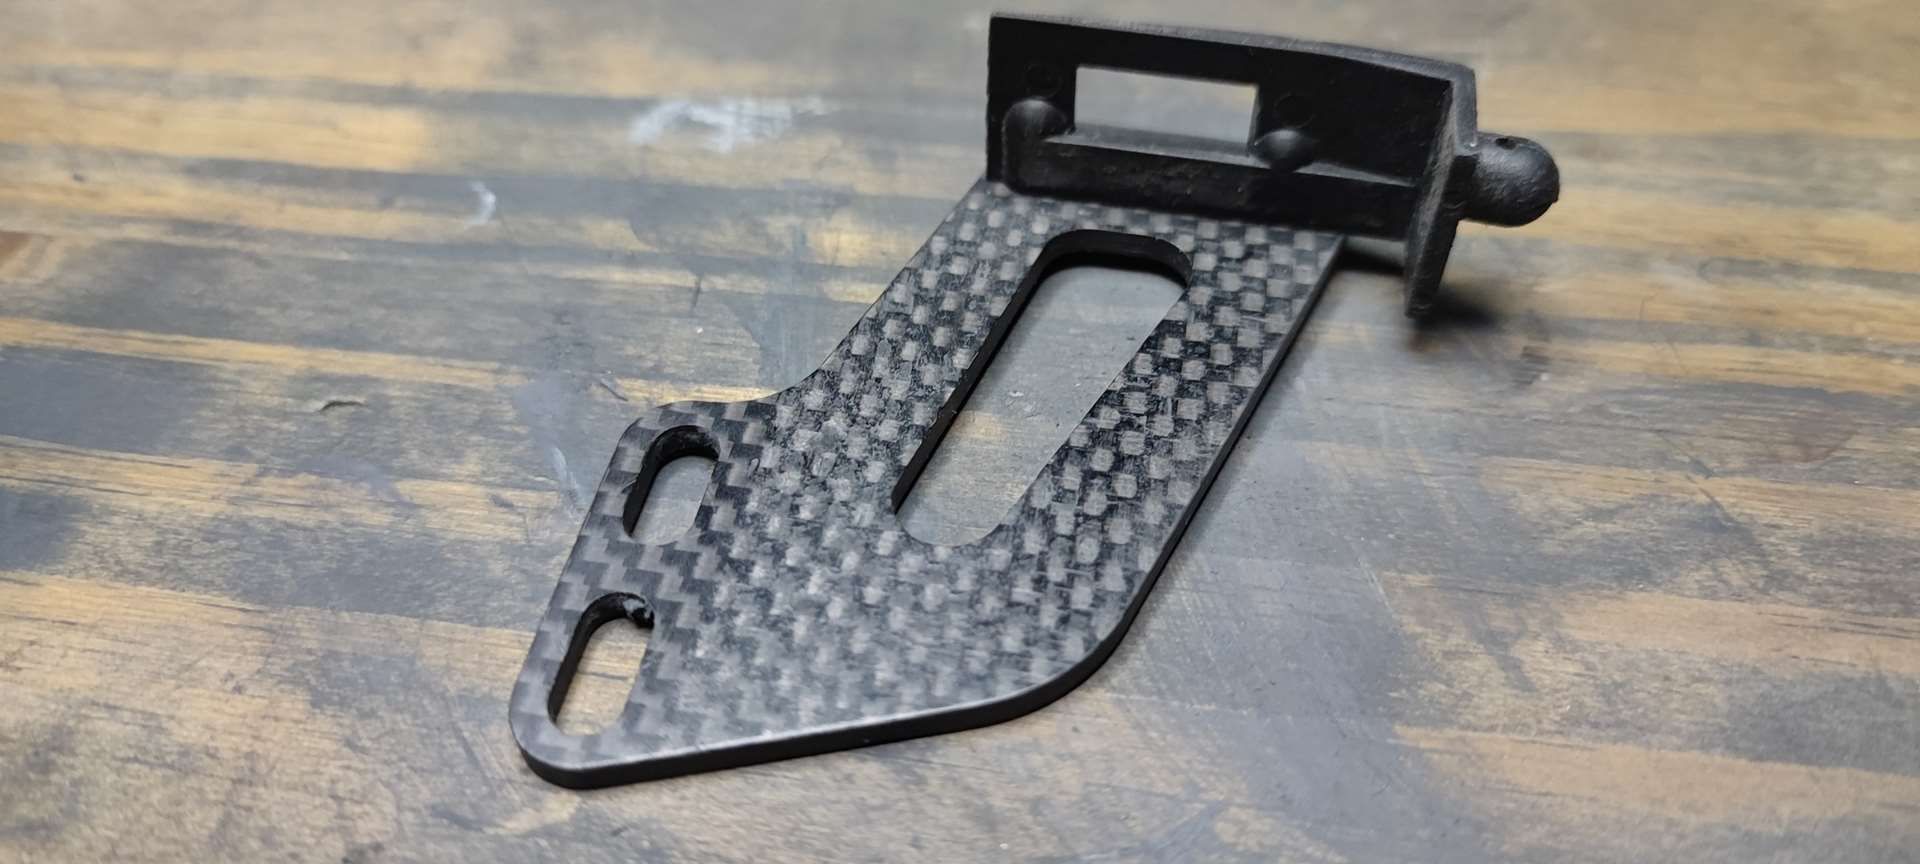
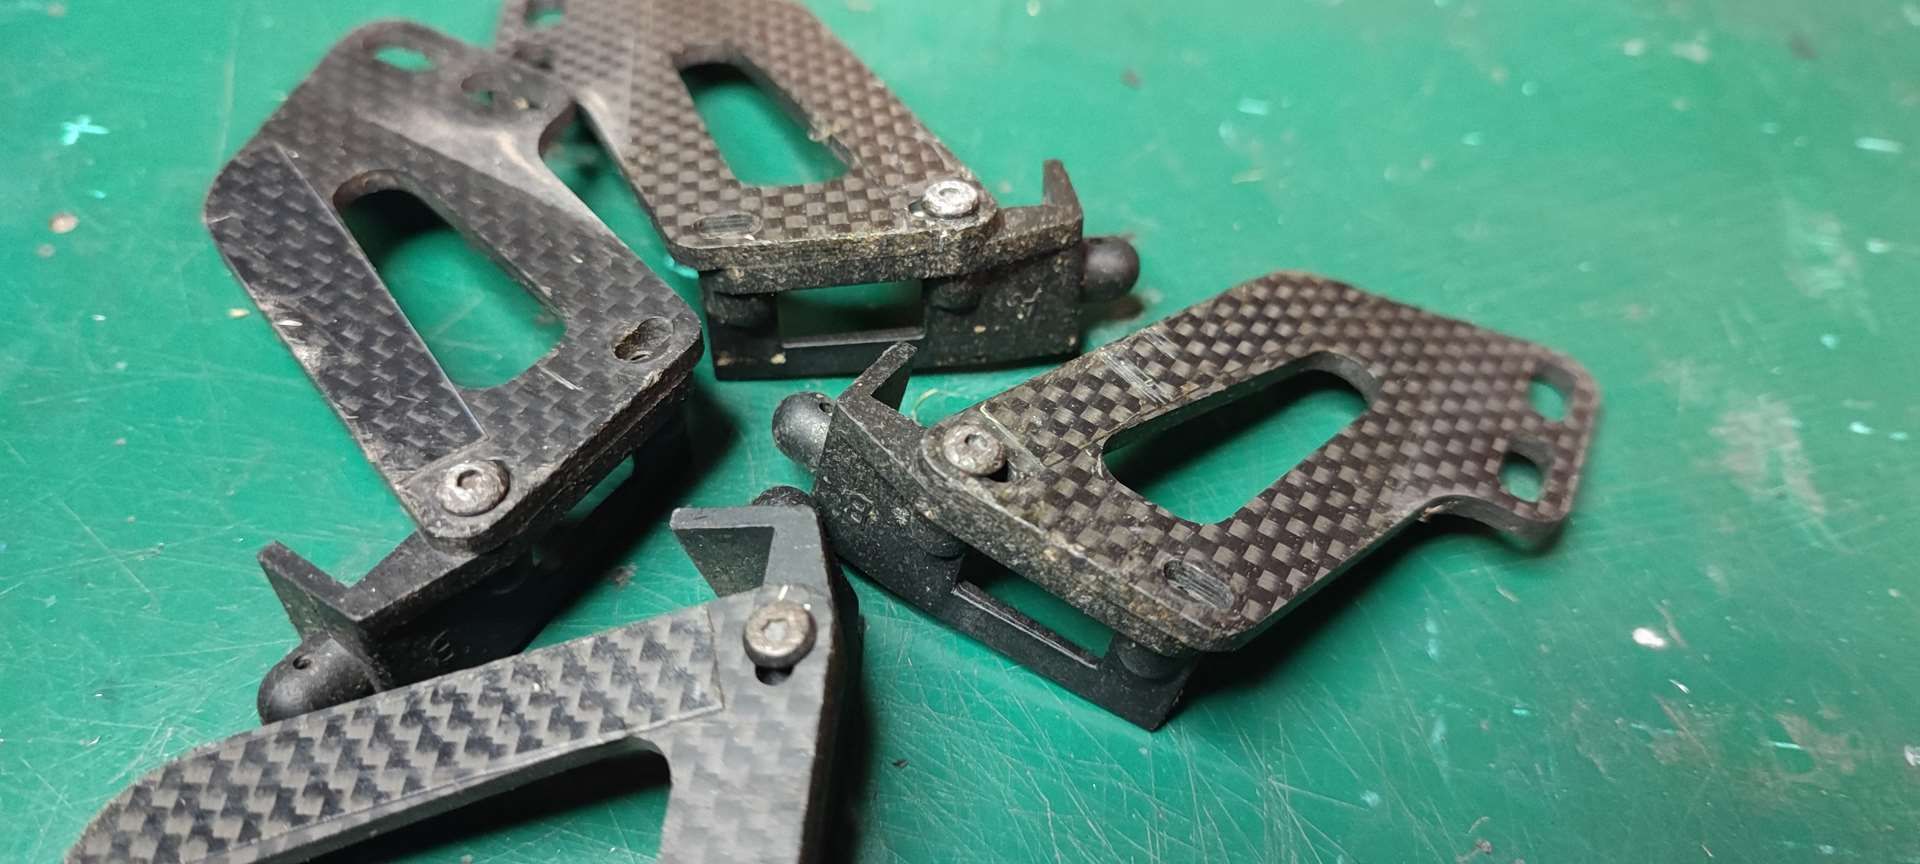
- make up en clean for the frosted appearance of certain carbon parts
- find a sheet of stickers
- entrust the body to a masterpainter


My fingers are crying ;)


jerome

Re: SERPENT 988e Taipan

Posted: Sat Oct 01, 2022 1:18 pm
by Dadio
This looks extraordinary before restoration , can't wait to see how it comes on .

Re: SERPENT 988e Taipan

Posted: Wed Oct 05, 2022 12:13 pm
by Trass
Dadio wrote: Sat Oct 01, 2022 1:18 pm This looks extraordinary before restoration , can't wait to see how it comes on .
Hi,
Yep, i wanted this chassis since his debut, and now i got this !!!
Waint and see ;)


-----------------------


The stubborn screws got a little Dremel beat on them and they came off quite easily.

M2.5 screws

Image
Image

M3 screws

Image
Image


I tried to "catch up" the carbon, but there are really strong pronounced scratches and wear on the Lipo tray, the rest is quite easily remedied with polish and lot of muscles ;)

Here are the photos of the carbon that I am trying to recover at a lower cost...

Original chassis for tests, because it is out of order, just good for a runner.

On the left as it arrived, on the right once a bit of polish has been applied. (by the way, I noticed that he had taken a scratch ;)


Image
Image
Image


Appearance is brighter

Image


Bulks location shadows have disappeared on the polished side

Image


Lipo supports which are really out of order... as pockmarked, the polish has brought them back a little bit.


Lipo side

Image
Image
Image

Track side

Image


Polished Lipo side (bottom and right in the photos)

Image
Image
Image
Image

The result with the plastic parts is ... not really good...

Image
Image
Image


Otherwise, cleaning of the aluminum parts before deanodizing... the chassis was supposed to have been cleaned on each outing... well, it was not...

Image
Image


Here are the metal / steel / aluminum parts before deanodization.

Image


Deanodization finished... but I'm afraid that the aluminum parts (light gray) deserve a second pass...


Image


Jerome

Re: SERPENT 988e Taipan

Posted: Thu Oct 13, 2022 3:58 pm
by Trass
POLISHING TIME !!!!


Image
Image
Image
Image
Image
Image
Image
Image
Image
Image
Image
Image
Image
Image
Image
Image
Image
Image
Image
Image
Image
Image
Image
Image
Image
Image
Image
Image
Image
Image
Image
Image
Image
Image
Image
Image
Image
Image
Image
Image
Image
Image
Image
Image
Image
Image
Image
Image
Image
Image
Image


Jerome

Re: SERPENT 988e Taipan

Posted: Thu Oct 13, 2022 4:32 pm
by silvertriple
you can't help with that, right? :lol:

Re: SERPENT 988e Taipan

Posted: Thu Oct 13, 2022 10:42 pm
by RC10th
Introducing a new hit motion picture - "The Polishing"

Re: SERPENT 988e Taipan

Posted: Fri Oct 14, 2022 1:46 am
by Dadio
It's like playing spot the difference . :D

Re: SERPENT 988e Taipan

Posted: Sun Oct 16, 2022 4:27 am
by Trass
silvertriple wrote: Thu Oct 13, 2022 4:32 pm you can't help with that, right? :lol:
I don't undertand. sorry.


RC10th wrote: Thu Oct 13, 2022 10:42 pm Introducing a new hit motion picture - "The Polishing"
Yep, that was the idea for those pics ;)


Dadio wrote: Fri Oct 14, 2022 1:46 am It's like playing spot the difference . :D
Of course, funny game ;)


----------------------


New TITLE : "THE REBUILD" ;)

I follow the manual for assembly:


Step 1: rear pod

nothing special ...

Image
Image
Image


Step 2: rear axle support on rear pod:

Screws in M4 a bit too long, filing and adjustment, I put 3 washers instead of the 4 recommended

Image
Image
Image


Step 3: Drive pulley on rear axle forward

Fitting a new pulley and the brand new aluminum axle

Image
Image
Image
Image
Image
Image


Step 4: fitting the quick release for the left rear wheel:

It hurts your fingers...but it's beautiful!!!

Image
Image
Image


Step 5: mounting the rear axle on the pod:

Whaouuuuuuu!!!

Image


Step 6.1: fitting the drive gear on the rear axle:

Image


Step 6.2: assembly of the right part of the axle and the quick release of the right rear wheel

AND There!!!!!!! BIG MISTAKE, I realize that I forgot a part during the deanodization !!!!!!!!

Image

In short, I do with for now:

Image
Image

This black piece is fine, isn't it?!?


Step 7.1 and 7.2: fitting the transmission return pulleys

Easy as well, with new belts.

Image
Image
Image
Image


Step 8.1 and 8.2: assembly of the front lower axle:

It's nice, the balls would have to be changed... but they cost a kidney!!!!

Image
Image
Image
Image
Image
Image
Image
Image
Image


Stage 11.1 and 11.2 front transmission:

(steps 9 and 10 will come an other day, I really wanted to mount the transmission before)


Image
Image
Image
Image
Image
Image


Always clearly visible this fuckin black washer !!!!

But it's beautiful!!! (except this black washer i forgot to de-anodize ;) )


Jerome

Re: SERPENT 988e Taipan

Posted: Sun Oct 16, 2022 6:02 am
by silvertriple
Trass wrote: Sun Oct 16, 2022 4:27 am
silvertriple wrote: Thu Oct 13, 2022 4:32 pm you can't help with that, right? :lol:
I don't undertand. sorry.
en français dans le texte "Tu peux pas t'en empêcher?" :-D

Re: SERPENT 988e Taipan

Posted: Sun Oct 16, 2022 6:54 am
by Trass
silvertriple wrote: Sun Oct 16, 2022 6:02 am
Trass wrote: Sun Oct 16, 2022 4:27 am
silvertriple wrote: Thu Oct 13, 2022 4:32 pm you can't help with that, right? :lol:
I don't undertand. sorry.
en français dans le texte "Tu peux pas t'en empêcher?" :-D
Yes !!! anodising is so different inbetween each part

Jerome

Re: SERPENT 988e Taipan

Posted: Sun Oct 16, 2022 1:43 pm
by Lavigna
This is an incredible build and such a cool looking car. I love all the polished aluminum pieces. I know how much work goes into getting these results. Thanks for sharing.

Re: SERPENT 988e Taipan

Posted: Thu Oct 20, 2022 3:05 pm
by Trass
Lavigna wrote: Sun Oct 16, 2022 1:43 pm This is an incredible build and such a cool looking car. I love all the polished aluminum pieces. I know how much work goes into getting these results. Thanks for sharing.
Many thank you!

Hope you will enjoy the result.


---------------------

Good evening,

more rebuild:


Step 12 (12.1 to 12.3): assembly of the front upper arms post:

You can now appreciate the change from the domed head screw to a countersunk screw on the servo saver.


Image
Image
Image
Image
Image
Image
Image
Image


Step 13 (13.1 to 13.3): fitting the front knuckle :


Image
Image
Image
Image
Image
Image
Image


Step 14 and 15: Fitting the knuckle and steering tie rods:

NO PICS...


Step 16: assembly of the back plate of the rear pod:

The unanodised black washer is still there!!! ;)

Image
Image


Step 17: assembly of the rear body support: this will be for later ;)


j

Re: SERPENT 988e Taipan

Posted: Sun Oct 23, 2022 2:42 pm
by Trass
Next step:

Step 18: rear body support bracket

Always so beautiful this black washer...

Image
Image


Step 19: later.


Step 20 and 21: assembly of the front "shock absorbers":

I am missing parts to finalize, these are on order.

Image
Image
Image


Step 22: assembly of the front bumper:

Not on the agenda because the body of the SHADOW does not allow the mounting of this type of bumper


Step 23: 23.1 - 23.2 - 23.3: assembly of the rear pod reinforcement and the belt tensioner:

Quite easy, but a part of the tensioner will have to be touched up because it's not pretty

Image


Step 24: 24.1 and 24.2: assembly of the steering servo plate:

Image
Image


Step 25: 25.1 and 25.2: assembly of the ESC plate and rear pod tie rod (25.1 will be later)

Image
Image


Step 26: mounting the battery holders:

A beautiful shit...

Image
Image
Image
Image


End of day work:

Mounting the wheels, the servo and quick adjustment of the body

- Wheel assembly: OK
- mounting the servo: ok blah ...
- Body adjustment: it will do


So once the servo is installed, big hassle because I hadn't seen that the servo plate was not symmetrical to within 1 mm (nothing in the manual mentions it), so there is a point in being able to install the servo so that it does not touch the belt... So, disassembly and reassembly... By the way, I install lots of aluminum extra "studs" that I have, it's look like jail ;)

Problem once the servo is mounted and especially its lever, the ball joint of the steering rod touches the battery pack, which is to say that it sucks!!!! So I need a 4 to 5 mm shorter lever to have a good margin.

Another problem with the batteries which touches the belt tensioner (when the chassis is in torsion), Bravo Serpent !!! So I played a little on the different possible settings for the positioning of the batteries and it works, almost!

In short, there are also plenty of holes on the chassis to which nothing can be associated, including in the brand options... let's understand...

A washer has also been added to the tie rod between the servo plate and the rear pod, now it's at the same level.

There are two holes on the rear pod plate which coincide with openings on and the chassis and this could limit torsion, see it harden, I tested the aluminum columns, but the one on the belt side touches the belt... there will be filing ;)

On the photos of the belt tensioner you can clearly see the "original" parts that protrude from each side of the tensioner, it's not professional at all. :mod:

The body takes place perfectly, i will have to think about a front bumper and tires adapted for more realistic


Pictures :

Image
Image
Image
Image
Image
Image
Image
Image
Image
Image
Image
Image
Image
Image
Image
Image
Image
Image
Image
Image
Image
Image
Image
Image
Image
Image
Image
Image
Image
Image
Image
Image
Image
Image
Image
Image
Image
Image


Jerome

Re: SERPENT 988e Taipan

Posted: Wed Oct 26, 2022 2:55 pm
by Trass
Little work with a scrap to test the front bumper to matchbetter with the body.

Only regret... not having done this work with a compass... so it's not 100% symmetrical

Image
Image
Image
Image
Image
Image
Image
Image
Image
Image


Jerome

Re: SERPENT 988e Taipan

Posted: Sun Oct 30, 2022 4:17 am
by Trass
Tires test :

Image
Image
Image
Image
Image
Image


Need rear tires with a bigger diameter, if you have an idea.


Jérome