Page 11 of 23

Re: Project: LS1 Chevette

Posted: Tue Sep 20, 2016 10:14 am
by romulus22
PlastiZapCA+ wrote:The stance on that car is perfect, looks mean!

Thanks man, I think with a full tank of gas the rear will drop slightly and I'll be happy with it.

Re: Project: LS1 Chevette

Posted: Mon Oct 10, 2016 6:29 pm
by SLIDER
Keep the updates coming! I love this build!

Re: Project: LS1 Chevette

Posted: Tue Oct 11, 2016 3:08 am
by THUNDERSTRIKE1
romulus22 wrote:
PlastiZapCA+ wrote:The stance on that car is perfect, looks mean!

Thanks man, I think with a full tank of gas the rear will drop slightly and I'll be happy with it.
First sign of old age is when your rear drops slightly! :lol: 8)

Re: Project: LS1 Chevette

Posted: Tue Oct 11, 2016 5:47 am
by RC10th
A full tank of juice is slow :mrgreen:

Re: Project: LS1 Chevette

Posted: Fri Oct 14, 2016 6:52 pm
by romulus22
Small update: new driveshaft arrived today. And searching out someone to do the wiring.

Here's the stock Camaro shaft next to the much stronger chevette shaft.

Image

Re: Project: LS1 Chevette

Posted: Fri Oct 14, 2016 6:59 pm
by romulus22
RC10th wrote:A full tank of juice is slow :mrgreen:

Ehh, rear ended ballast weight for better 60' times lol

Re: Project: LS1 Chevette

Posted: Sat Oct 22, 2016 8:57 pm
by romulus22
:shock:


Image

Re: Project: LS1 Chevette

Posted: Sat Oct 22, 2016 10:14 pm
by Diamond Dave
Ugh, not what I would want to be doing. Good luck with that.

Probably much more straight forward for an older vehicle, but still...

Re: Project: LS1 Chevette

Posted: Sun Oct 23, 2016 9:04 am
by RC10th
Wiring isn't too bad if you break it down in sections, grab a wiring diagram, a multi meter, a cup of coffee and go to town. Trying to understand the circuits is a big help instead of just hooking stuff up hoping it works.

The thing I found the most useful when doing the wiring on my car was having a spare loom outside the car on the bench to test and trace wires. Made life much easier following wiring that was in the car.

What happened to getting someone else to do it? :lol:

Re: Project: LS1 Chevette

Posted: Sun Oct 23, 2016 10:26 am
by DaveM
I like to lay in bed and study the wiring diagram,

It never makes sense to me at first and I think man this is s**t, but after awhile I start to see whats

going on.

When you pull a loom out you need to tape every connection with masking tape and the description.

Get it in the car stock and working then make your changes for your different motor.

Another way is to go to a wrecker and get a good one out of another car, making sure to masking tape

and mark every connection.

I bought a gsxr750 once that had been raced, the stock loom came in a box, it was an octopus, a bloody

huge octopus.

I thought this is never going to happen!

Nothing was marked, plus it was bloody huge and ugly.

I studied the wiring diagram and discovered the Japs like to switch, both positive and negative

on and off at the the switches.

There just seemed to be double of everything!

I ended up with about quarter of the stock loom.

we didn't need blinkers back then, that helped a lot.

Sounds hard but you take power from the fuse box, each fuse powers one thing.

One fuse to the headlight switch to the headlight and taillight.

In the switch it splits, so 1 wire, low beam the other wire high beam.

From one taillight you could run a wire to power the number plate light.

It is actually very logical.

Next the horn

fuse, straight to the horn, other side of the horn back to switch, switch to earth.

depends on your switch you may have the earth going straight to the horn and switch the positive on and

off.

Continue to wire each thing separately.

Before you know it everything is wired!

Of coarse there is a lot of taping to be done at the end.

Good luck!

Cheers, Dave. :)

Re: Project: LS1 Chevette

Posted: Sun Oct 23, 2016 10:58 am
by romulus22
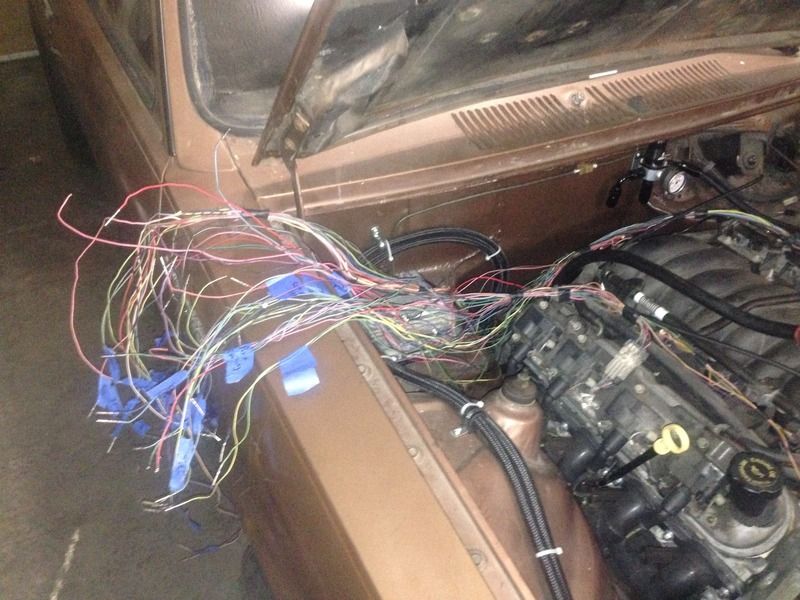
Well I can't say I still wouldn't rather someone else be doing this. But I made a post on an LS forum looking for help. A local guy is helping me through text every step of the way. So far I have separated the injector, coil portion of the harness and have it in place. Along with 4 other sensors in place. We've also pulled some of the extra stuff I won't be using like AC, egr, and extra 02 sensors from the main harness. As we go it's making sense but it's still all very complicated to me. Just glad I have someone willing to coach me through it.

Image

Re: Project: LS1 Chevette

Posted: Sun Oct 23, 2016 6:10 pm
by DaveM
Nice work!

I can see you have everything laid out nicely.

Definitely a bonus having someone to guide you.

When I ask my friend to help me with something I always try to do as much as I can myself.

By the time he turns up, most times because he has my back, I gain confidence and end up doing it all

myself.

The bonus is I get to learn new skills.

Other times by the time he turns up there will only be something small that I need help with.

It makes it easy for him, I always say when I ask for help I don't expect you to do the whole job.

After that we can start drinking some of my home brew stout!

Cheers, Dave. :)

Re: Project: LS1 Chevette

Posted: Sun Oct 23, 2016 8:35 pm
by romulus22
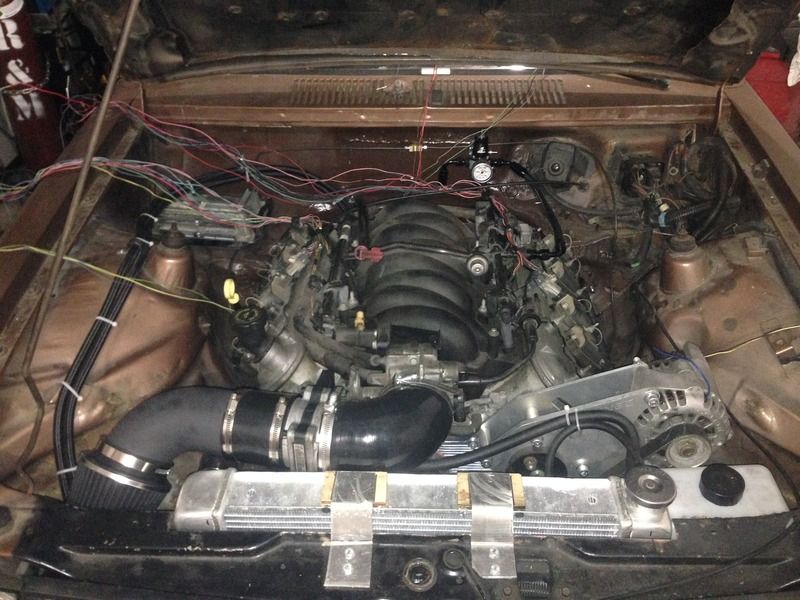
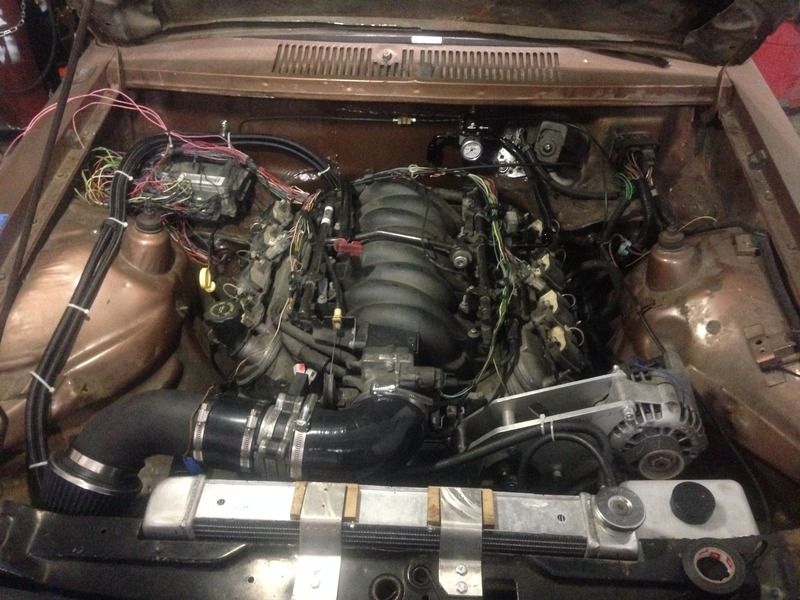
Well another day of wiring and a huge part of the wiring job now done. The basic part of the engine harness is now done. Once I know the car runs it will be shortened to the correct length and taped up.

There's no way I would have ever considered doing this on my own. And no way I could have. I would have so much rather just dropped my car off and paid someone to wire it. I have no problems paying for something I don't want to do. But this guy has done so much and asked for nothing. I've tried many times to paying him to do it. There's still a little bit left to do. But it's looking like I may have this on the road in the next couple-few weeks.

Here's another shot of the almost finished harness

Image


How it looked a couple hours ago.

Image

Re: Project: LS1 Chevette

Posted: Mon Oct 24, 2016 12:52 am
by DaveM
Wow,

Well done,

Good work!

8)

Re: Project: LS1 Chevette

Posted: Mon Oct 24, 2016 9:00 am
by jwscab
are you reprogramming the PCM before you fire it up?

I usually try and get as much of the donor harness as possible, and use all of the sensors, and fuse blocks. Even more so if there is not much 'upgrades' going on. I hate spliced wires but once I get to the fuse block, it's all 12v or IGN or GND.

The only reason I bring it up is that for sure you will need to have some error codes disabled with removing some of the feedback. It can be quite intrusive, ie, without certain functions, the ECM goes into a limp home mode reducing timing and fueling.

I can answer lots of questions regarding the general operation. I don't know the full function mapping of the LS PCM but it's not too far off from the older TPI and LT1 functionality.