Page 4 of 6
Re: It's starting now (Apr2020)... CWF (tub) and Shiny RC10
Posted: Fri May 01, 2020 10:33 am
by Headling
Best build I have seen on here so far, nice work!
Re: It's starting now (Apr2020)... CWF (tub) and Shiny RC10
Posted: Fri May 01, 2020 12:02 pm
by XLR8
I agree, what a magnificent build!
As for the FL chassis not fitting the bulkhead, was this a common problem?
Perhaps the carbon is laminated over a production AE aluminum tub and this results in some extra space?
Anyway, you've resolved the problem so all is good.
Re: It's starting now (Apr2020)... CWF (tub) and Shiny RC10
Posted: Sat May 02, 2020 4:46 am
by Lonestar
XLR8 wrote: ↑Fri May 01, 2020 12:02 pm
Perhaps the carbon is laminated over a production AE aluminum tub and this results in some extra space?
Thanks for the suggestion. This is also what first came to my mind... I checked, and it doesn't square, the rest of the chassis is exactly the right dimensions. so it's not like they formed their chassis over standard one. I'm not sure exactly what they did on that very part, maybe there was an adapter parts sold with it that was supposed to be used, I don't know...
Re: It's starting now (Apr2020)... CWF (tub) and Shiny RC10
Posted: Wed May 06, 2020 1:05 pm
by Jeep-Power
wow
I am lucky if I have enough time and parts just to keep mine running
Feeling like I need to delete all my posts, hang my head, and go home.
Seriously though - The attention to detail is amazing. Beautiful

Re: It's starting now (Apr2020)... CWF (tub) and Shiny RC10
Posted: Wed May 06, 2020 3:25 pm
by Lonestar
Jeep-Power wrote: ↑Wed May 06, 2020 1:05 pm
I am lucky if I have enough time and parts just to keep mine running
Feeling like I need to delete all my posts, hang my head, and go home.
Seriously though - The attention to detail is amazing. Beautiful
A lot of us have been in this for MANY years, so we could actually benefit from times when there wasn't so much interest in building vintage cars... it helps

There's many many ways to appreciate the RC10 - keeping one in running condition is a lot of work too, so congrats for keeping yours on the dirt!
Thanks for the compliments
Re: It's starting now (Apr2020)... CWF (tub) and Shiny RC10
Posted: Mon May 11, 2020 9:41 am
by Lonestar
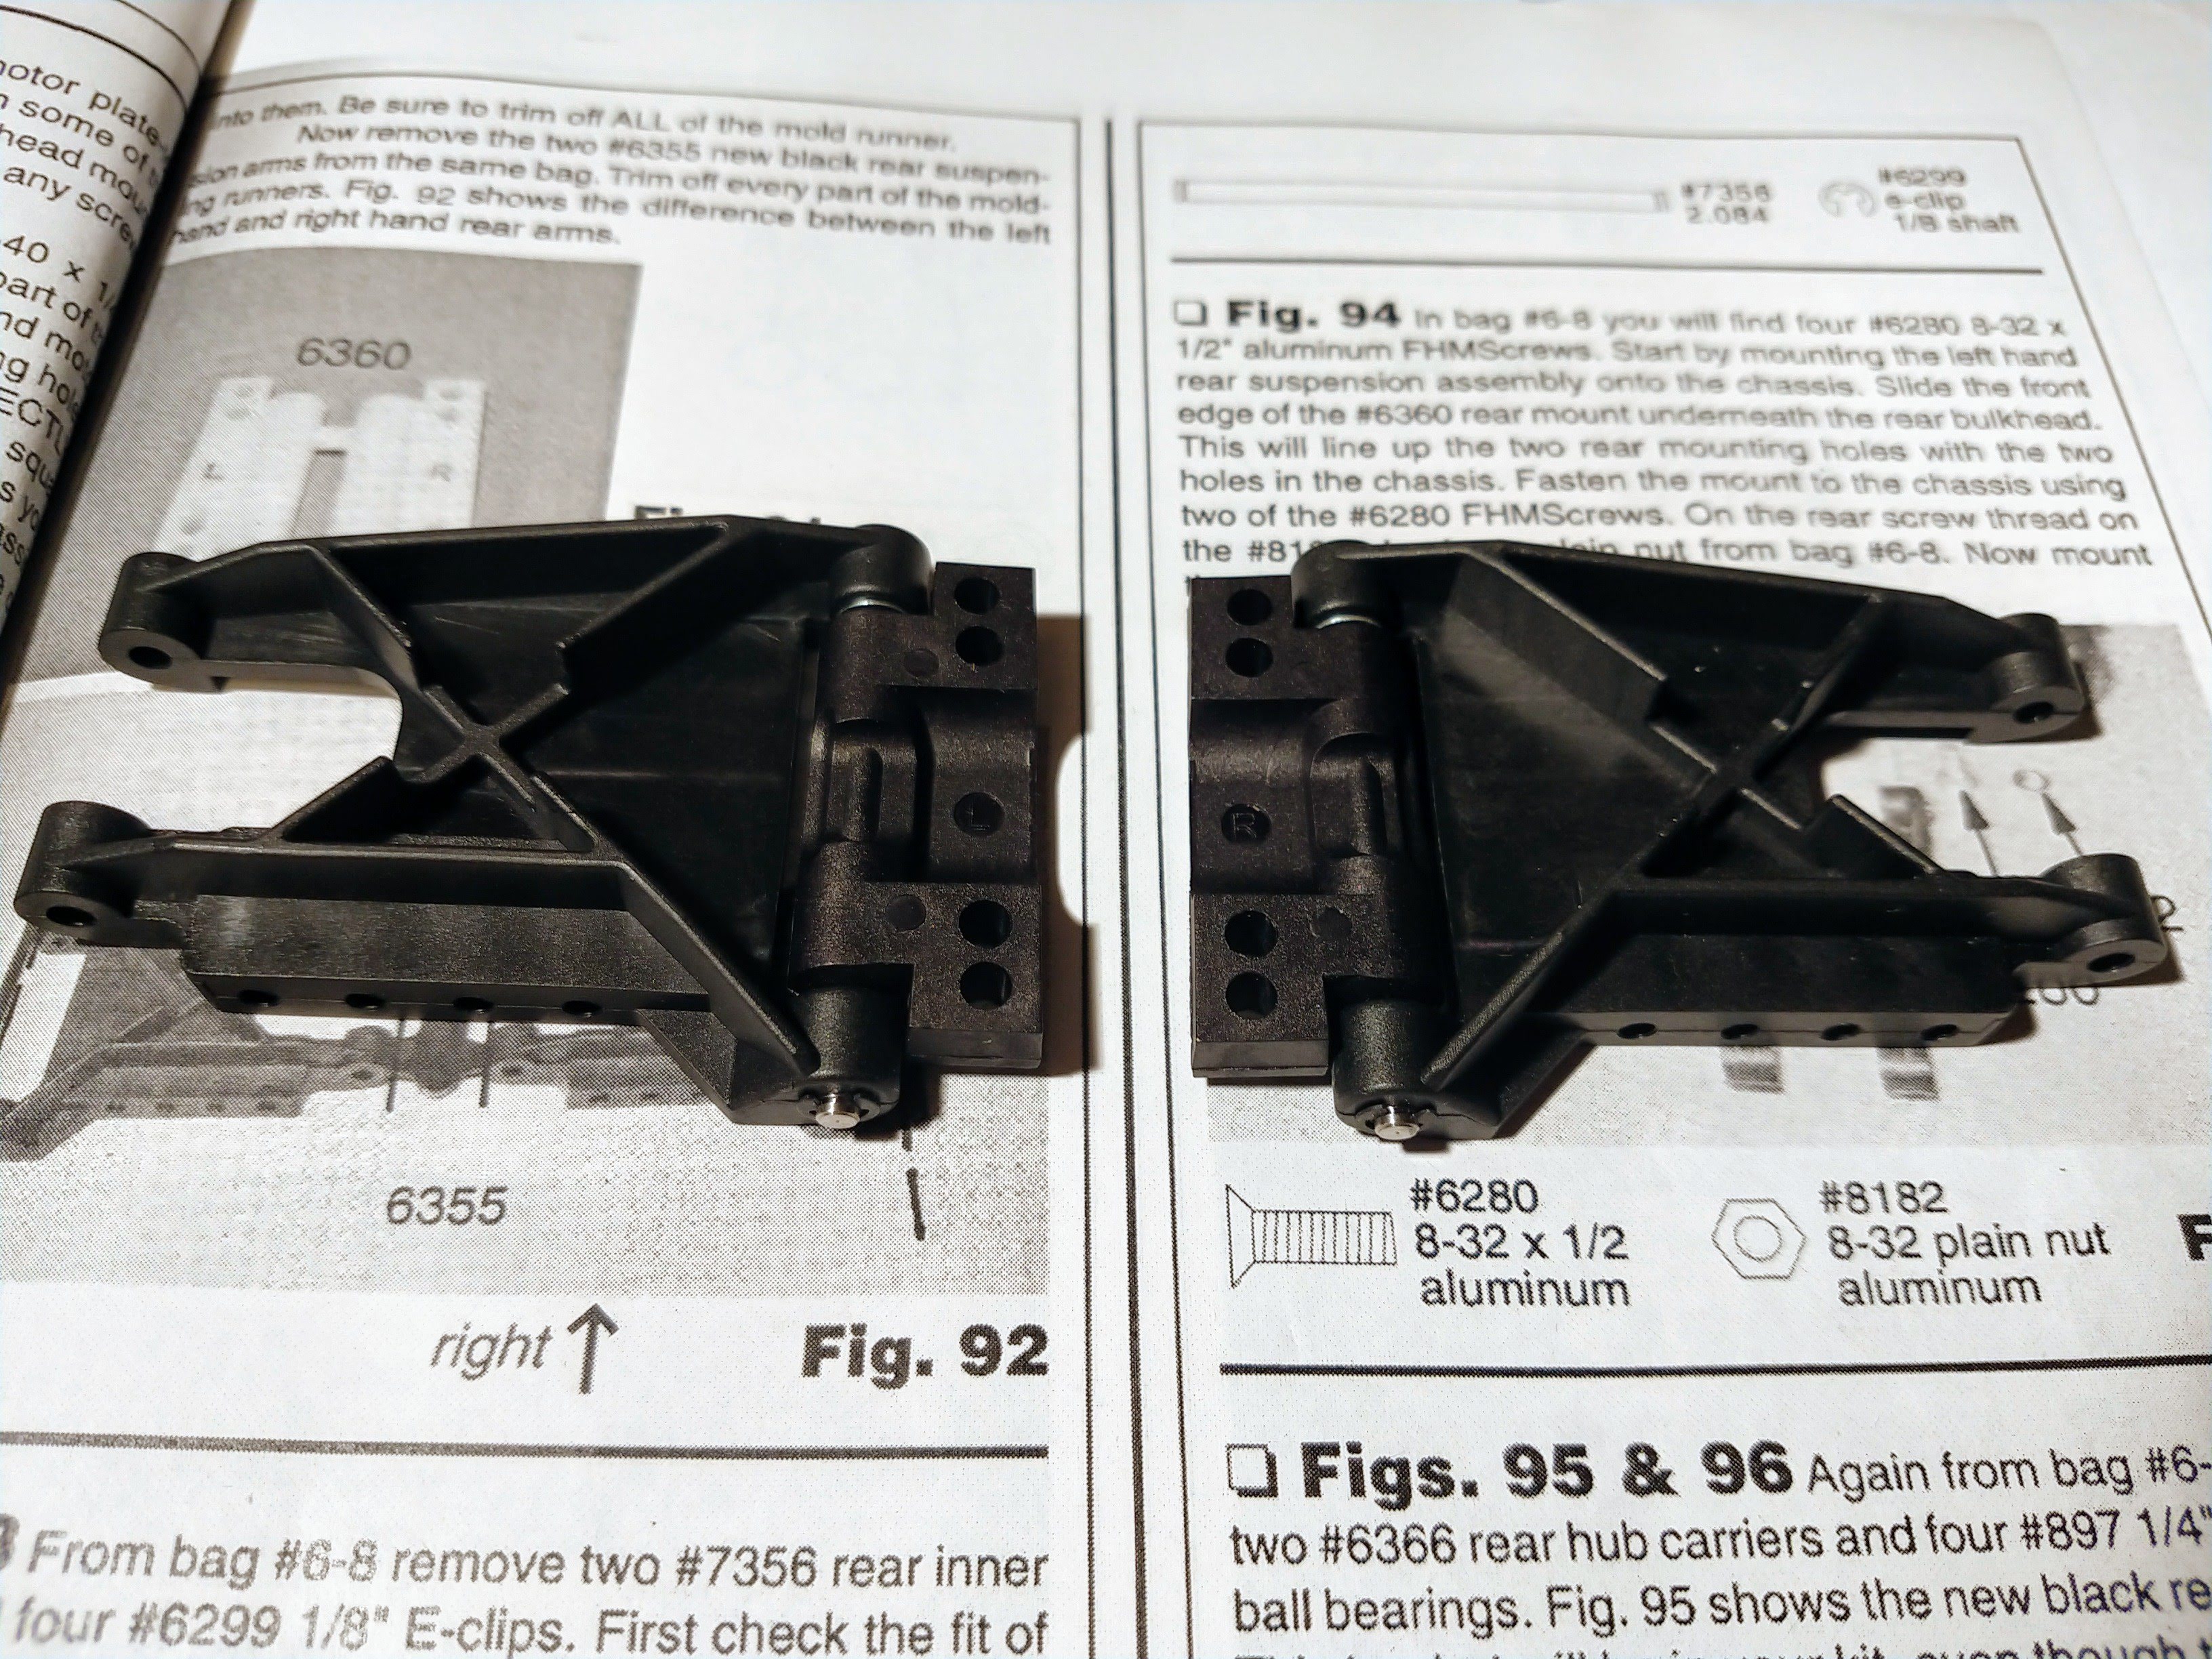
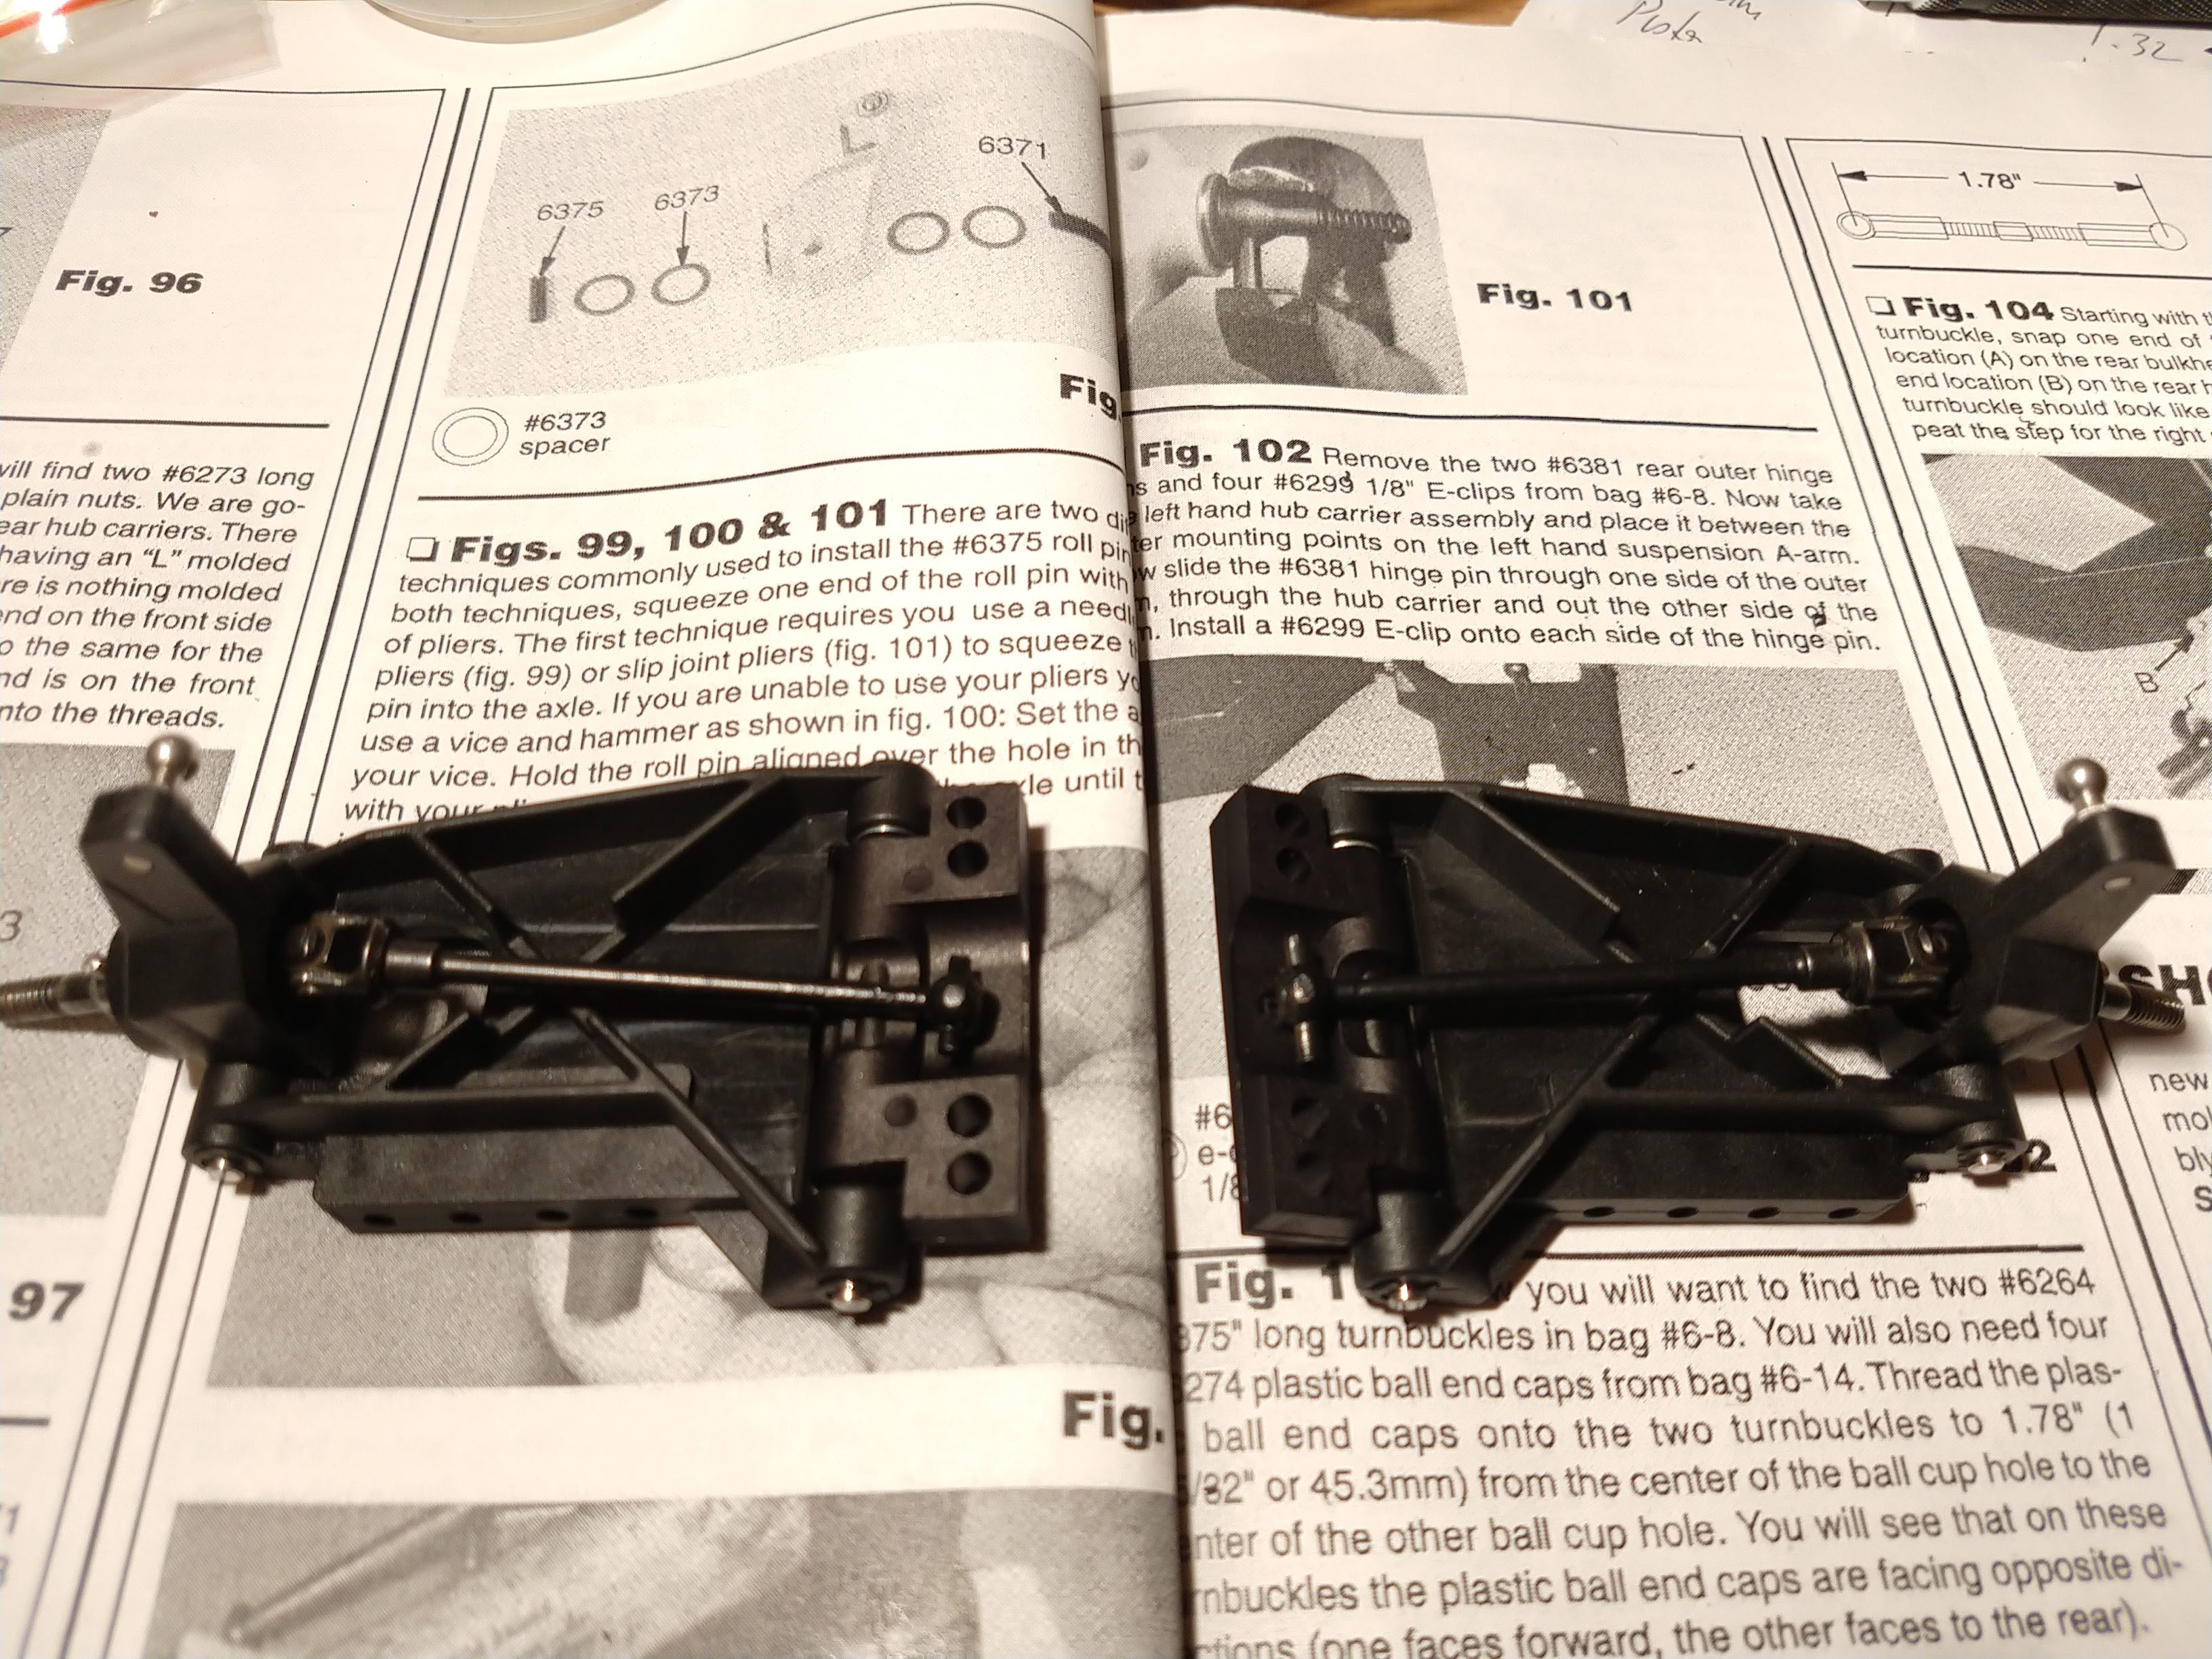
Nothing too crazy here, but always chills in the spine with the new parts

Works with me everytime! So much that initially I had swapped L and R

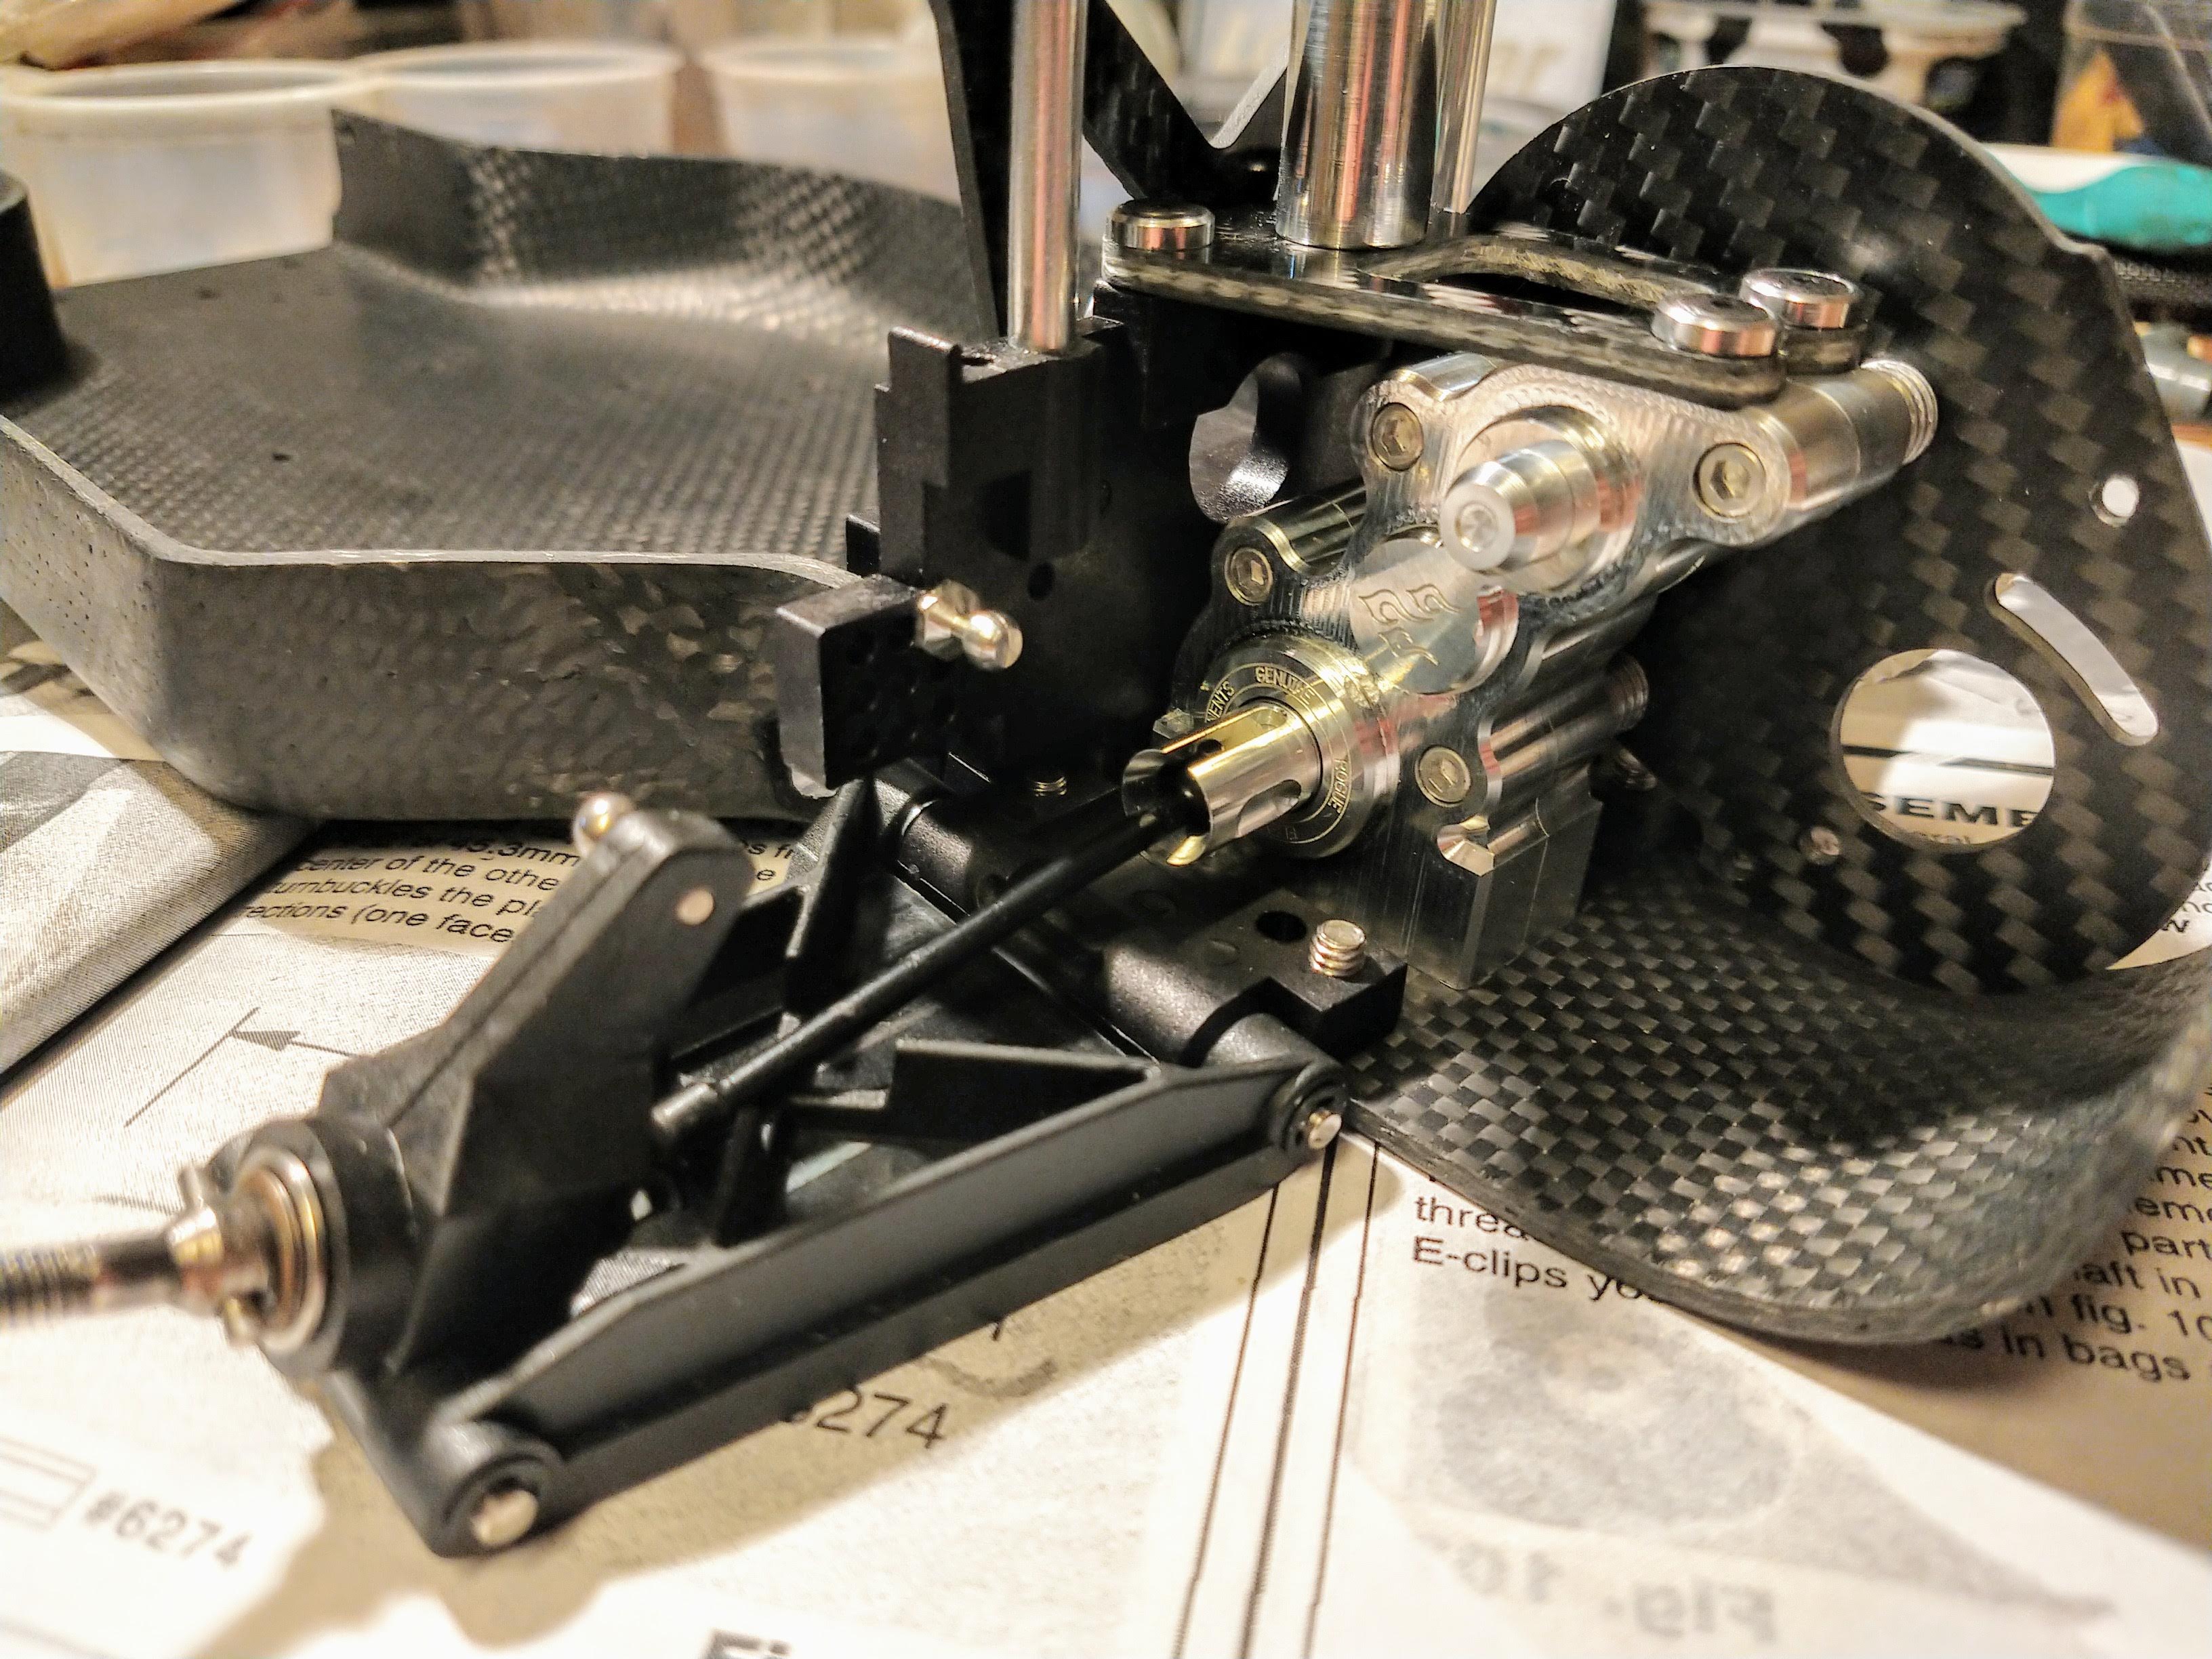
The next step is the UJ's. The JPS wheels use old-style 1/4" wheel axles, and I had a couple of used UJ's which were not too battered with holes not too ovalized that I knew would fit. I have a couple of NiB CVD's pairs, but honestly I like to keep them for the runners instead.
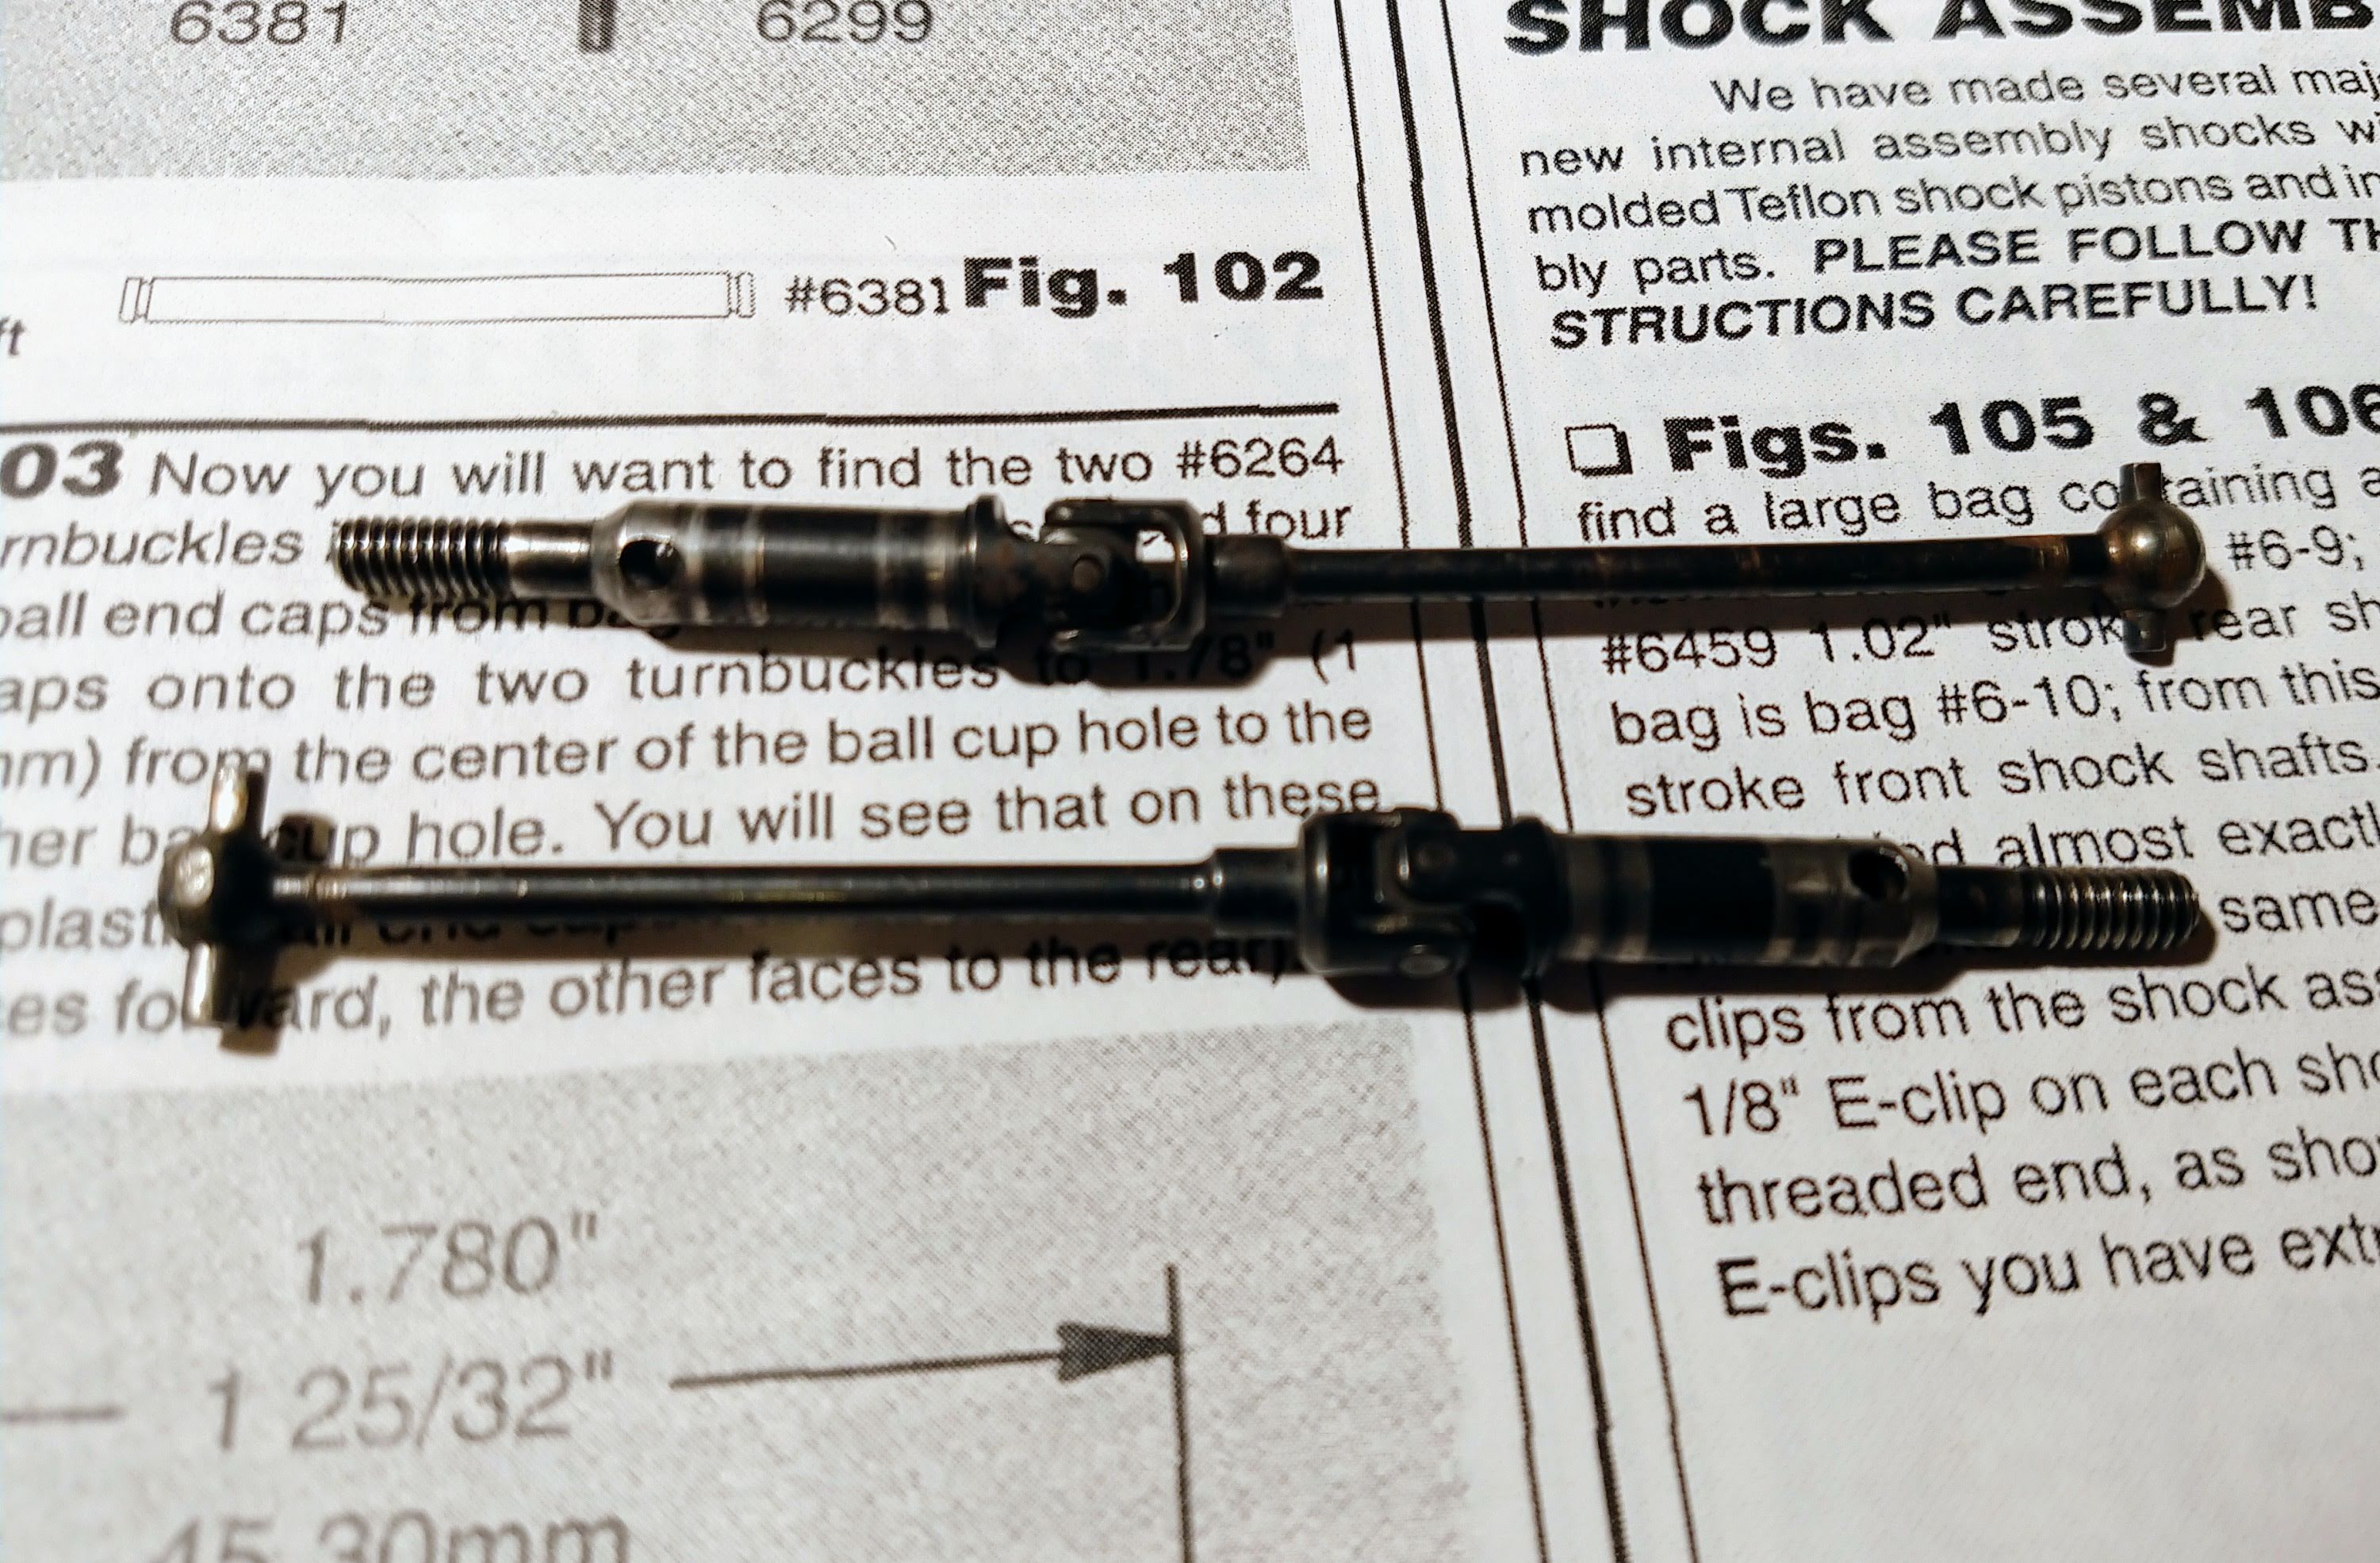
(that pic is REALLY bad, sorry

)
I just sprayed the inner part black after cleaning them up somewhat... a bit of a cheap job but will do the trick. I noticed later however that one has different pins (that go in the outdrive) than the other, they seem to come from a different pair but they will do the shelfer job for now. That's what one gets for always working on cars from 9pm to 11:30pm
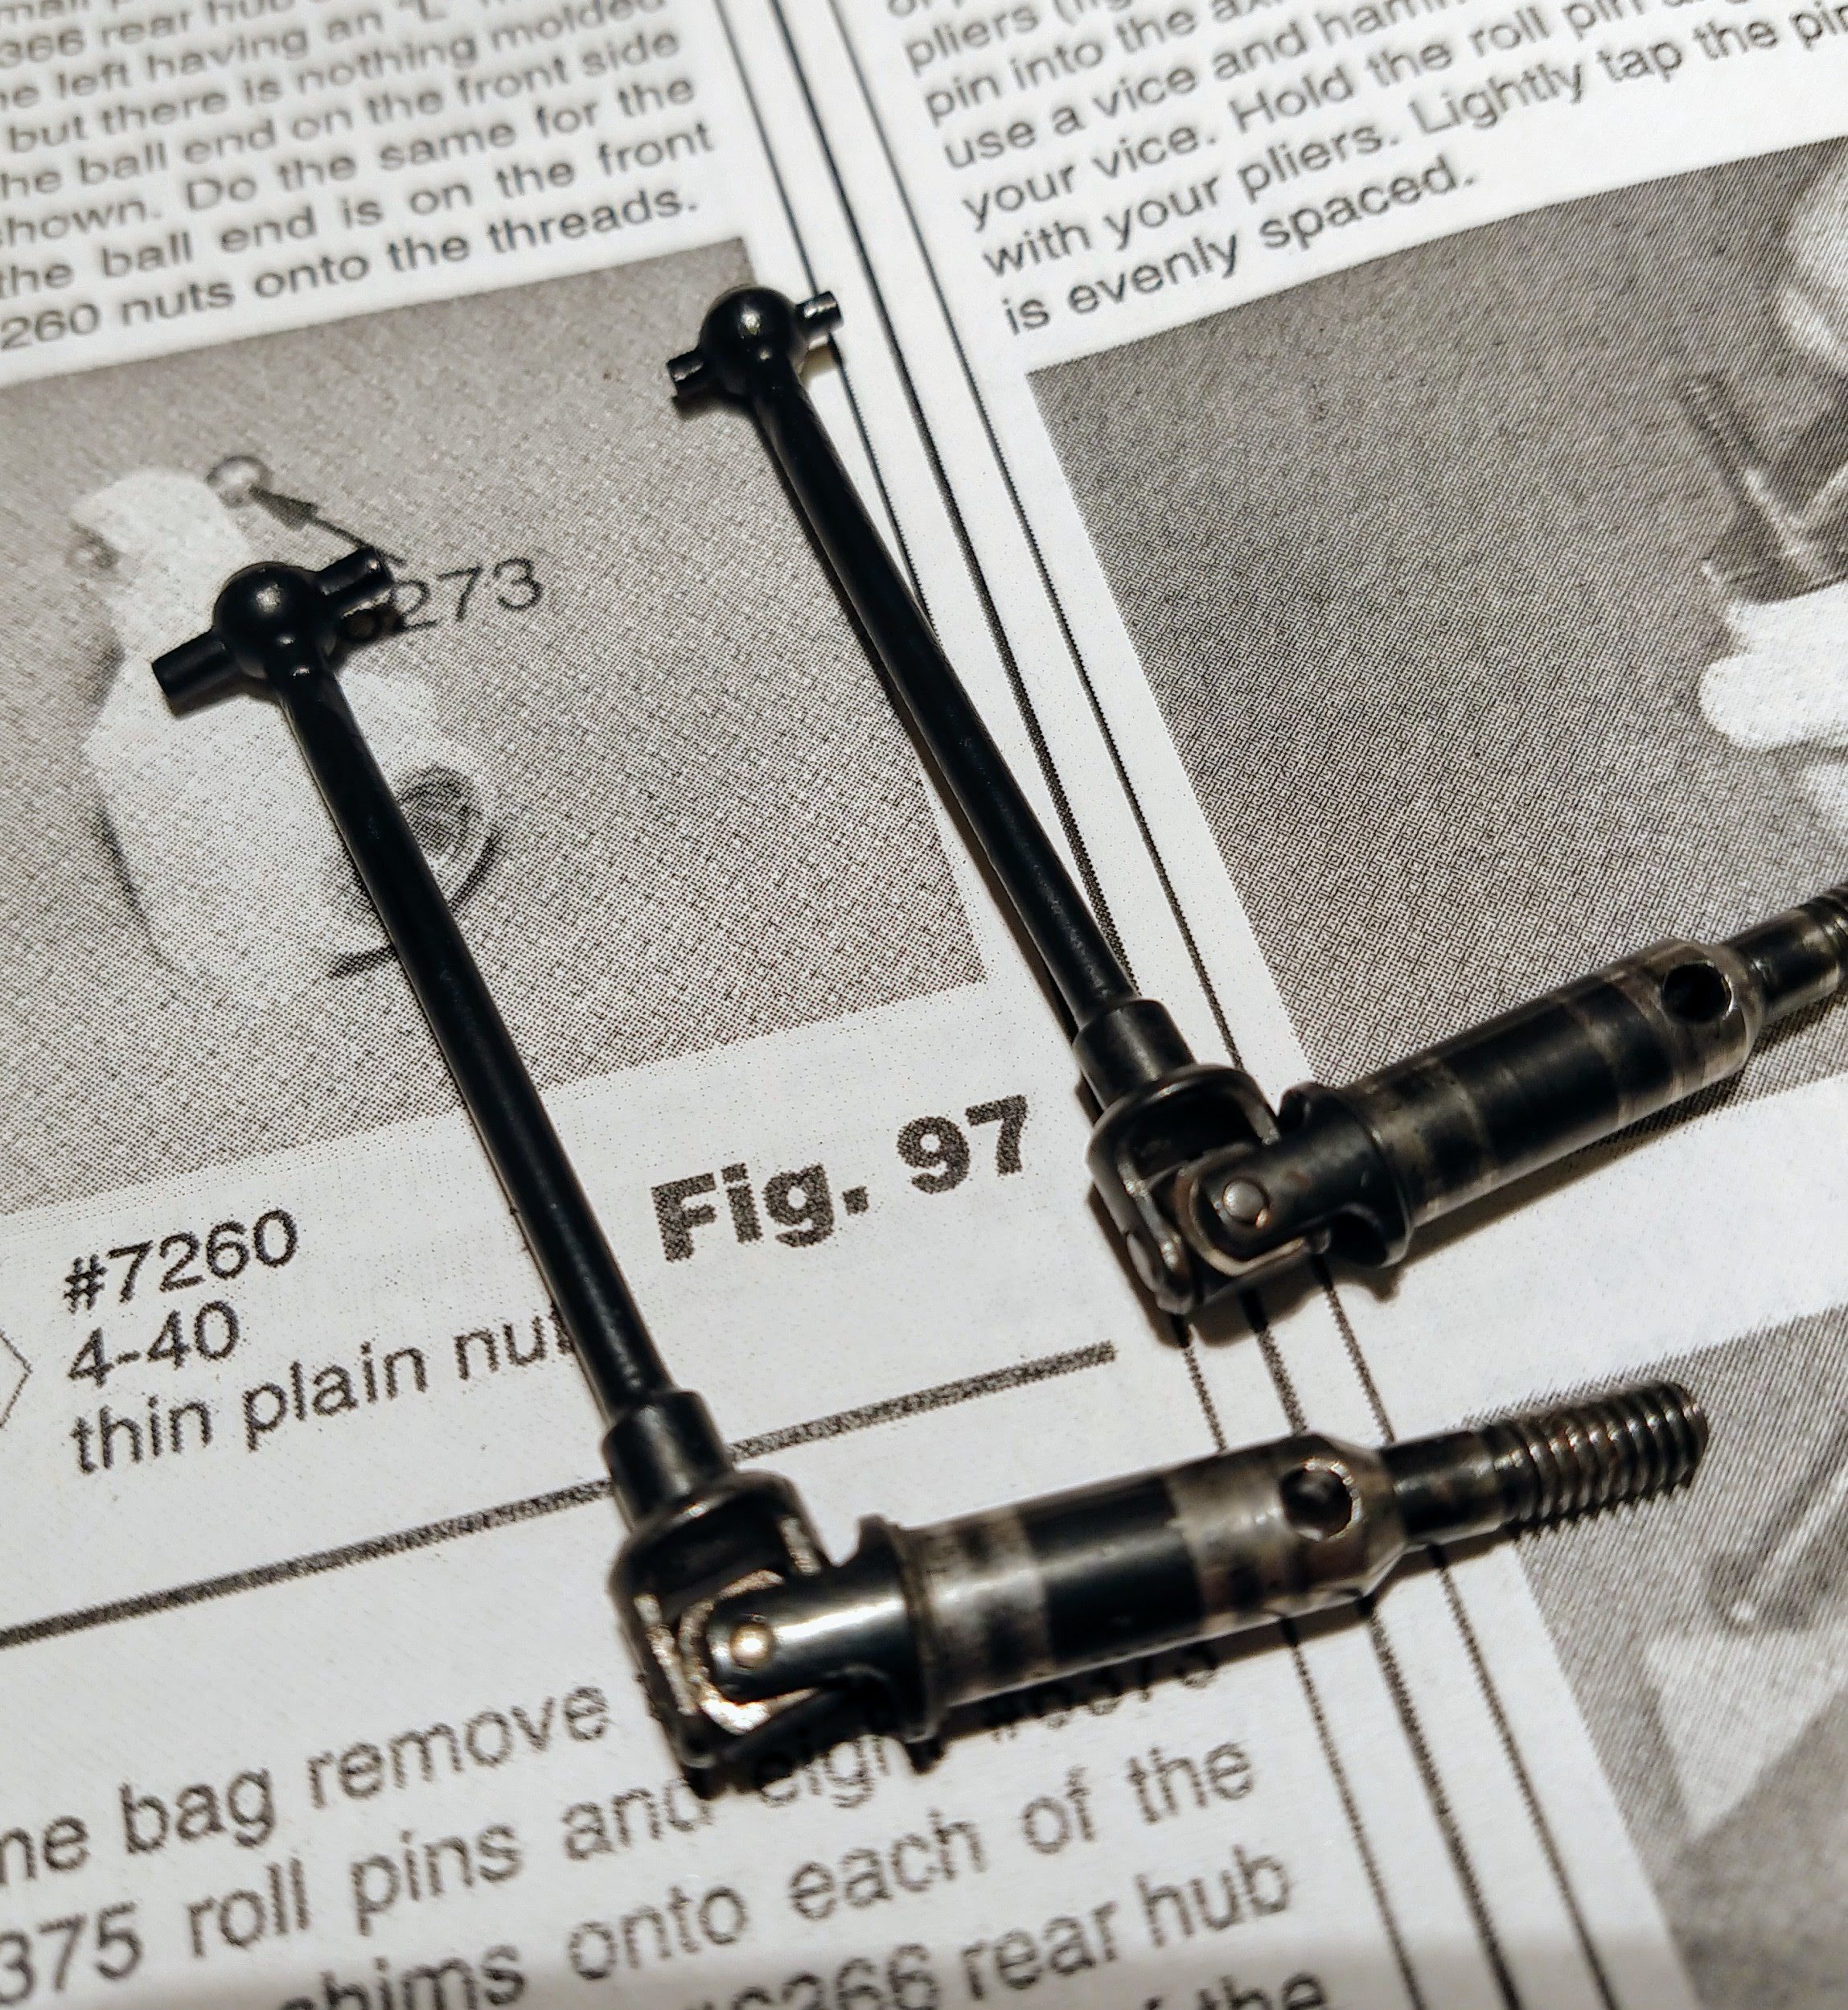
I cut some piano wire to mimick the axle roll pin - we all know how much of an IMMENSE pita they are, I don't want to have to dissassemble/reassemble them multiple times as I adapt this build, since I'm sure there will be some further work needed
A *tiny tiny tiny* drop of CA holds them in place for now until I'm sure about how to shim the UJ's with the wheels for good.
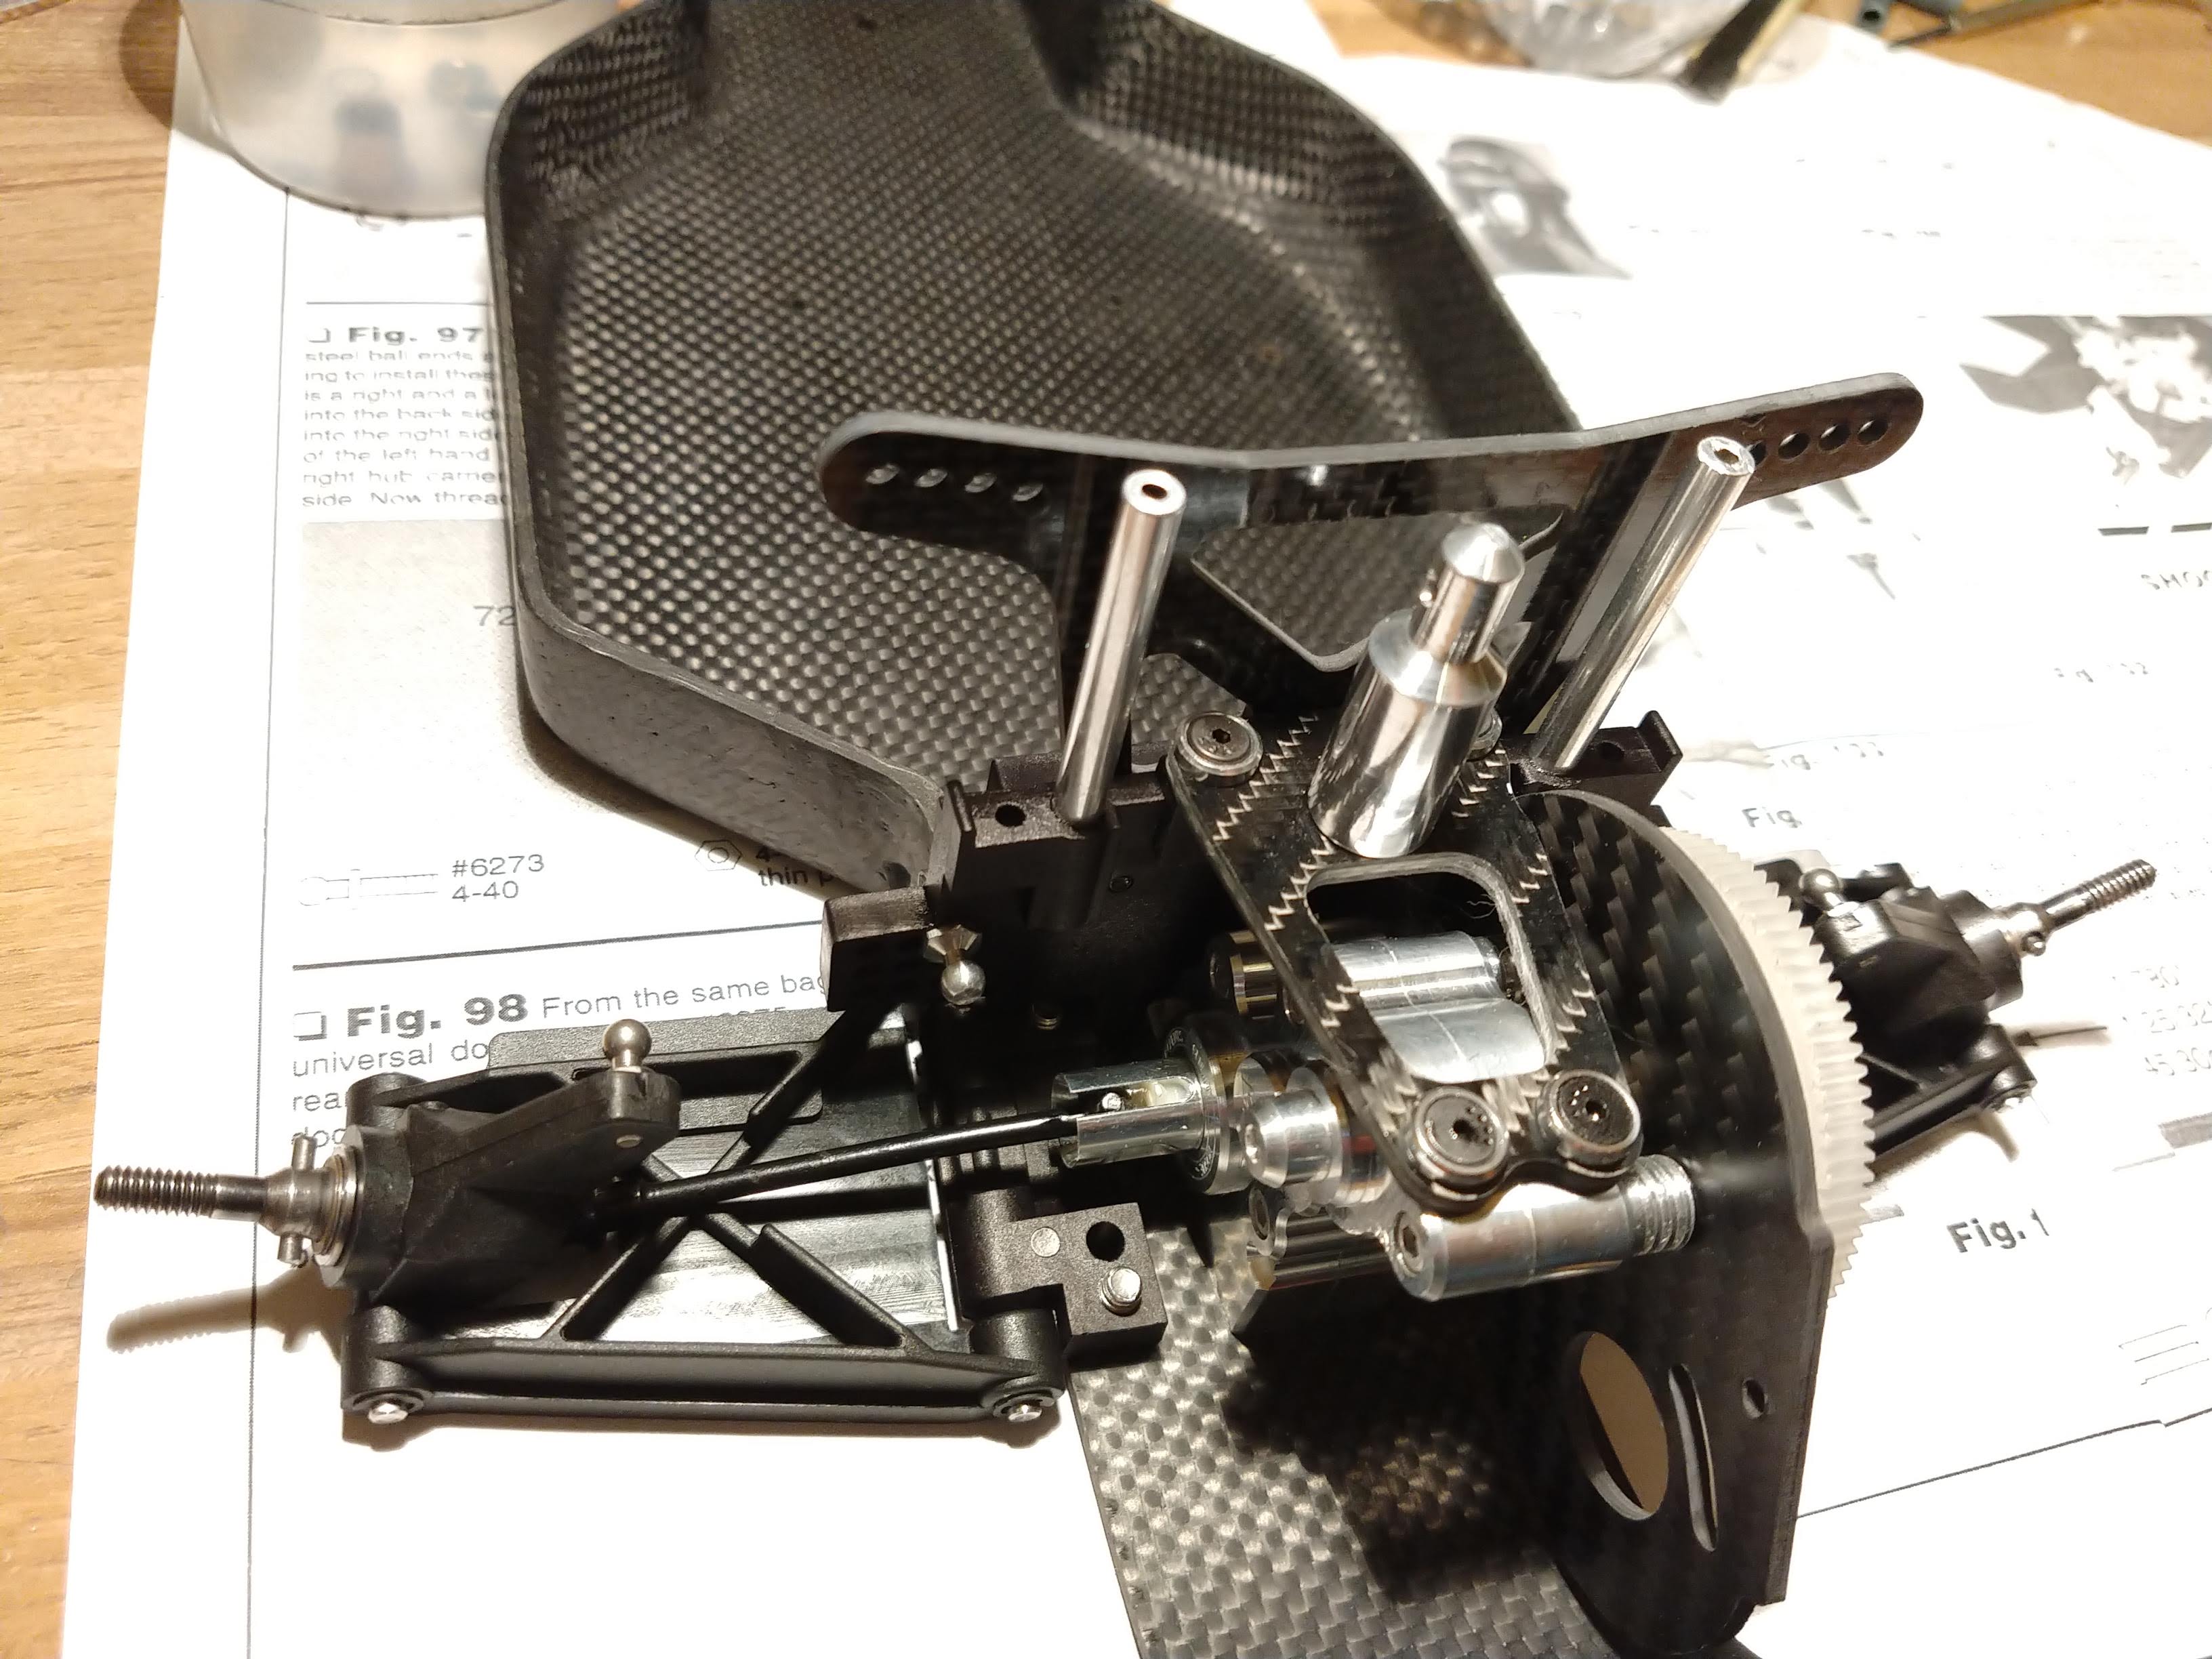
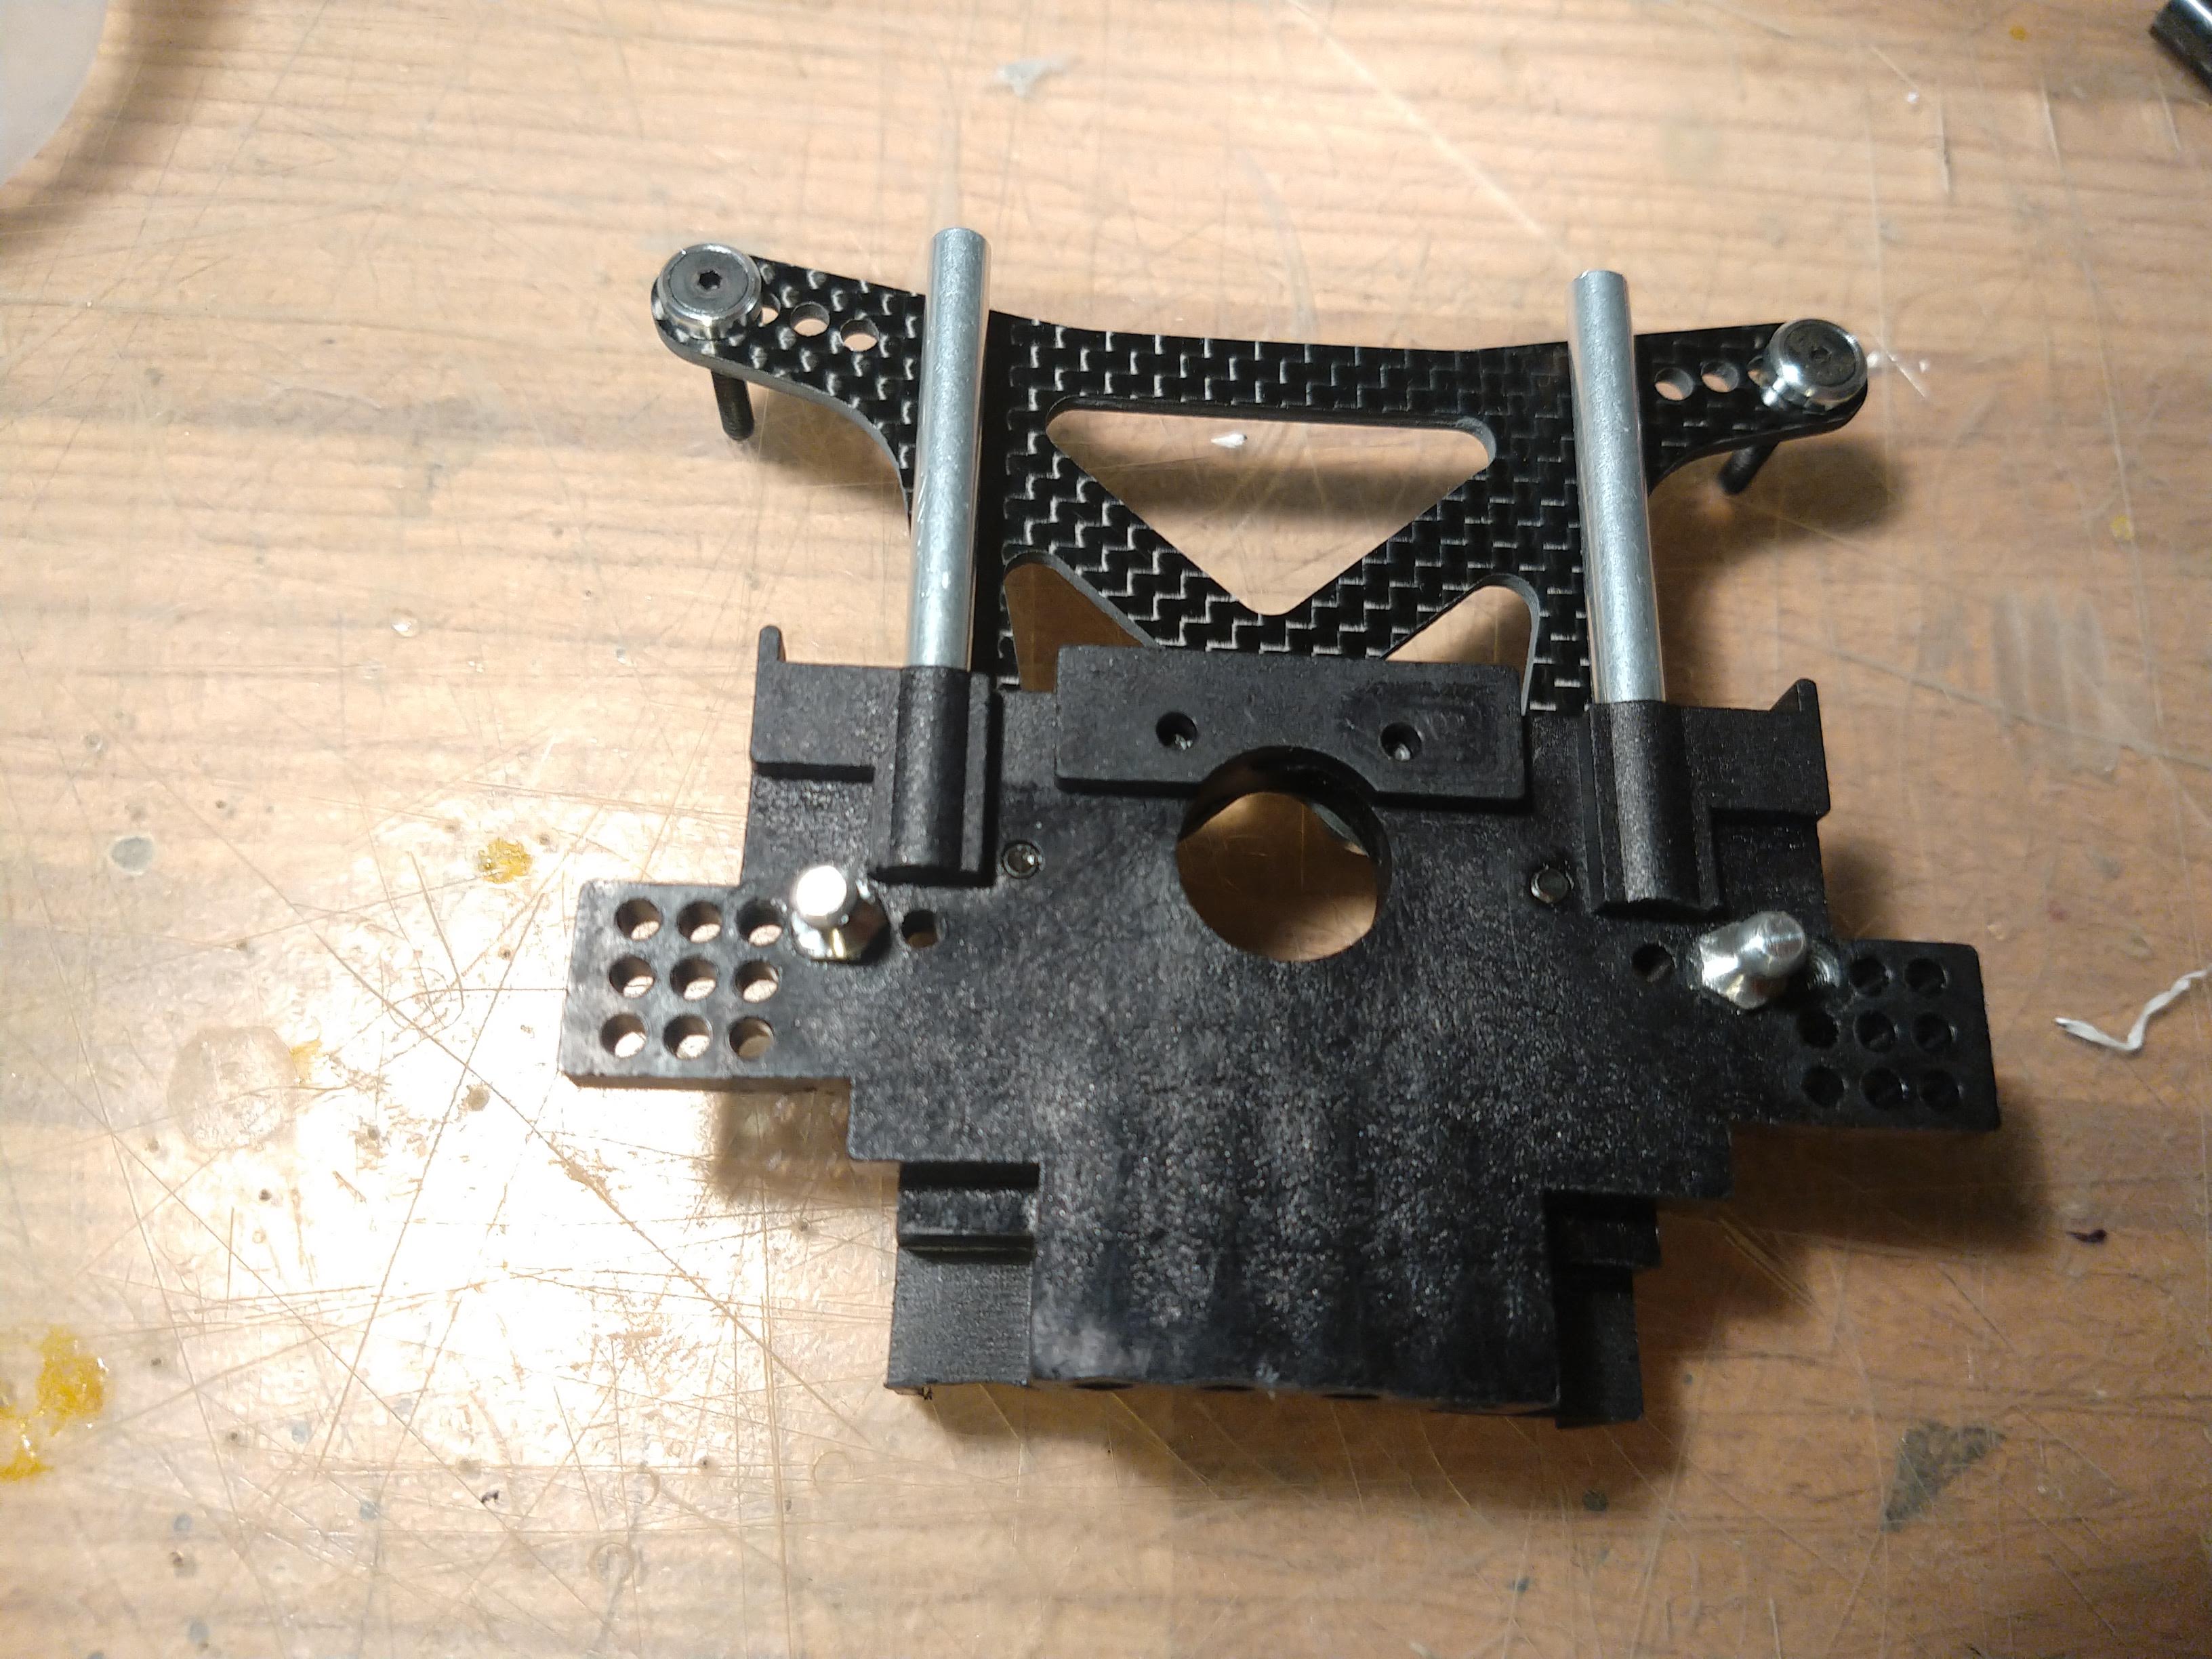
And mounted on the rear of the chassis. It's beginning to take shape!
Re: It's starting now (Apr2020)... CWF (tub) and Shiny RC10
Posted: Mon May 11, 2020 10:00 am
by Lonestar
Now - the steering. This one had me scratching my head, and not even reach an optimal solution. The beauty of Franken projects
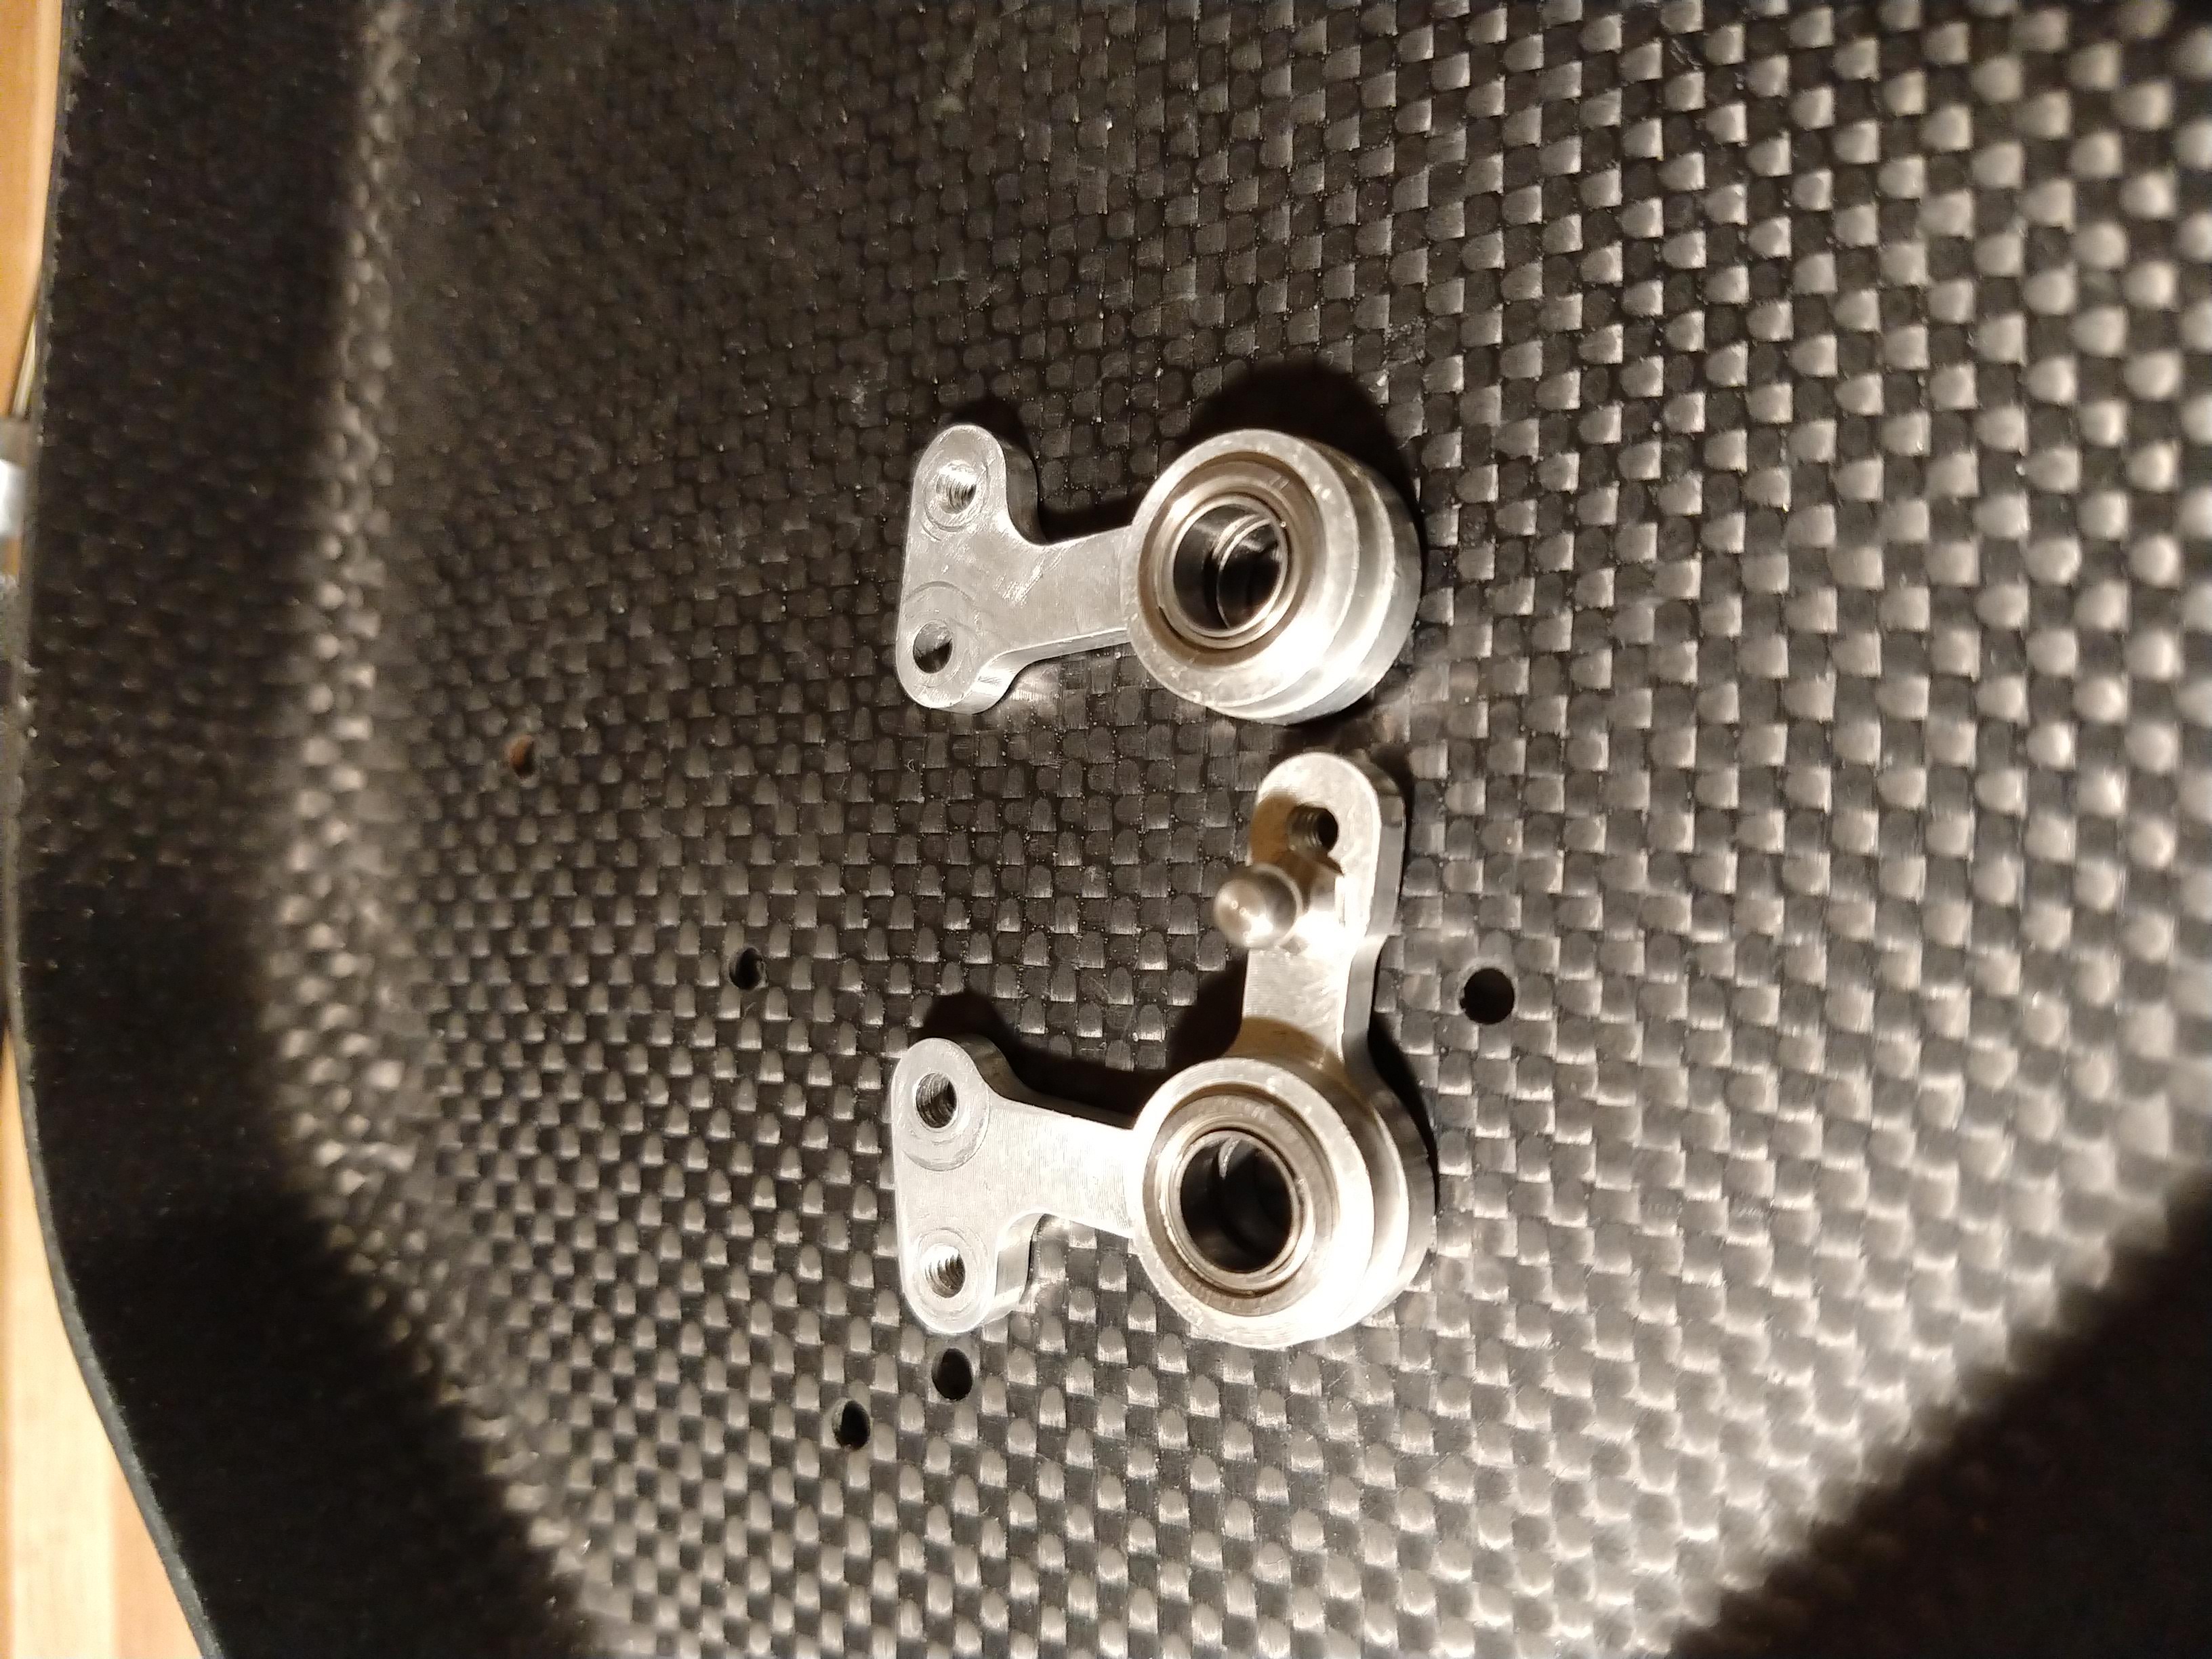
I think I recall the great Asso-man himself saying he doesn't know who actually made these bellcranks... On the pictures, they actually look pretty well thought-out:
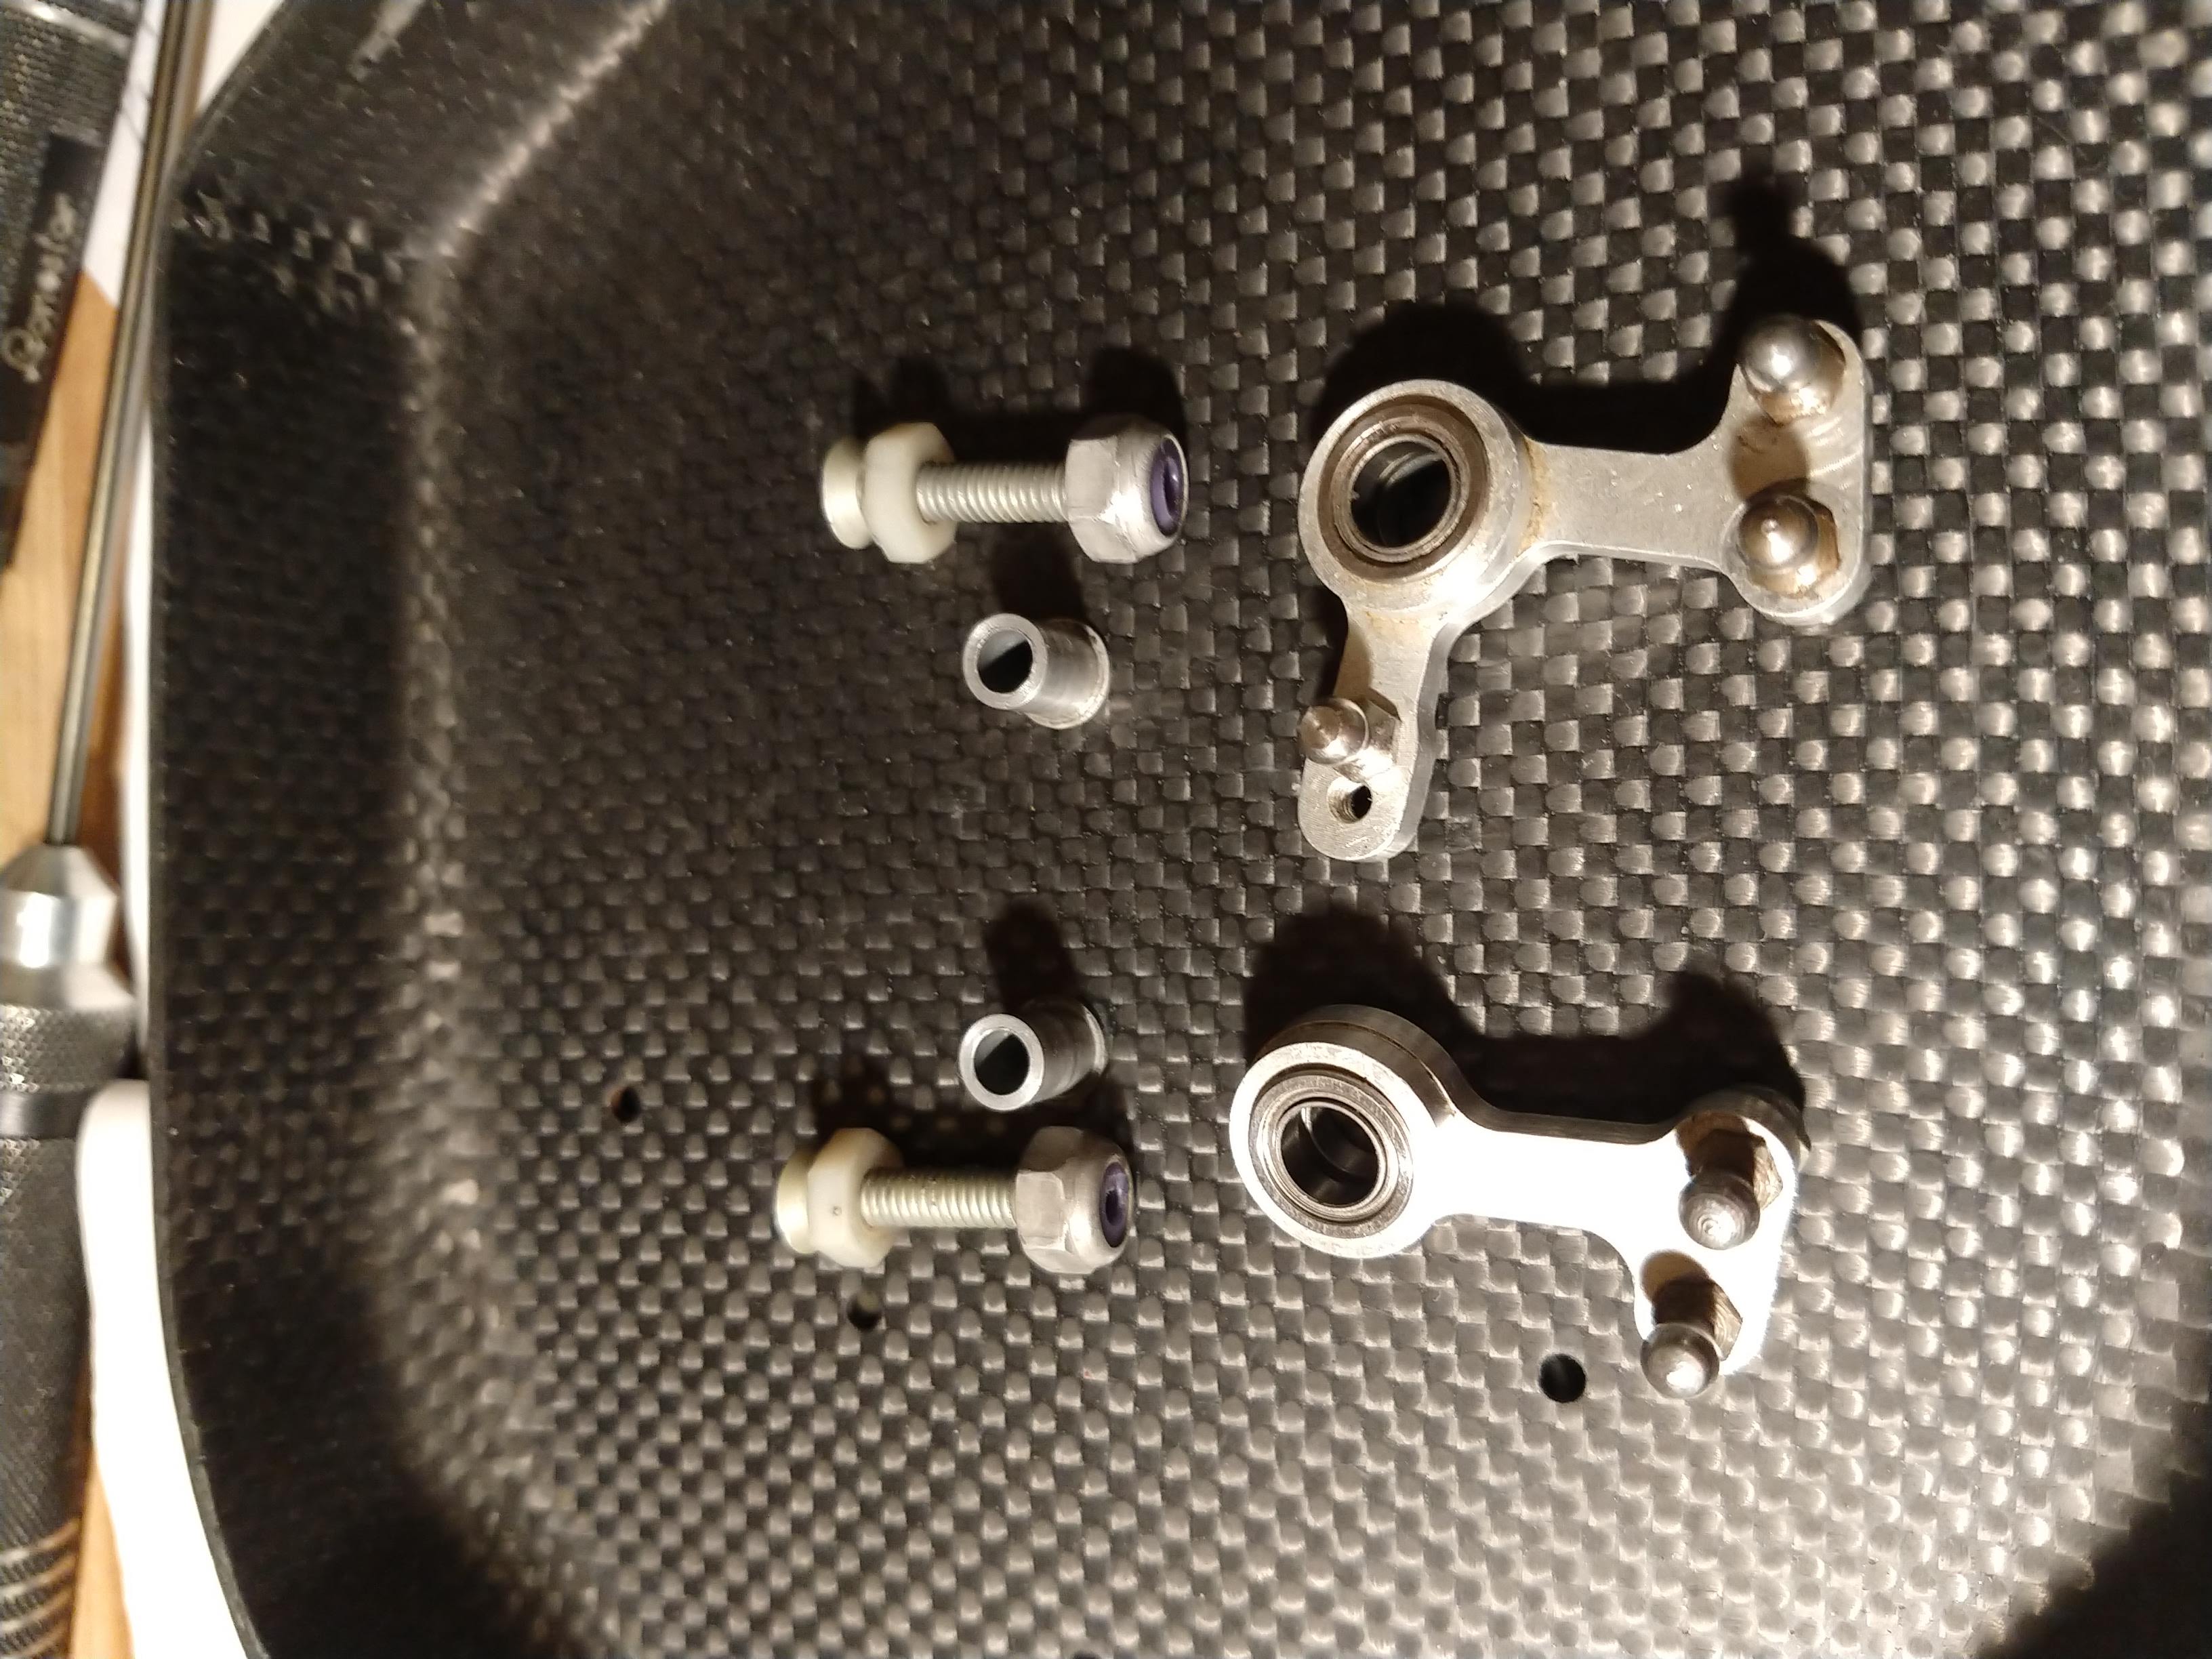
There are flanged sleeves in the bearings, so the nuts that hold them can be tightened without binding (this has its importance as you will read later on). There are two holes for the servo link to possibly play with speed/torque, and adapt to smaller servos I guess.
Once cleaned up and polished a bit - I would love to buff them out but I don't have the gear to do so. If anyone wants to suggest a pragmatic approach to making them shiny...
First attempt at mounting them was a total failure. What I found out is, the nose plate is not threaded... so I put a nut on the 8/32 screw, at least to hold the nose and the tub together. This then creates that first issue, which is pretty obvious (look at the ballstuds, steering and camber)
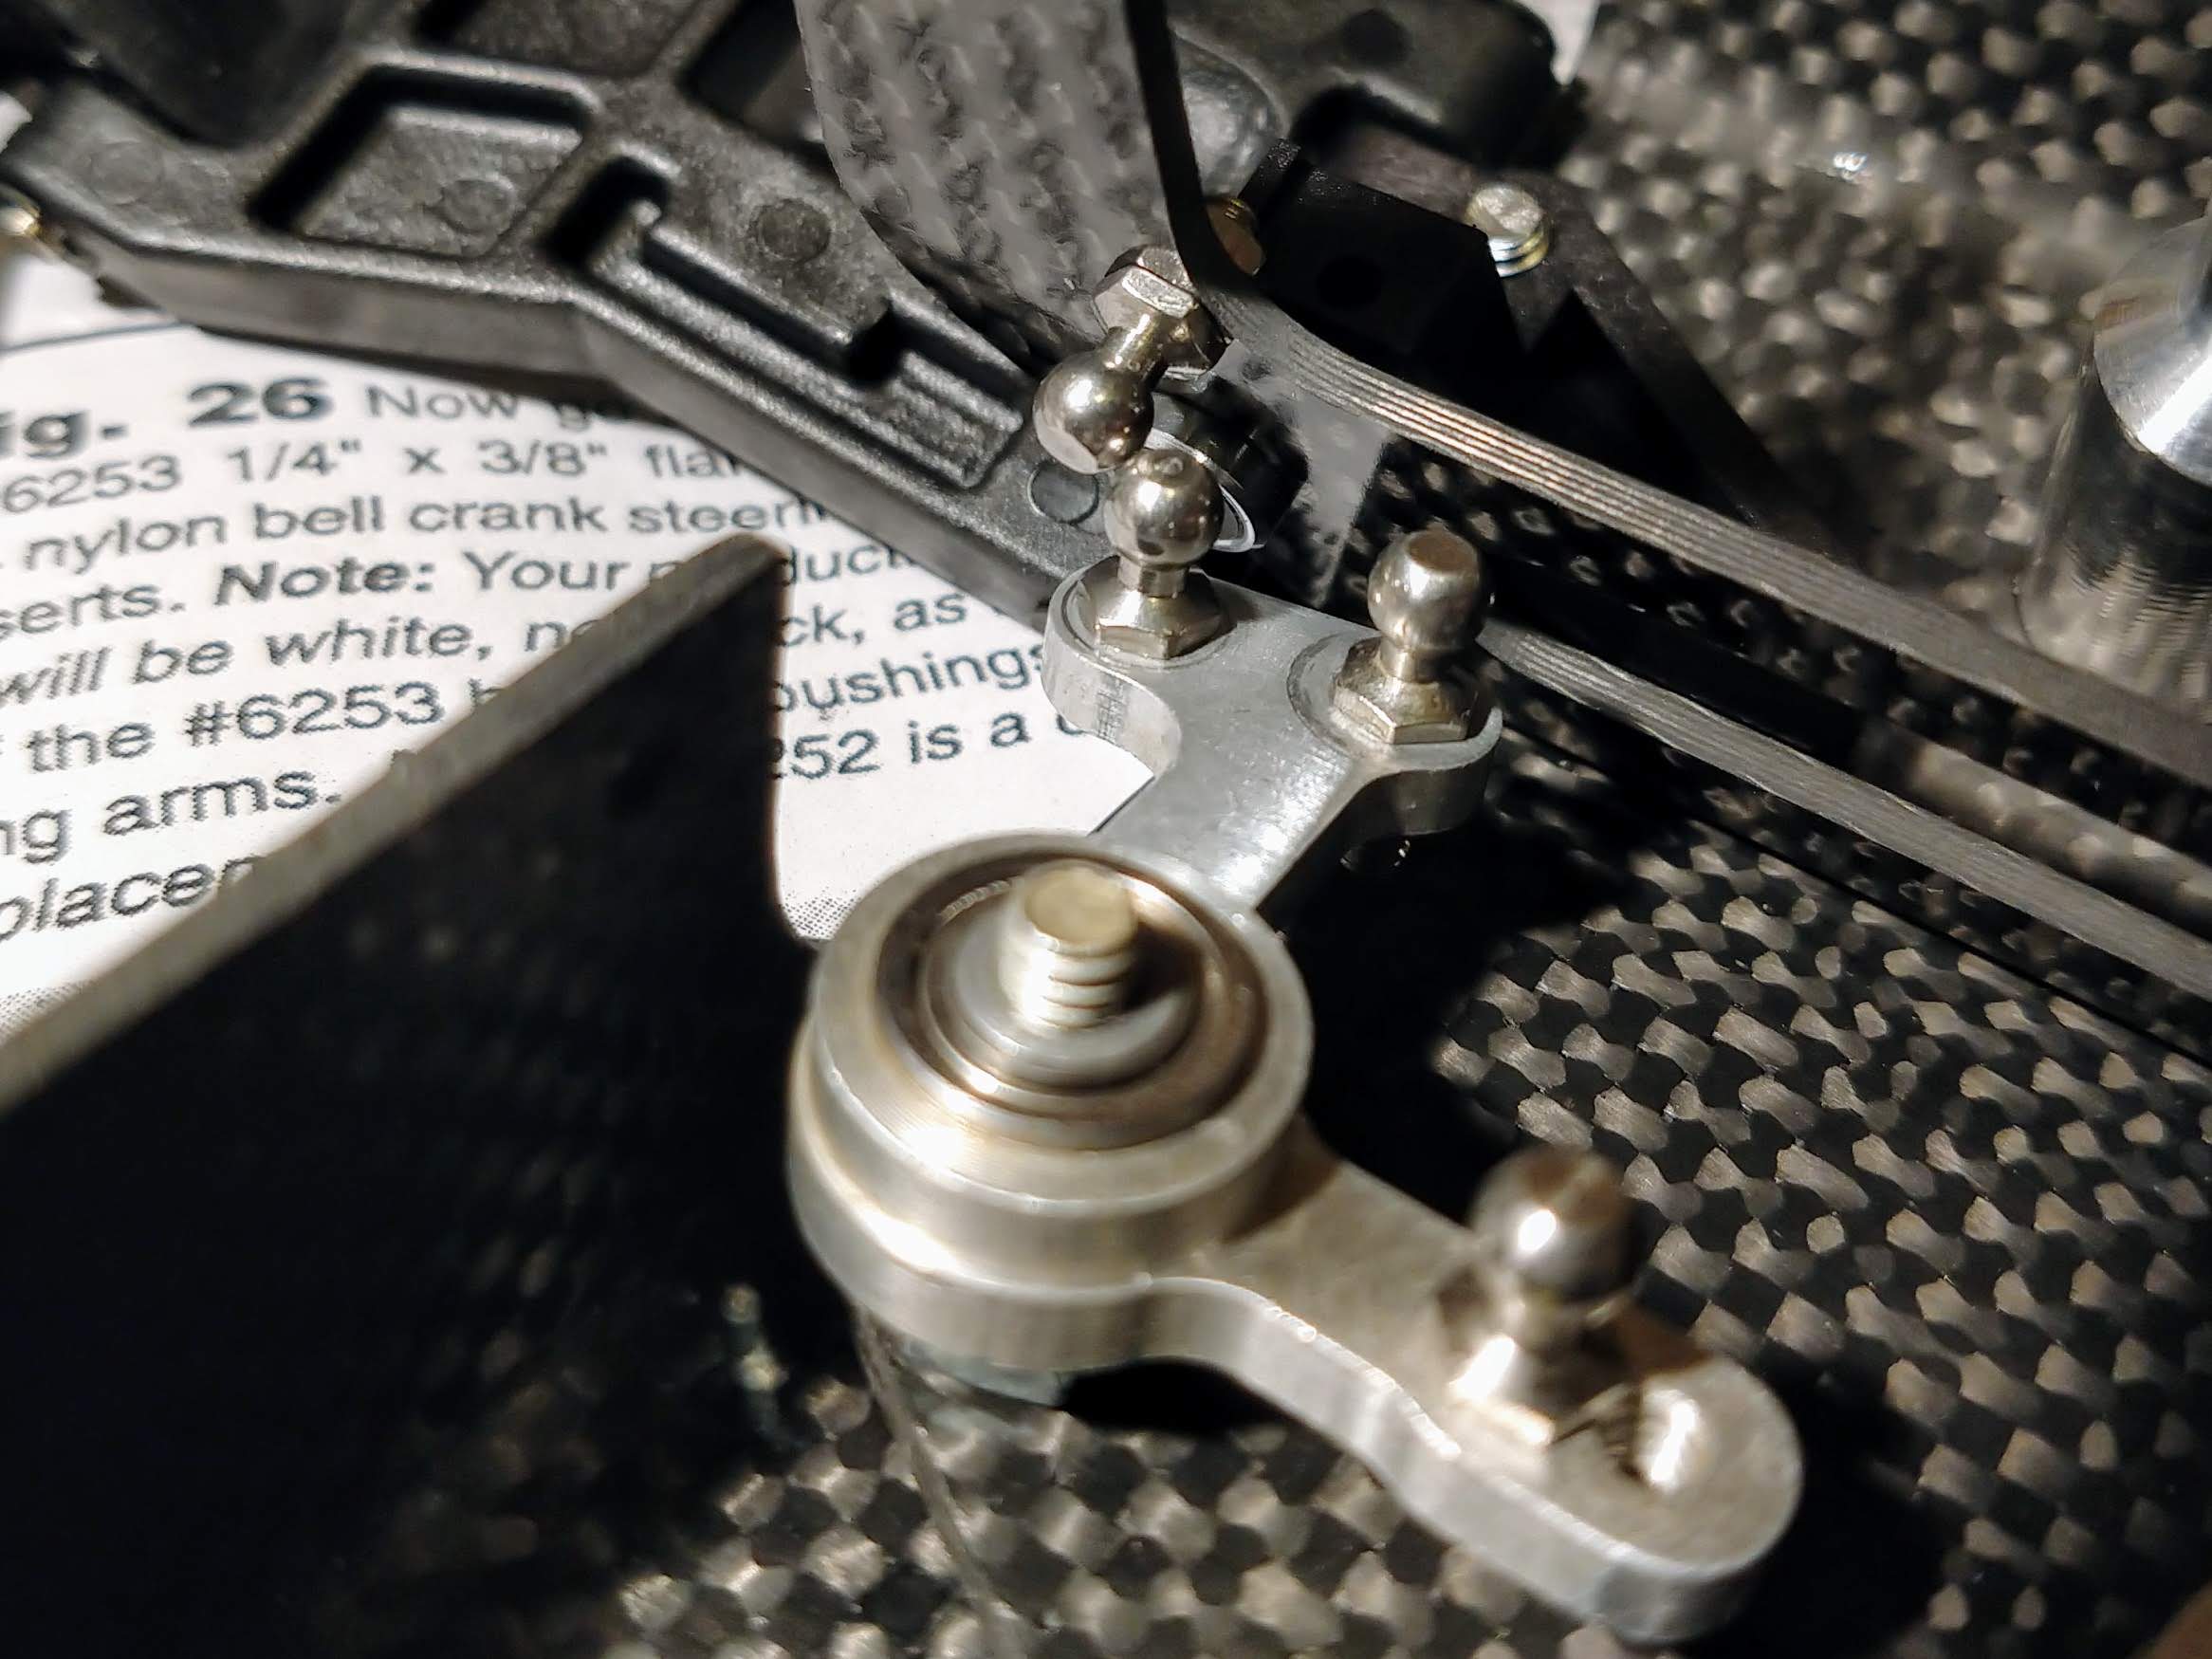
Then for the next couple of evenings, I tried things back and forth, shimming the steering differently started looking into drilling the front shock tower for new camber links holes, tried different lower-profile ballstuds, realized that some of the ballstud holes are stripped, installed different ballcups once it got lowered but they still rubbed, etc...
Net - I mounted the ballcranks directly on the chassis, which is made possible by the flanged sleeve. Then I used the thinnest ballcups I know of - this is from my B4 stock as I replaced them right away with RPM ones, and I don't ever throw anything away

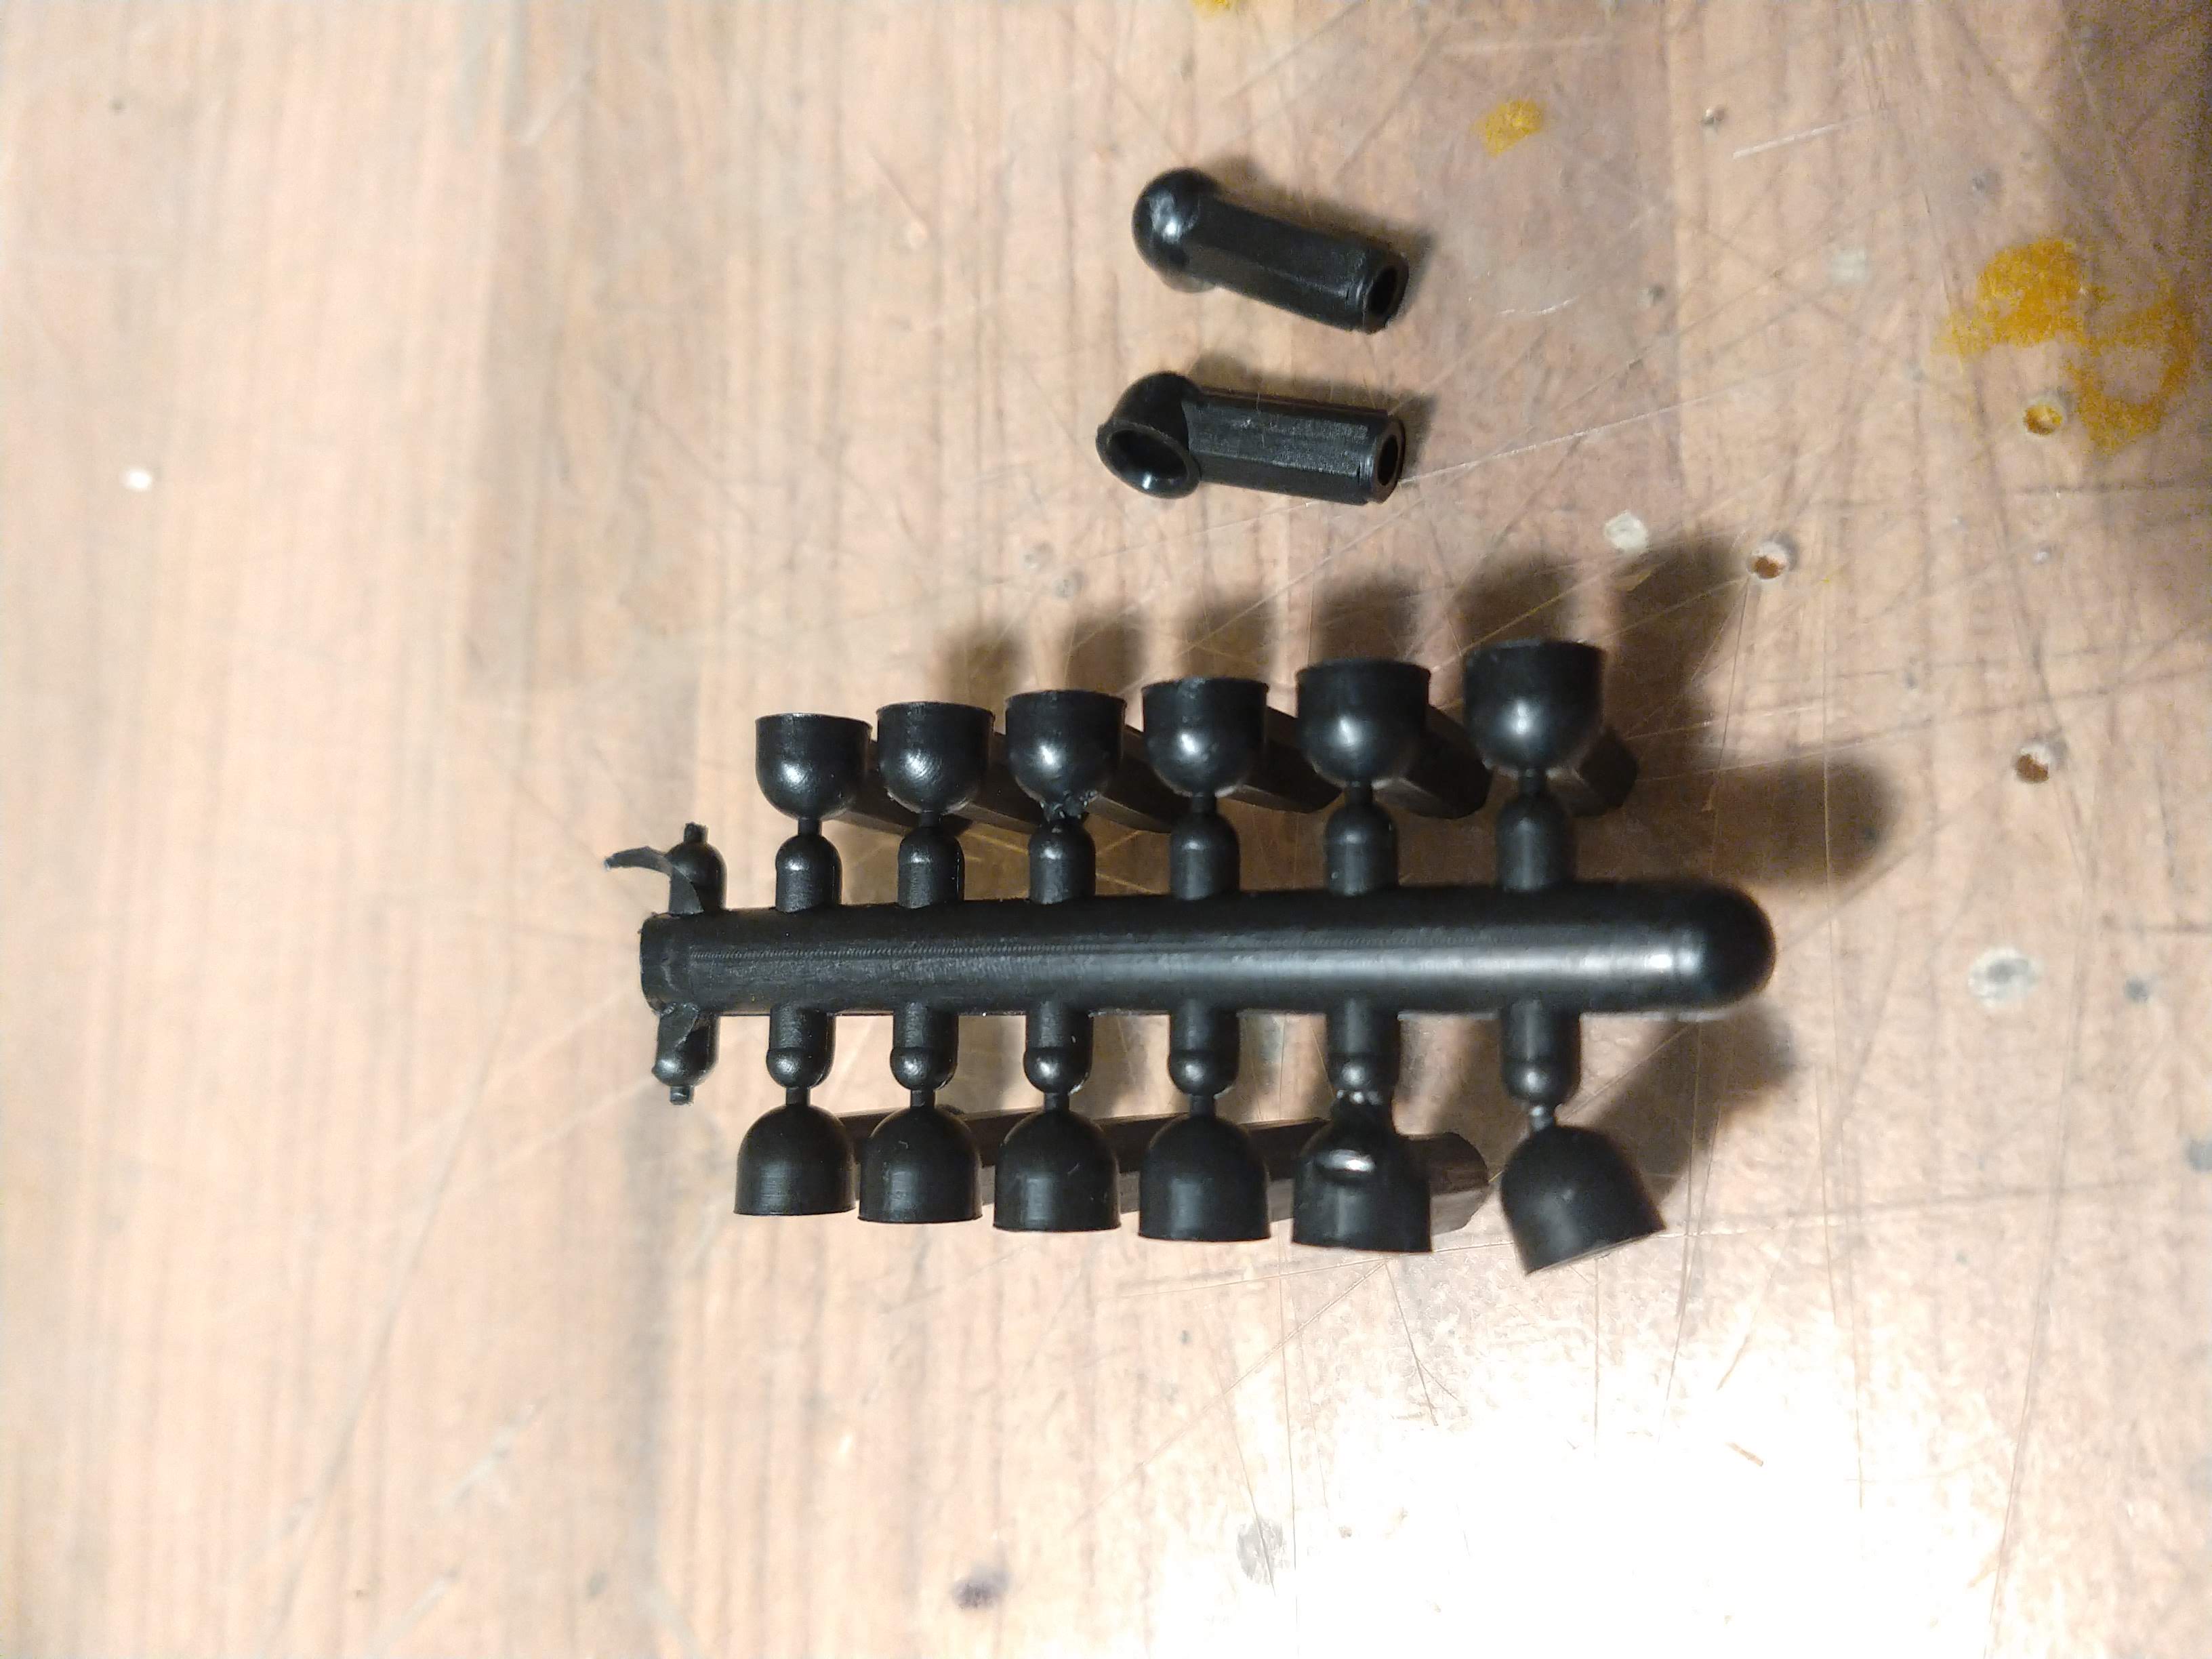
When I use new parts, I always check the availability of them on the market, just to be on the safe side... These are pretty rare by now it seems
who would have known? The good news is I have a couple of translucent green re-re ones which can't wait to be dyed
Re: It's starting now (Apr2020)... CWF (tub) and Shiny RC10
Posted: Mon May 11, 2020 10:41 am
by Lonestar
So after a lot of fiddling, and many many screwing/unscrewing of ballcups onto turnbuckles, this is what we end up with:
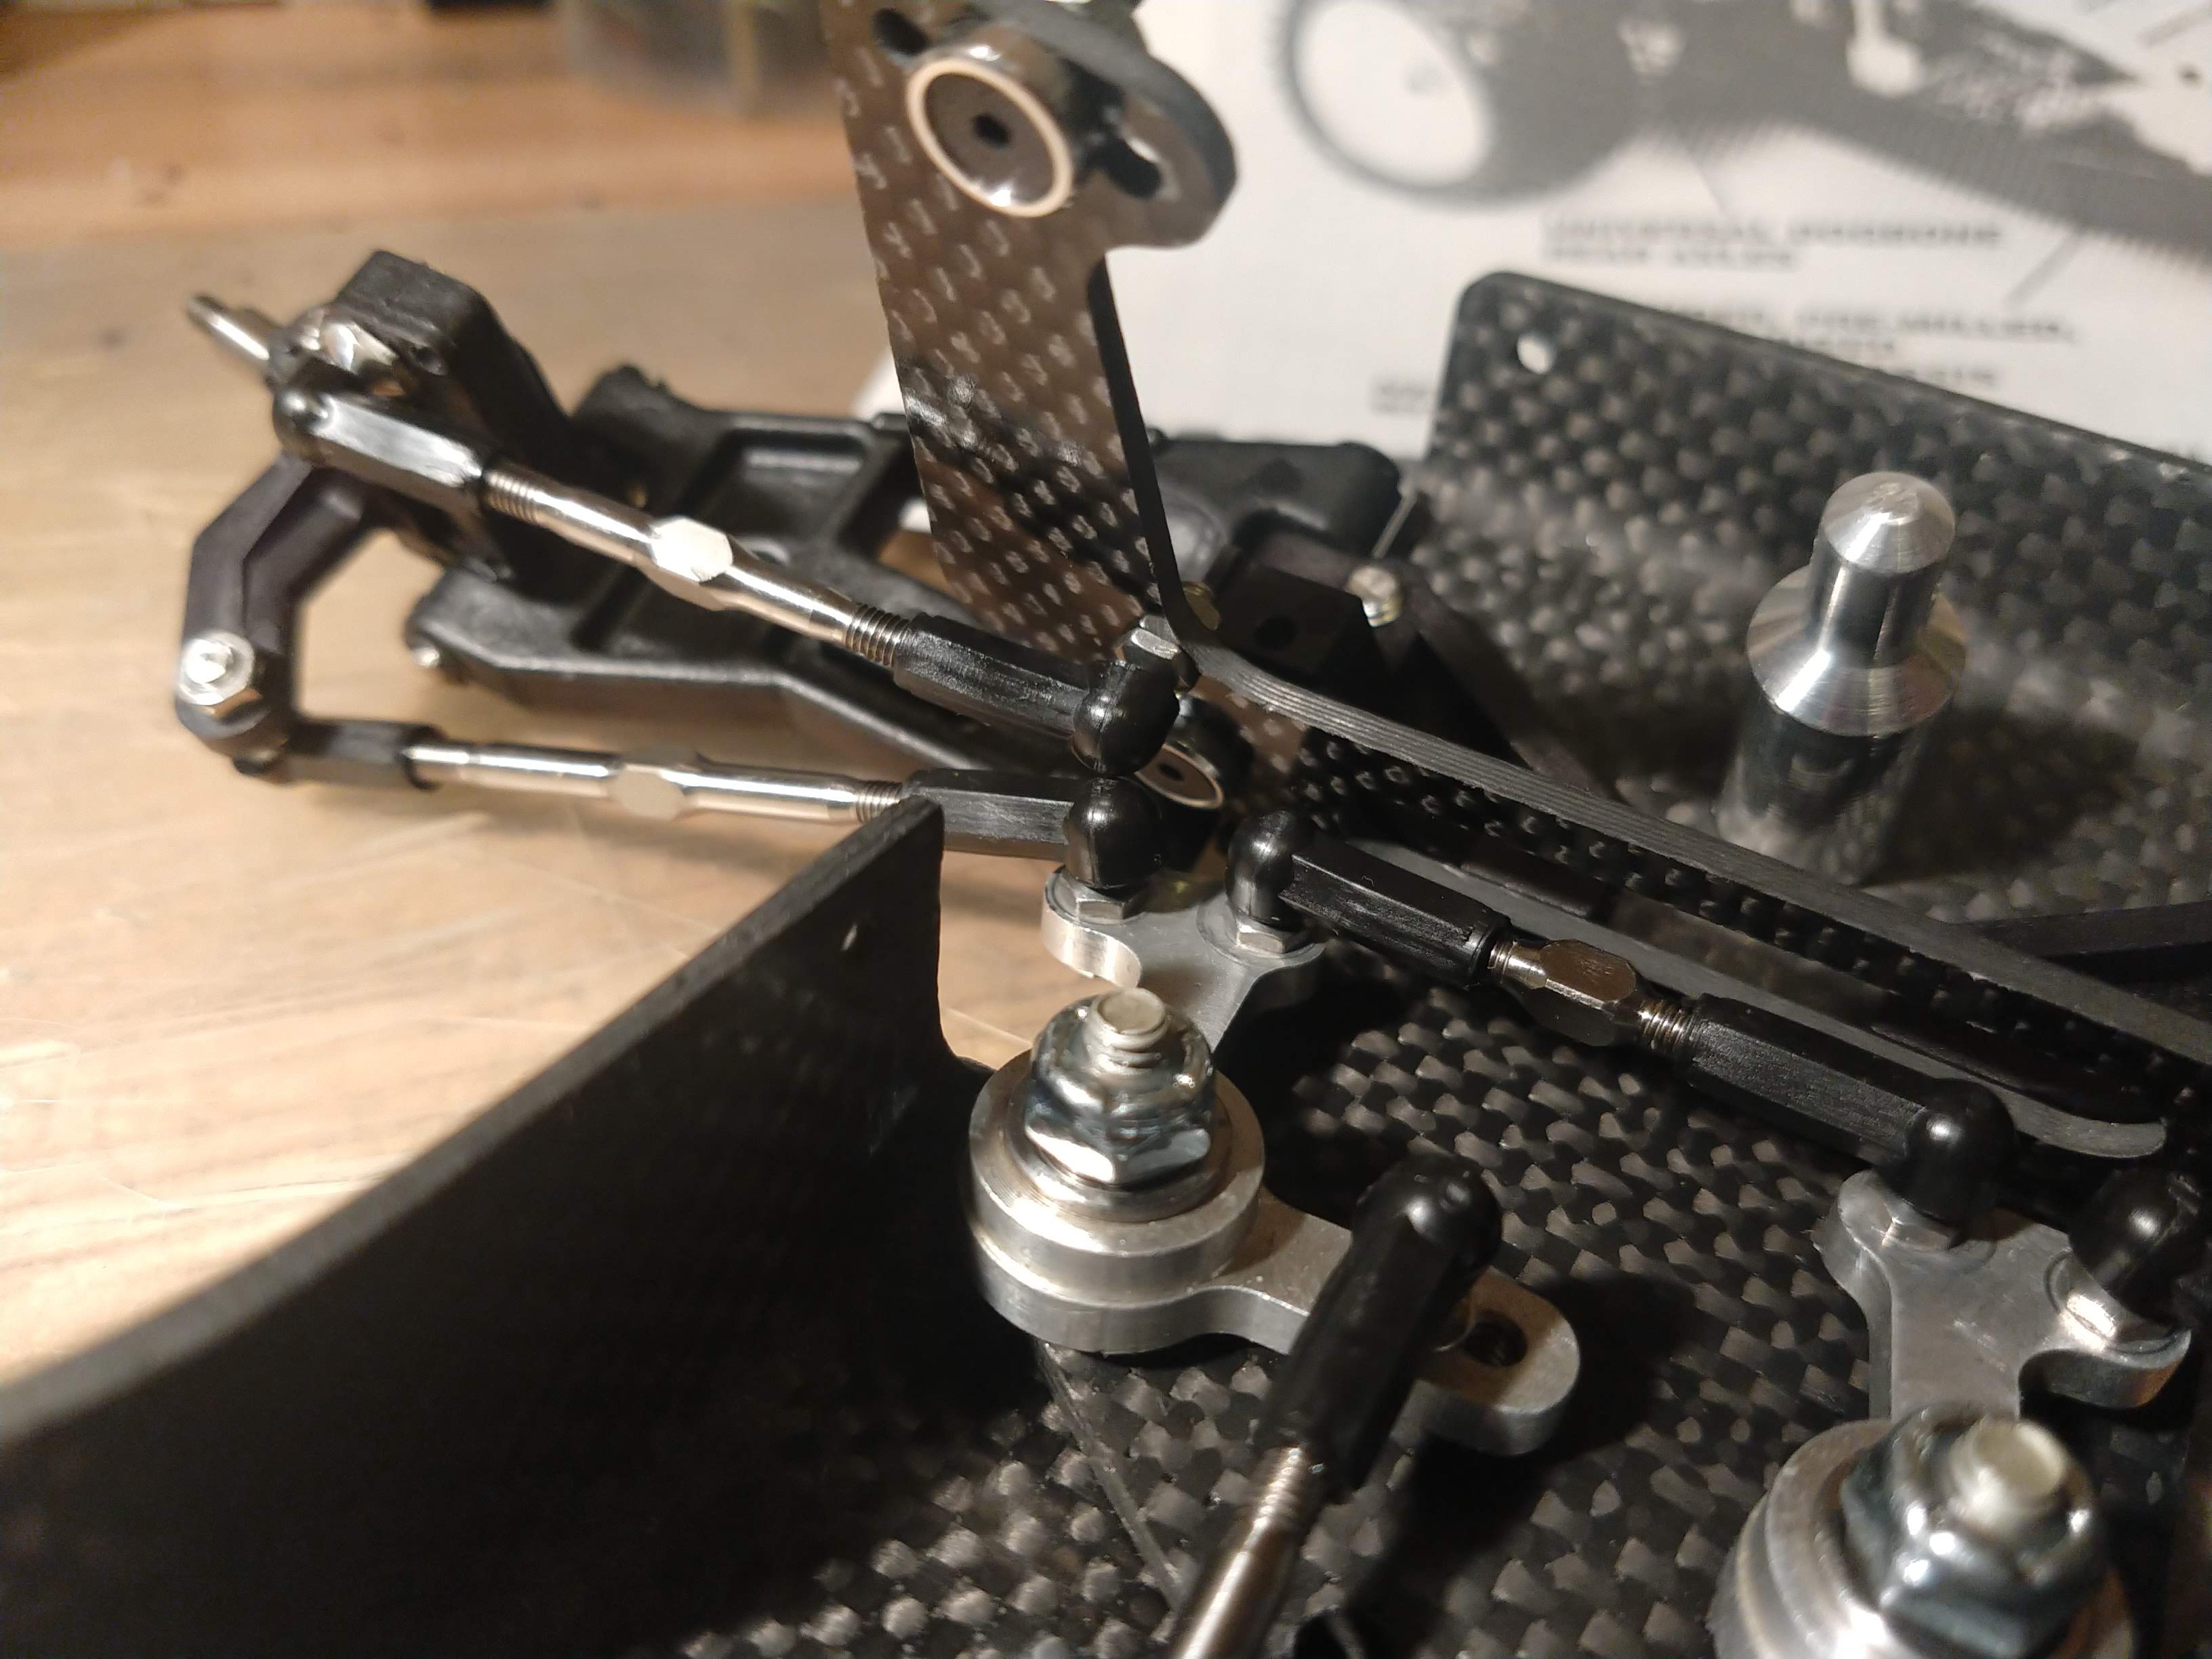
It fits. This is not my favourite ballcup design, but it's still politically correct (as my friend @Patriiick coined it

) and it *just* works. The Lunsford Punishers ballcups went back in the bag. One day when I have my press-drill I will revisit this I swear
I also need to figure out what I do with the center hole at the tip of the nose plate... as said, the nose plate hole is not threaded, and is too big. I could fit a nut on there, but the bellcranks hits it when turning left. I know it's a shelfer, so not critical but still. If someone has a good idea, other than raising the steering and redrilling the front tower
(Jeff - how much is a front CWF worlds tower with a raised camber link hole, please?
)
You will also notice I dropped the RCPS turnbuckles... I found out they were for the Truck. Which is fine because I had a set of punishers ready for a WC anyway. Which actually required me to do more disassembly and do this:
you will notice how the hex of the aluminium ballcups is somewhat chewed up - that's because any wrench
barely fits under the wing tube plastic-holding bit...
Net - after a few hours of camber-steering-other links fiddling with, and with sore fingers, I could finally snap a pic of something that is now beginning to resemble an RC10


Now on to the shocks

(TBC)
Re: It's starting now (Apr2020)... CWF (tub) and Shiny RC10
Posted: Mon May 11, 2020 11:29 am
by radioactivity
Hi Lonestar
What a great build!
Maybe have a suggestion for the clearance between the two ballstuds.
I have found short neck ballstuds give a tiny bit more clearance if used on the tower.
If used on the outside of the bellcranks mine bound up the ballstud cups under full droop, so they did not work for me there.
The ones I tried were on the "Losi style" bellcranks, yours might have better clearance.
Also The ball stud on the steering block?? Never tried it on the bottom
Chuck
Re: It's starting now (Apr2020)... CWF (tub) and Shiny RC10
Posted: Mon May 11, 2020 1:11 pm
by jwscab
I have a burned noseplate, it was anodized or stripped too long so the tapped holes are not right. So I have basically the same issue as you. I have a solution for both problems.
One,. I made custom aluminum nuts for the bellcrank. They have a hex on top, essentially the same type as a world's steering nut. You place then bellcranks on upside down and place a shim on top. When you bolt it all together the bearing rides on the shim,
For the center bolt, i used a #6 pem nut. This fit in to the hole and has a very good profile.
Re: It's starting now (Apr2020)... CWF (tub) and Shiny RC10
Posted: Mon May 11, 2020 4:26 pm
by Marshky
Lonestar wrote: ↑Mon May 11, 2020 10:41 am
I also need to figure out what I do with the center hole at the tip of the nose plate... as said, the nose plate hole is not threaded, and is too big. I could fit a nut on there, but the bellcranks hits it when turning left. I know it's a shelfer, so not critical but still. If someone has a good idea, other than raising the steering and redrilling the front tower
(Jeff - how much is a front CWF worlds tower with a raised camber link hole, please?
)
You could try to raise the bellcranks up far enough so the ballstuds en cups could be mounted on the bottom. Maybe this resolves some of the bump steer as well.
Re: It's starting now (Apr2020)... CWF (tub) and Shiny RC10
Posted: Mon May 11, 2020 5:36 pm
by radioactivity
Just so happens my B1,B4,B6 has one of Jeff's front towers.
The position I used for the ballstud on the tower looks maybe slightly higher and a little outboard than yours. There two hole to choose from, I used the uppermost and outer.
From the top of the nosepiece to the top of the ballstud cup on the world car bellcrank it measures 13mm. This combination yielded almost 3mm of clearance. Your combination appears a little taller maybe.
I am using B4 front carriers, 2mm ballstud spacer on the spindle. I really like how it worked for me. Very little bump steer/camber gain and decent ackerman.
May or may not be helpful with your bellcranks...
(wow my plastic parts sure looks purple)
Chuck
Re: It's starting now (Apr2020)... CWF (tub) and Shiny RC10
Posted: Tue May 12, 2020 3:24 am
by Lonestar
radioactivity wrote: ↑Mon May 11, 2020 11:29 am
I have found short neck ballstuds give a tiny bit more clearance if used on the tower.
If used on the outside of the bellcranks mine bound up the ballstud cups under full droop, so they did not work for me there.
The ones I tried were on the "Losi style" bellcranks, yours might have better clearance.
Also The ball stud on the steering block?? Never tried it on the bottom
Thanks Chuck.
I installed the shortest-necked ballstuds I have... It fits now, but just by a hair. Raising the bellcranks even the tiniest bit will not work.
regarding the steering ballstud facing down - that emoji will do:
I can't believe I've made this mistake
And not spotted it all this time!
Actually, I can... again, working on this stuff at night, I do silly stuff sometimes
jwscab wrote: ↑Mon May 11, 2020 1:11 pm
One,. I made custom aluminum nuts for the bellcrank. They have a hex on top, essentially the same type as a world's steering nut. You place then bellcranks on upside down and place a shim on top. When you bolt it all together the bearing rides on the shim,
For the center bolt, i used a #6 pem nut. This fit in to the hole and has a very good profile.
Cheers Joe for sharing.
for the first part - so that custom nut holds the tub and the nose together via the 8-32 steering screws-posts, and then there is a second nut on top, did I understand this right? My issue is that the raise induced by *any* nut makes the bellcrank ballstuds and the shock tower one hit each other. I initially tried to use the thinnest nut I had but even then... the good news is that the sleeve that the bellcrank bearings ride on is (purposedly) thicker than the bellcranks, so that alloy nut that sits on top of the bellcrank now, it can be cranked down enough to hold both CWF parts together - it's the sleeve that takes the pressure. I still don't like it though.
for the second one - had to look up what a pem nut was - as usual, my mechanical knowledge is sub-par
It's a good idea, I will try to source some. thanks!
Marshky wrote: ↑Mon May 11, 2020 4:26 pm
You could try to raise the bellcranks up far enough so the ballstuds en cups could be mounted on the bottom. Maybe this resolves some of the bump steer as well.
Thanks Marijn. The issue is that between the camber ballstud and the nose plate surface, there is *just* enough space to fit the thickness of the bellcrank "tip", and the ballstud/thin nut at all. The nut is needed because some of the holes are stripped

... The impossibility to raise the whole assembly at all is my issue atm. But you are certainly right about bump-steer, silly mistake I did here on the outside of the steering link for sure.
radioactivity wrote: ↑Mon May 11, 2020 5:36 pm
Just so happens my B1,B4,B6 has one of Jeff's front towers.
The position I used for the ballstud on the tower looks maybe slightly higher and a little outboard than yours. There two hole to choose from, I used the uppermost and outer.
From the top of the nosepiece to the top of the ballstud cup on the world car bellcrank it measures 13mm. This combination yielded almost 3mm of clearance. Your combination appears a little taller maybe.
Thanks Chuck, appreciate the extra info. I think I will actually ping Mr. GoMachV to have a custom tower made...
Overall, I am begining to wonder if that steering is made for this car at all... the very fact that it's so squeezed in there, plus that no-one seems to recognize what it is, is making me skeptical. It's very nicely machined though, so whoever would have done this as a homebrew in his garage 30yrs ago was very talented
I'm thinking this is for another car, really. Anyway, it's on now and it's staying
Re: It's starting now (Apr2020)... CWF (tub) and Shiny RC10
Posted: Tue May 12, 2020 9:08 am
by jwscab
As for the nut, no, there is no nut below the bellcrank, just a small shim to keep it from rubbing. It's almost identical to how a world's steering setup is, I just used stainless screws and aluminum nuts so it was stronger than the aluminum screws and plastic nut.
I can probably make some if you need and I think I might still have some pems.
I'd need to get some dimensions from you. Later today I'll post some pictures.
Re: It's starting now (Apr2020)... CWF (tub) and Shiny RC10
Posted: Tue May 12, 2020 9:29 am
by Lonestar
jwscab wrote: ↑Tue May 12, 2020 9:08 am
As for the nut, no, there is no nut below the bellcrank, just a small shim to keep it from rubbing. It's almost identical to how a world's steering setup is, I just used stainless screws and aluminum nuts so it was stronger than the aluminum screws and plastic nut.
I can probably make some if you need and I think I might still have some pems.
I'd need to get some dimensions from you. Later today I'll post some pictures.
Thanks Joe for your patience. Then I think the setup is similar to the one I have, where the same nut that holds the steering to the nose plate is the one that also holds the chassis and the nose plate together... It actually works on mine, because the sleeve is acting like a crush tube, so I crank the nut down and still not lock the bearings (and the steering)
Or are you saying that the nuts you machined actually have the sleeve built-in, like what's circled in red? (that's AE6252)
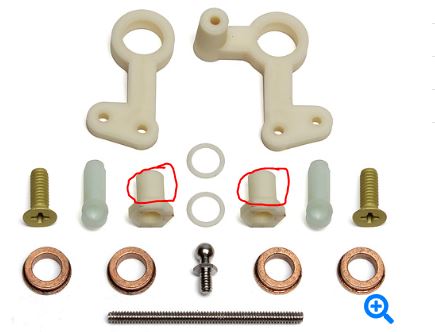
- AE6252.JPG (25.36 KiB) Viewed 2931 times
- AE6252.JPG (25.36 KiB) Viewed 2931 times
Thank you!!!
Paul