Page 6 of 6

Re: The Dragula!

Posted: Sun Sep 18, 2016 10:48 am
by Russ Winn
PlastiZapCA+ wrote:
klavy69 wrote:
Thanx...Just had a LOL moment here. You are building a car from mostly scratch and wondering if these will fit :lol:

Make them fit...I have faith in you :wink:

Todd
Where's the EASY button? Why can't things just fall into place? :P Heck, I guess I'll have to try now.

This was my laugh today!! :lol: Thanks

Re: The Dragula!

Posted: Thu Sep 22, 2016 8:31 am
by PlastiZapCA+
Didn't have time to get done what I wanted last weekend so hopefully I'll get more done this week.


Here's a shot of the nearly completed firewall and battery box.
Image

Re: The Dragula!

Posted: Fri Sep 23, 2016 7:35 am
by sandkil
Woah! What a build :shock:
Talk about craftsmanship. Keep up the good work!

Re: The Dragula!

Posted: Fri Sep 23, 2016 8:19 am
by romulus22
Anxious to see the engine take shape.

Re: The Dragula!

Posted: Tue Sep 27, 2016 1:05 pm
by PlastiZapCA+
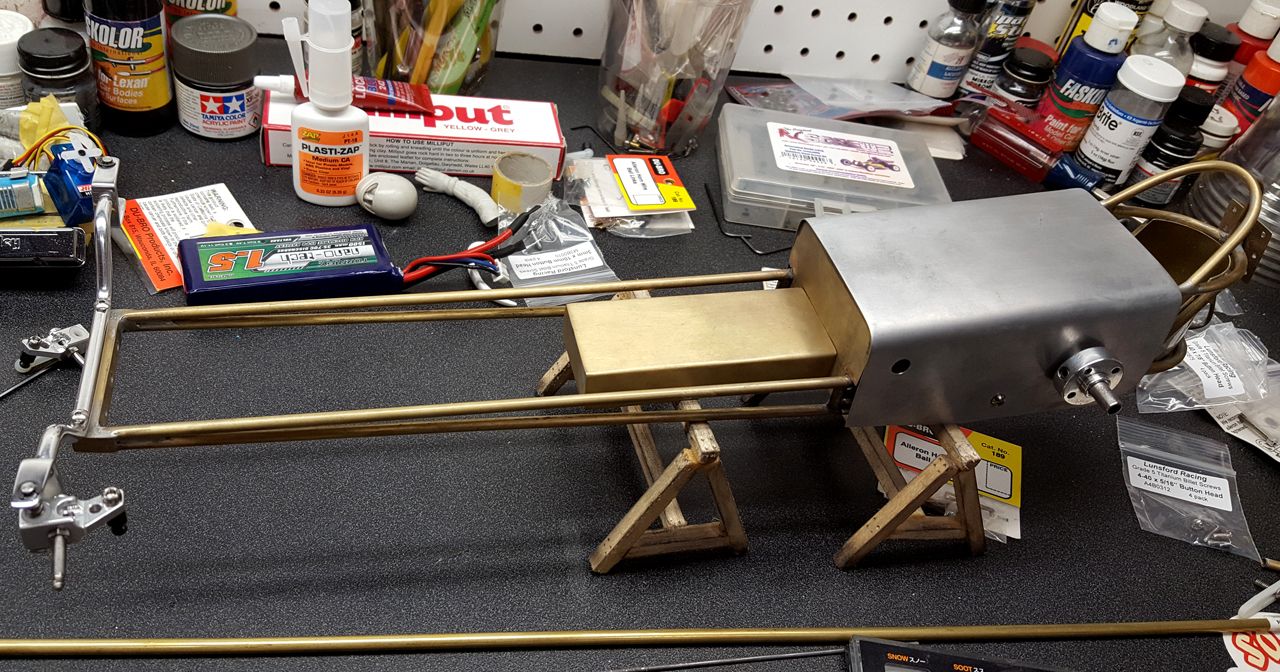
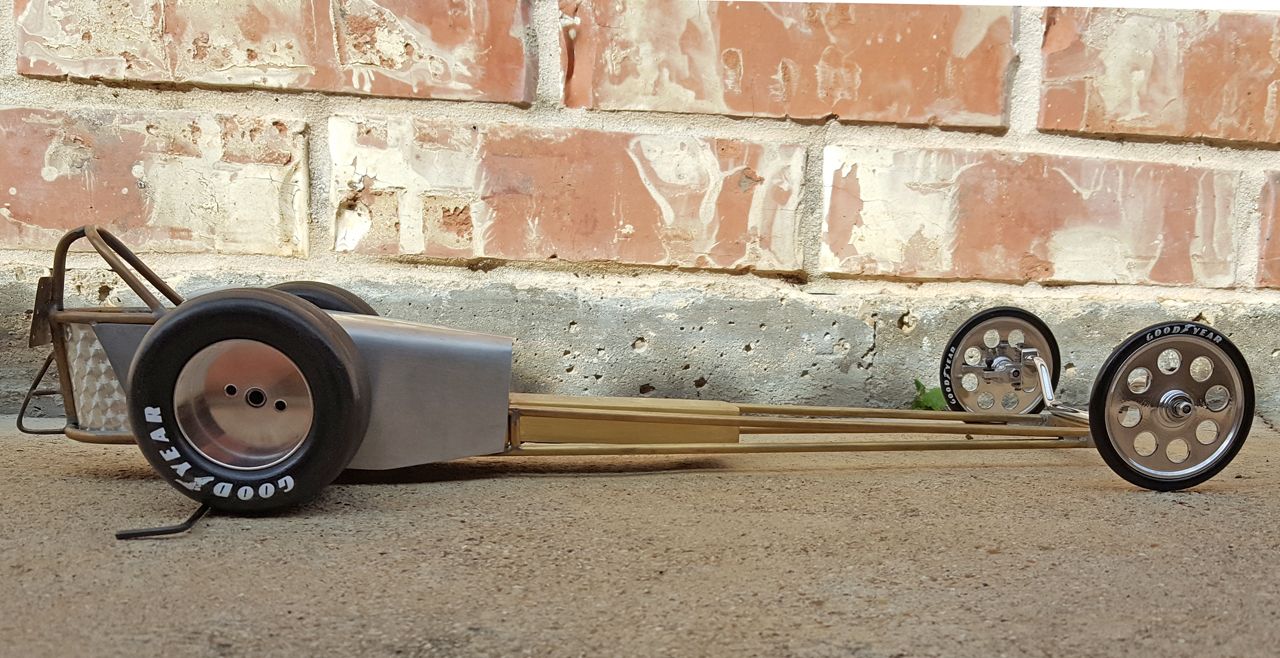
It might not look like it but, I've got quite a bit done this weekend. I finished the firewall and the long process of cleaning it up. I also cut the hole for the battery cable to pass through the firewall. I mounted the battery box and trimmed it down, still needs a slight adjustment, it's mostly done though. I also fabricated the aluminum fairings around the rear of the cockpit and mounted them, they also need minor tweaking. It's getting there, most of the jobs I had to do were tedious and time consuming, it's progressing though.


I totally failed in my effort to write up a proper tutorial on metal fab. :lol: The short, take a lot of measurements, cut, measure again, bend it, hammer it, sand it done. I use a pair of hand seamers to continuously smooth the piece and also a body hammer. For rounded shapes just lightlt tap the metal around a rounded object with a body hammer and then sand out the kinks. You'll get it once you start.
Image

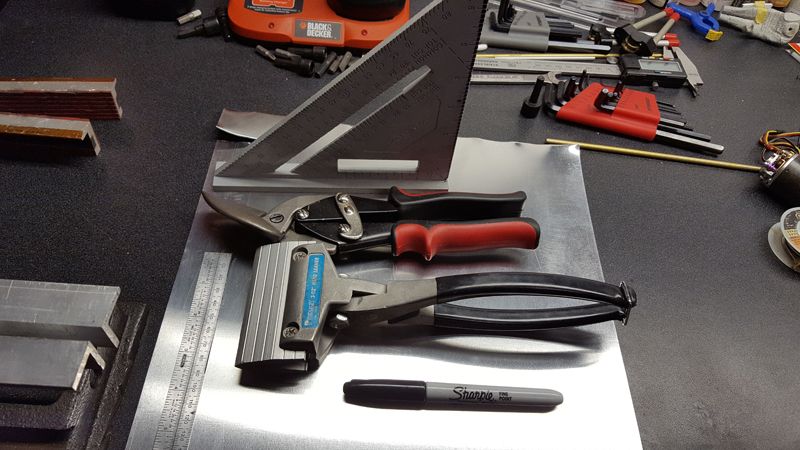
I also use some aluminum angle in a vice to act as a sheet metal brake, it works quite well.
Image


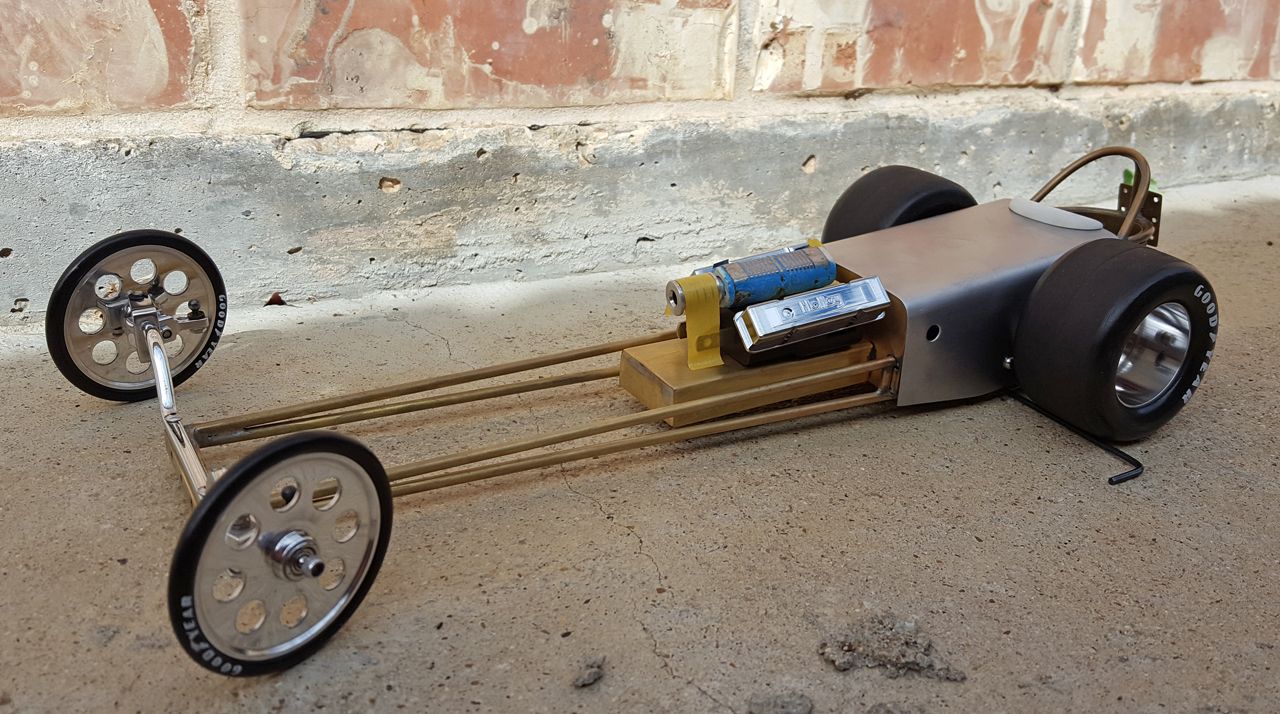
Here's the firewall with the battery box attached. Supports will be added to the front of the box later. Still need to clean up the flux around the box (black stuff).
Image

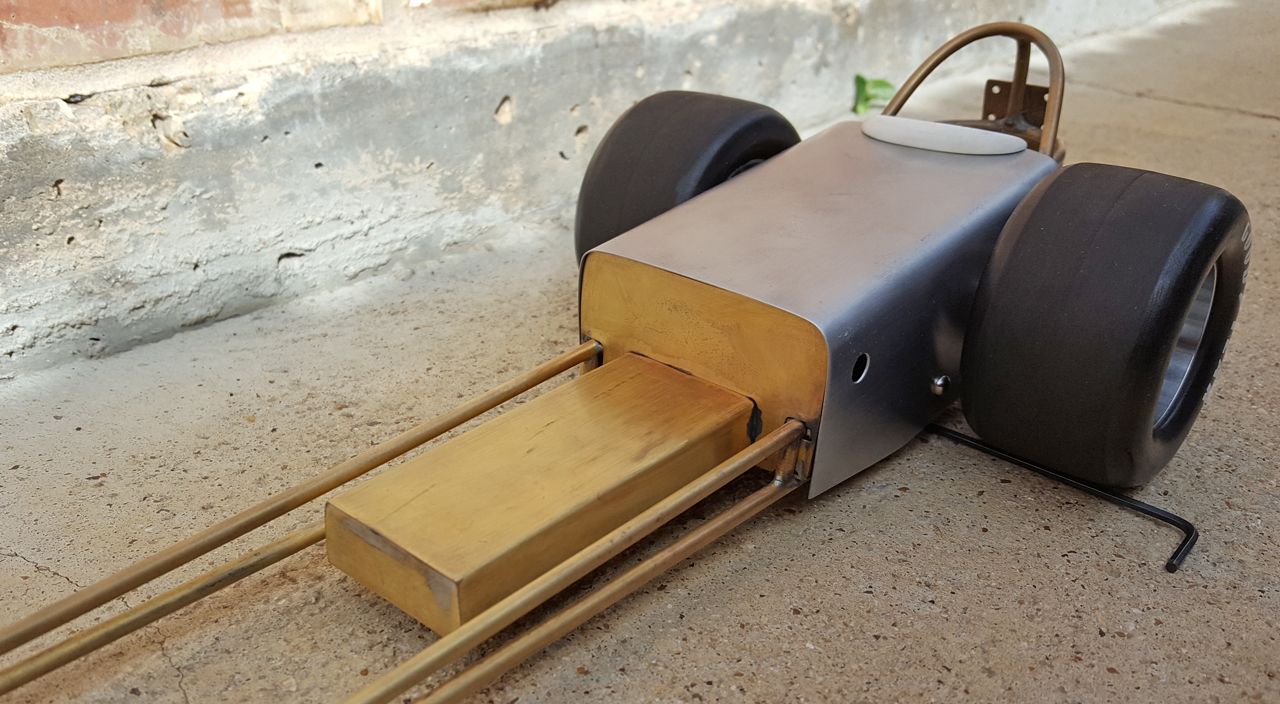
I made it as thin as possible and sits above the bottom rail. The battery is actually mounted in there in this photo. You can just slightly see one battery wire running along the bottom, it'll be tucked in when connected.
Image

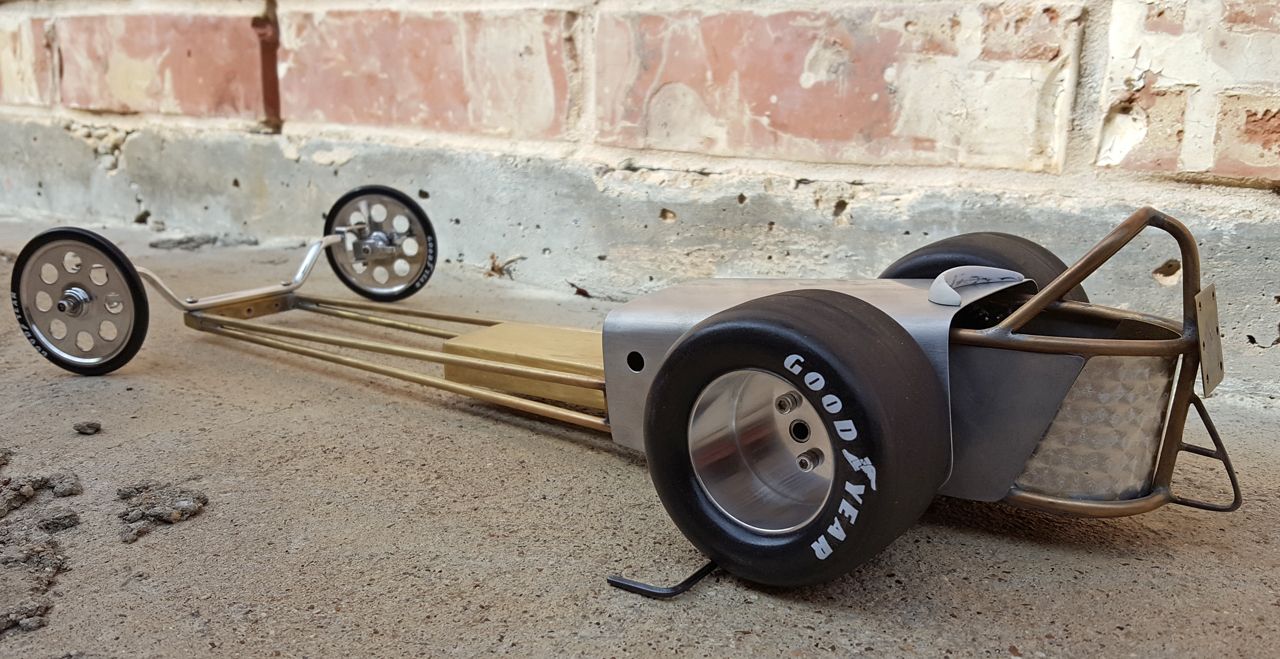
The cockpit faring is seen in this photo.
Image

The faux motor will be built over the battery box like this. Won't be too much longer before I start on it.
Image

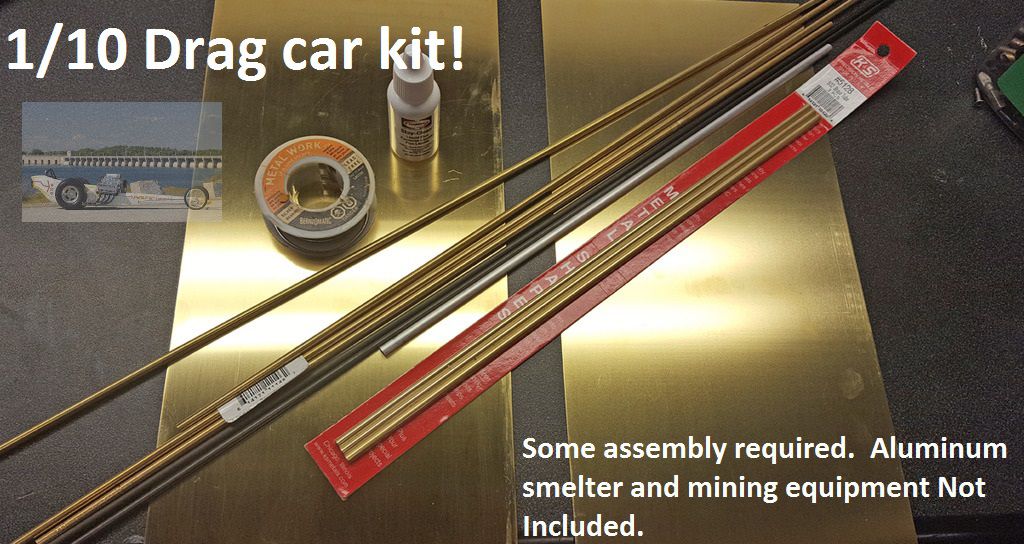
I might start selling these in kit form. :lol:
Image

Re: The Dragula!

Posted: Tue Sep 27, 2016 1:24 pm
by PlastiZapCA+
sandkil wrote:Woah! What a build :shock:
Talk about craftsmanship. Keep up the good work!
Thanks man! It's really not that hard.

Re: The Dragula!

Posted: Tue Sep 27, 2016 1:26 pm
by PlastiZapCA+
romulus22 wrote:Anxious to see the engine take shape.
Me too, I can't wait to build up some drag pipes! What I have in mind might be tricky, I'll figure it out though.

Re: The Dragula!

Posted: Tue Sep 27, 2016 7:57 pm
by 1300GT
Looks great! :D It'll be good to see the end result.

Re: The Dragula!

Posted: Wed Sep 28, 2016 1:28 am
by RC10th
I like the repurposed use of a resistor and electrical plug.

Re: The Dragula!

Posted: Thu Sep 29, 2016 10:06 am
by PlastiZapCA+
Thanks guys! I hope to get all the steering gear built this weekend. I'm also going to try and wrap up the body pieces and a few other details like the the keg tank. Once I get that done I'll start on the faux engine.

I'll be copying the bell crank system from this car.
[youtube]Pl3ylTH0OeI[/youtube]