Page 1 of 1
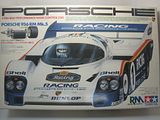
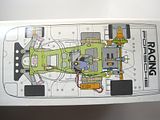
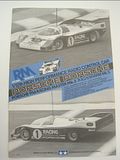
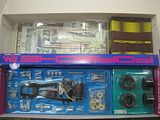
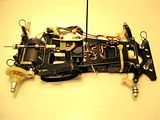
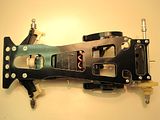
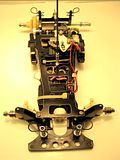
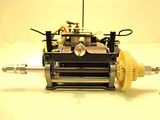
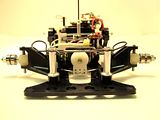
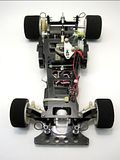
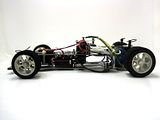
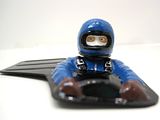
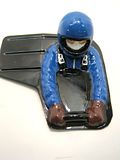
Tamiya Rothman's Porsche 956
Posted: Sat Oct 05, 2013 10:04 pm
by THE H.P FREAK
Re: Tamiya Rothman's Porsche 956
Posted: Sat Nov 23, 2013 1:20 am
by SONYtec
Brings back memories.
Re: Tamiya Rothman's Porsche 956
Posted: Sat Nov 23, 2013 9:02 am
by shodog
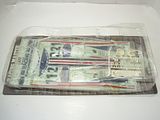
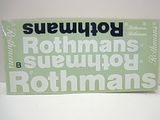
Looking really good so far. Those rothmans filler decals are rarer than hens teeth. I was lucky to come up on a couple of sets and a few of the iseki/canon/Newman decal packs at an out of the way hobby shop.
Re: Tamiya Rothman's Porsche 956
Posted: Sun Jan 05, 2014 7:09 pm
by 67CamaroSS
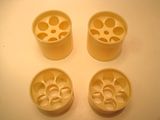
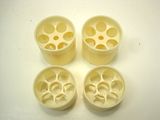
Can you tell me what you did to whiten those wheels. They look great.
Re: Tamiya Rothman's Porsche 956
Posted: Sun Jan 05, 2014 11:11 pm
by THE H.P FREAK
HI!... I have tried many several ways of whitening plastic RC parts of the years. The best system I have found for me is this.
You will need the following :
- Hydrogen peroxide (3%)
- 1 large glass bowl
- 1 true Ultra-violet light
- desk lamp
- aluminum foil
I start off wrapping the aluminum foil around the large glass bowl. This just concentrates the U/V light. Acts like a mirror. Shiny side towards the inside. Fill the bowl with H/P. More than enough to cover the parts you are trying to whiten. Stir them around to get all the air bubbles off. Install U/V light in desk lamp and place the lamp just above the H/P solution in the bowl. You don't have to but I usually make a cone out of aluminum foil and cover the top of the bowl and desk lamp shade together, further concentrating the U/V light. I let it sit like this for 3-5 days. You will have to top up the H/P solution periodically due to evaporation from air/heat from the light. Frequently stir the parts and rotate them. You will get a ton of air bubbles clinging to the parts due to the chemical reaction from the whitening process. Smaller parts tend to float to the top if enough air bubble get on them.
You can buy H/P at most drug stores and it's very cheap. I got large glass bowls from the local dollar store as with the aluminum foil. The U/V light can be bought at most pets stores. Usually they are located in the reptile section.
If you want to whiten the Tamiya Porsche 956 rims, as a alternative you can buy new ones with tires for around $20 for a full set. Tamiya re-released the rims when they came out with the re-re Porsche 956/Newman 956/Toyota Tom's on the RM-01 chassis.
Re: Tamiya Rothman's Porsche 956
Posted: Mon Jan 06, 2014 3:36 am
by 67CamaroSS
Thanks for the info. I have a couple RM rollers and one of the re-releases but that's great info for other vintage parts.
Re: Tamiya Rothman's Porsche 956
Posted: Thu Jan 30, 2014 12:23 pm
by VintageFanatic
HP-
Beautiful car - nice work! Thanks for sharing your whitening process...I've tried a few methods and nothing comes out quite as white as I'd like. I'll be trying your method on my upcoming project.
Re: Tamiya Rothman's Porsche 956
Posted: Sun Jan 04, 2015 1:32 am
by THE H.P FREAK
Re: Tamiya Rothman's Porsche 956
Posted: Sun Jan 04, 2015 1:54 am
by shodog
Looks great so far. Now onto paint