Spare/used parts/OIN Mid Motor RC10 build
Posted: Fri Feb 27, 2015 8:52 am
Ever since I got my Lazer ZX new I've always wanted to do a 4wd RC10. I've also always wanted a mid motor RC10 and of course something super fast. We were pretty fast back in the day but with todays bruchless setups it's seems even more feasible. Additionally, not too long after I got my RC10T I threw some buggy wheels and body on it but it just never looked (or felt) right...
After getting back into the game I've become familar with the term OIN - as such I'll be able to take some spare parts I've collected and make something cool that I originally thought about 25+ years ago! I'm older, wiser and richer (well, I'm not 10 anymore! lol) so the plan now is for a mid motor top speed runner. Seeing a couple of the other mid motor builds lately is super cool - luckily mine is a bit different so that's good...keeping things fresh.
Been building this for a while now - just getting around to finding some pics. Between my camera, my wifes old camera, her new camera and 2 cell phones I'm digging through everything trying to find them! lol. Besides spare/use parts I'll be doing some 3d printed stuff as well. As I find more pics I'll post them...
Being a gear-headed drag racer through and through...I'm trying to keep this a "street car" if you will! I want this to be a top-speed runner but also maintain 2.2" buggy wheels and a buggy look (not lowered with touring wheels etc). After going fast I want to be able to race it in the dirt with it without going crazy changing stuff other than tires.
With that being said, my first thought for bracing chassis was what I'd call a "sub-frame connector" of sorts. Trying to take what I've learned from real life hot-rodding.
Ok on to the pics...
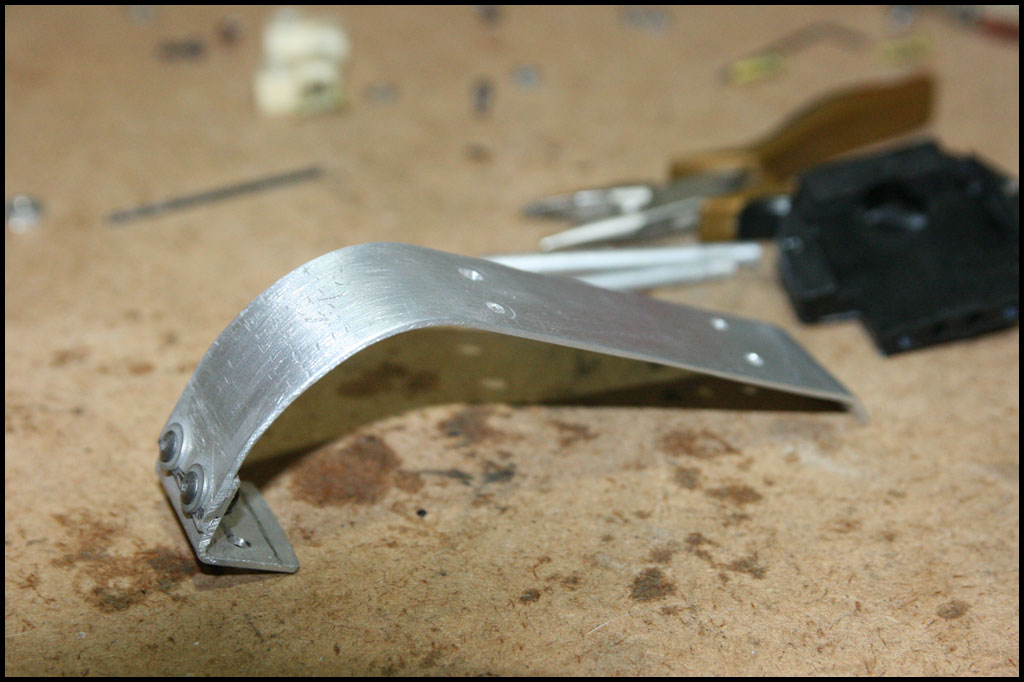
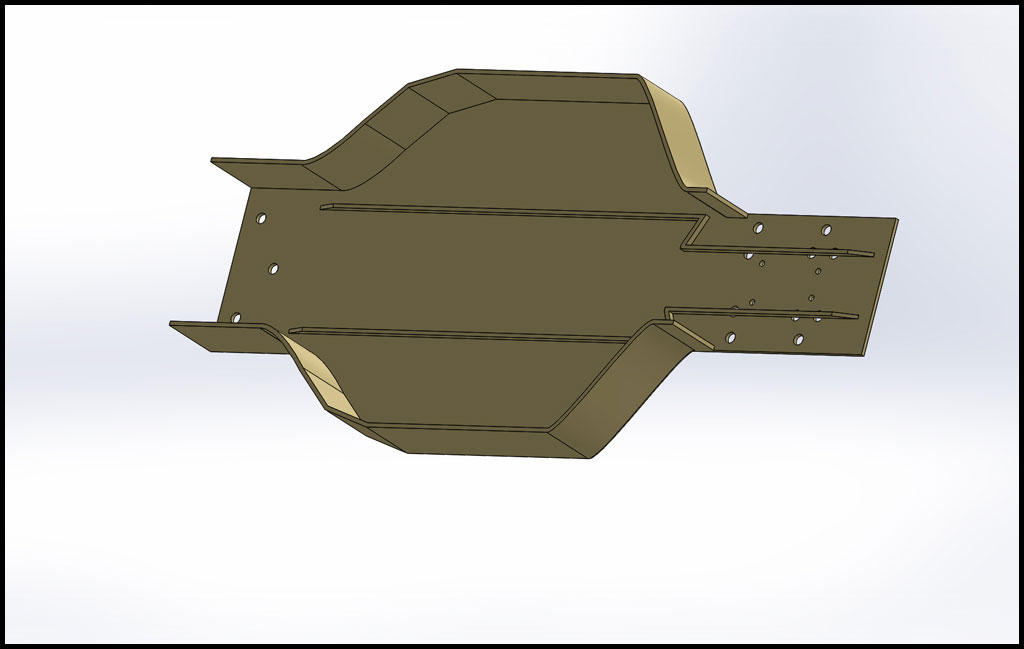
This is sort of what I had in mind. I wanted to cut down the sides (not shown in illustration) and then use them as my "connectors". I was going to use that as-seen-on-tv stuff Alumaloy to "weld" everything together. HOWEVER, as good as it works for aluminum repair it just wasn't working like I'd hoped. I've used it before for fixing aluminum in one spot...but when doing multiple, or larger spots it just doesn't work great...it's basically soldier...once heated back up it re-melts. Back to the drawing board for something less cool. I wasn't up for taking it to someone for tig welding and I knew my mig welder would work but it would have been more work than it was worth.
(a cnc milled version out of billet was over $1000 - so that was out too! haha)
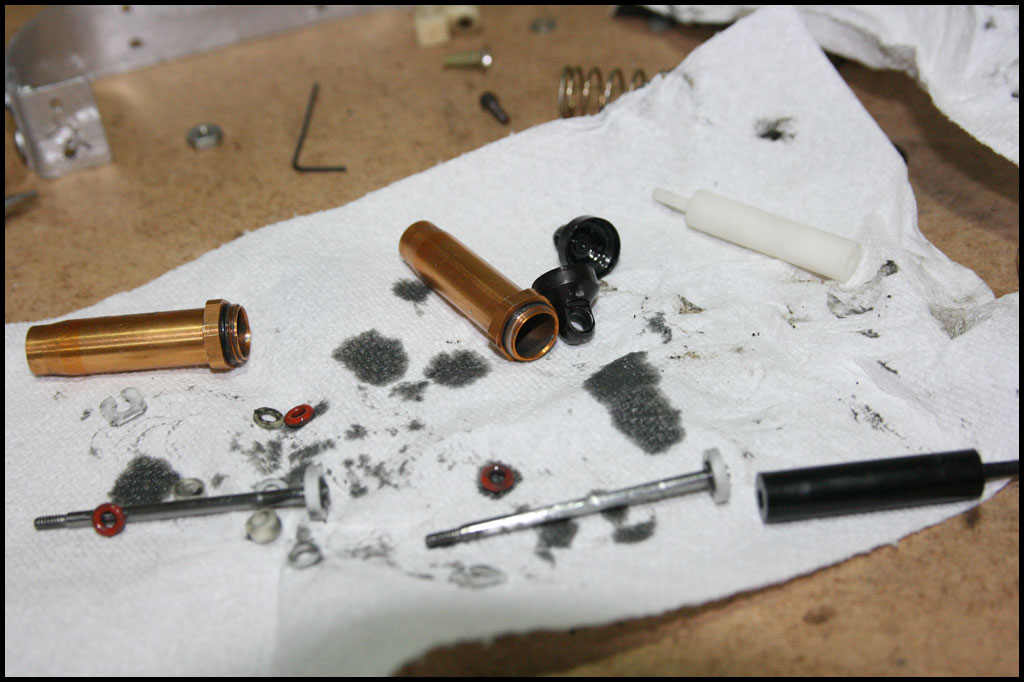
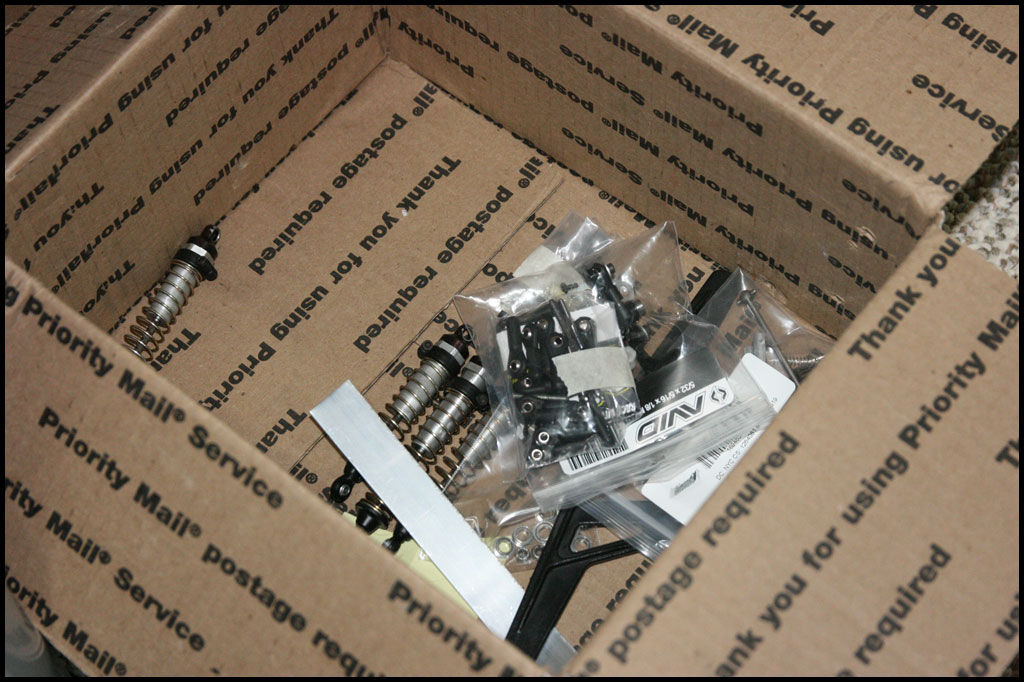
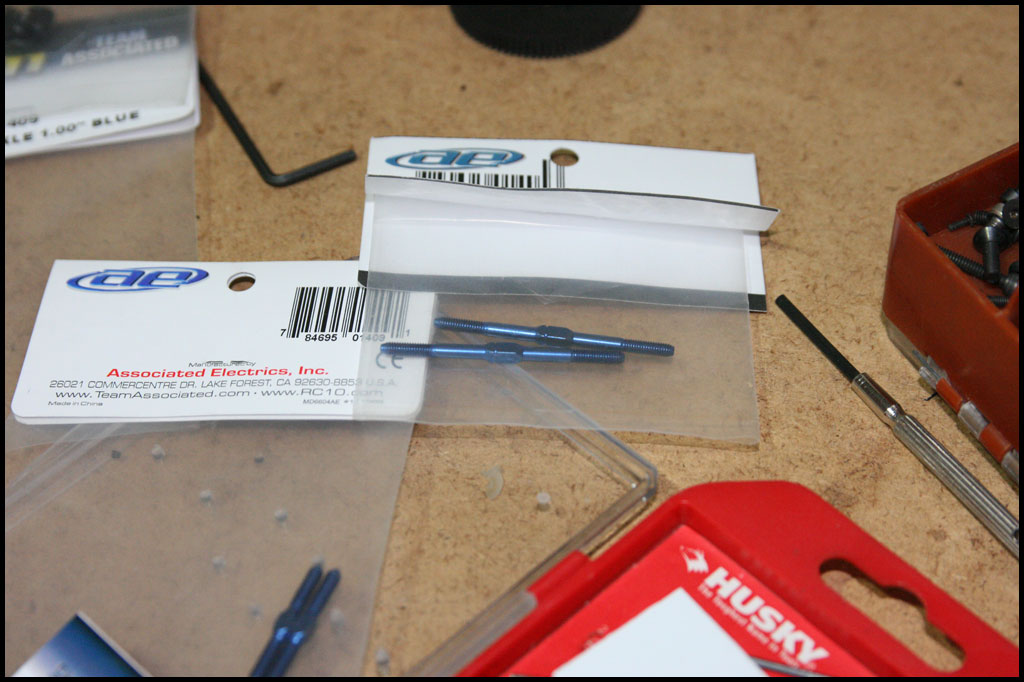
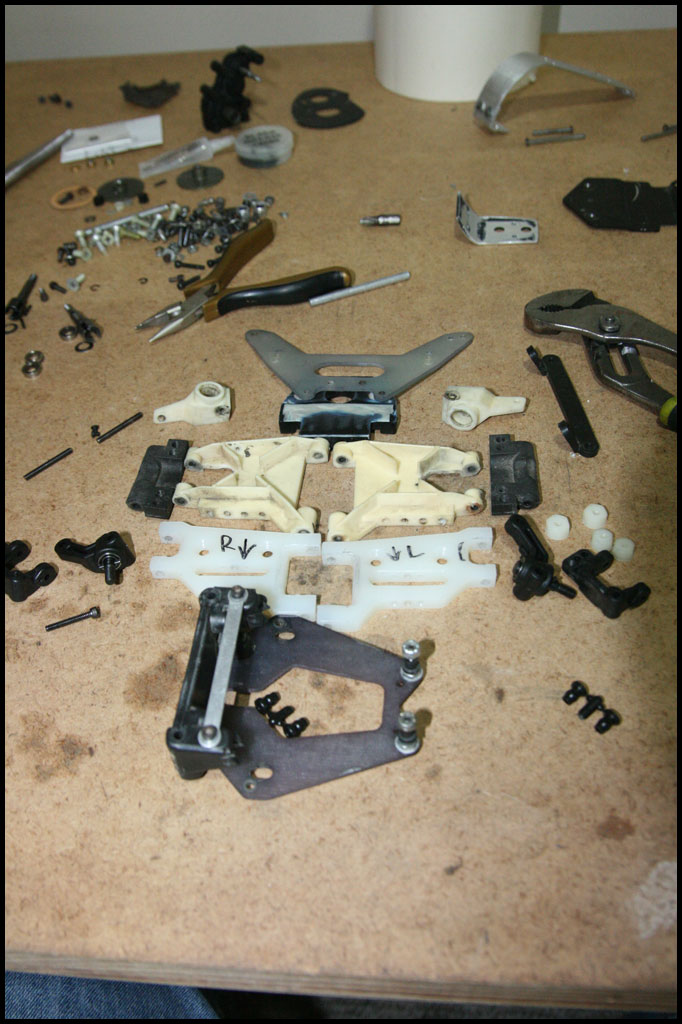
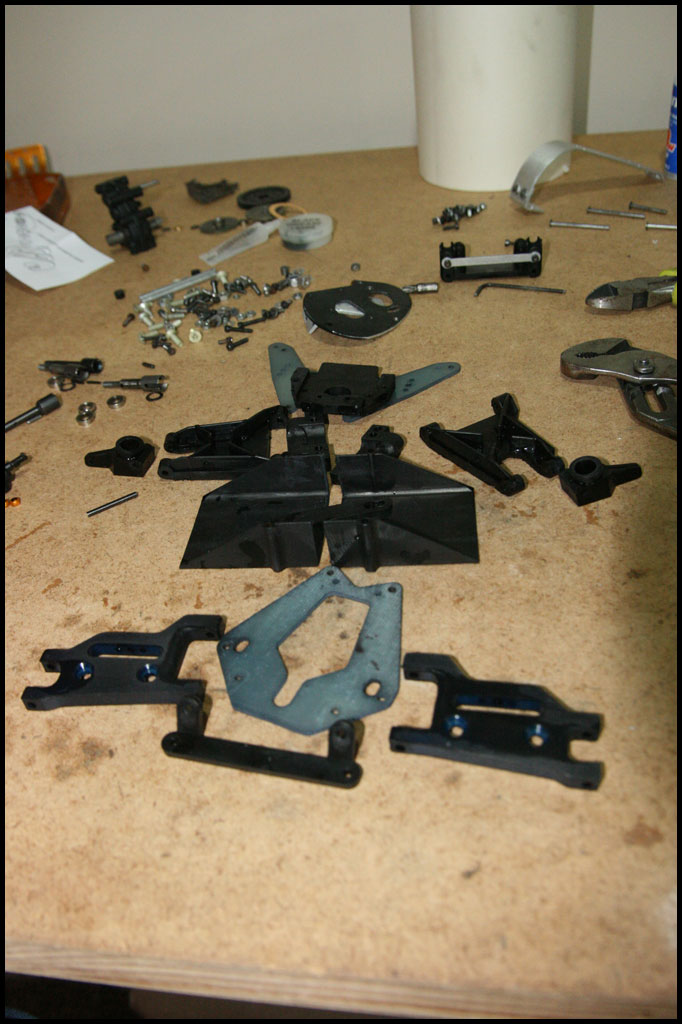
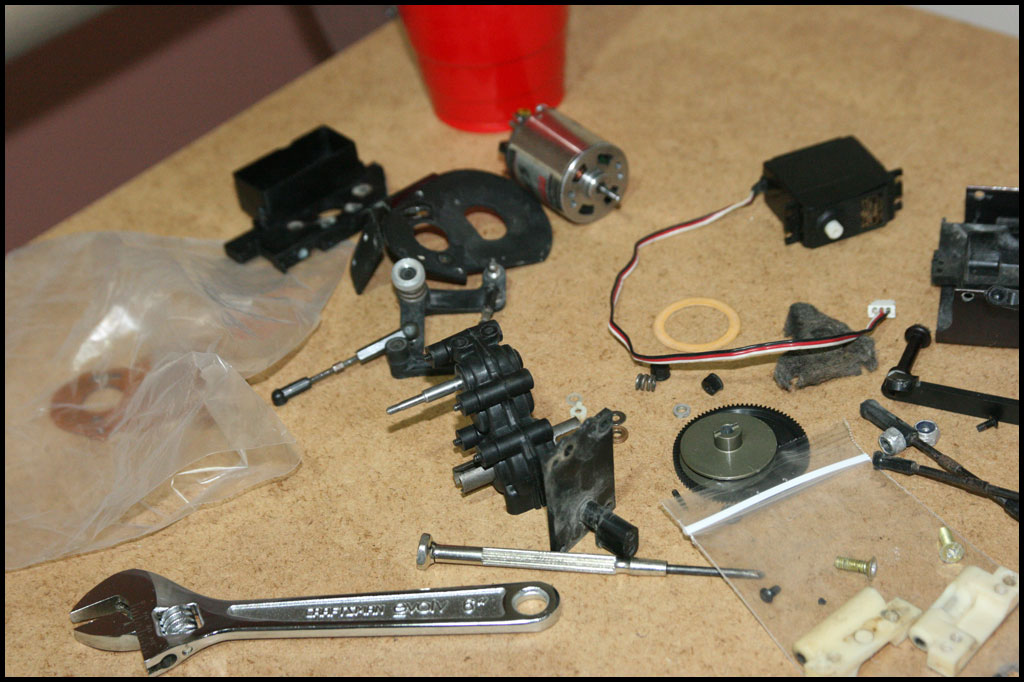
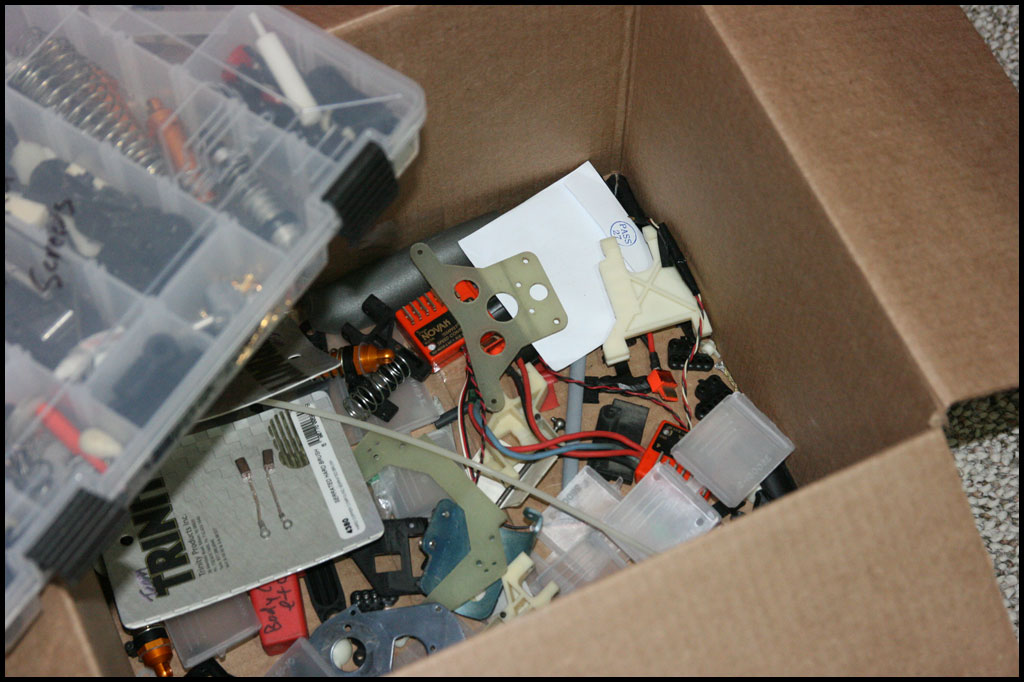
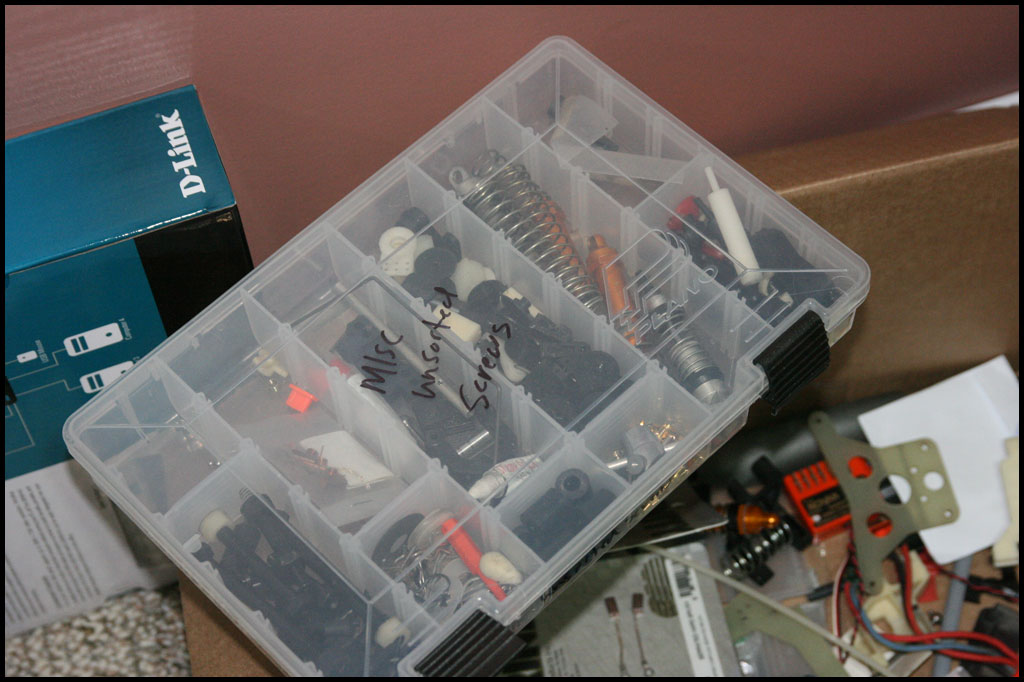
Here are some pics of sorting through parts...

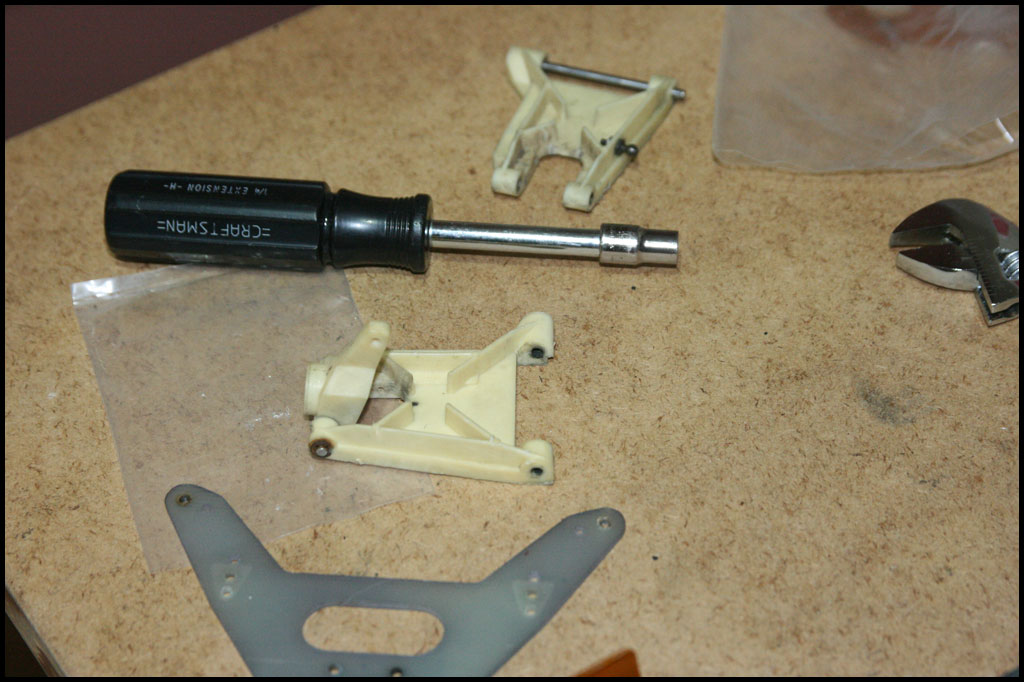
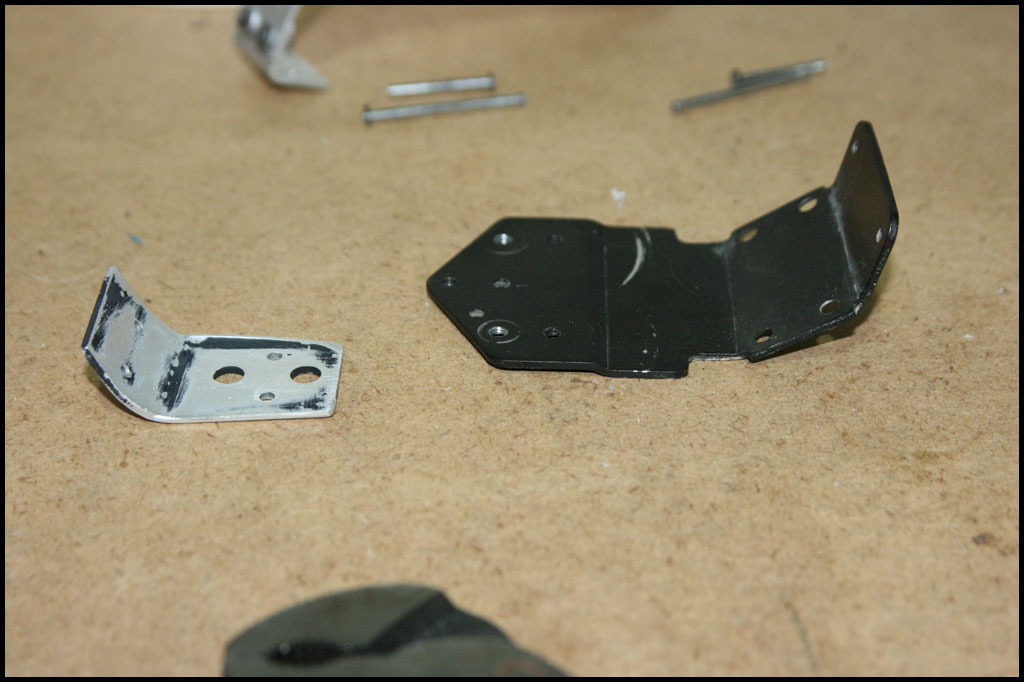
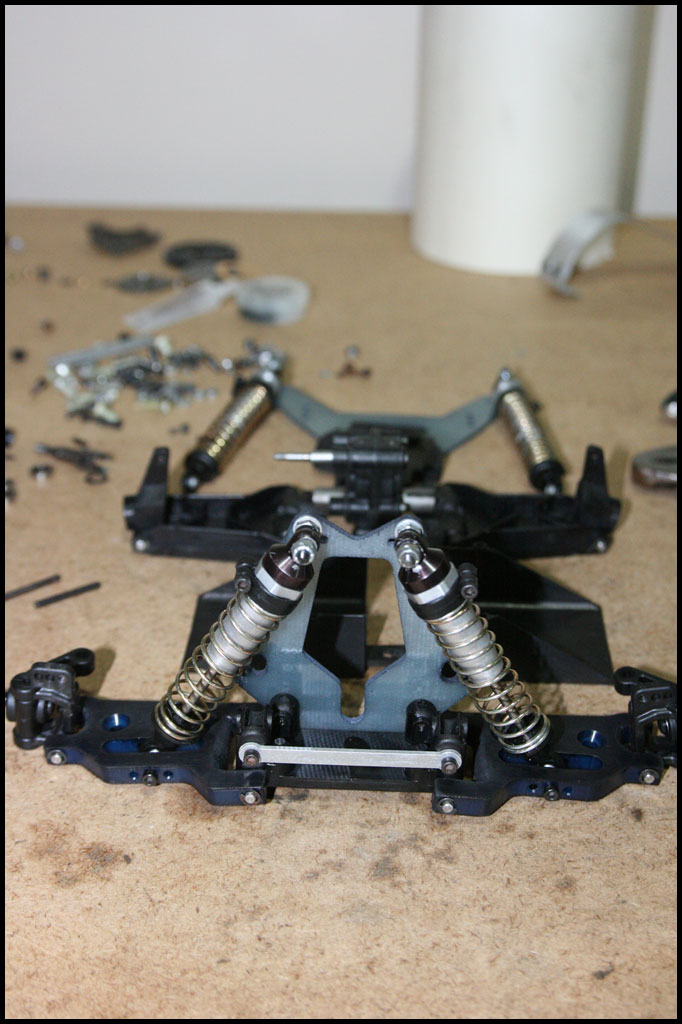
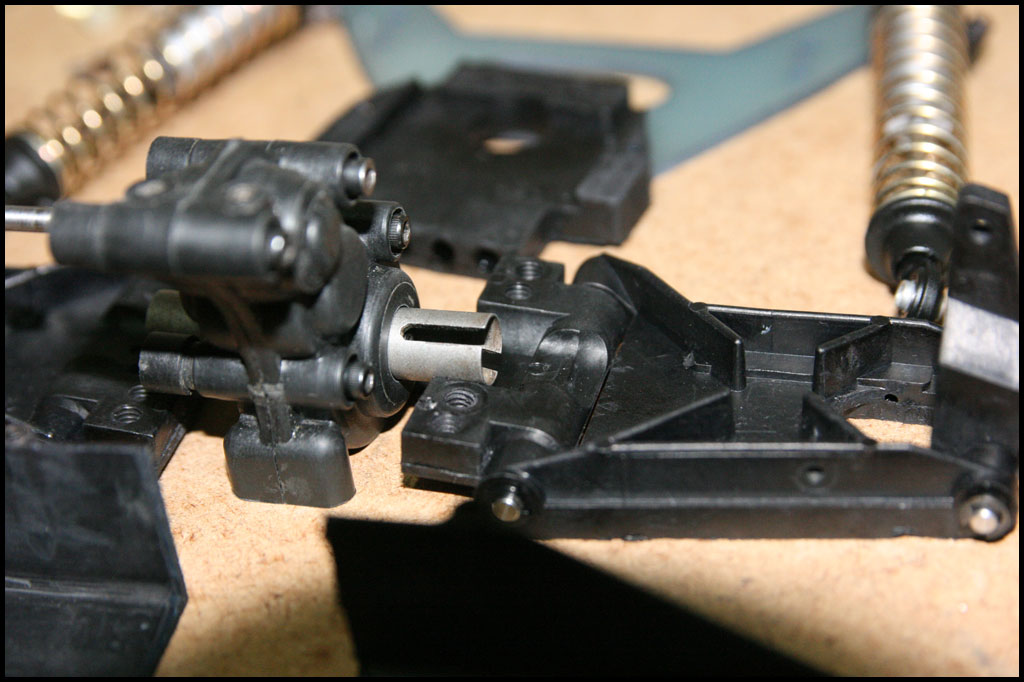
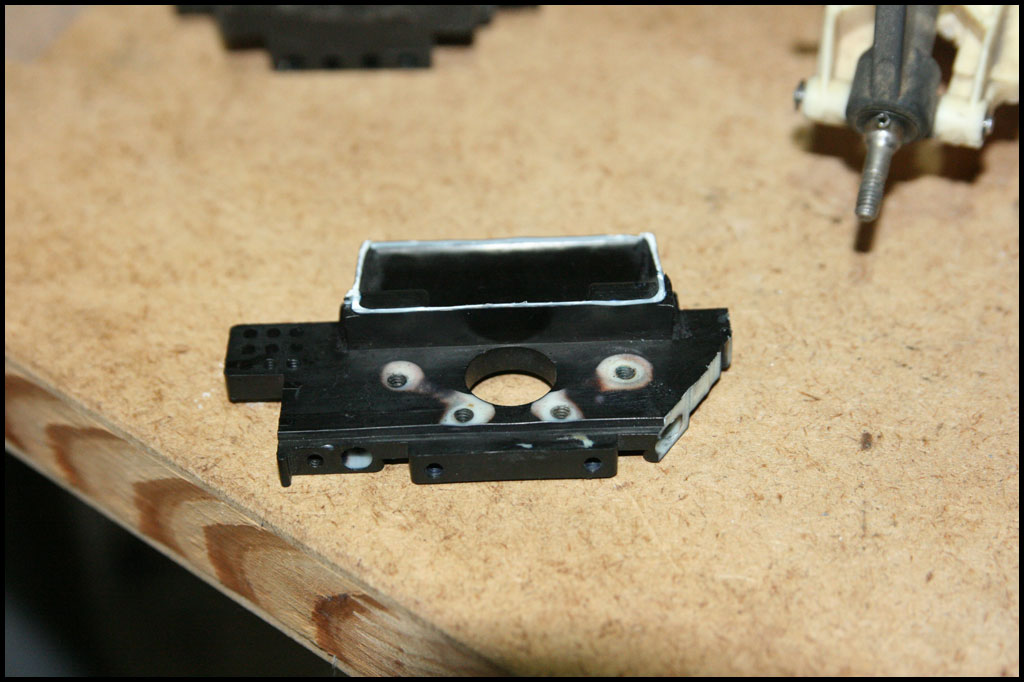
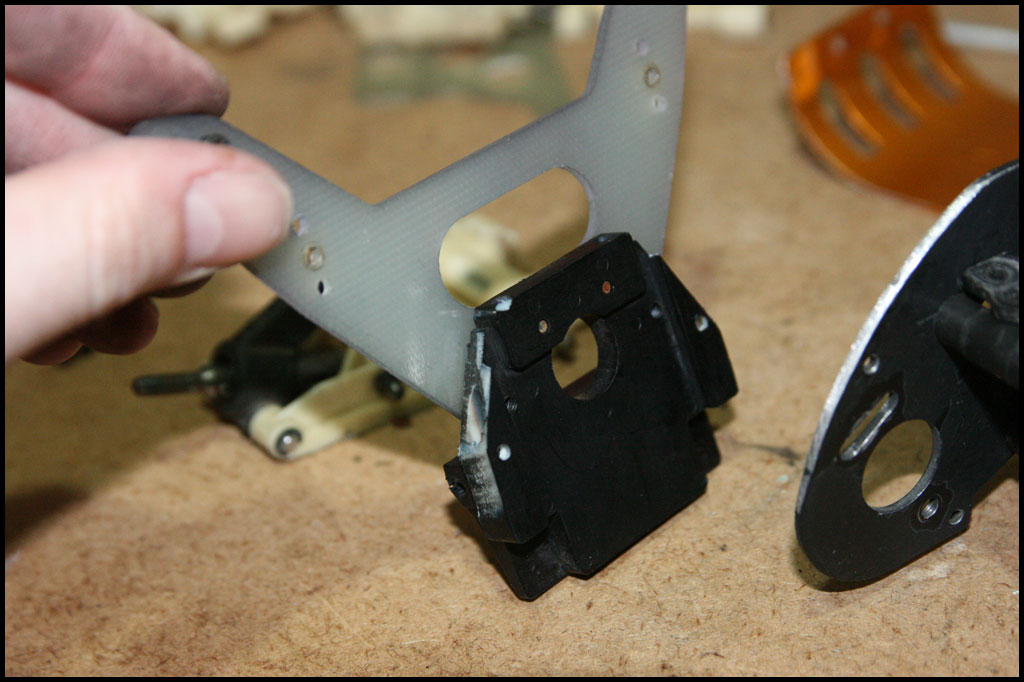
Starting to mod bulkhead...
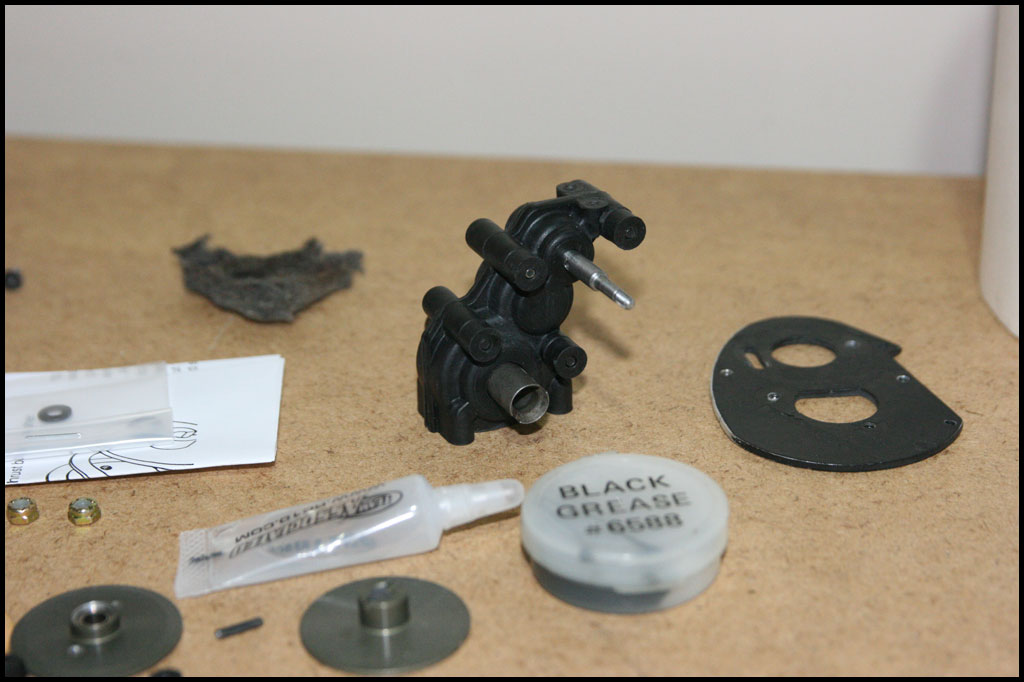
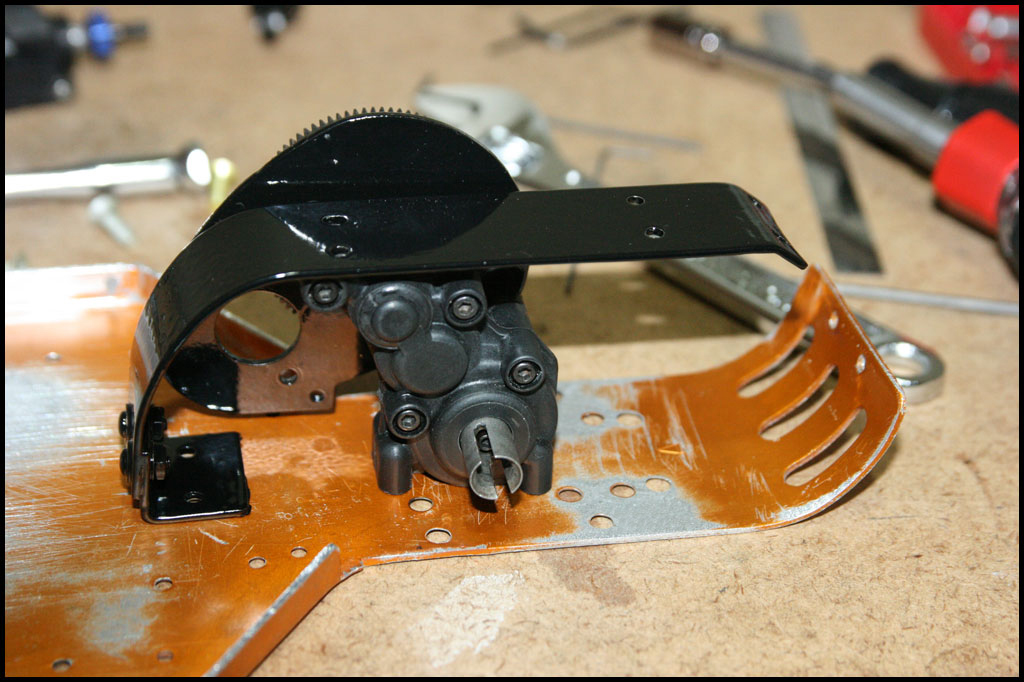
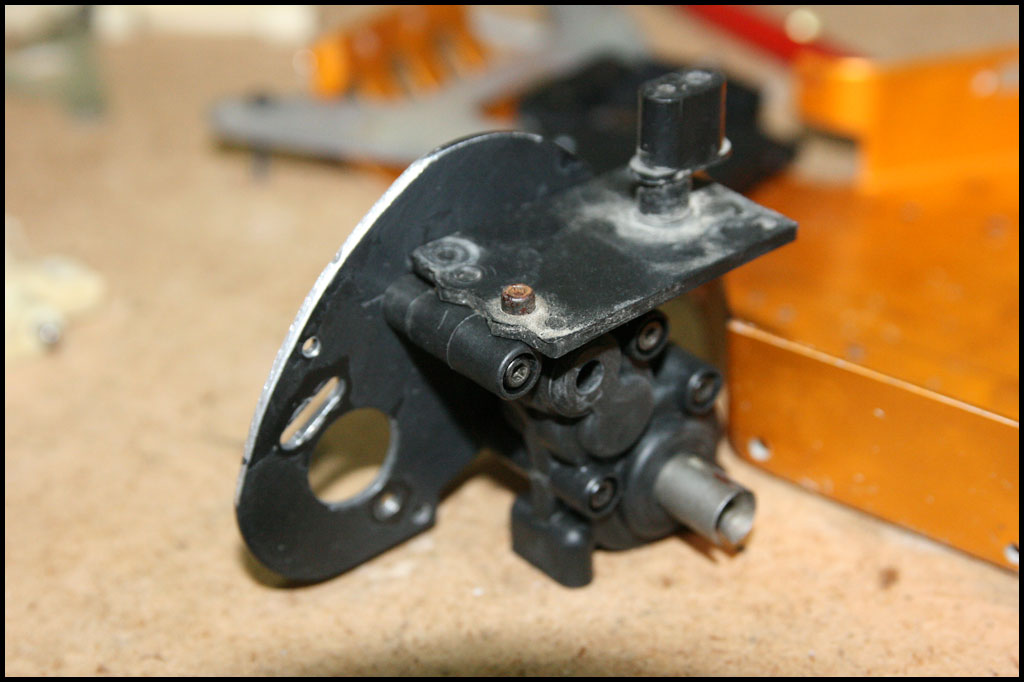
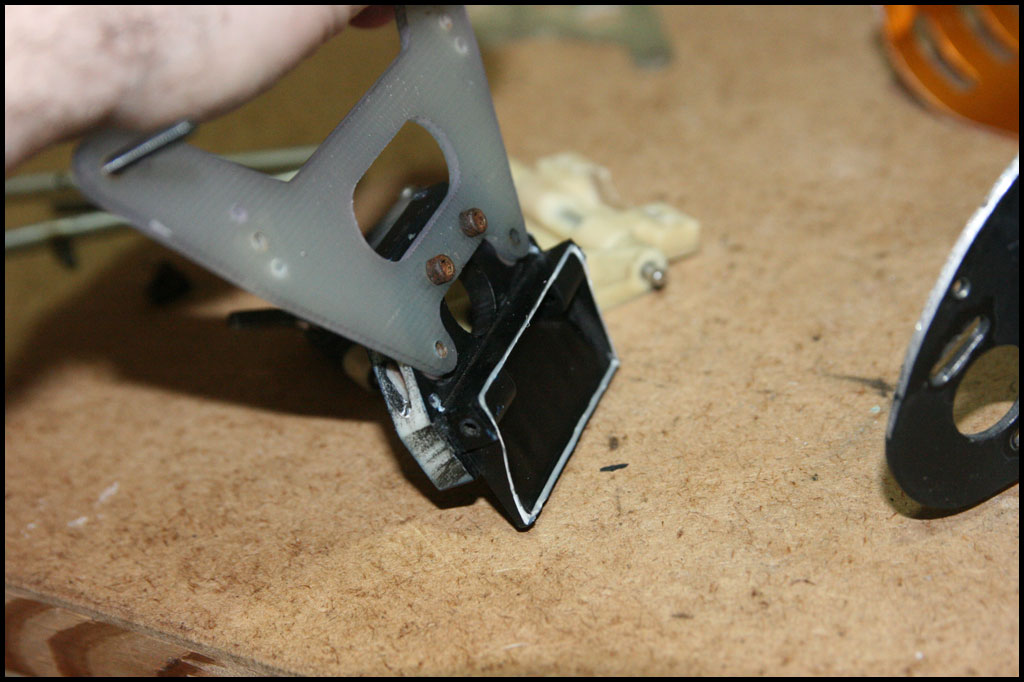
Modded motor plate on the stealth...
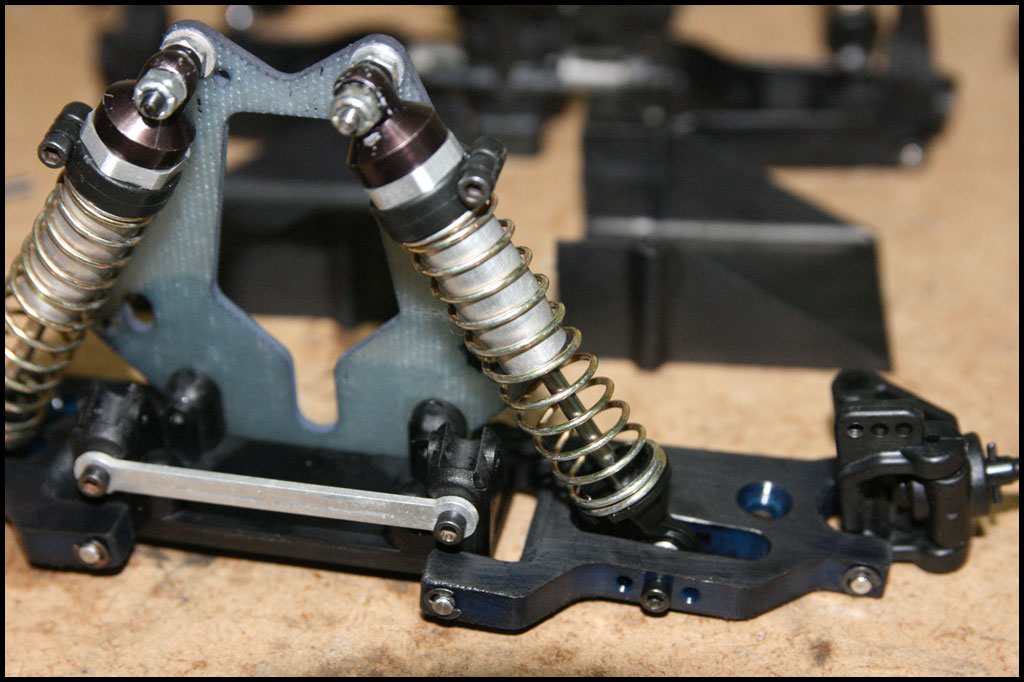
This is a set of Kyosho bellcranks with 5/32 x 5/16 bearings. Worked perfectly but broke after a small crash...ended up with a set of NixConcepts bellcranks.
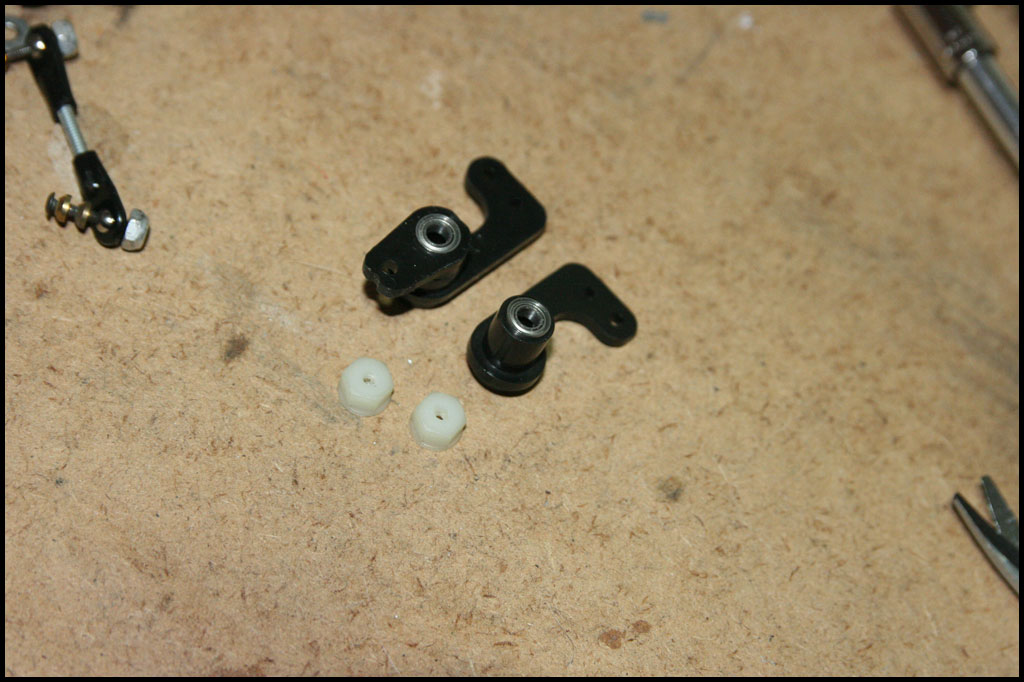
Bearings loaded up
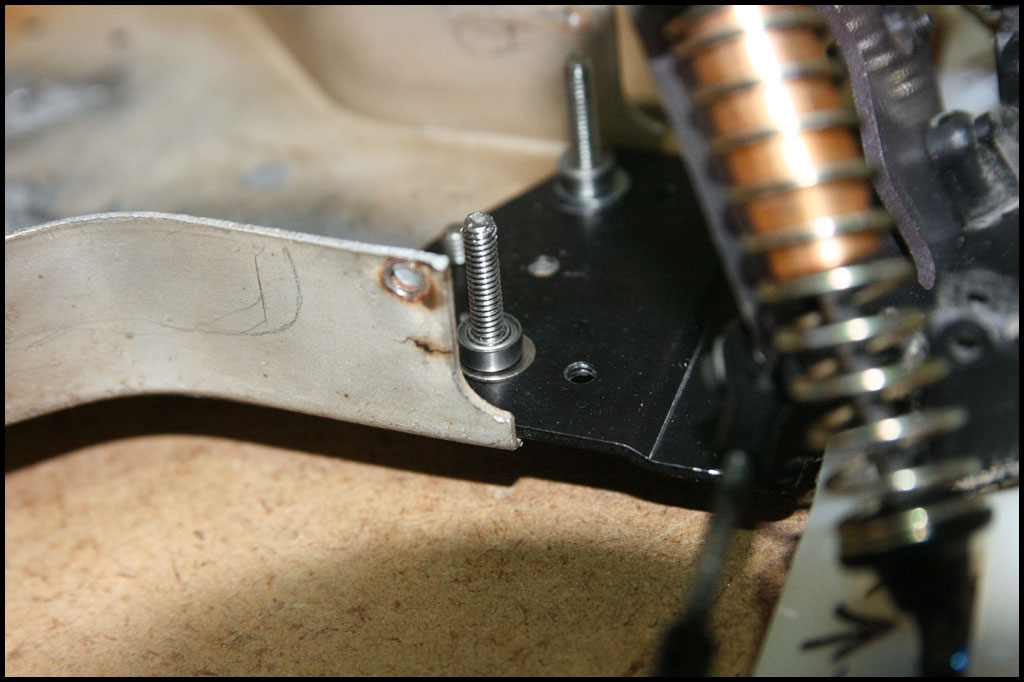
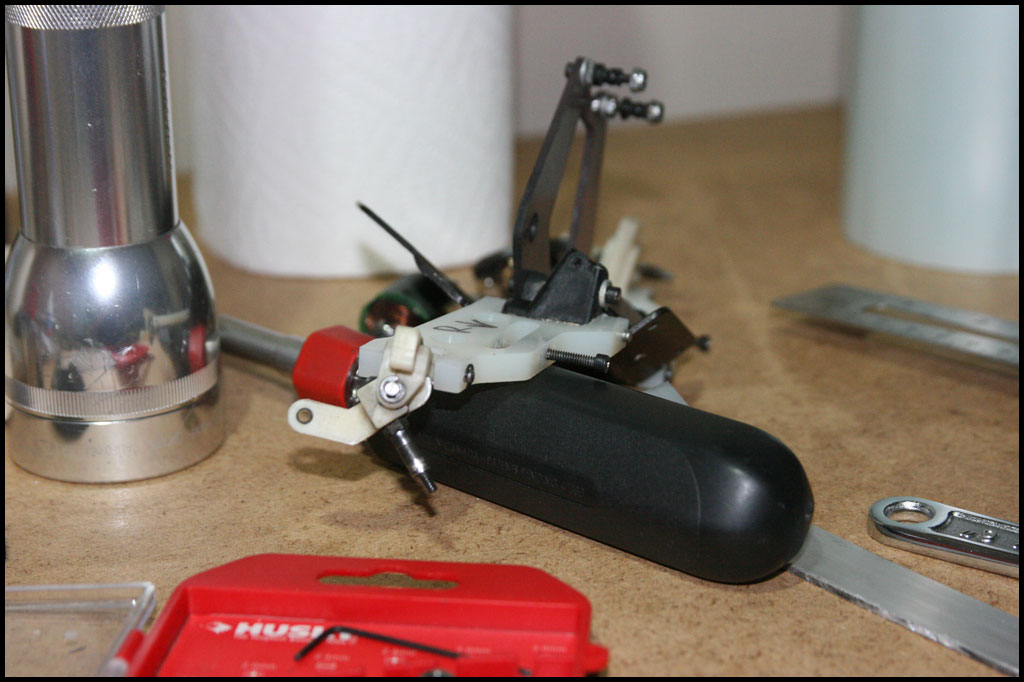
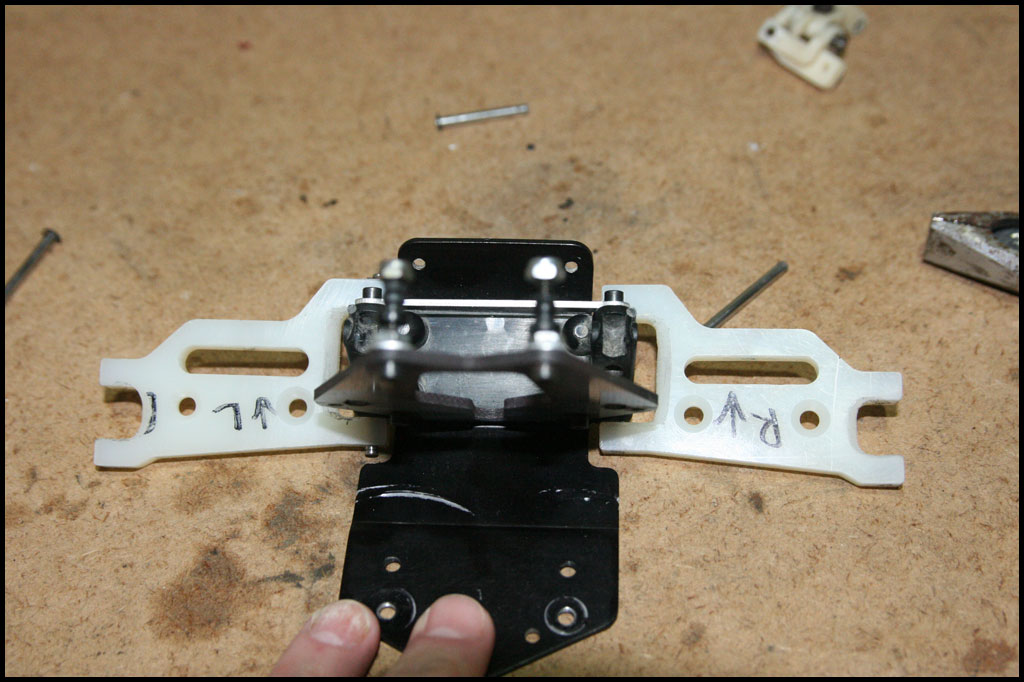
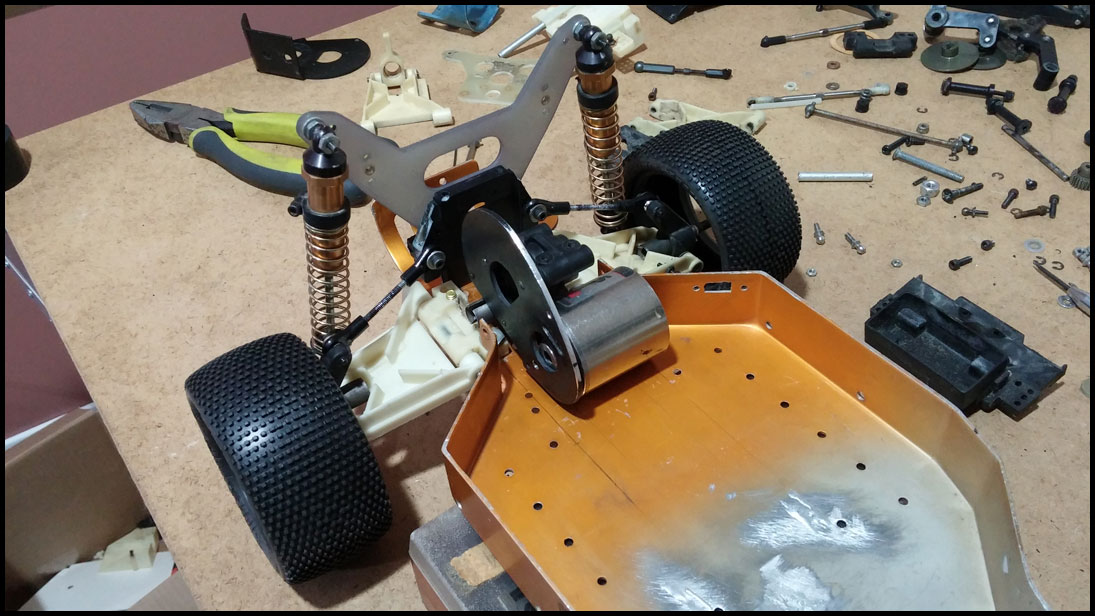
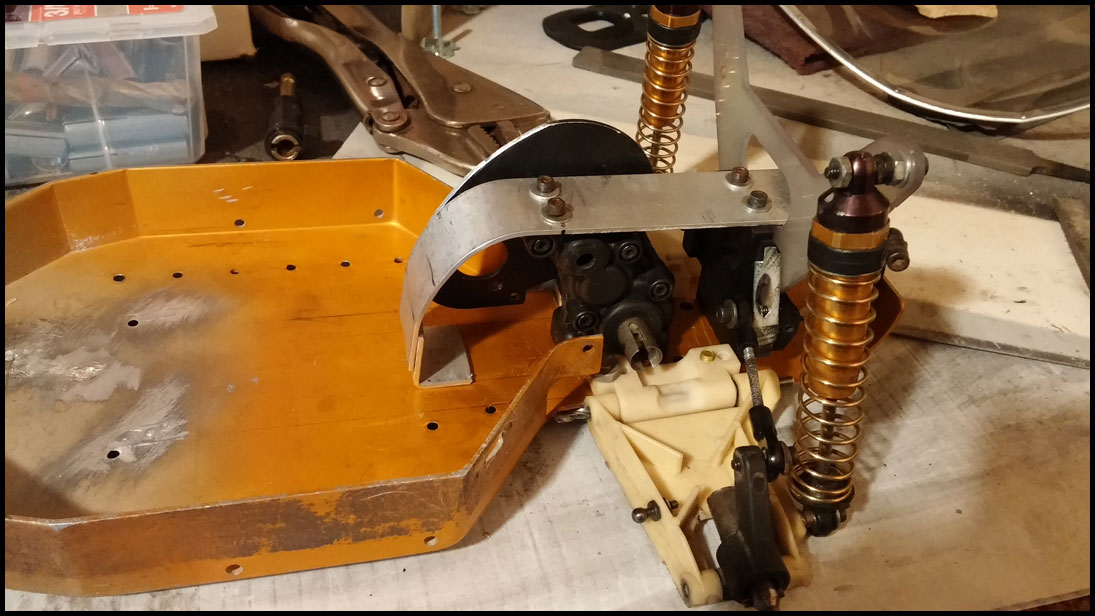
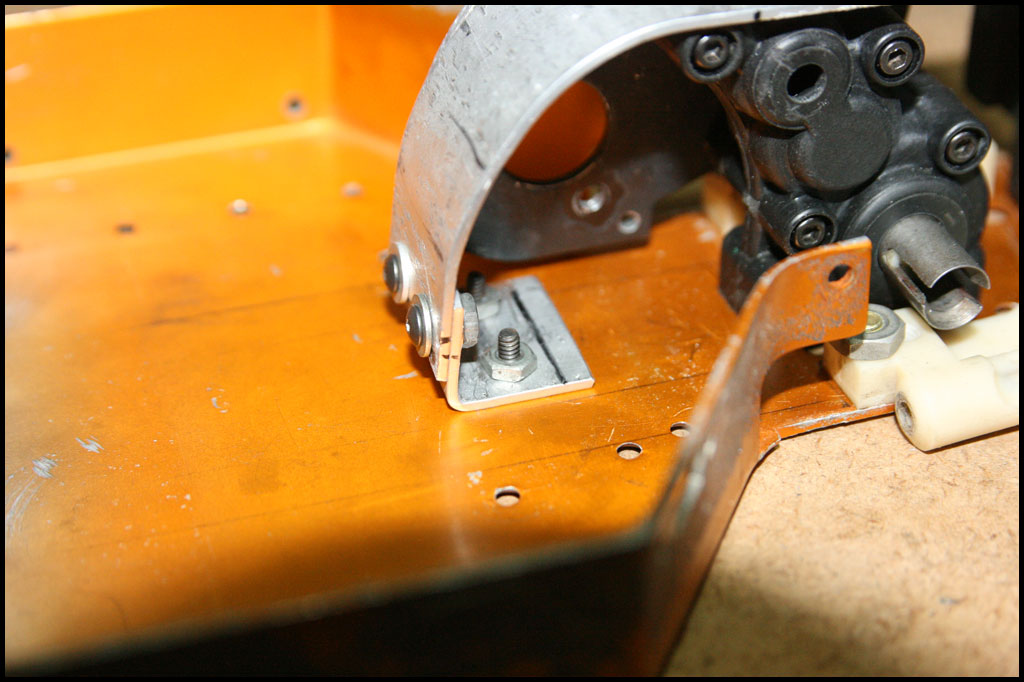
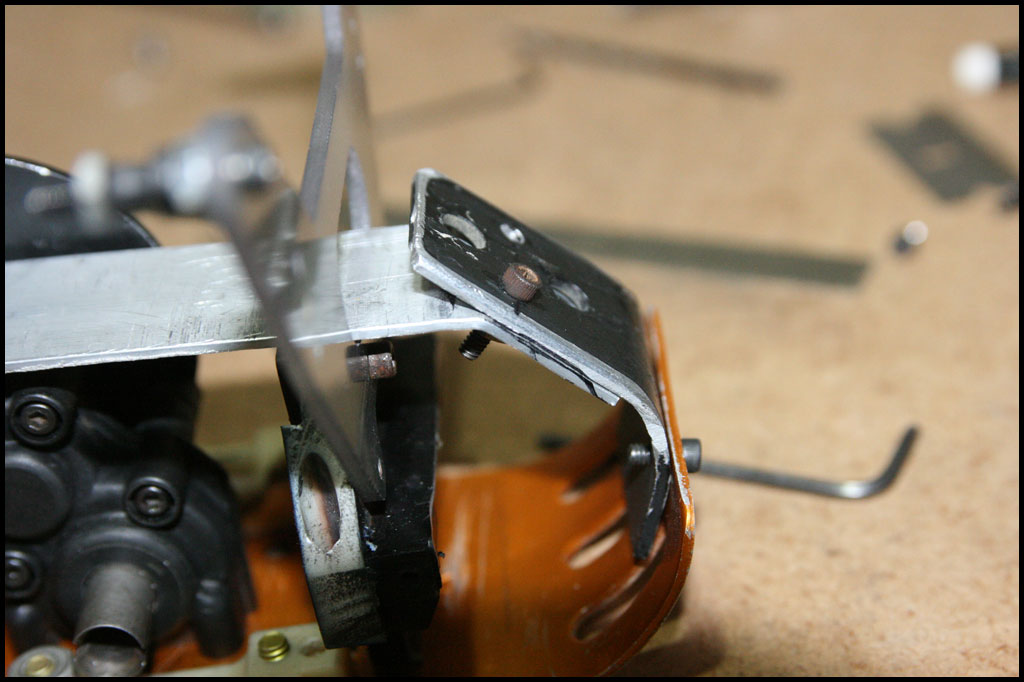
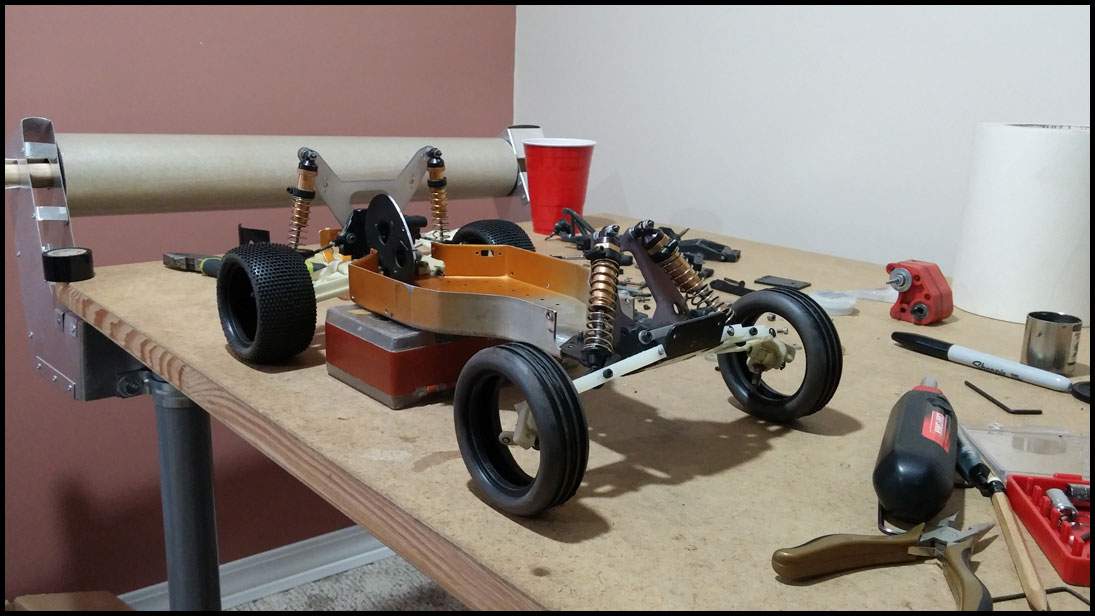
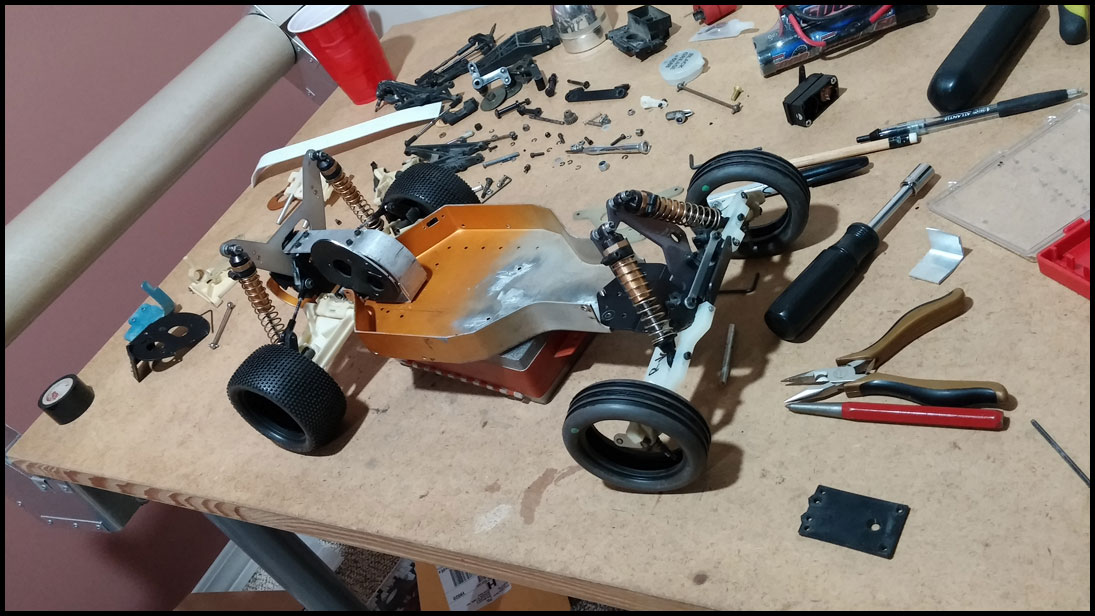
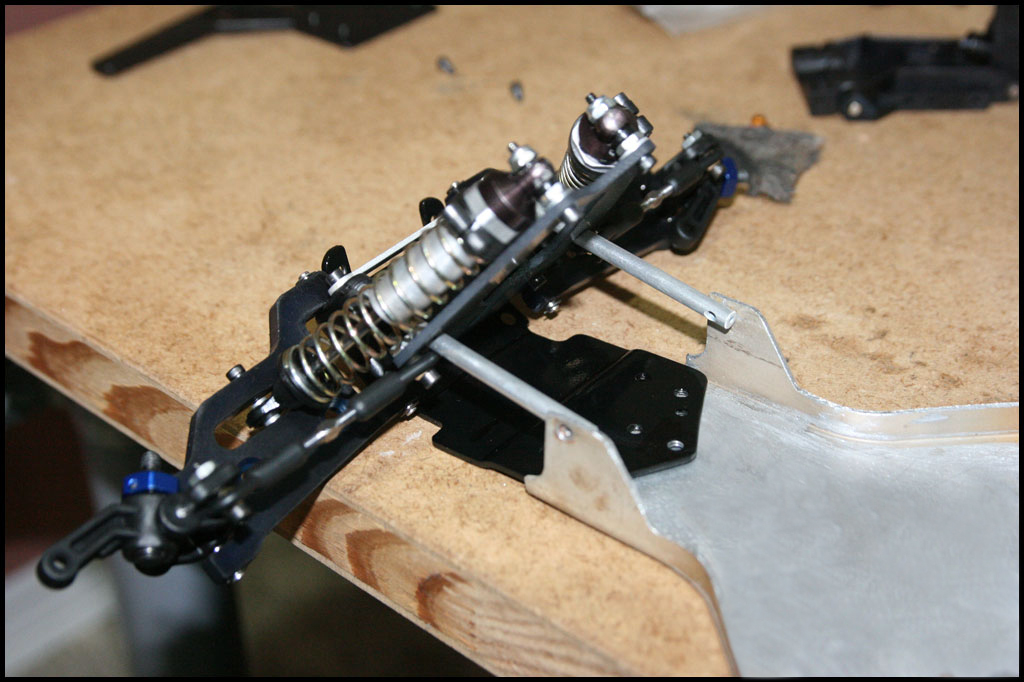
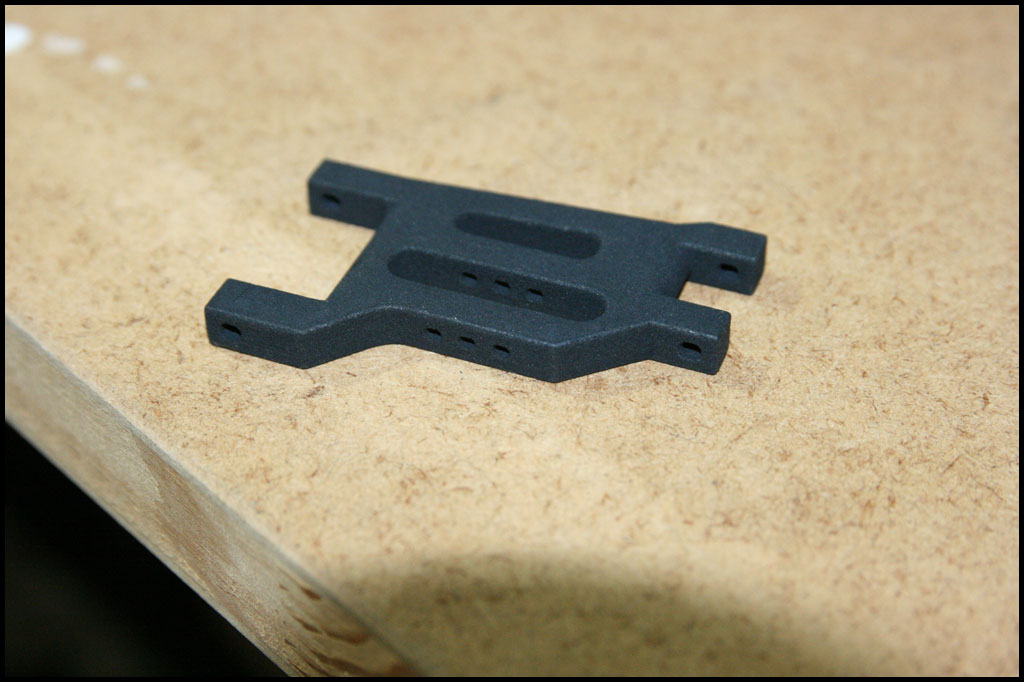
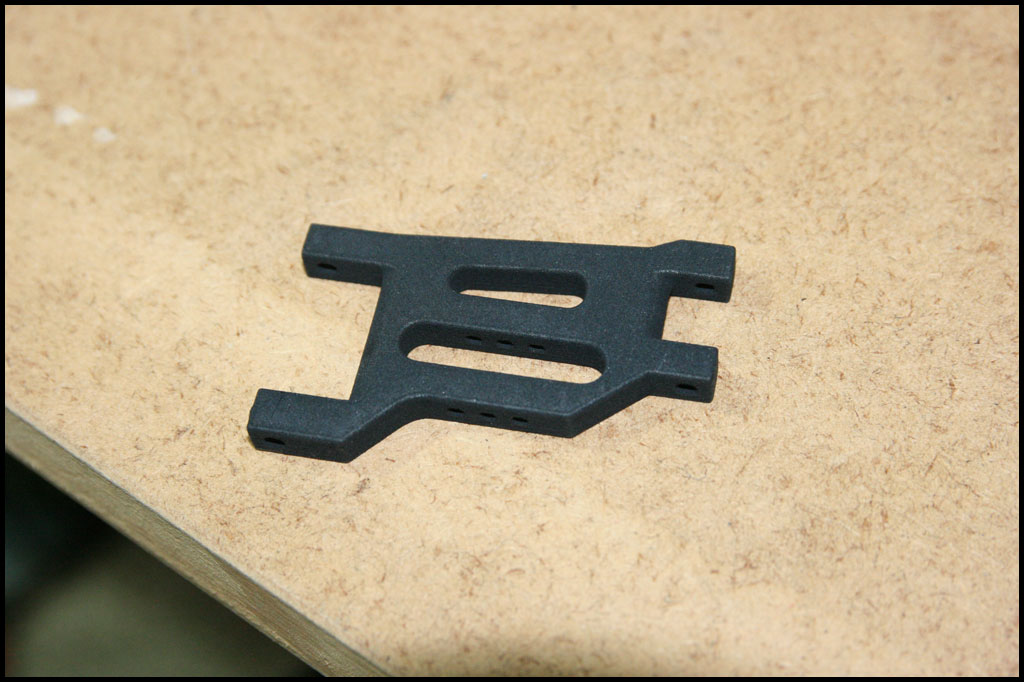
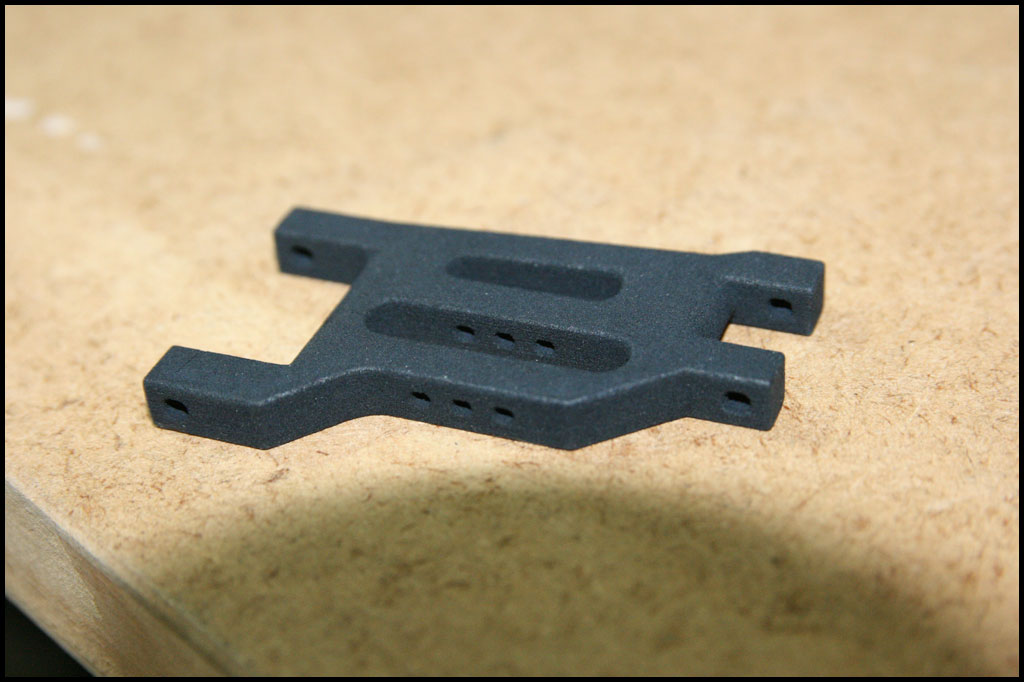
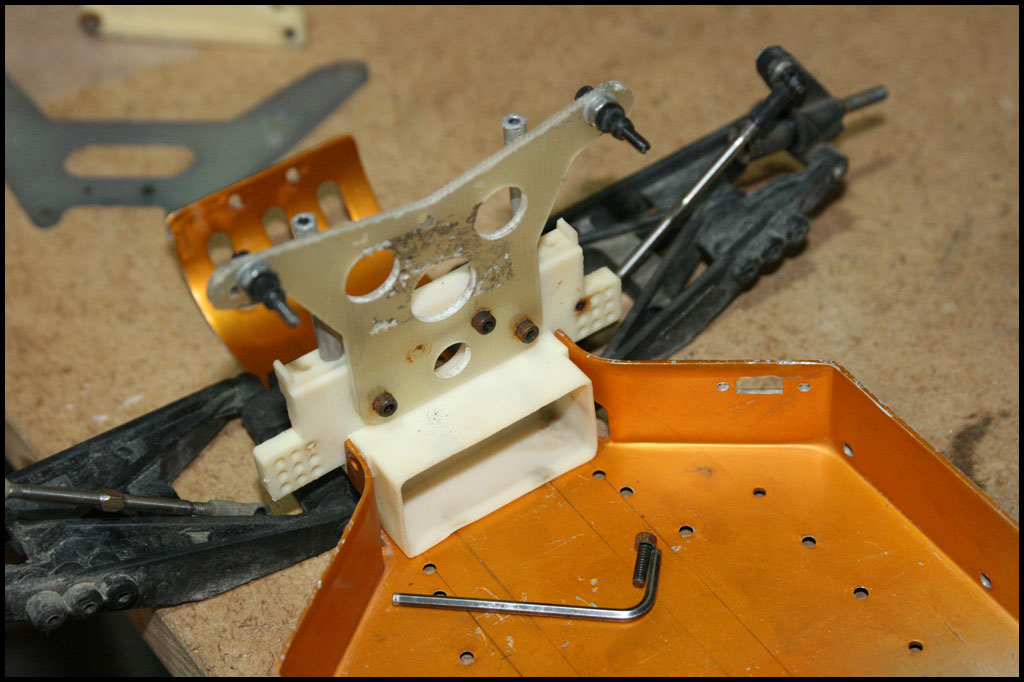
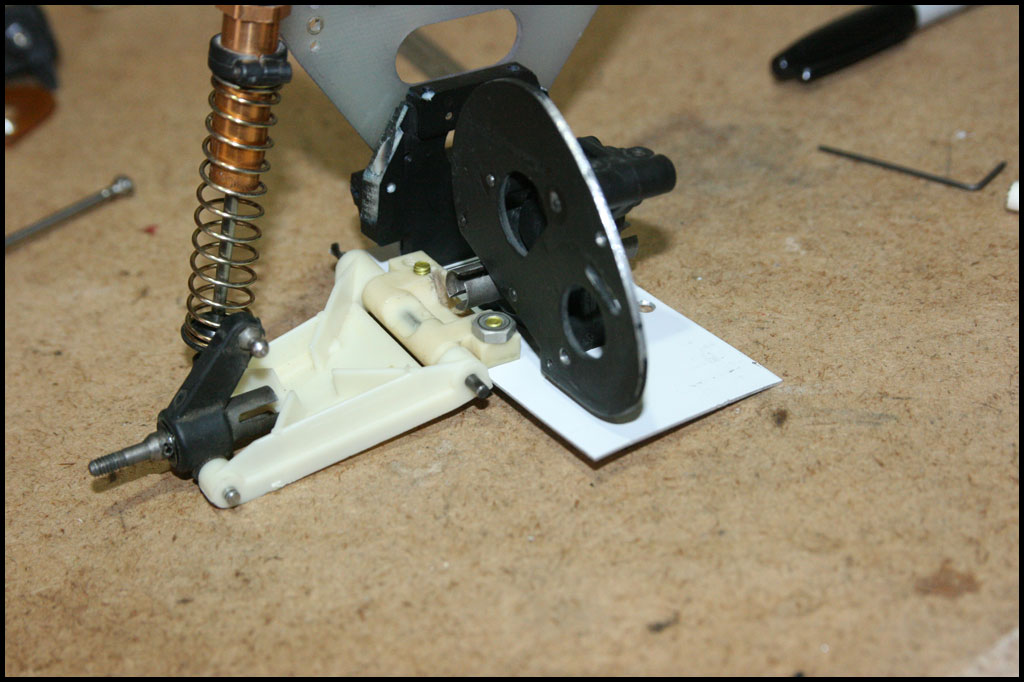
Mocking up how I'm going to mount the trans on some scrap metal...
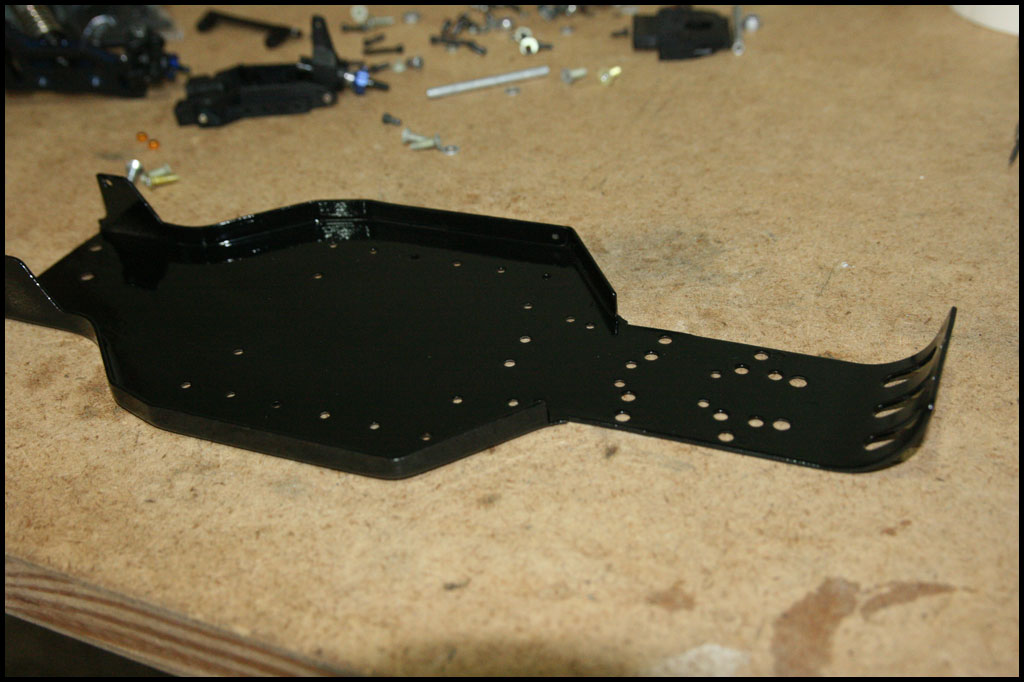
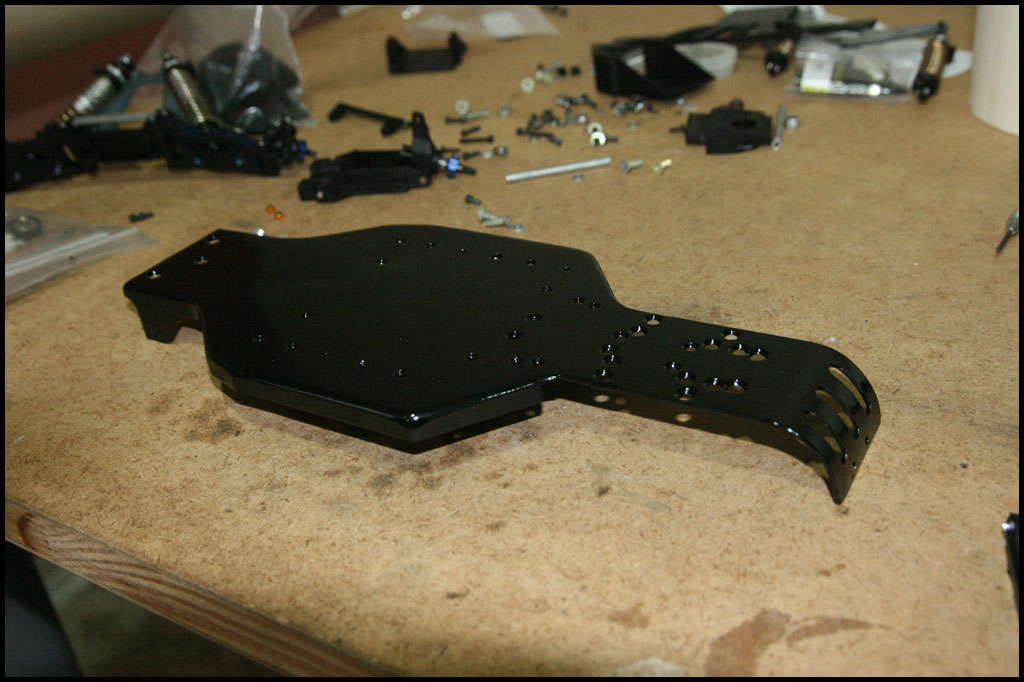
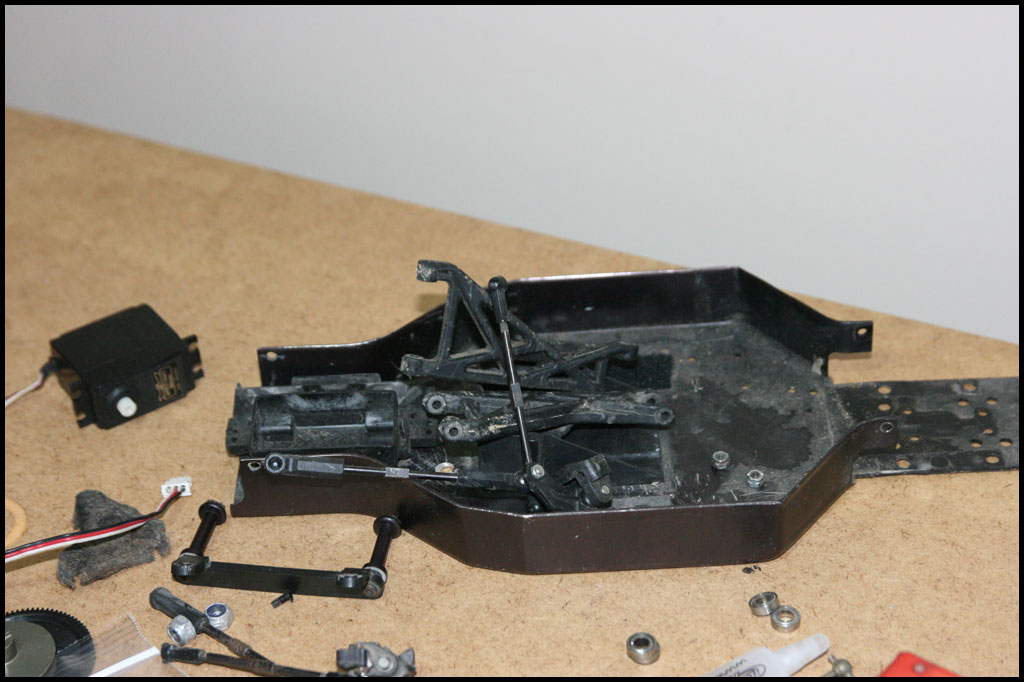
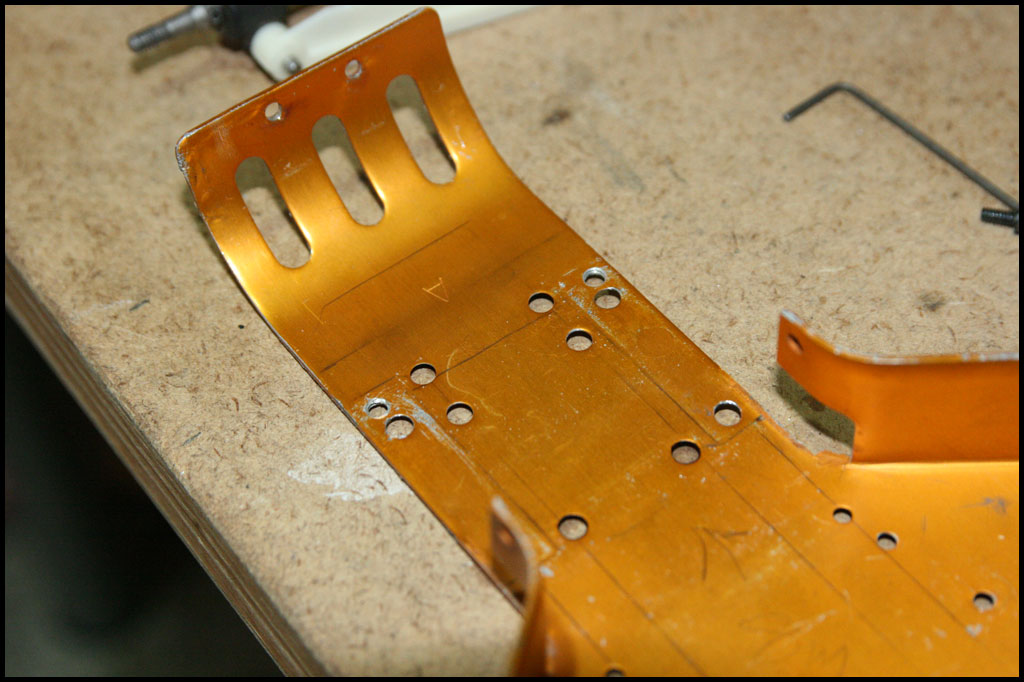
Laying things out on the chassis...It's an A stamp which is what I wanted...(luckily I had that B stamp pictured above too - more on that later...
Ok on to hunt down more pics...enjoy.
After getting back into the game I've become familar with the term OIN - as such I'll be able to take some spare parts I've collected and make something cool that I originally thought about 25+ years ago! I'm older, wiser and richer (well, I'm not 10 anymore! lol) so the plan now is for a mid motor top speed runner. Seeing a couple of the other mid motor builds lately is super cool - luckily mine is a bit different so that's good...keeping things fresh.
Been building this for a while now - just getting around to finding some pics. Between my camera, my wifes old camera, her new camera and 2 cell phones I'm digging through everything trying to find them! lol. Besides spare/use parts I'll be doing some 3d printed stuff as well. As I find more pics I'll post them...
Being a gear-headed drag racer through and through...I'm trying to keep this a "street car" if you will!
With that being said, my first thought for bracing chassis was what I'd call a "sub-frame connector" of sorts. Trying to take what I've learned from real life hot-rodding.
Ok on to the pics...
This is sort of what I had in mind. I wanted to cut down the sides (not shown in illustration) and then use them as my "connectors". I was going to use that as-seen-on-tv stuff Alumaloy to "weld" everything together. HOWEVER, as good as it works for aluminum repair it just wasn't working like I'd hoped. I've used it before for fixing aluminum in one spot...but when doing multiple, or larger spots it just doesn't work great...it's basically soldier...once heated back up it re-melts. Back to the drawing board for something less cool. I wasn't up for taking it to someone for tig welding and I knew my mig welder would work but it would have been more work than it was worth.
(a cnc milled version out of billet was over $1000 - so that was out too! haha)
Here are some pics of sorting through parts...
Starting to mod bulkhead...
Modded motor plate on the stealth...
This is a set of Kyosho bellcranks with 5/32 x 5/16 bearings. Worked perfectly but broke after a small crash...ended up with a set of NixConcepts bellcranks.
Bearings loaded up
Mocking up how I'm going to mount the trans on some scrap metal...
Laying things out on the chassis...It's an A stamp which is what I wanted...(luckily I had that B stamp pictured above too - more on that later...
Ok on to hunt down more pics...enjoy.