Page 1 of 1
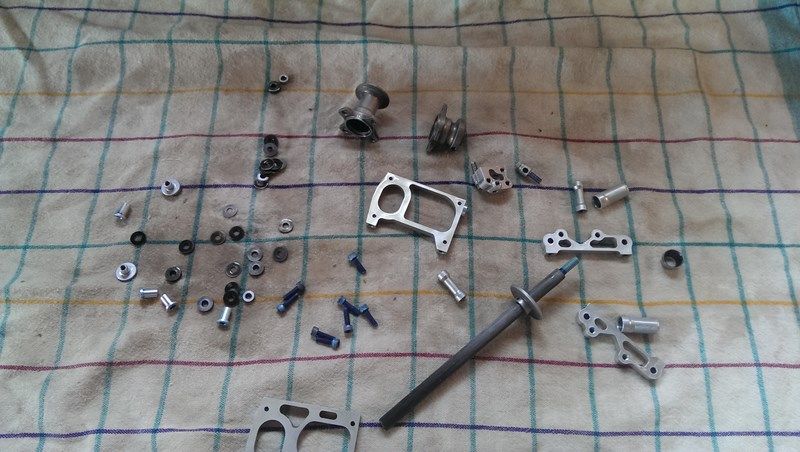
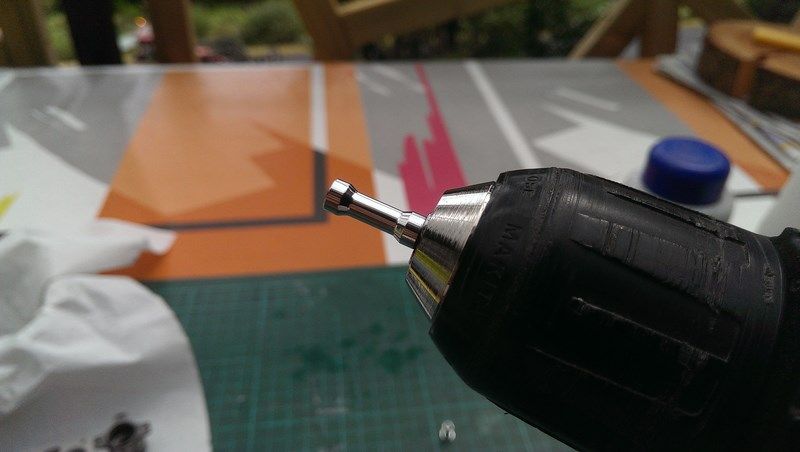
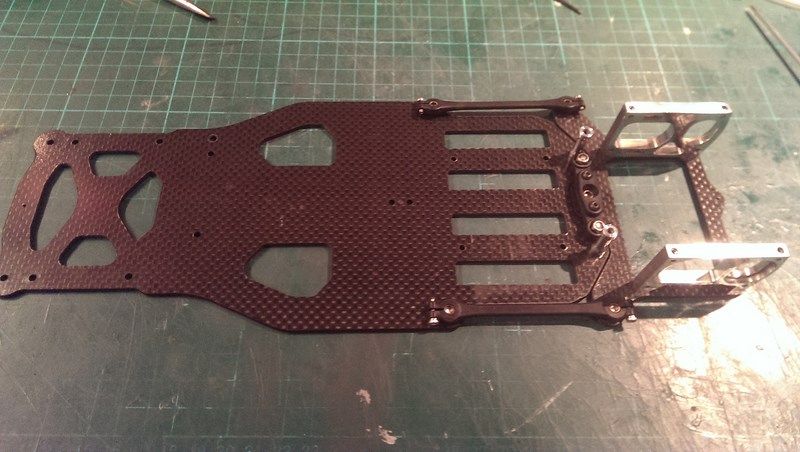
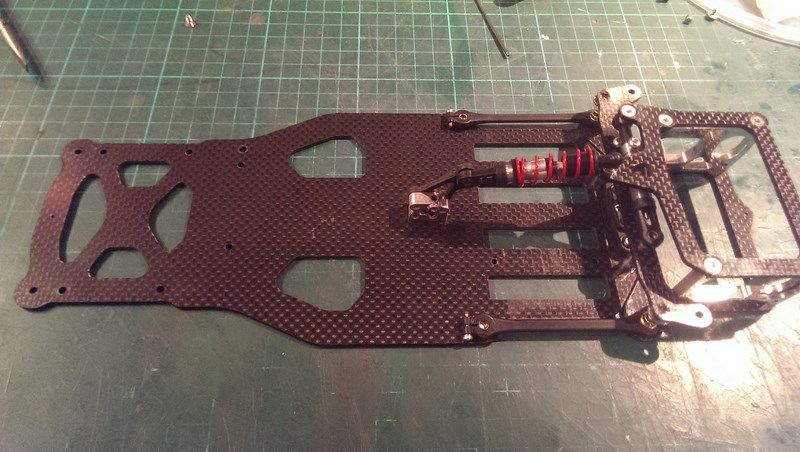
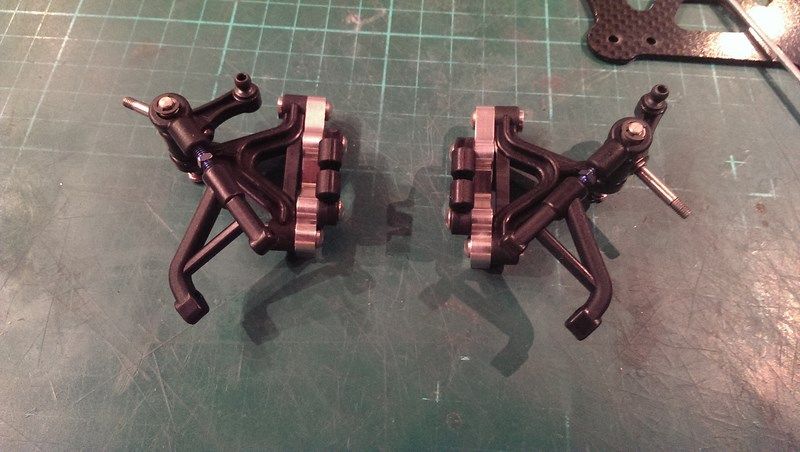
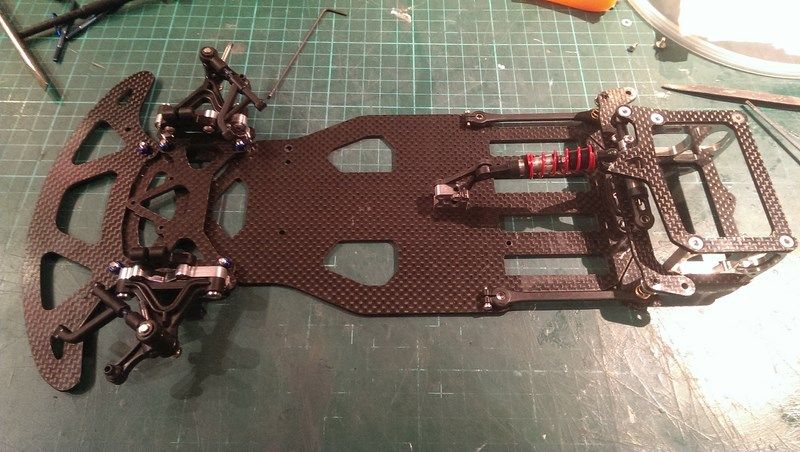
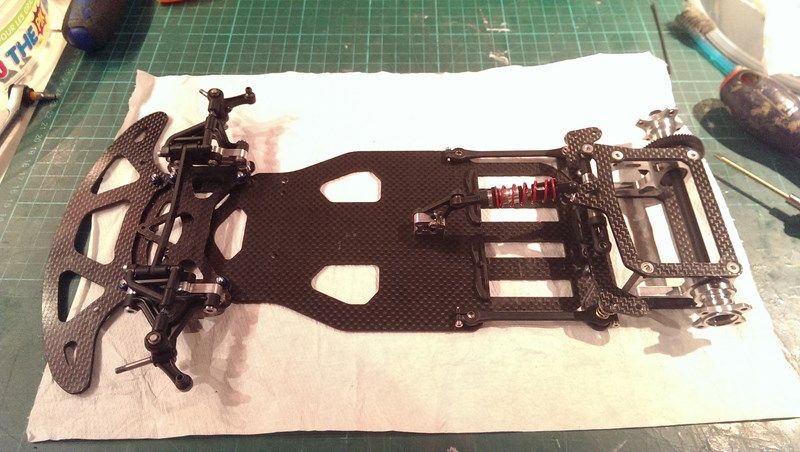
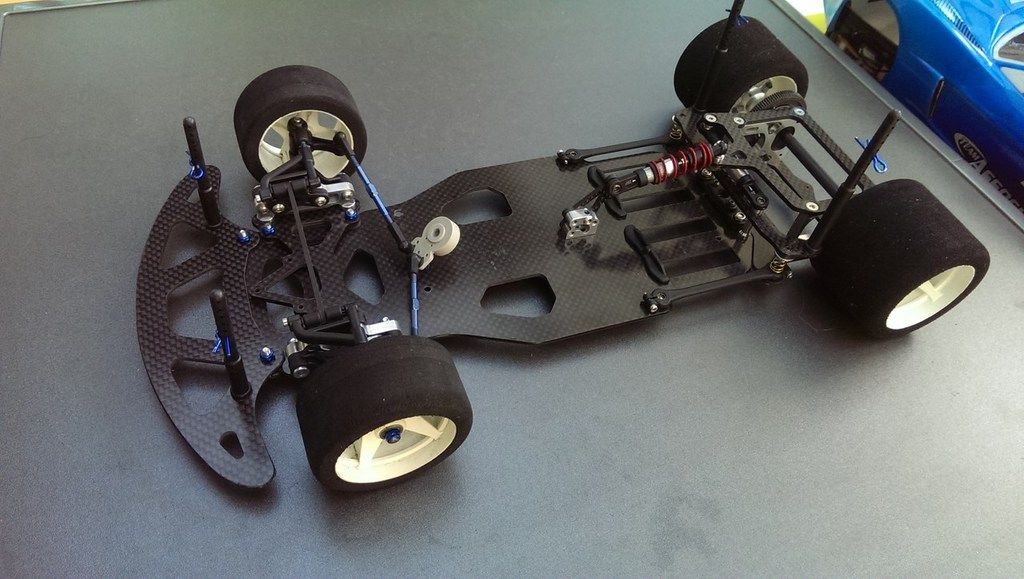
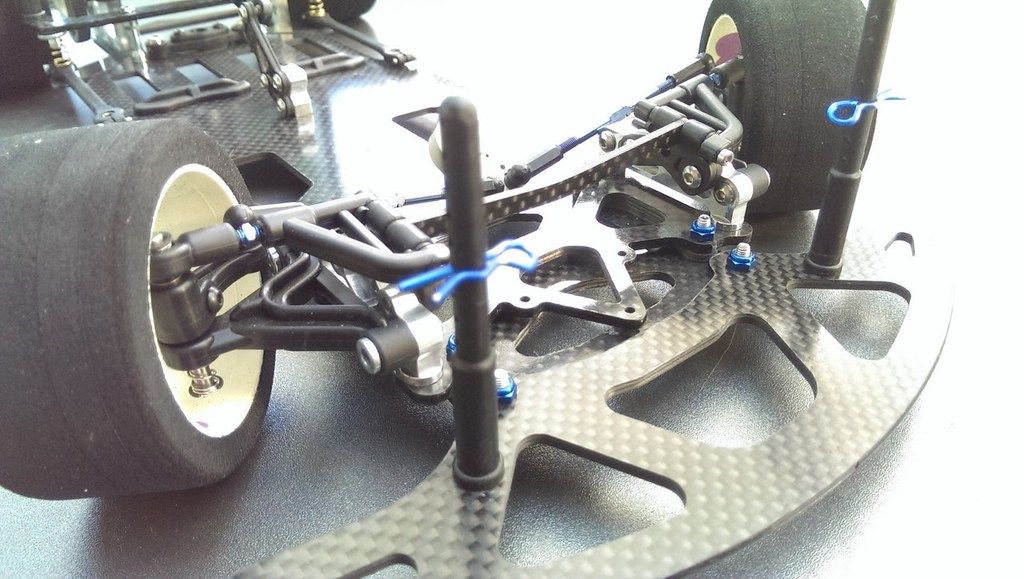
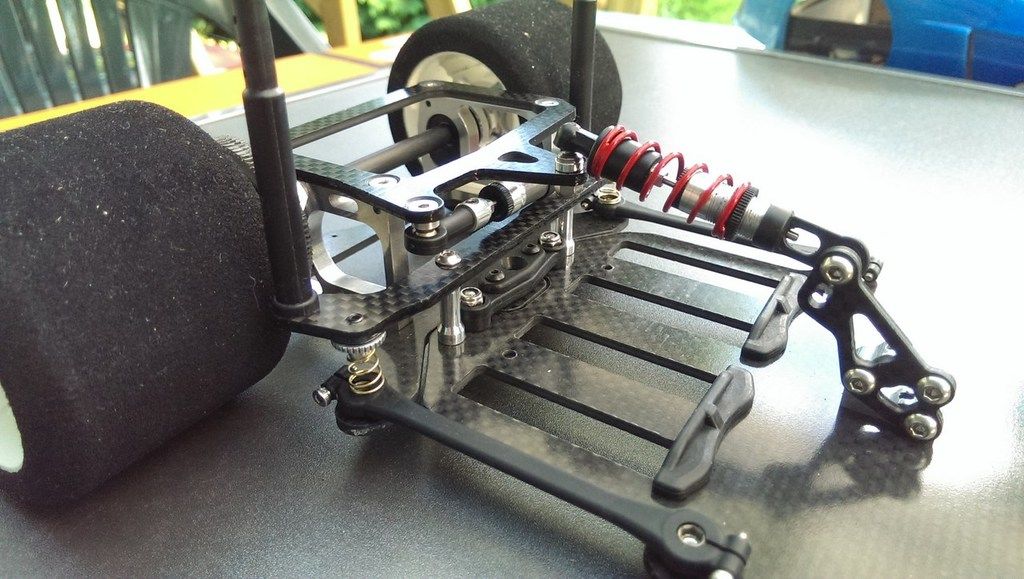
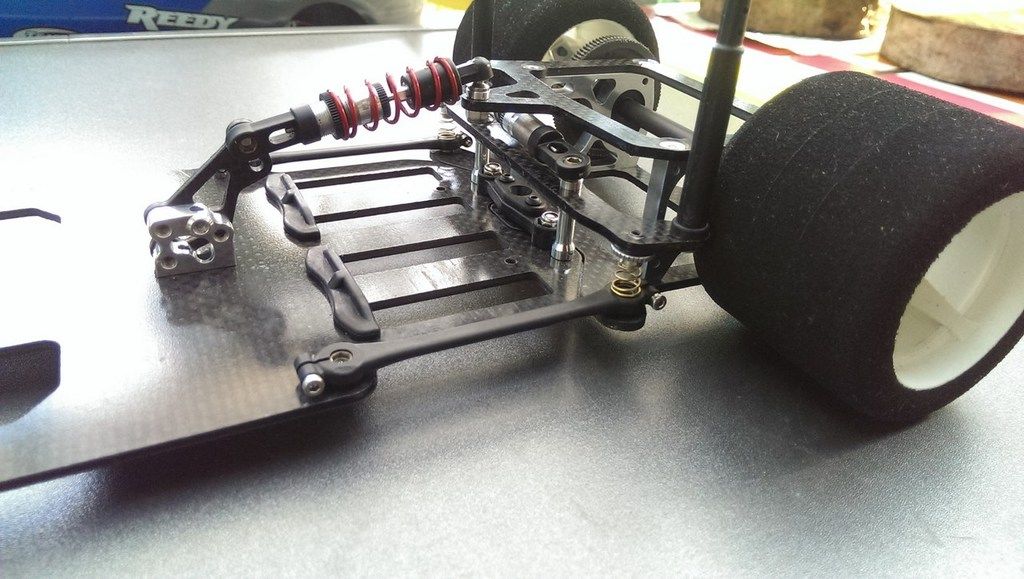
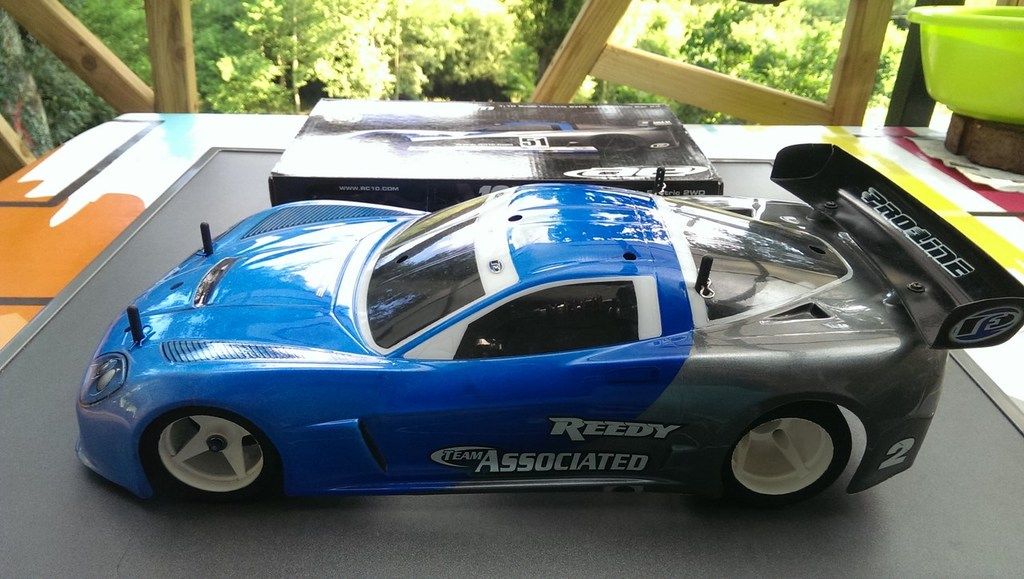
10R5 Polished version (tutorial inside)
Posted: Tue Aug 16, 2016 5:55 pm
by Trass
Re: 10R5 Polished version (tutorial inside)
Posted: Tue Aug 16, 2016 6:14 pm
by klavy69
Nice!
you make the removing of anodizing look so easy...Never seems to go that smooth with me and my easy off

Todd
Re: 10R5 Polished version (tutorial inside)
Posted: Tue Aug 16, 2016 6:29 pm
by Coelacanth
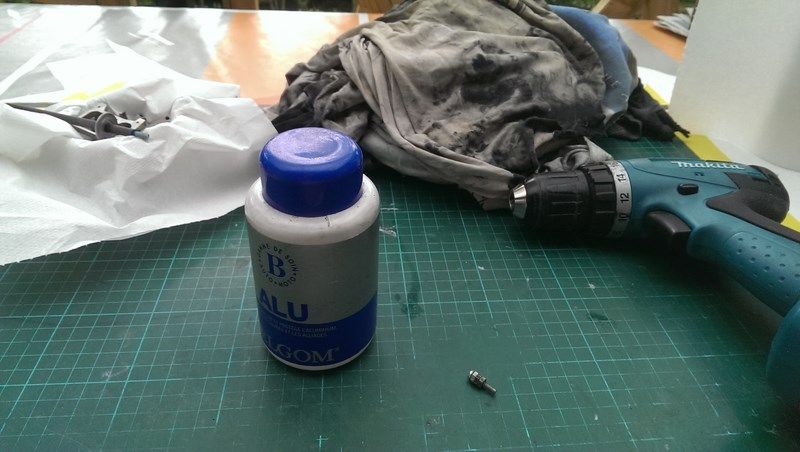
Easy-Off (the heavy duty one with the yellow cap) has always worked quite quick & easy for me. El-cheapo anodizing, like the black anodizing I found on the Duratrax shocks that came with my Lucas Agitator, came off even faster than I could wipe it off. Good quality anodizing just takes a bit longer to soak in the Easy-Off.
Re: 10R5 Polished version (tutorial inside)
Posted: Tue Aug 16, 2016 6:40 pm
by Trass
Thanks,
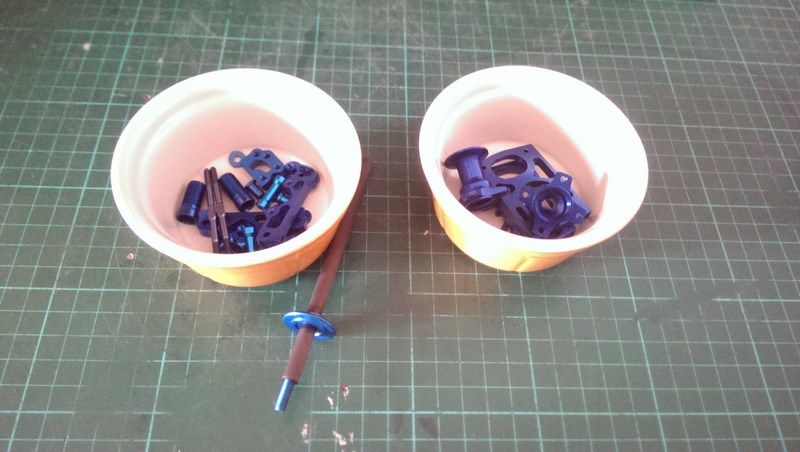
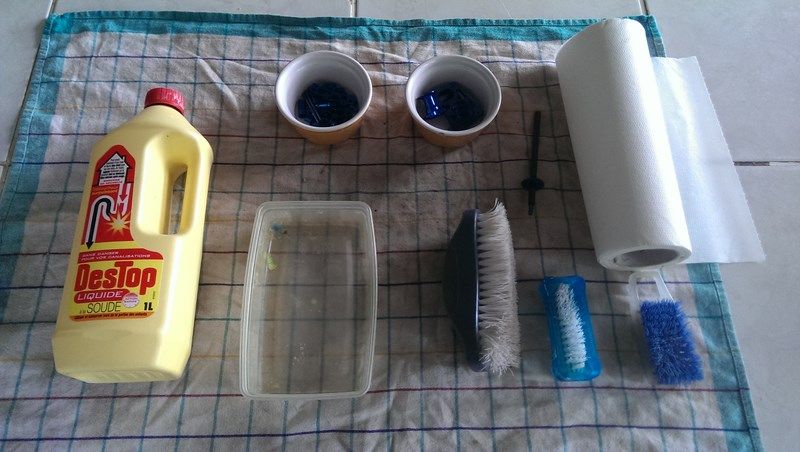
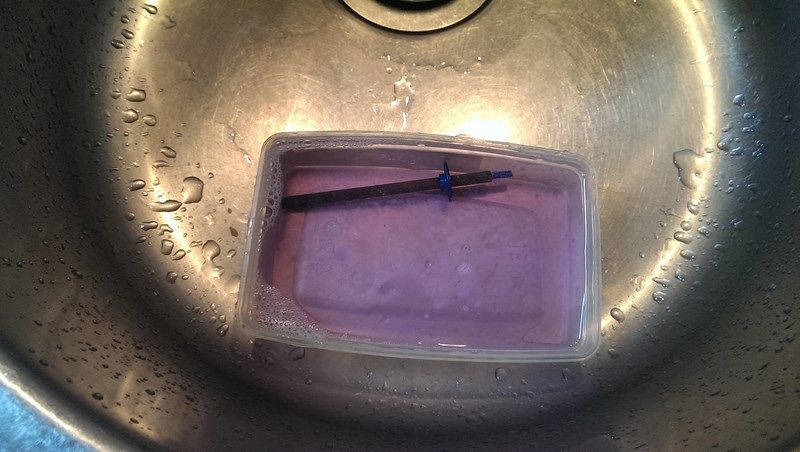
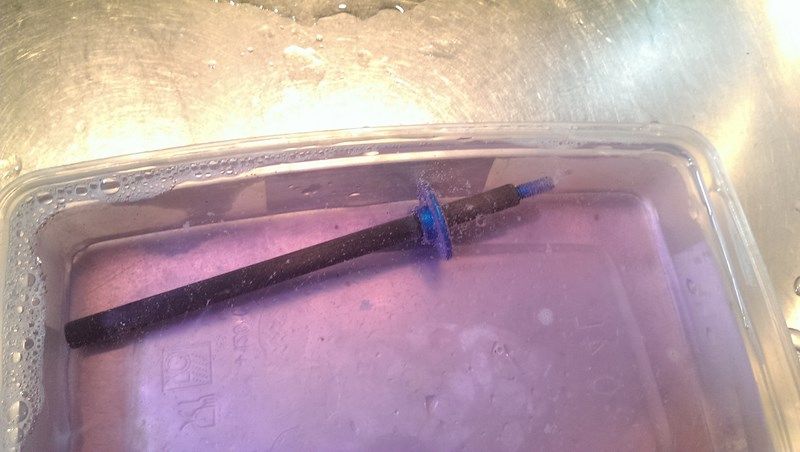
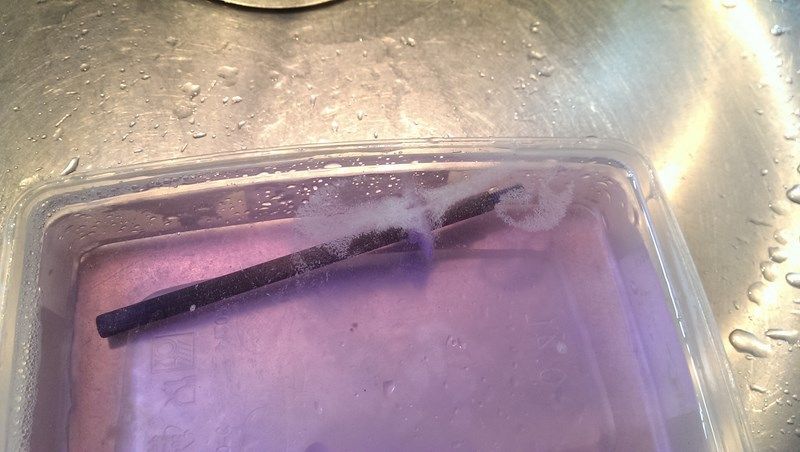
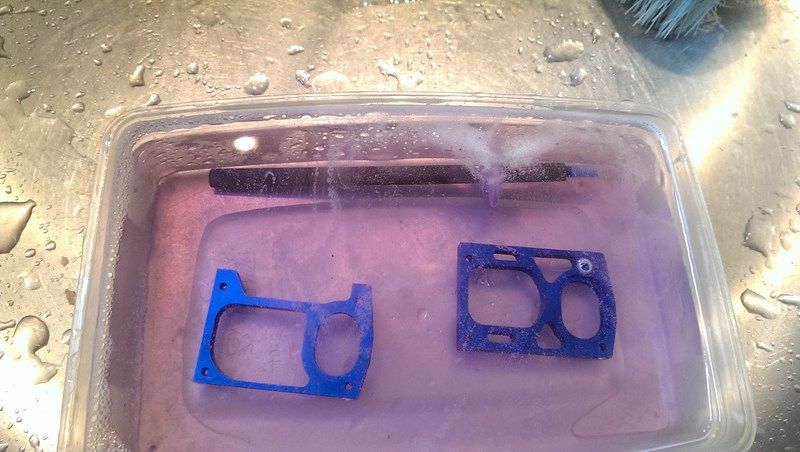
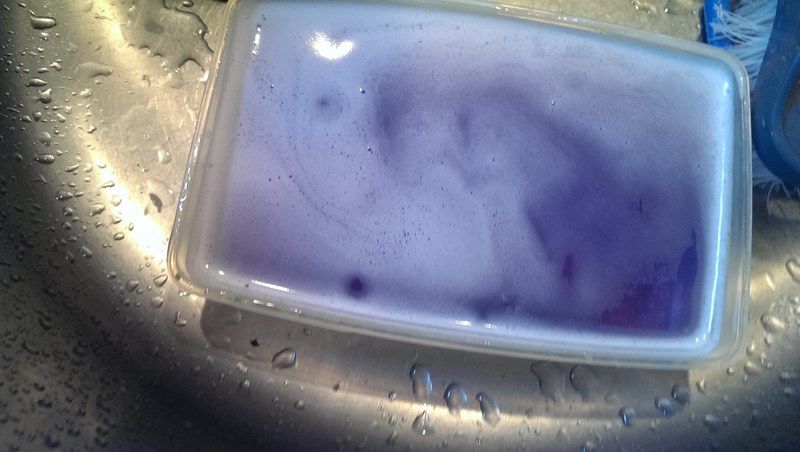
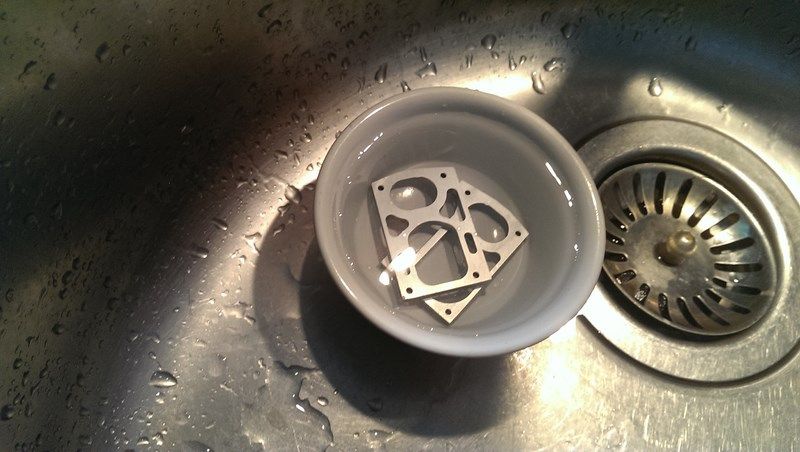
Sometime the removing of anodizing is harder as you can think.
If you forget to remove the parts from the mixing a the good time, it turn on black and the polishing will be very hard.
My first test was on a Robitronic Avid V1 (i love this car) with no problems, the second one was a TRF 103 LM ... big problem with the motor plate who turn on black and was so hard to be polished that i change that by a new one.
There are a lot of alloy types used by RC brands TRF, Associated, 3Racing, ... and you don't know if the removing of anodizing will be easy or not. My worst experience about removing of anodizing was with this 10R5 and a Schumacher Cat SX.
Jérome
Re: 10R5 Polished version (tutorial inside)
Posted: Tue Aug 16, 2016 7:28 pm
by rraeford
Beautiful job. Love the Corvette body on that chassis.
Re: 10R5 Polished version (tutorial inside)
Posted: Tue Aug 16, 2016 8:43 pm
by a01butal
Sweet, very nice neat job all the way through and a really awesome finished product.
Re: 10R5 Polished version (tutorial inside)
Posted: Tue Aug 16, 2016 10:13 pm
by ChisaiKuso
Why did you use blue nuts, blue turnbuckles, and blue body pins after spending so much time and effort removing the blue anodizing from all of the other parts?
Re: 10R5 Polished version (tutorial inside)
Posted: Wed Aug 17, 2016 4:52 am
by Trass
rraeford wrote:Beautiful job. Love the Corvette body on that chassis.
thank you, Corvette body was made by the first chassis owner, i'm a very bad painter

a01butal wrote:Sweet, very nice neat job all the way through and a really awesome finished product.
Thank you, 2 days after work to do that and a lot of "skin bulb" in hands
ChisaiKuso wrote:Why did you use blue nuts, blue turnbuckles, and blue body pins after spending so much time and effort removing the blue anodizing from all of the other parts?
Good questions;
Blue nuts : just because to recognise an Associated Rc car for some maniacs
(and the are in aluminium)
Blue turnbuckles : a don't find the solution to remove this type of anodizing, it may be a sort of titanium nitride coating and i don't know how to remove it. I want to use the original parts.
Blue body pins : fatal error of choice from me ... sorry
Jerome
Re: 10R5 Polished version (tutorial inside)
Posted: Wed Aug 17, 2016 12:34 pm
by Coelacanth
Trass wrote:If you forget to remove the parts from the mixing a the good time, it turn on black and the polishing will be very hard.
I always polish after removing anodizing and before reanodizing, anyway. I find the black smut comes off very easily with a bit of 1000-grit wet-sanding, and I usually take it to 1500 grit...then rubbing compound & polishing compound, if I want the glossy shiny look instead of a more satiny finish. I know it's work, but it's well worth the effort.

The worst smut I've seen is with some Duratrax wheels I deanodized & polished:
http://www.rc10talk.com/viewtopic.php?f=40&t=31065
Re: 10R5 Polished version (tutorial inside)
Posted: Wed Aug 17, 2016 12:43 pm
by jwscab
the turnbuckles can be polished out with some abrasive pad, scotchbrite, not sure what you would call it at your vicinity.
Re: 10R5 Polished version (tutorial inside)
Posted: Wed Aug 17, 2016 3:29 pm
by Trass
Coelacanth wrote:Trass wrote:If you forget to remove the parts from the mixing a the good time, it turn on black and the polishing will be very hard.
I always polish after removing anodizing and before reanodizing, anyway. I find the black smut comes off very easily with a bit of 1000-grit wet-sanding, and I usually take it to 1500 grit...then rubbing compound & polishing compound, if I want the glossy shiny look instead of a more satiny finish. I know it's work, but it's well worth the effort.
The worst smut I've seen is with some Duratrax wheels I deanodized & polished:
http://www.rc10talk.com/viewtopic.php?f=40&t=31065
Great job !!!
But sometimes, when you remove anodizing and keep too long the parts in the mix, they get like rusty parts and you can't get then clean as well... surface as result of granular cast steel .
Do you have a post who explain how to anodize?
jwscab wrote:the turnbuckles can be polished out with some abrasive pad, scotchbrite, not sure what you would call it at your vicinity.
Yes, but it cause a lot of "distortion" of the original parts (the angles are rounded)
Jerome
Re: 10R5 Polished version (tutorial inside)
Posted: Wed Aug 17, 2016 5:07 pm
by Coelacanth
Trass wrote:Coelacanth wrote:Trass wrote:If you forget to remove the parts from the mixing a the good time, it turn on black and the polishing will be very hard.
I always polish after removing anodizing and before reanodizing, anyway. I find the black smut comes off very easily with a bit of 1000-grit wet-sanding, and I usually take it to 1500 grit...then rubbing compound & polishing compound, if I want the glossy shiny look instead of a more satiny finish. I know it's work, but it's well worth the effort.
The worst smut I've seen is with some Duratrax wheels I deanodized & polished:
Do you have a post who explain how to anodize?
Sorry Jerome, I didn't do my own anodizing. There's a guy in the U.S. that I sent my parts to (the Barney Optima) and I had pargu2000 anodize all my parts along with some I purchased from him, for the CYANide Optima. In both cases, I deanodized and painstakingly polished everything before sending them to be anodized. Anodizing can look a bit too dull if the parts aren't polished first. Ano is just a transparent color layer and it shows every scratch, scuff & imperfection, it doesn't hide it.
Re: 10R5 Polished version (tutorial inside)
Posted: Thu Aug 18, 2016 3:01 pm
by Trass
Thanks for your answer,
In france it's not easy to send parts for anodizing, i think to try myself, but not for now
Jerome
Re: 10R5 Polished version (tutorial inside)
Posted: Thu Aug 18, 2016 3:11 pm
by jwscab
the process to reanodize is fairly simple, though a little dangerous with the chemicals used.
these guys sell kits and also have a wealth of information, this looks like a new site much closer than USA for you:
http://www.caswelleurope.co.uk/anodizing-kits/
price is kinda high, you could possibly make your own kit cheaper if you can find the chemicals. the key with anodizing though is all in the dyes. the dyes they sell are real industrial types, so they are UV resistant and have the necessary color penetration.
the titanium links I think you should be able to use the scotchbrite and remove it pretty easily, it's really very thin and it's not dyed, the titanium oxide forms a very thin layer that changes color depending on the voltage used in the electrolyte bath.
Re: 10R5 Polished version (tutorial inside)
Posted: Thu Aug 18, 2016 4:15 pm
by Trass
jwscab wrote:the process to reanodize is fairly simple, though a little dangerous with the chemicals used.
these guys sell kits and also have a wealth of information, this looks like a new site much closer than USA for you:
http://www.caswelleurope.co.uk/anodizing-kits/
price is kinda high, you could possibly make your own kit cheaper if you can find the chemicals. the key with anodizing though is all in the dyes. the dyes they sell are real industrial types, so they are UV resistant and have the necessary color penetration.
the titanium links I think you should be able to use the scotchbrite and remove it pretty easily, it's really very thin and it's not dyed, the titanium oxide forms a very thin layer that changes color depending on the voltage used in the electrolyte bath.
Thank you,
I read about anodizing since a long time, i will try when i'll be ready for that, by the way i prefer polished/chrome style
Jerome