Page 1 of 3
JJ Ultima 60th build with upgrades
Posted: Sun Nov 05, 2023 7:53 pm
by BattleTrak
Re: JJ Ultima 60th build with upgrades
Posted: Sun Nov 05, 2023 9:05 pm
by Lavigna
Great looking start to your build! Should be a fun one.
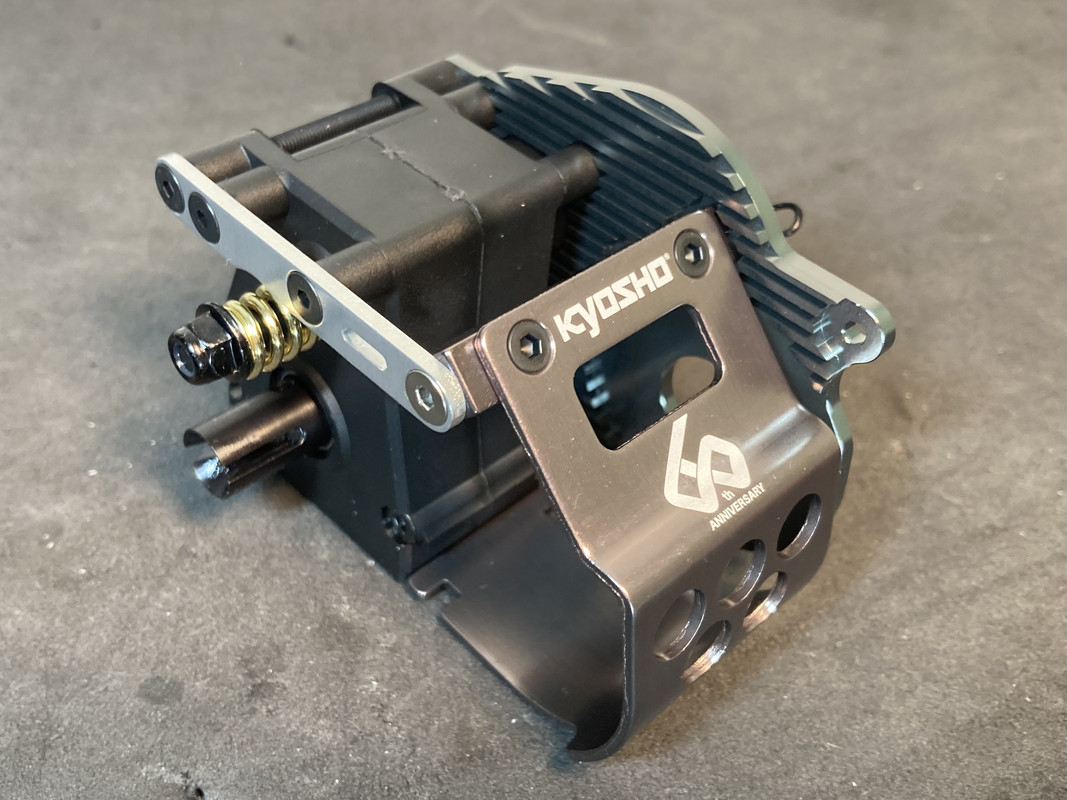
I feel your frustration on the mismatched anodizing, but I actually think the two different shades look great. They compliment each other.
Looking forward to this one. Thanks for the build thread.
Re: JJ Ultima 60th build with upgrades
Posted: Mon Nov 06, 2023 3:11 am
by Retro rc
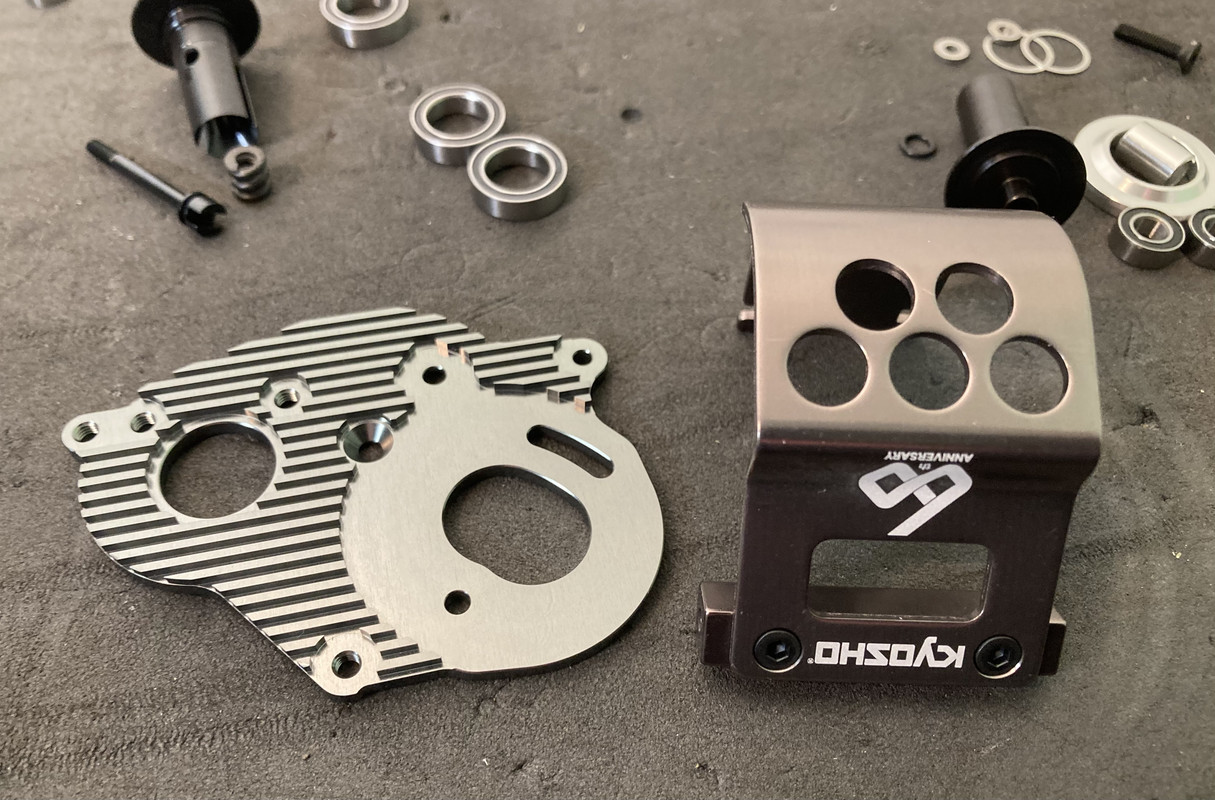
Bugger I ordered the optional motor plate and it hasn’t arrived yet, if I’d known they weren’t the same colour I probably wouldn’t of bothered
Re: JJ Ultima 60th build with upgrades
Posted: Mon Nov 06, 2023 12:54 pm
by BattleTrak
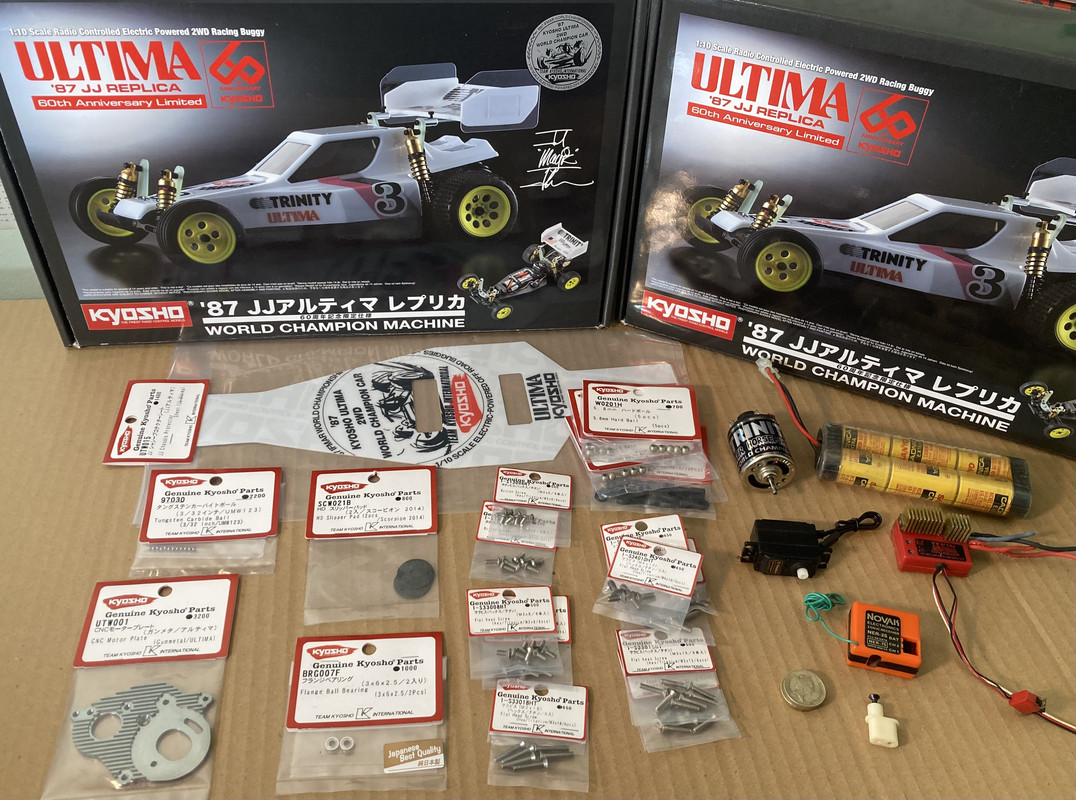
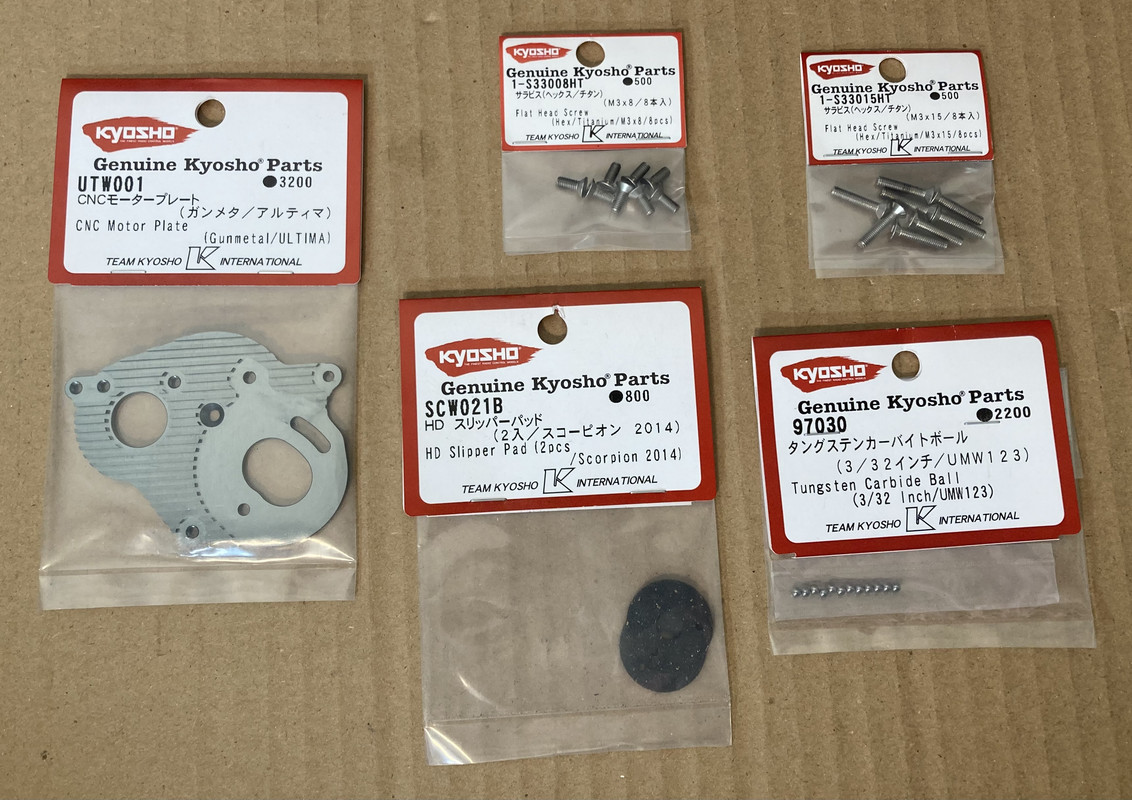
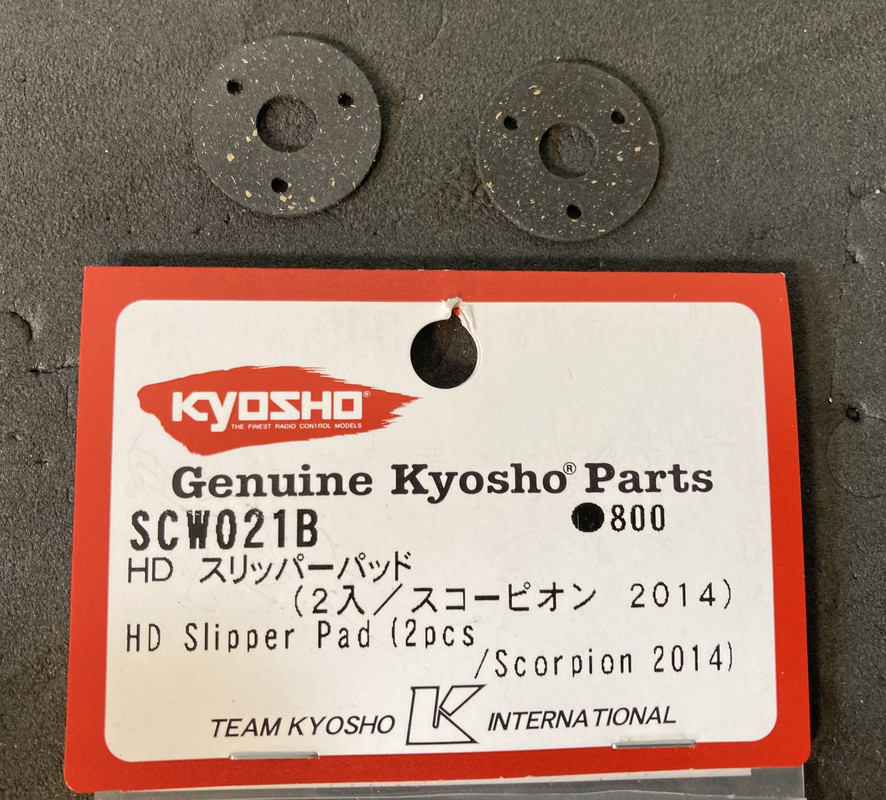
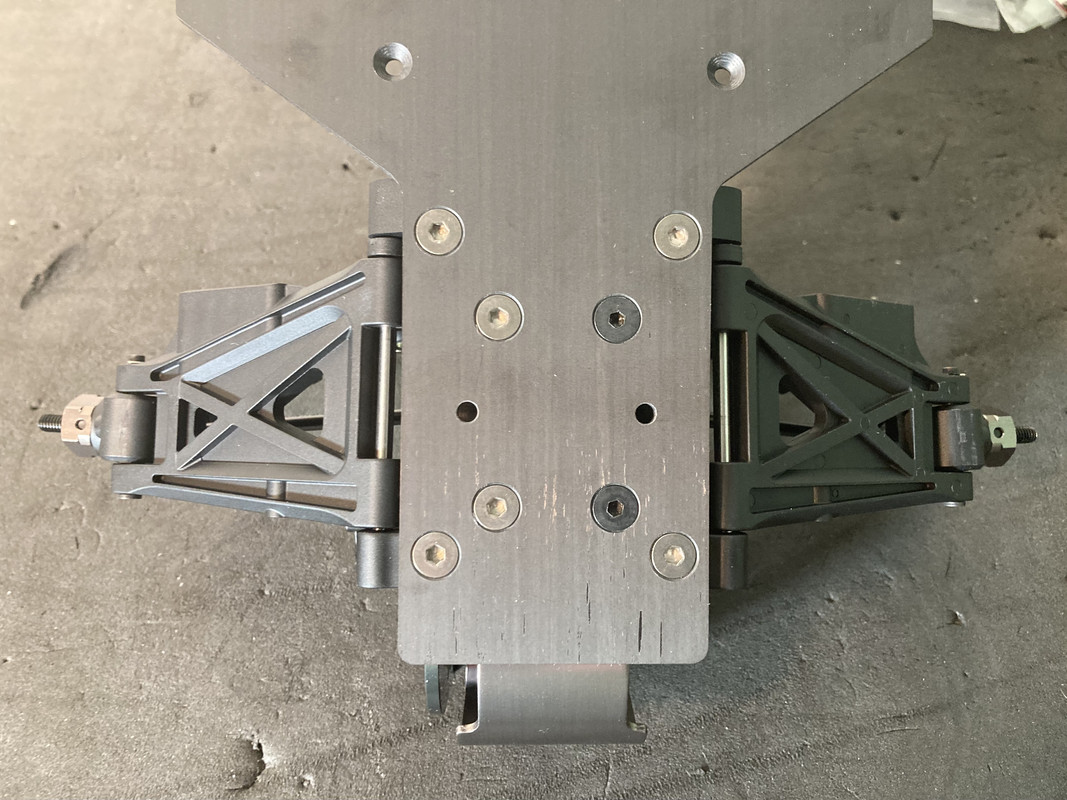
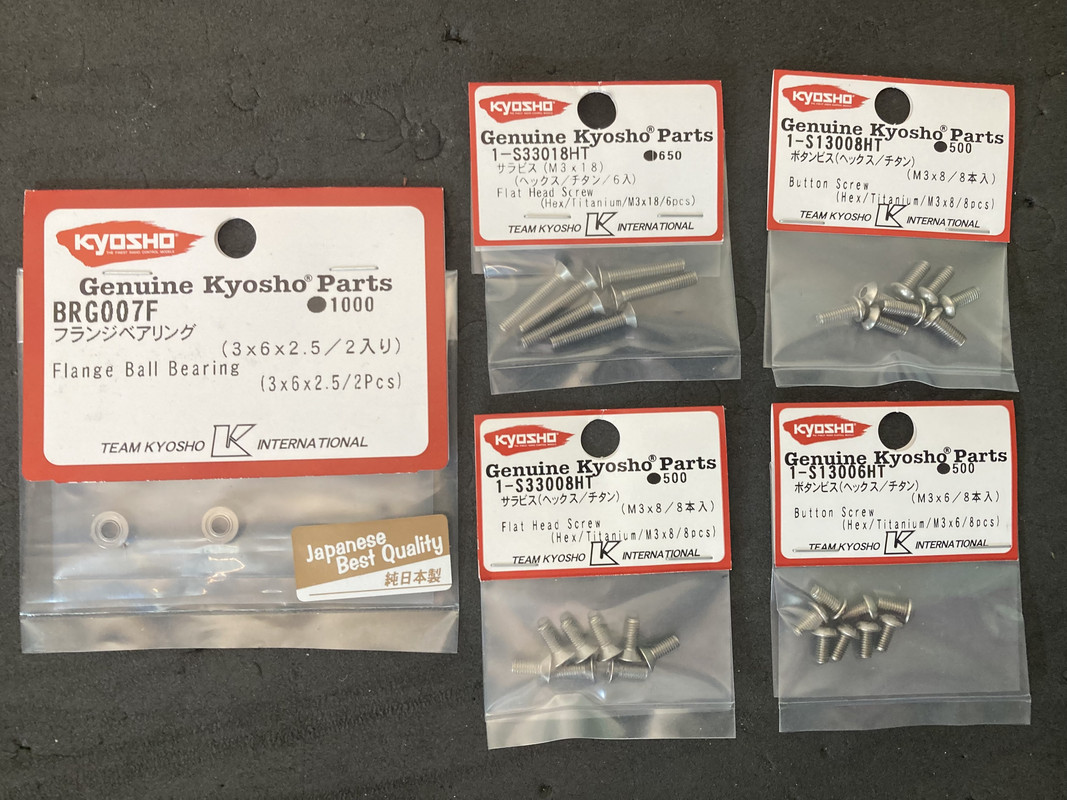
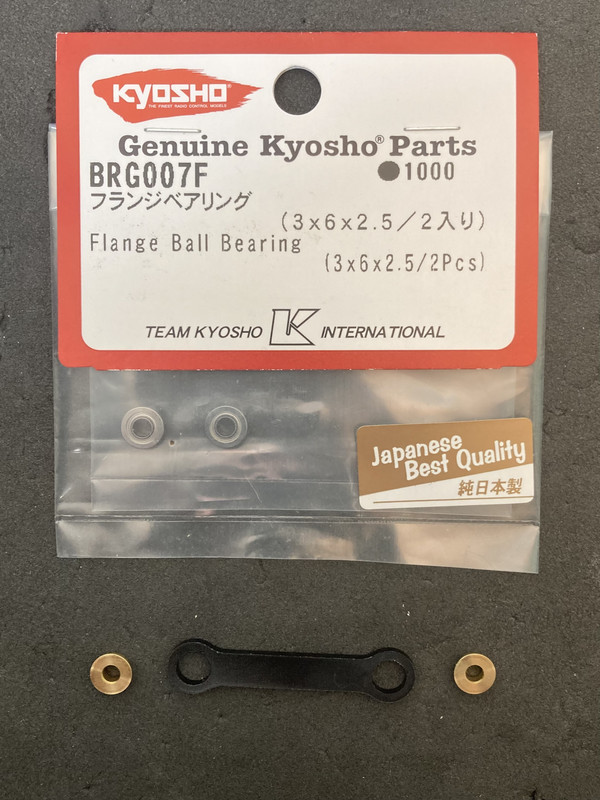
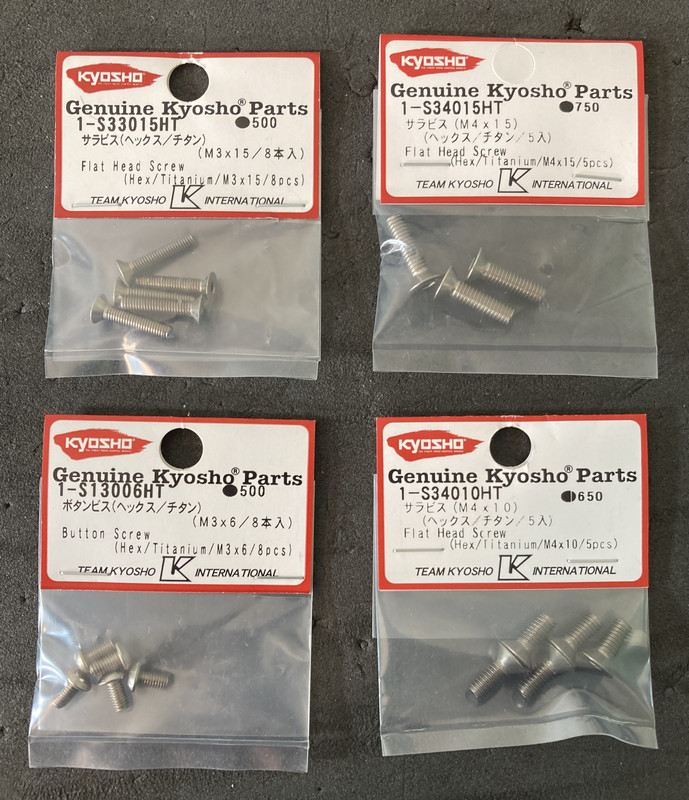
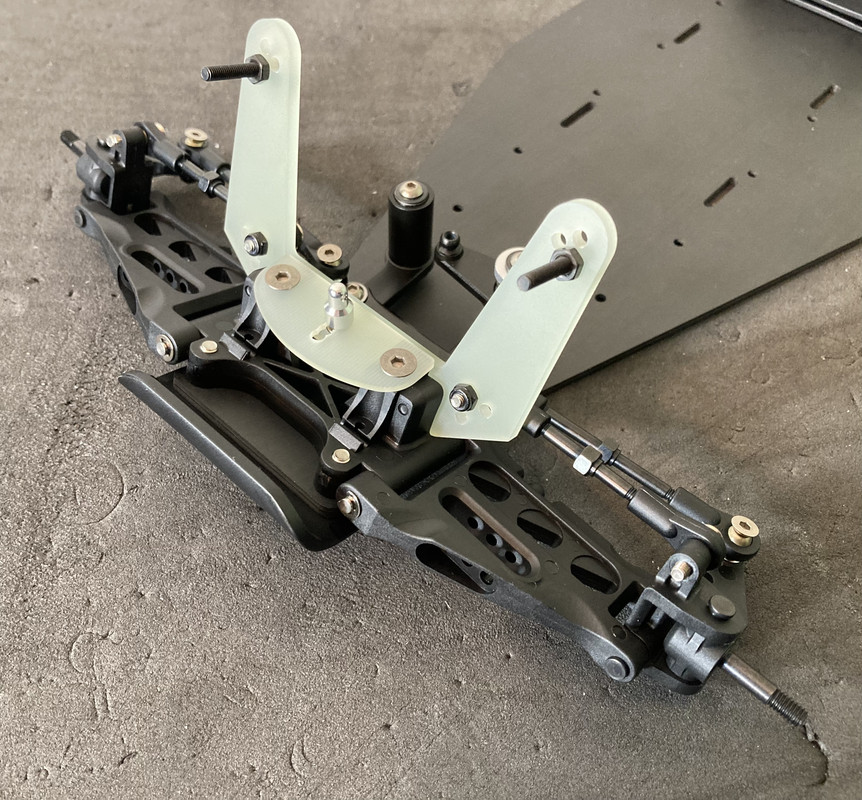
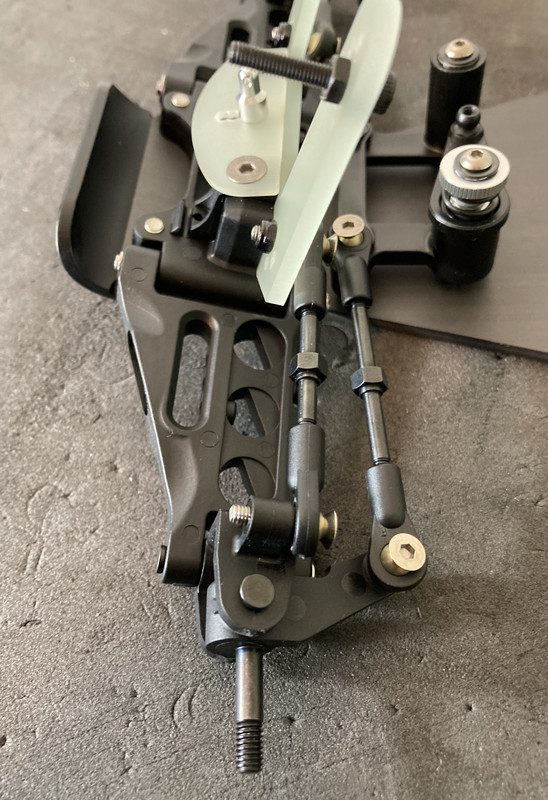
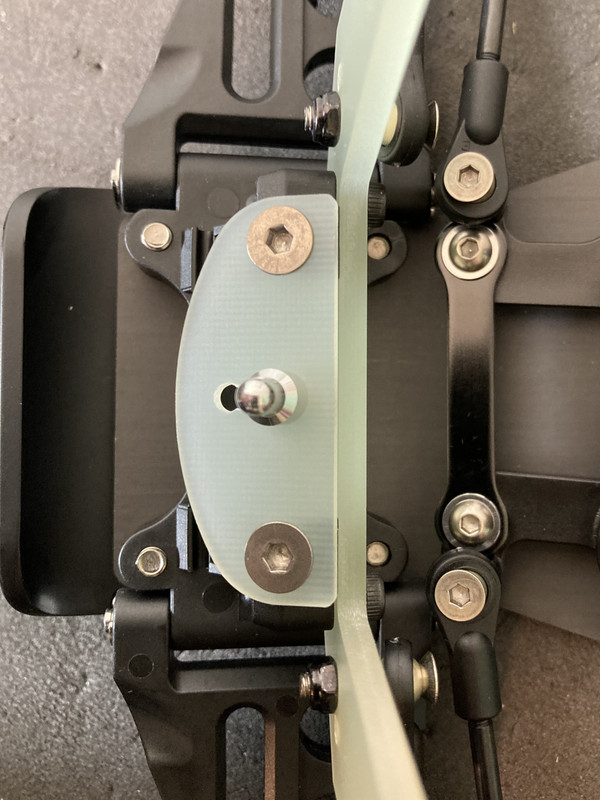
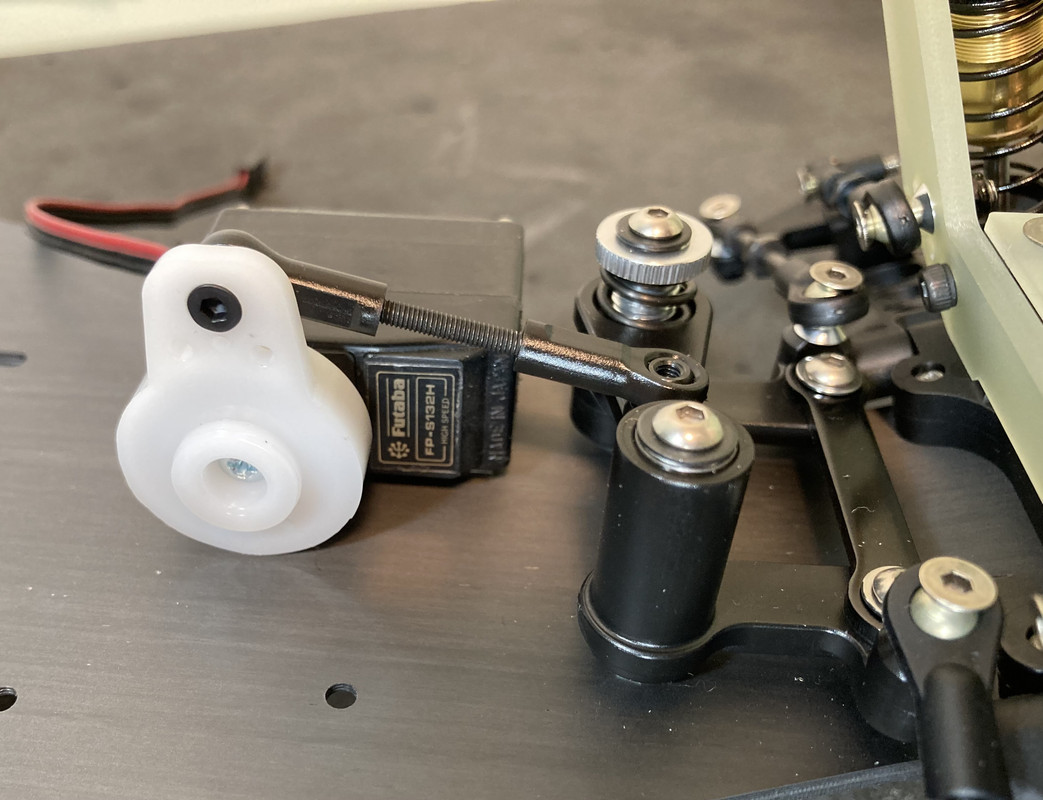
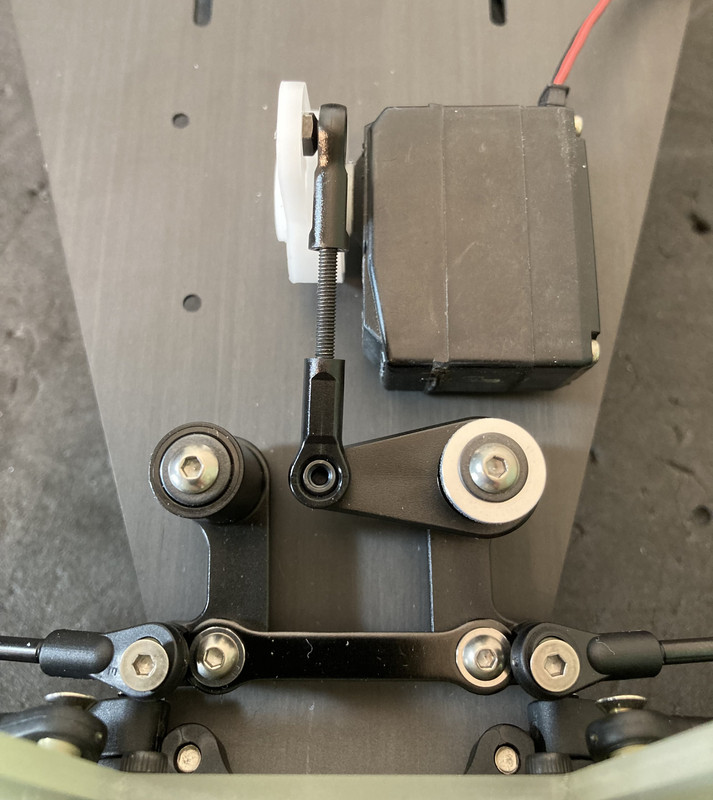
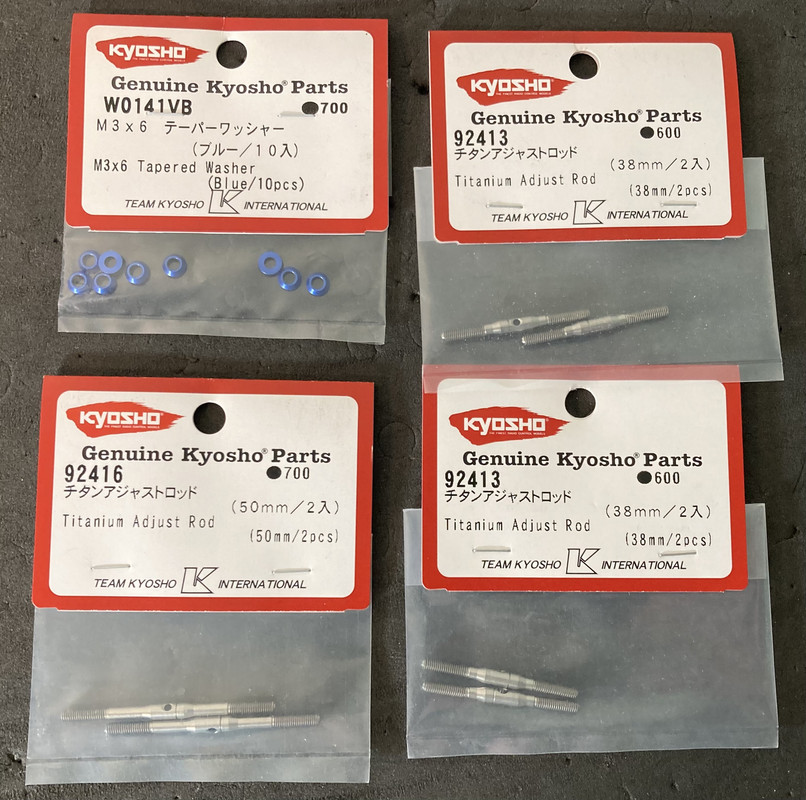
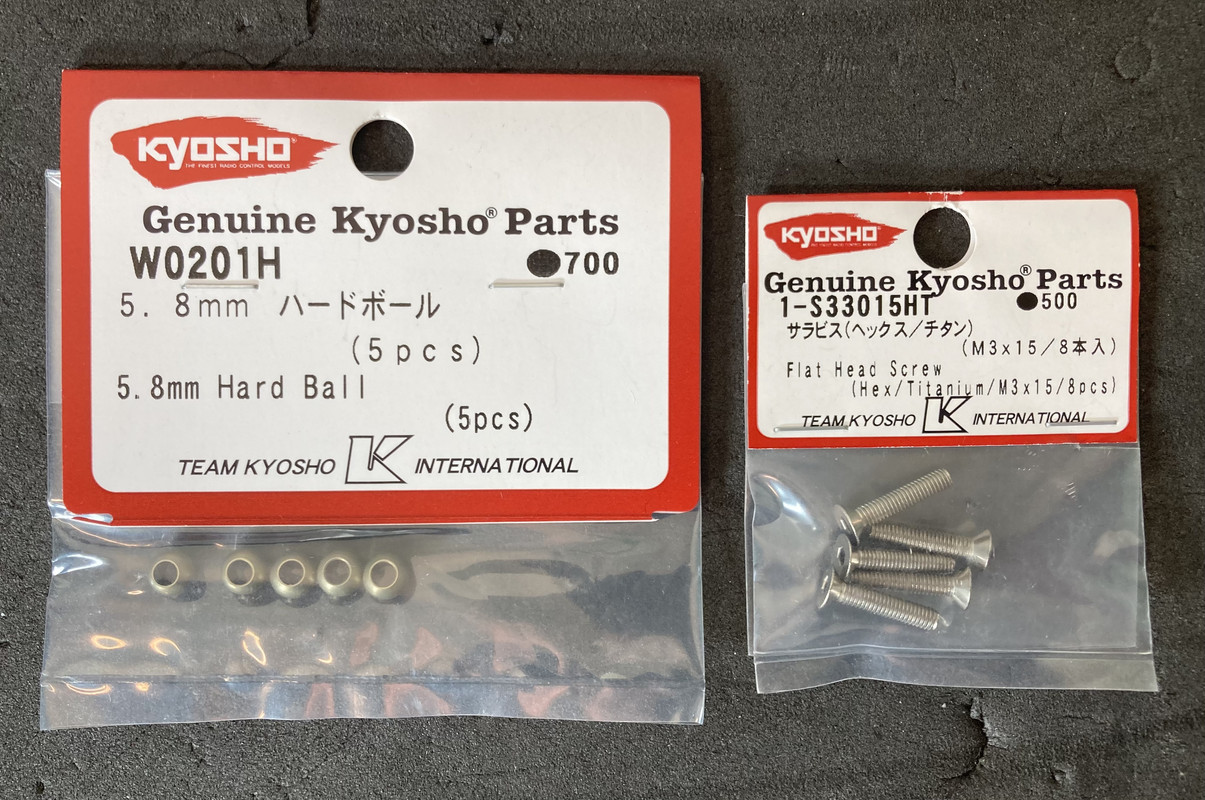
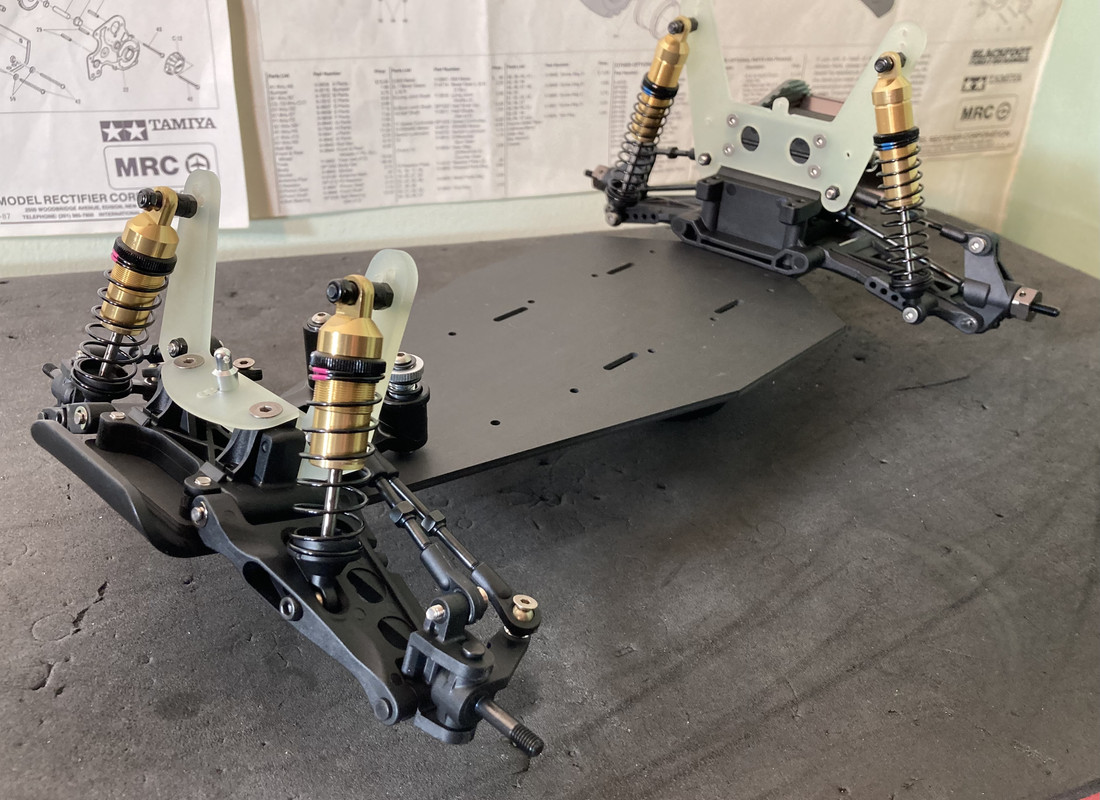
Steps 8, 14 & 16 are the camber and steering tie rods. These will be upgraded with the hard plastic rod ends and hard anodized aluminum ball pivots.
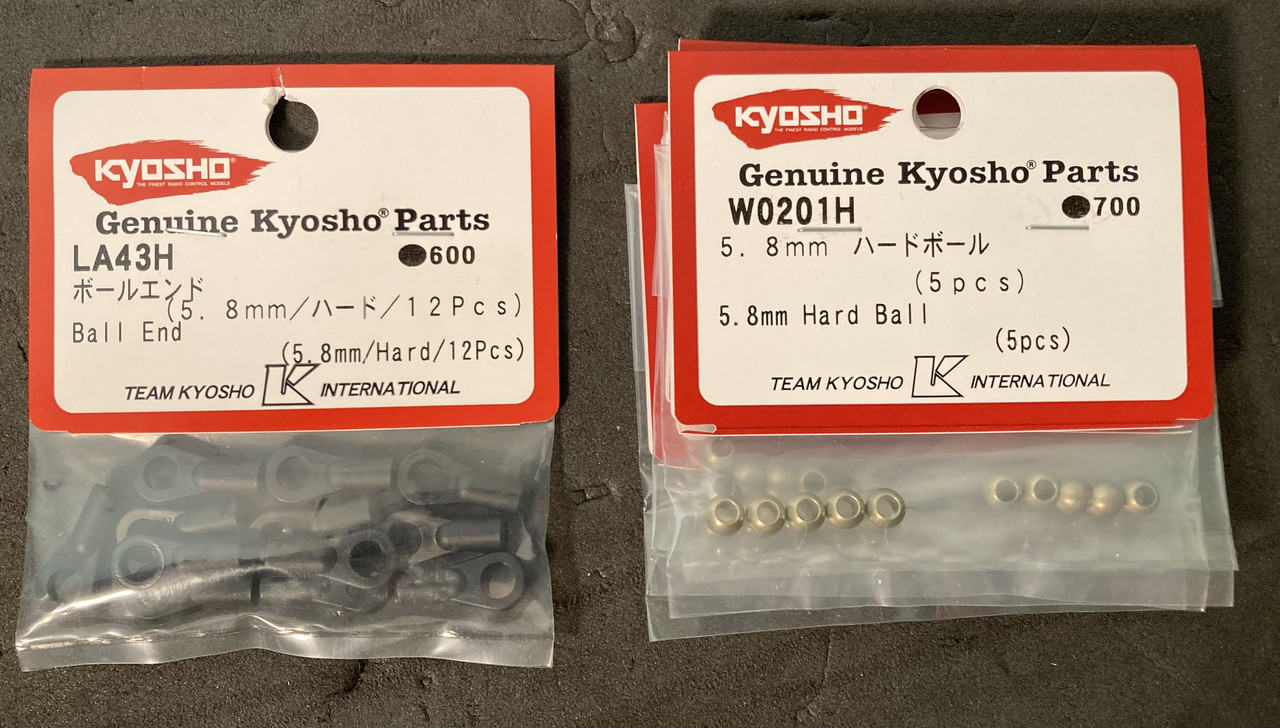

The titanium turnbuckles and blue anodized tapered washers are also offered as upgrades but I chose not to use those. The titanium turnbuckles are pretty cool though because they look like old Tecnacraft ones.
Re: JJ Ultima 60th build with upgrades
Posted: Mon Nov 06, 2023 9:04 pm
by Lavigna
Just curious why you aren't using the blue washers or titanium turnbuckle upgrades?
Looking good!
Re: JJ Ultima 60th build with upgrades
Posted: Tue Nov 07, 2023 9:09 am
by BattleTrak
Lavigna wrote: ↑Mon Nov 06, 2023 9:04 pm
Just curious why you aren't using the blue washers or titanium turnbuckle upgrades?
Looking good!
Thanks! I’m just trying to stay close to the look of original buggy. I may change my mind though..who knows..
Re: JJ Ultima 60th build with upgrades
Posted: Wed Nov 08, 2023 7:33 am
by BattleTrak
Re: JJ Ultima 60th build with upgrades
Posted: Wed Nov 08, 2023 7:59 am
by Frankentruck
Do the titanium screws take a different wrench size than the black screws, or is that an optical illusion?
Very nice build!
Re: JJ Ultima 60th build with upgrades
Posted: Wed Nov 08, 2023 8:23 am
by BattleTrak
Frankentruck wrote: ↑Wed Nov 08, 2023 7:59 am
Do the titanium screws take a different wrench size than the black screws, or is that an optical illusion?
Very nice build!
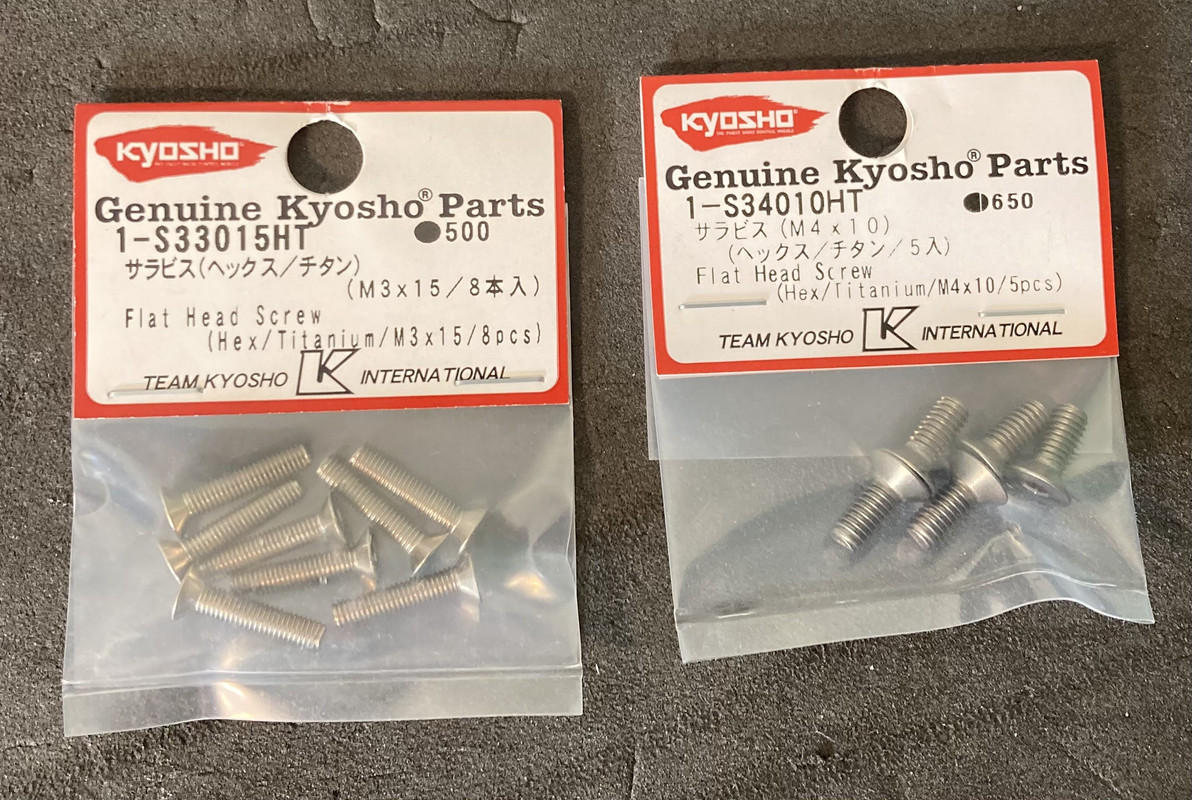
Thanks! Yeah it’s probably just my bad lighting..but they are both the same size..2.5mm hex. All the black screws in this kit are steel.
Re: JJ Ultima 60th build with upgrades
Posted: Fri Nov 10, 2023 4:58 am
by BattleTrak
Re: JJ Ultima 60th build with upgrades
Posted: Sat Nov 11, 2023 2:58 pm
by BattleTrak
Re: JJ Ultima 60th build with upgrades
Posted: Sat Nov 11, 2023 3:57 pm
by mikea96
Car is looking great! Looking forward to the finished product.
Re: JJ Ultima 60th build with upgrades
Posted: Thu Nov 16, 2023 5:42 pm
by BattleTrak
The shocks were a breeze to build.. used the hard anodized aluminum ball pivots again and some titanium mounting screws on the rear lower.
Re: JJ Ultima 60th build with upgrades
Posted: Thu Nov 16, 2023 6:07 pm
by BattleTrak
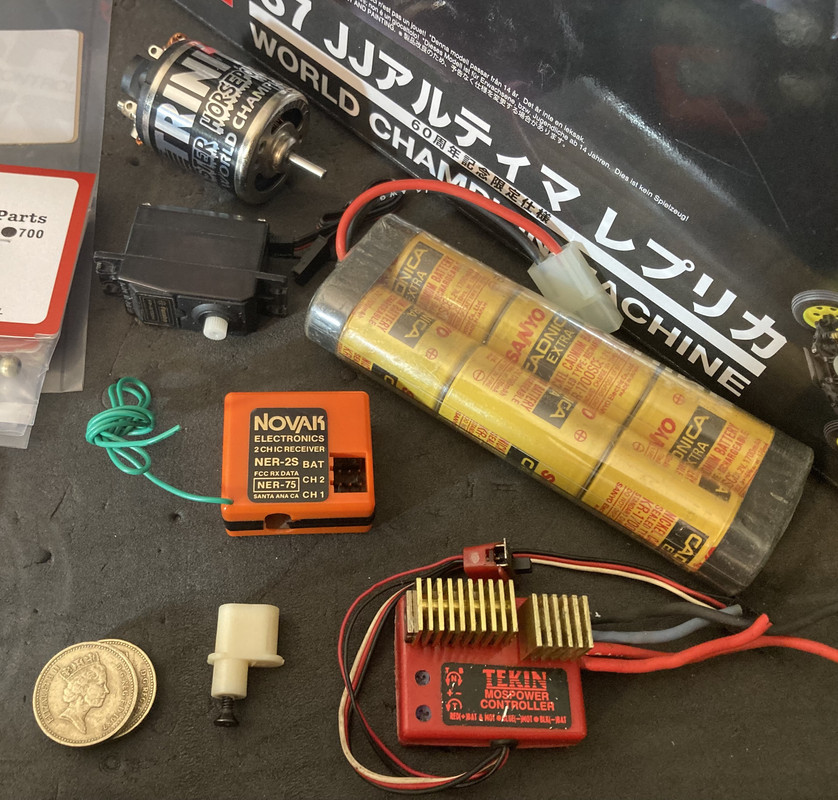
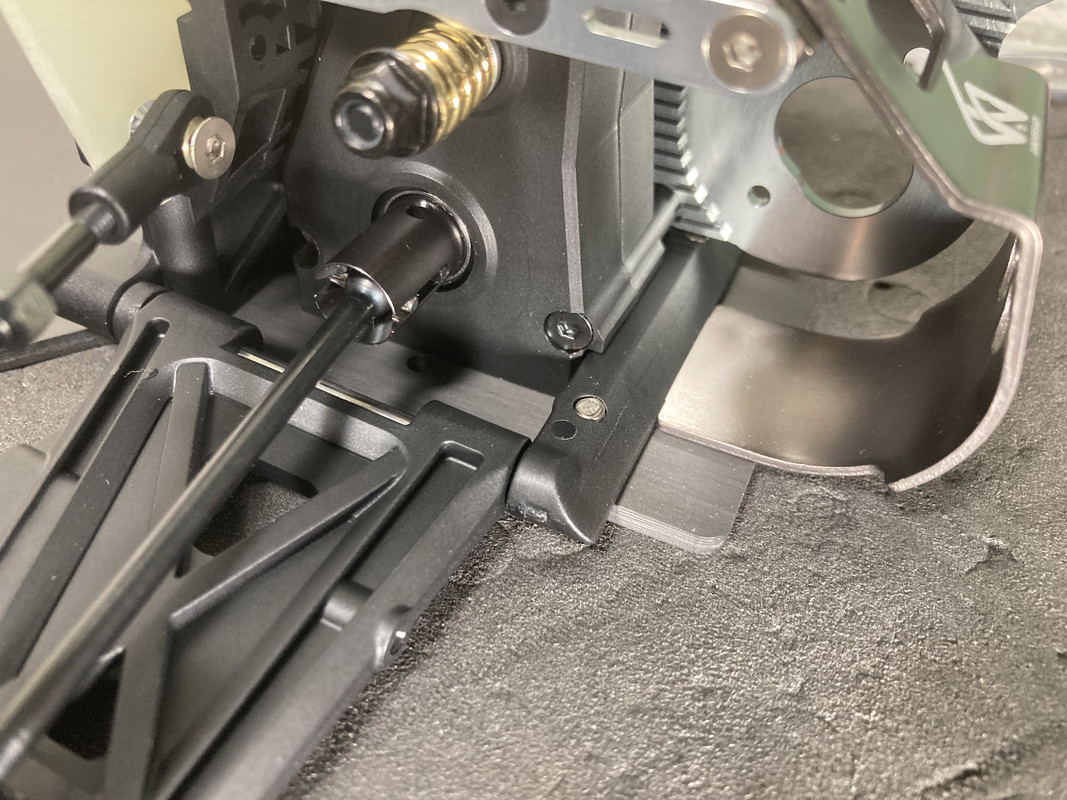
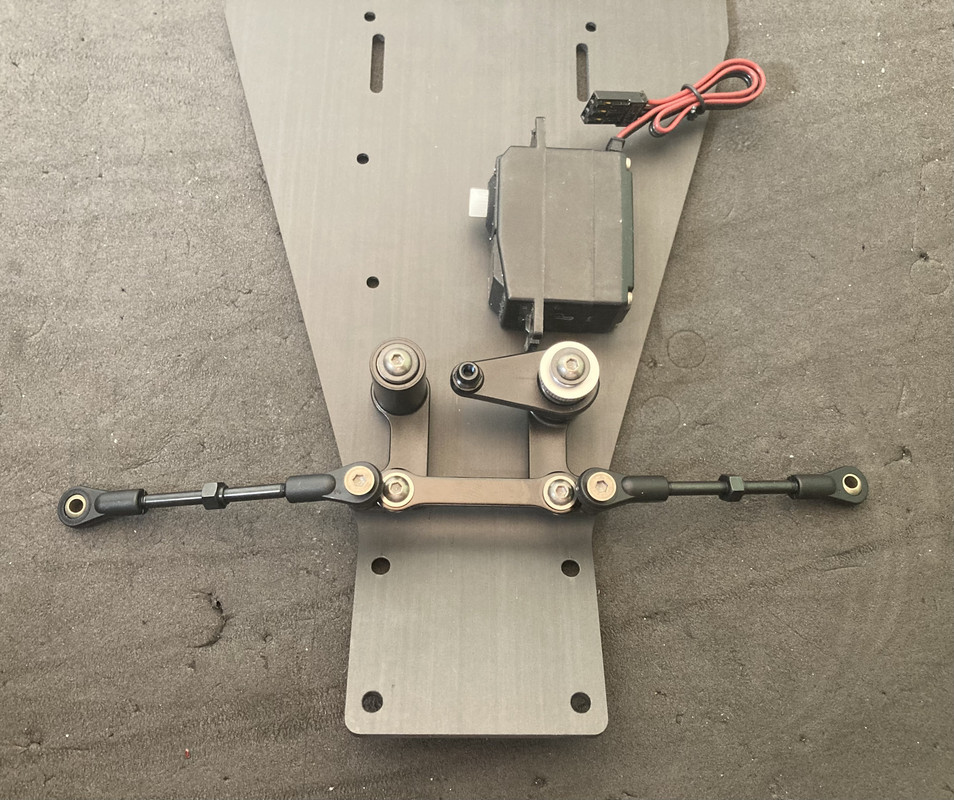
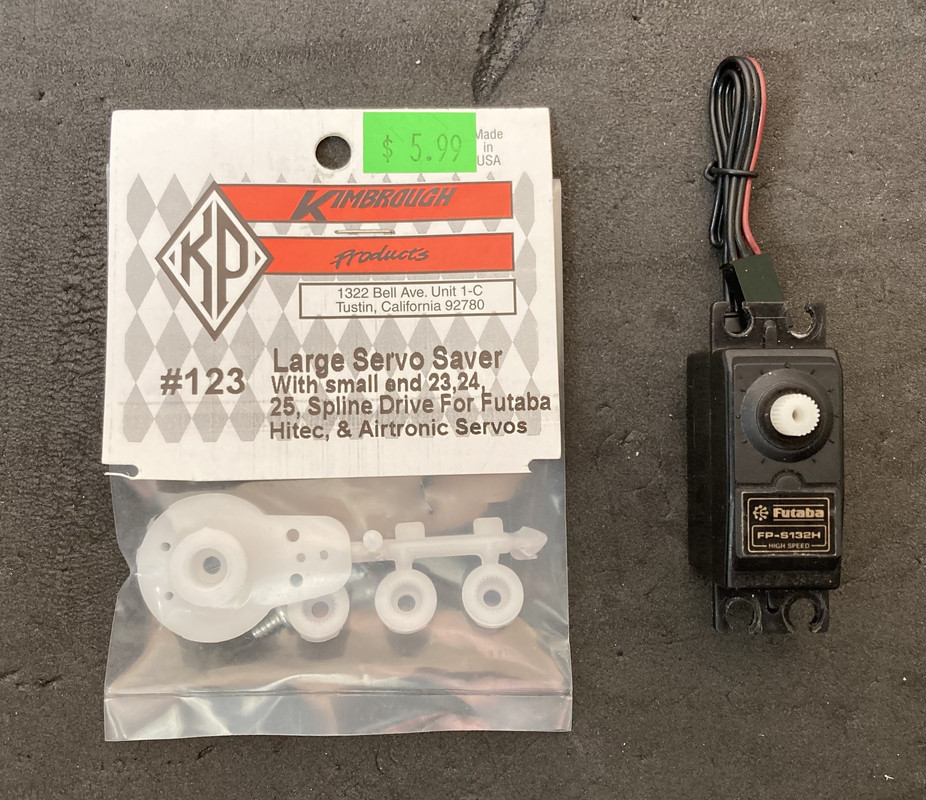
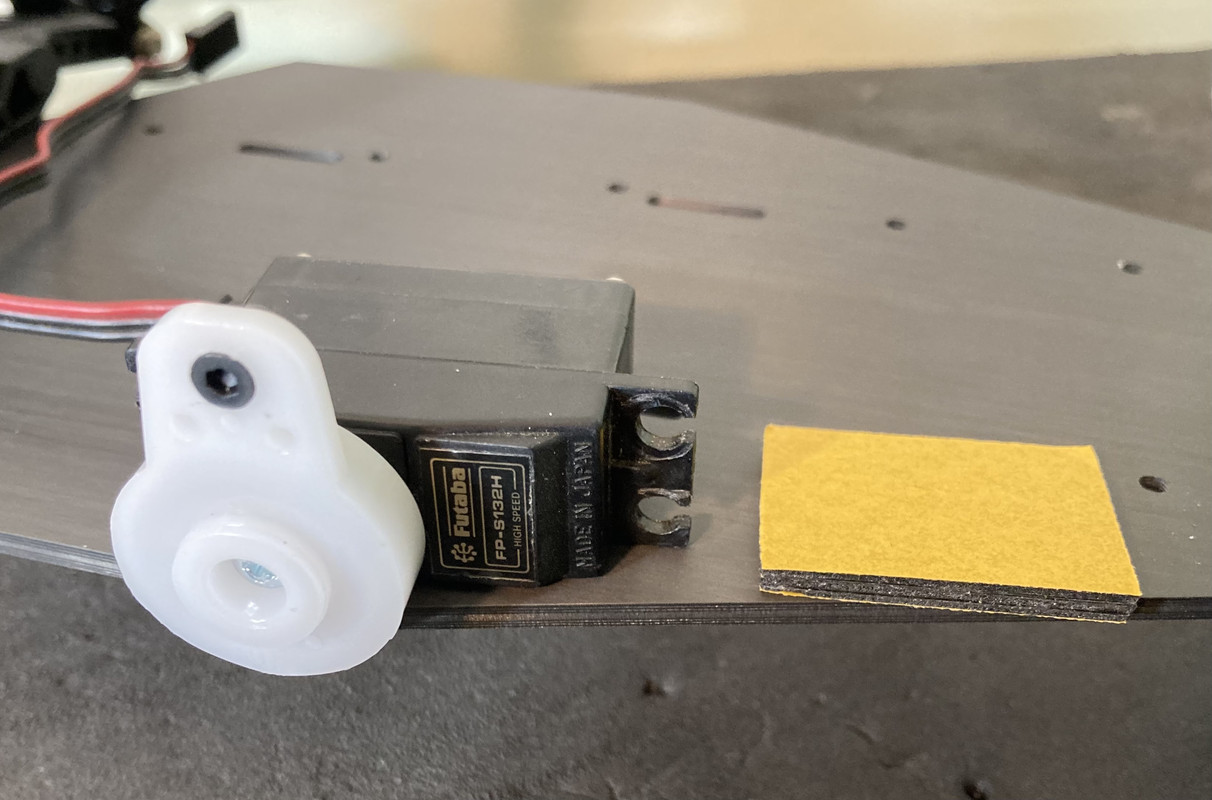
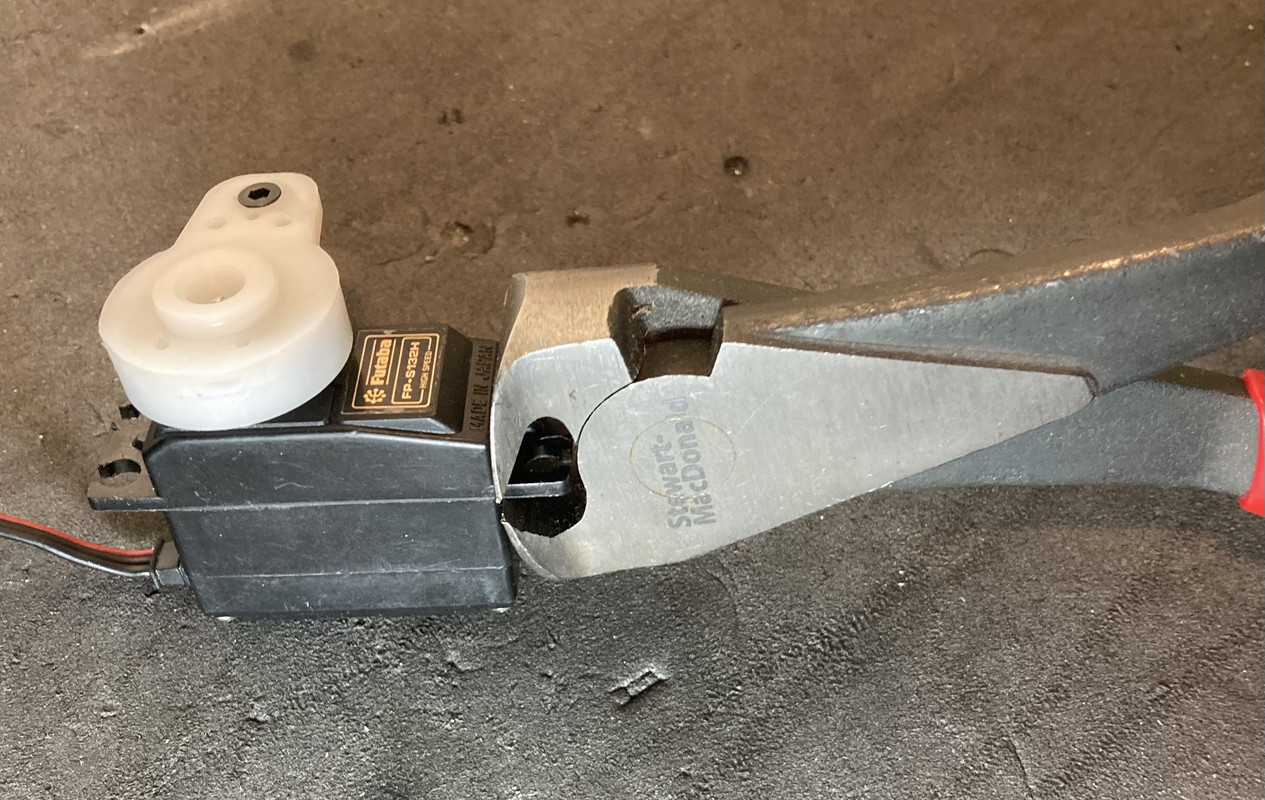
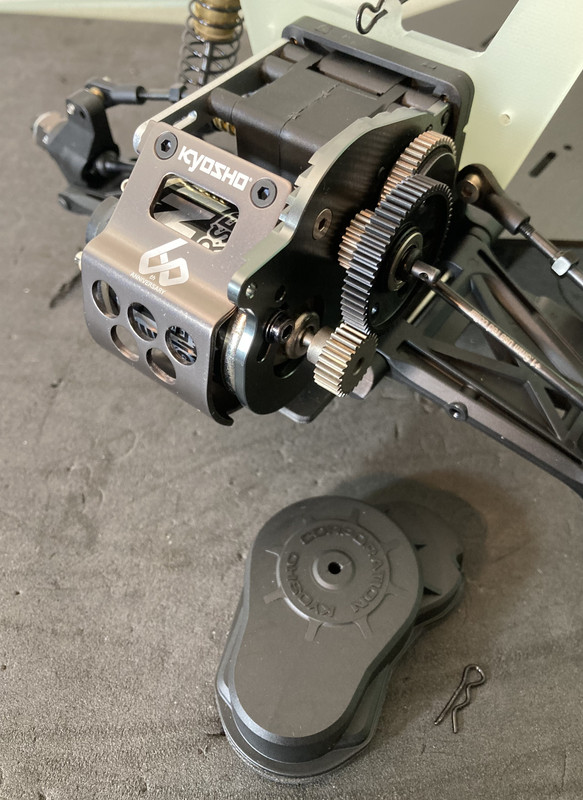
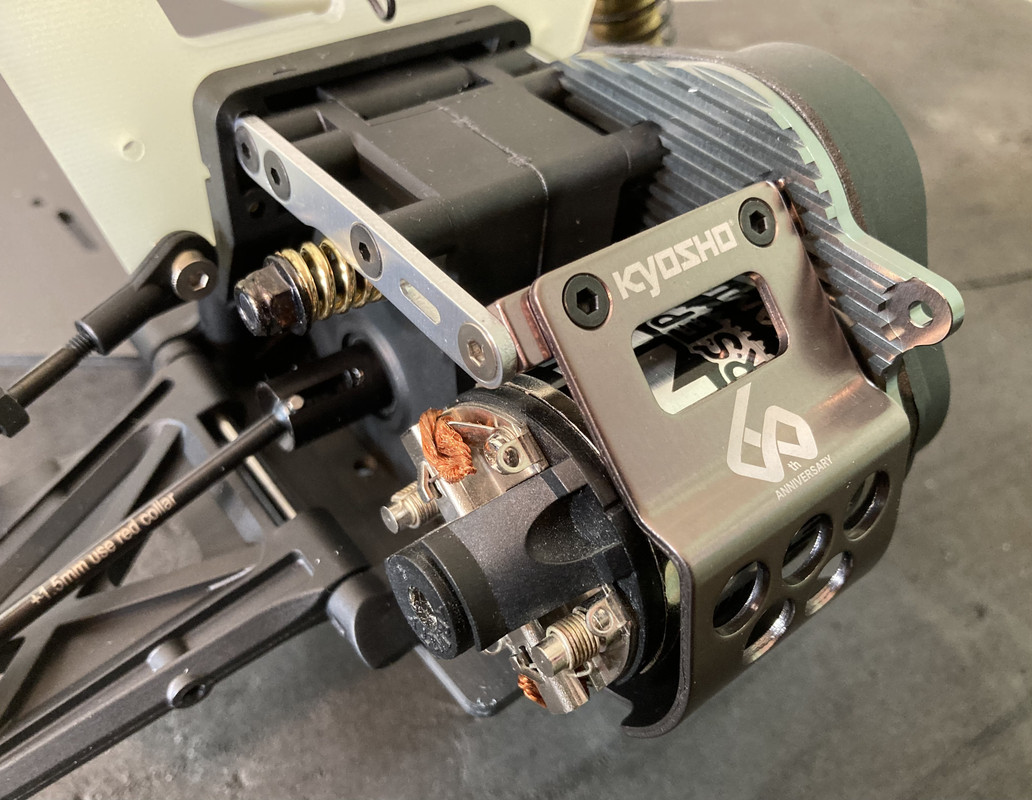
Steps 26-29 are installing the radio gear which I will skip for now.. 30 & 31 are the spur and motor installation. Now we’re getting serious.. new 1987 Trinity Monster Horsepower motor.
Re: JJ Ultima 60th build with upgrades
Posted: Thu Nov 16, 2023 8:05 pm
by BattleTrak