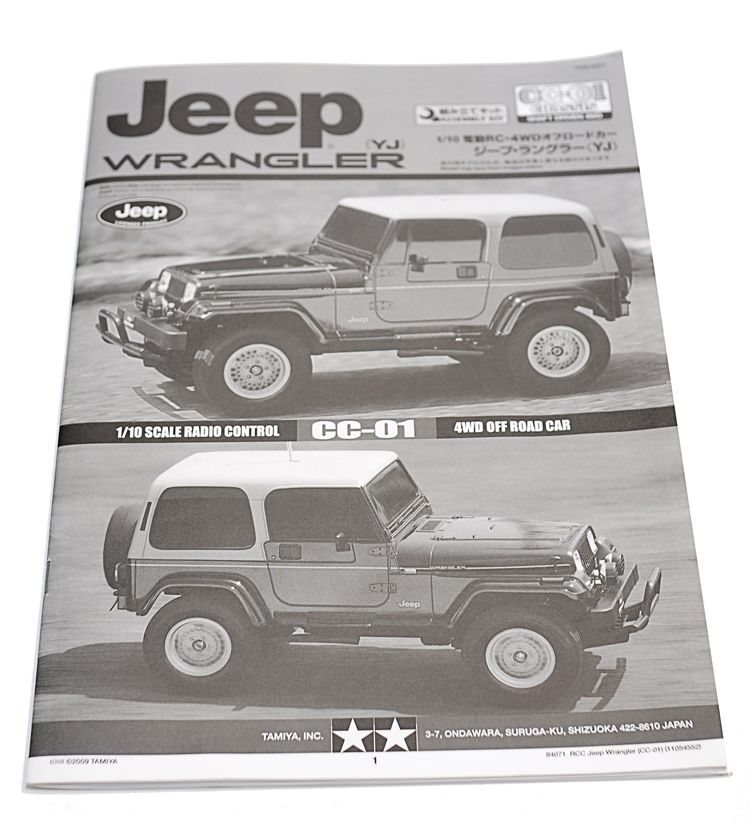
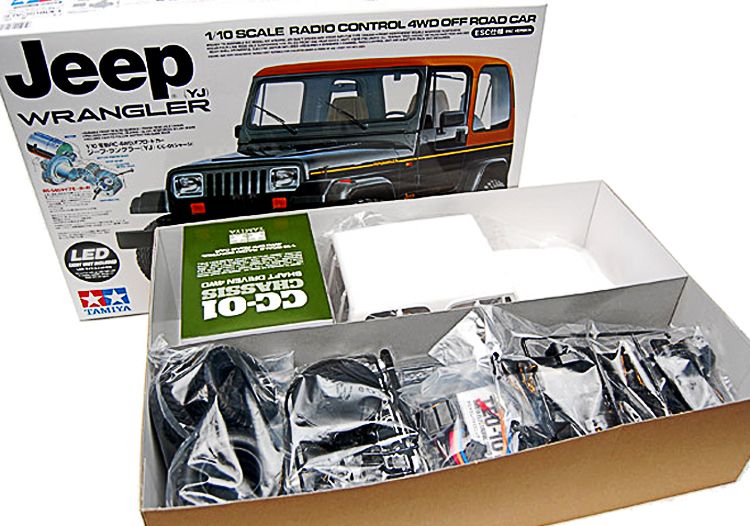
Finally, have a chance to build this baby with excitement. First thing is to open the box to check if everything is ok
What inside the box?
Same as the other Tamiya car kit ,TEU-101BK ESC is included (forward and reverse speed controller).
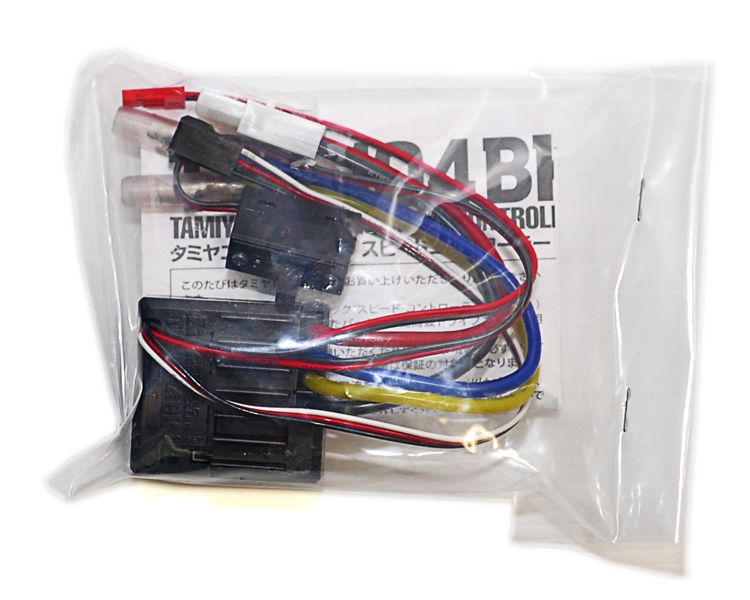
TLU-01 LED Light Unit is also included in the kit. It is intended for the headlights and for the taillights.
In total you can use up to eight pairs of lights in this single unit .

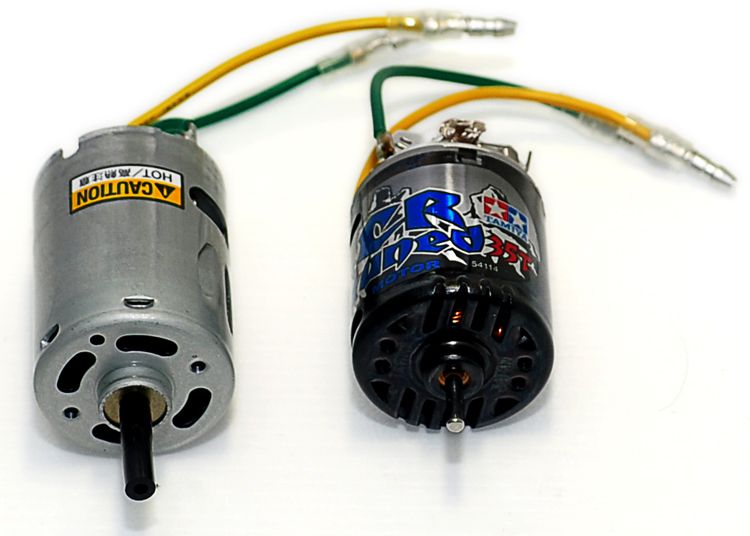
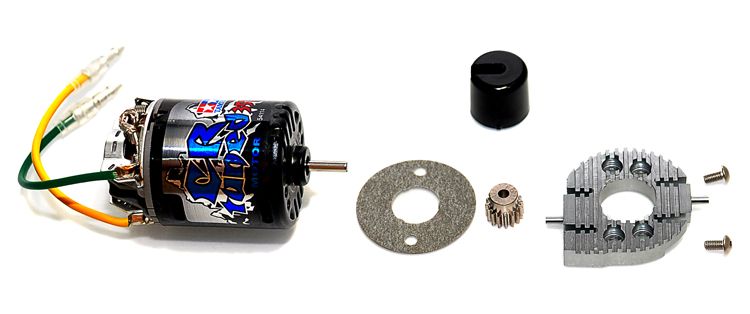
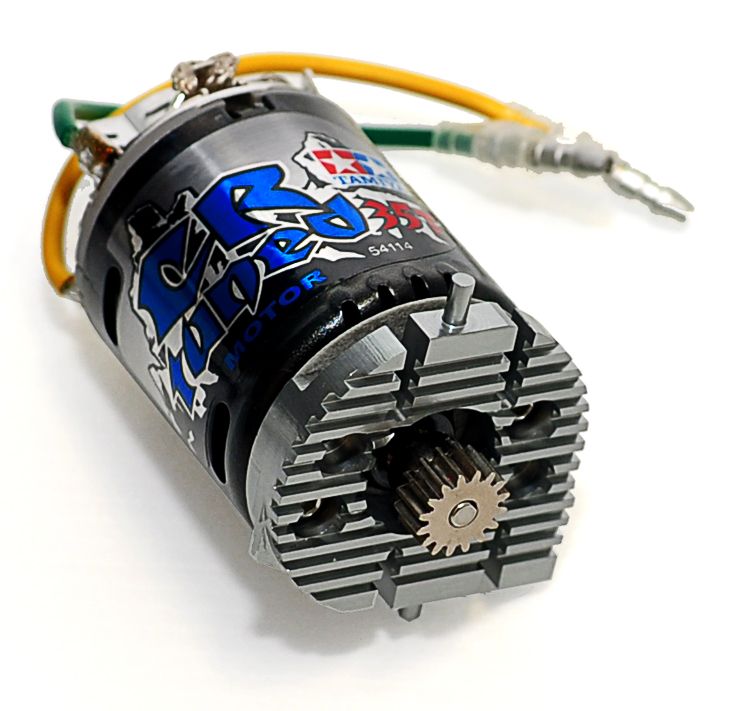
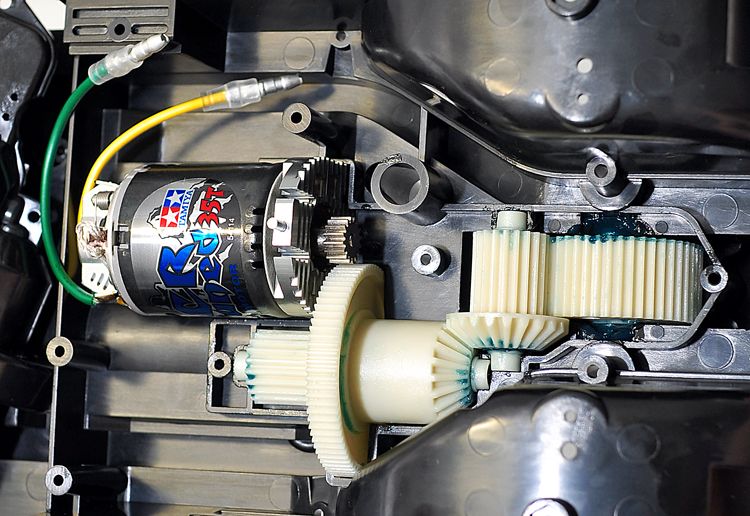
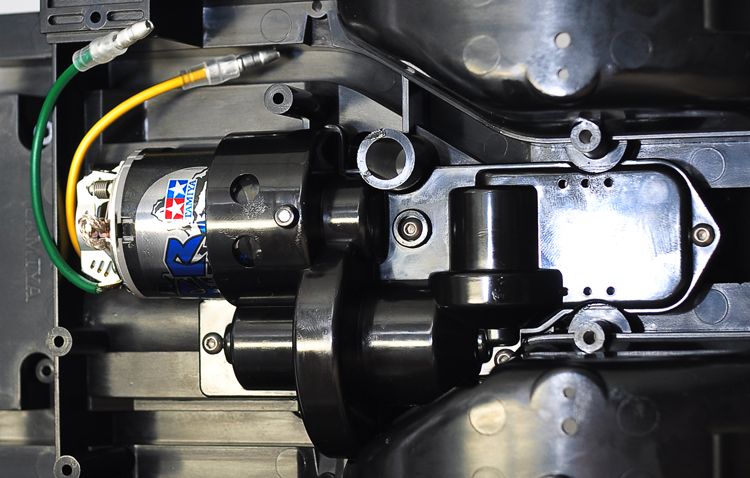
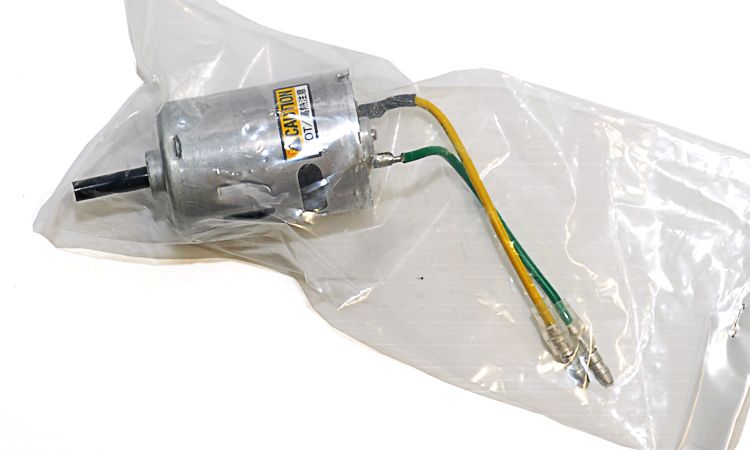
As usual the undying 540 Silver Can Motor
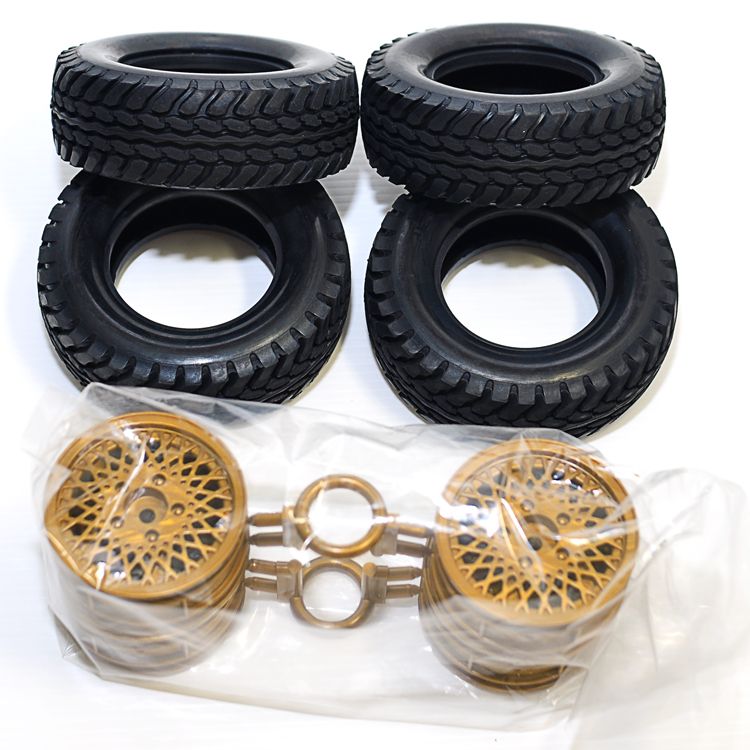
For the wheels and tires, the Wrangler comes with 1.9″ gold looking mesh wheels but the stock tires are hard with less grip.
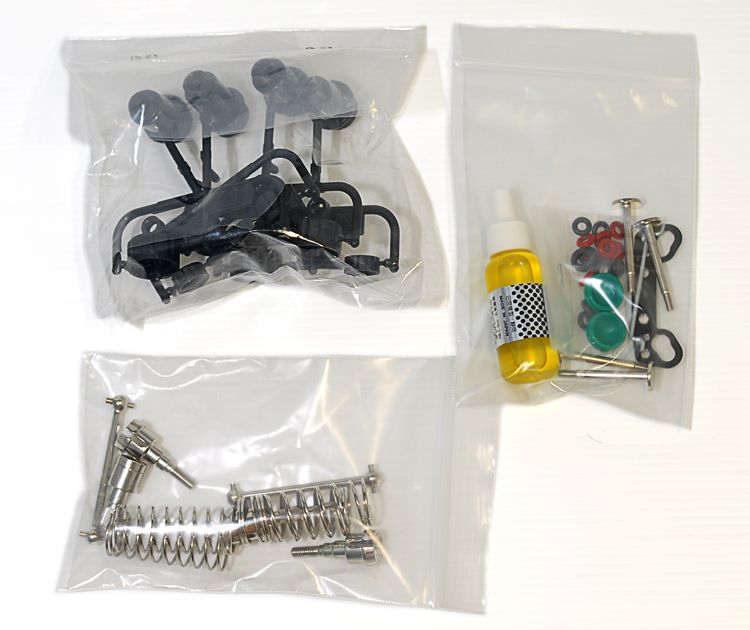
Tamiya plastic shock oil filled and front dog bones
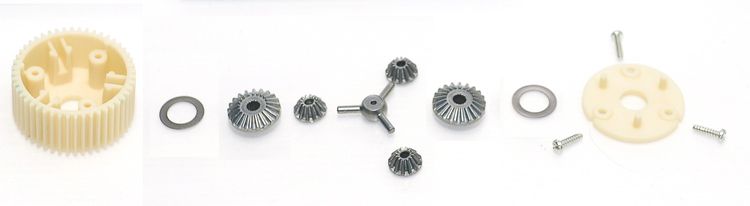
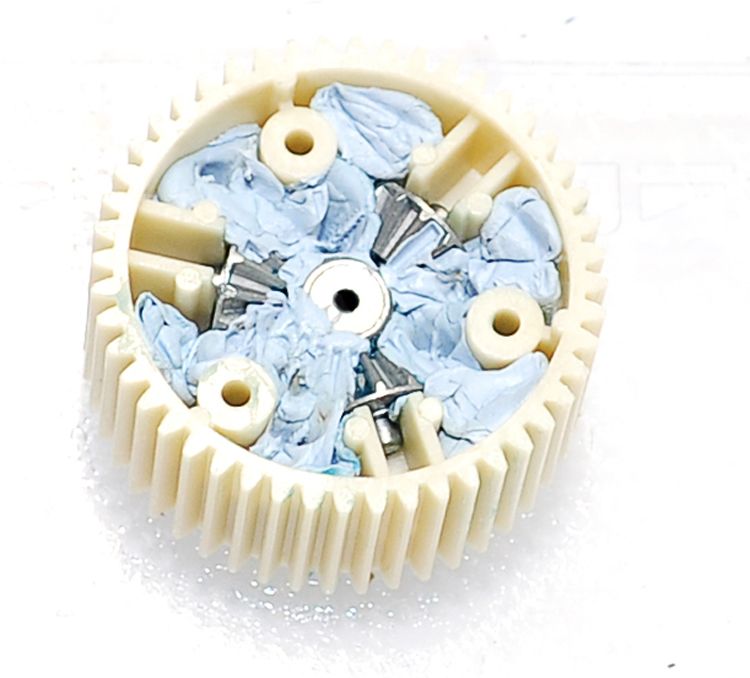
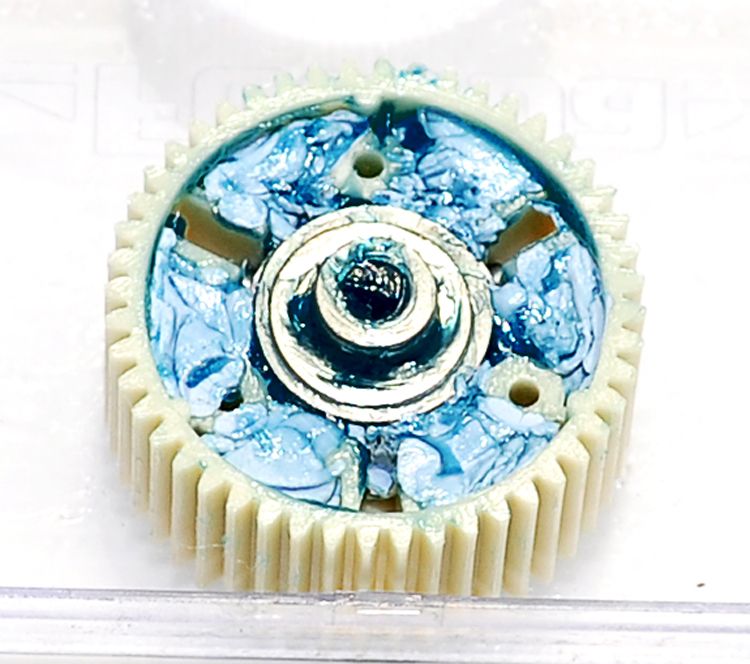
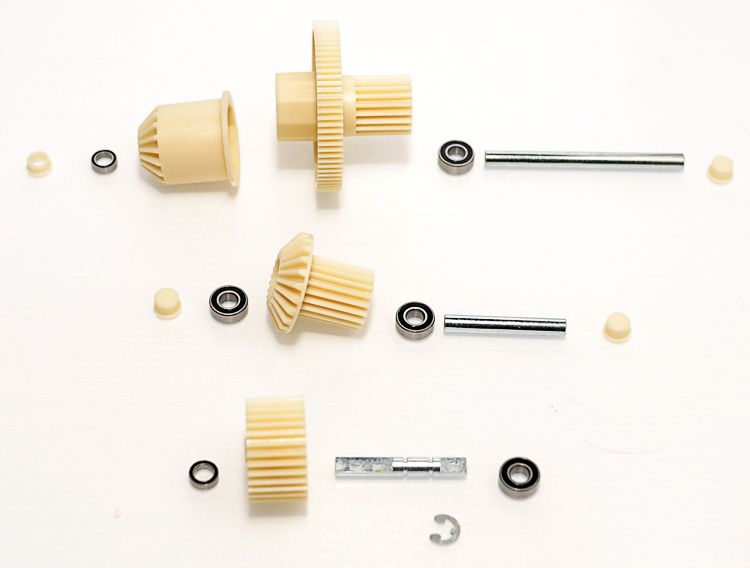
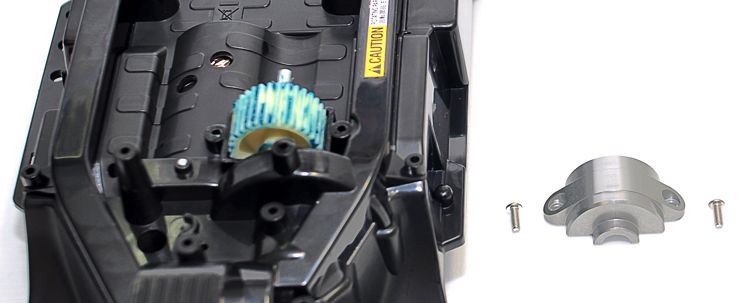
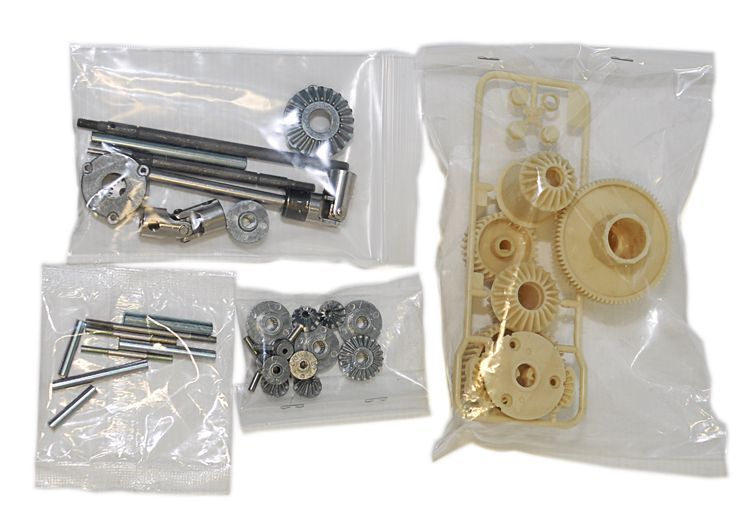
Here are both the front and rear gear sets. The metal gears are for the differentials. The Axle Shaft
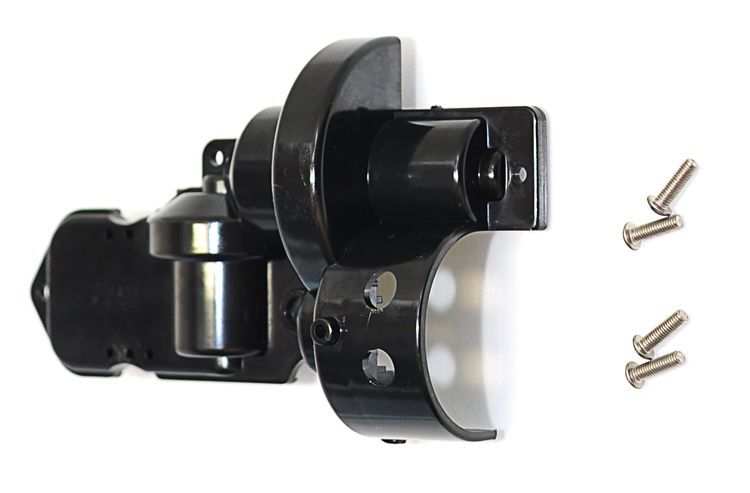
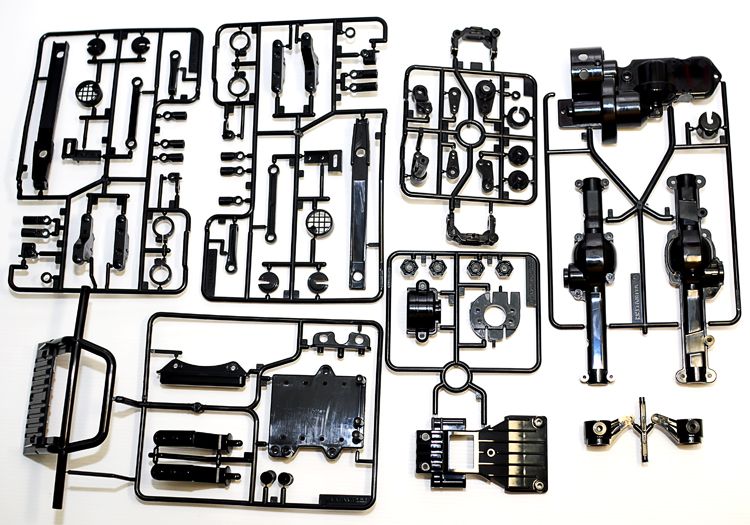
The plastic parts from A to D
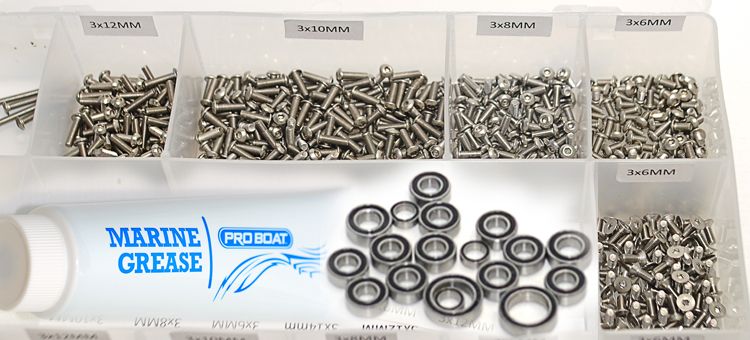
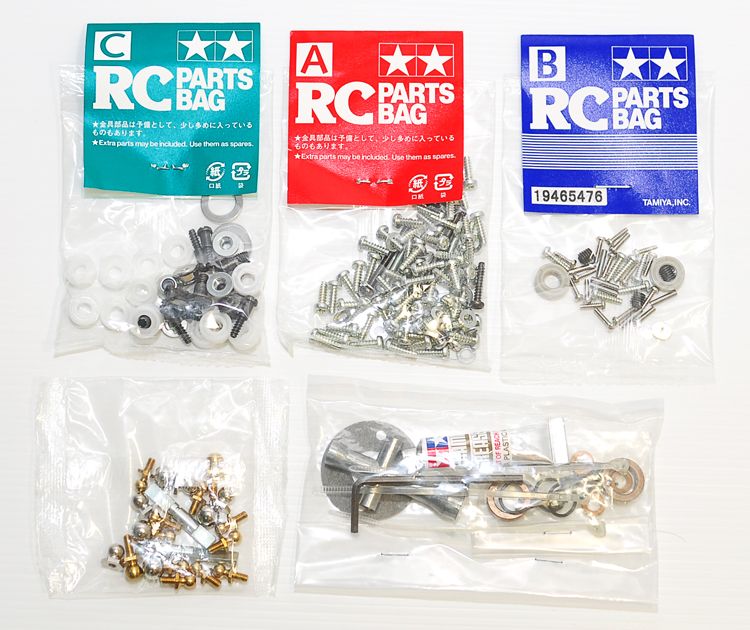
The screw bags and tools.
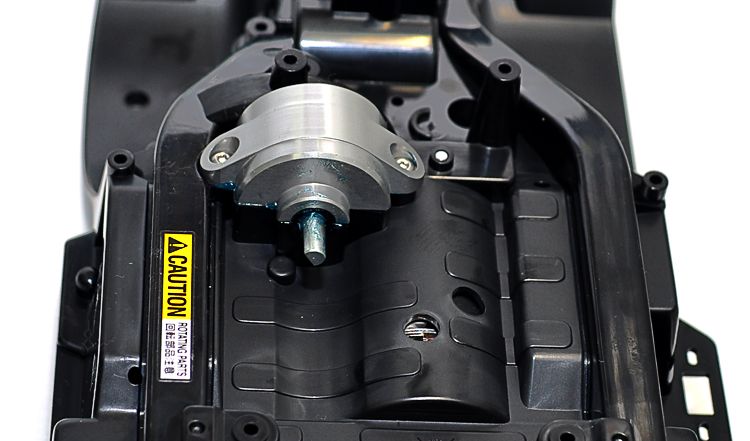
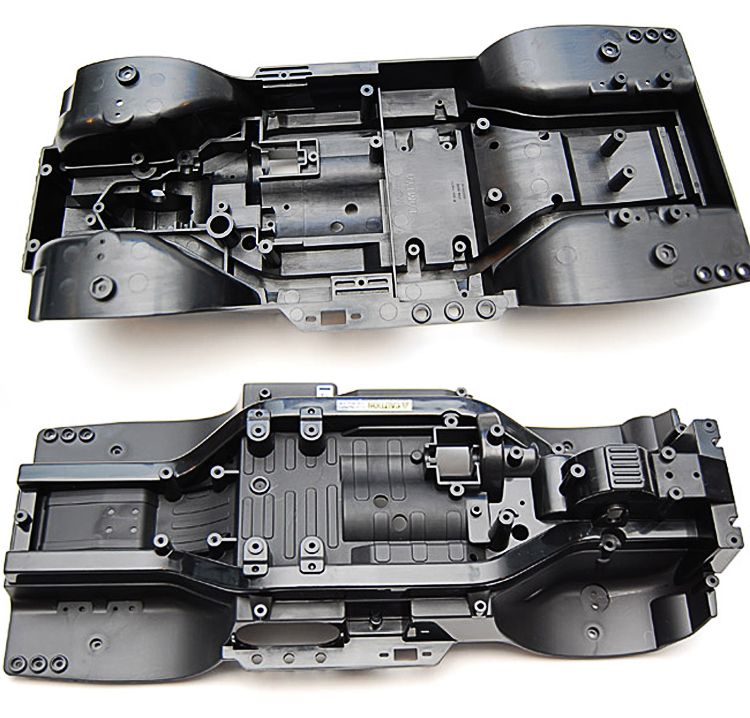
The chassis. Like all CC01 kits, the Wrangler features a plastic injection molded tub style chassis.
The first thing I've checked was the battery location. The battery holder was designed to accept a rounded shotgun style lipo/NiMh.
A standard hard case Lipo cannot be used without modification in the chassis.
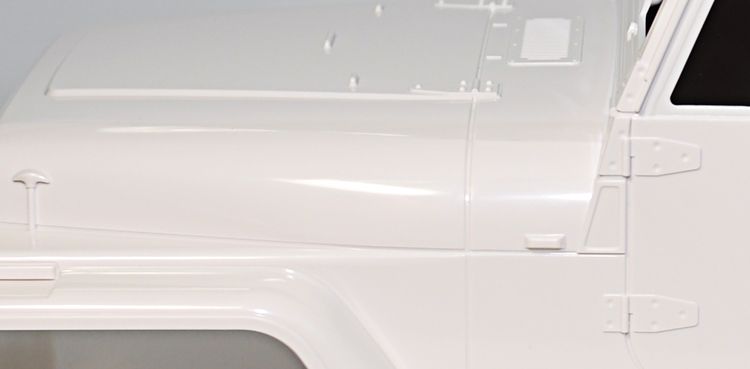
Tamiya hard body shells of Wrangler body is a killer.

I like all the small details of door handles, hinges, and etc.
Here are some of the additional body parts.
The rear “tire cover” and various other pieces for the body.
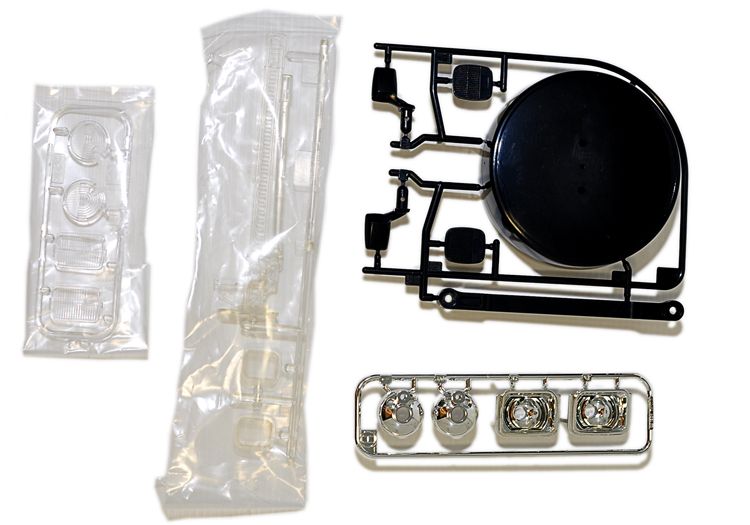
Tamiya included a nice set of decals, with a beautiful detailed graphics .
Just wondering about CR-01 wordings, hmmm?