Once each car build starts, I'll start their own thread for their induvidual progress.....
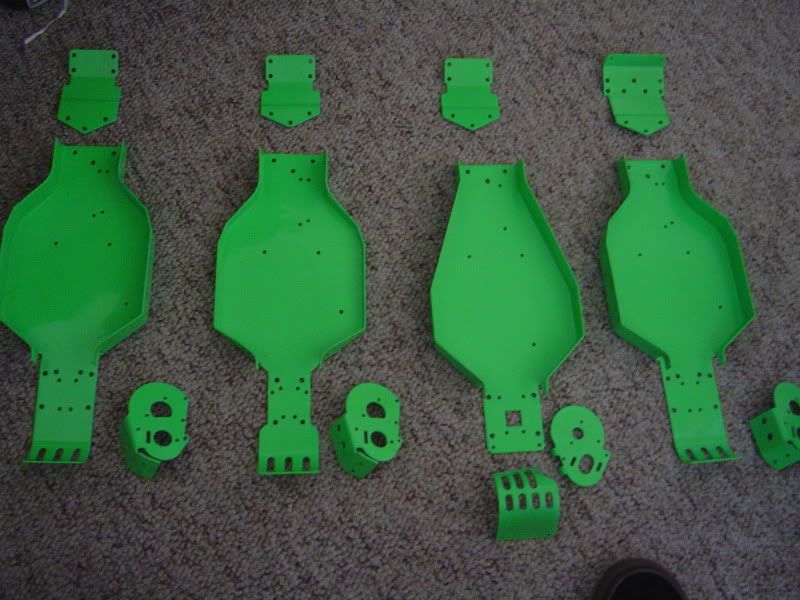
Anyway, I dropped 4 chassis sets off at the powder coaters last Monday to be done in the neon green like AE used to offer. (It was very ironic to me to see Rick's 10T green tub pics posted the very next day..
I'm going for my own "Team Theme" on these 4 cars.
1.- Standard Buggy (stock length arms front and rear.)
2.- World's Buggy (basically a "whats old is new car, but with the rear of the chasssis cut to run RPM narrow chassis a-arm mounts, and the sides of the chassis cut down to help "slam" the body around a 10T rear tower)
3.- Standard 10T
4.- Standard 10T2
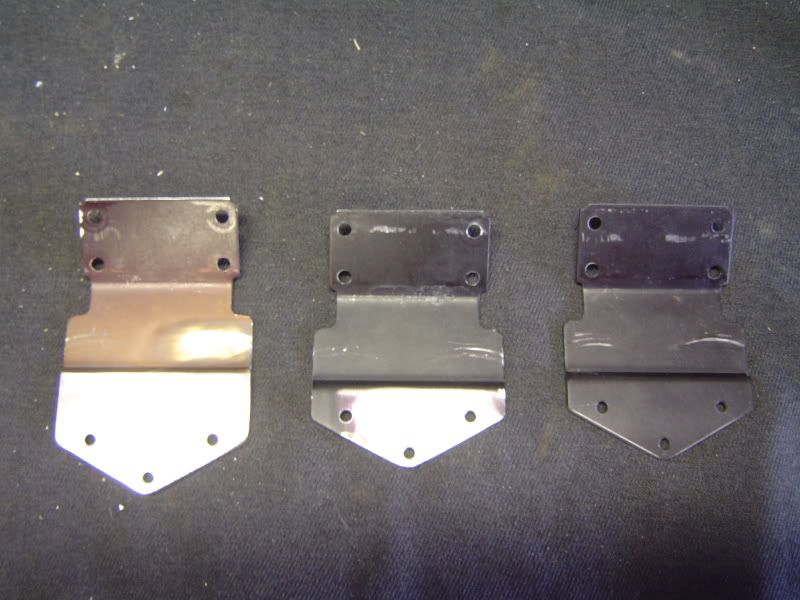
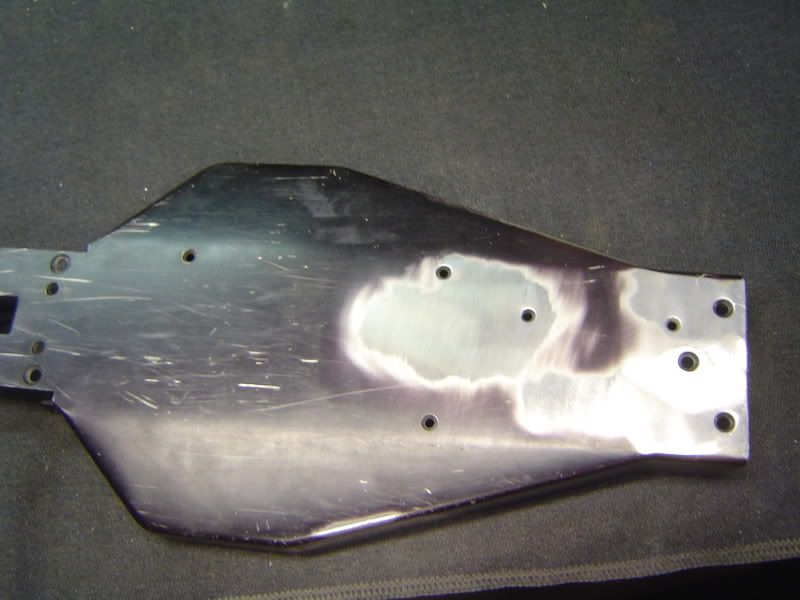
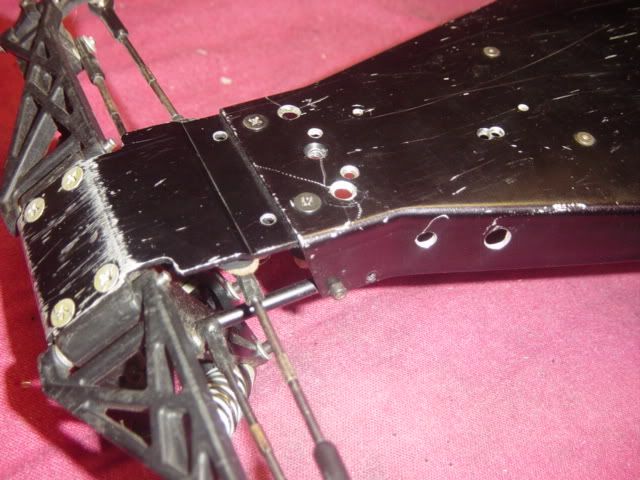
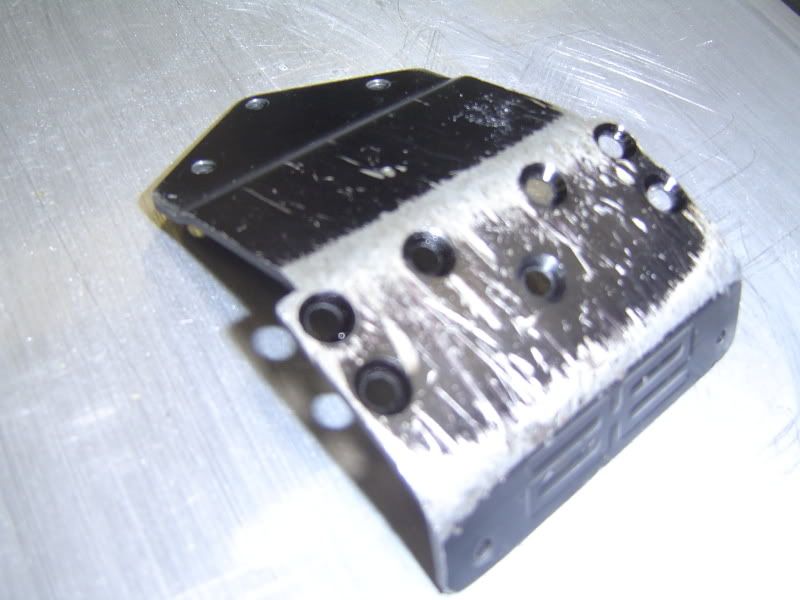
I chopped the long wheel base screw holes off on 2 10T nose plates. 1 for the 10T2 and 1 for the "world's" buggy. Since these to set-ups only require the short wheelbase, I thought it would look much cleaner..
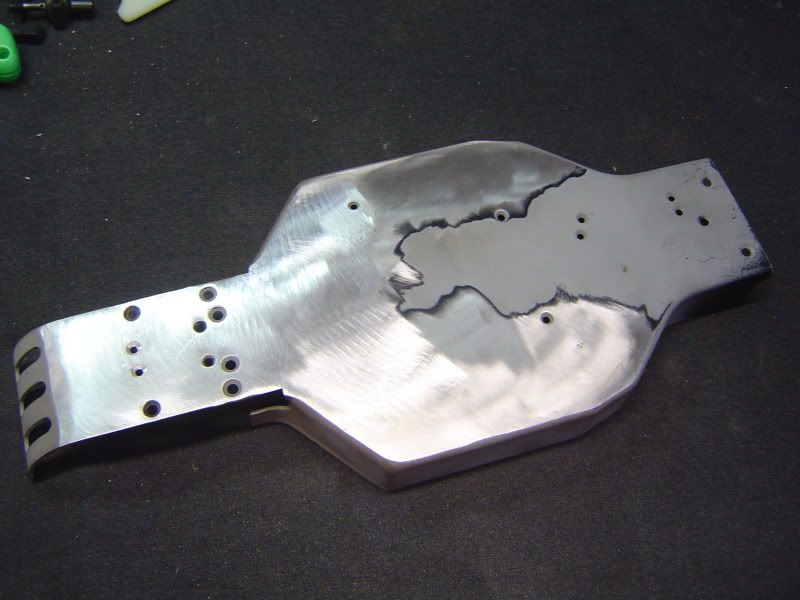
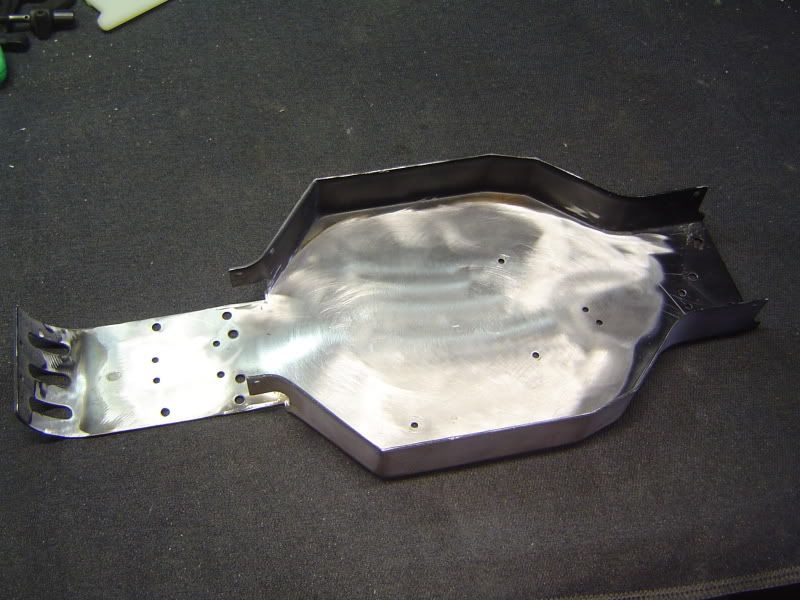
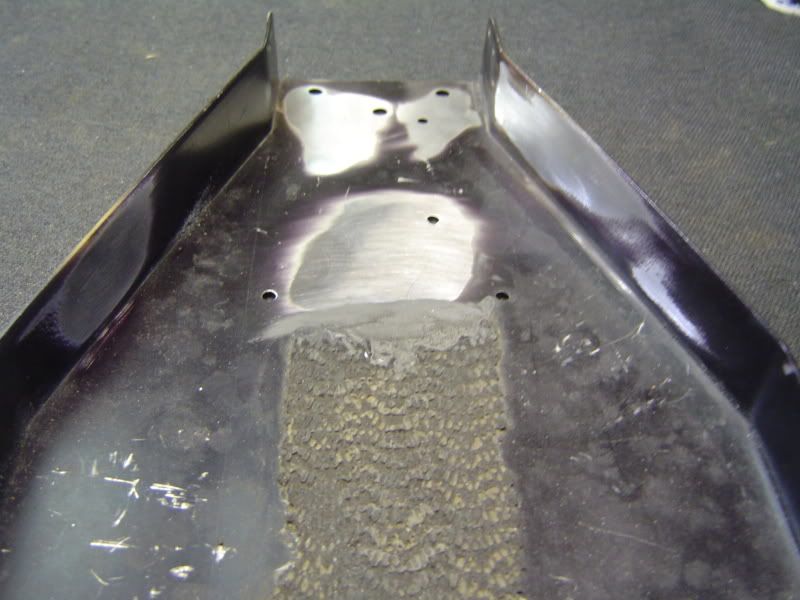
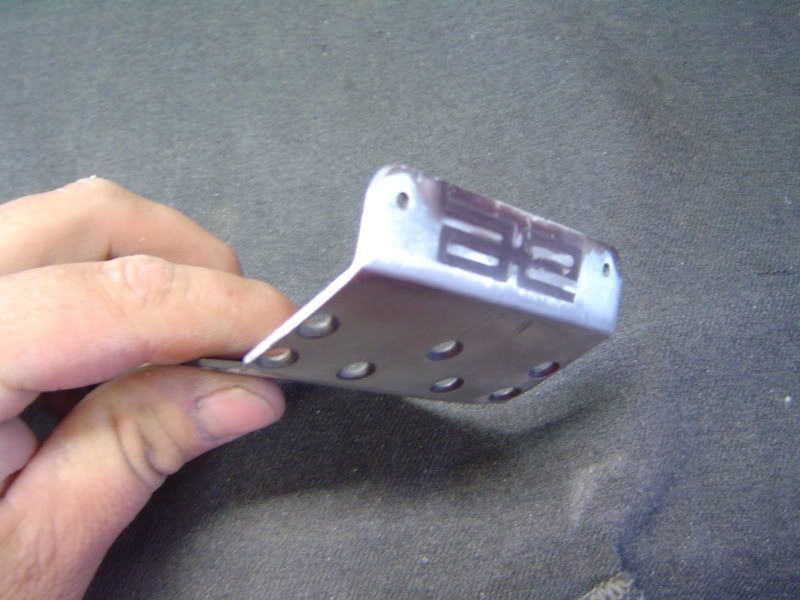
For the 10T nose plate, I welded in the short wheel base holes, since this only gets used in the long wheel base position on this truck...
Here's a few pics of how it all looked before I dropped it off......