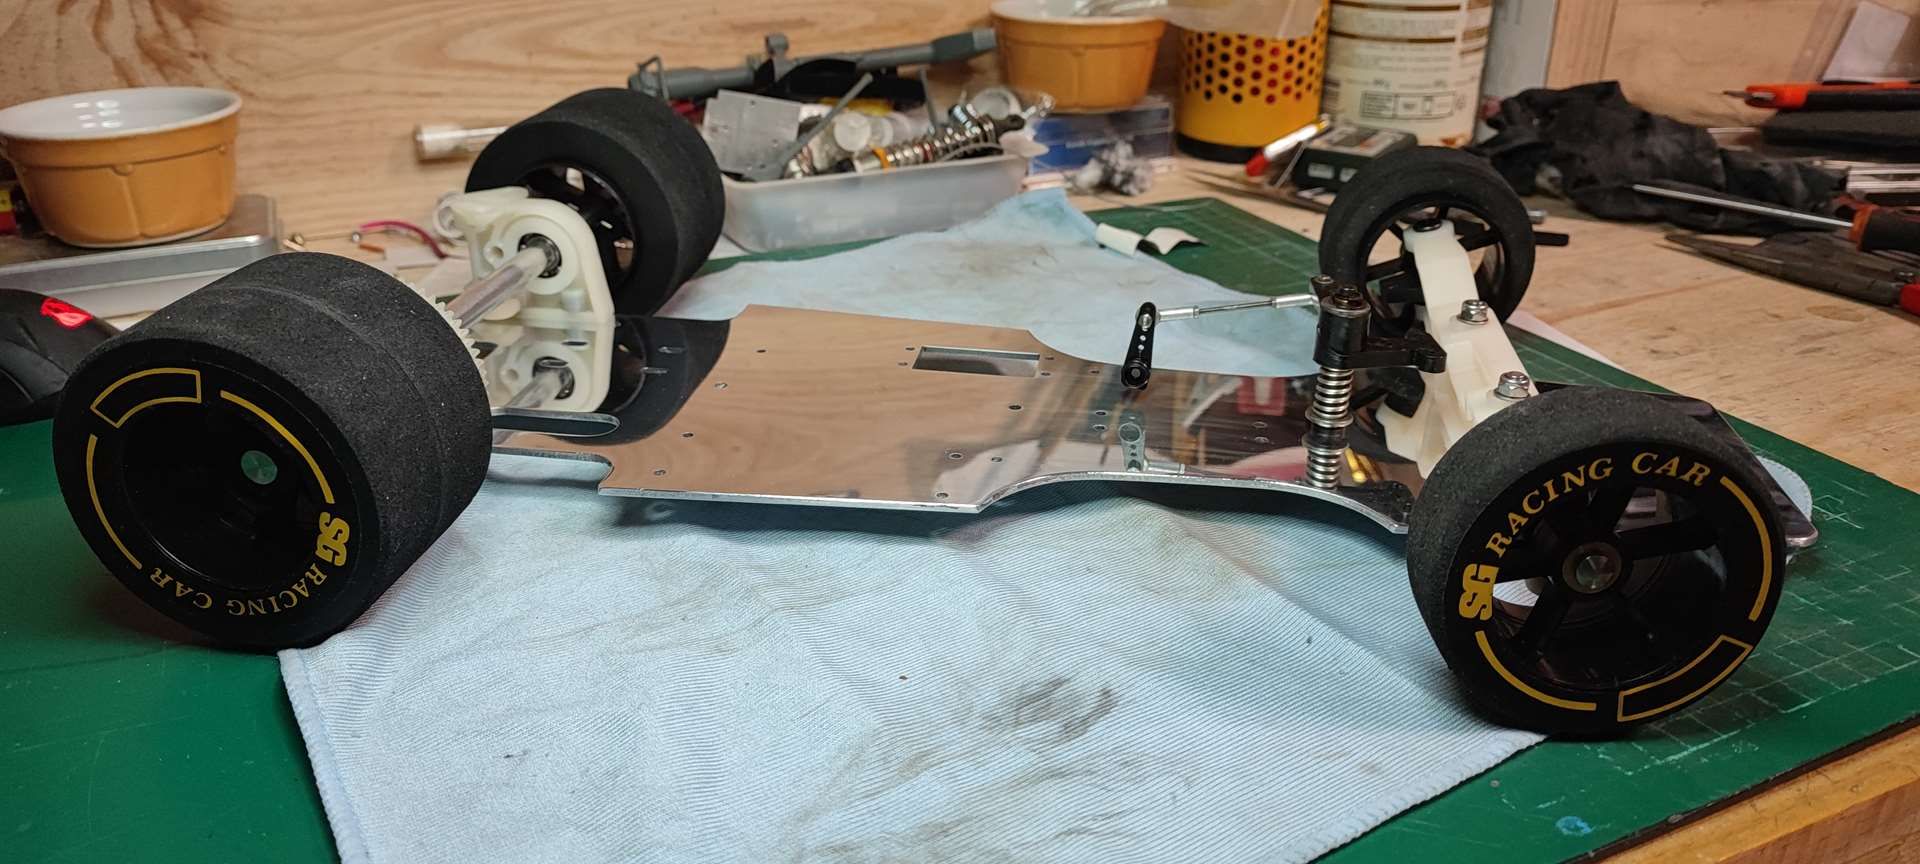
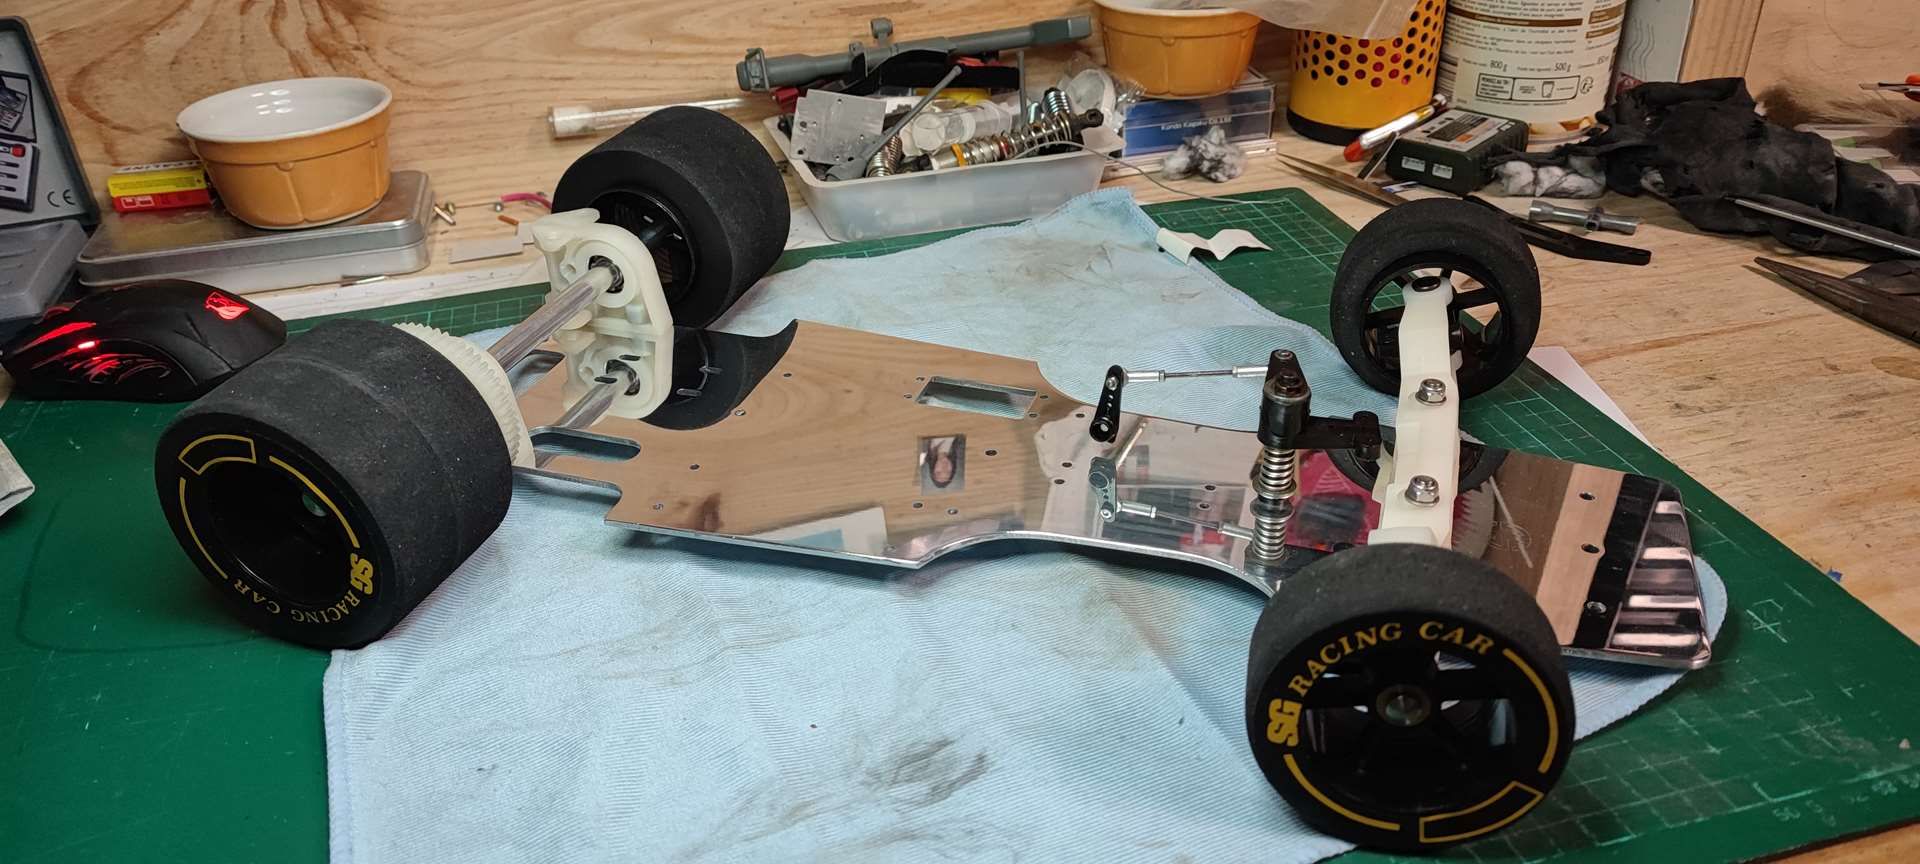
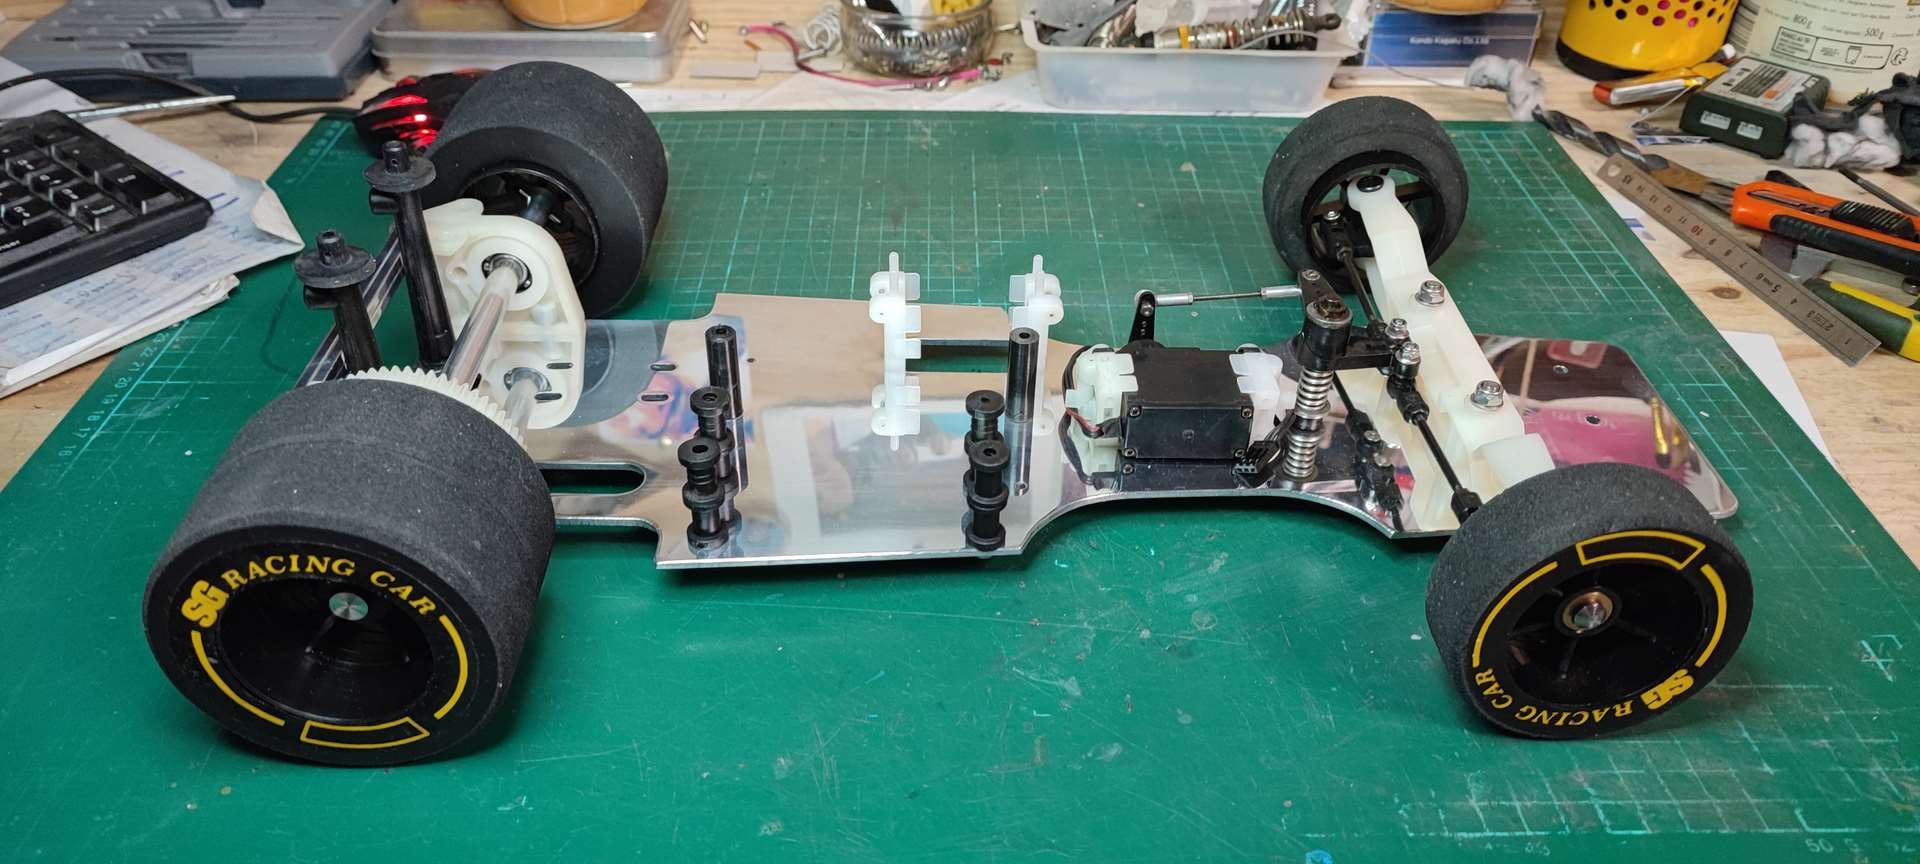
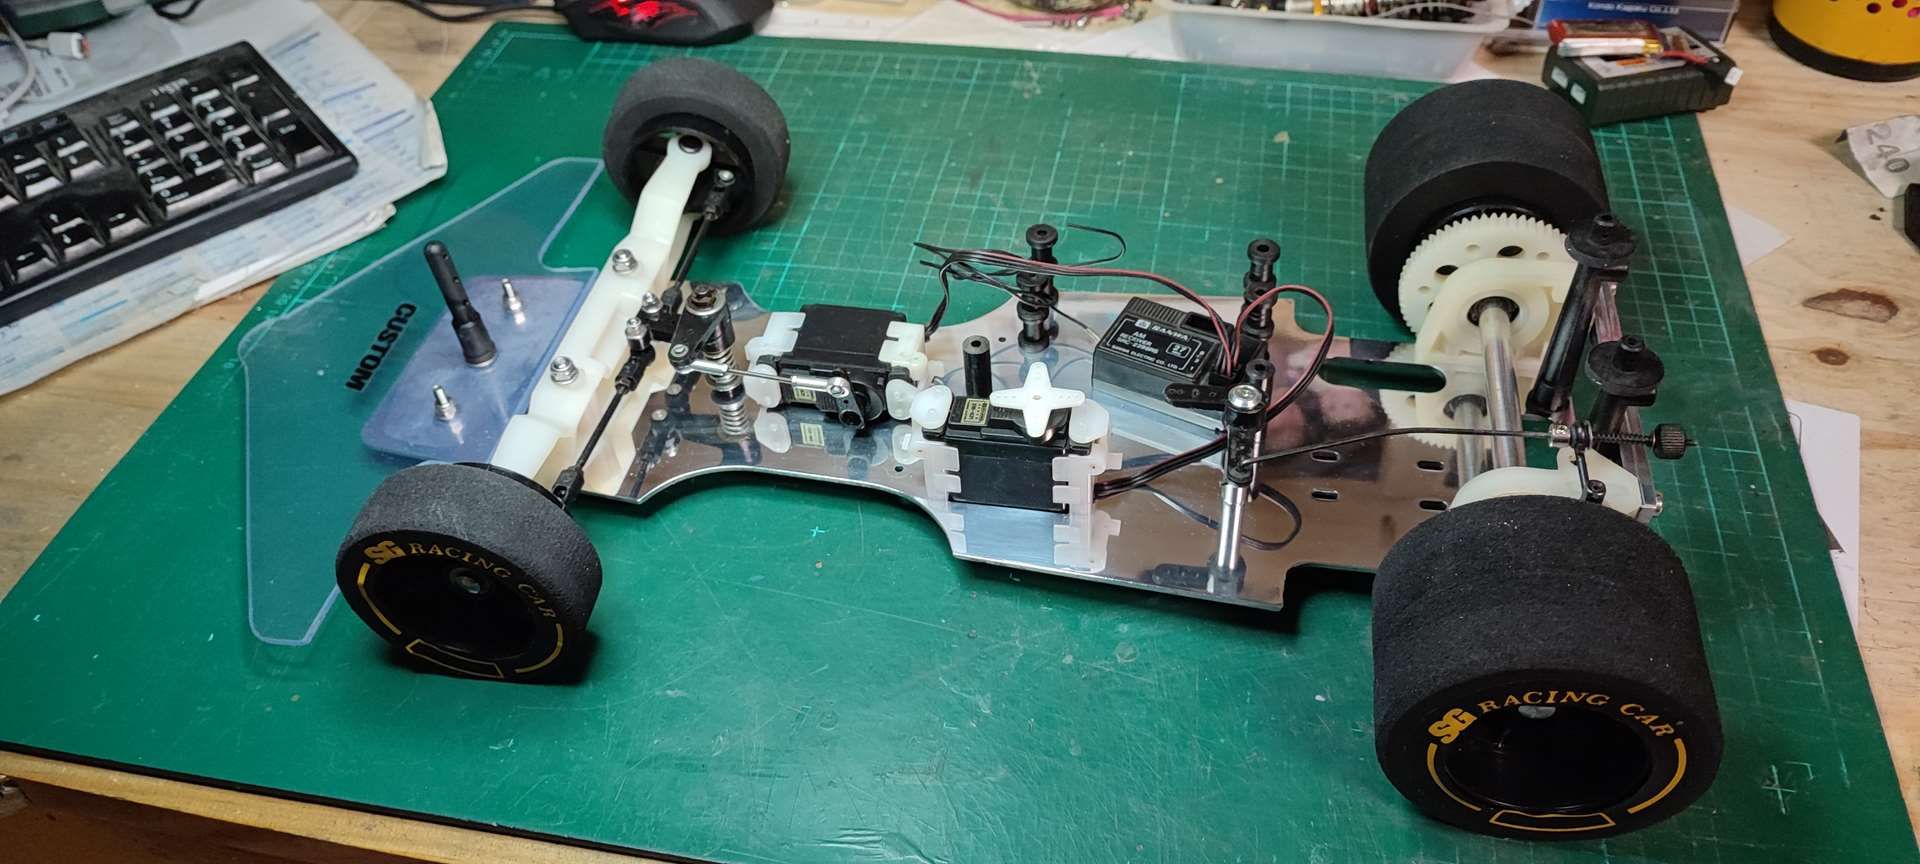
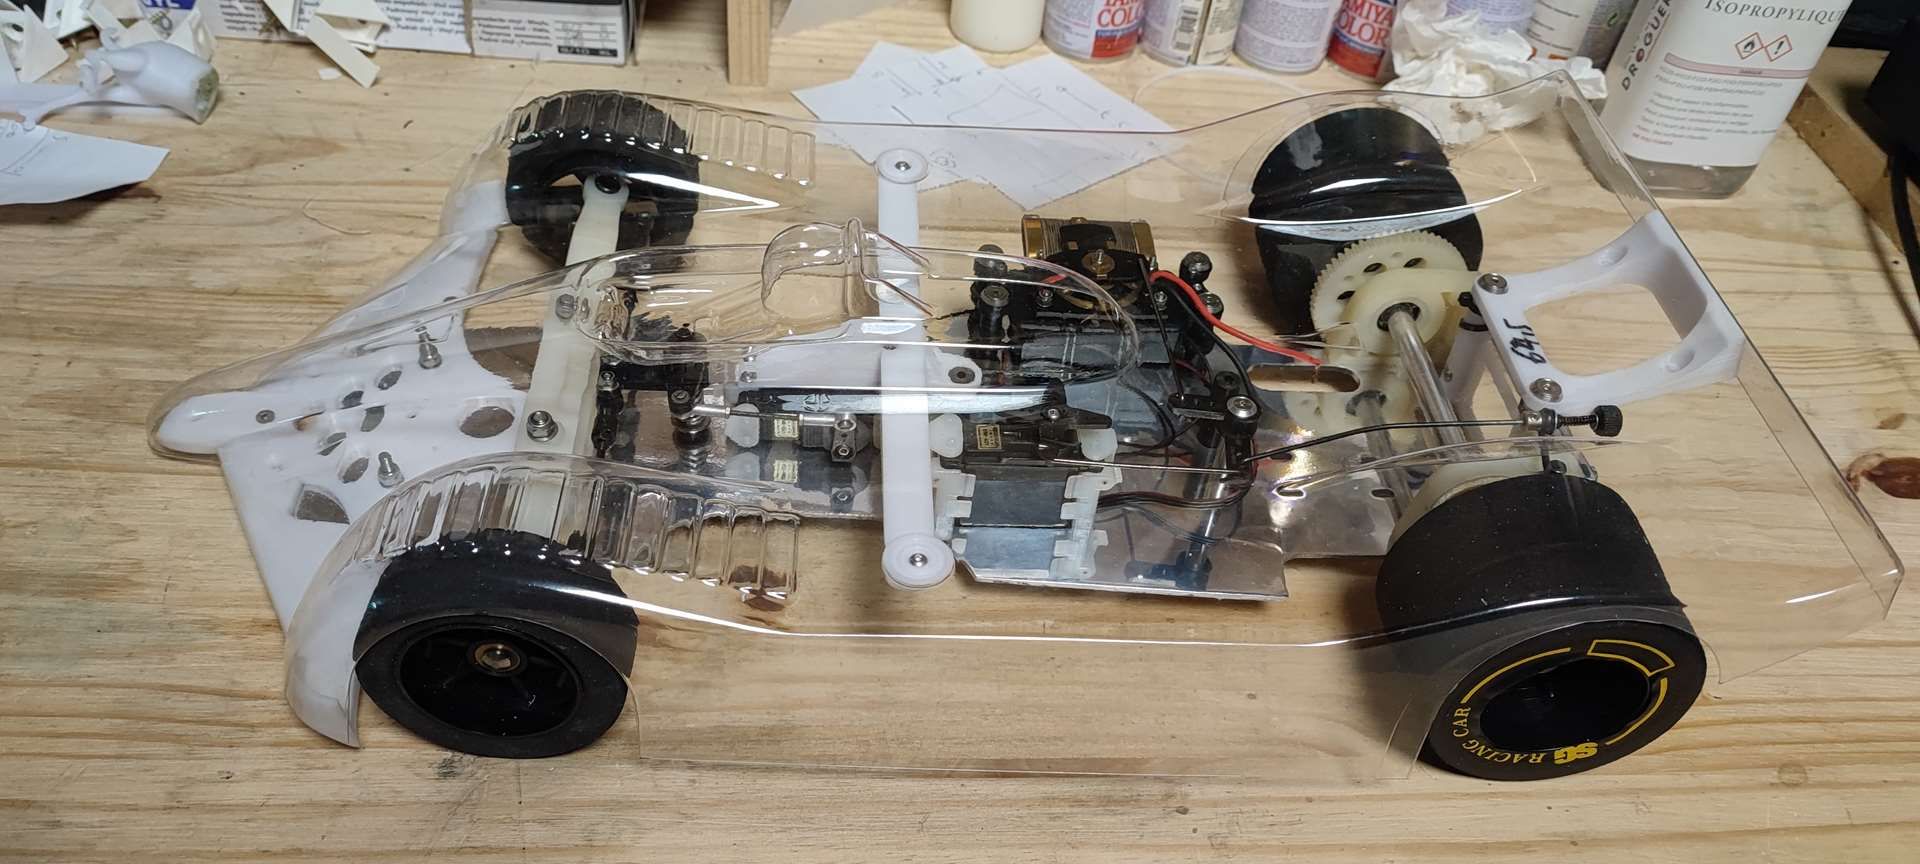
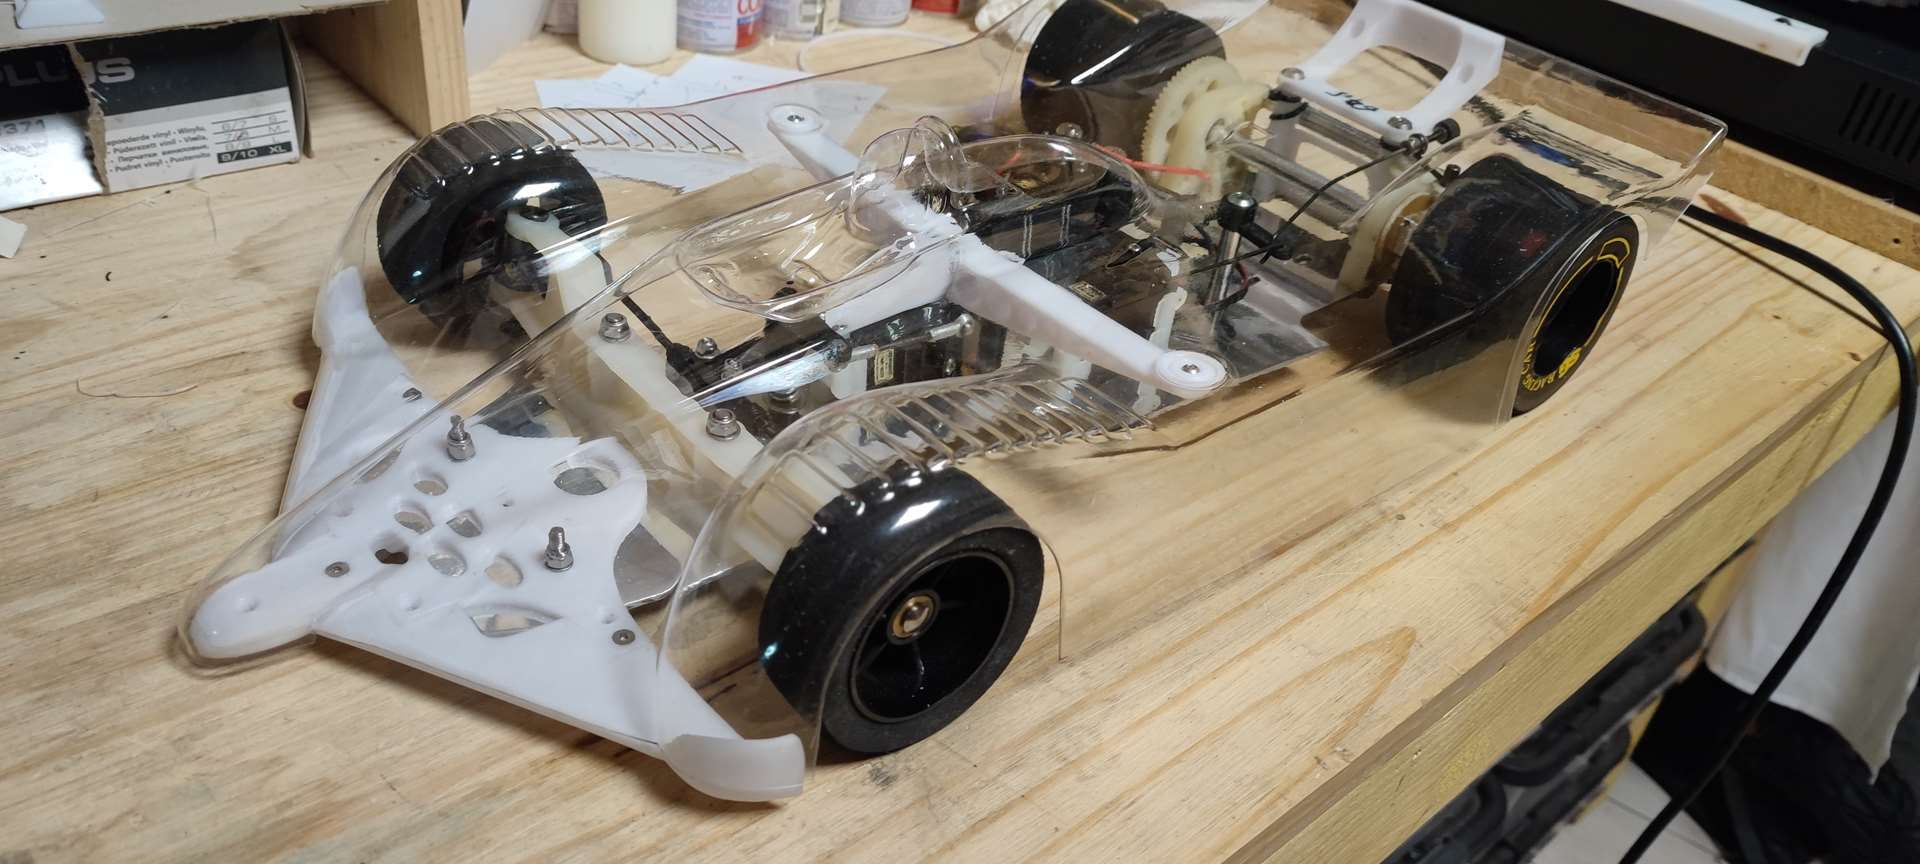
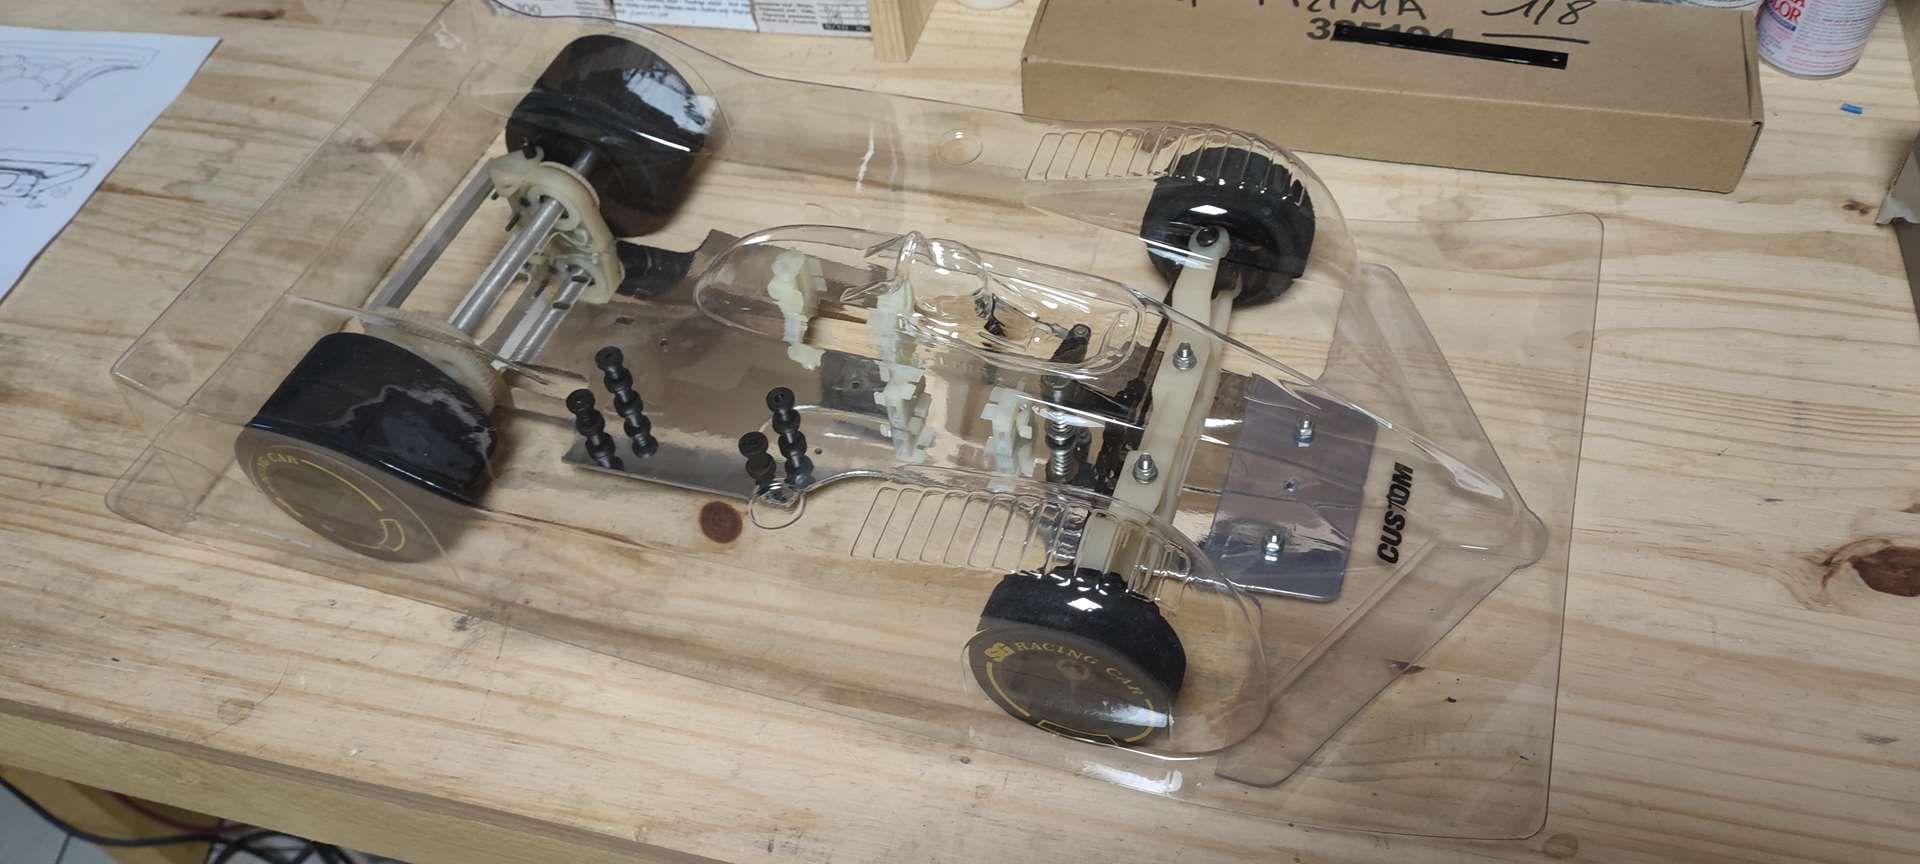
To change, a small chassis (1/8) that I unearthed via FB and a Greek enthusiast who was kind enough to sell it to me as I wanted, that is to say without what can be associated with nitro (engine , tank ...)
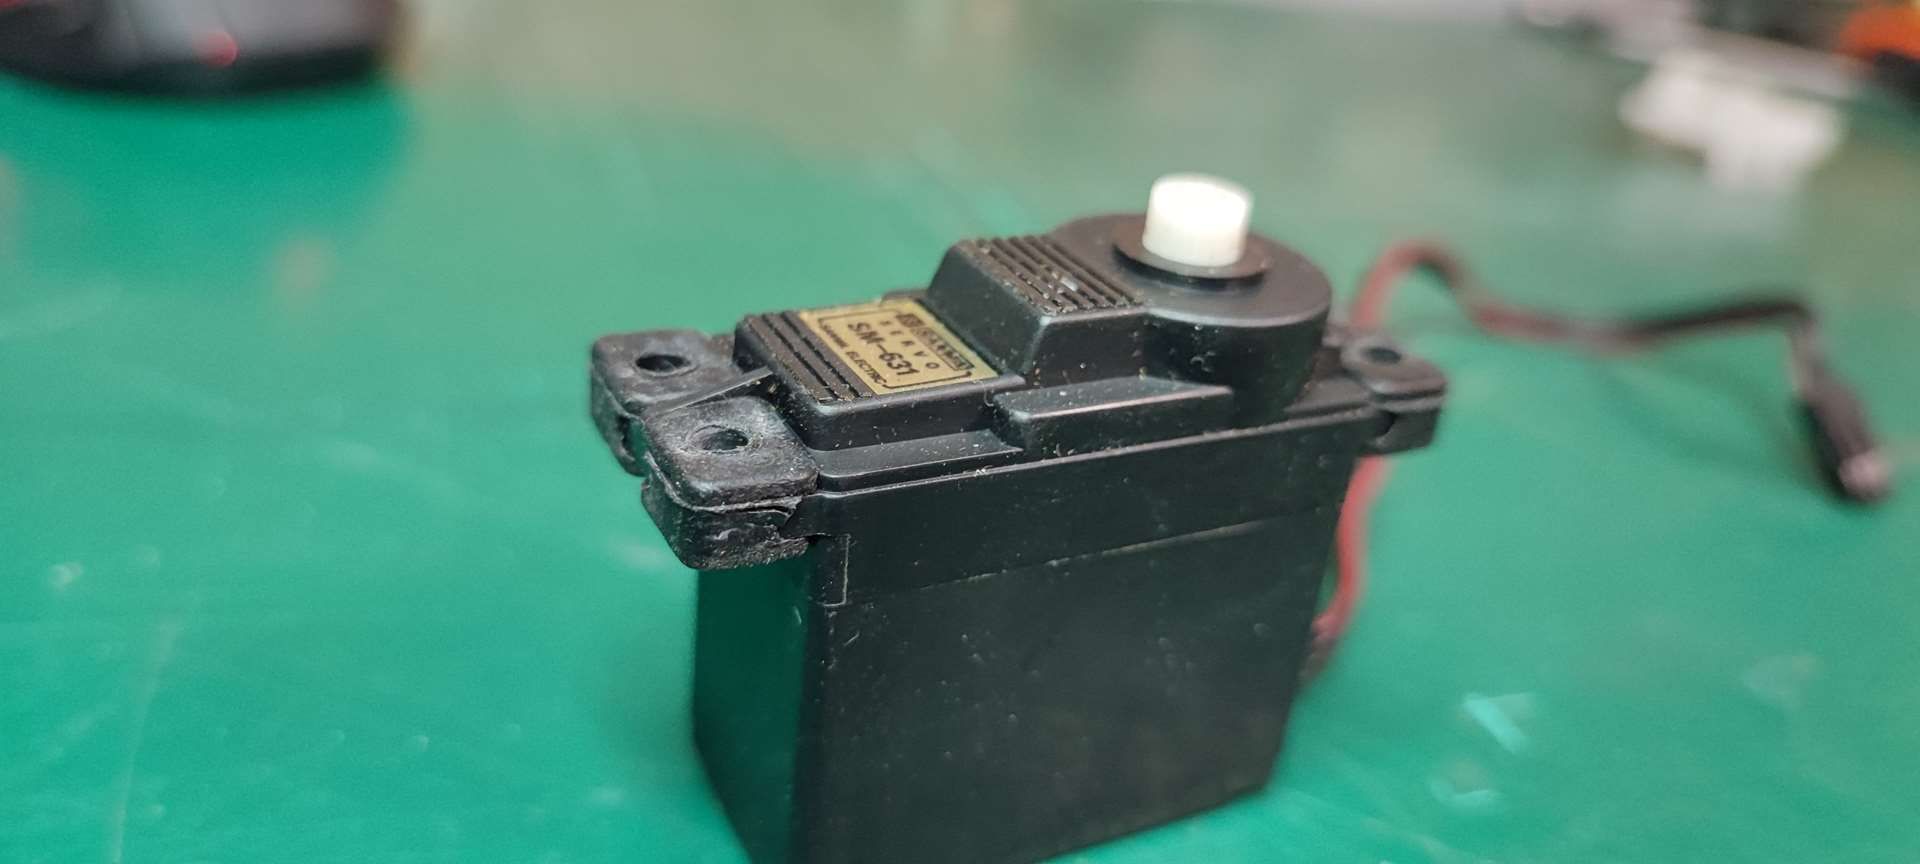
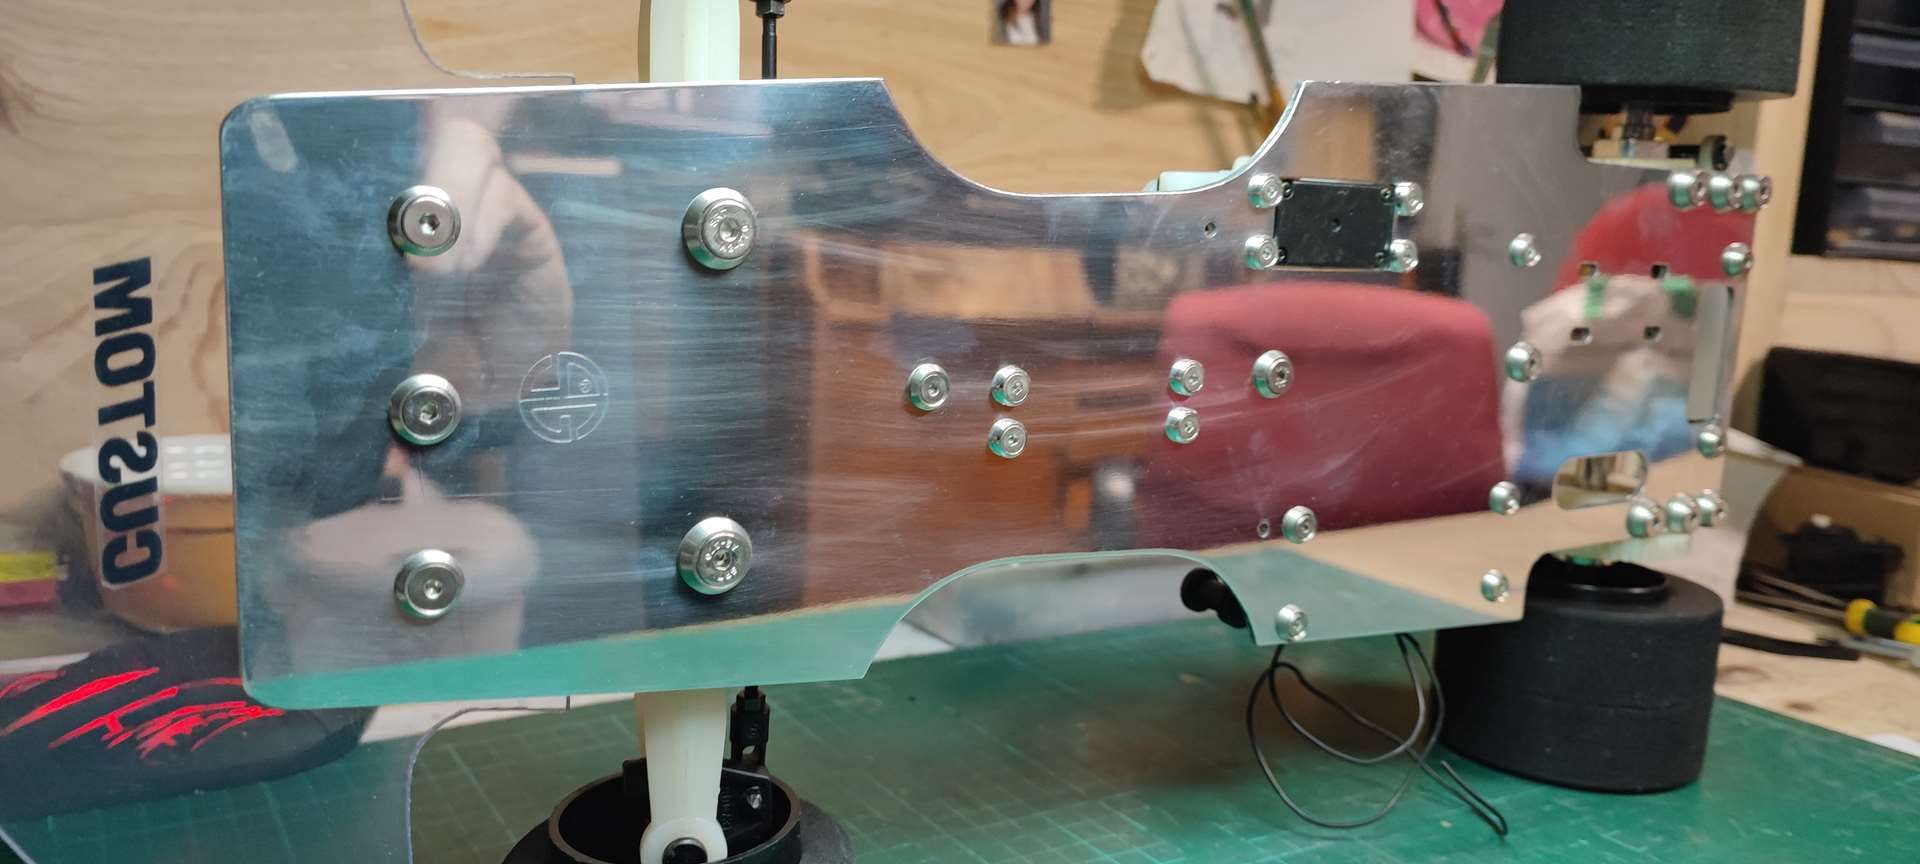
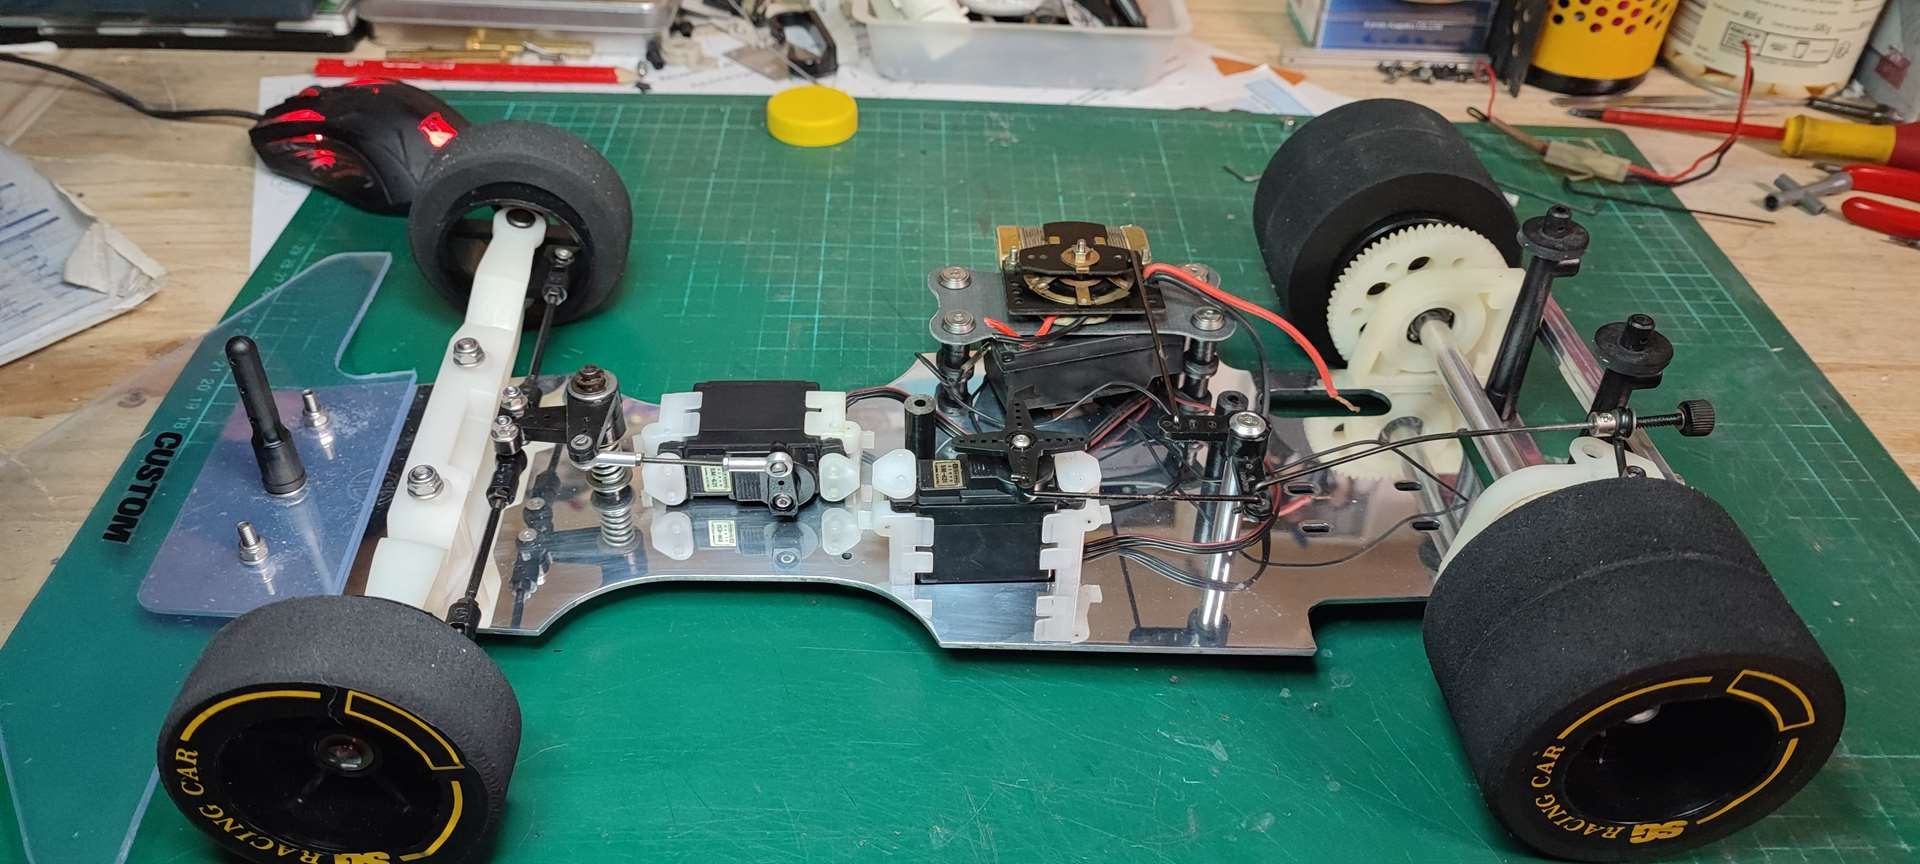
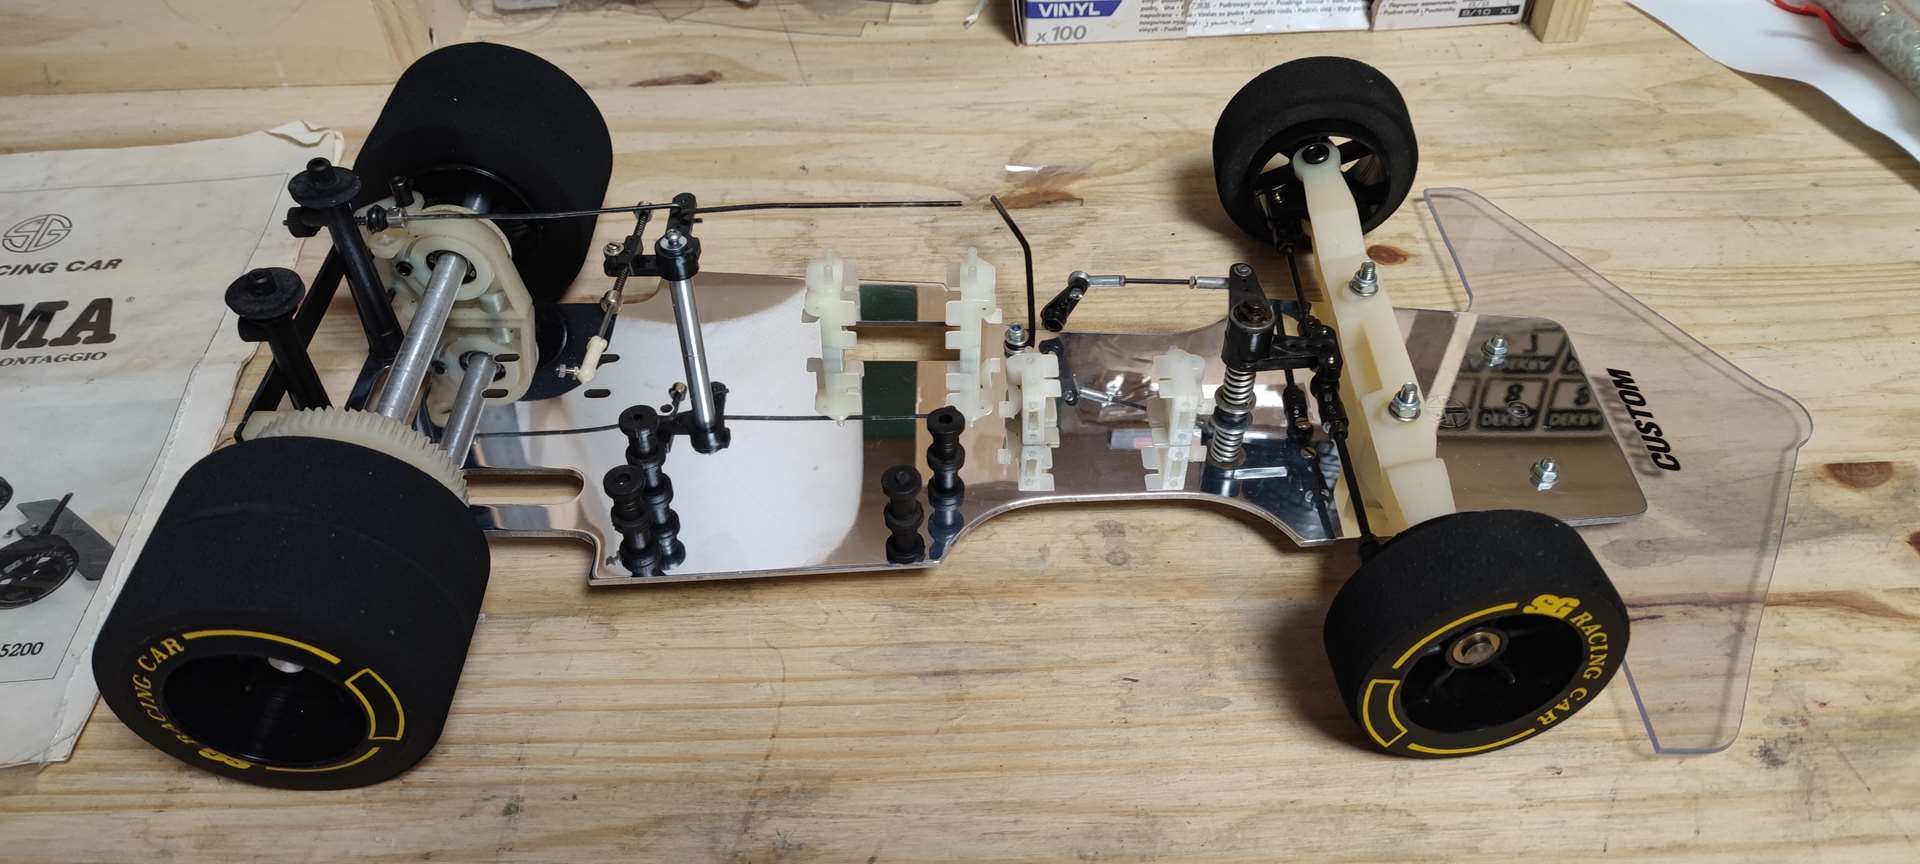
This is an SG chassis and the model is "PRIMA".
Simplistic chassis moreover, but well thought out on a lot of things.
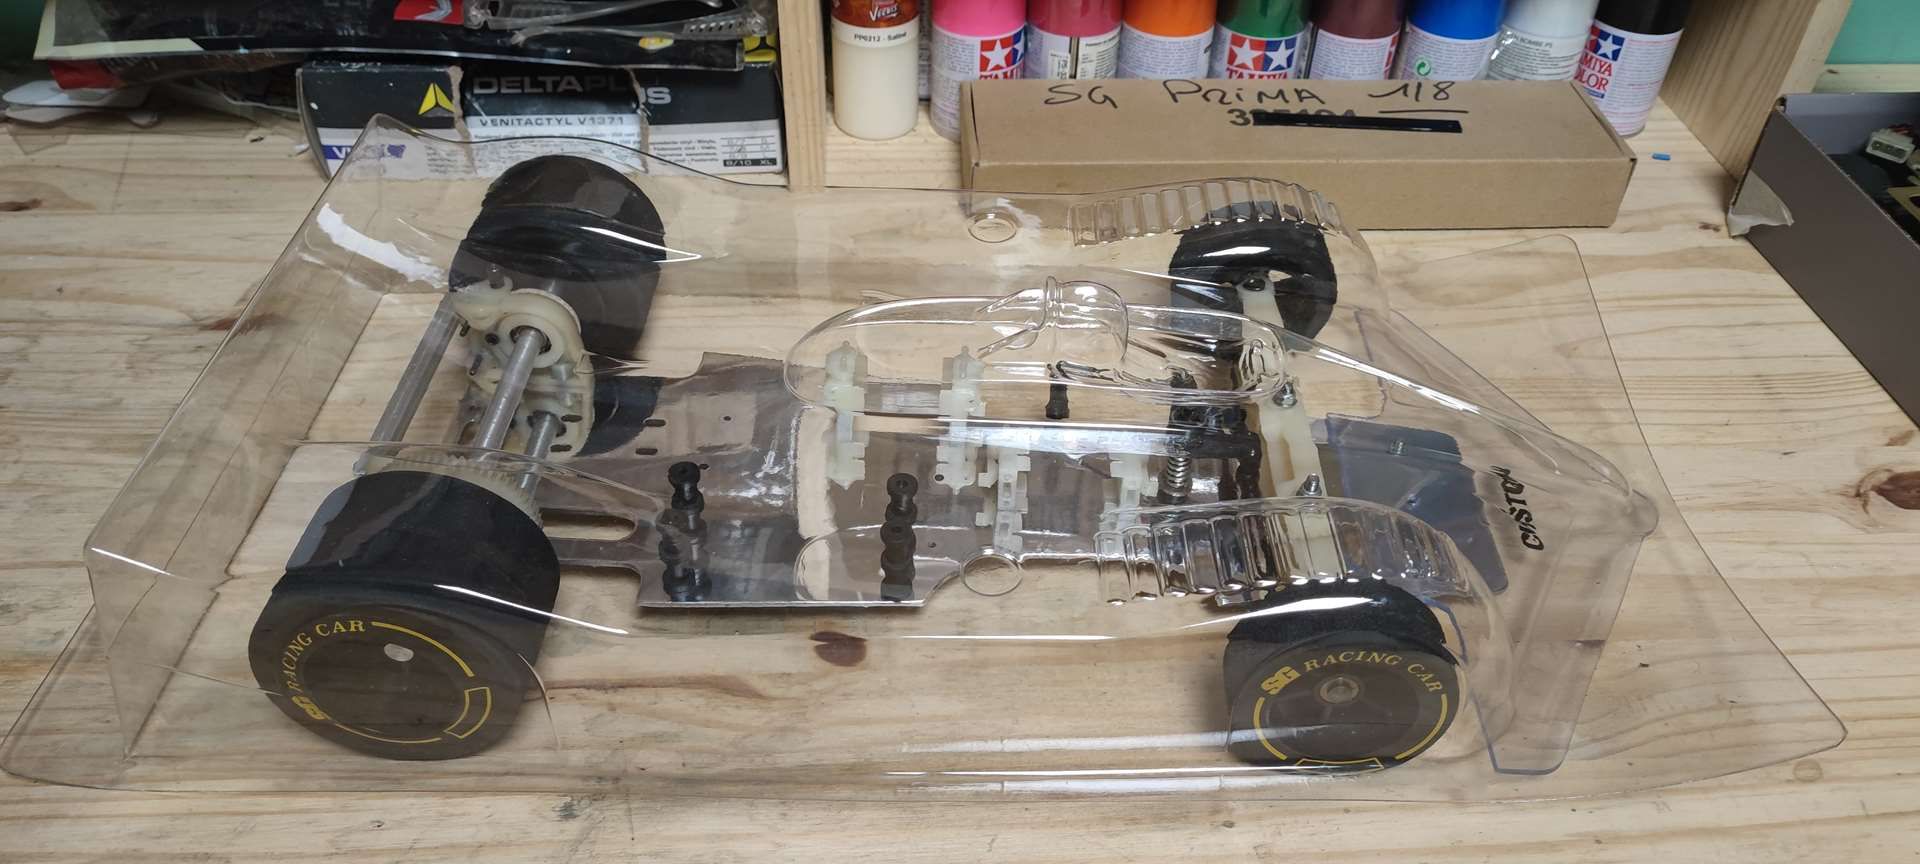
It arrived as it is, missing the front bodypost, i will fix it;) and the front bumper is as I would have wanted if it was me who had prepared this chassis, because I have the body for a while...
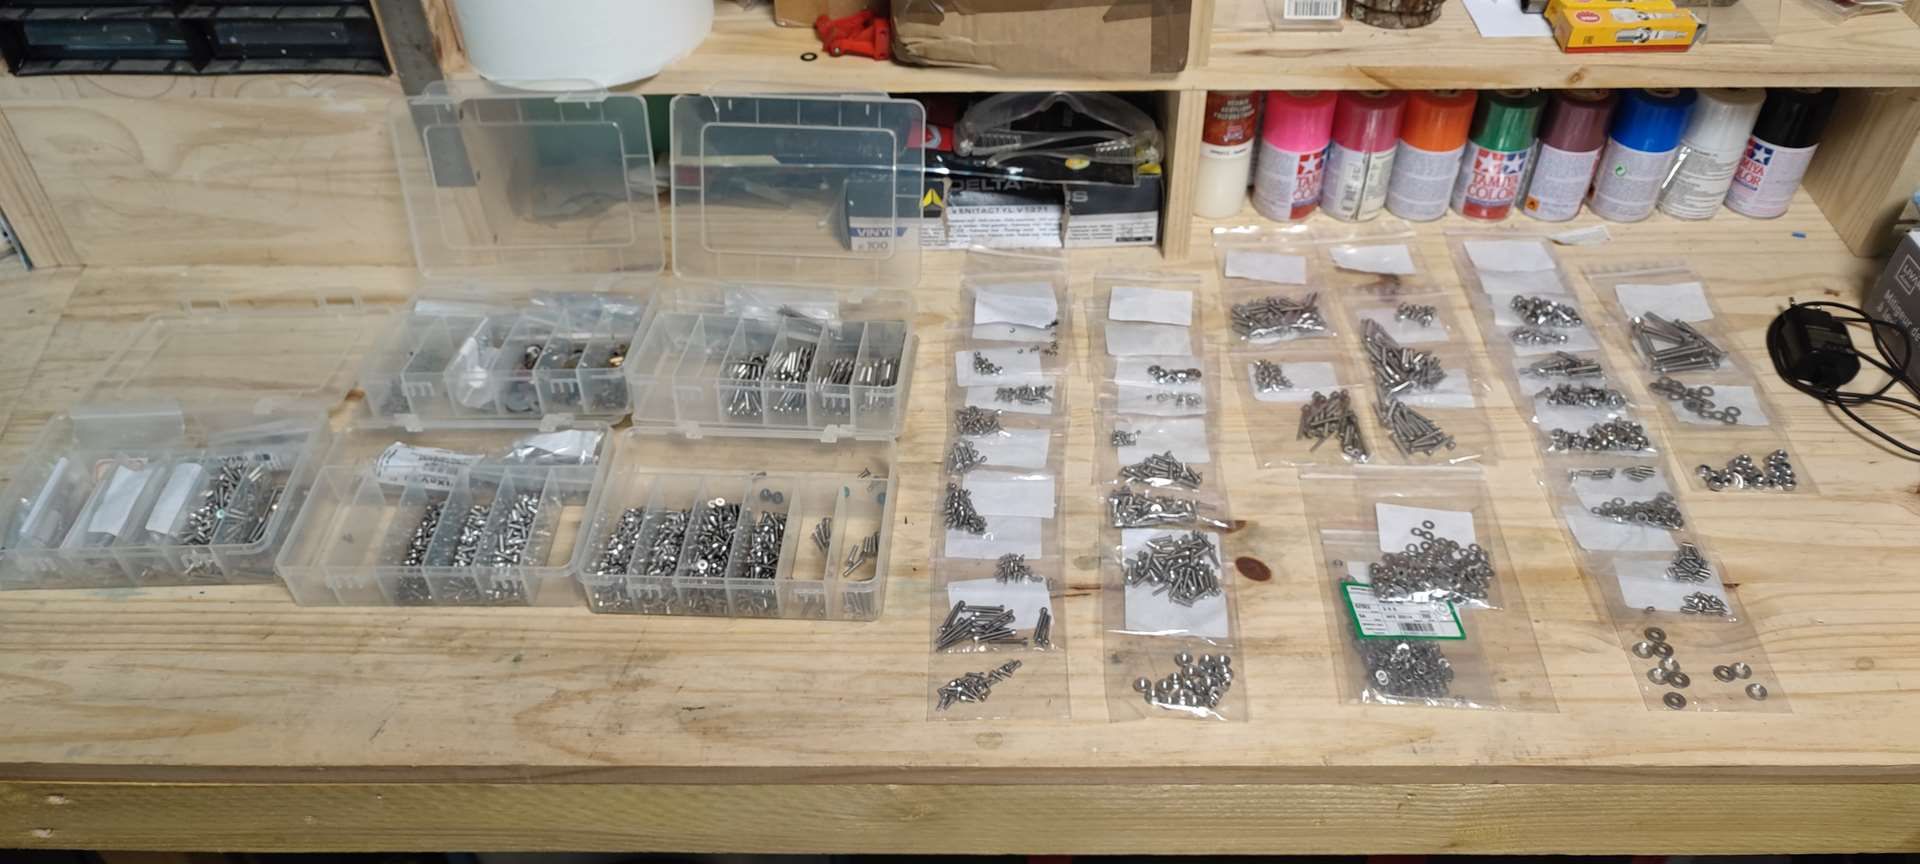
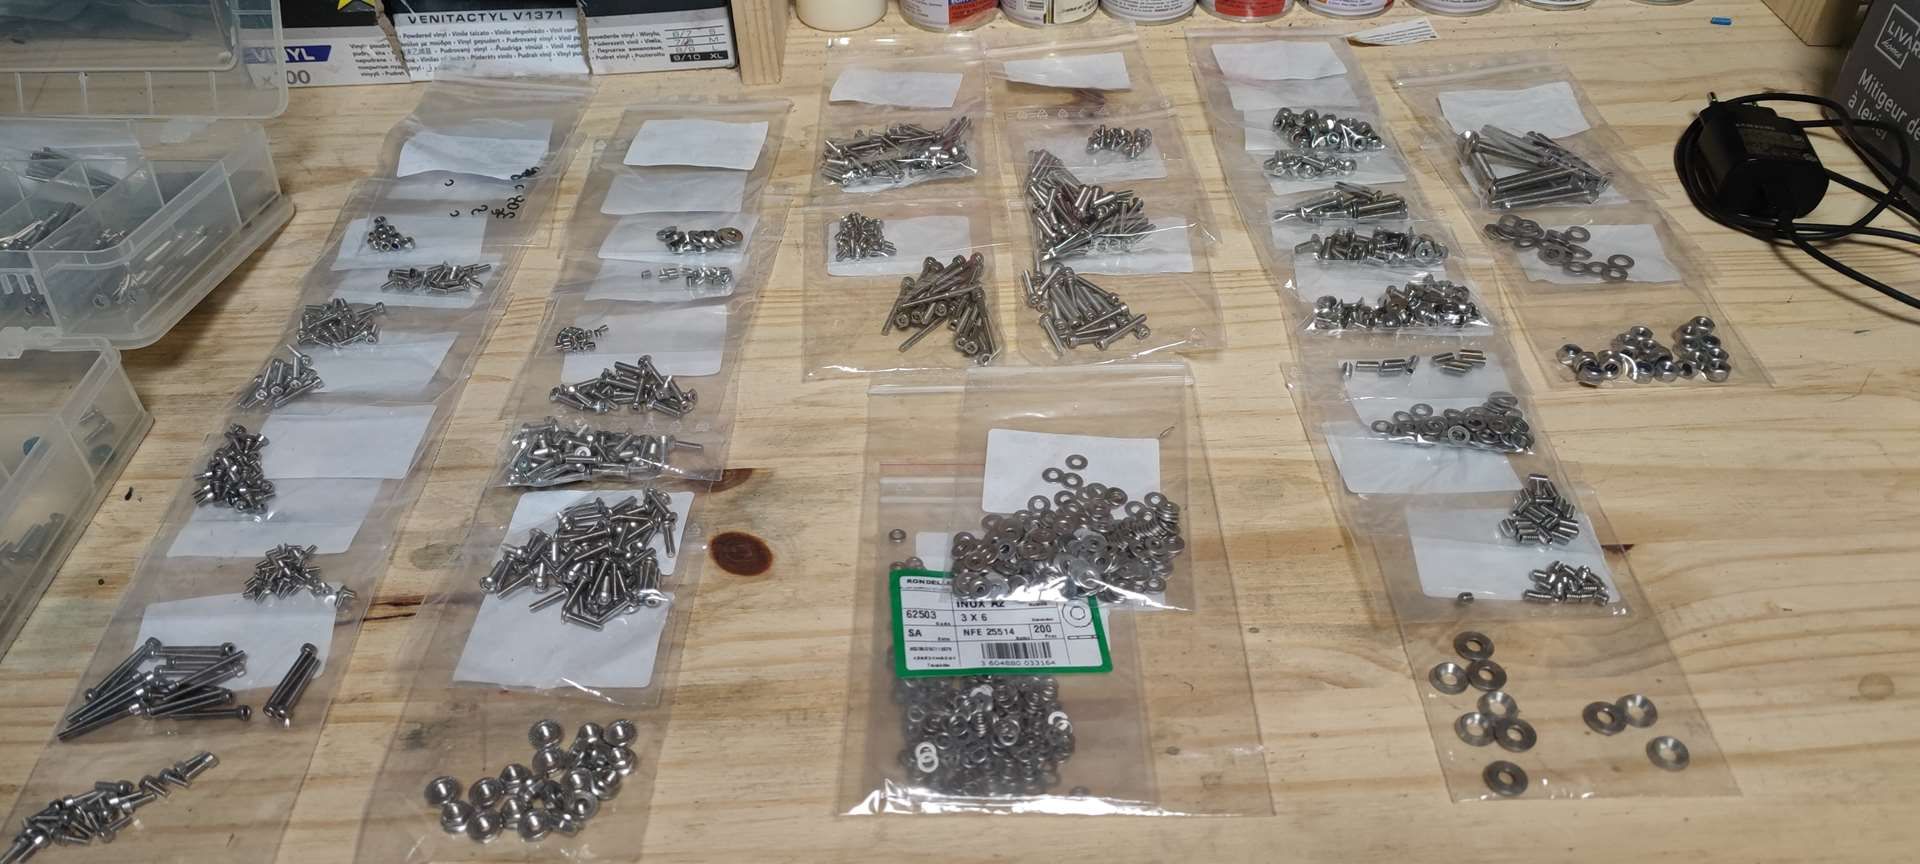
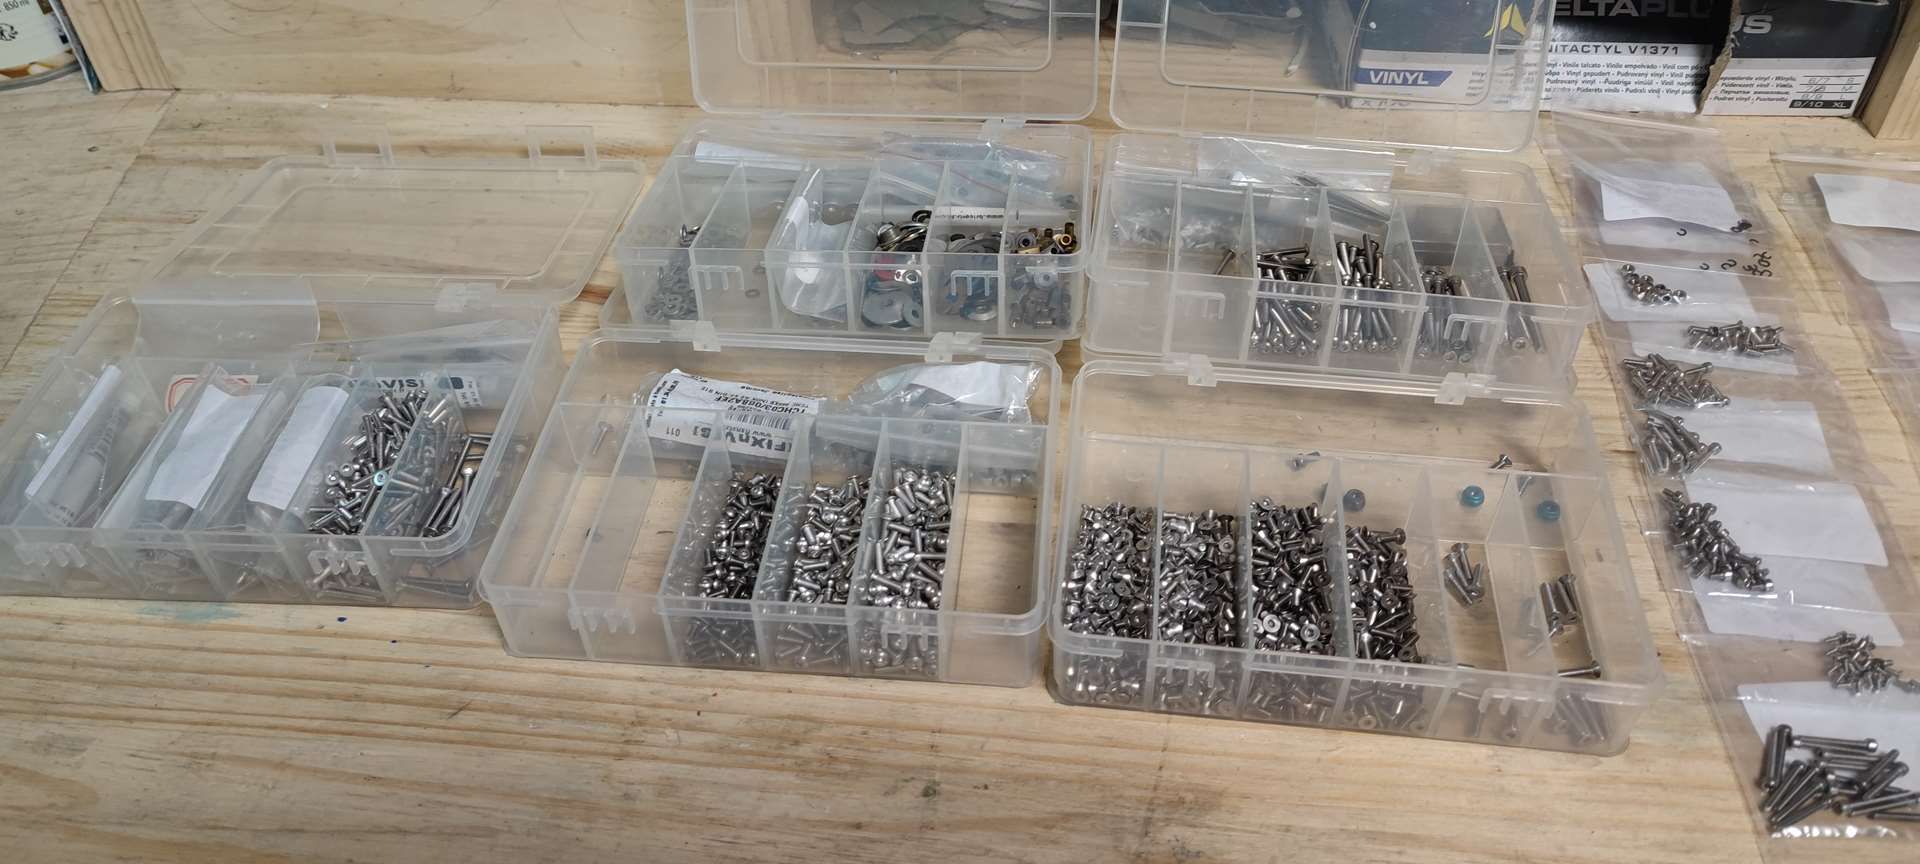
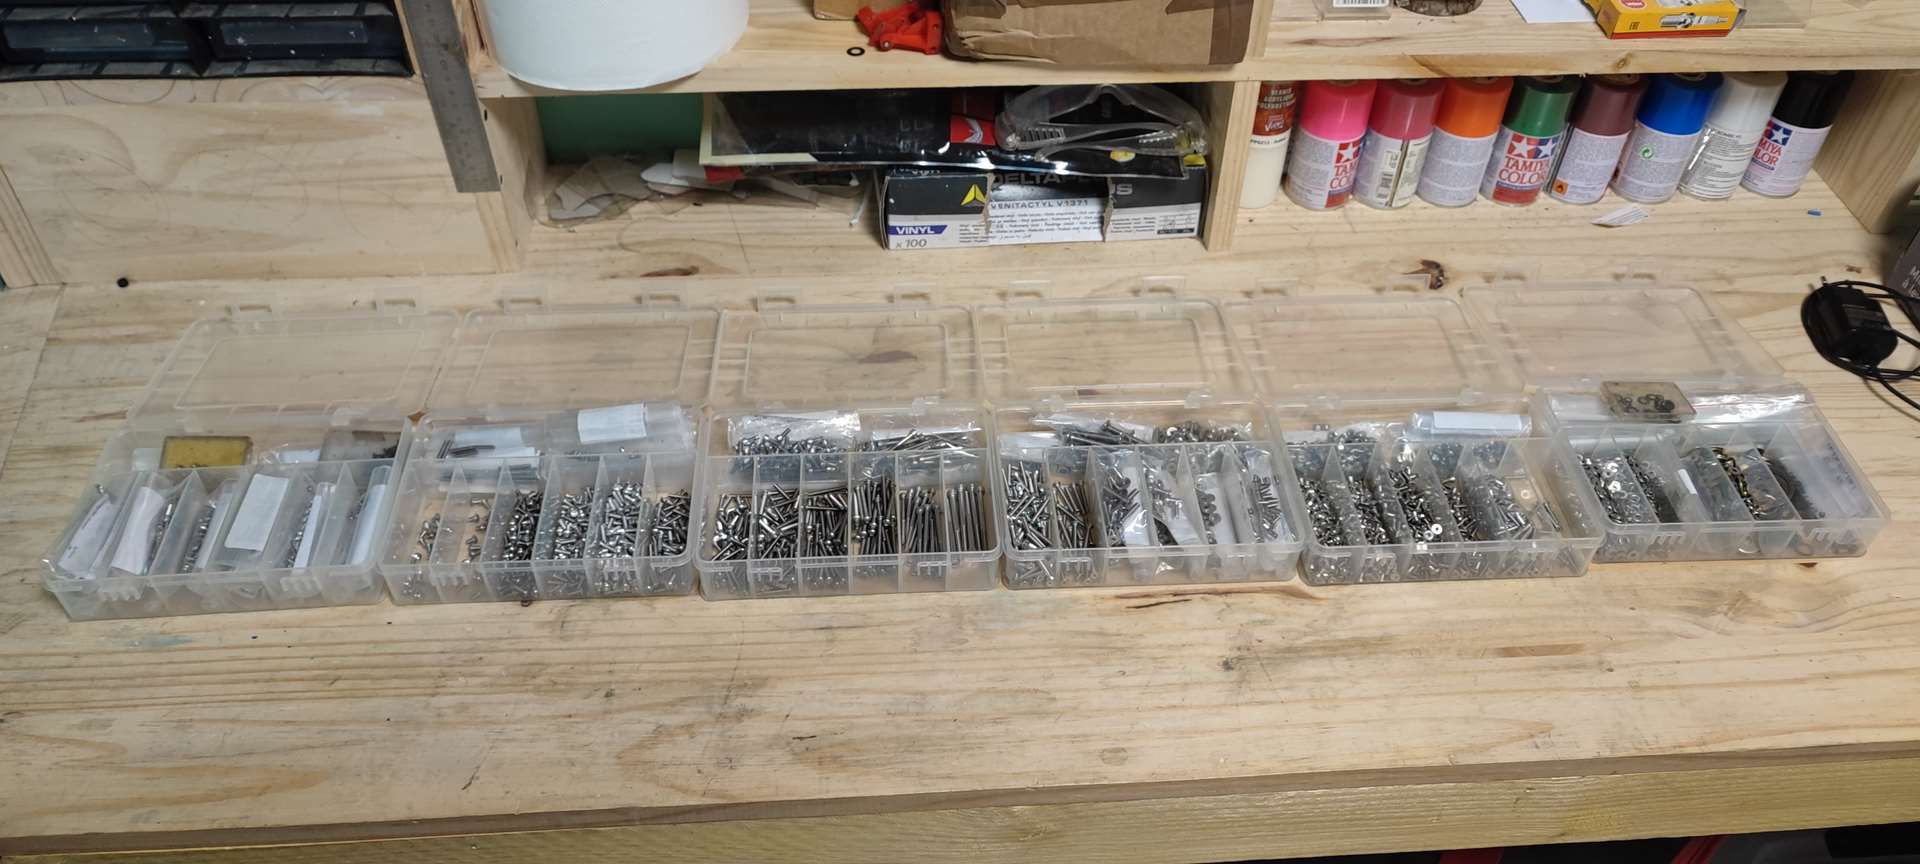
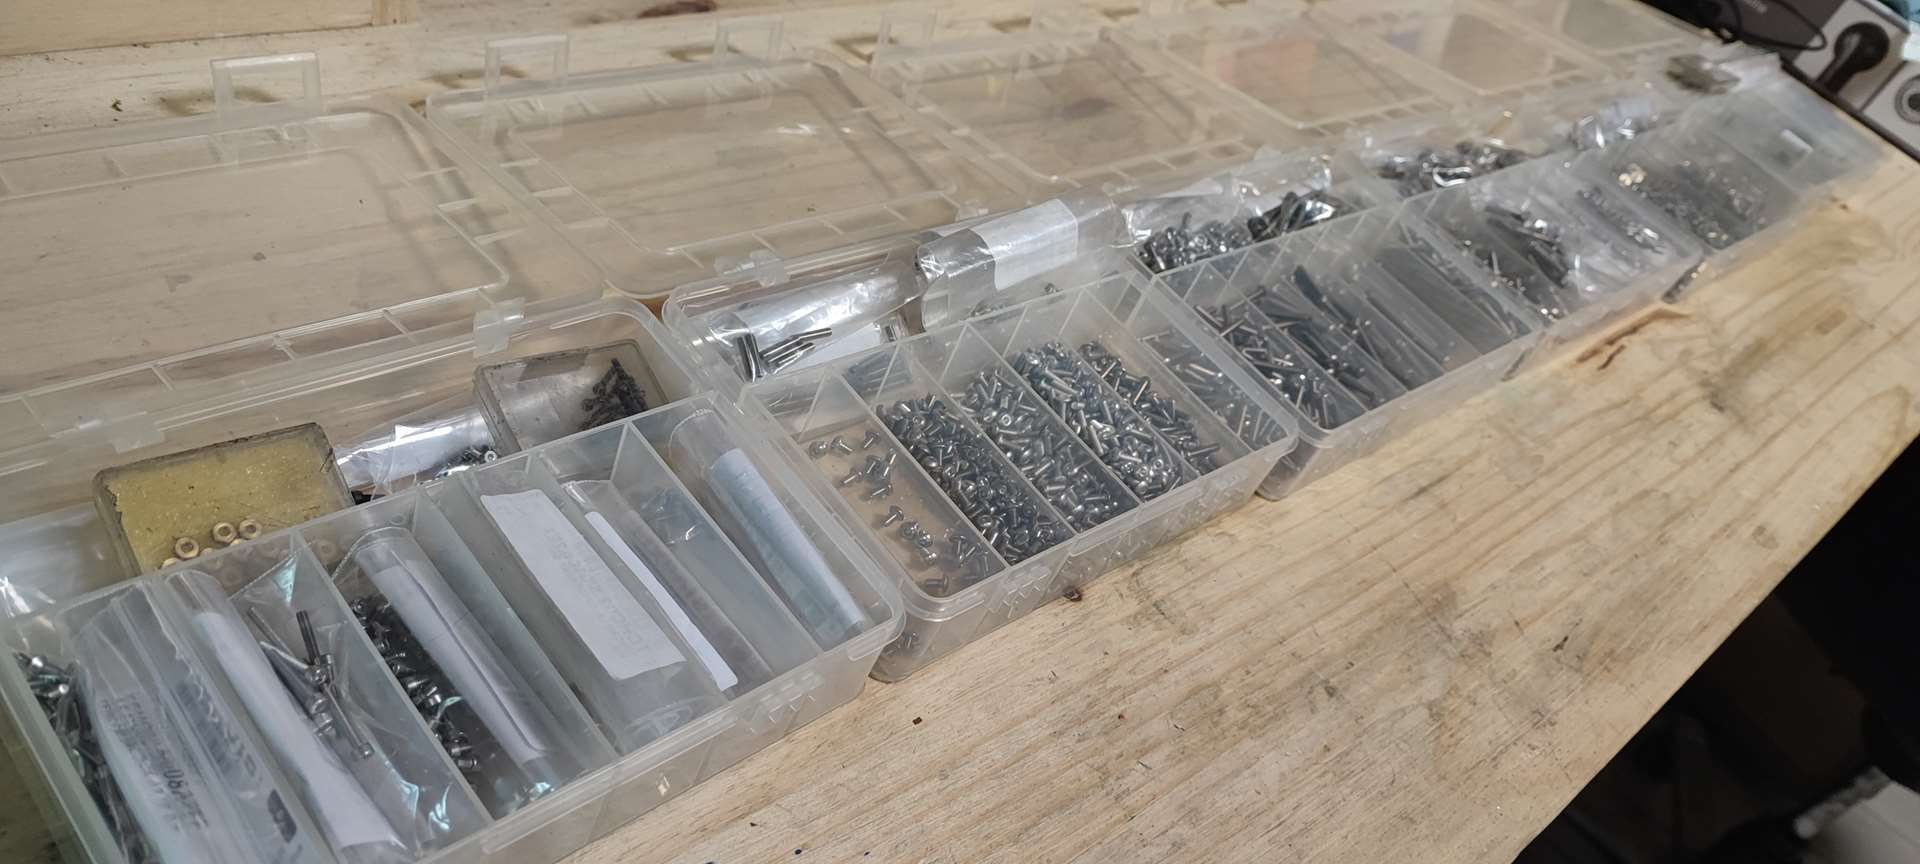
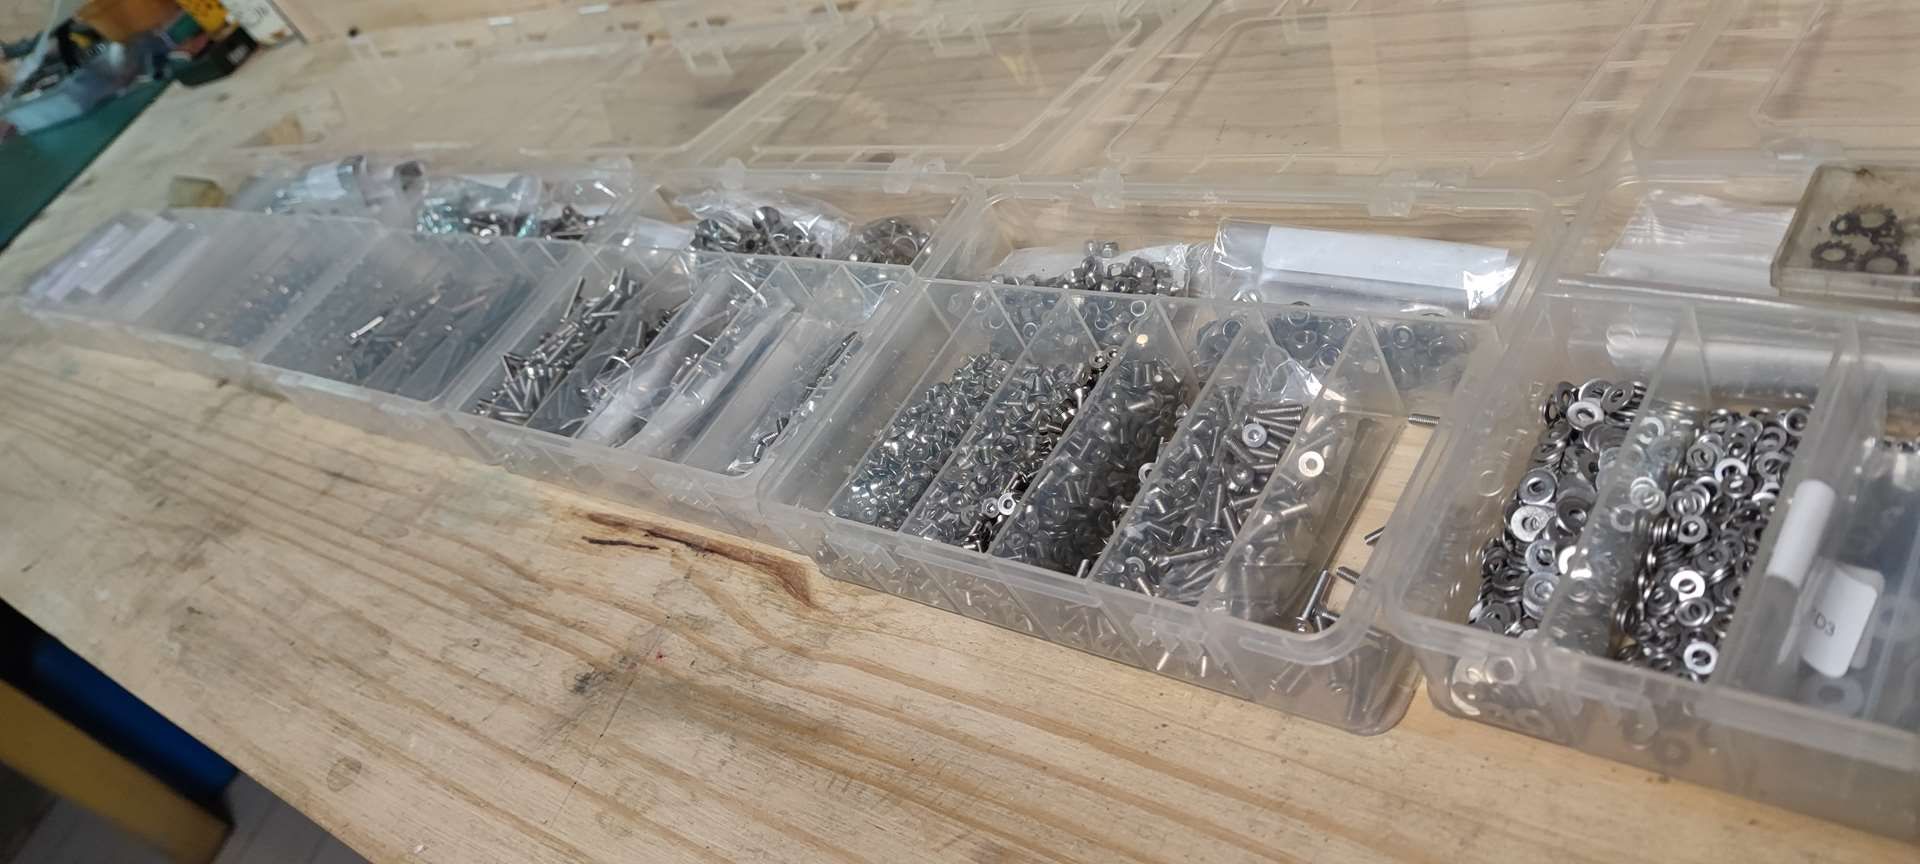
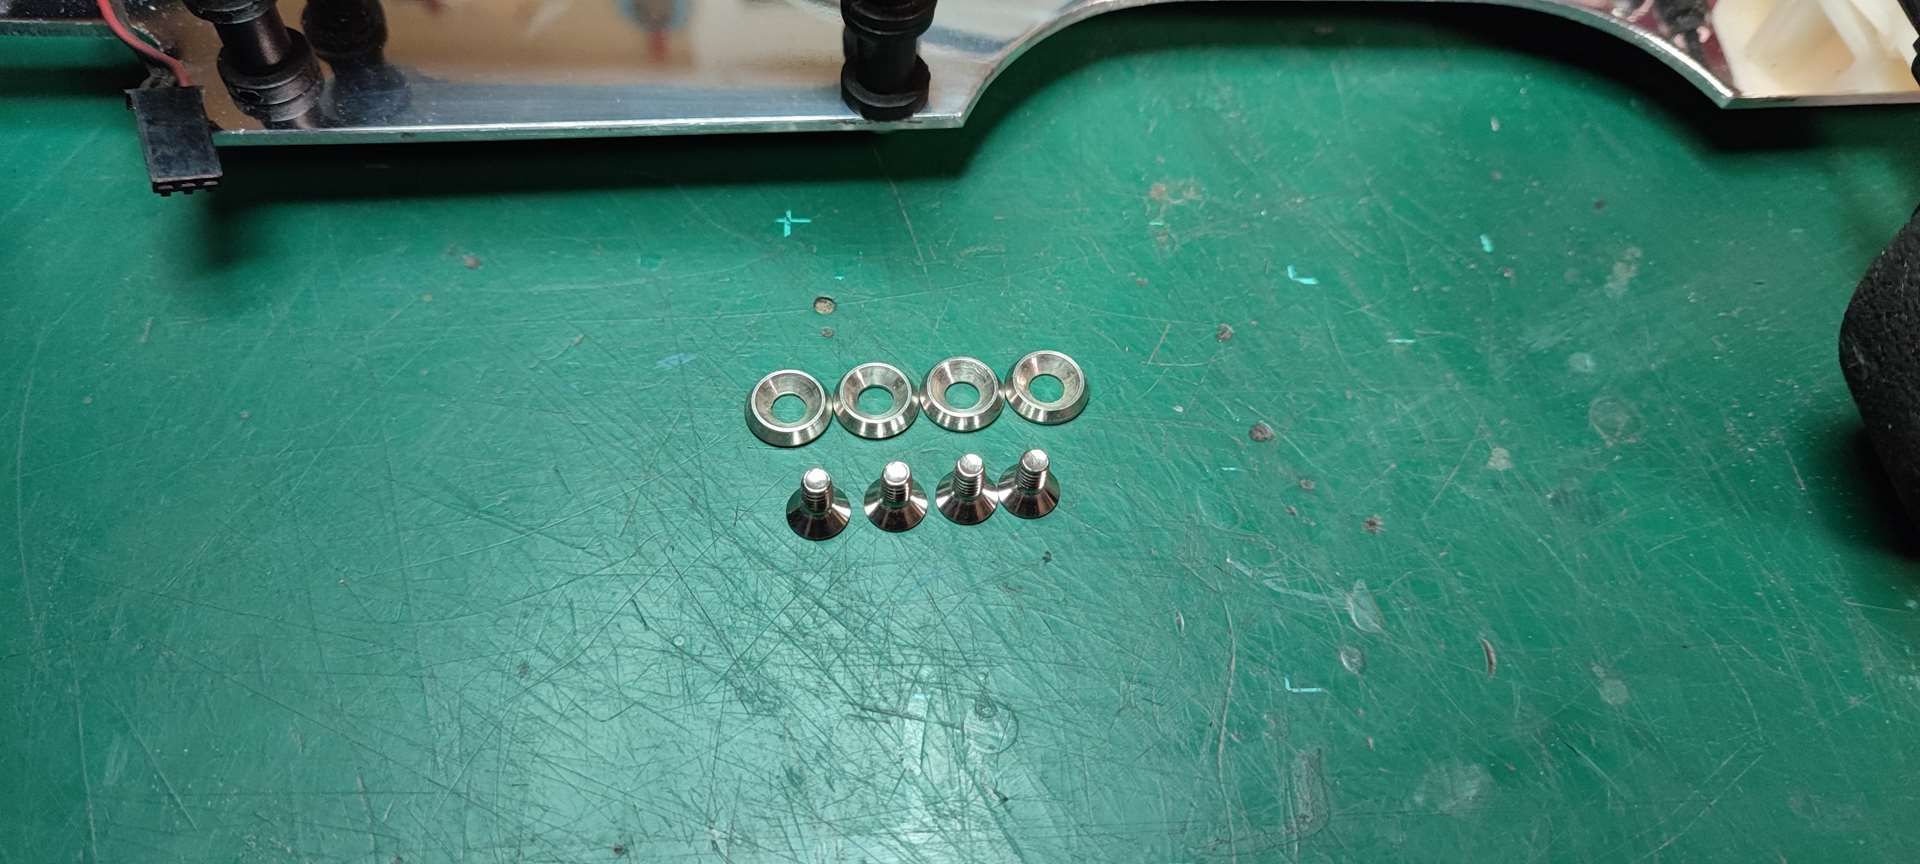
It will of course be equiped with stainless steel A2 screws;)
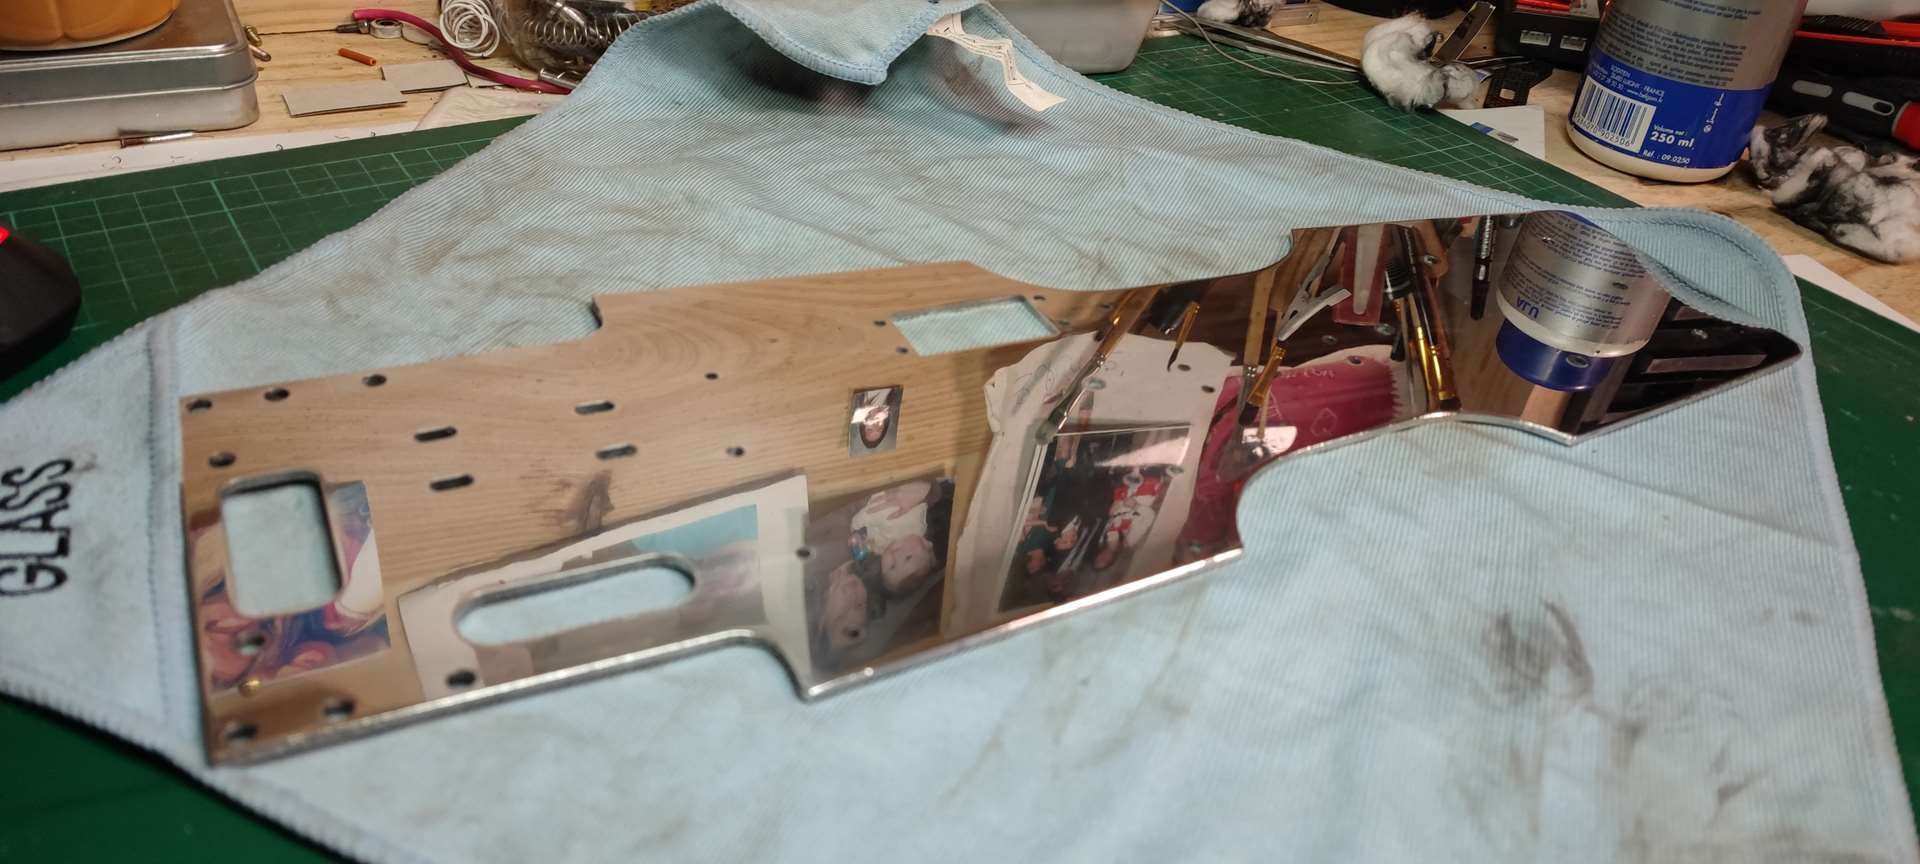
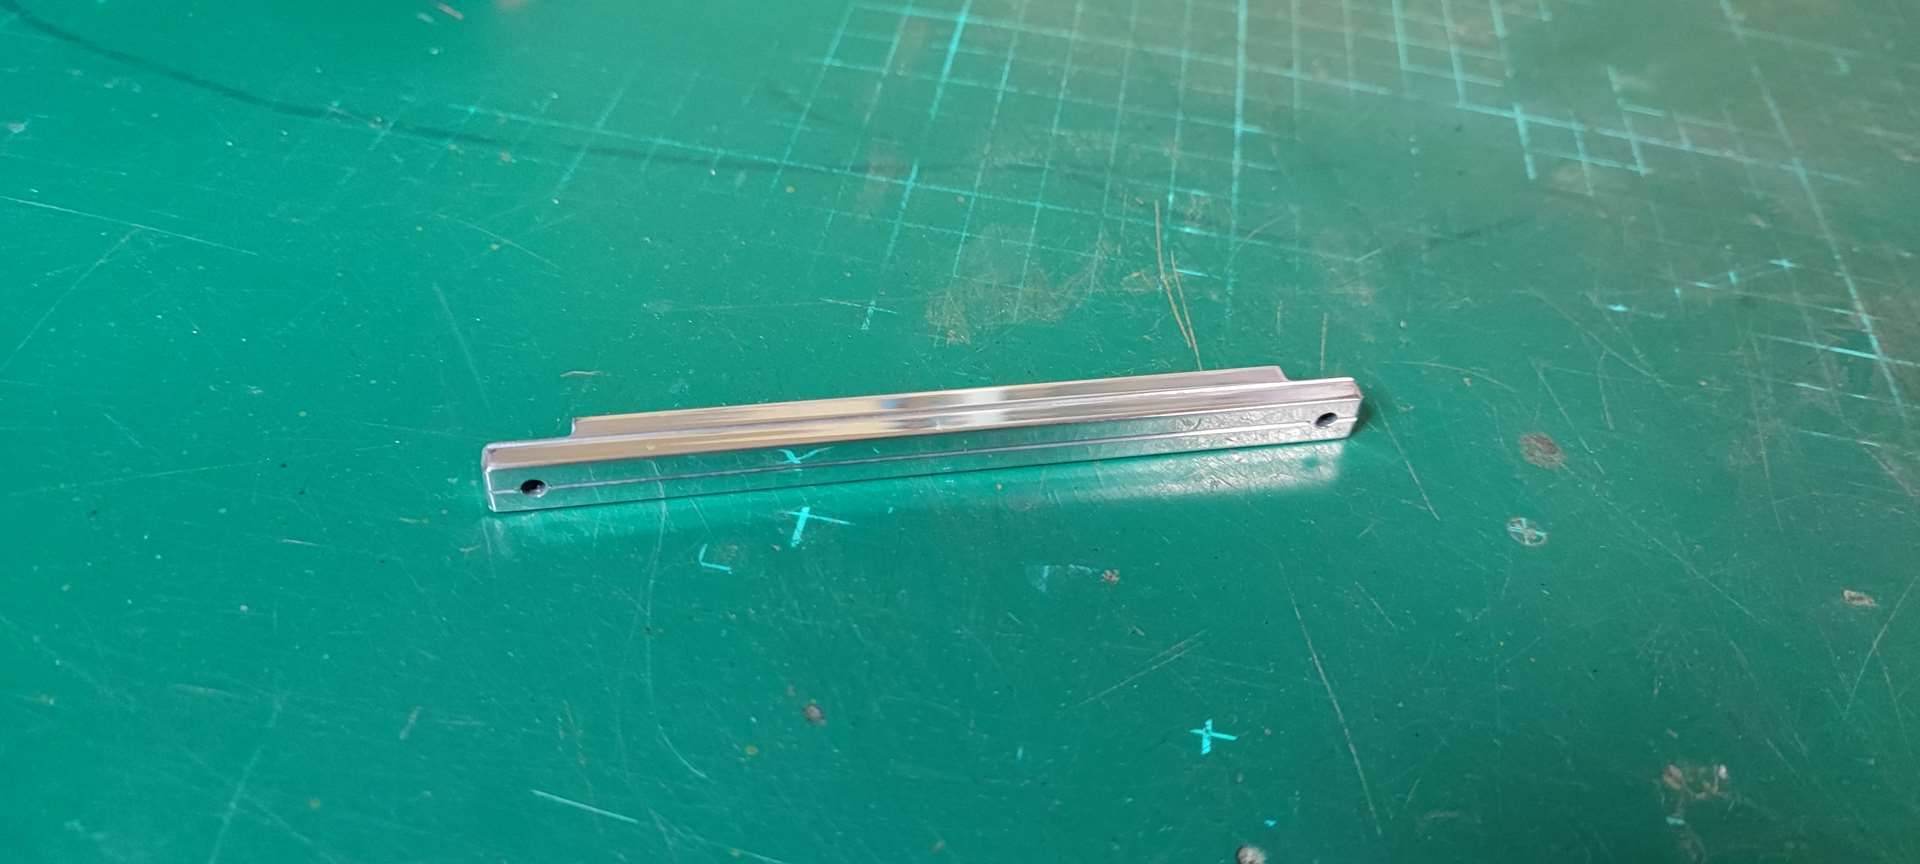
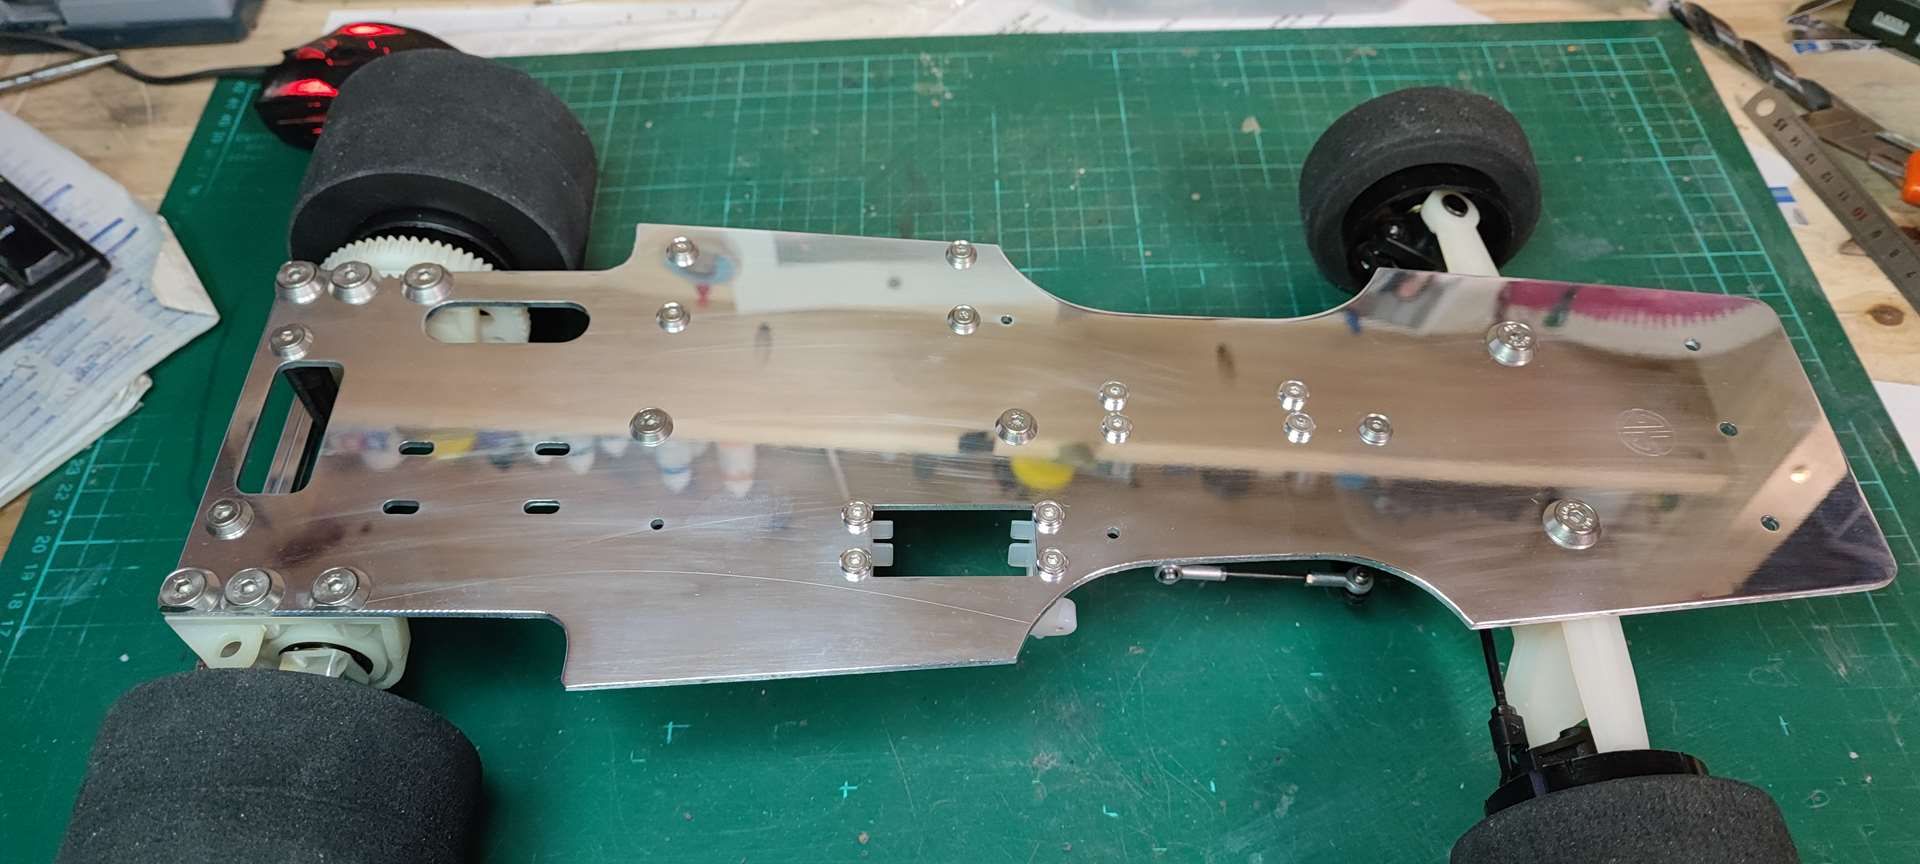
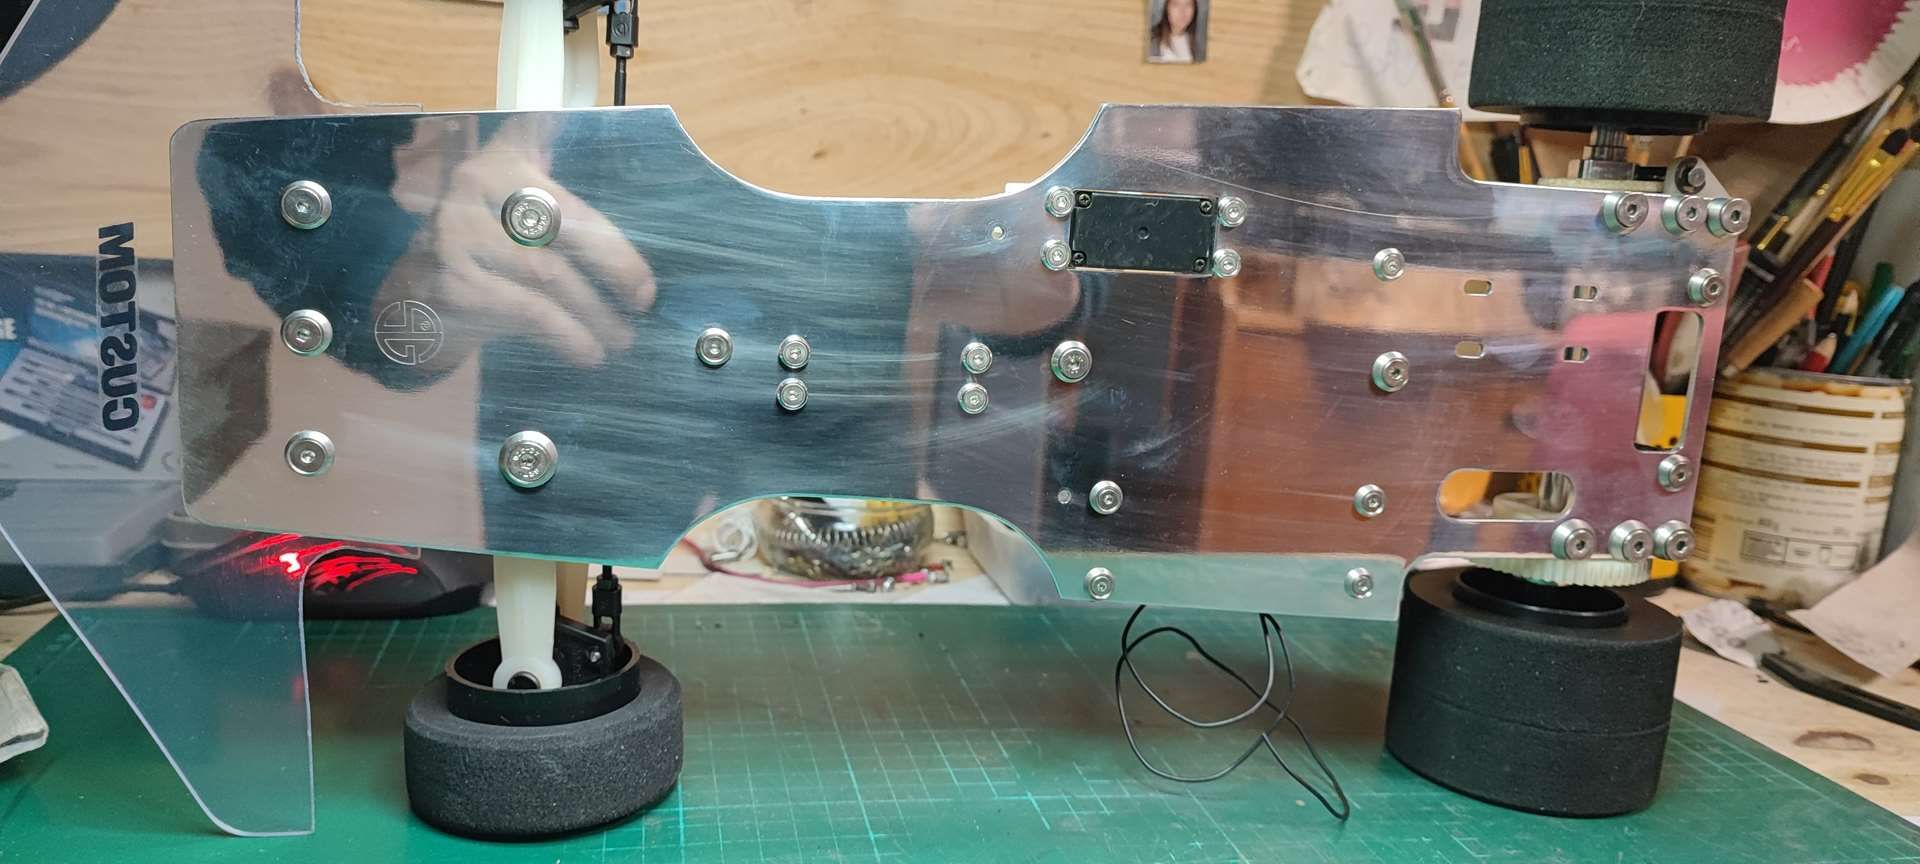
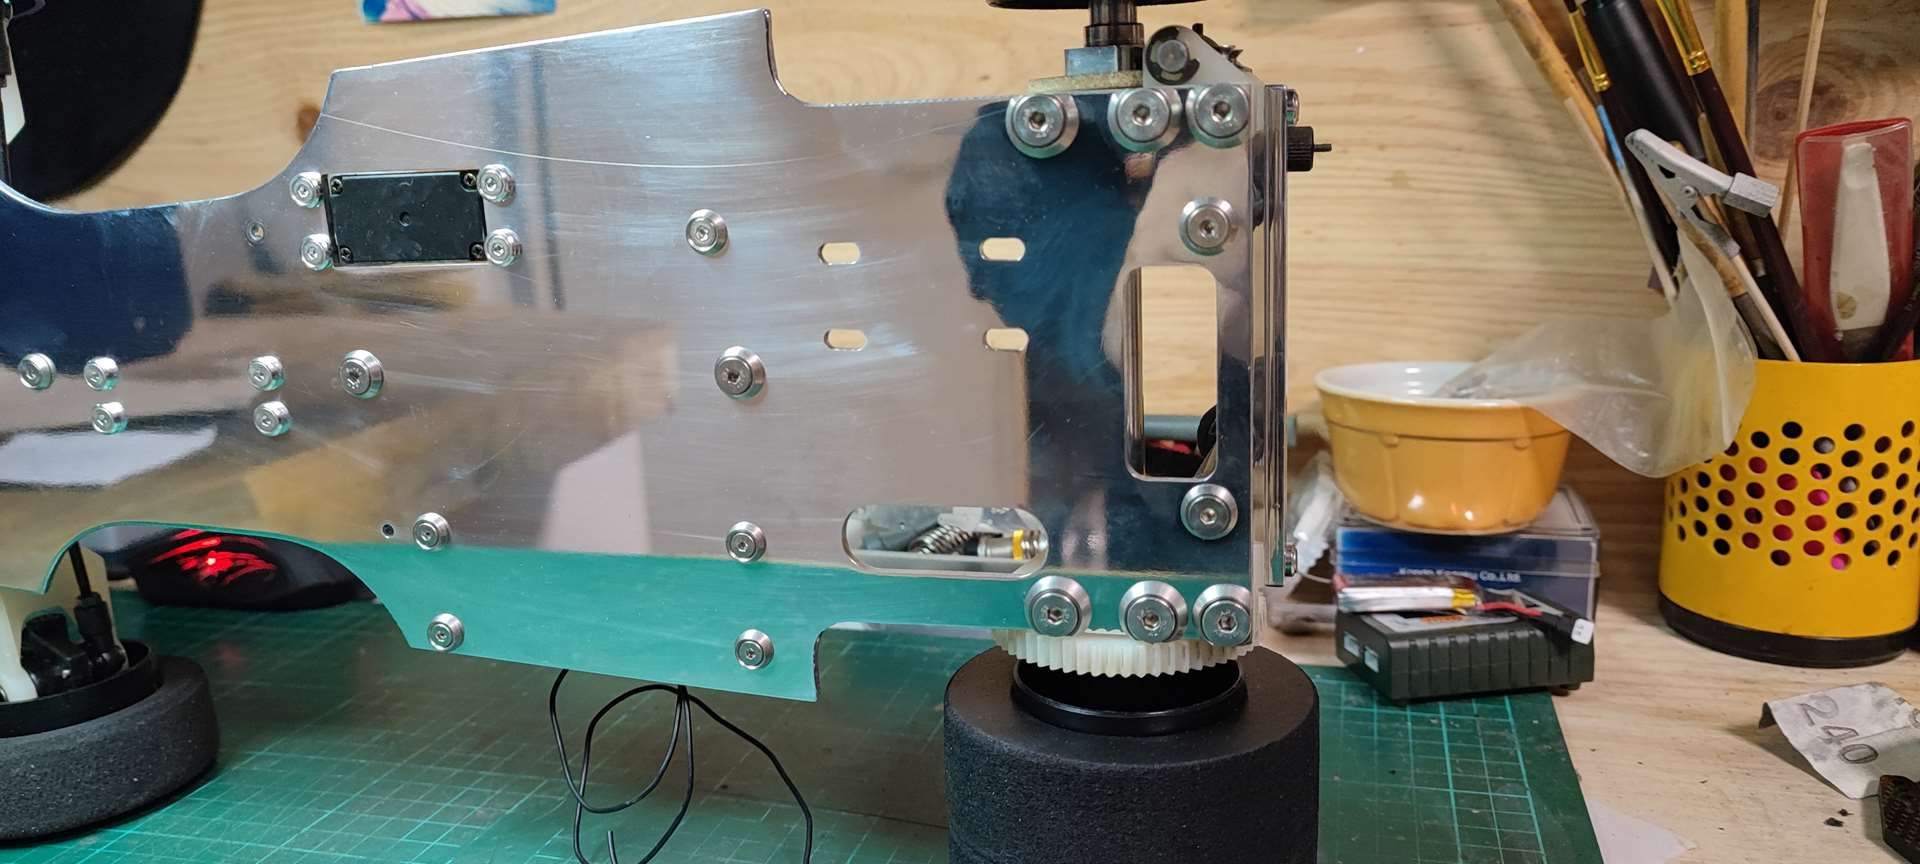
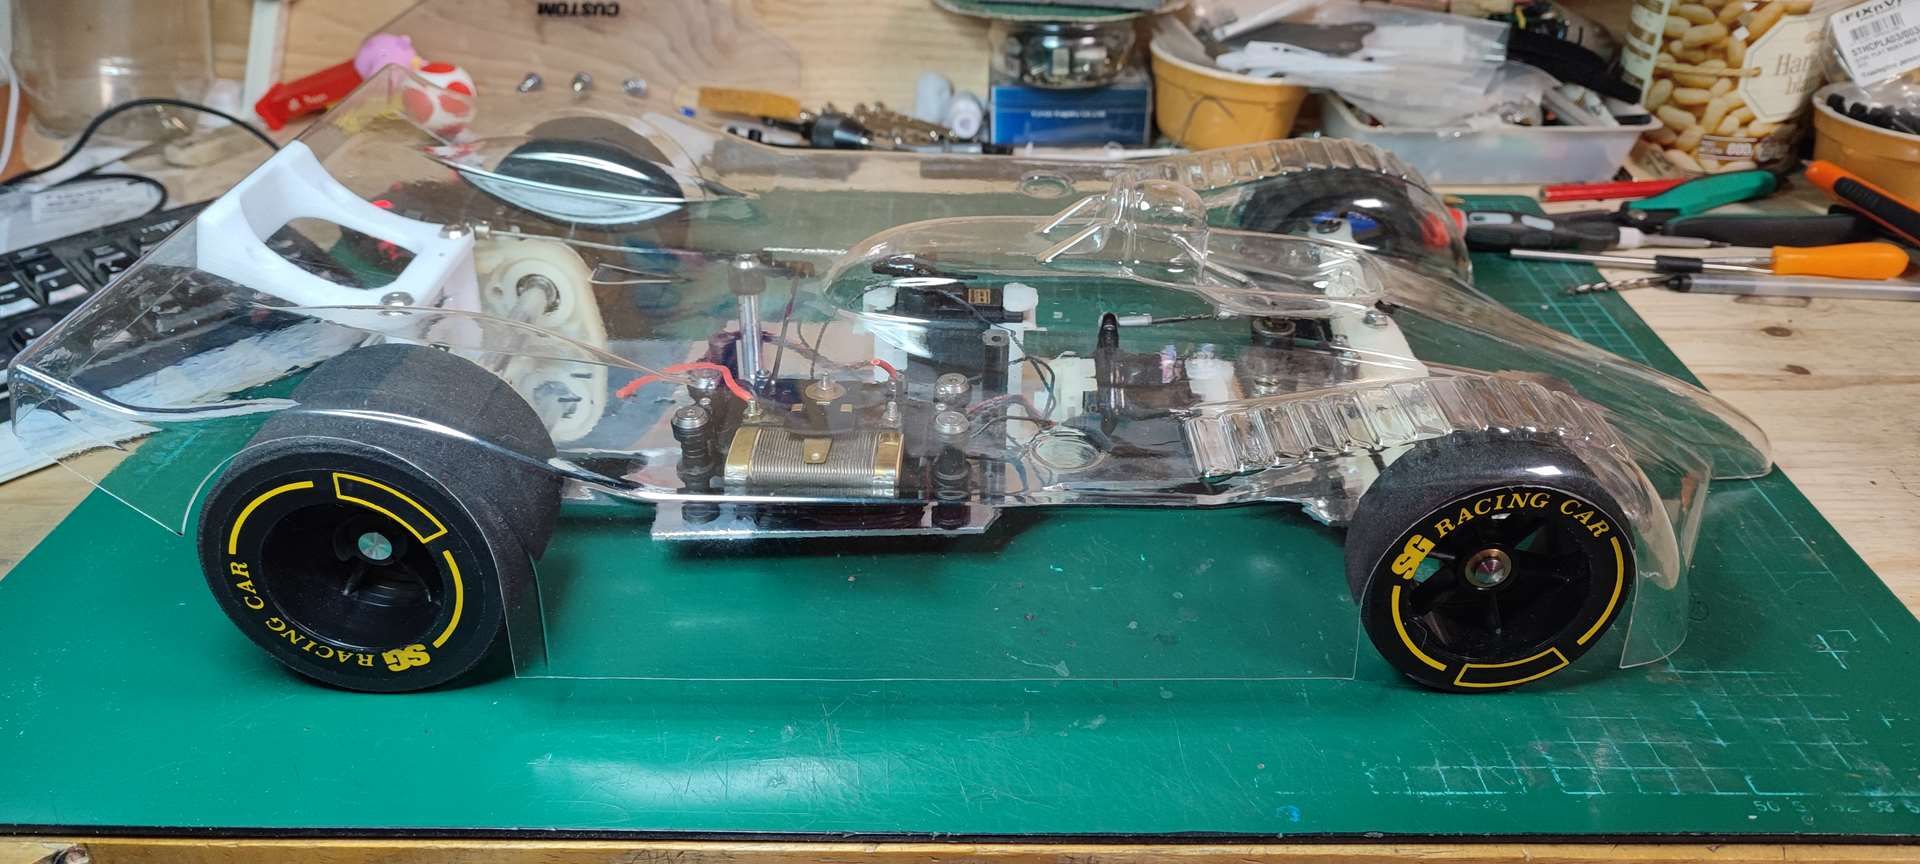
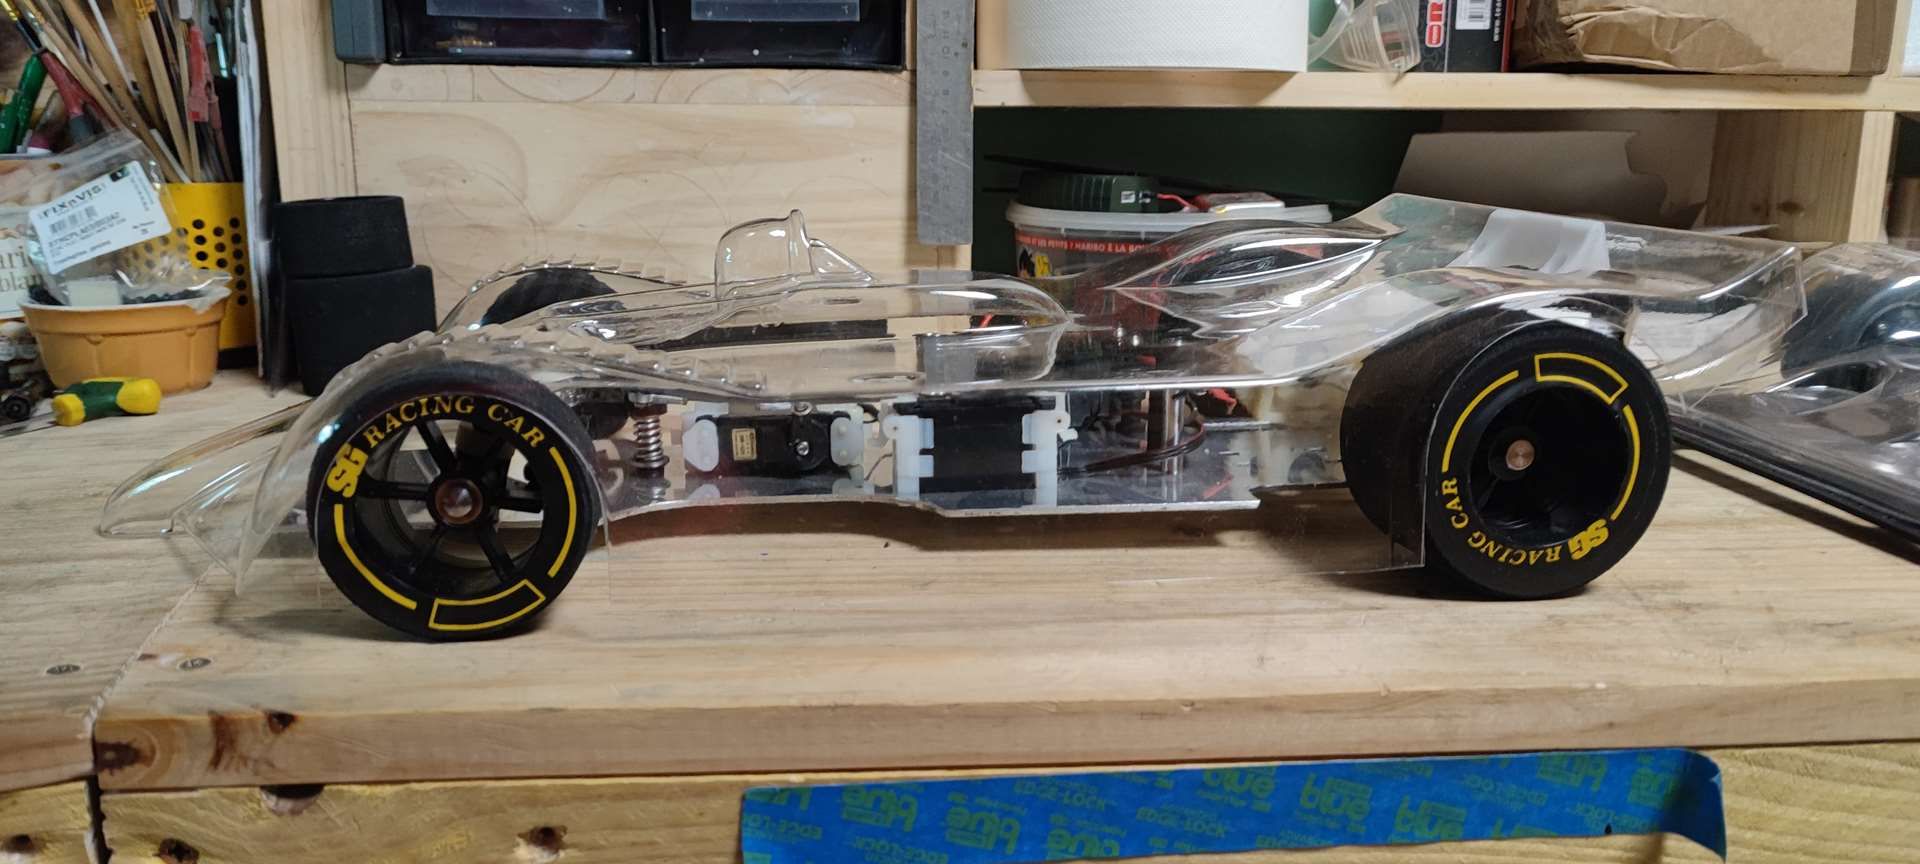
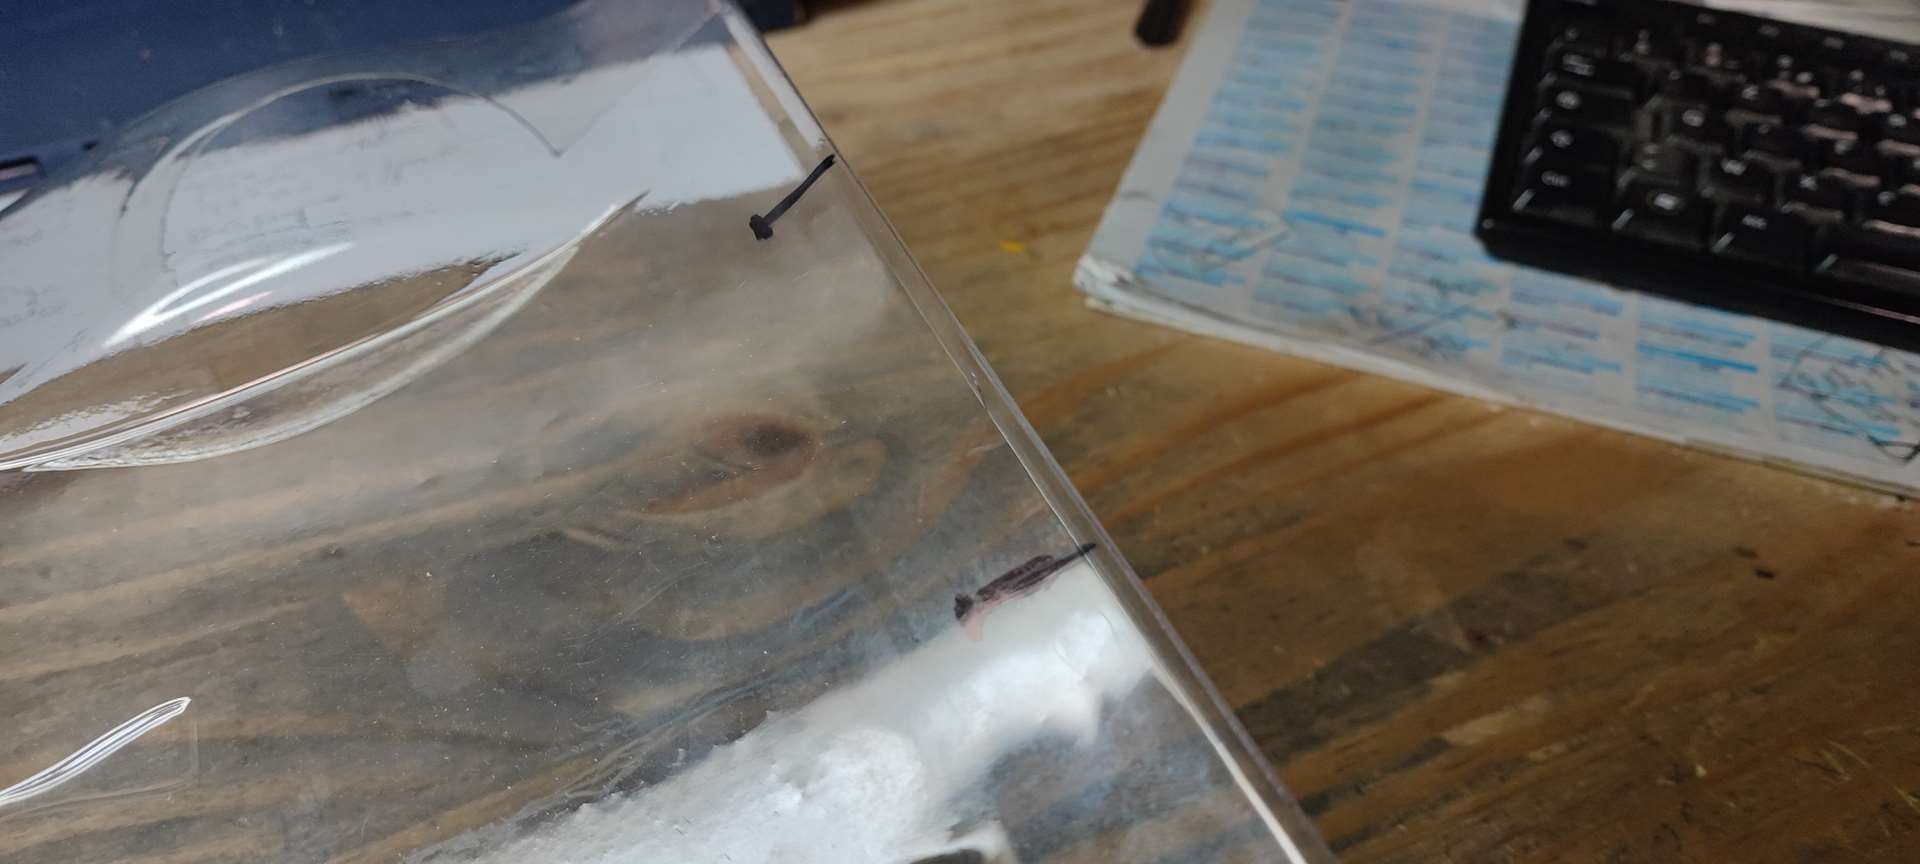
Here are the photos at receptions....... IT SHINES!!!!
I've started some small work as it will go off the shelf and potentially be in working order, but in an electric version.... SACRILEGE will you tell me, I would reply that SG has done a lot of electrics compared to its counterparts for years 80.
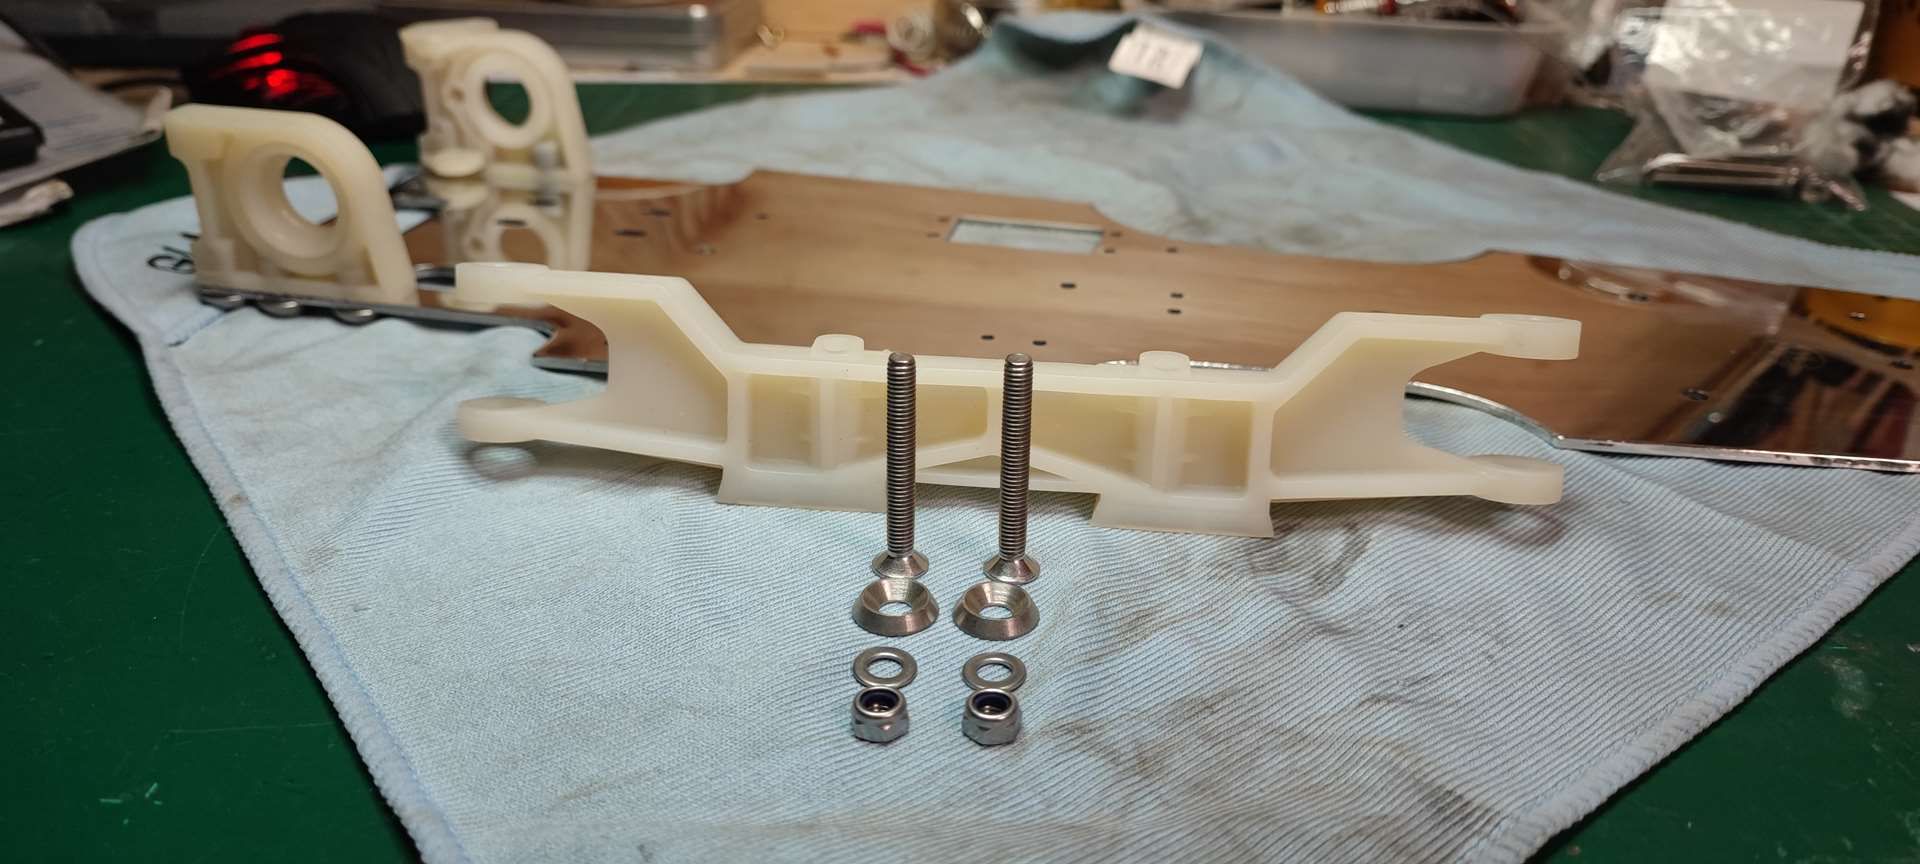
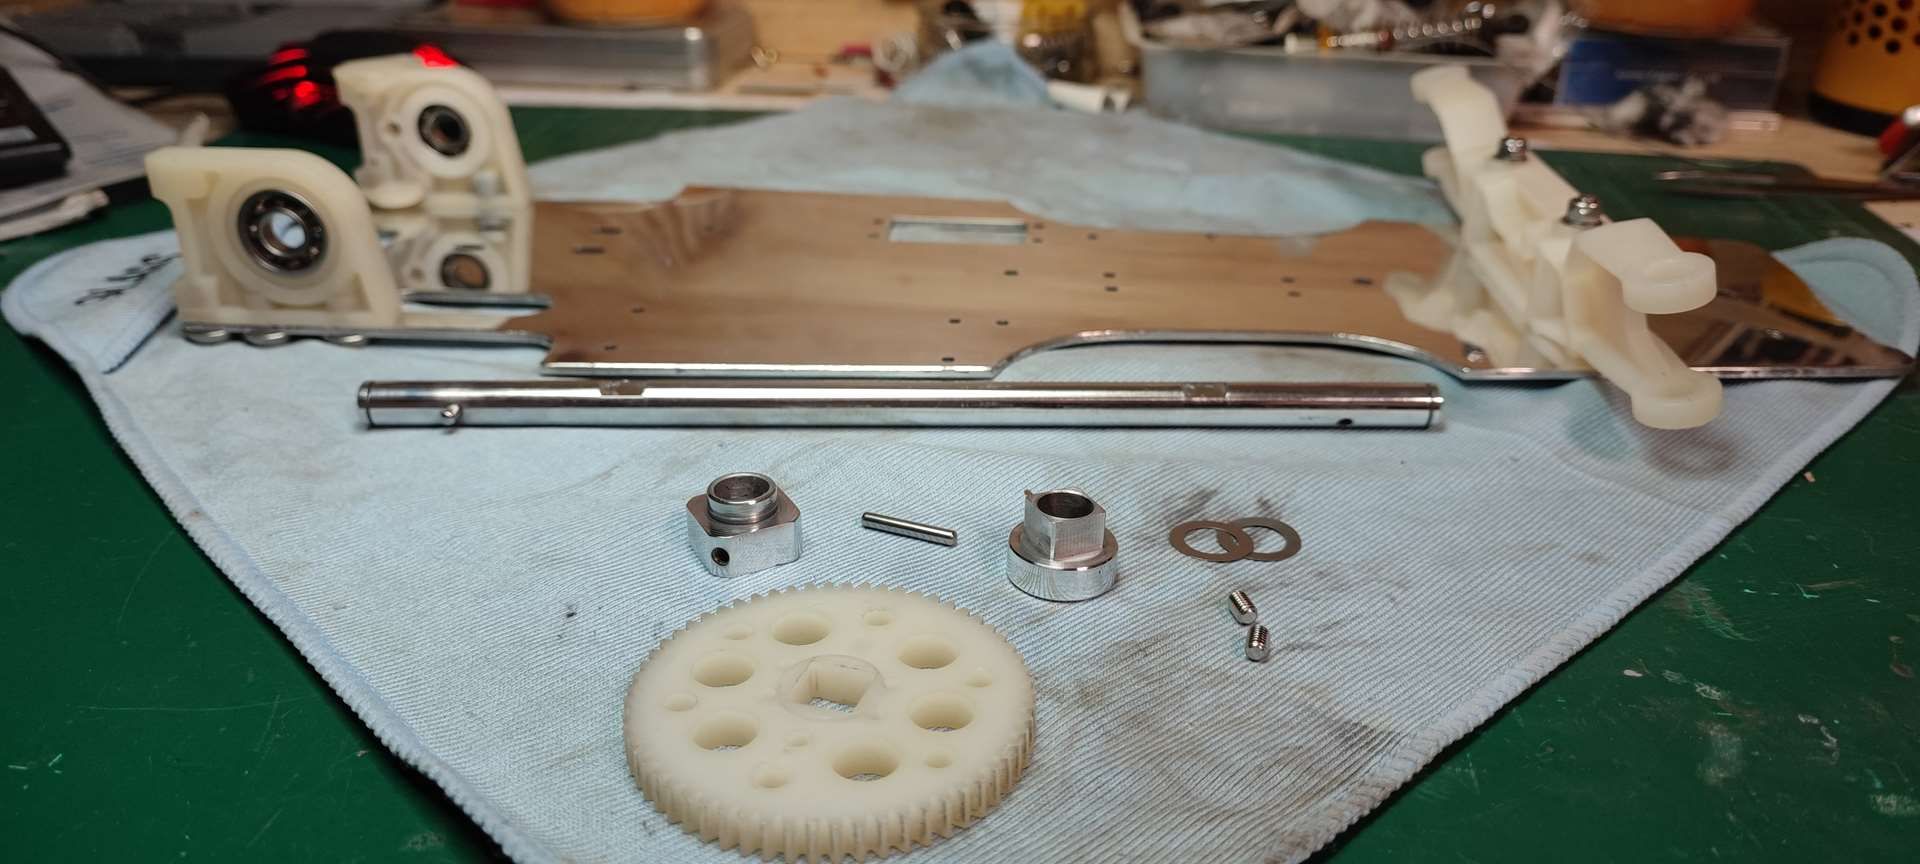
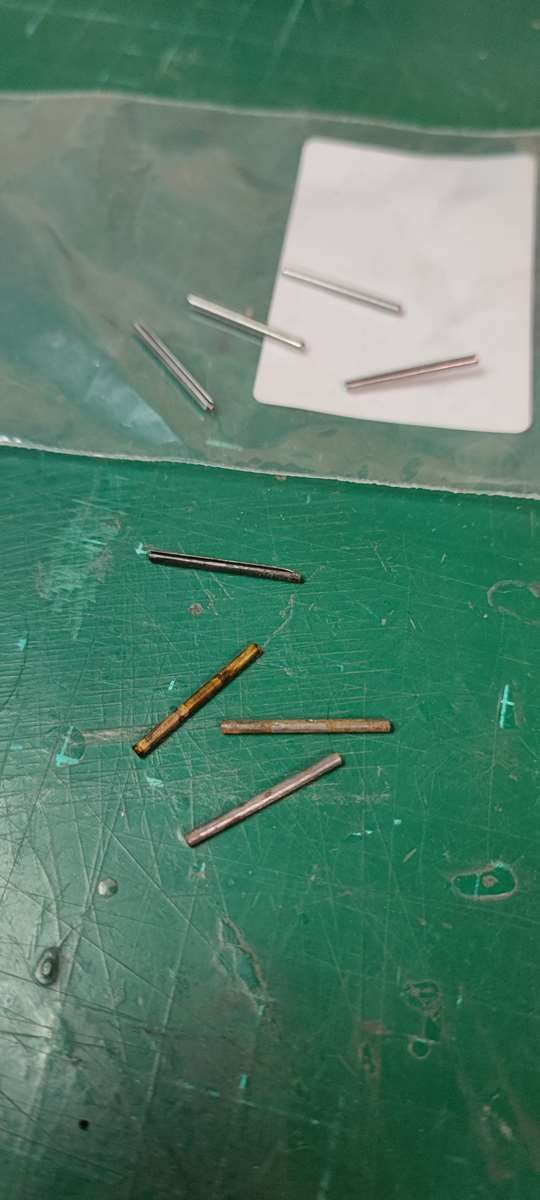
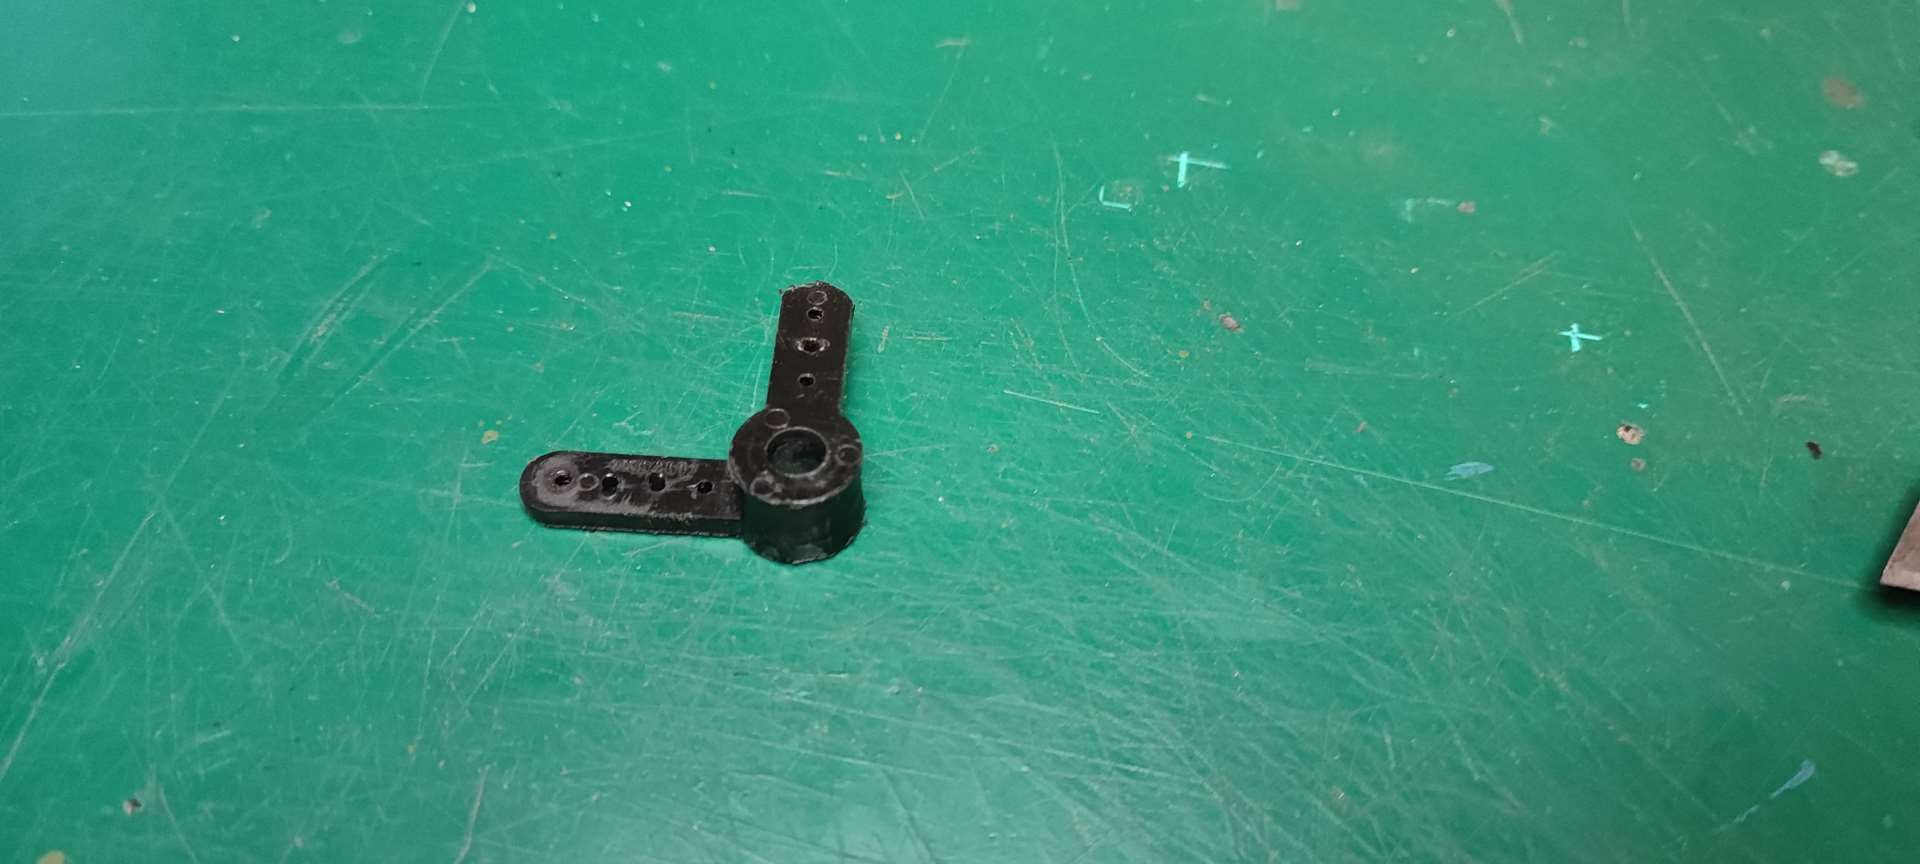
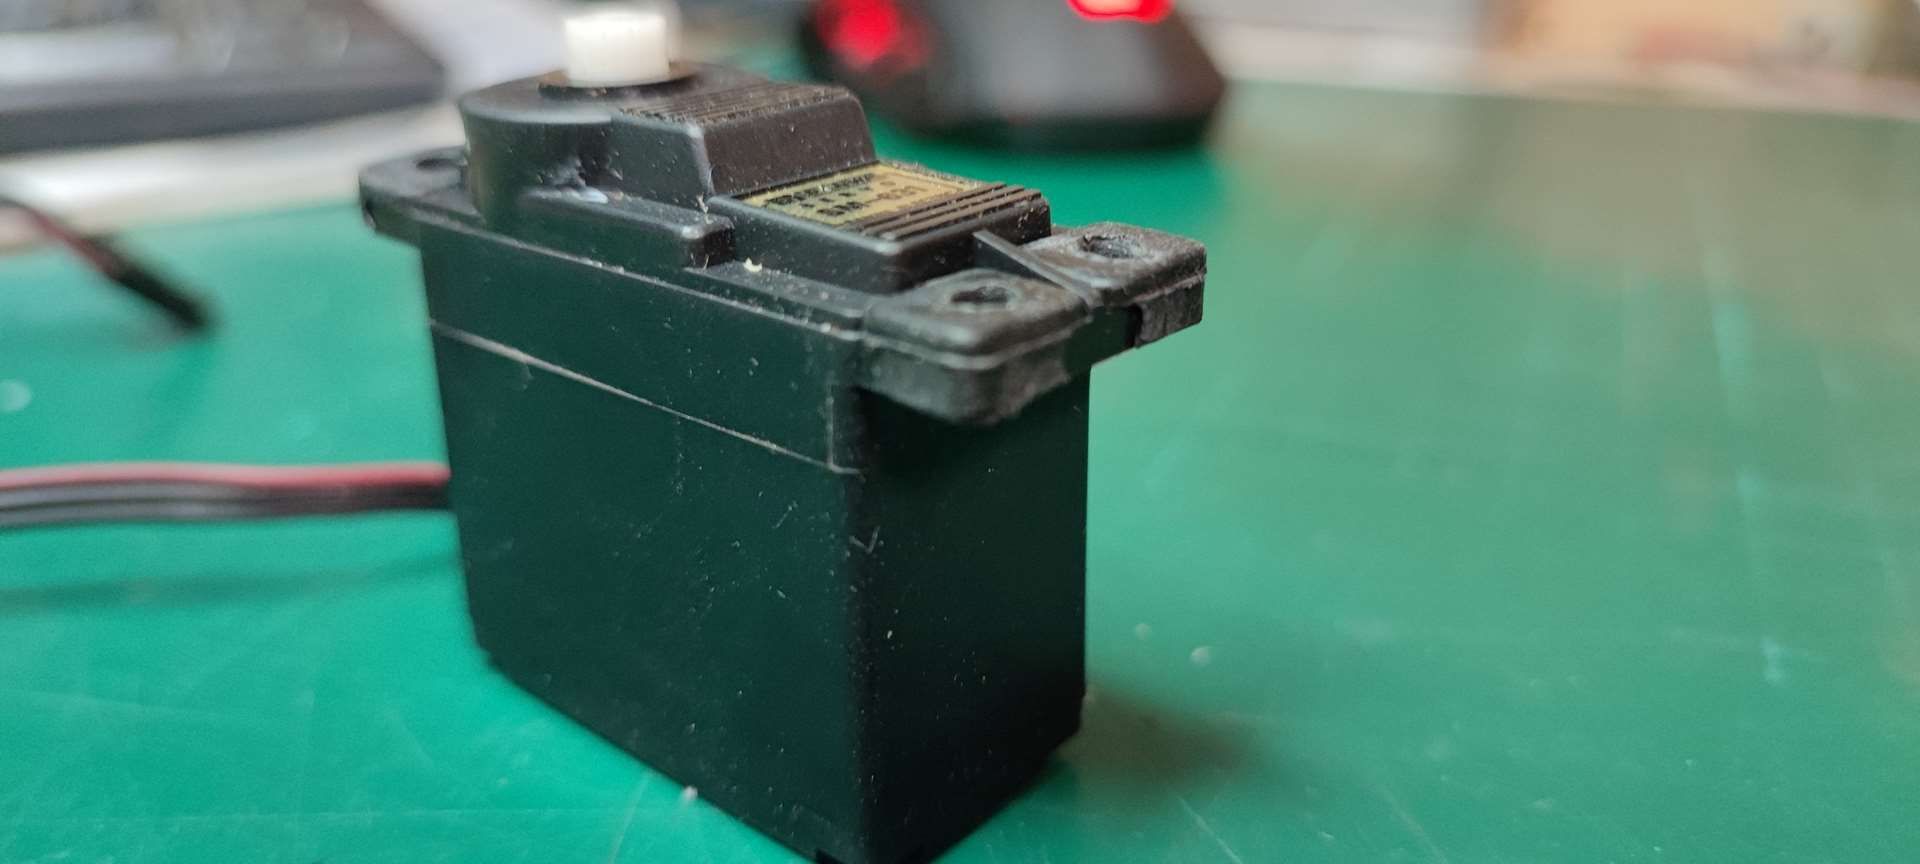
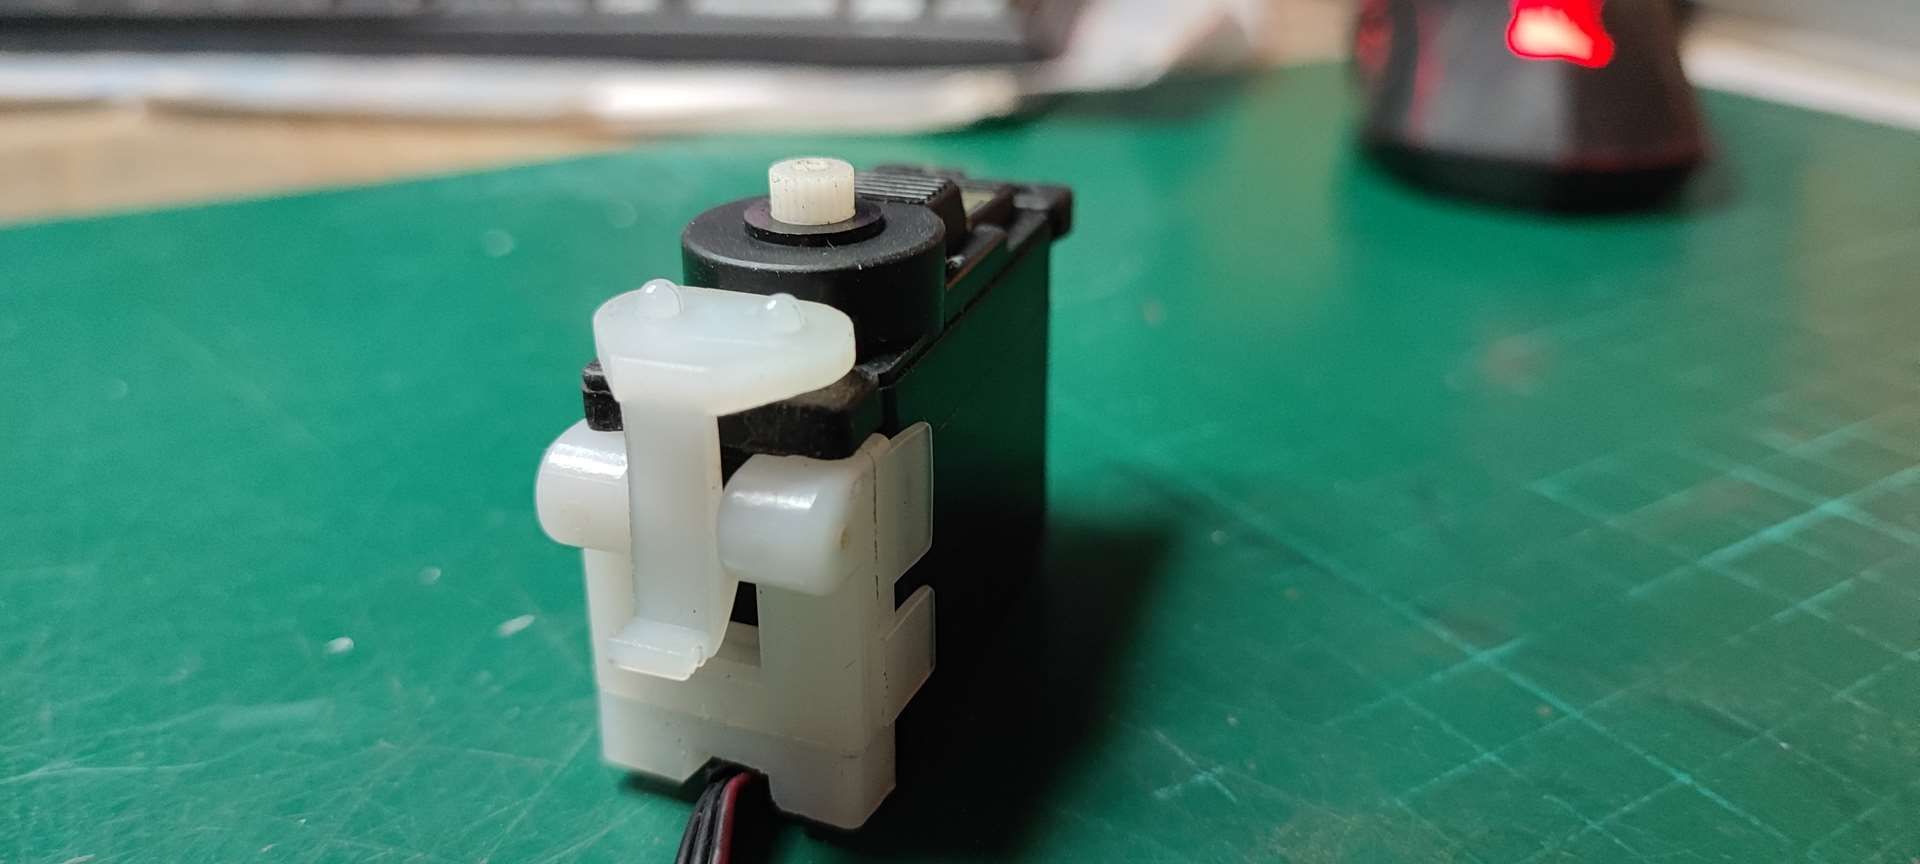
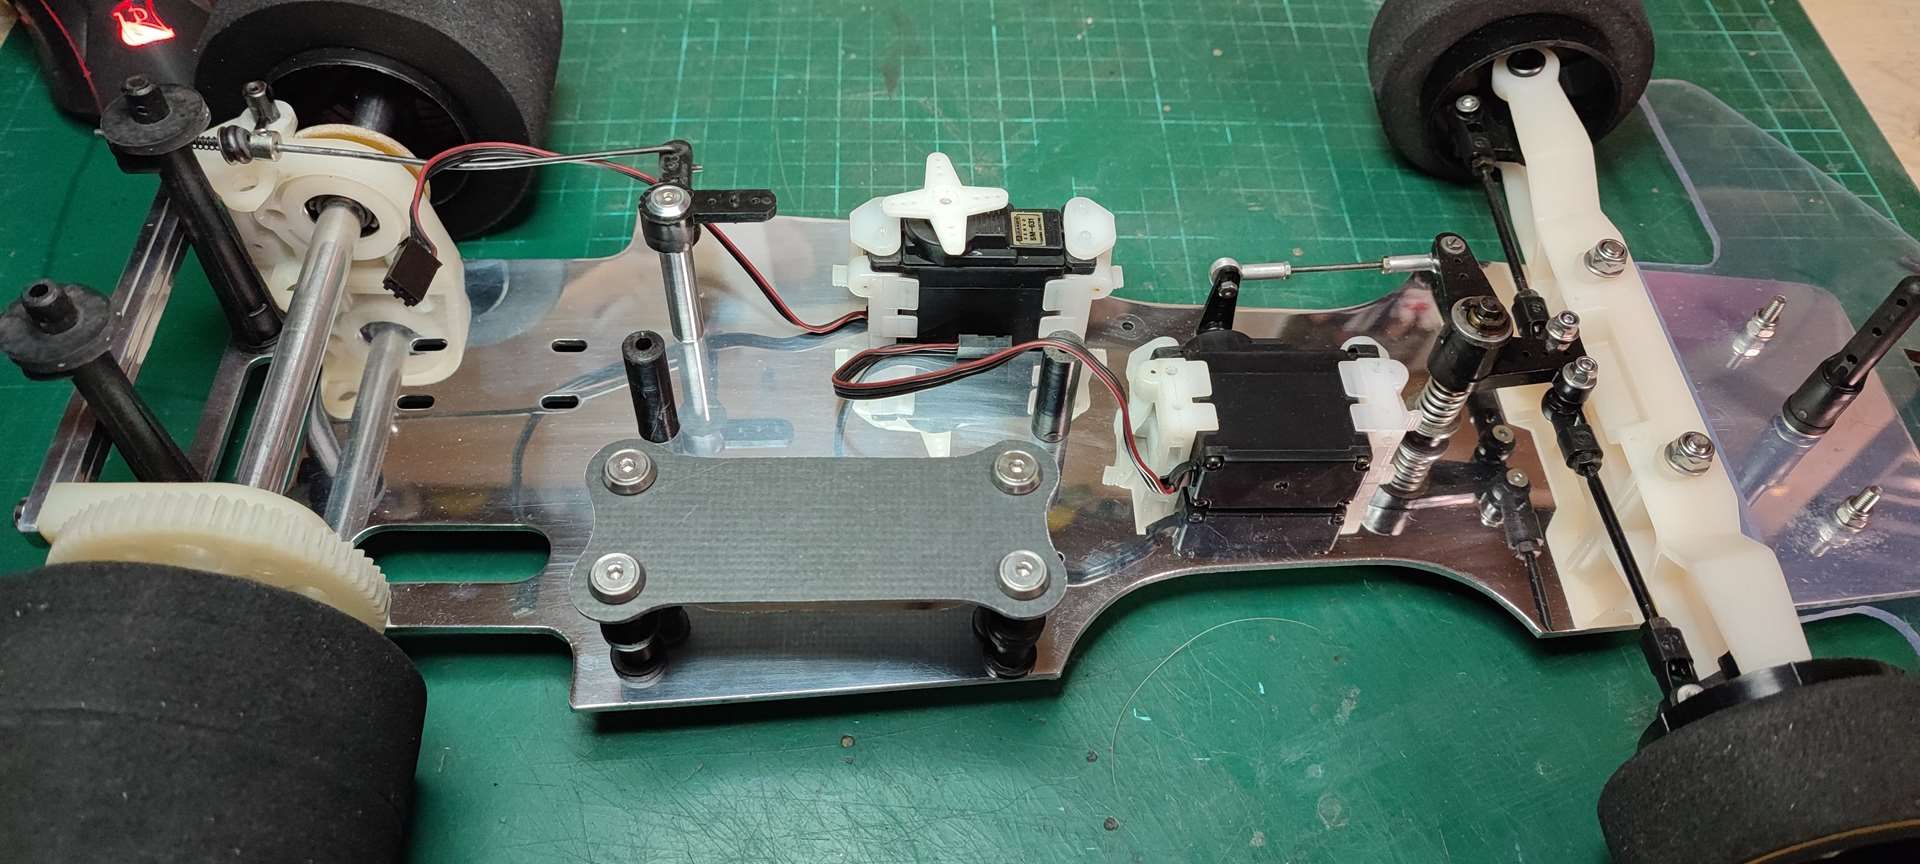
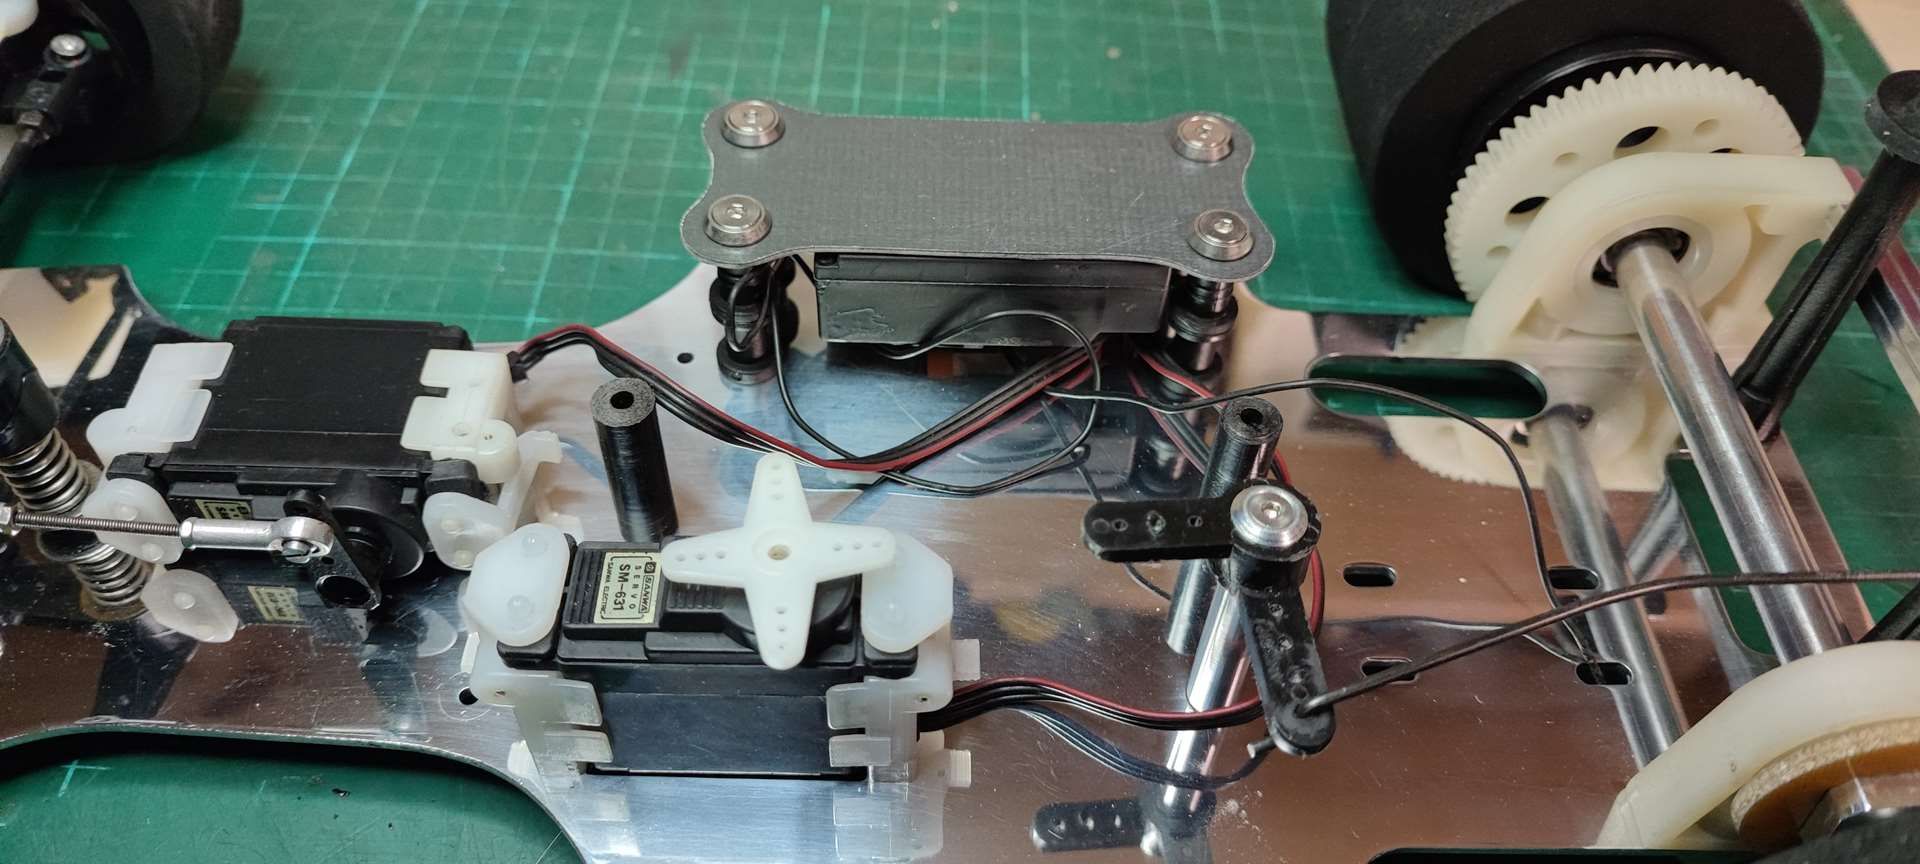
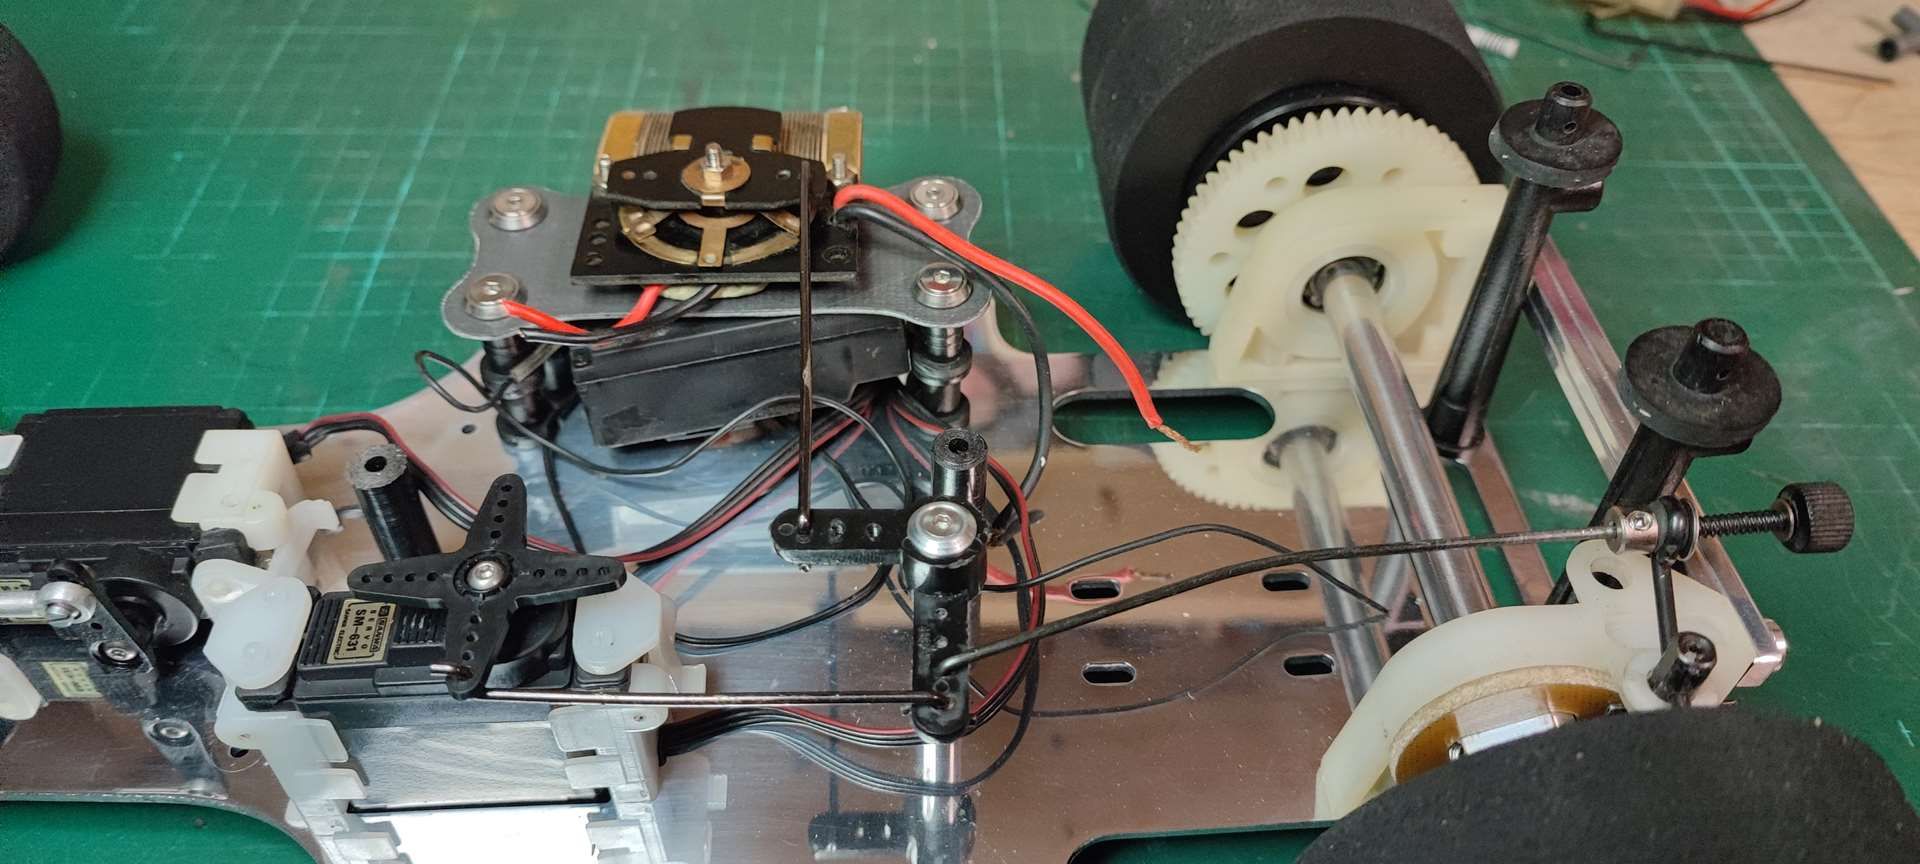
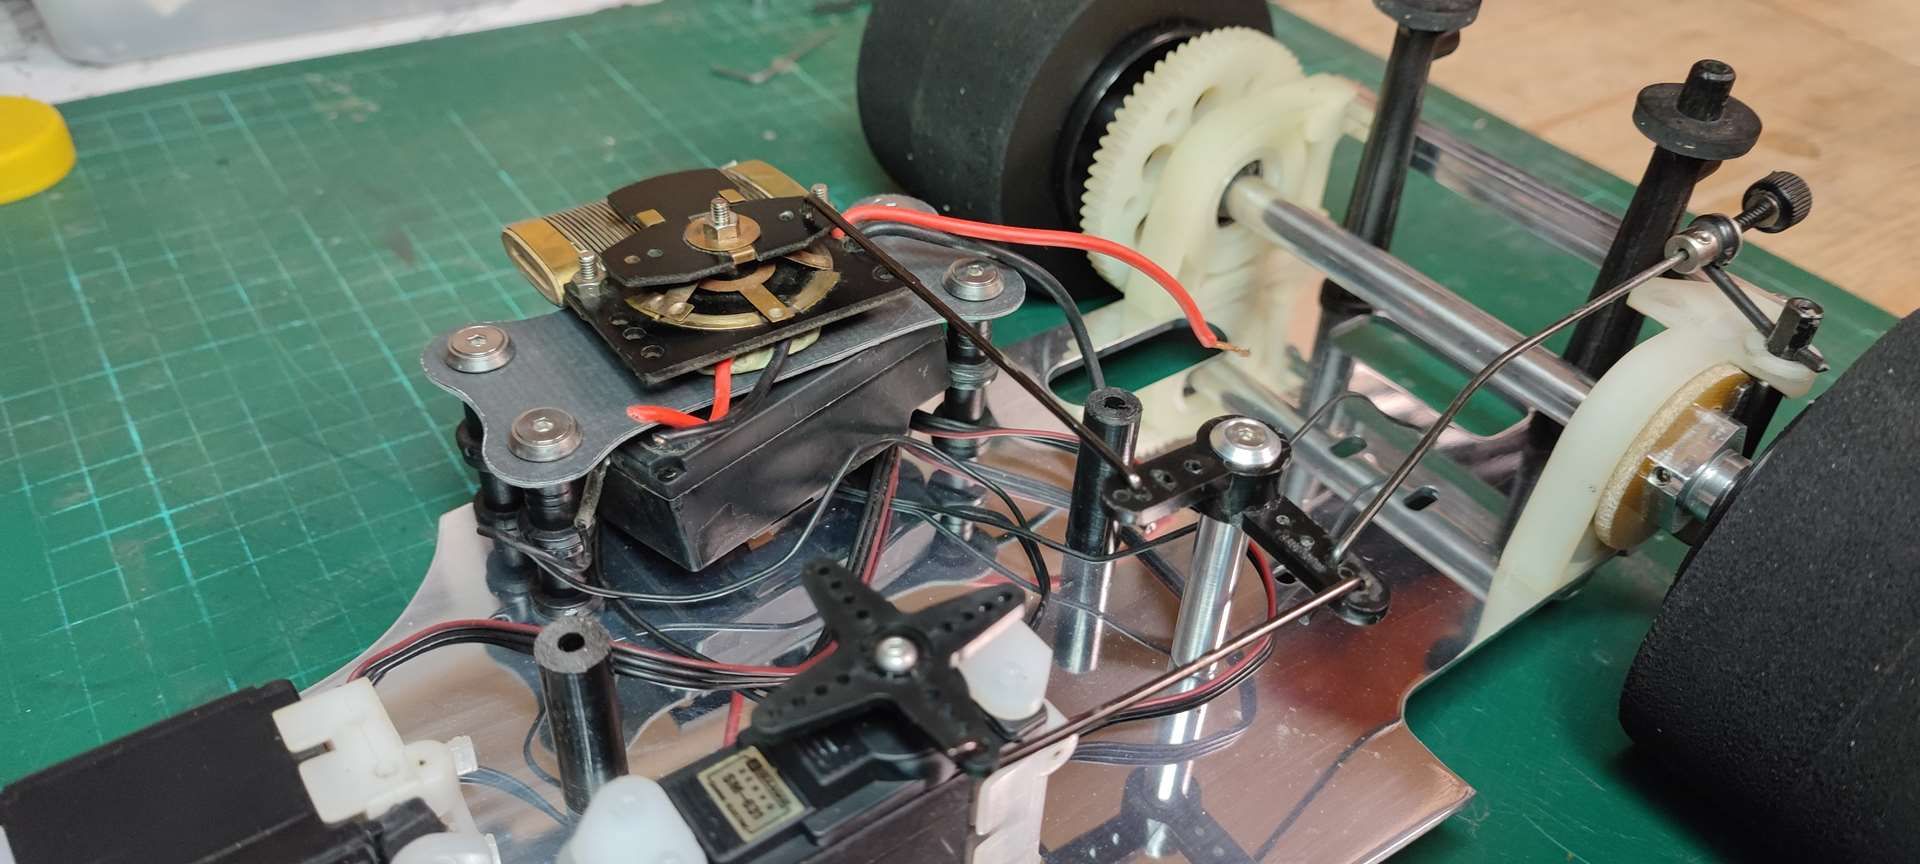
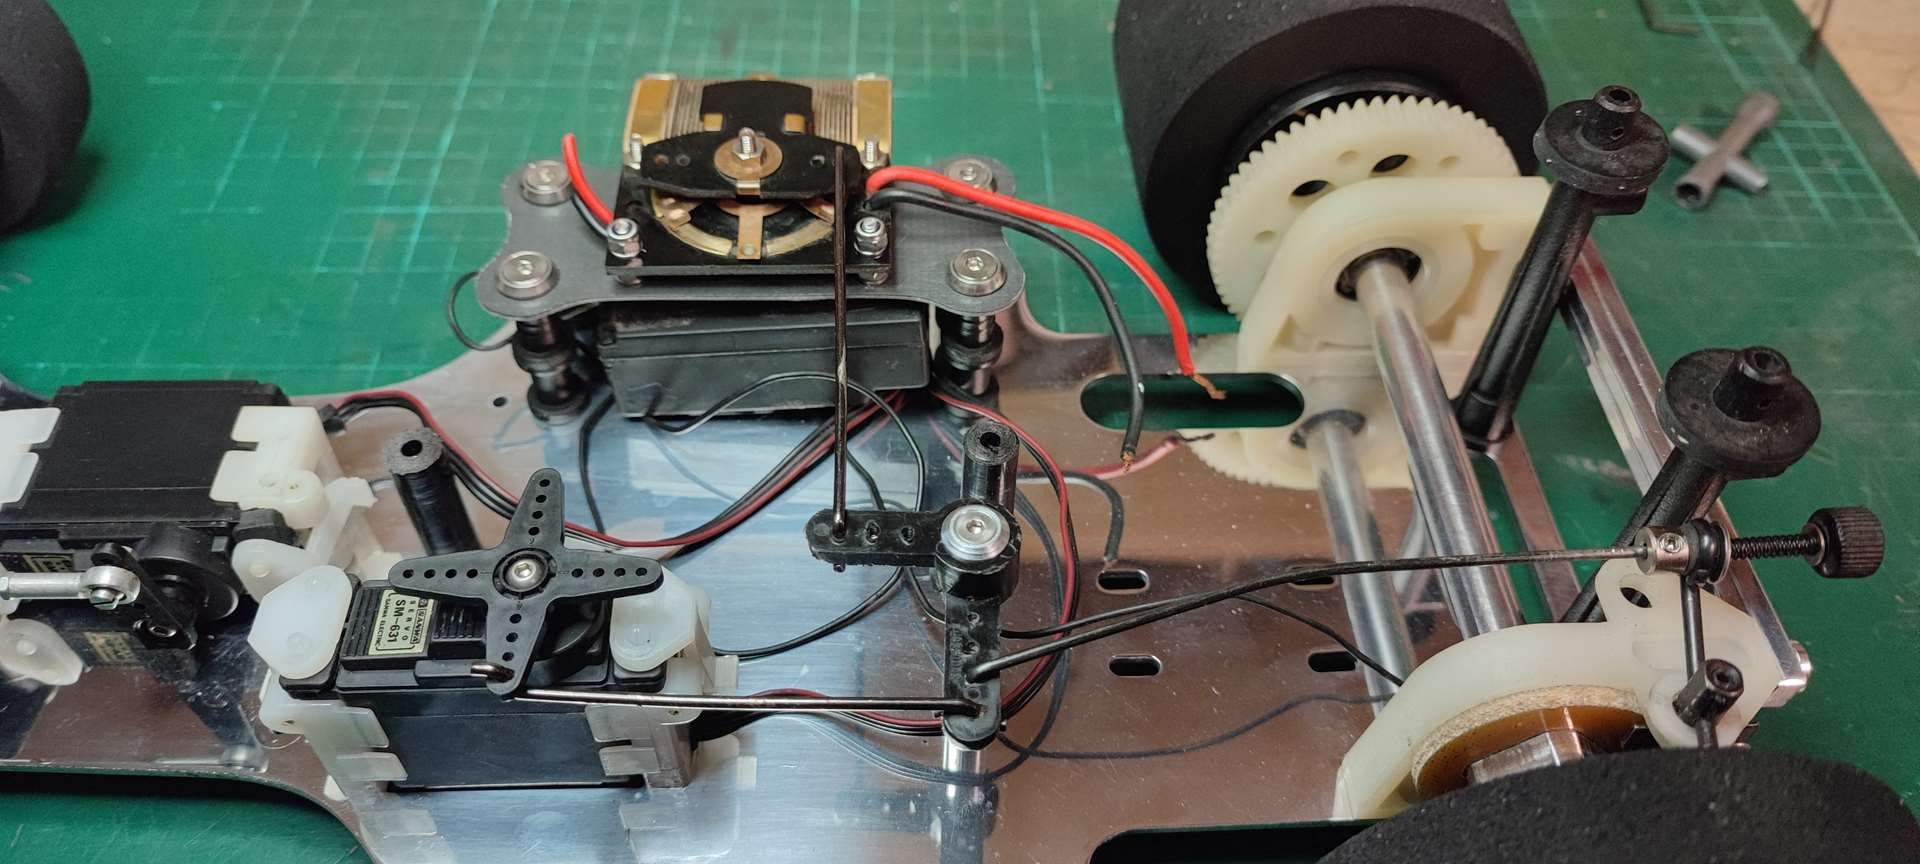
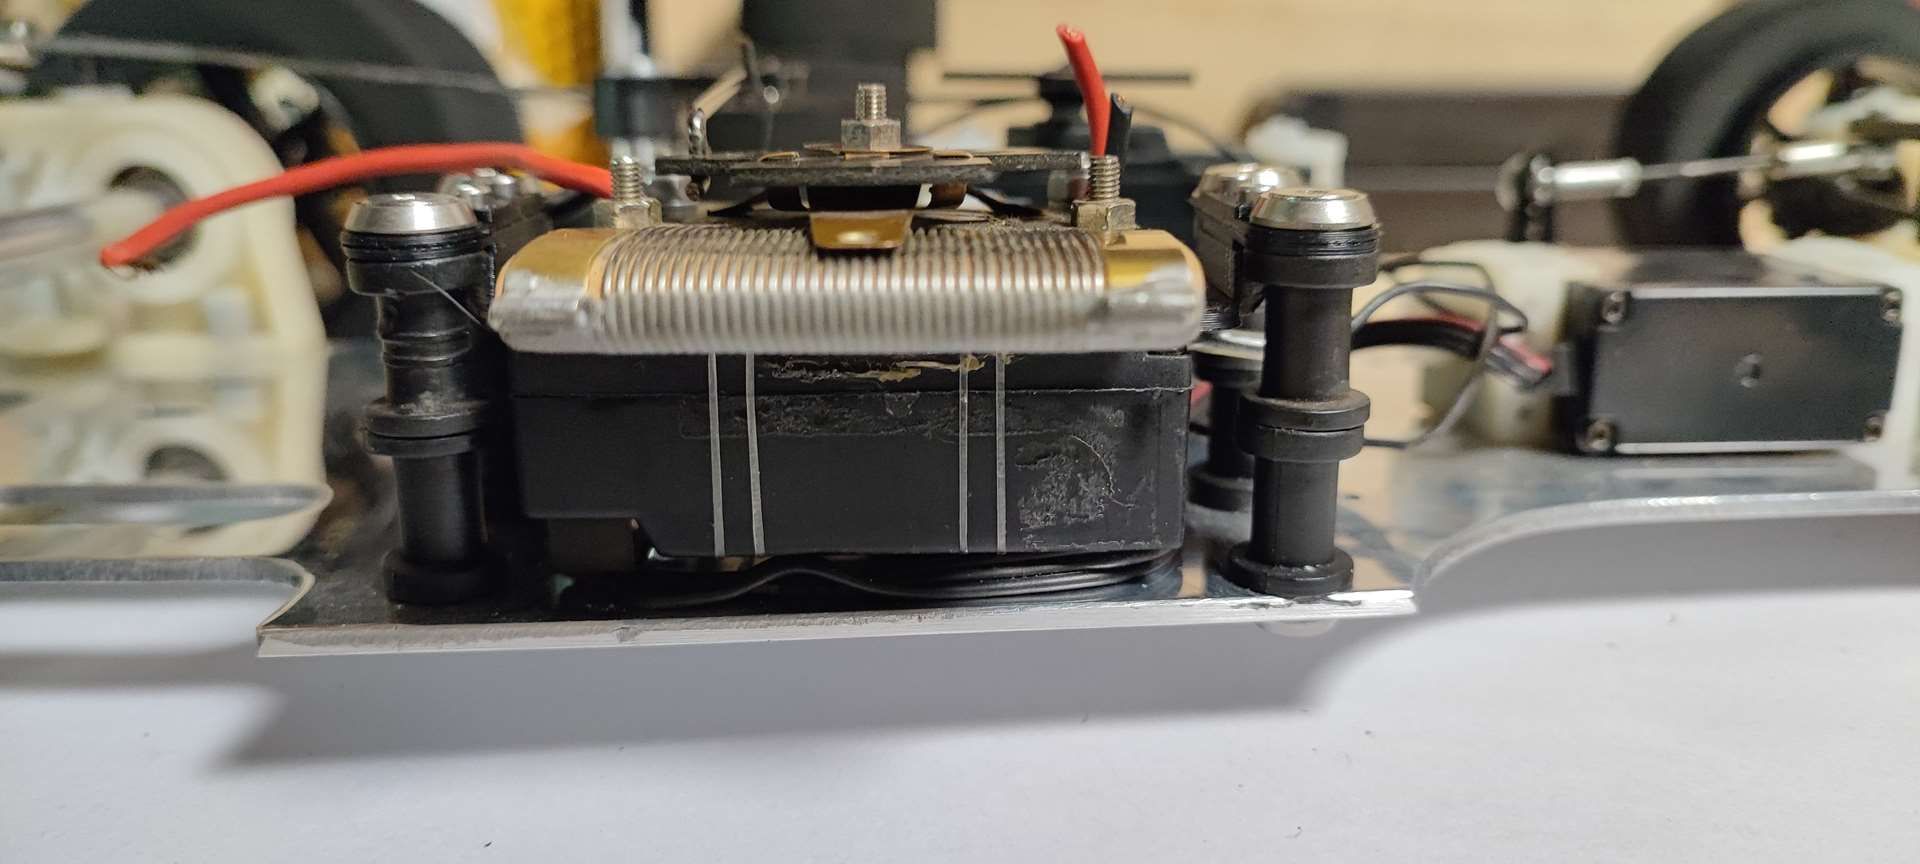
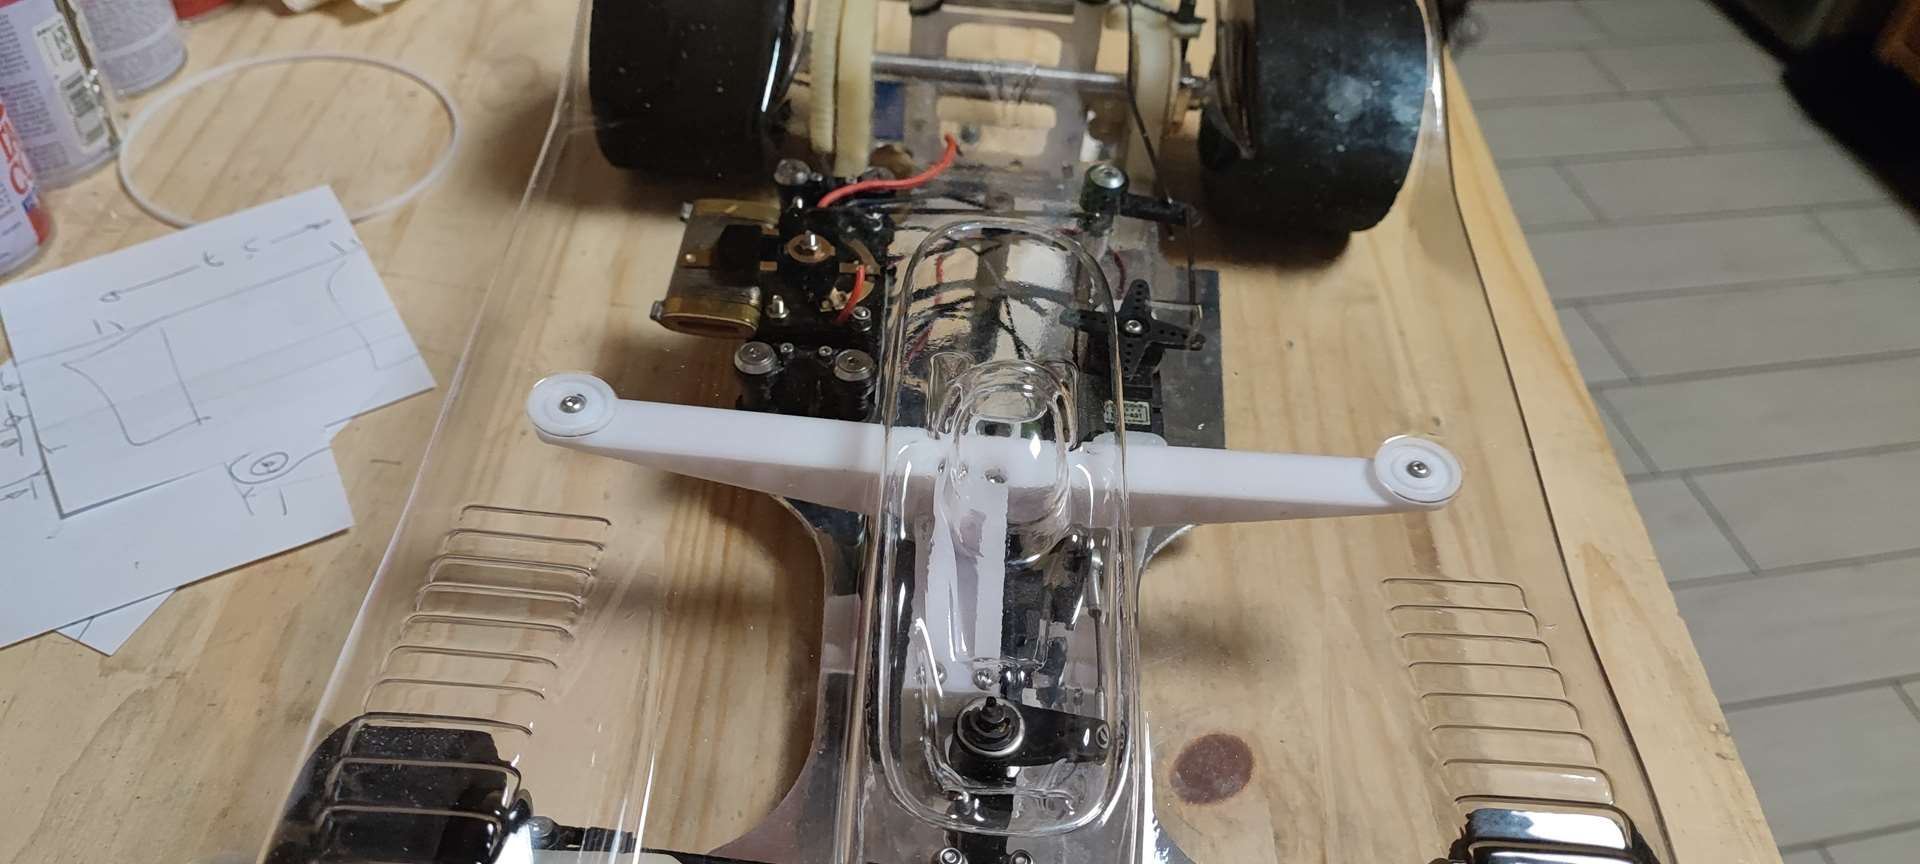
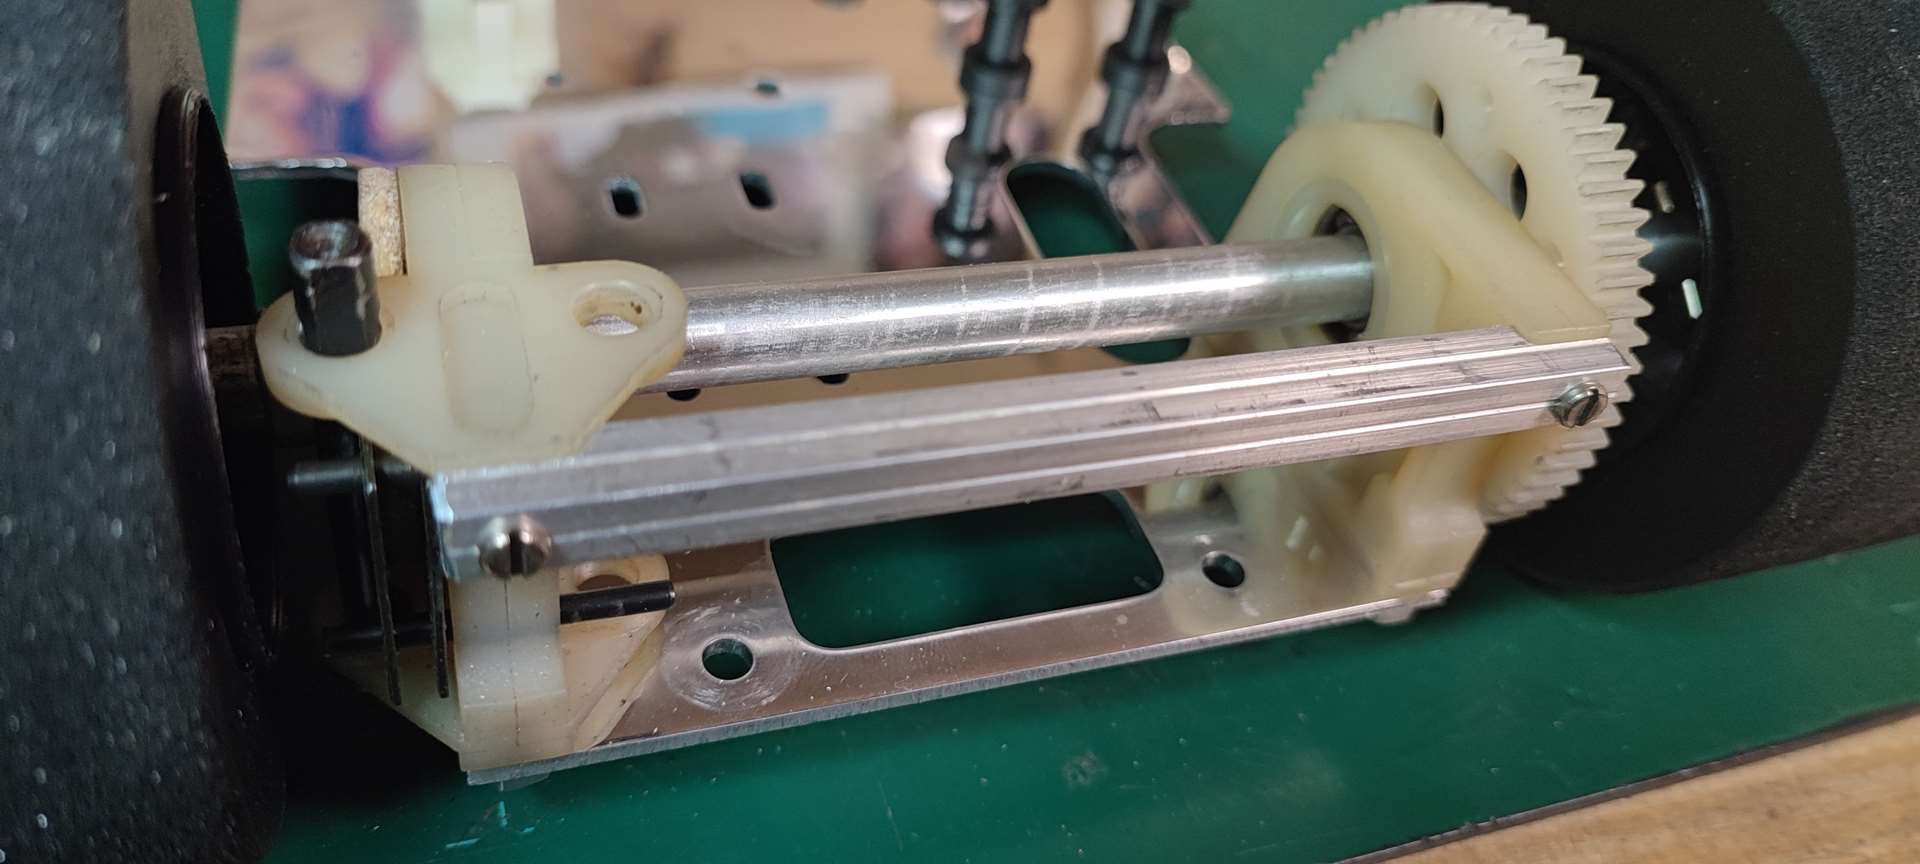
Before the dismantling to make it a little more different and changing screws, I noticed the rear transmission axle, the brake square and the spur holder were not shiny enough.
Also, the rear axle was not free as it should be...
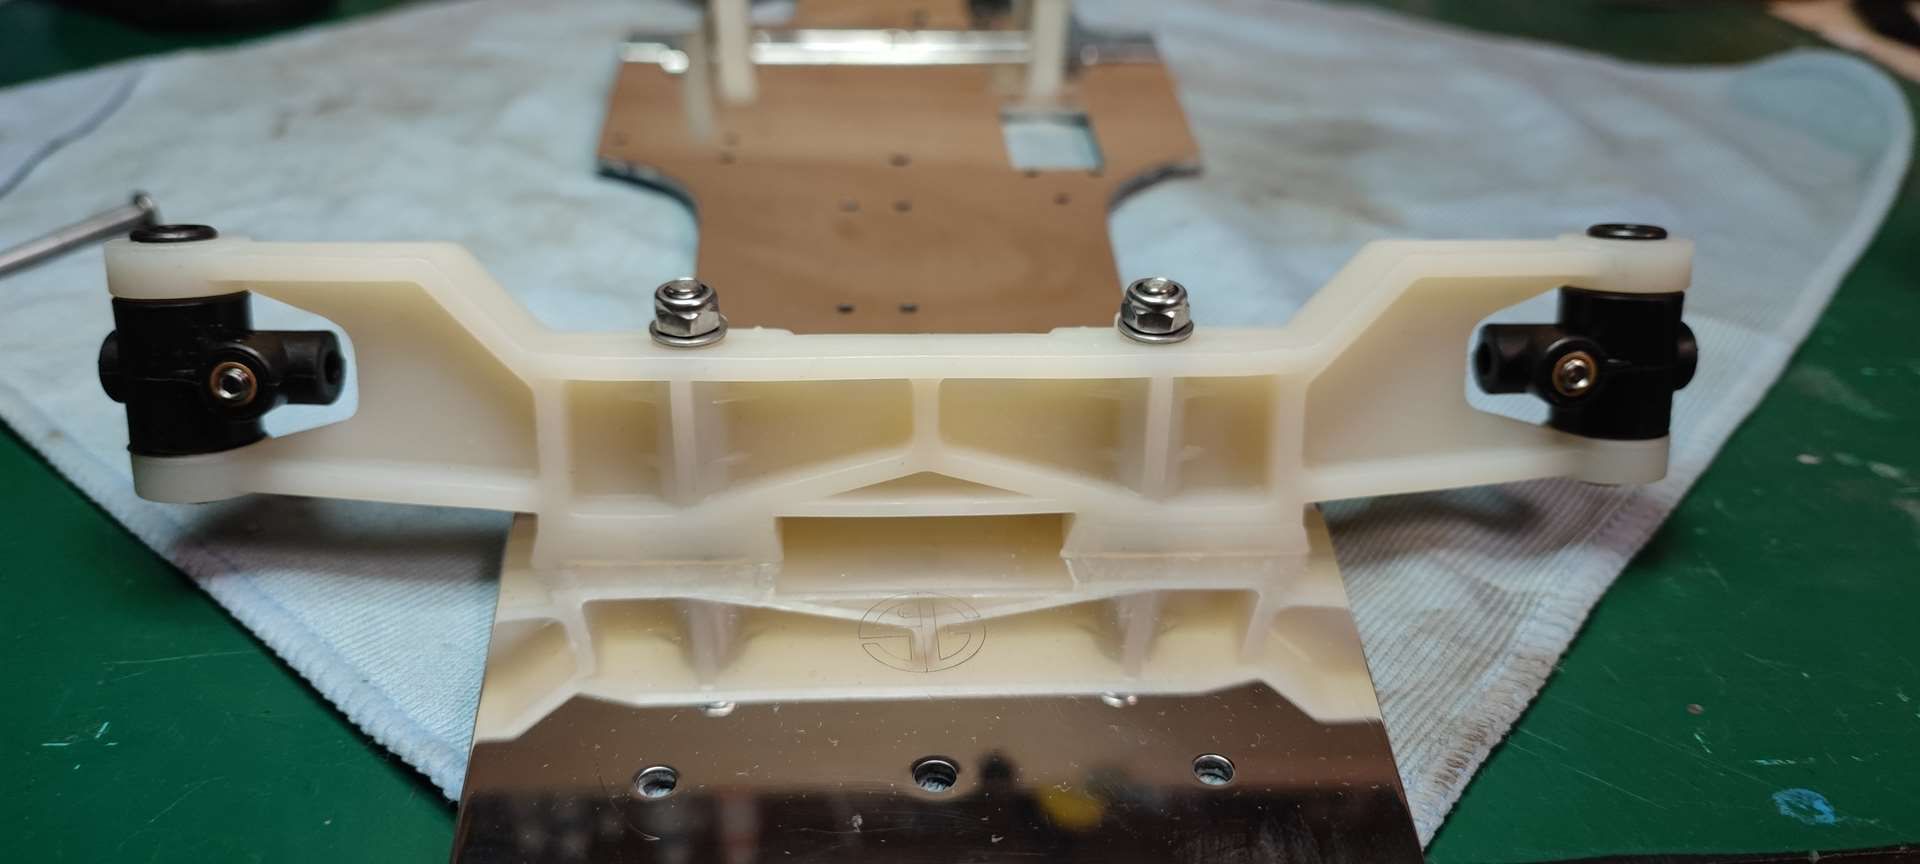
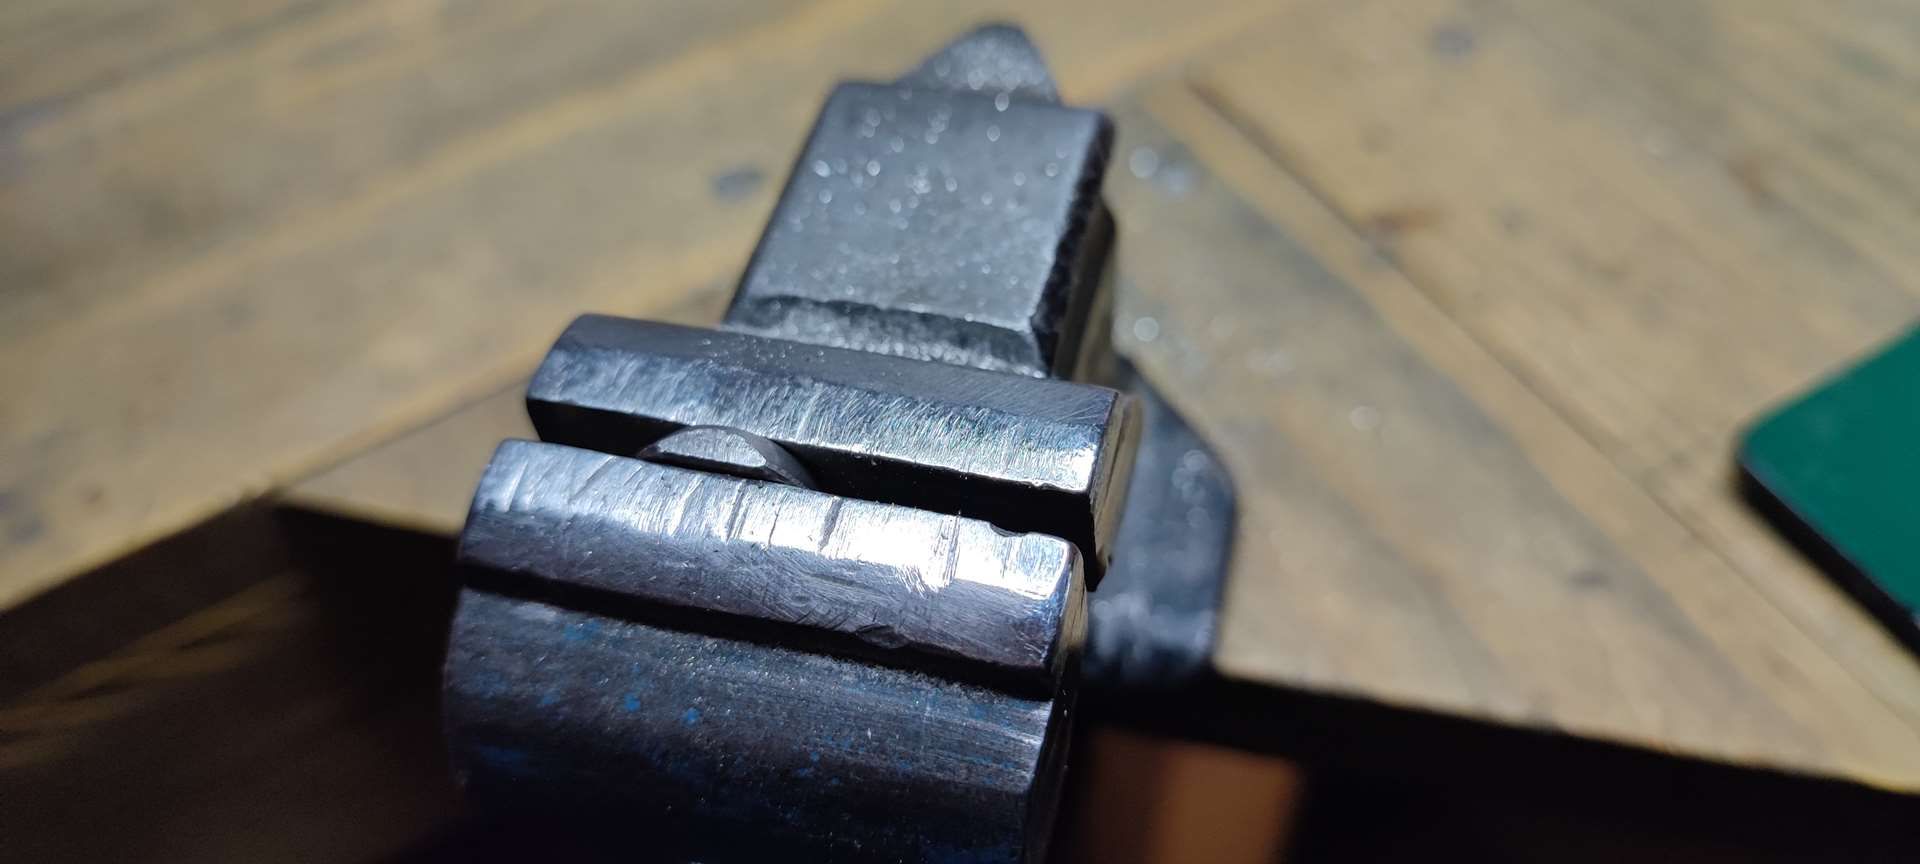
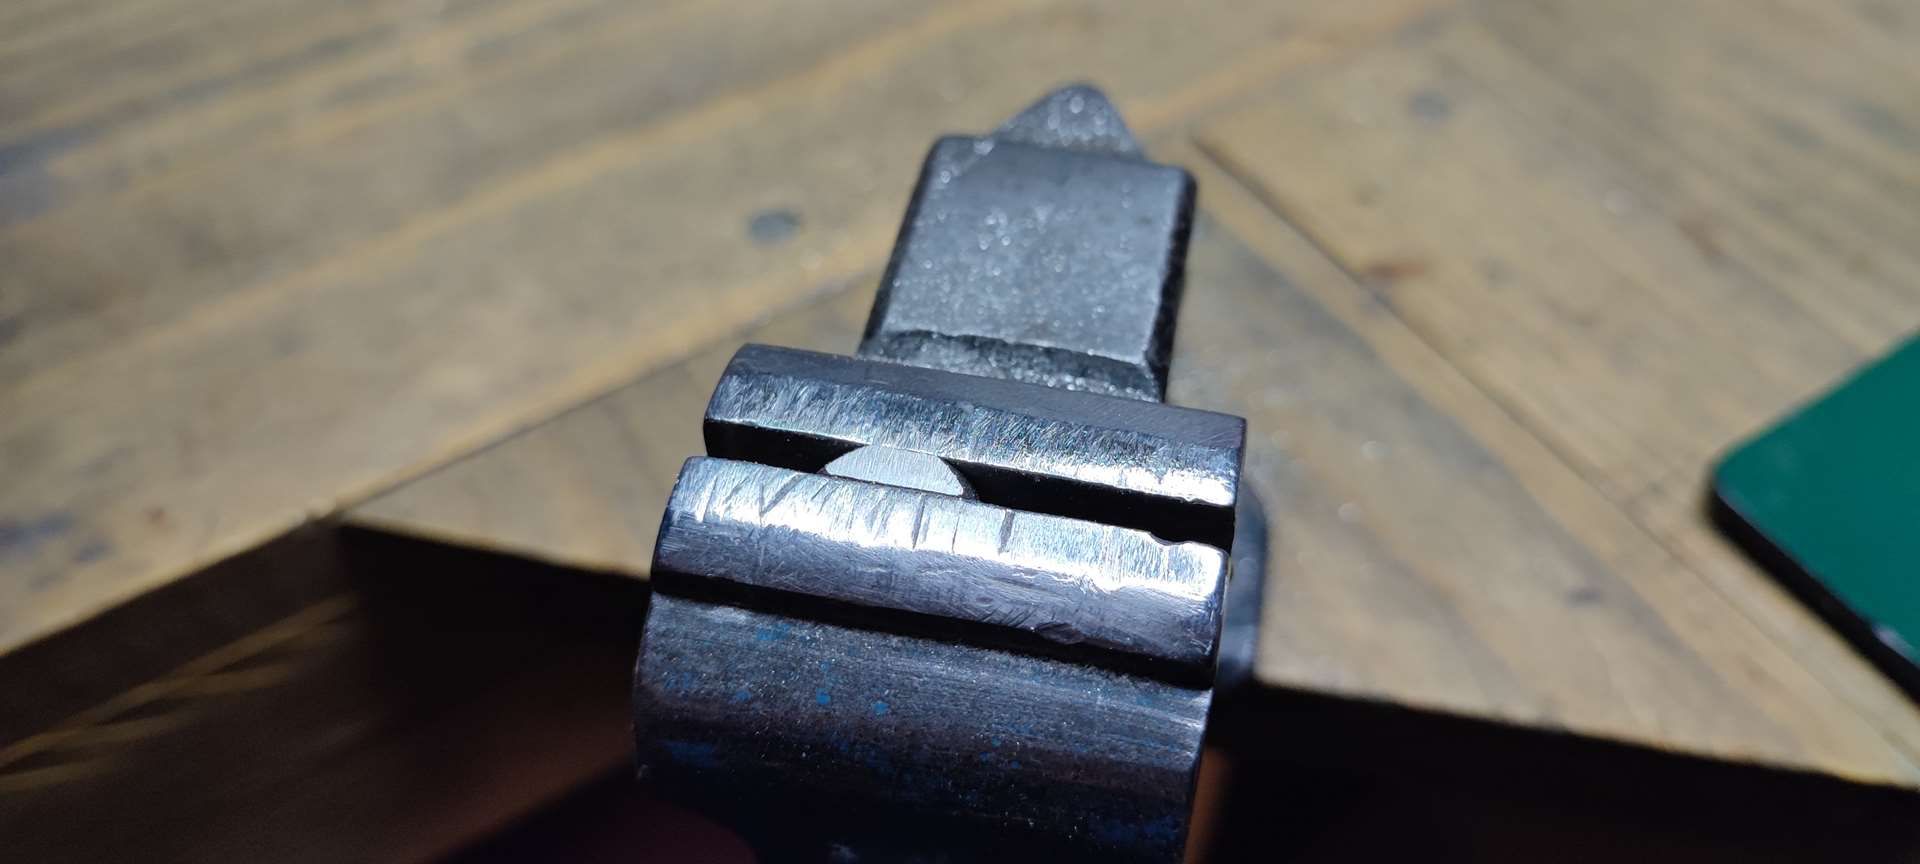
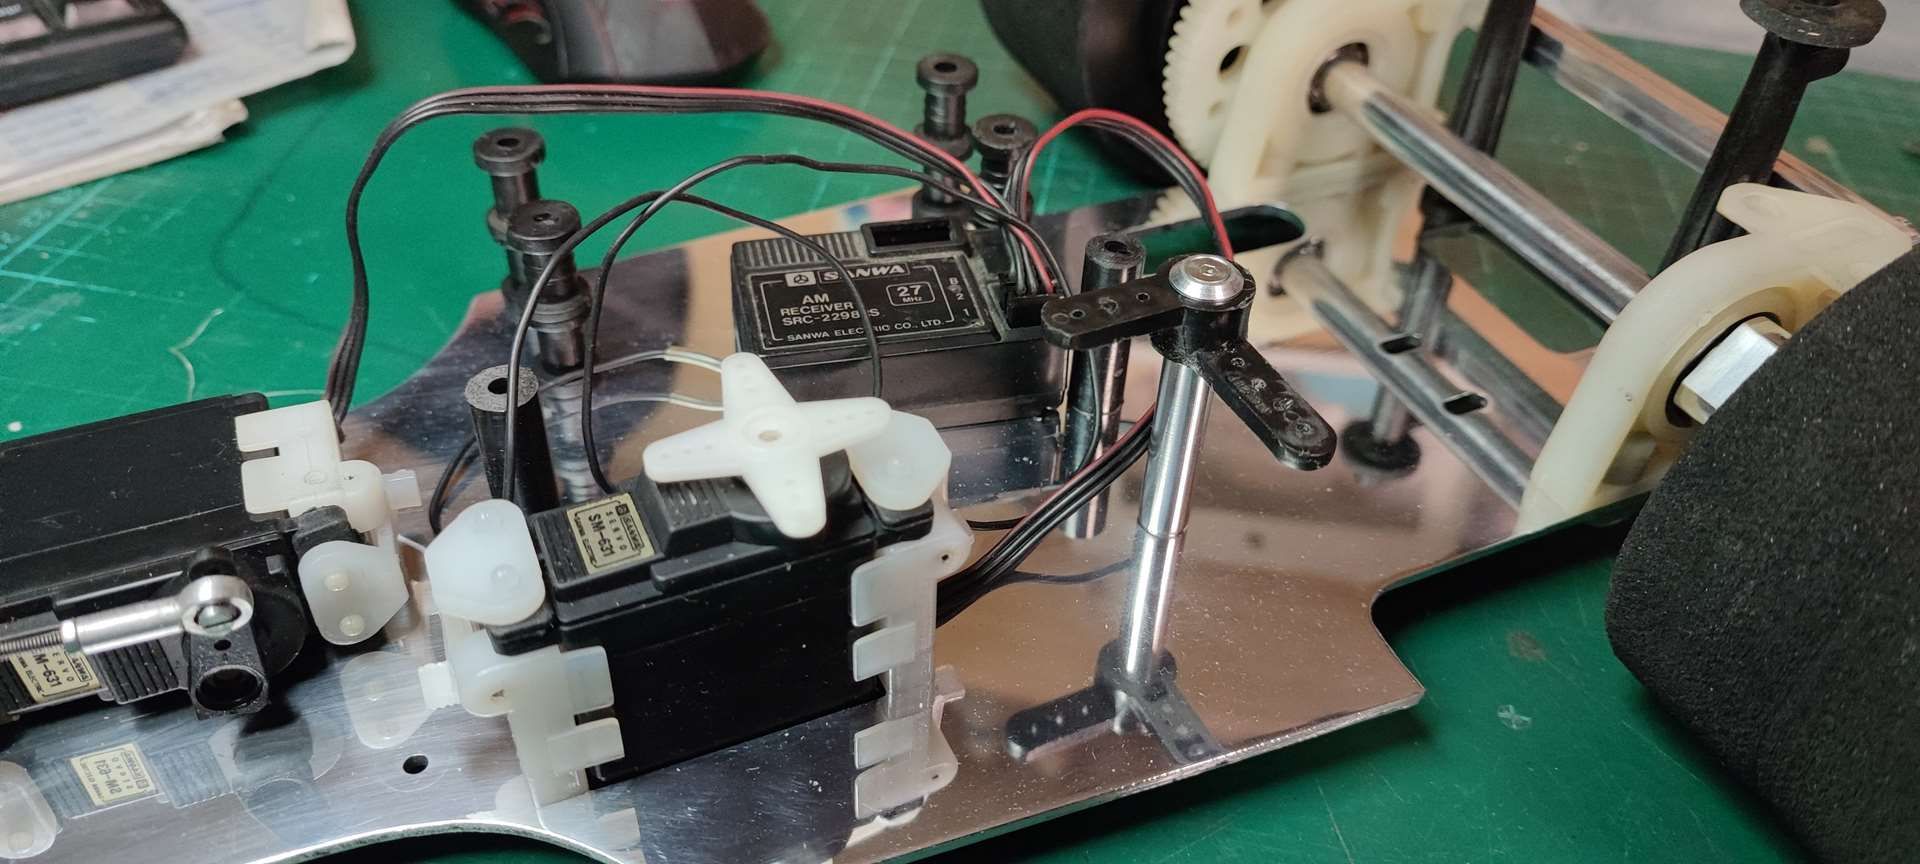
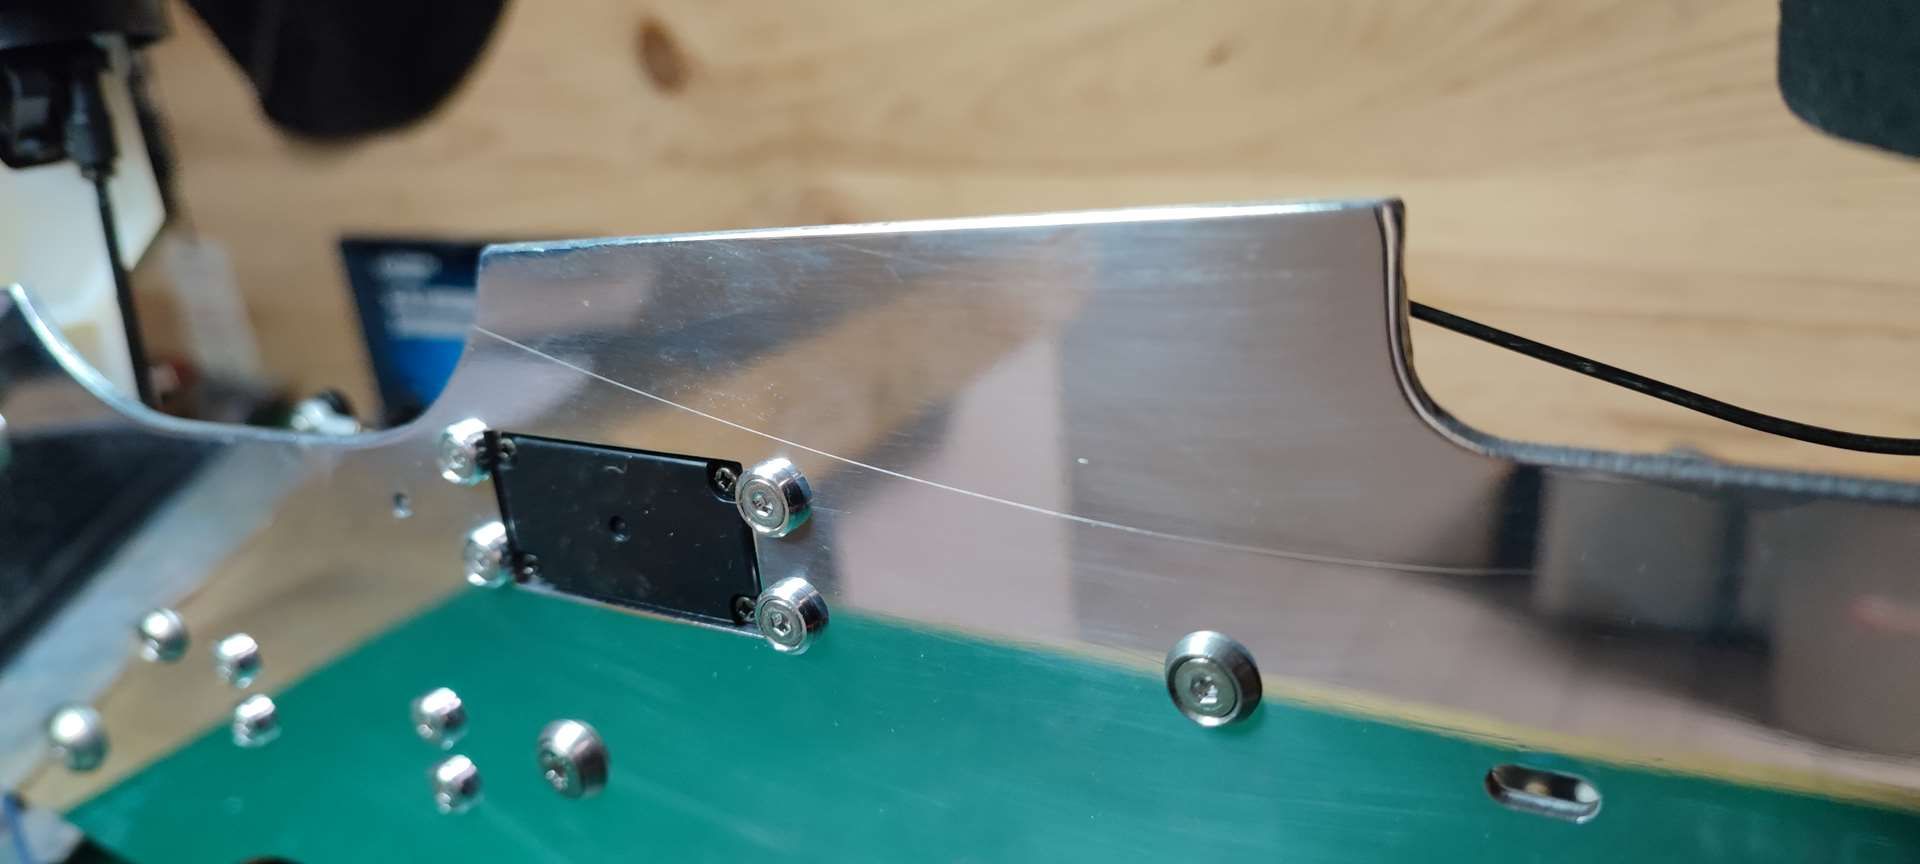
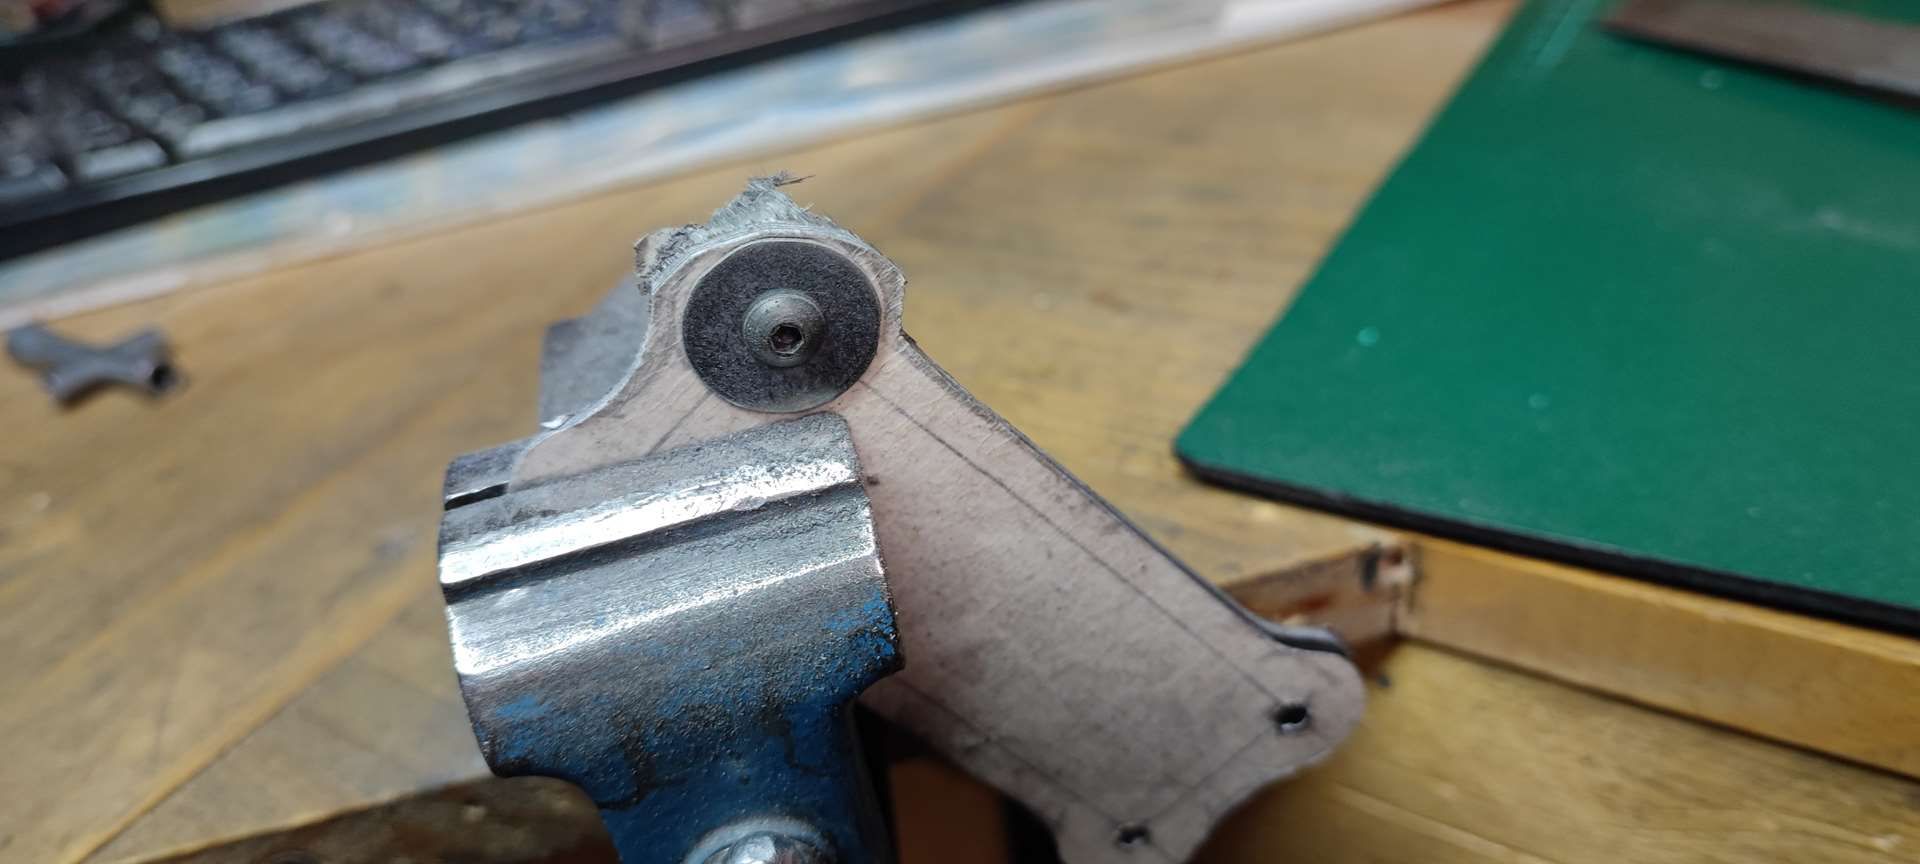
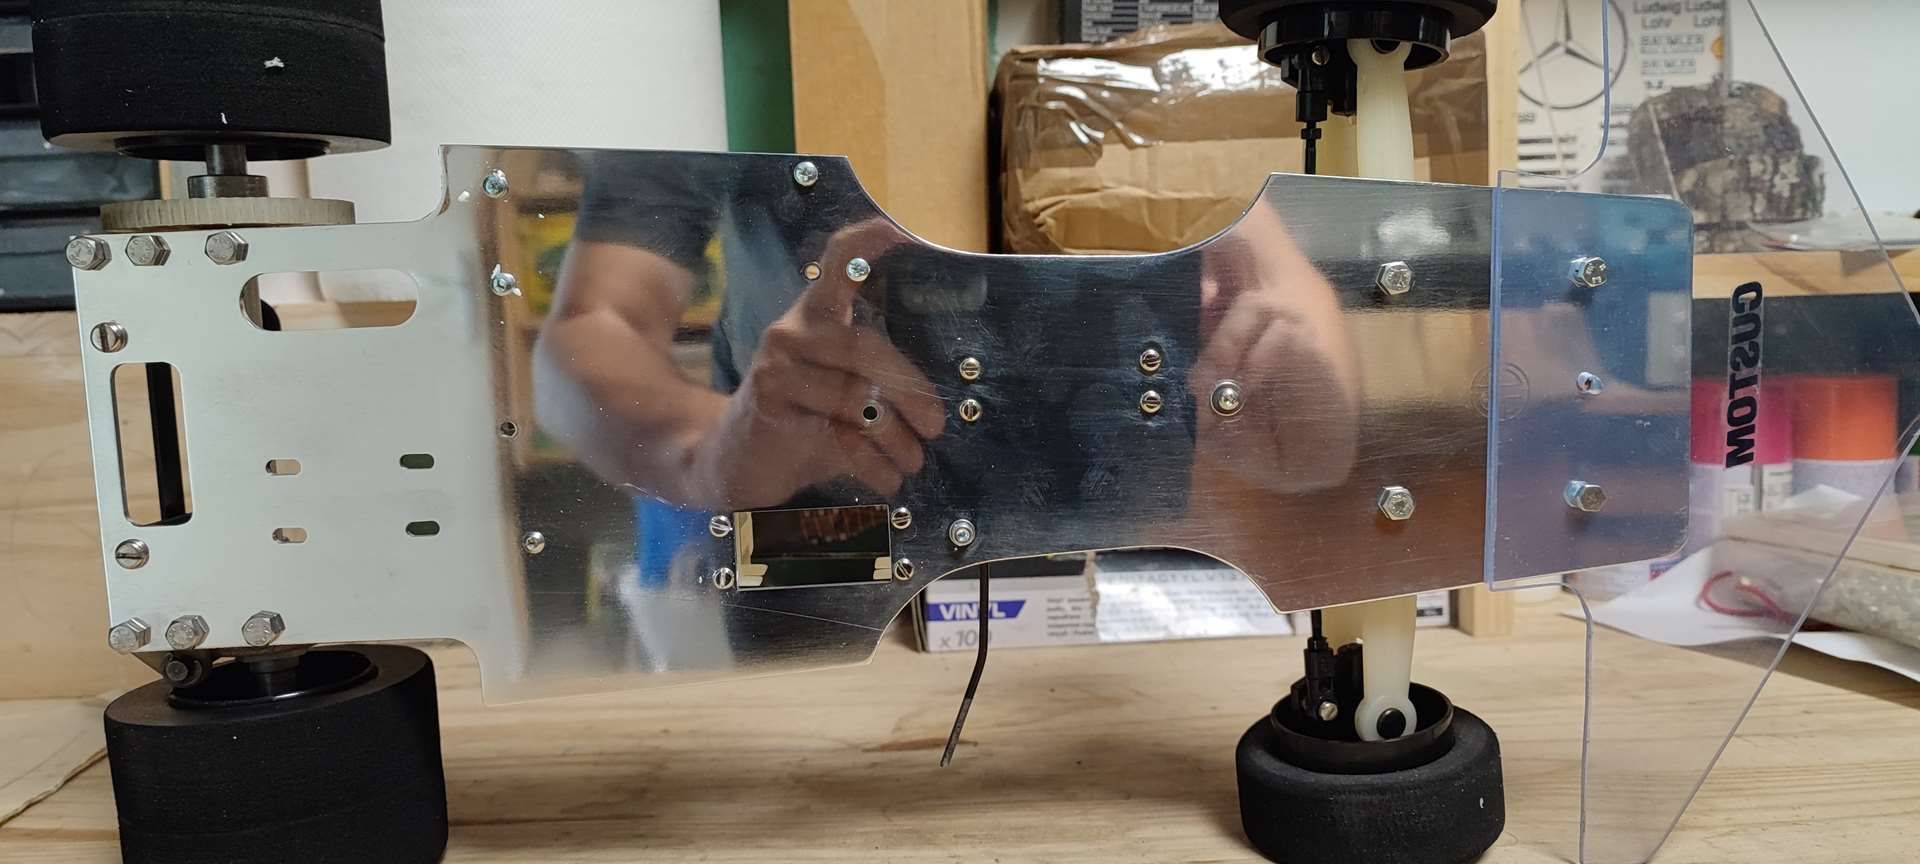
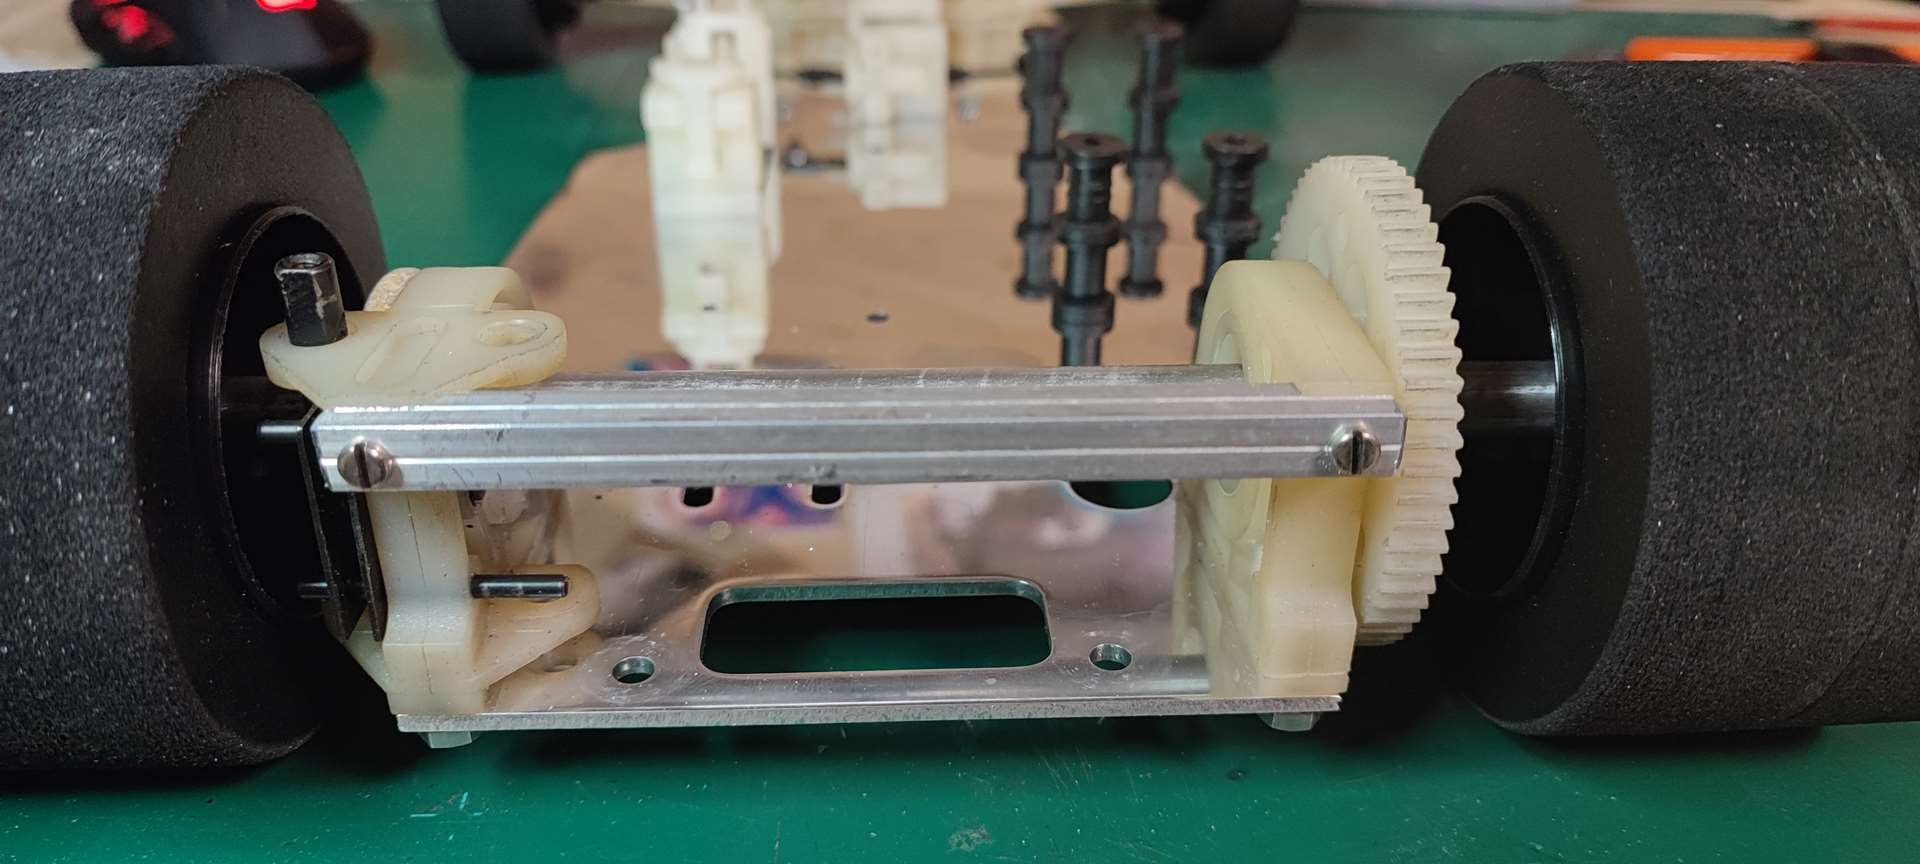
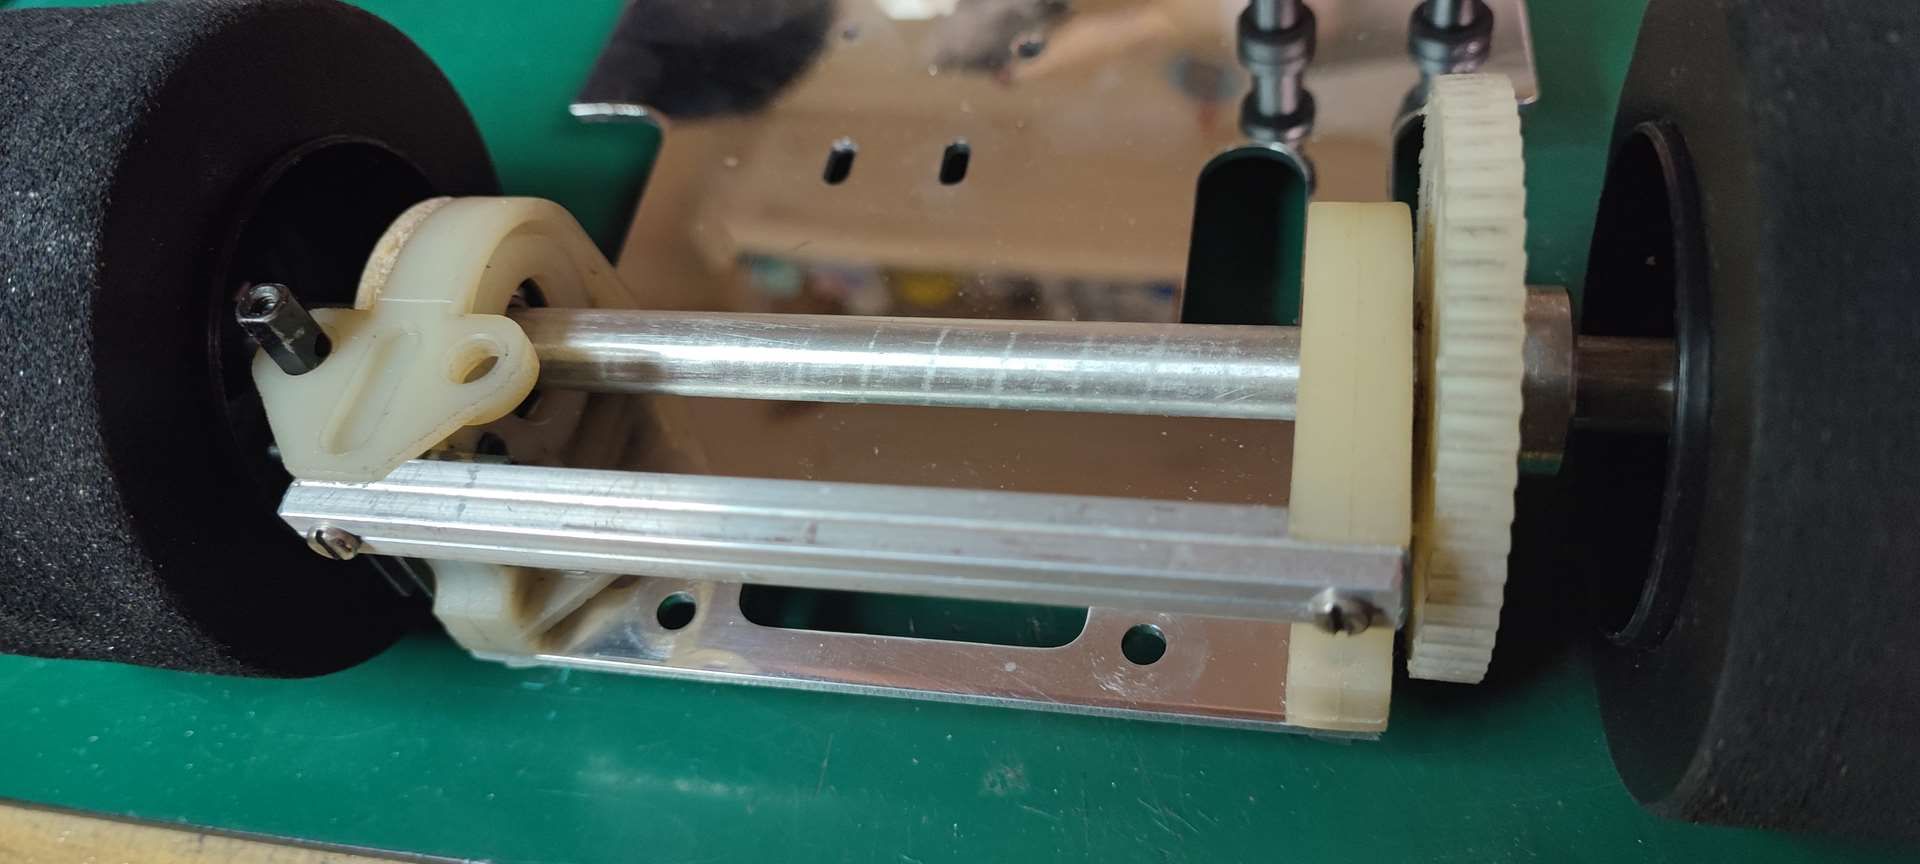
I looked at the chassis which is neither twisted, nor veiled, nor anything at all and I noticed something rather suspicious.
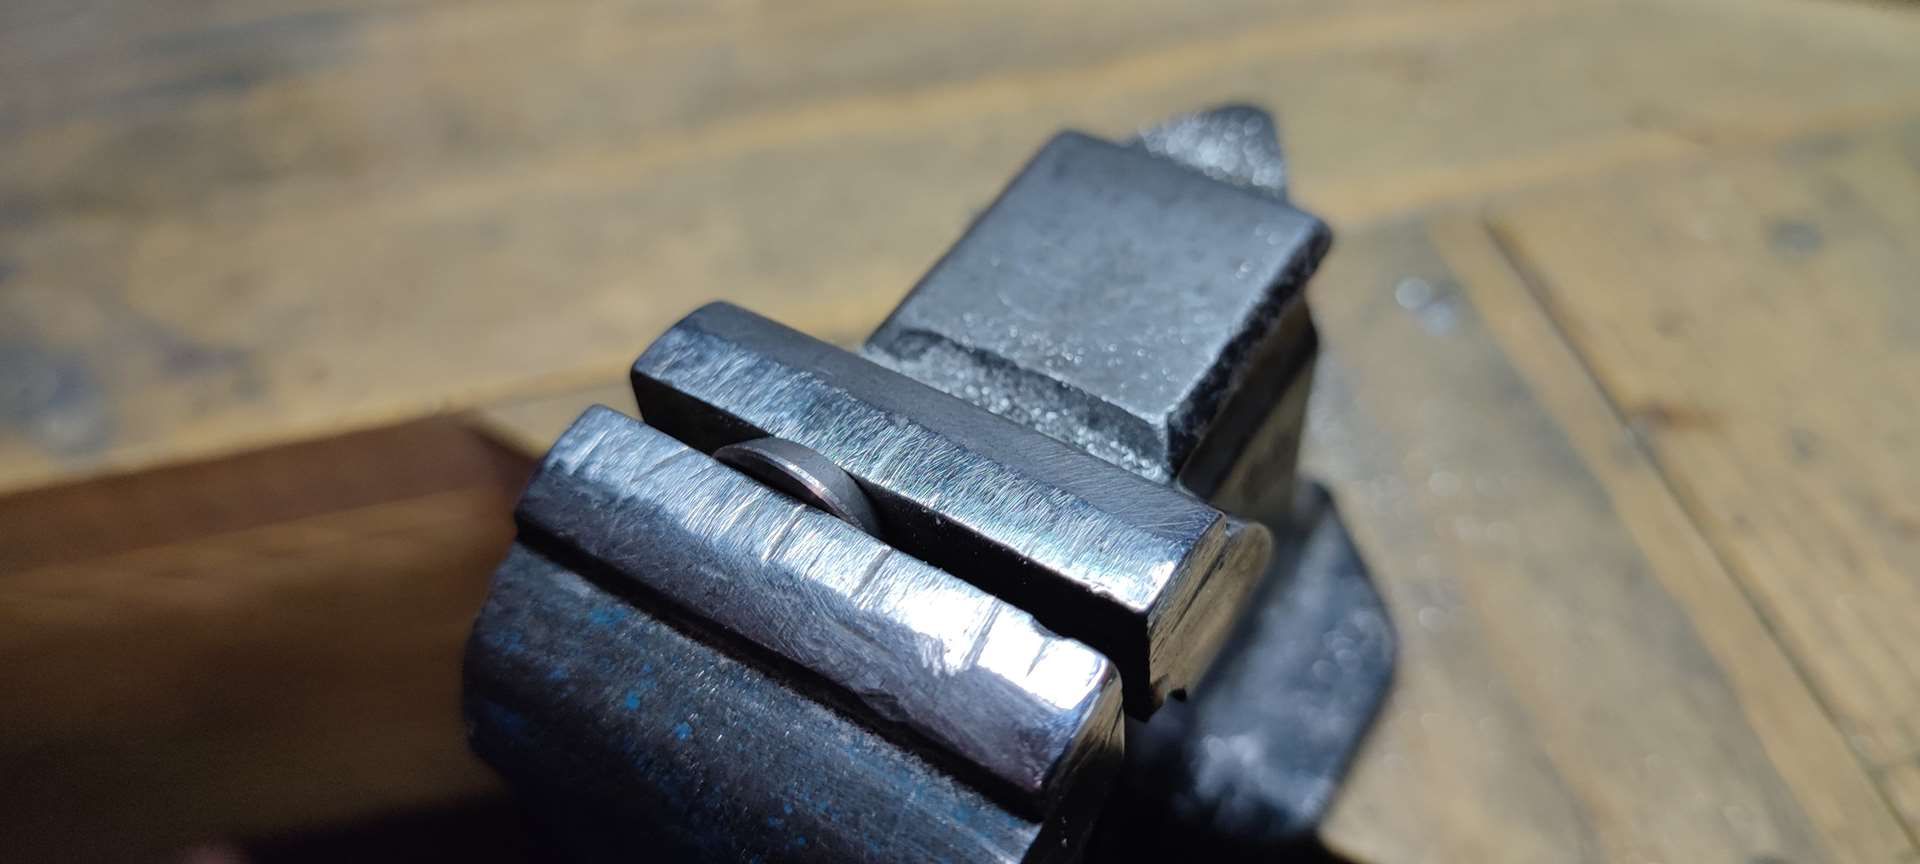
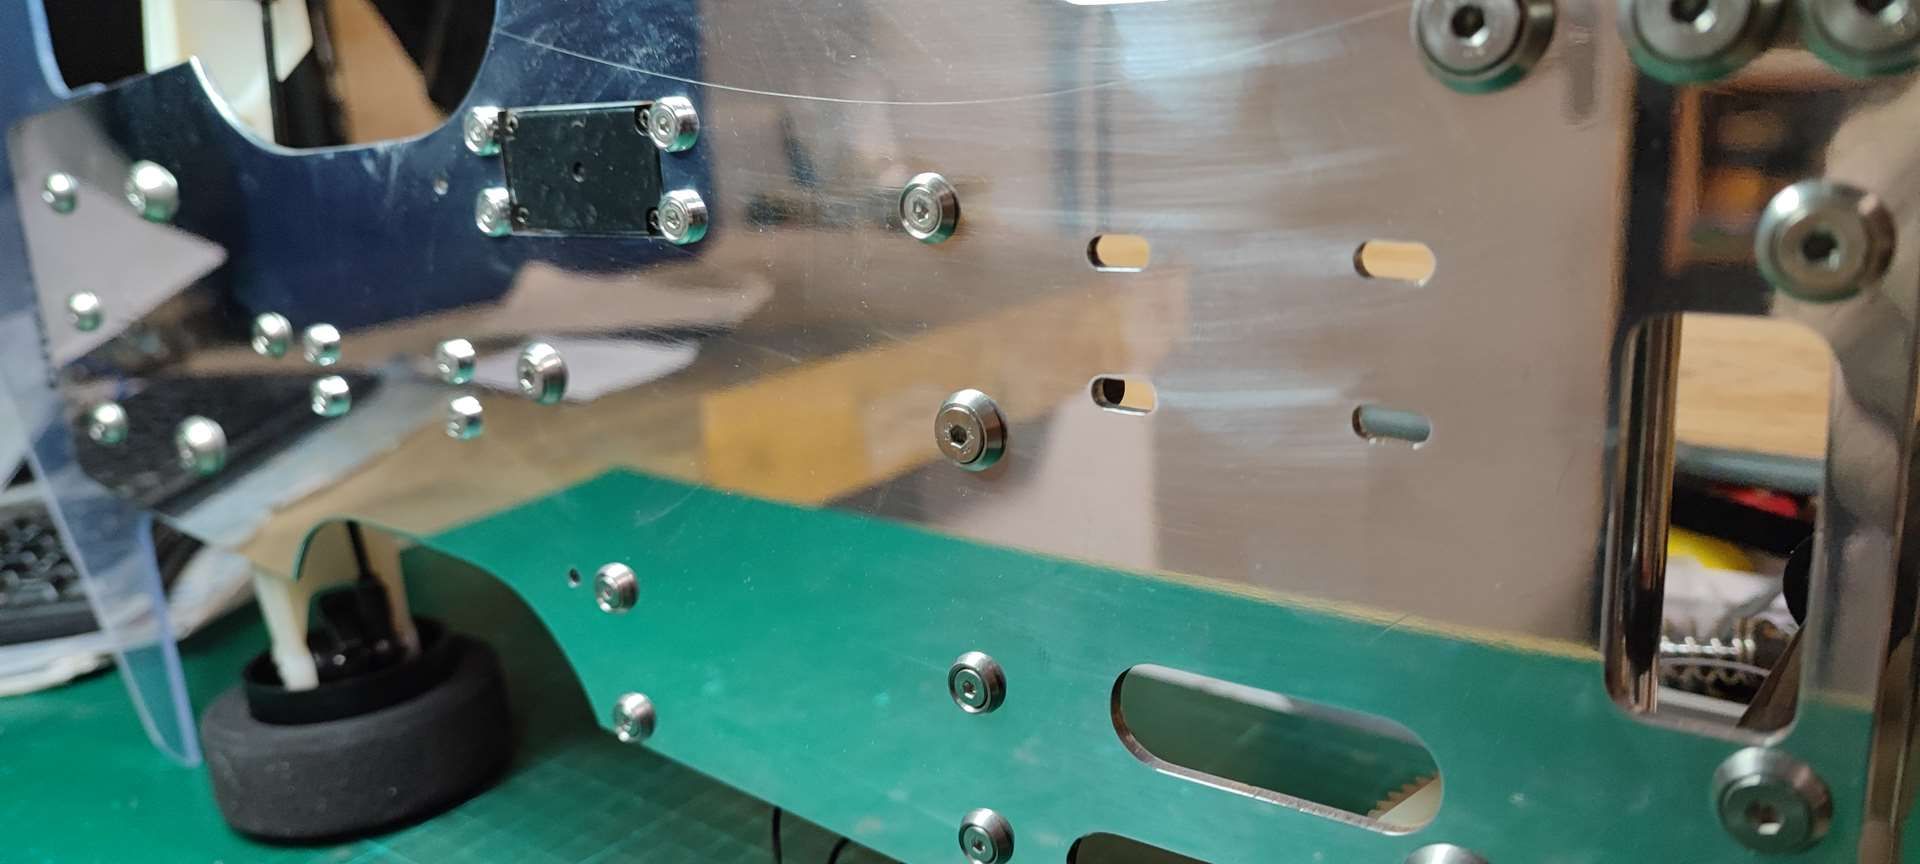
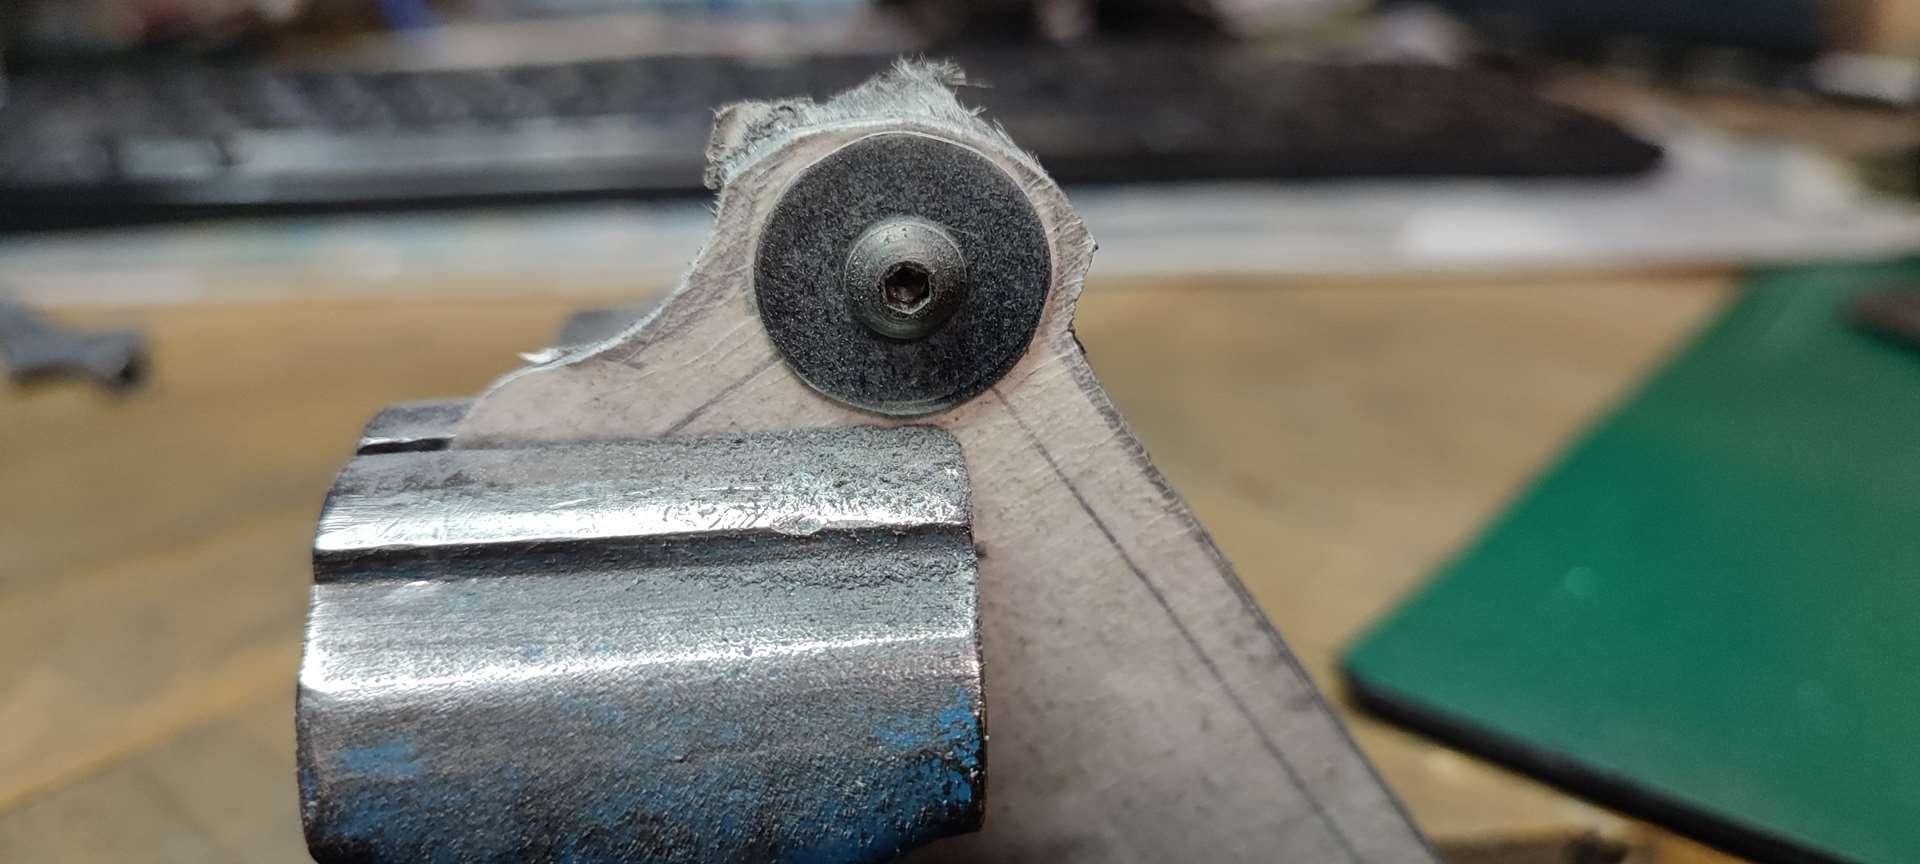
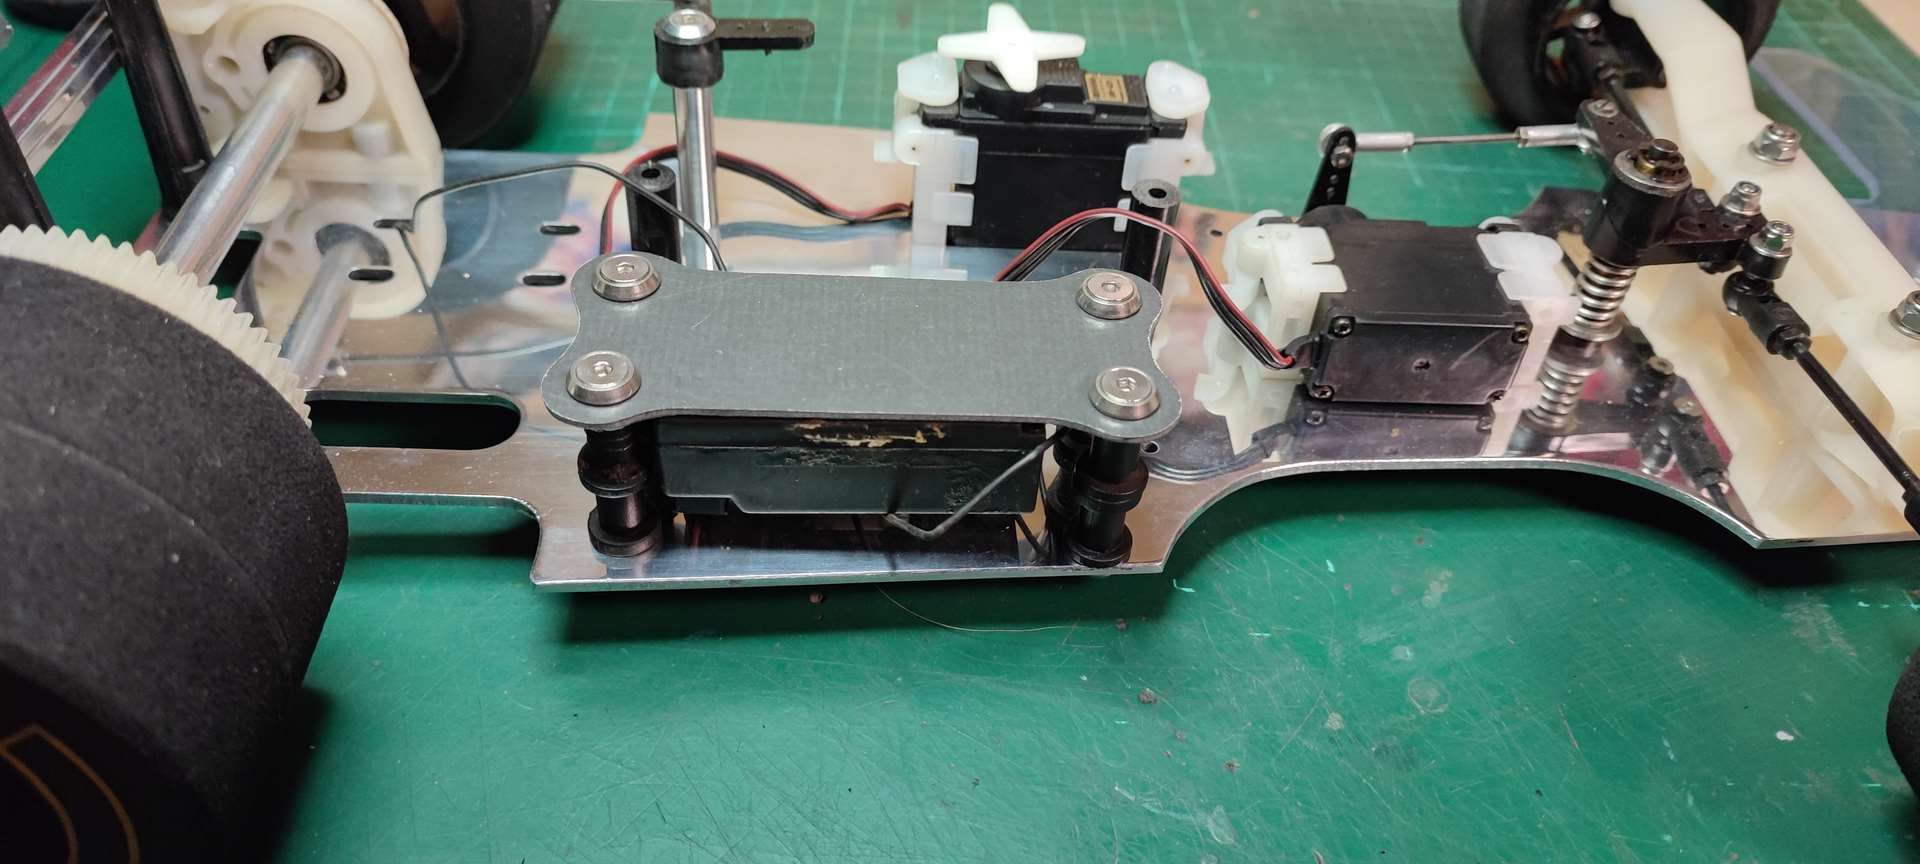
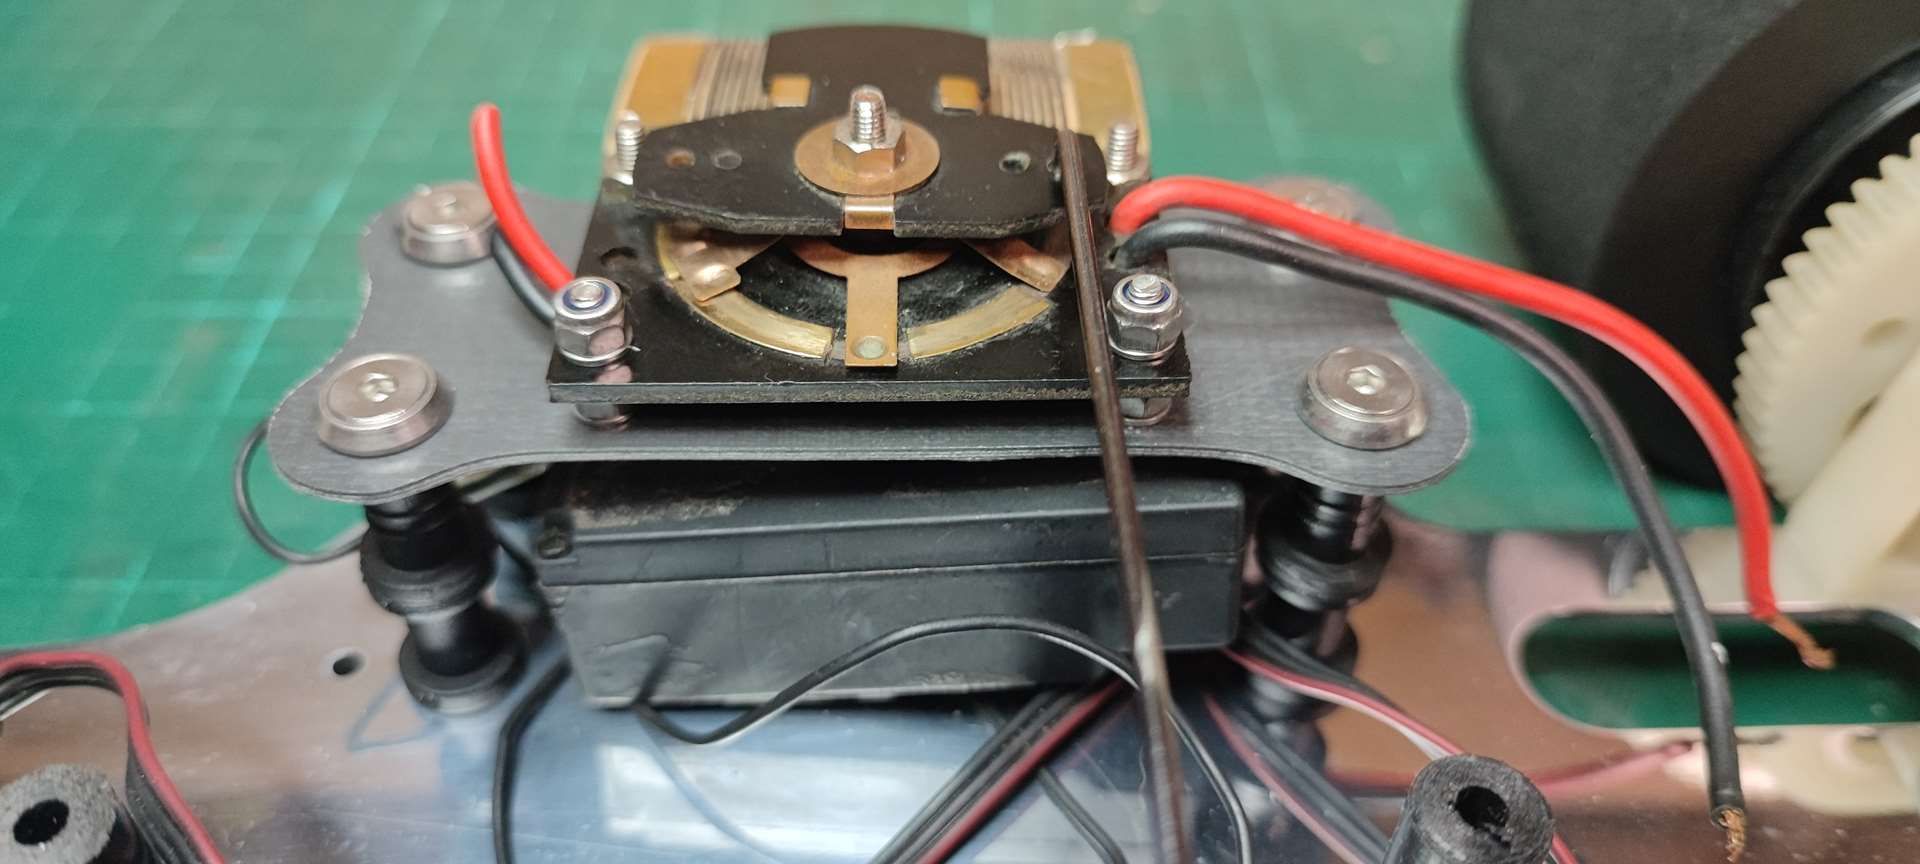
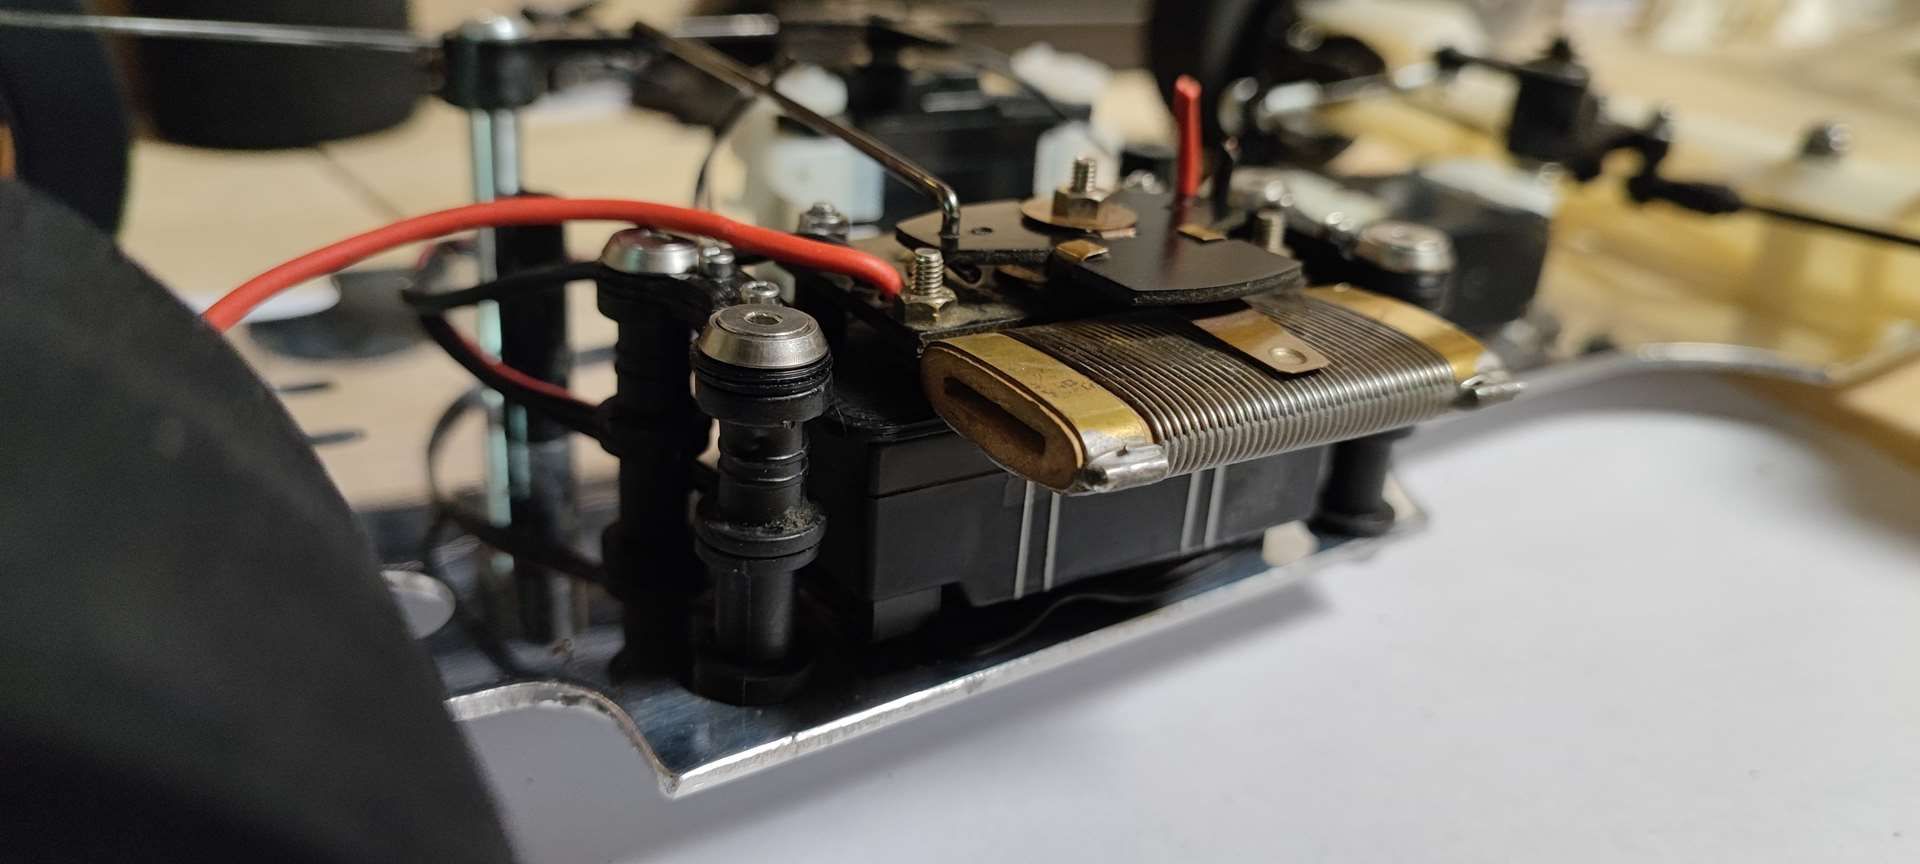
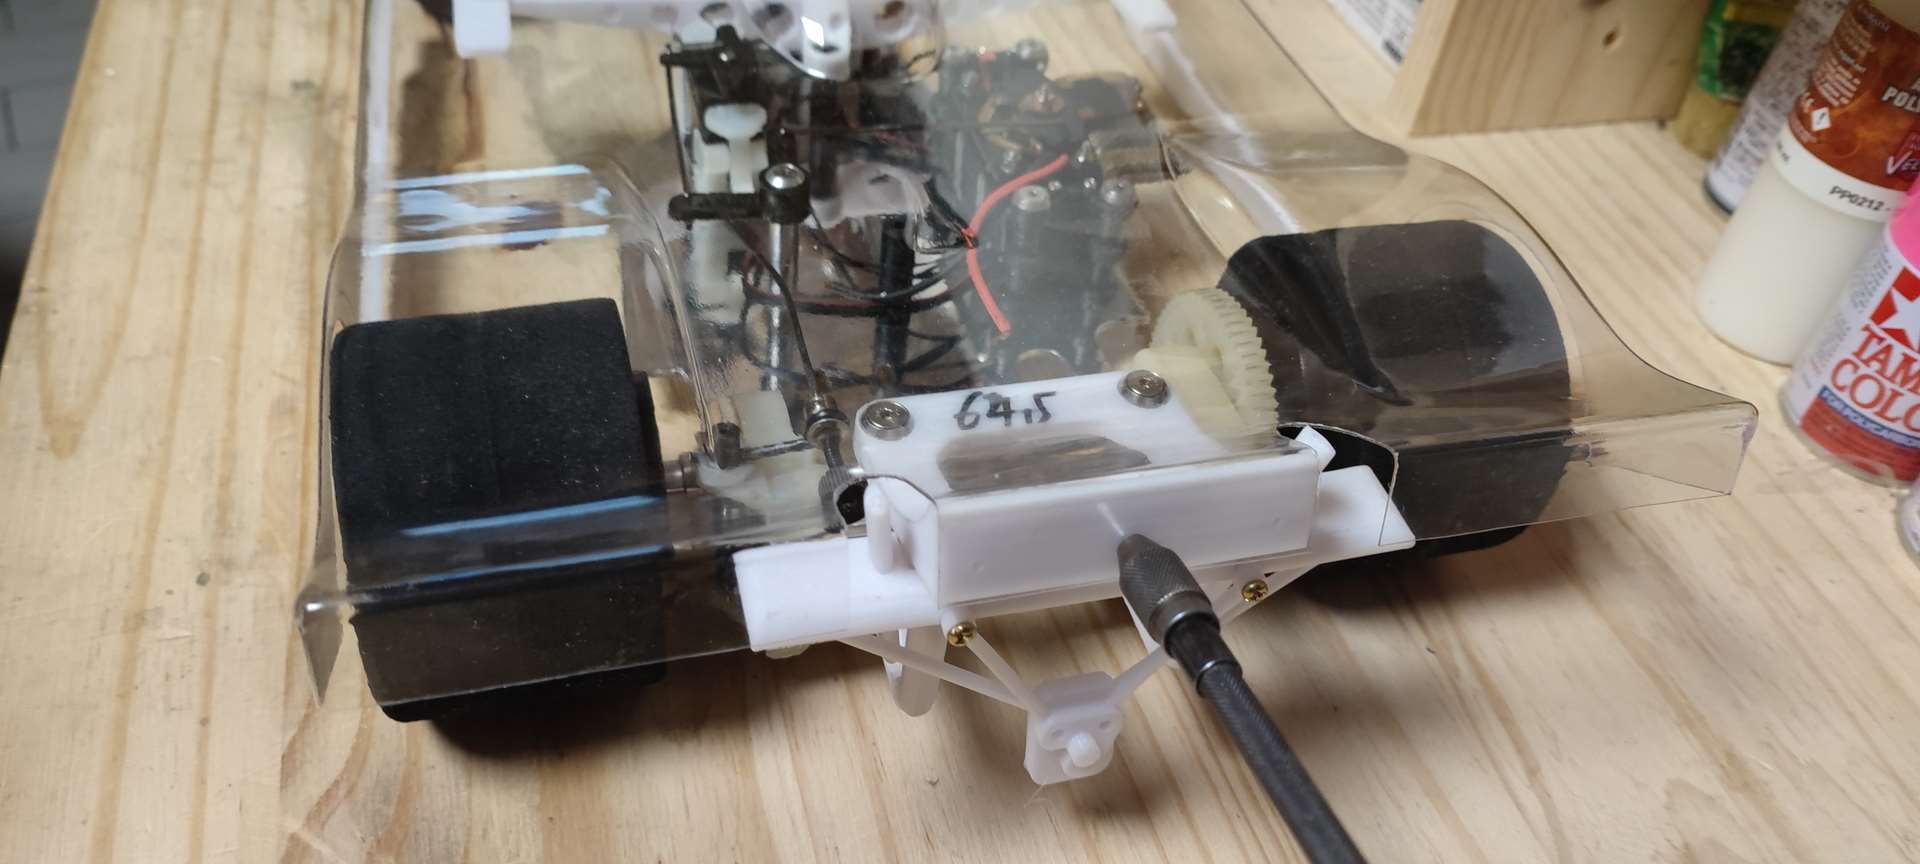
The distance between the two rear transmission bearings had a difference of almost 2 millimeters (just over 1.5mm) between the chassis and the upper part, despite the black reinforcing steel piece.
After trying to unscrew/rescrew, nothing works.
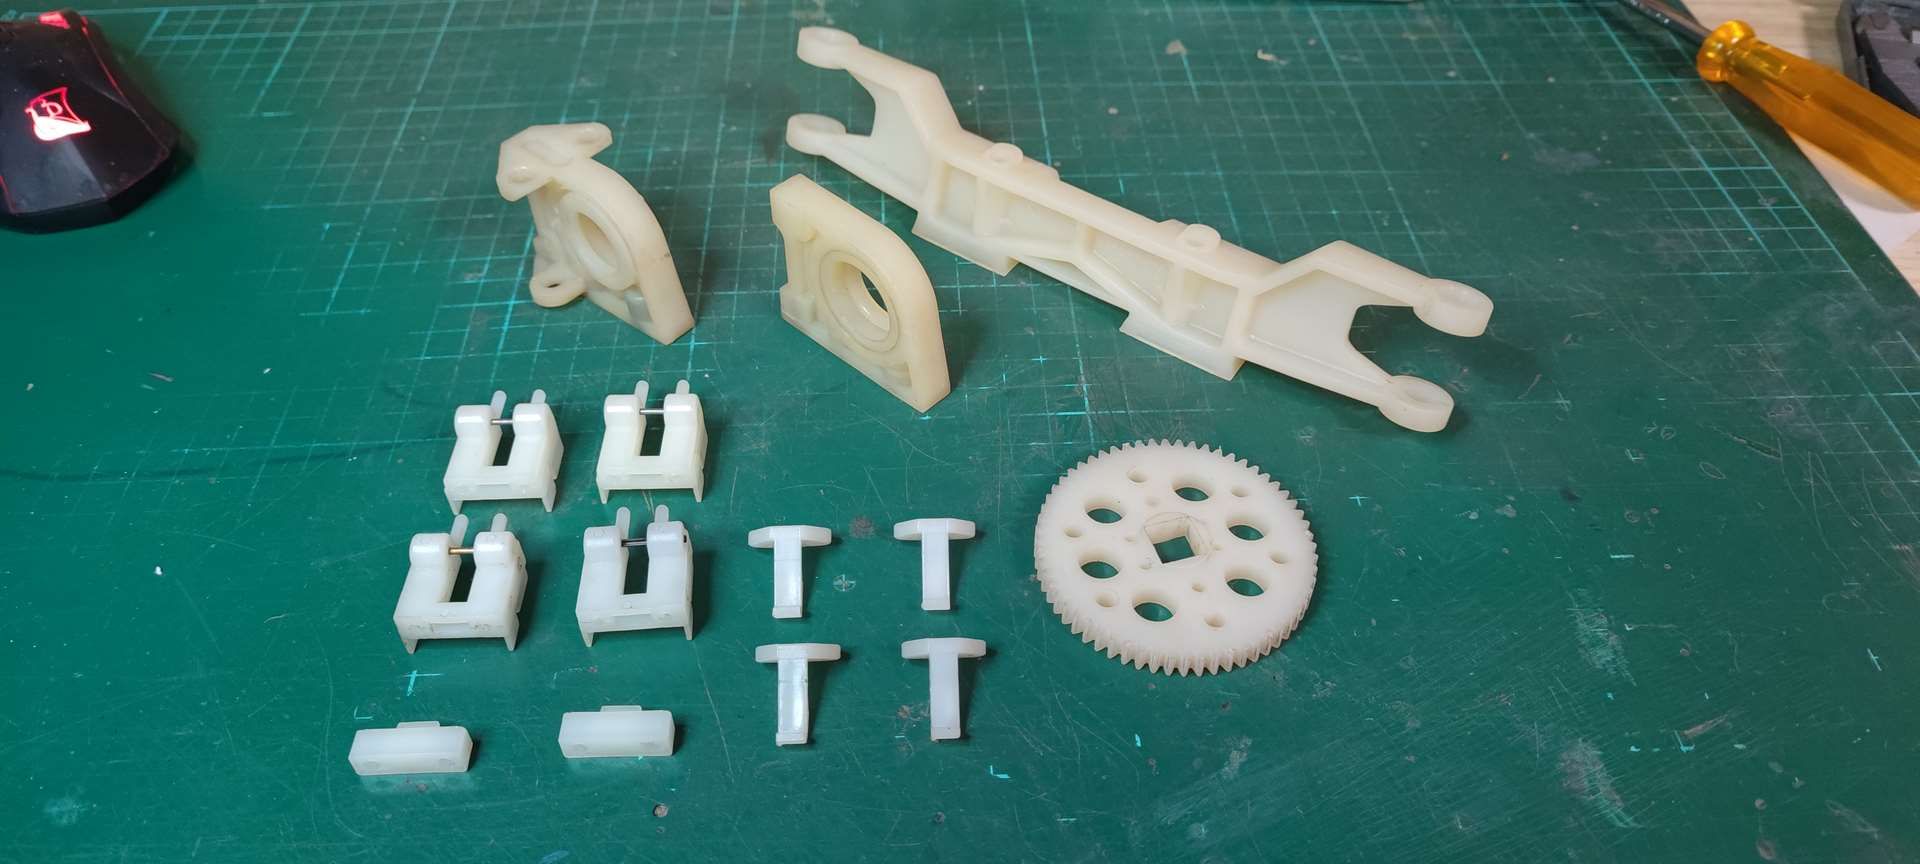
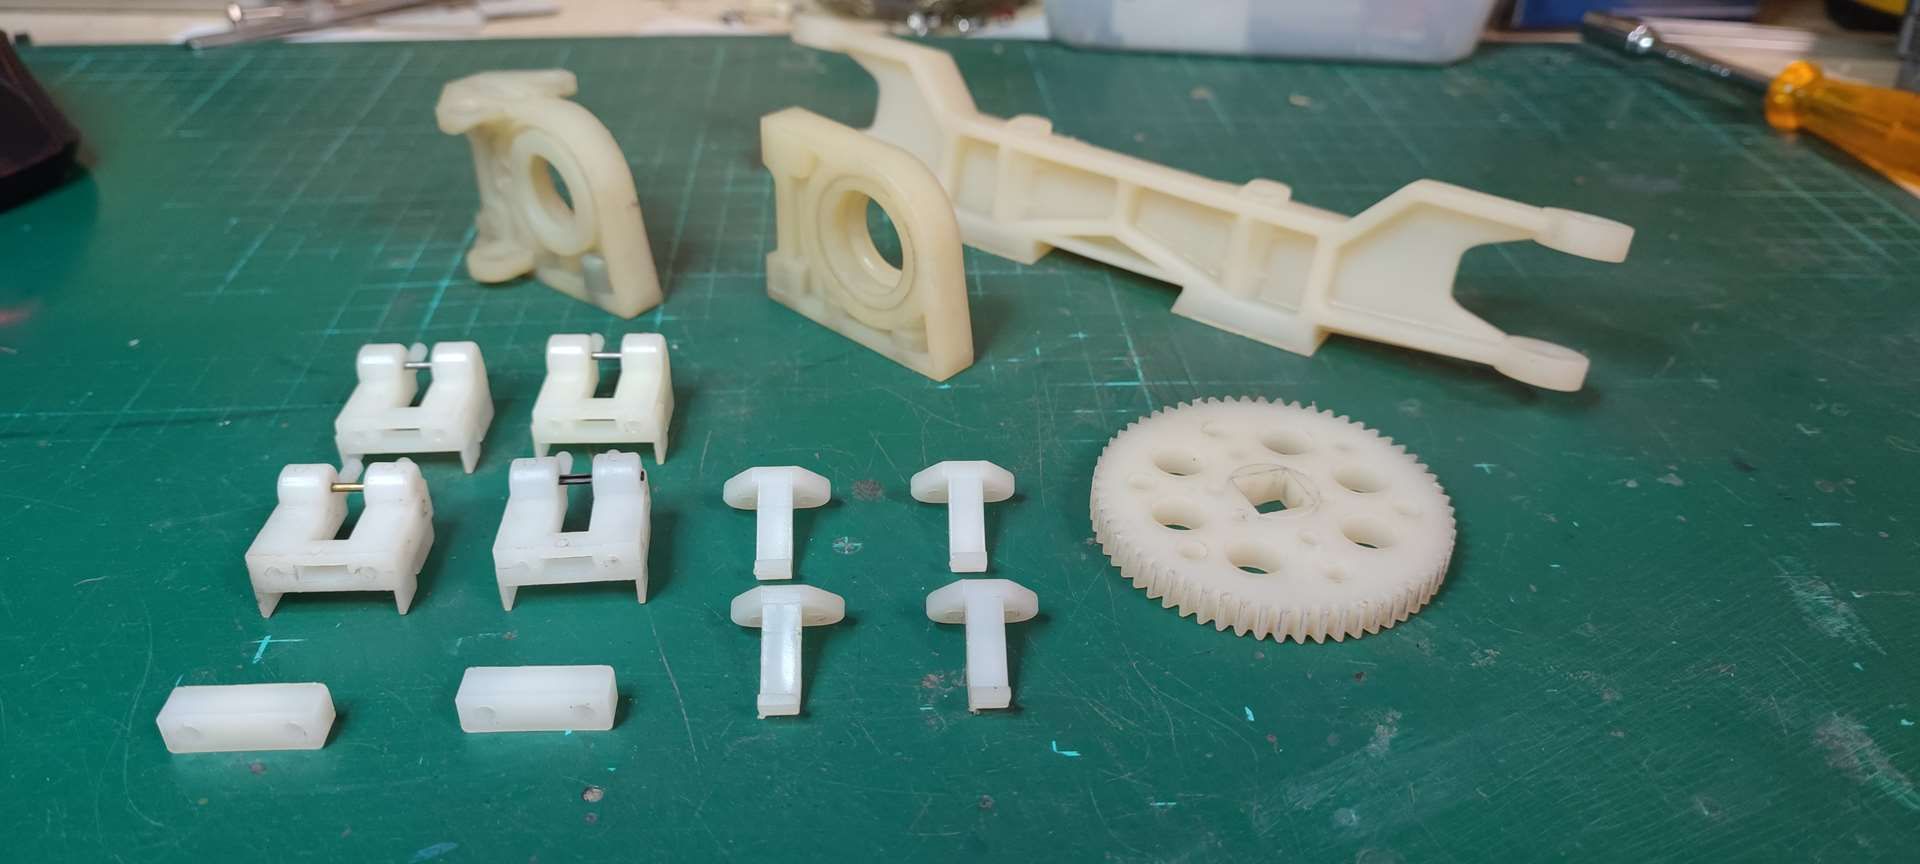
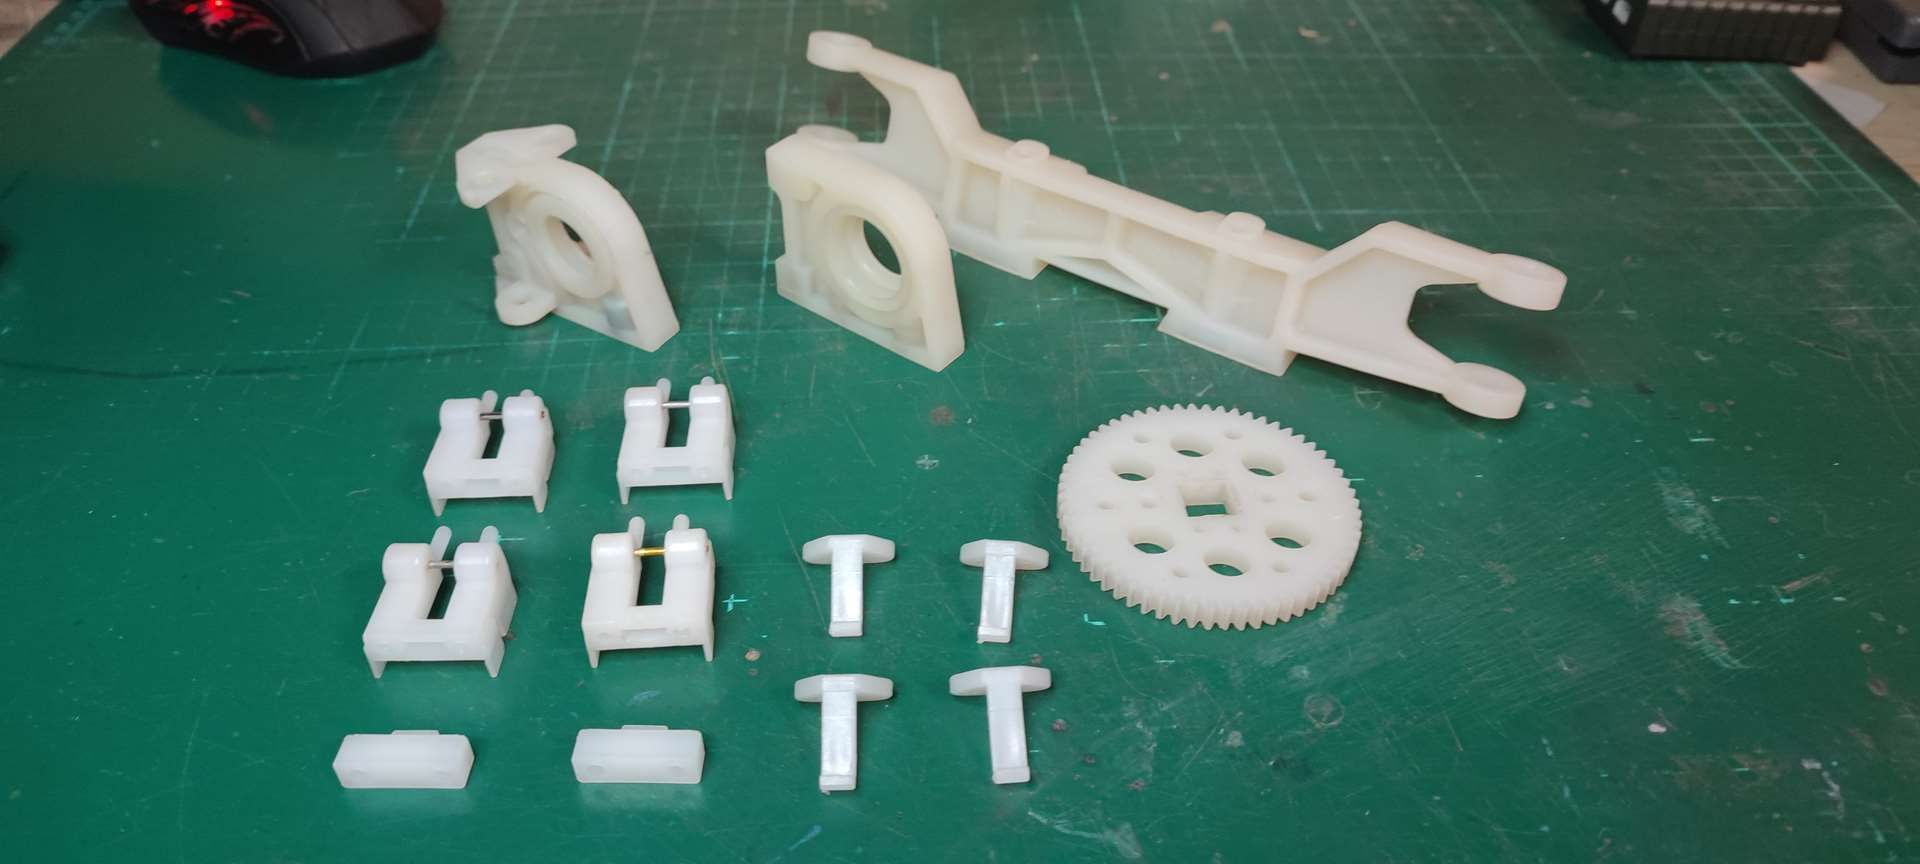
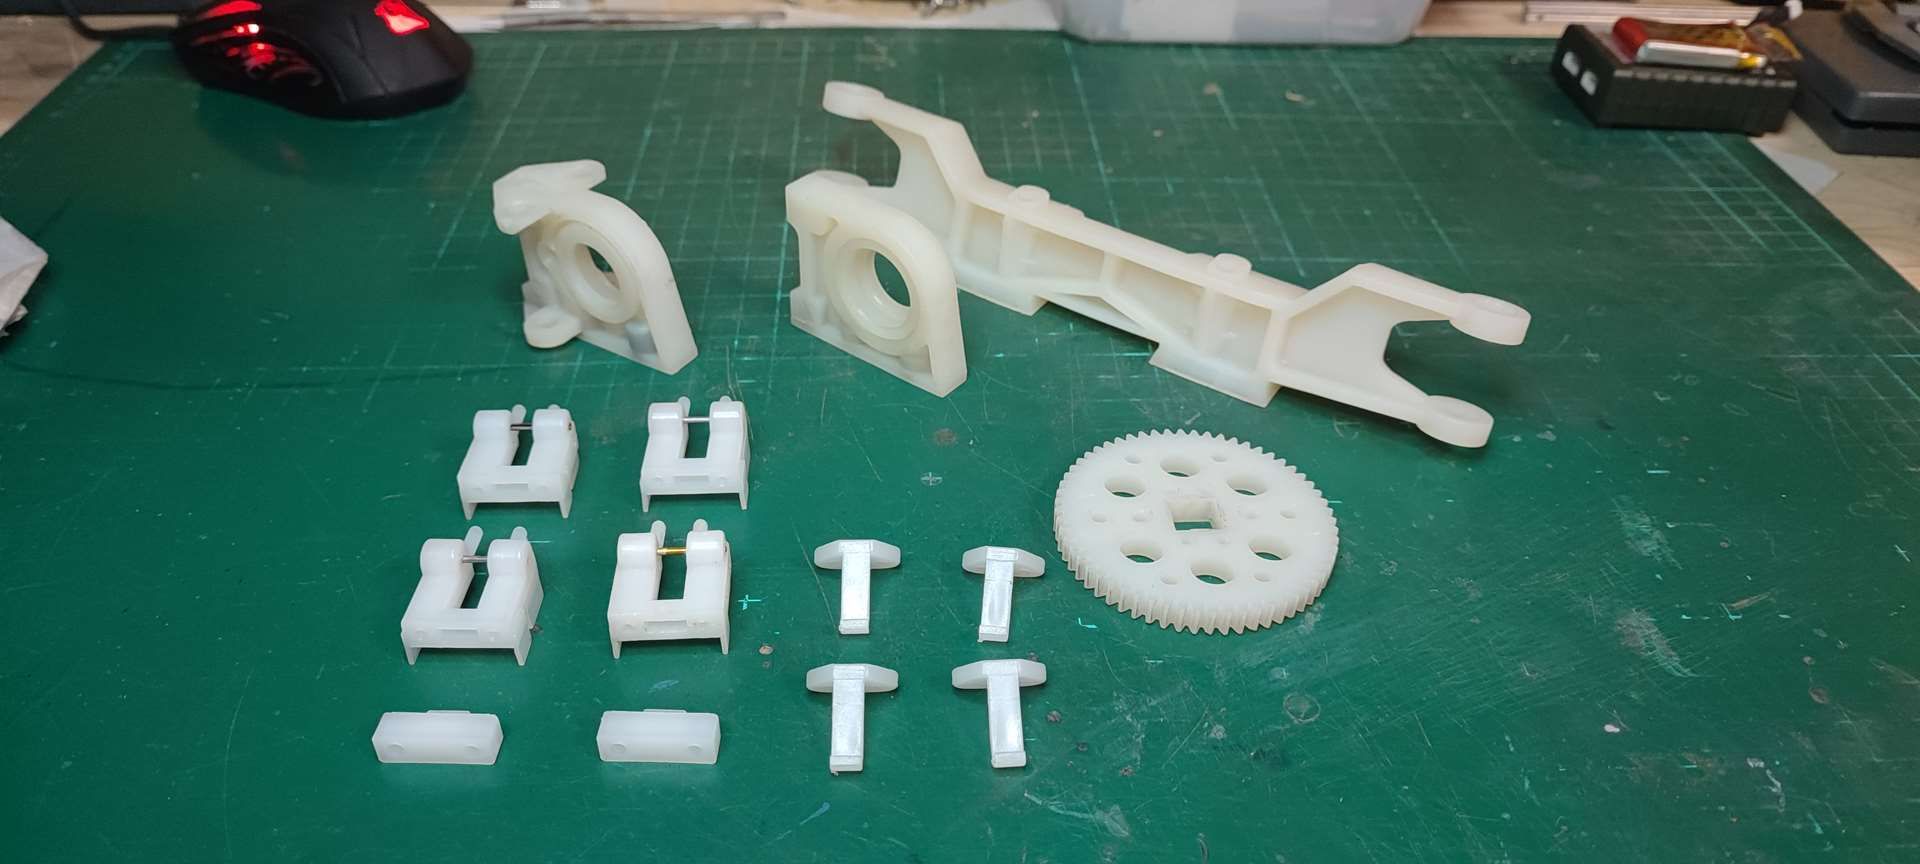
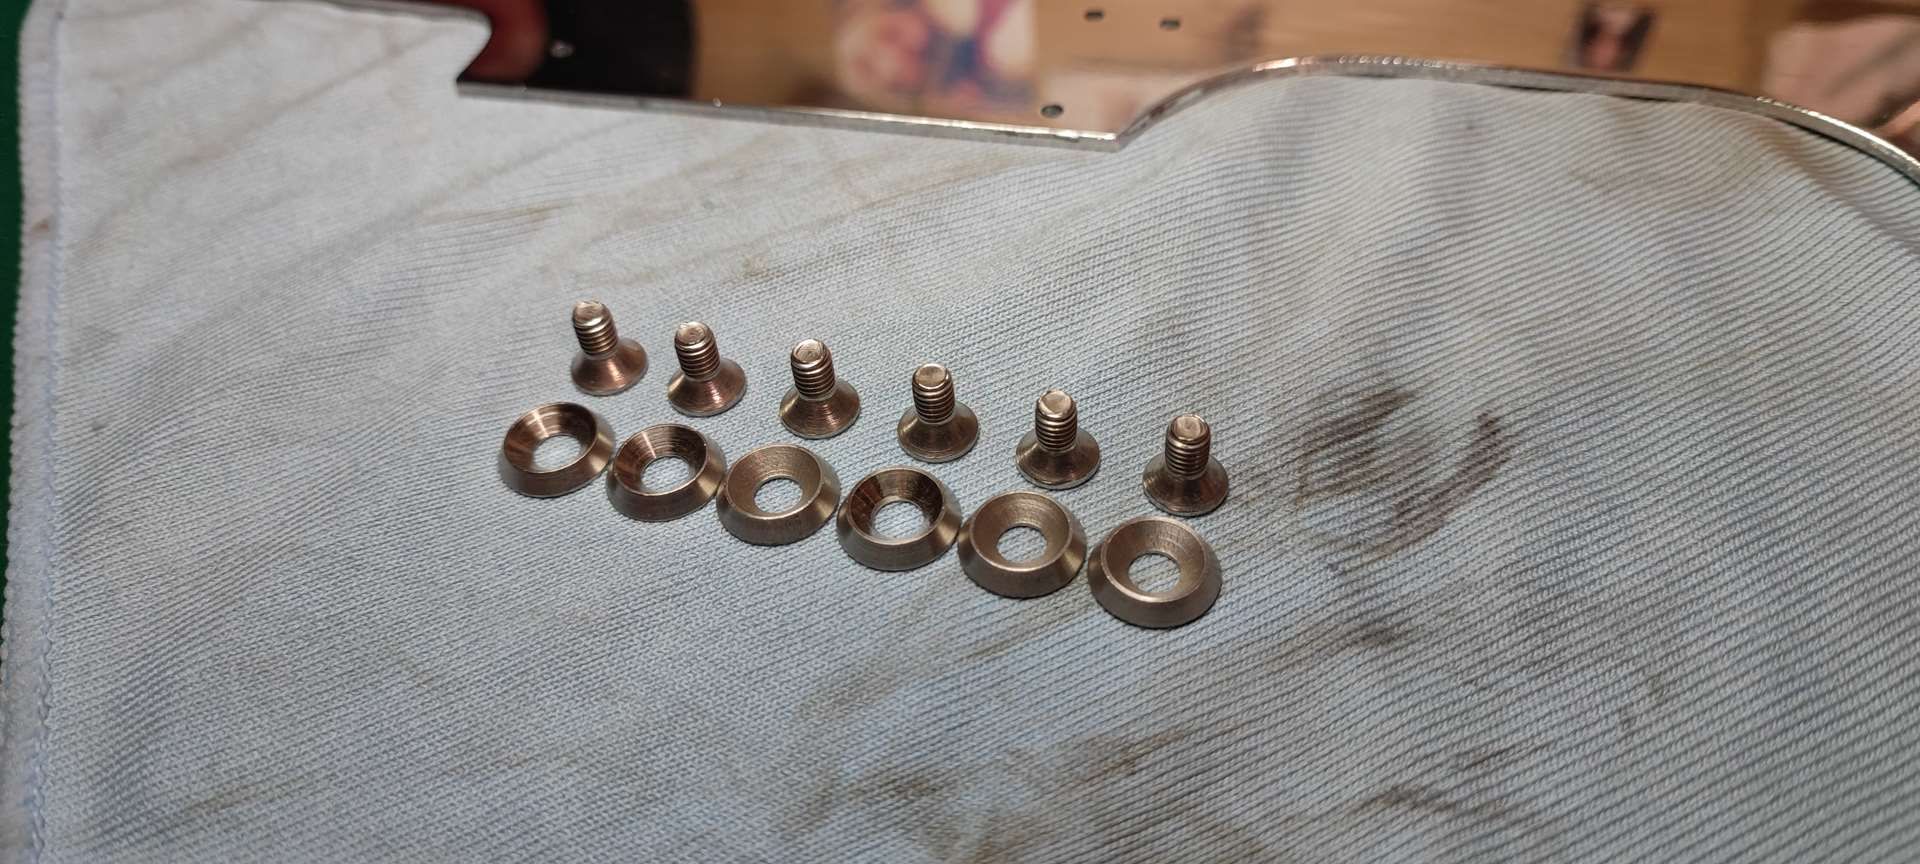
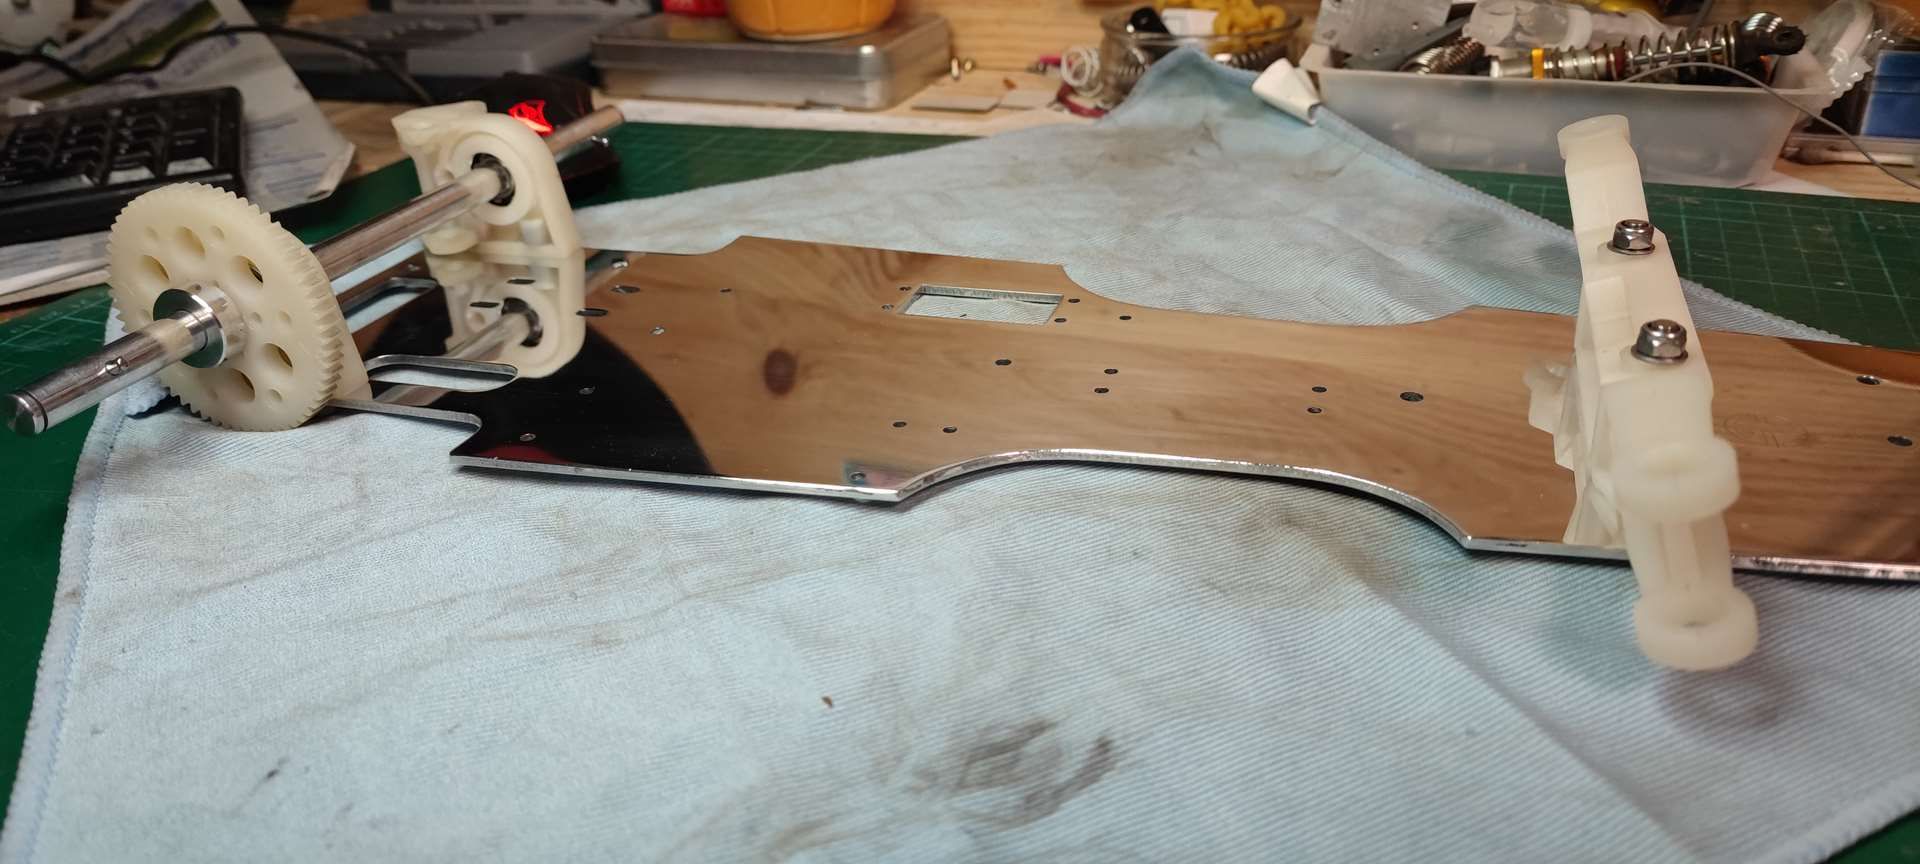
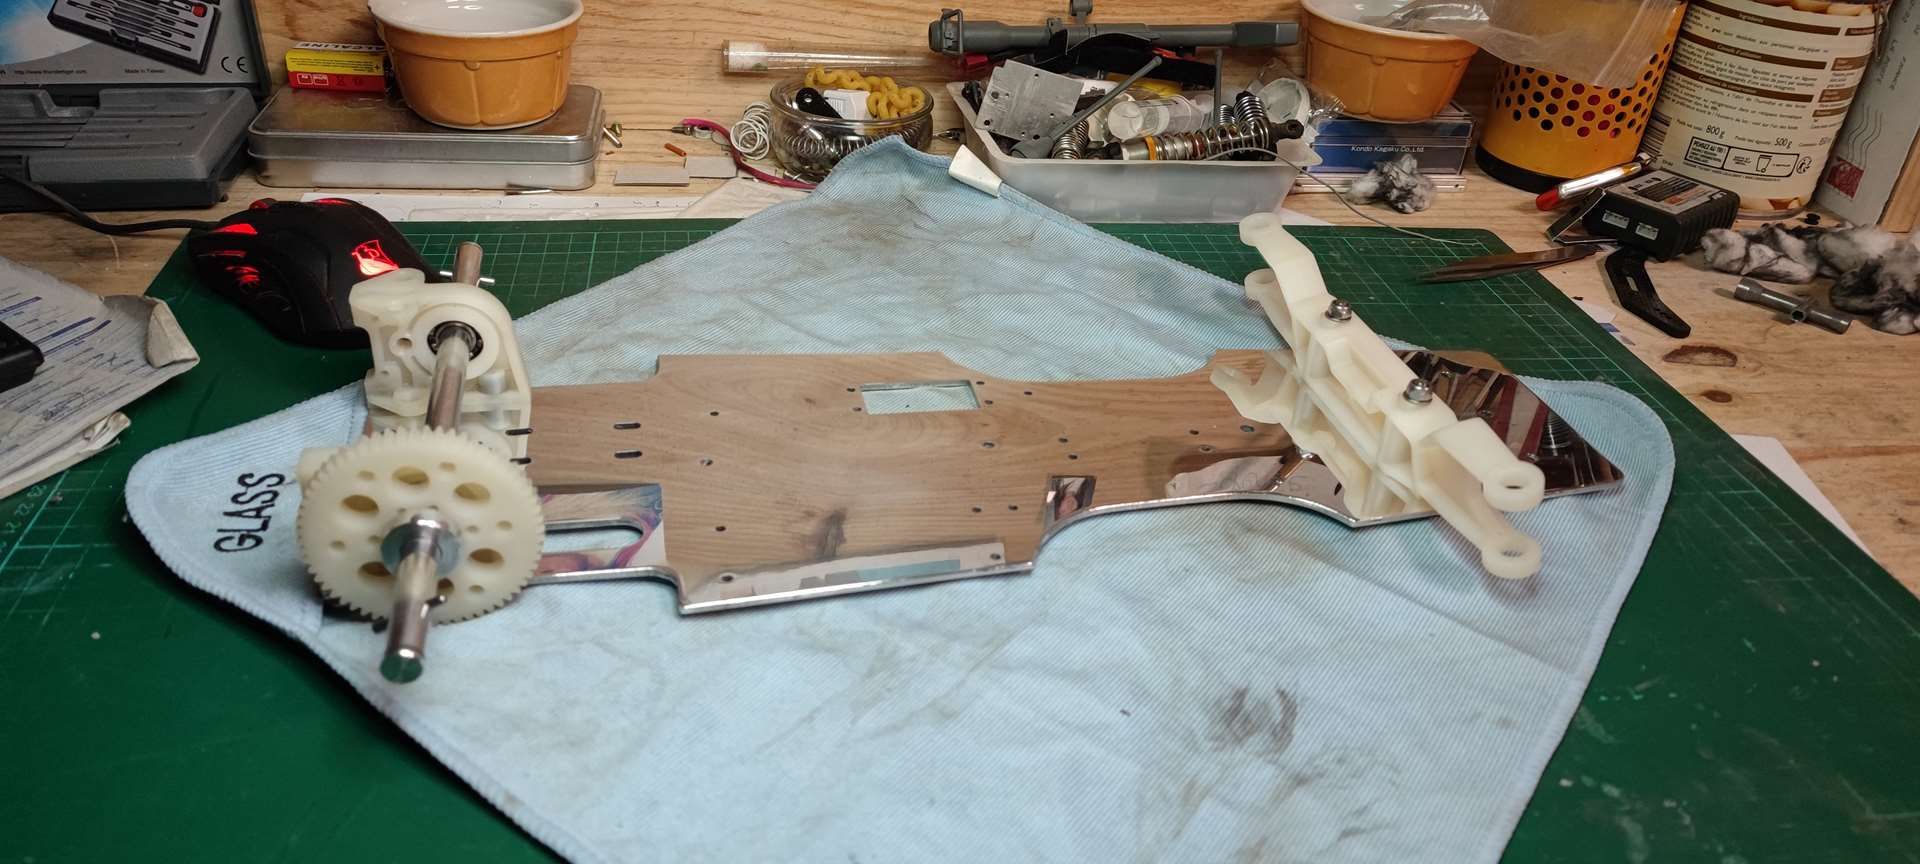
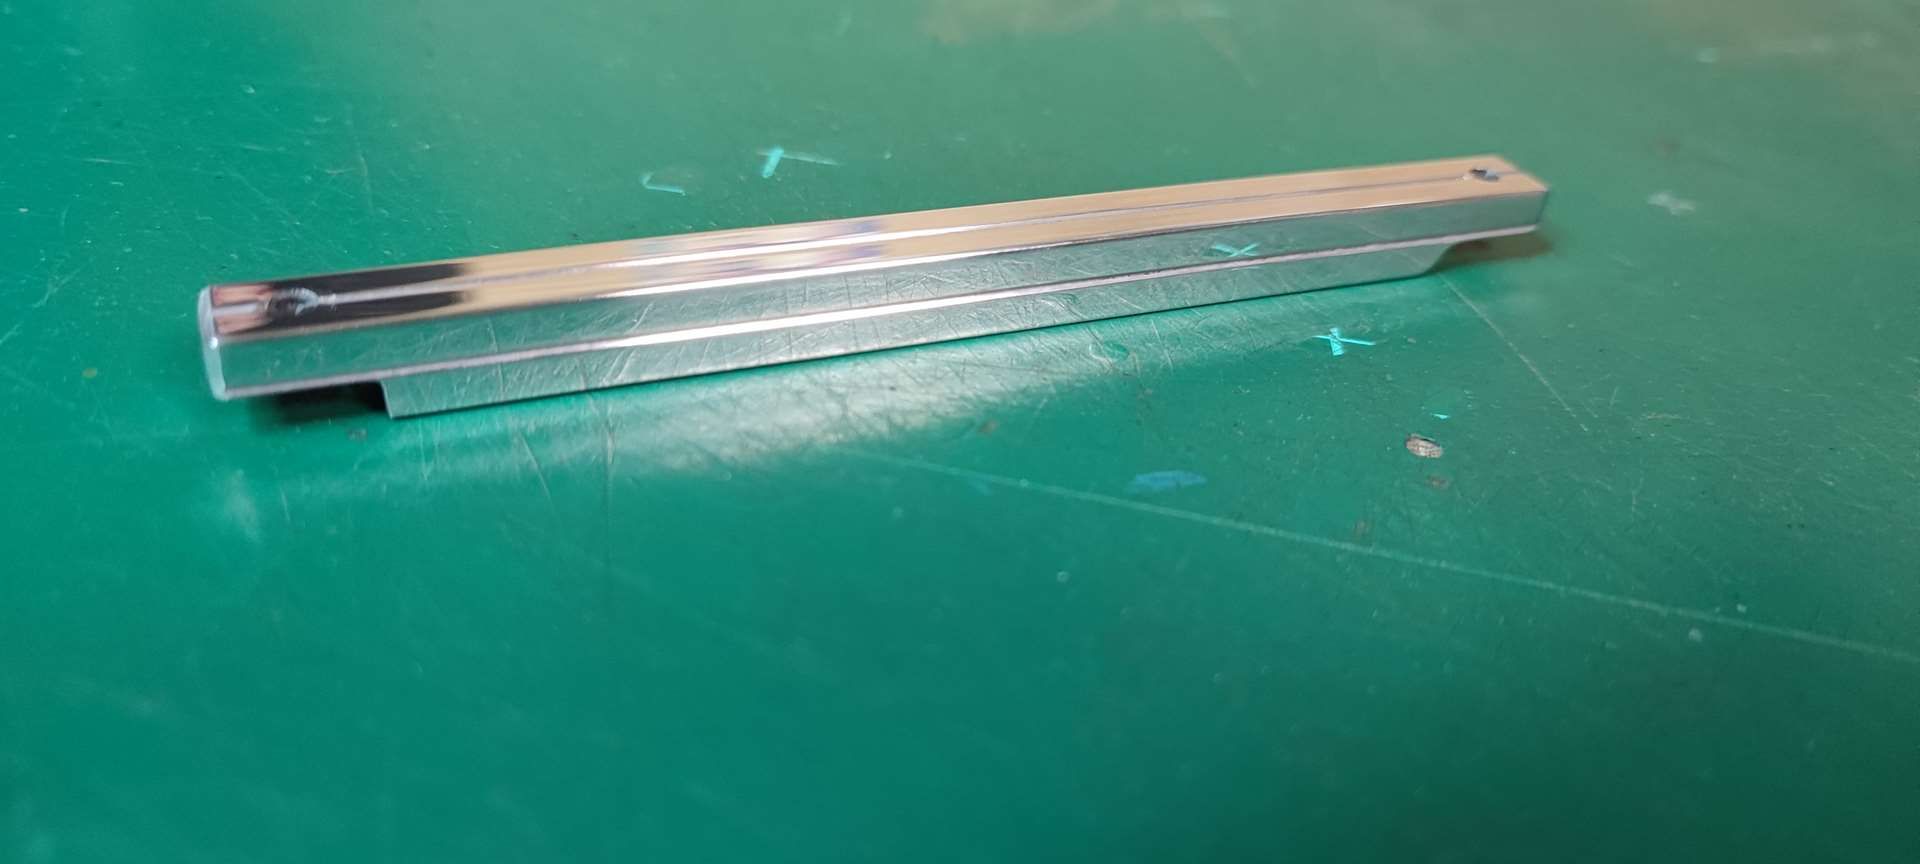
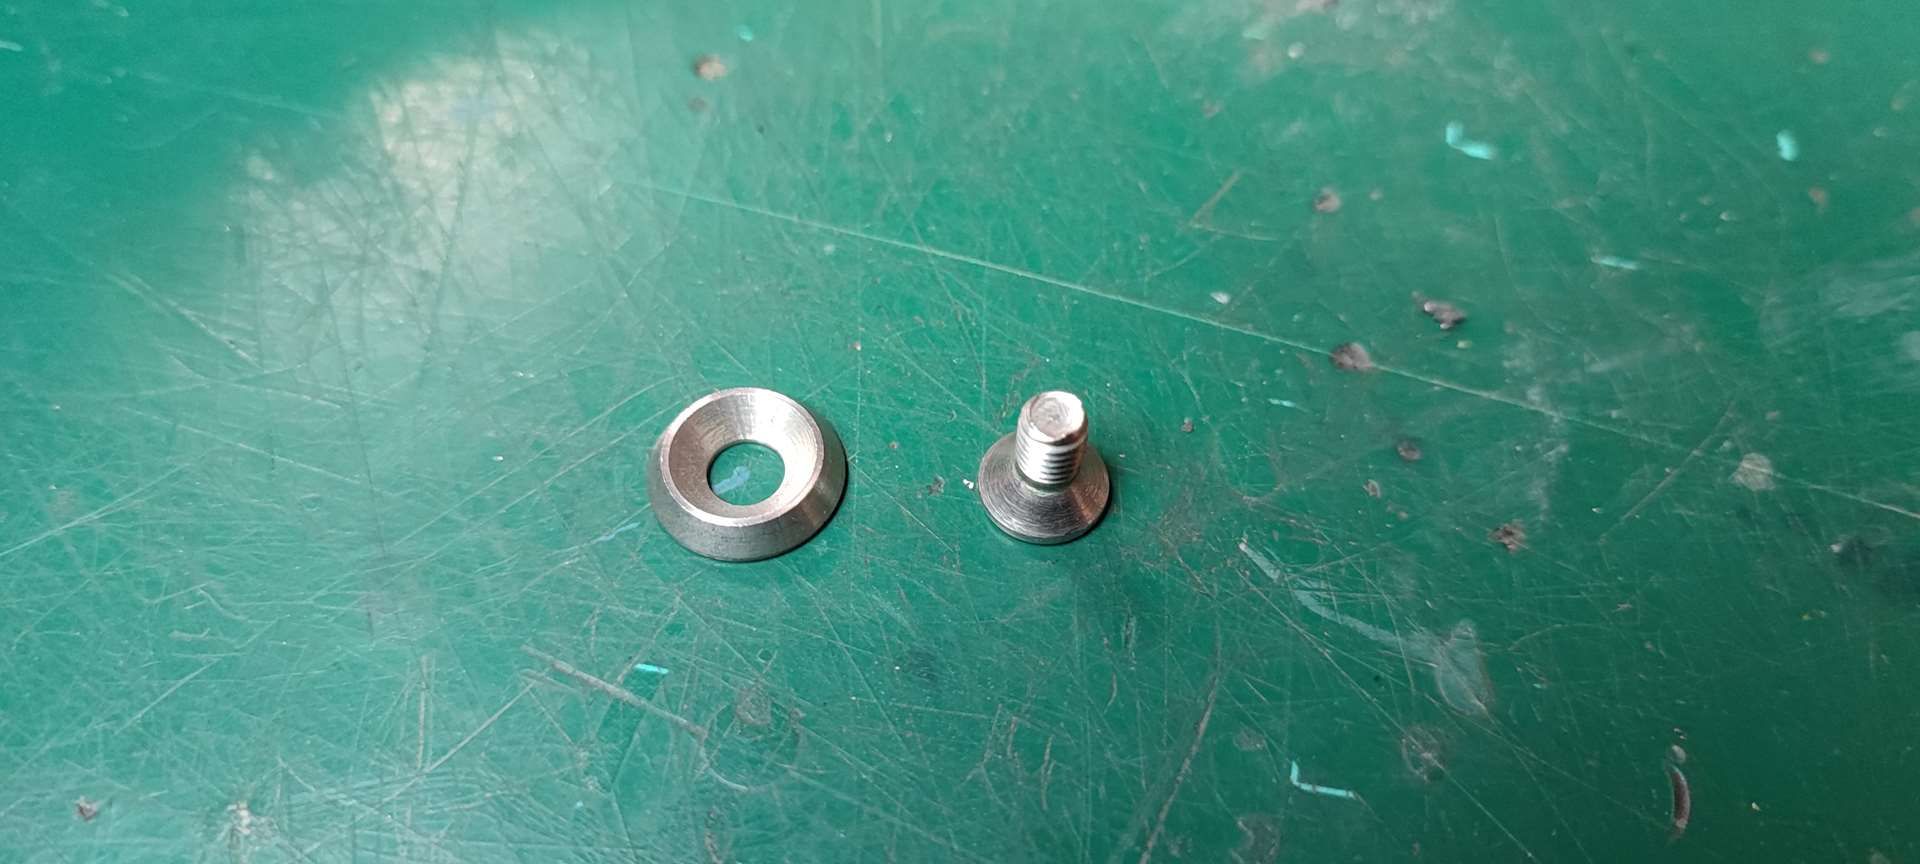
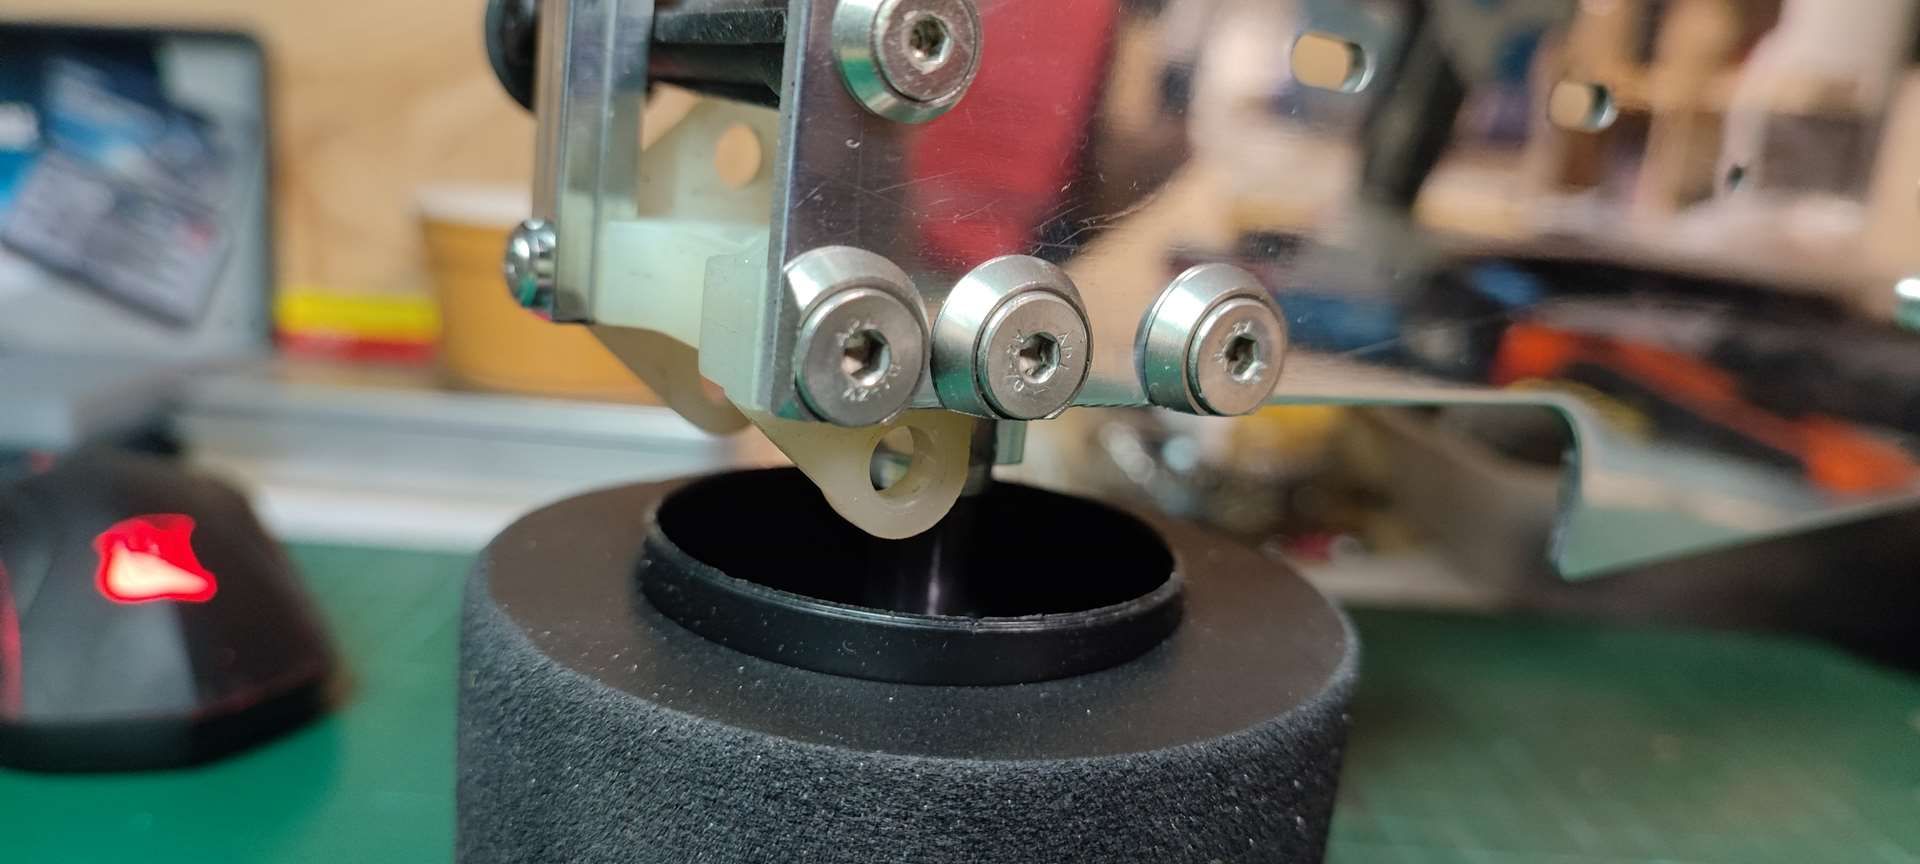
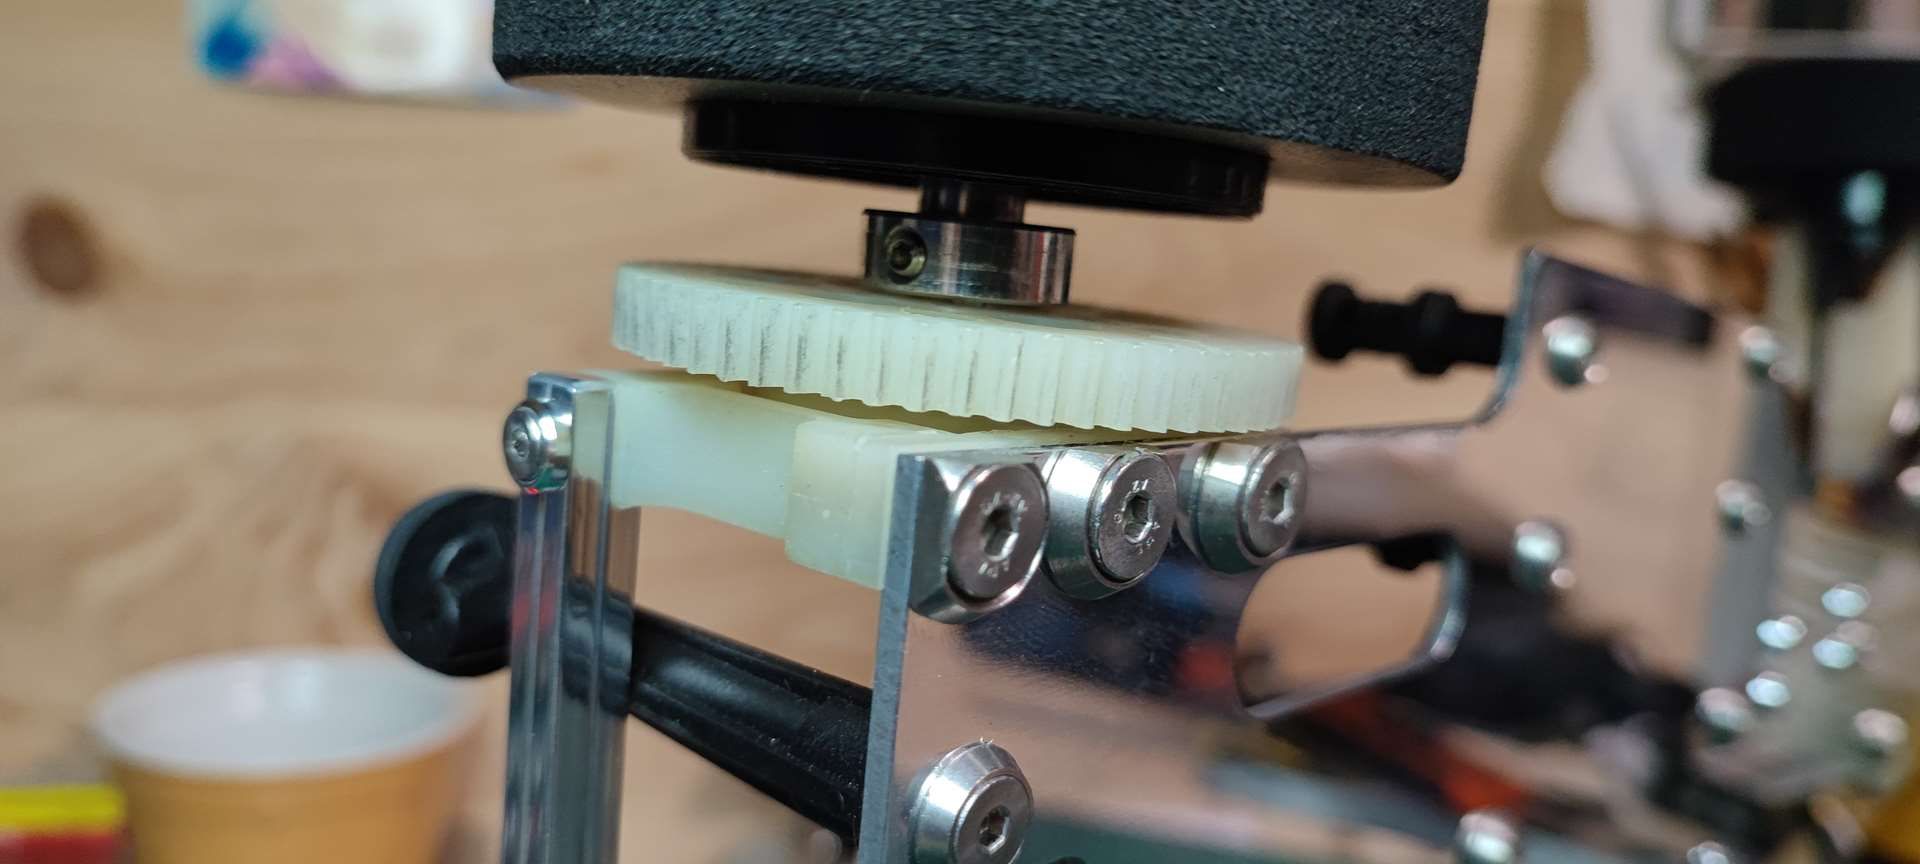
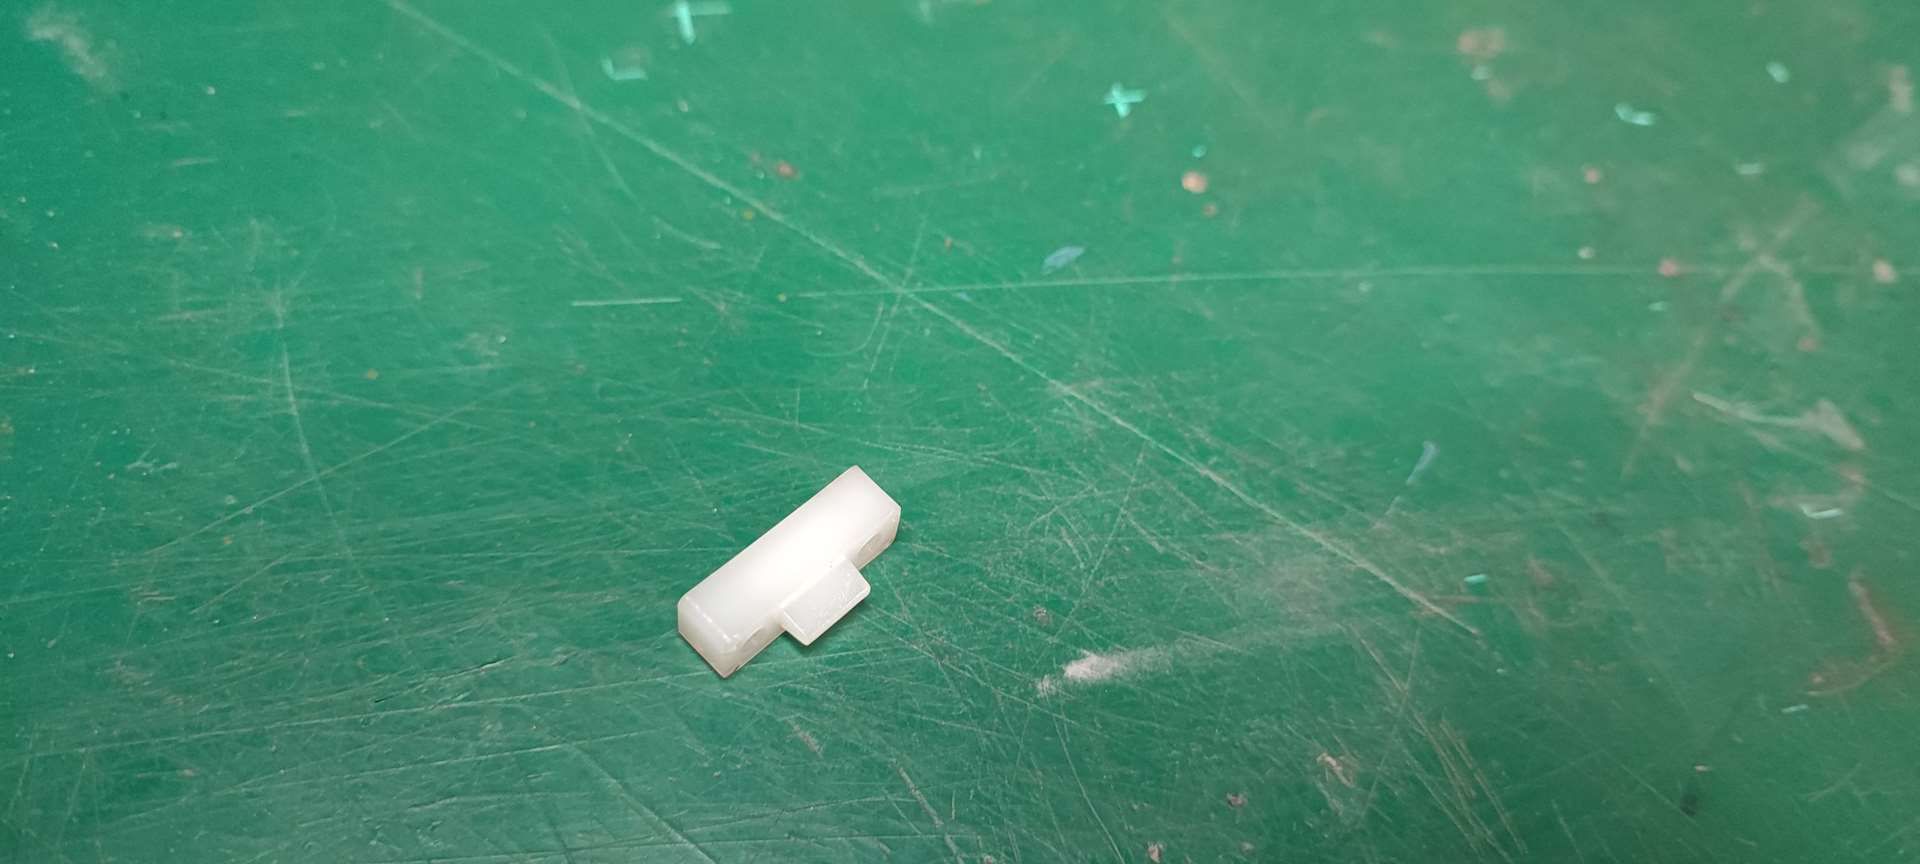
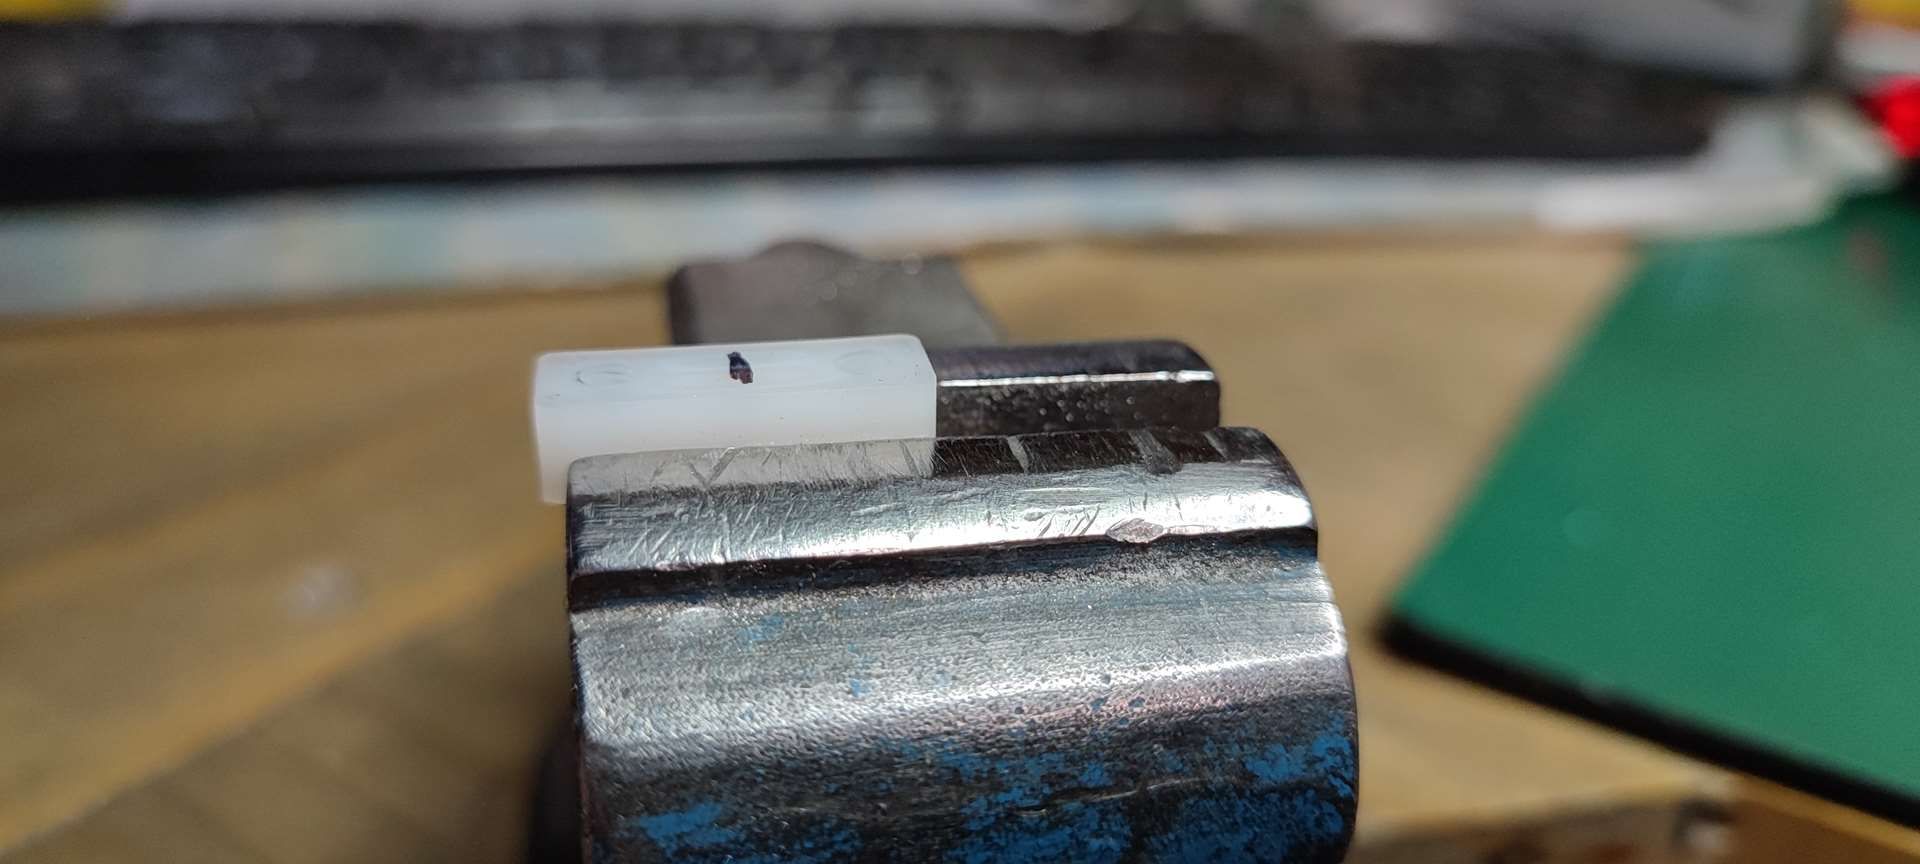
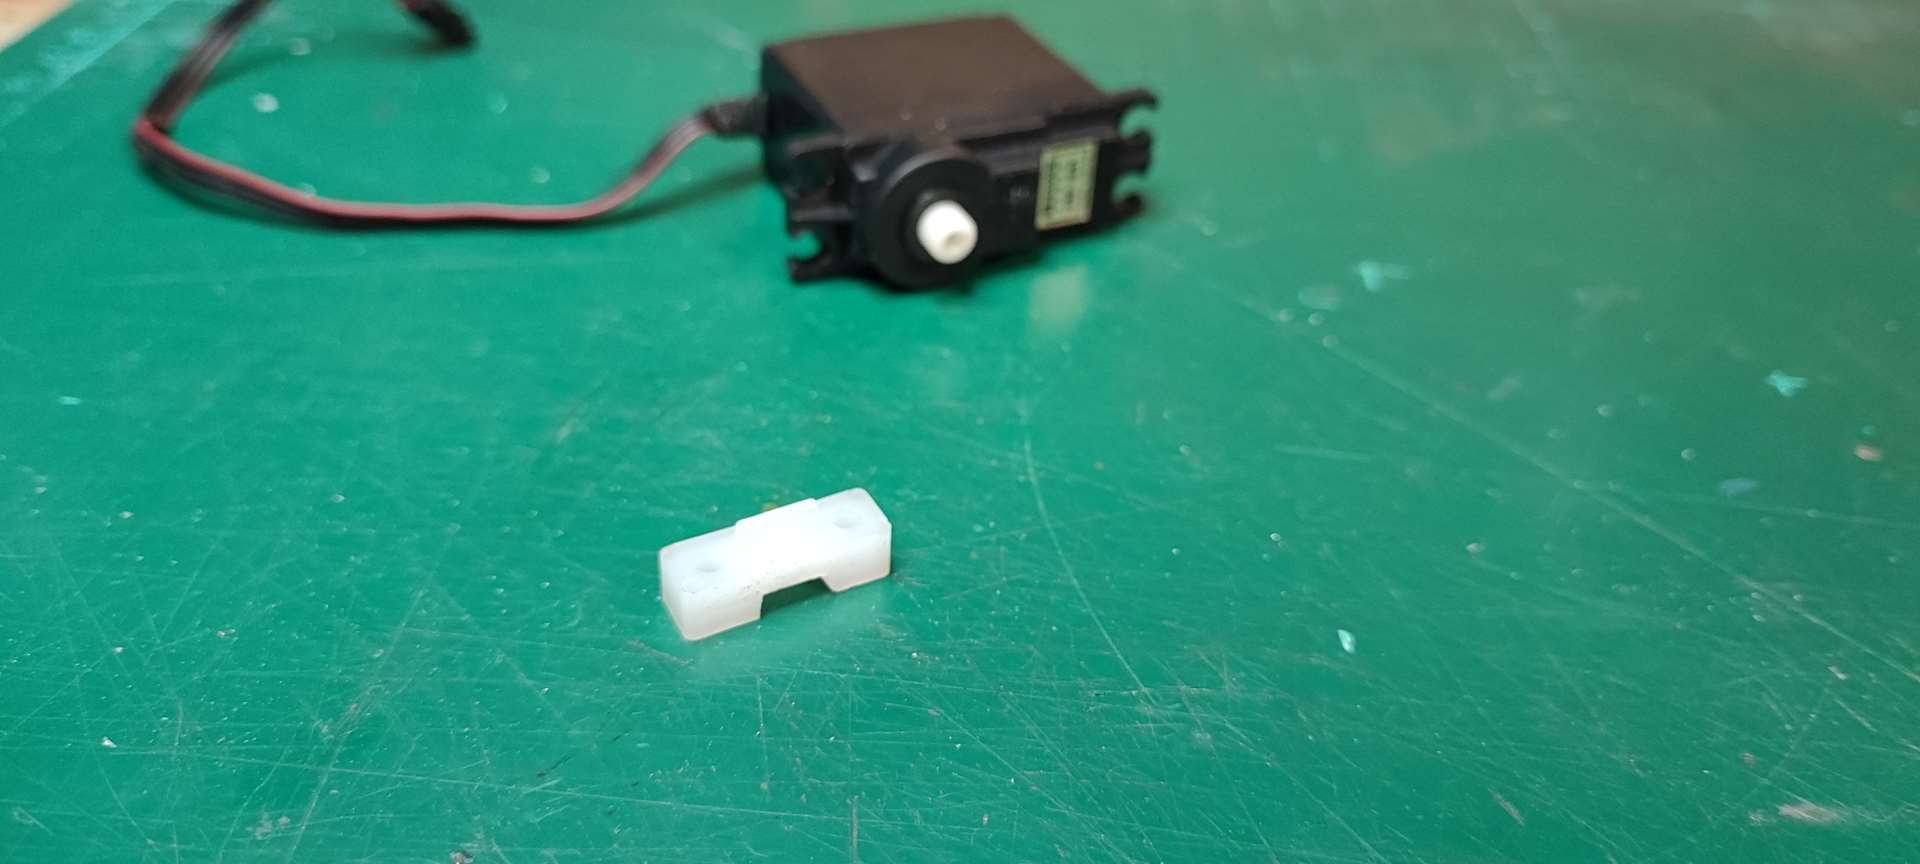
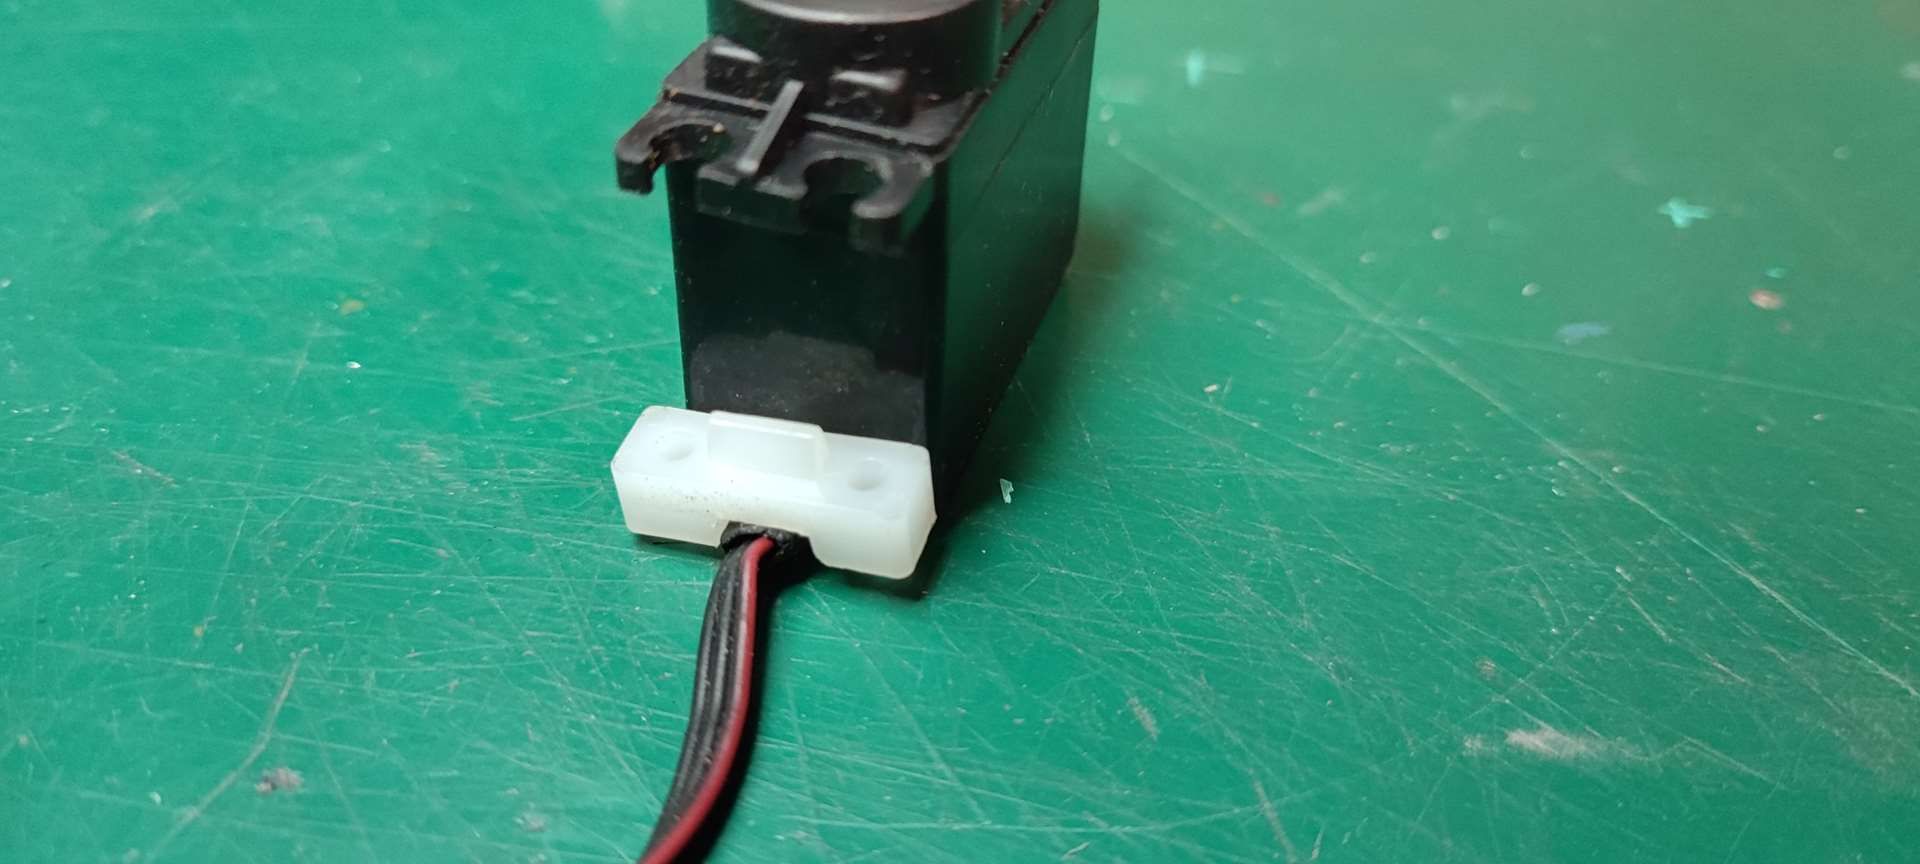
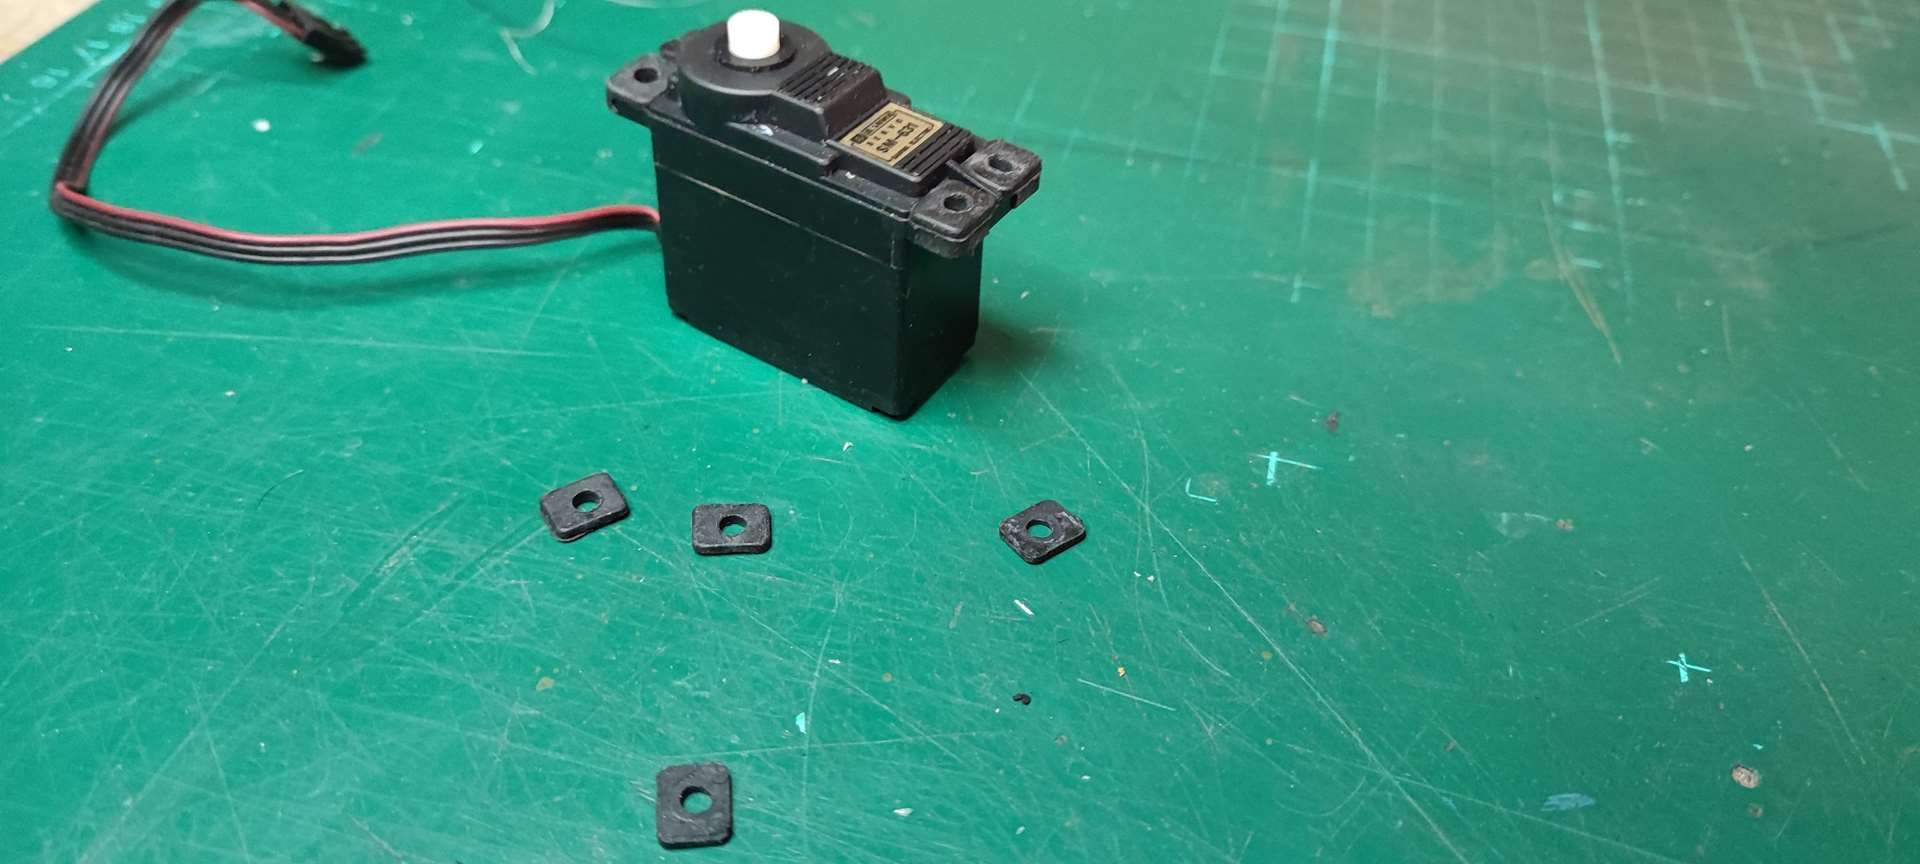
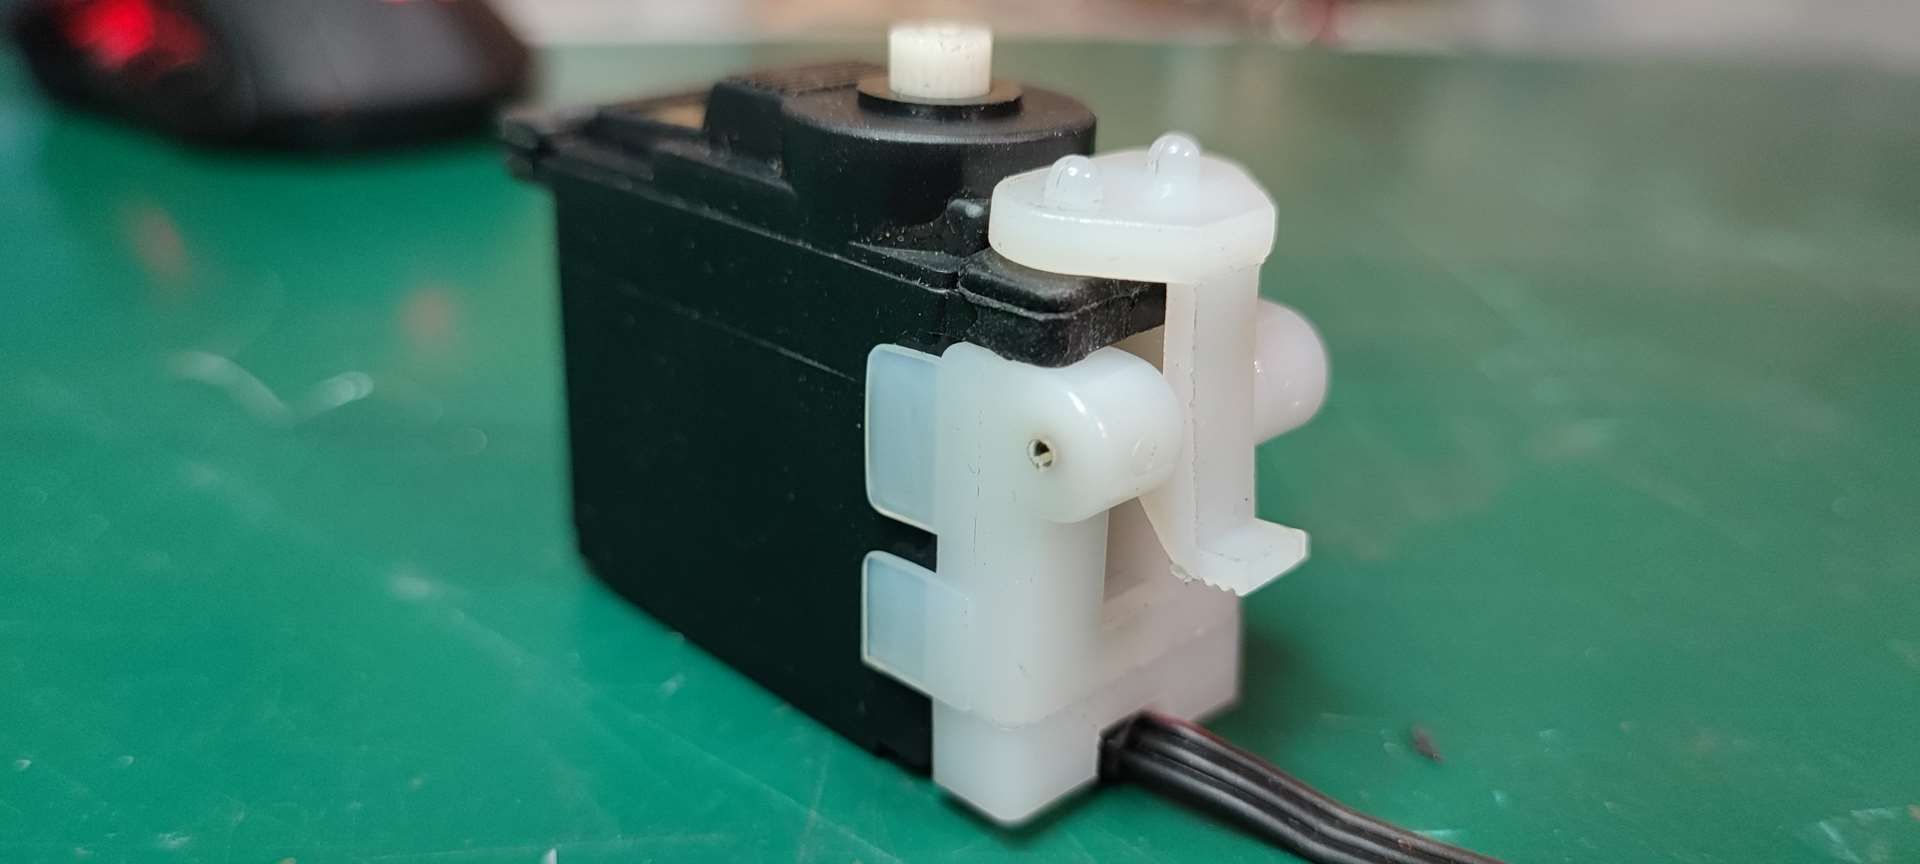
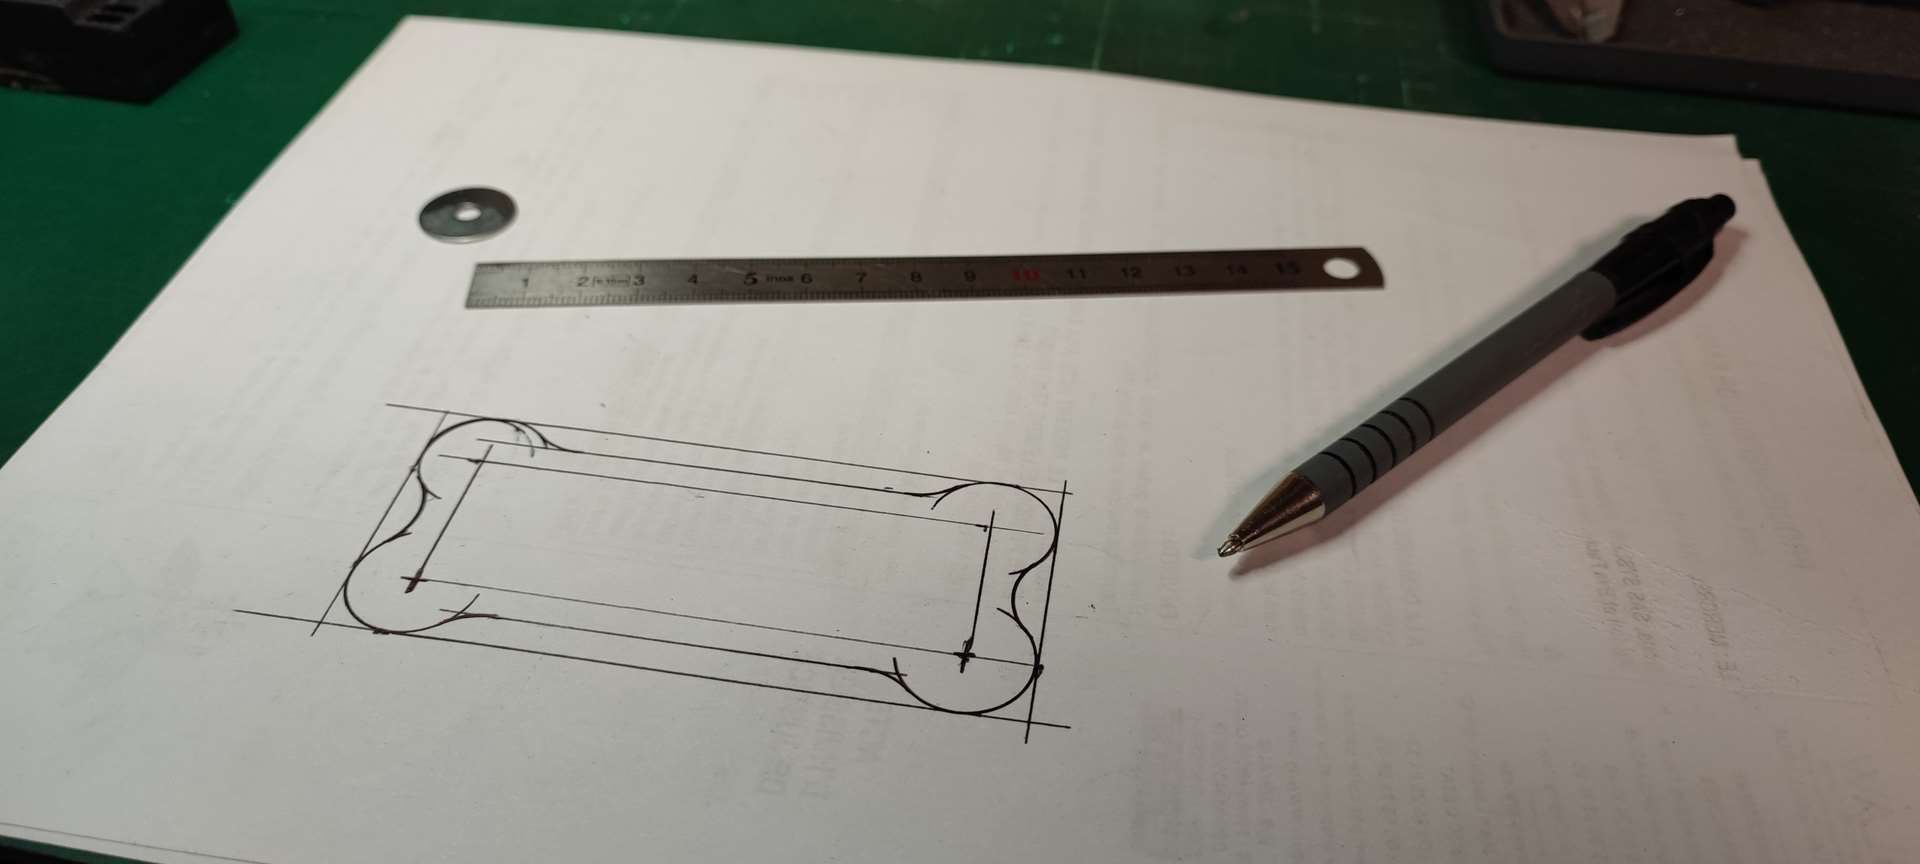
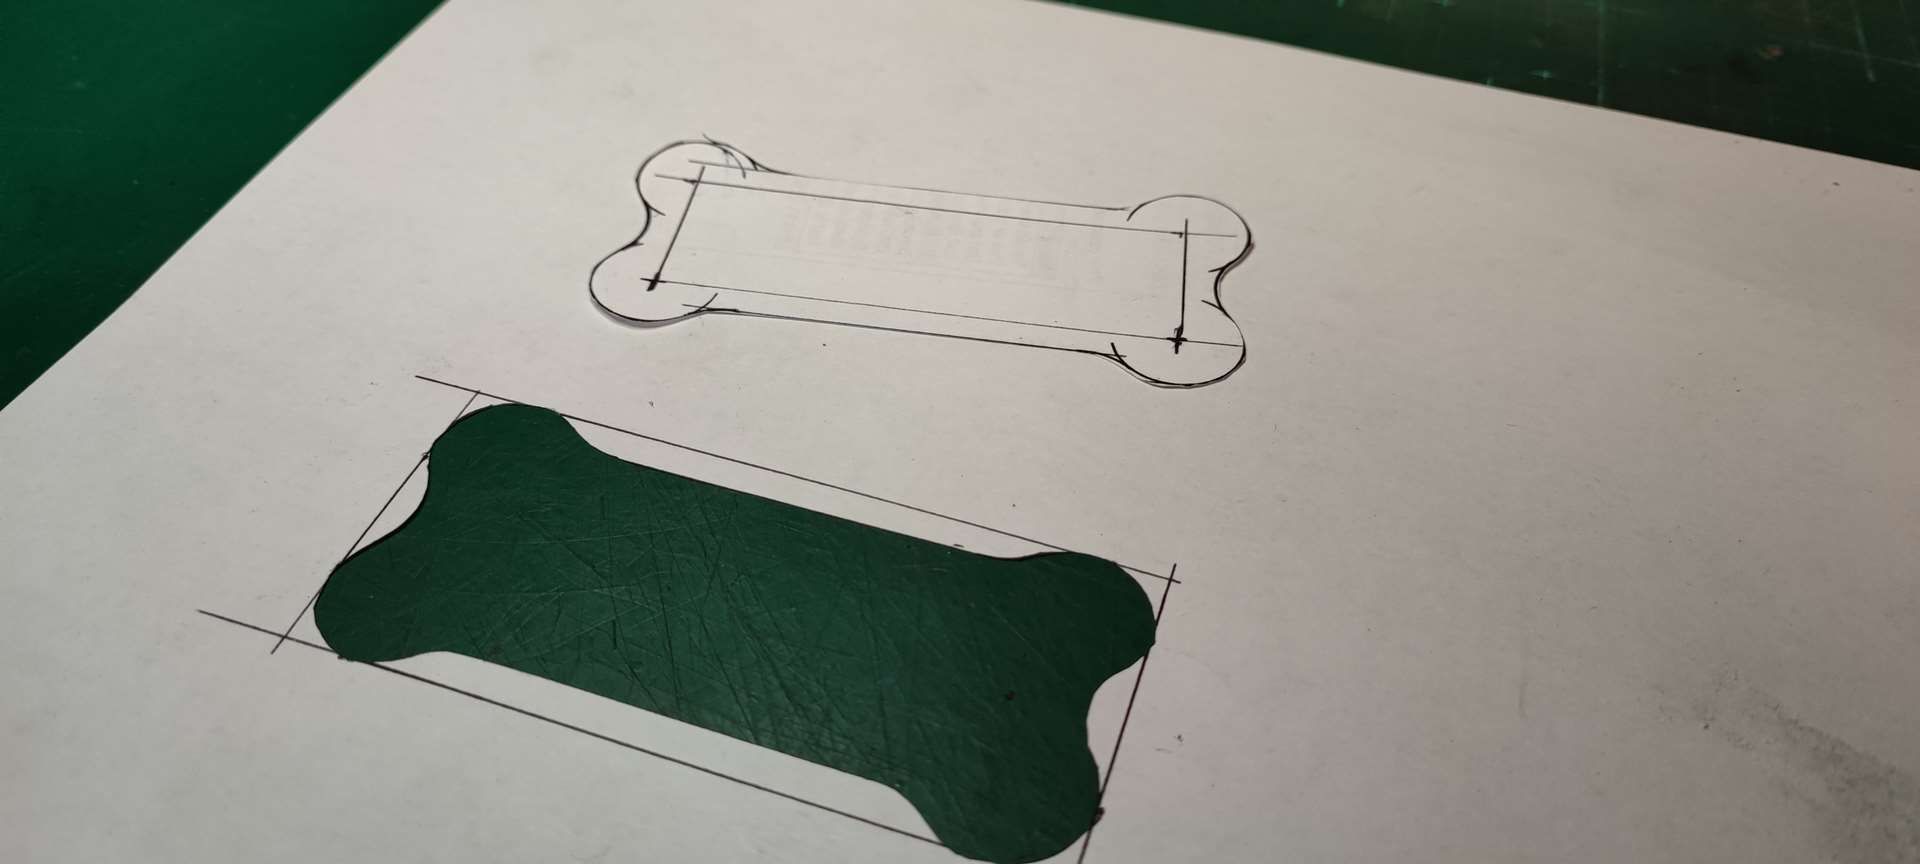
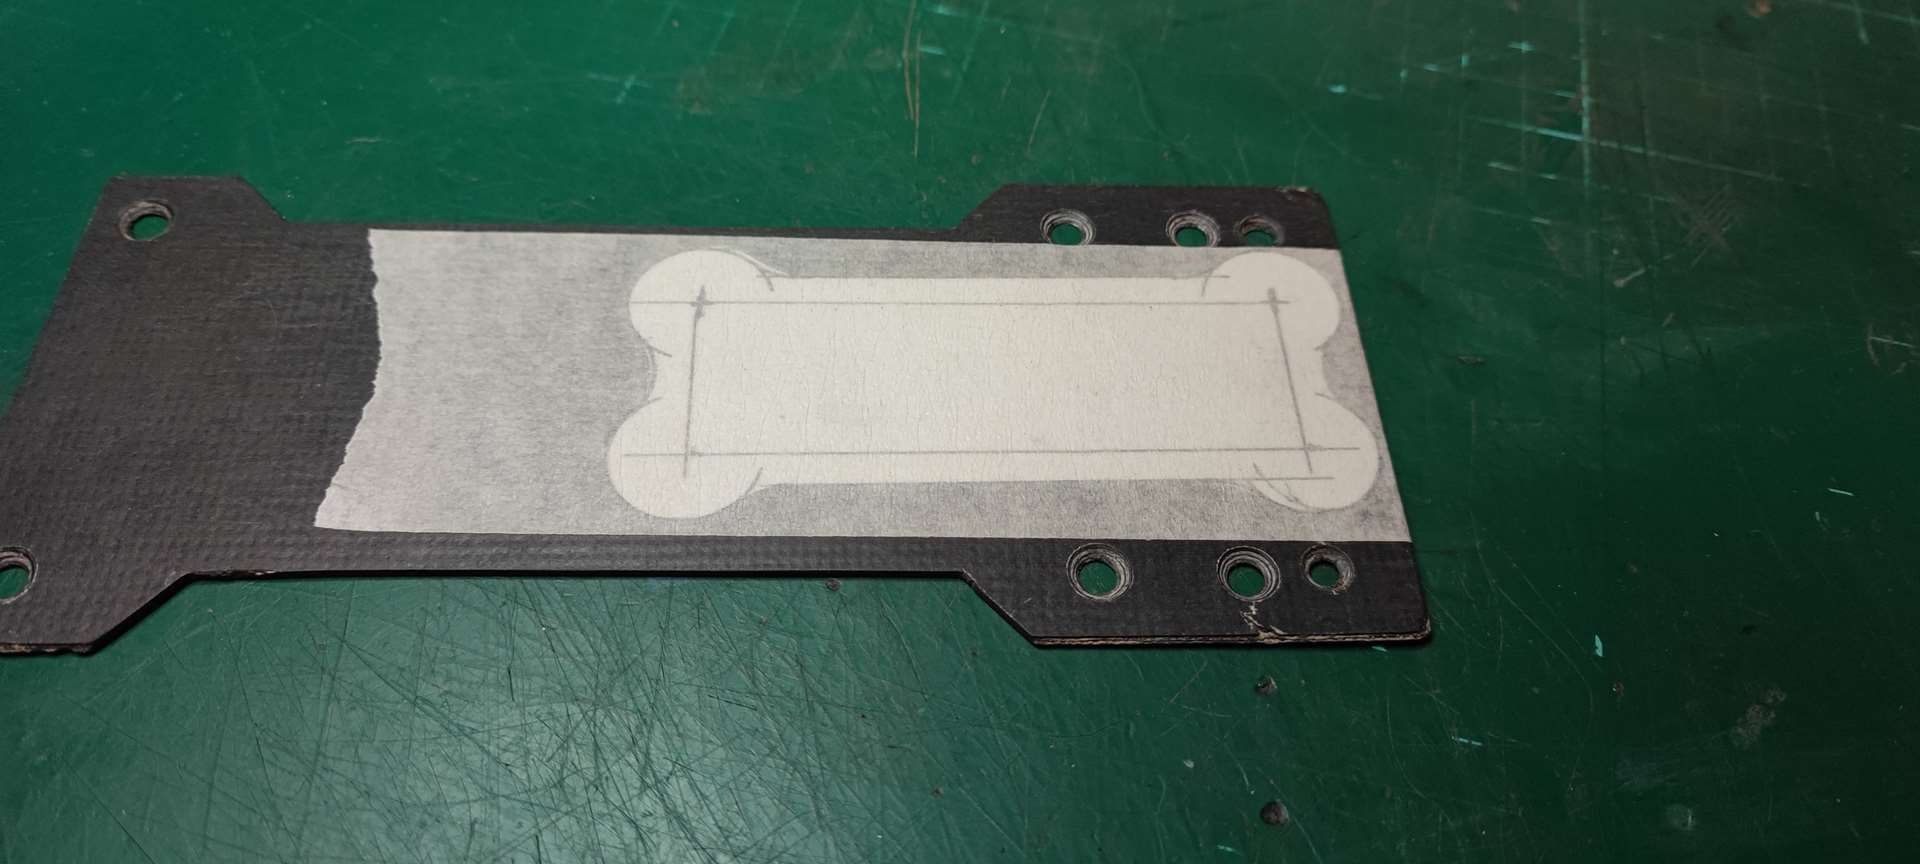
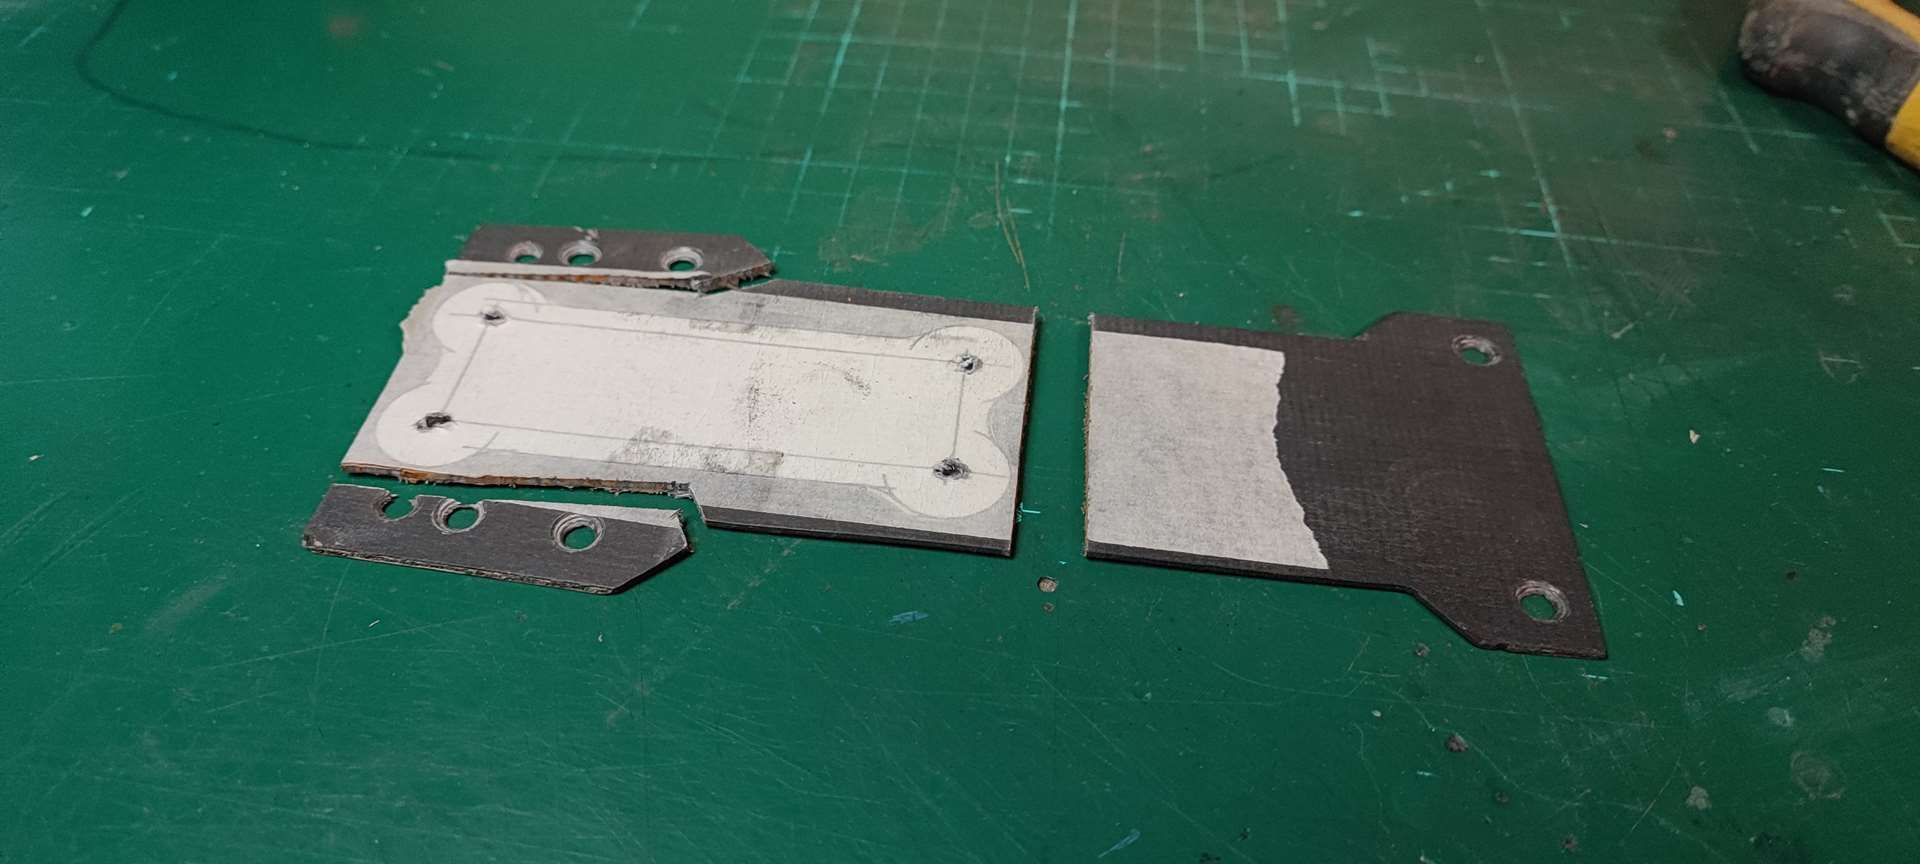
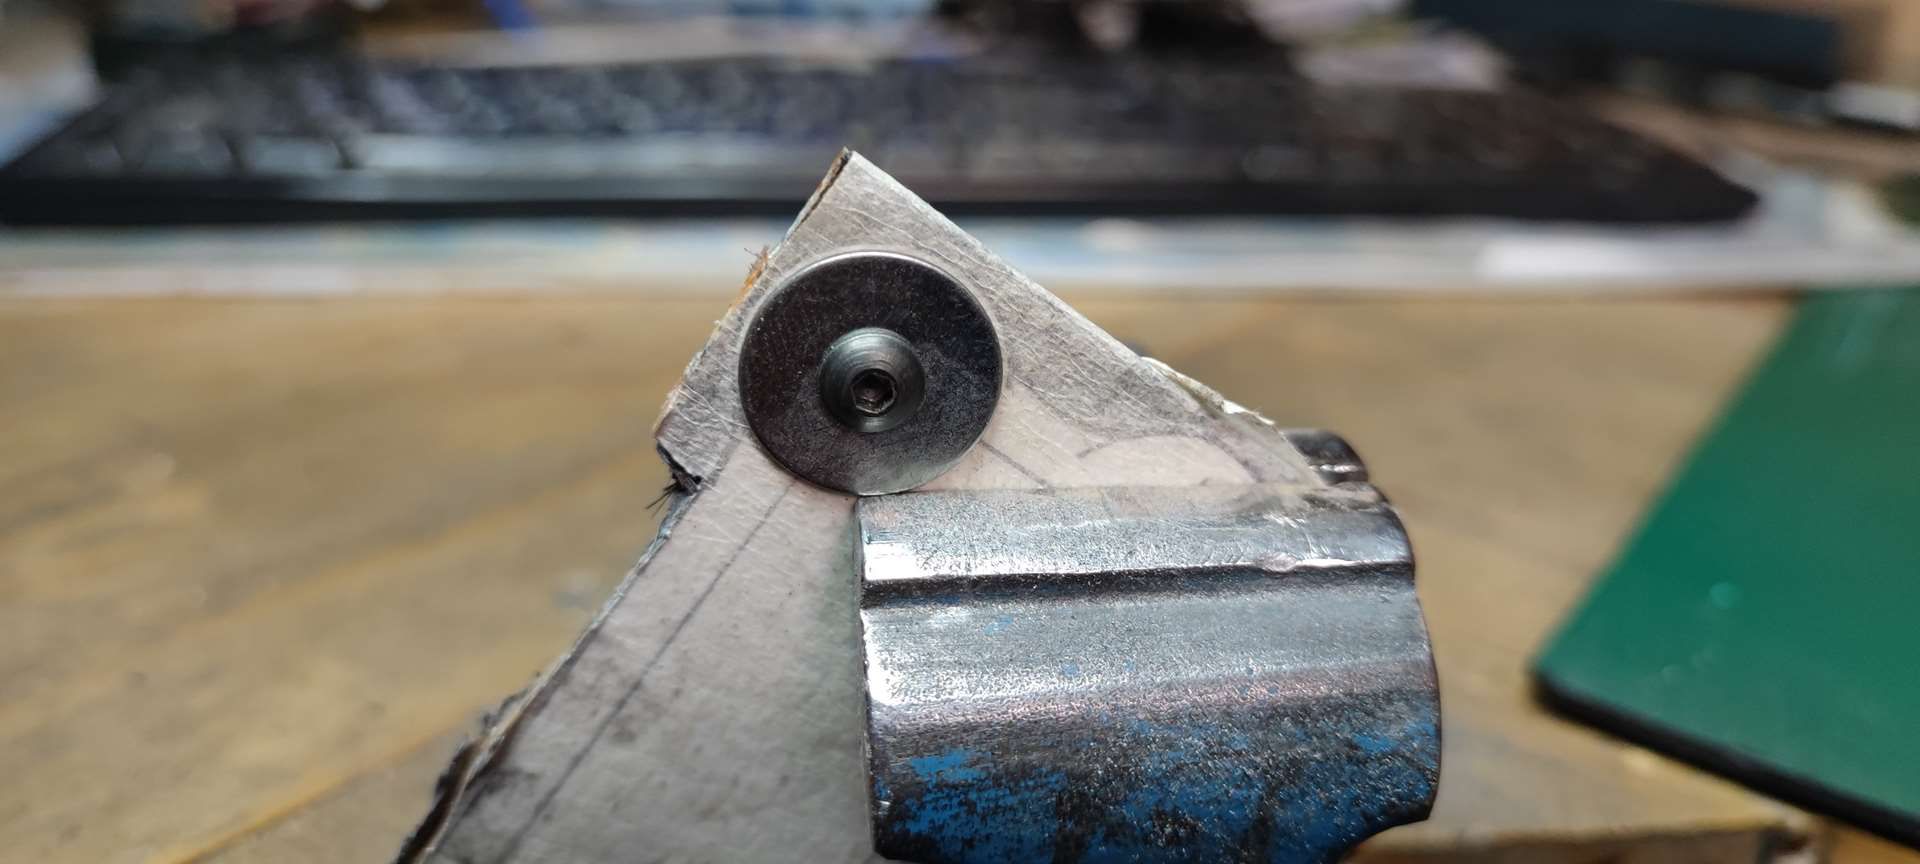
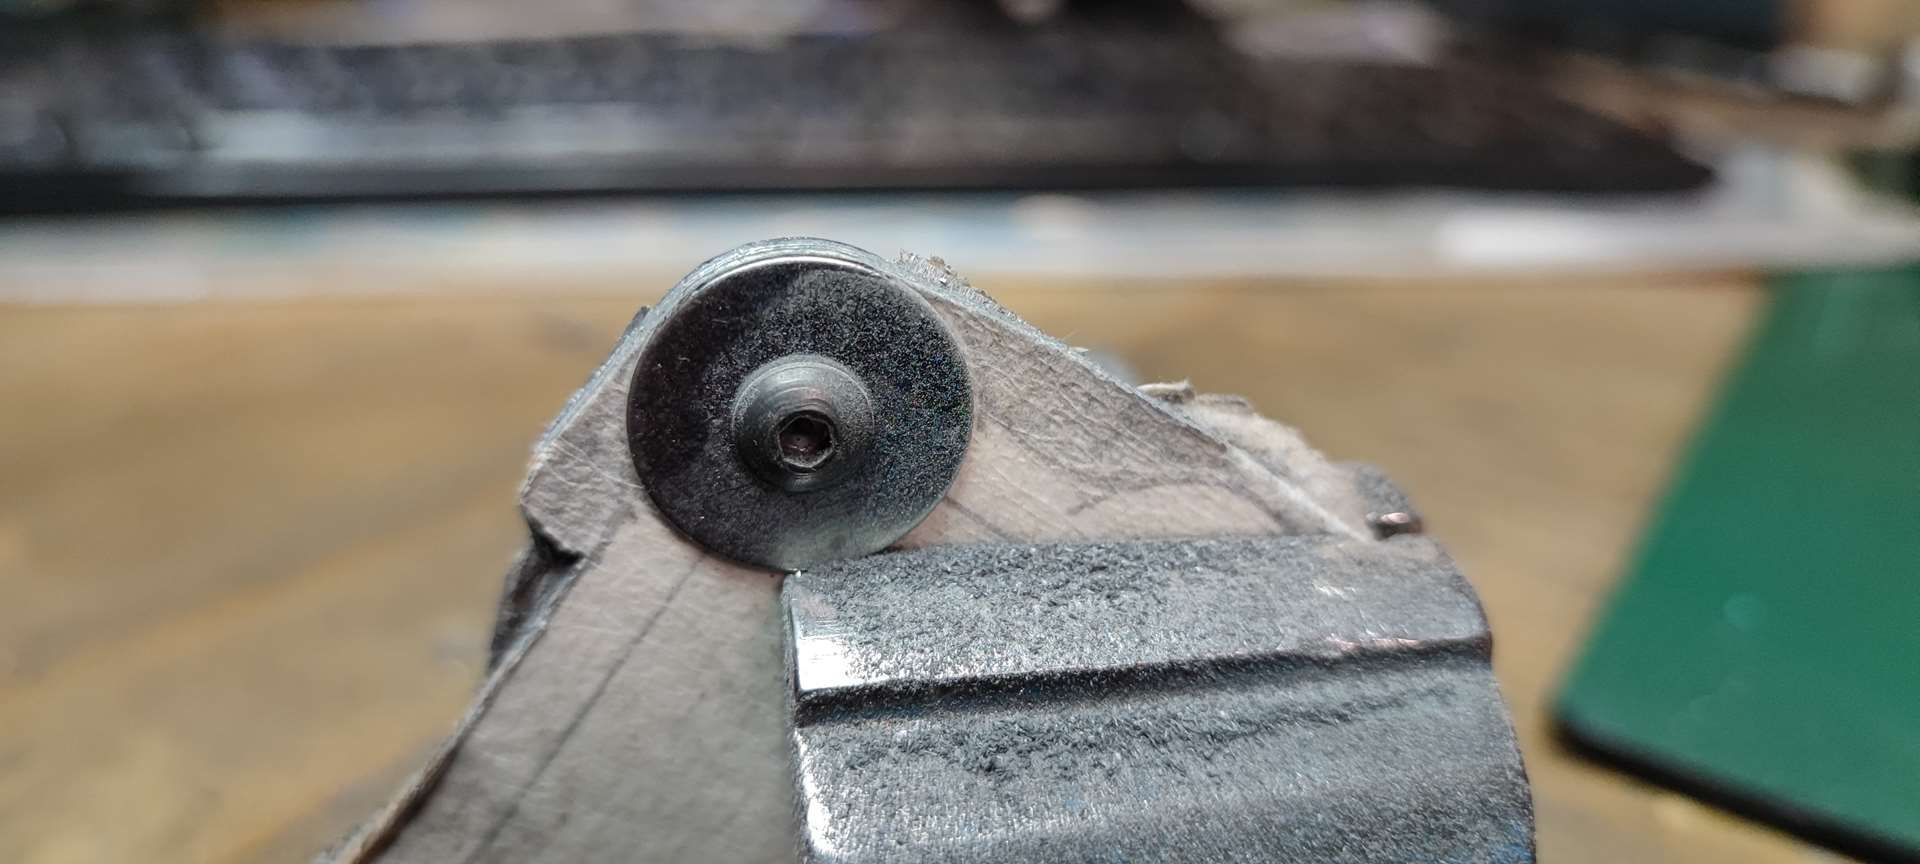
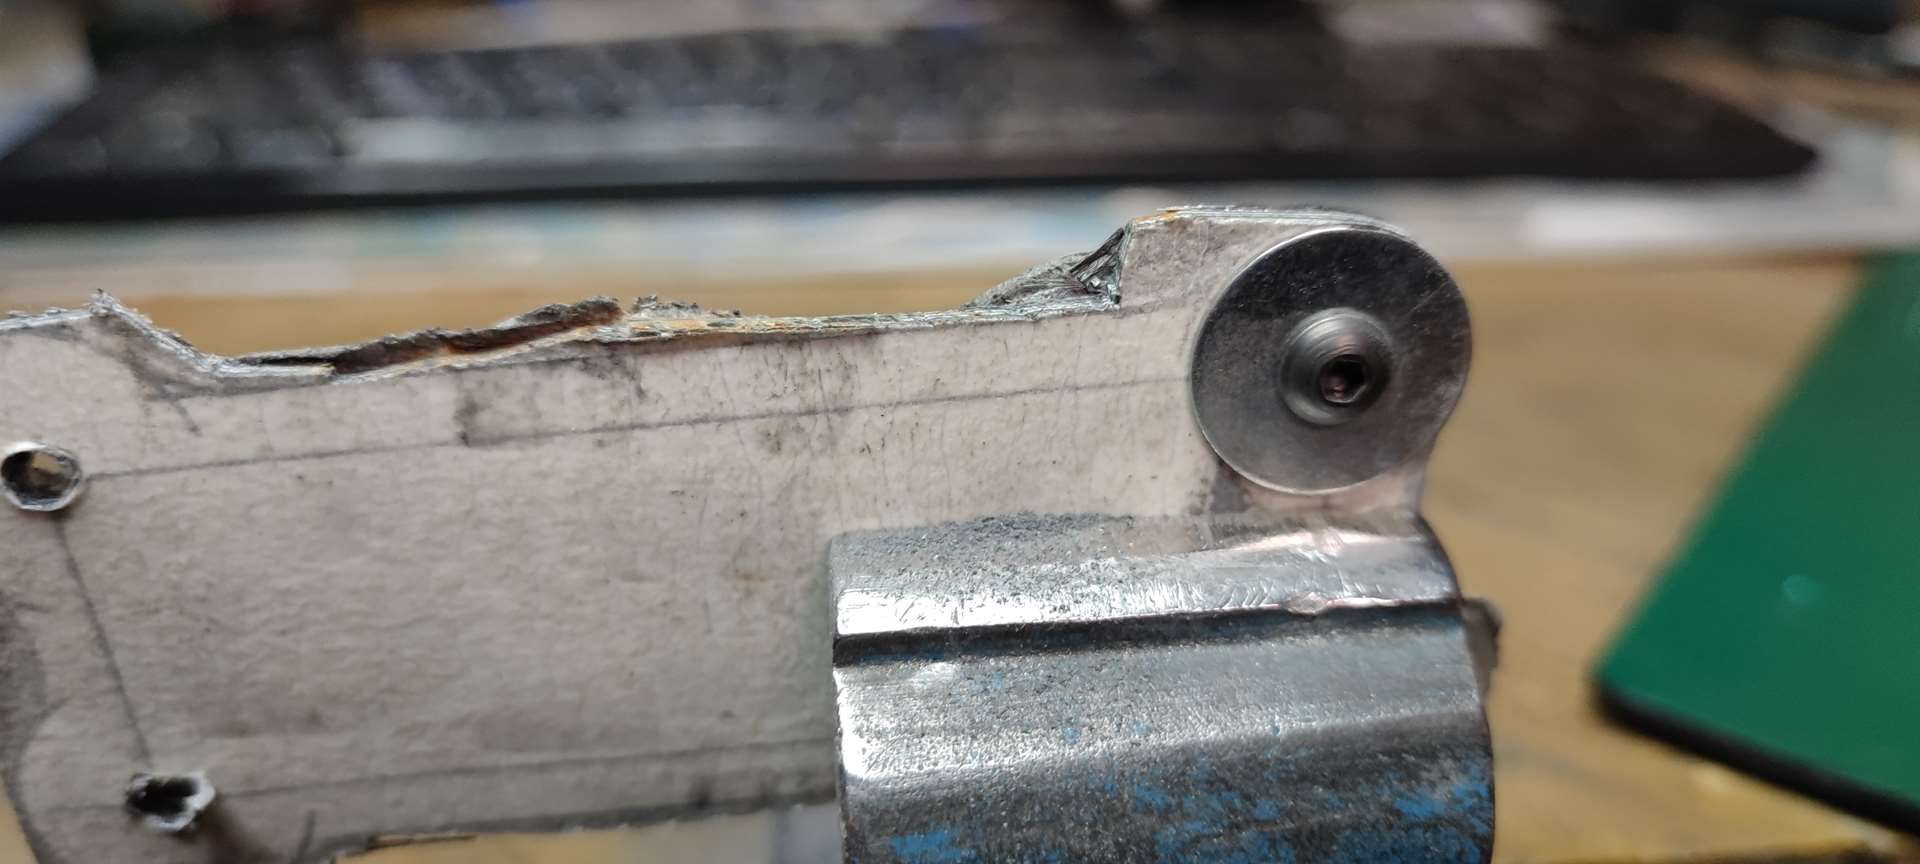
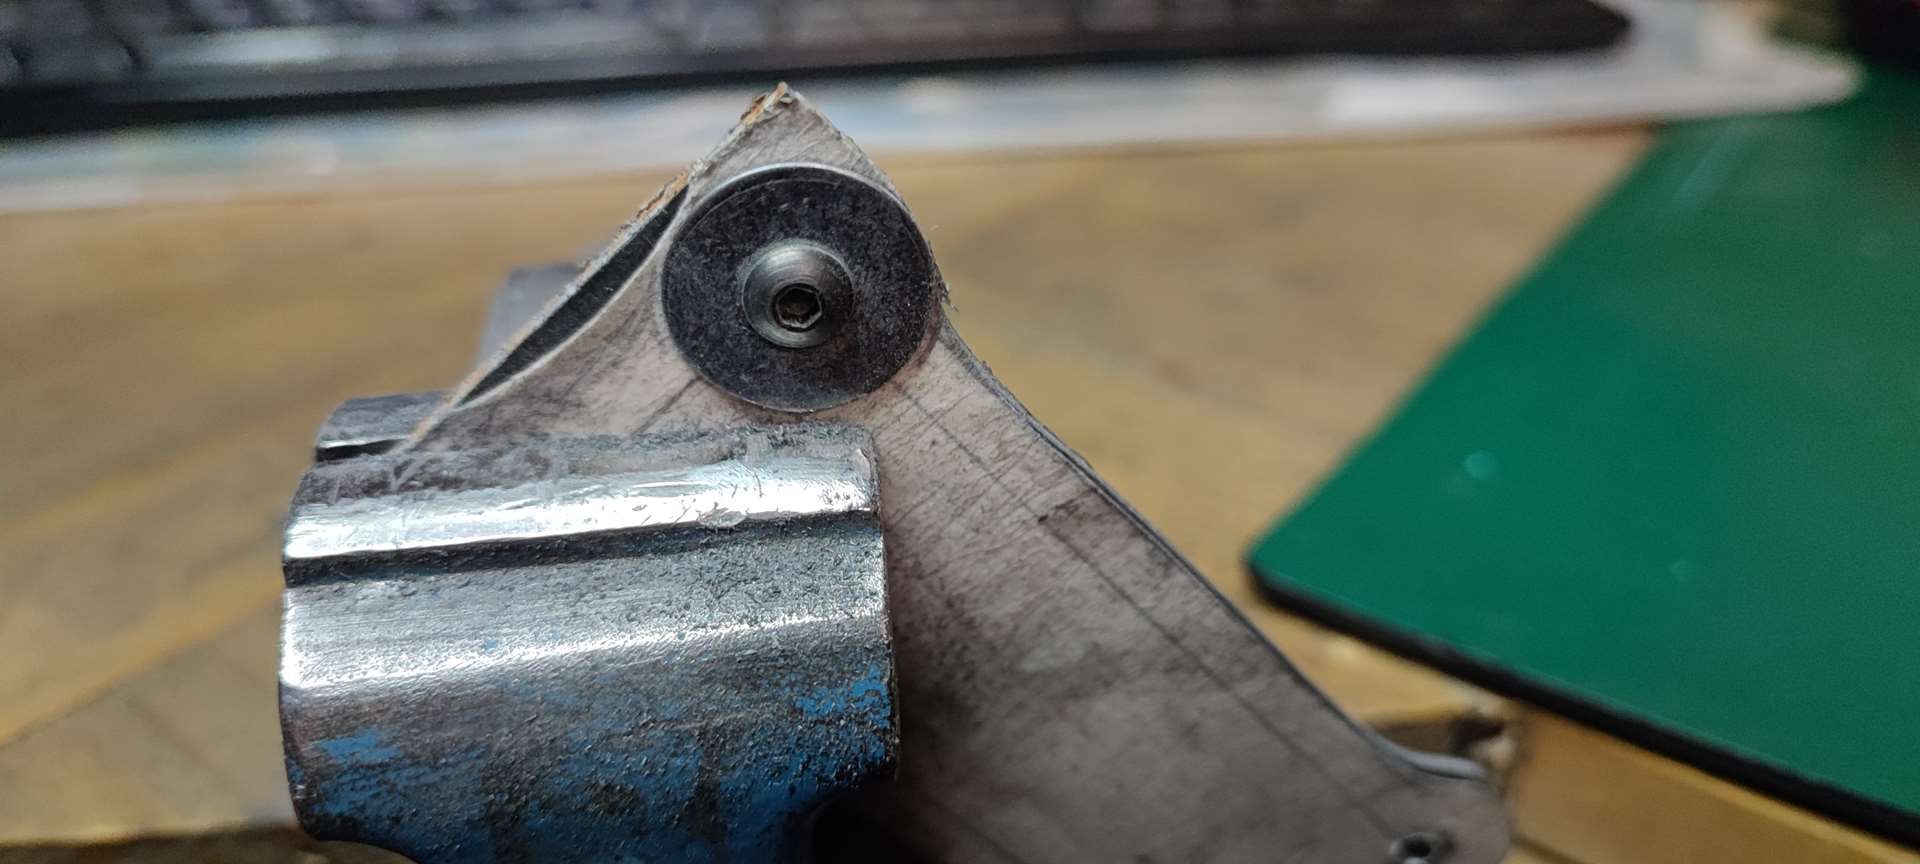
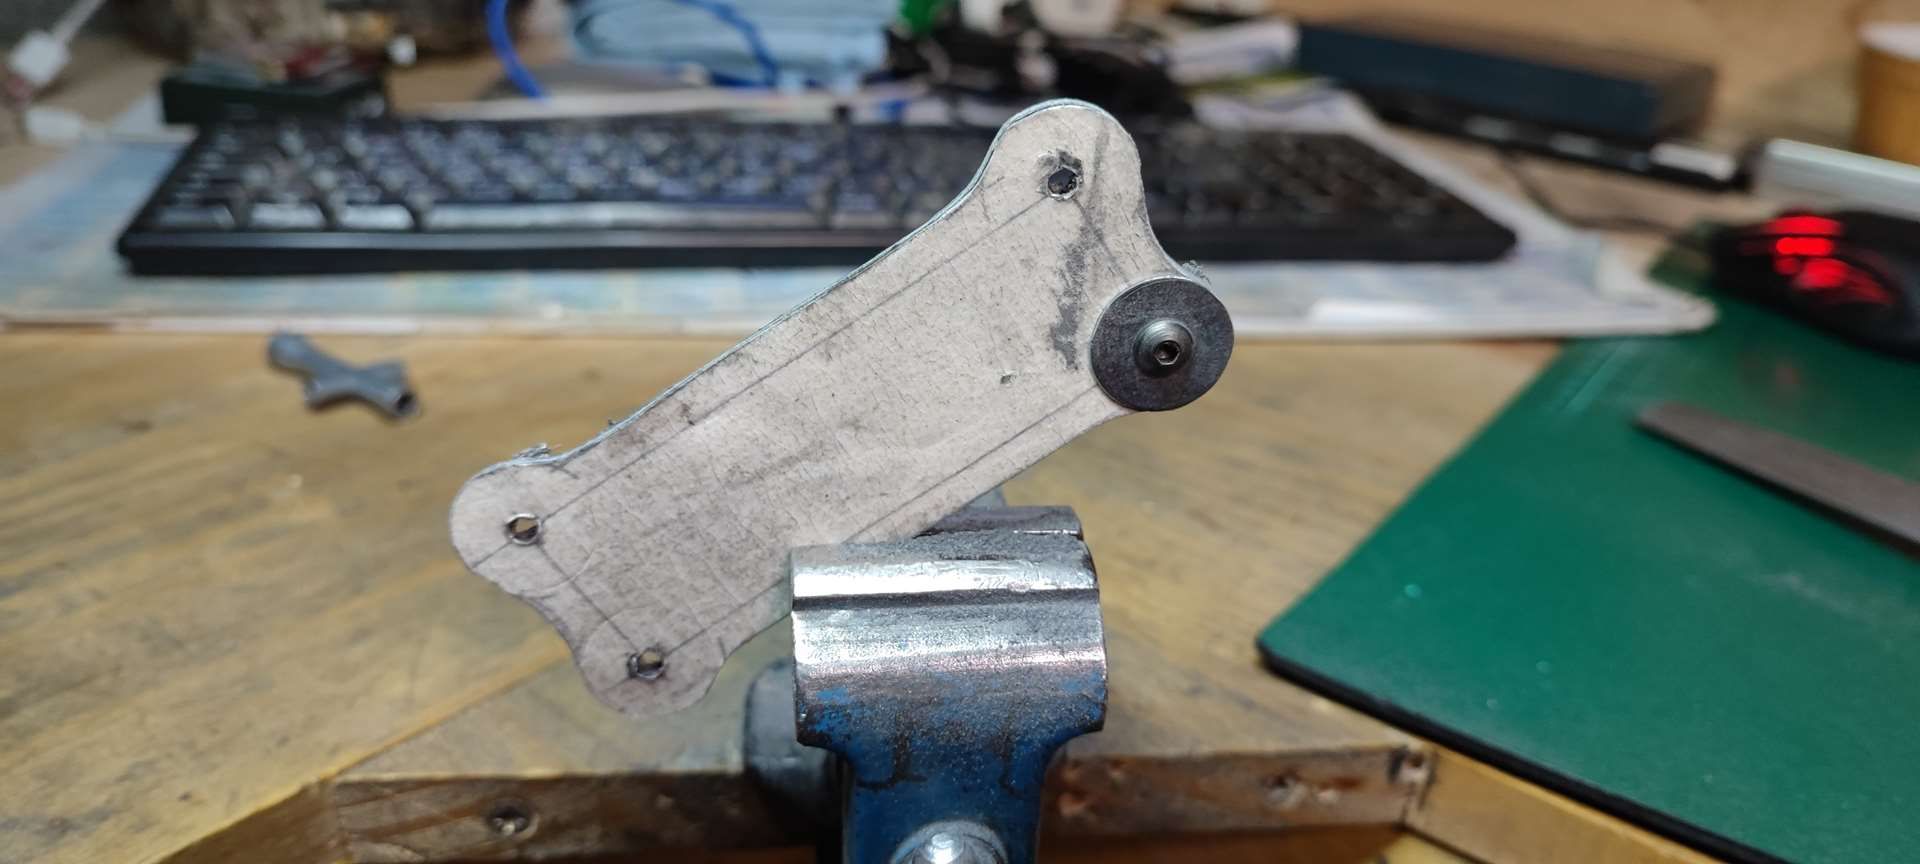
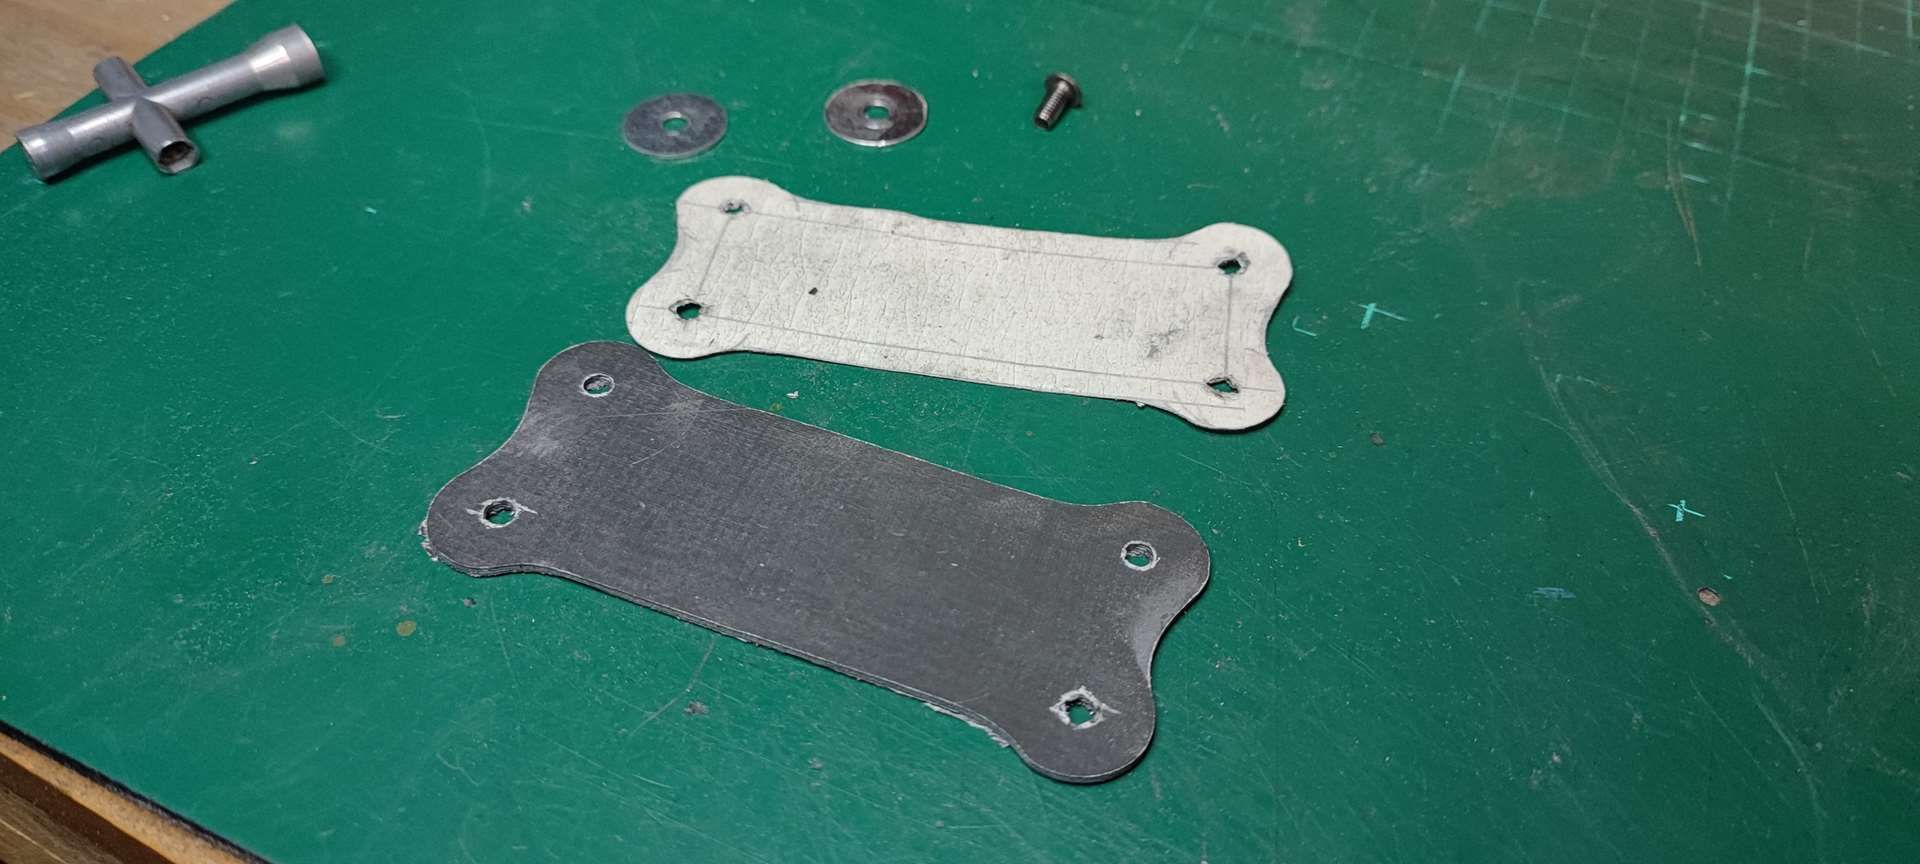
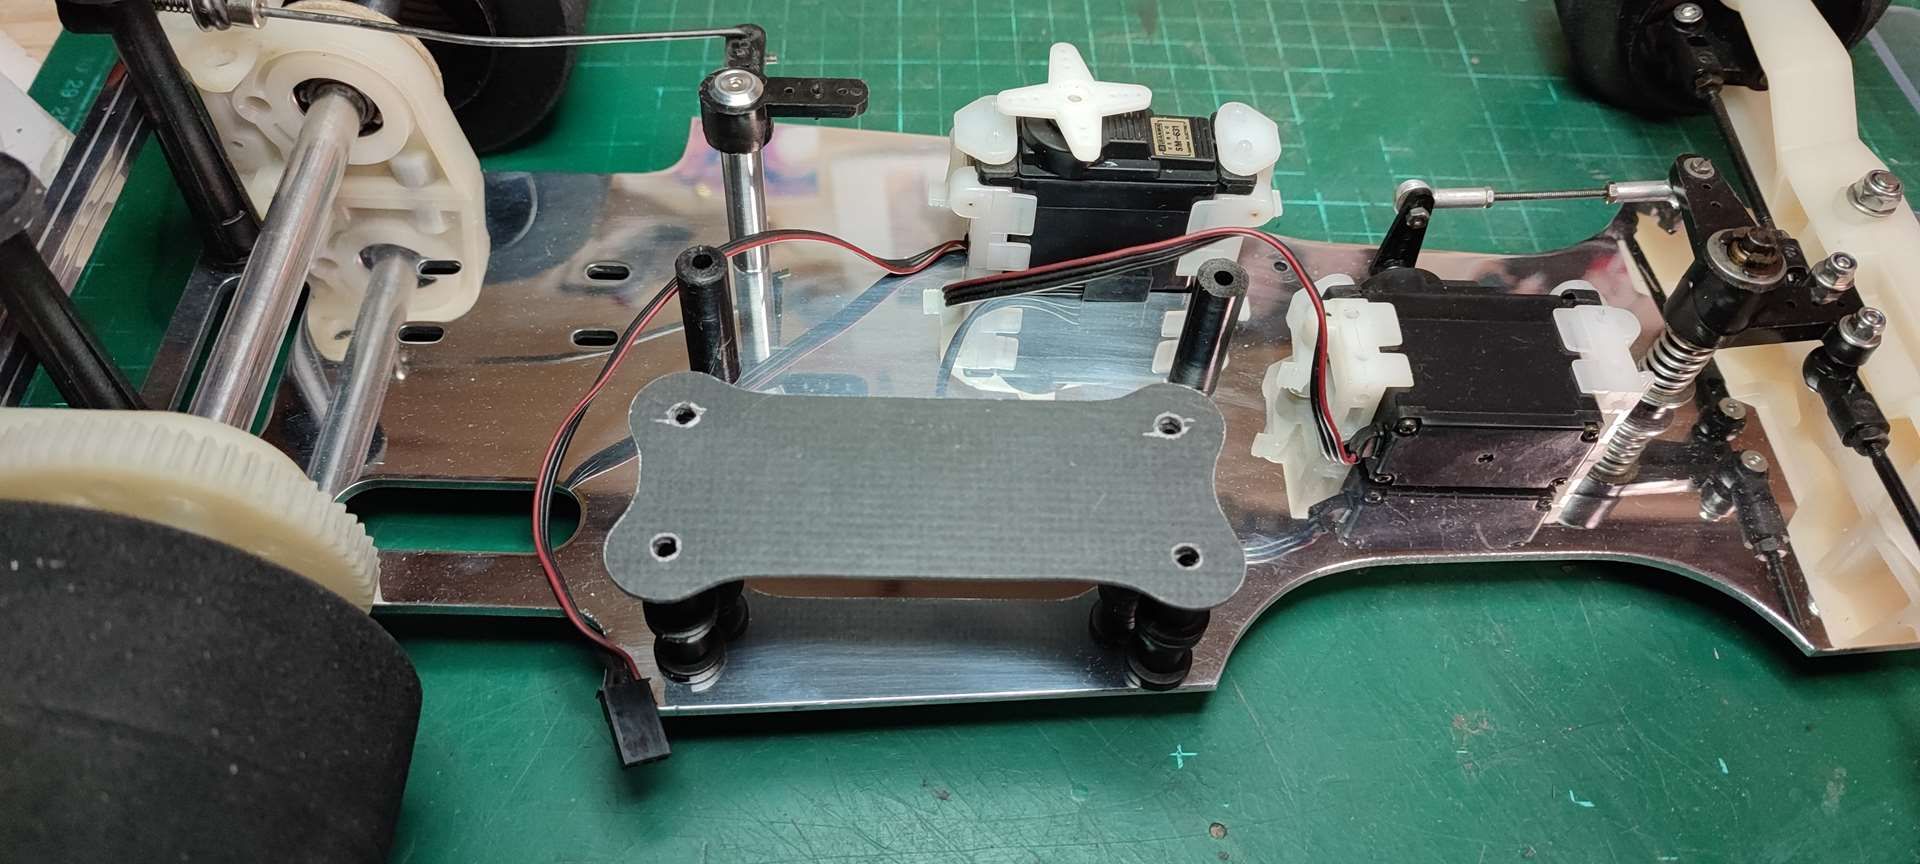
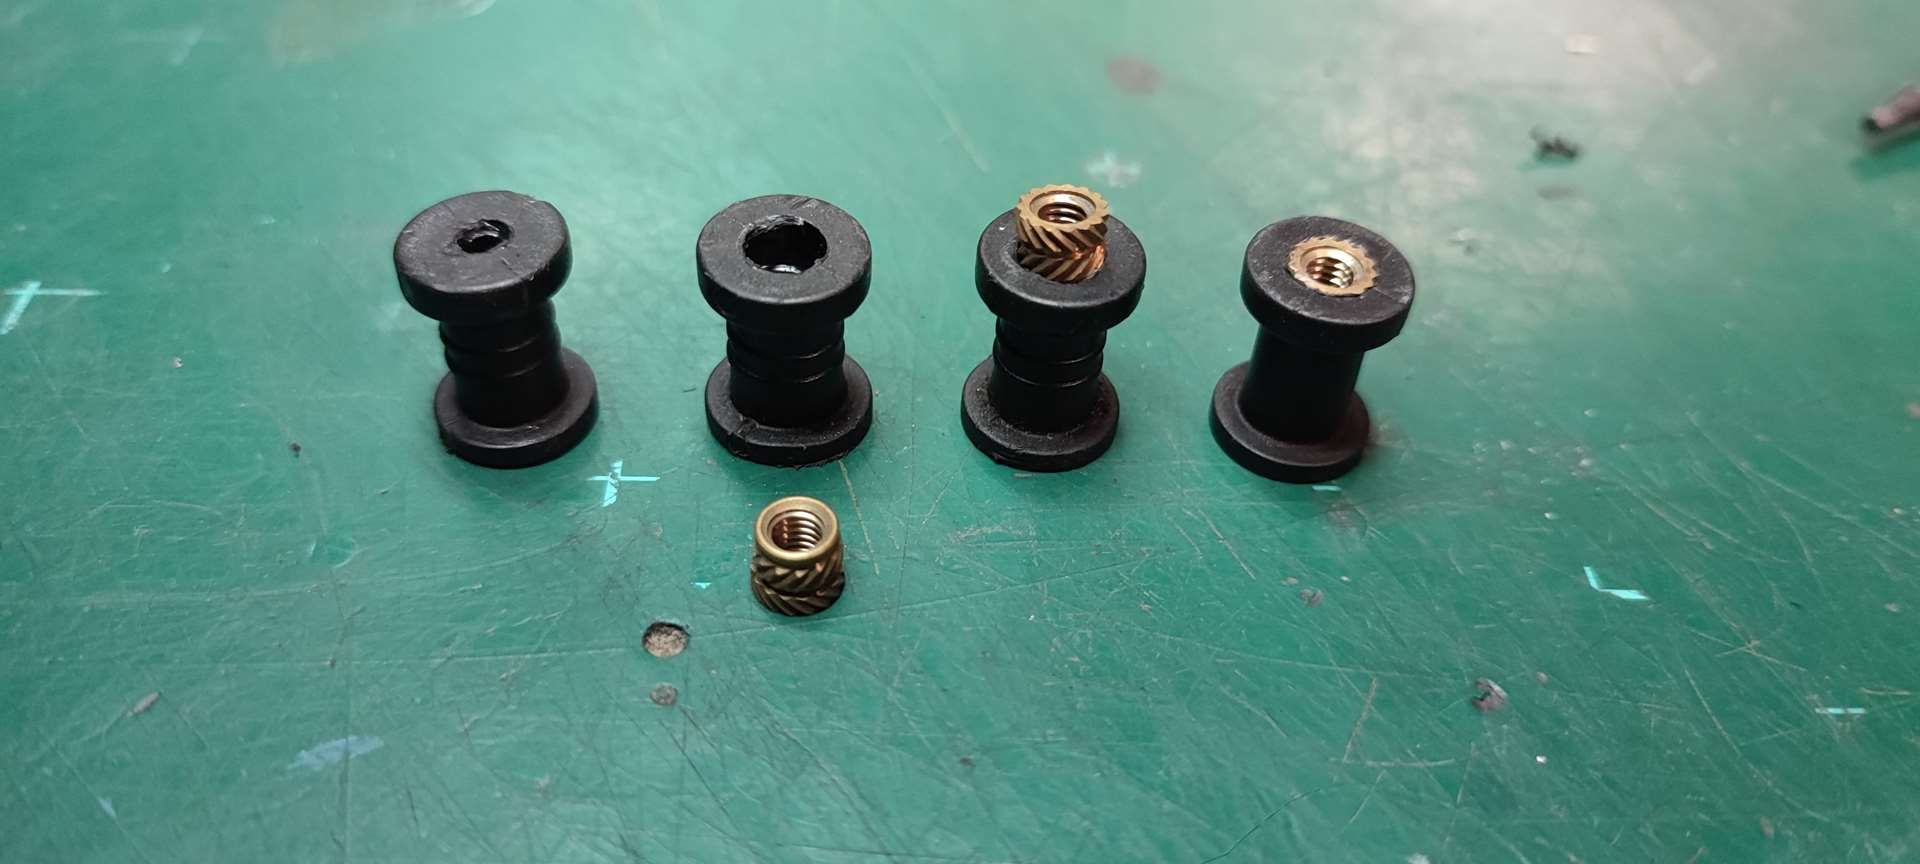
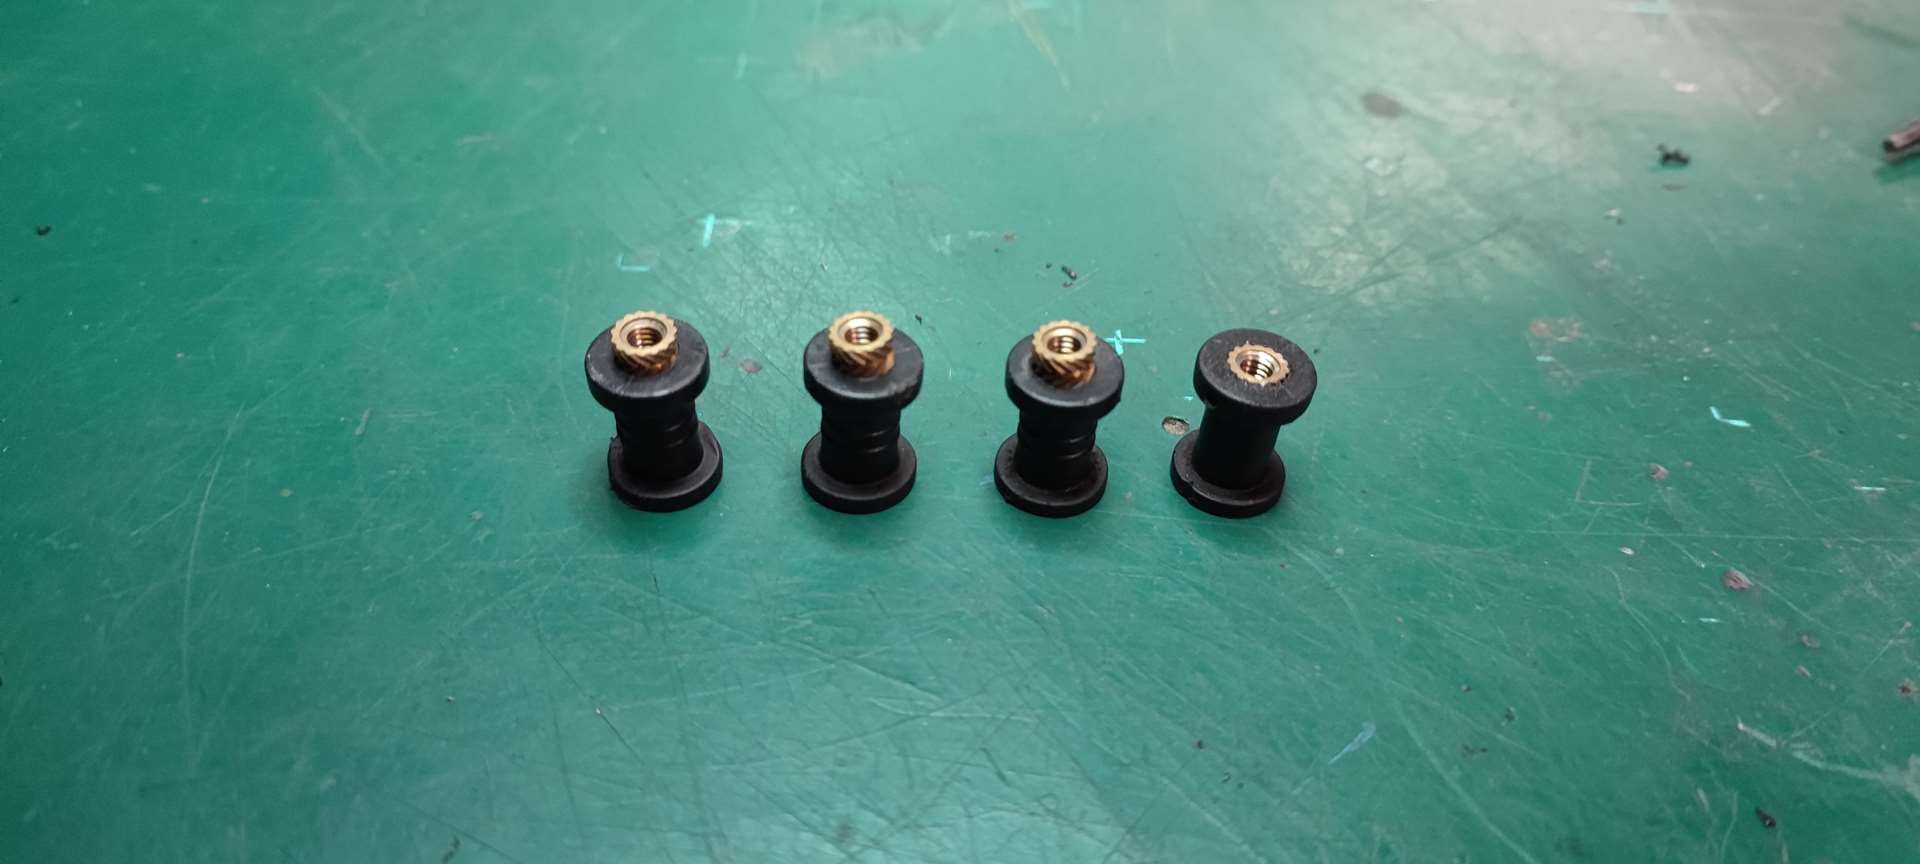
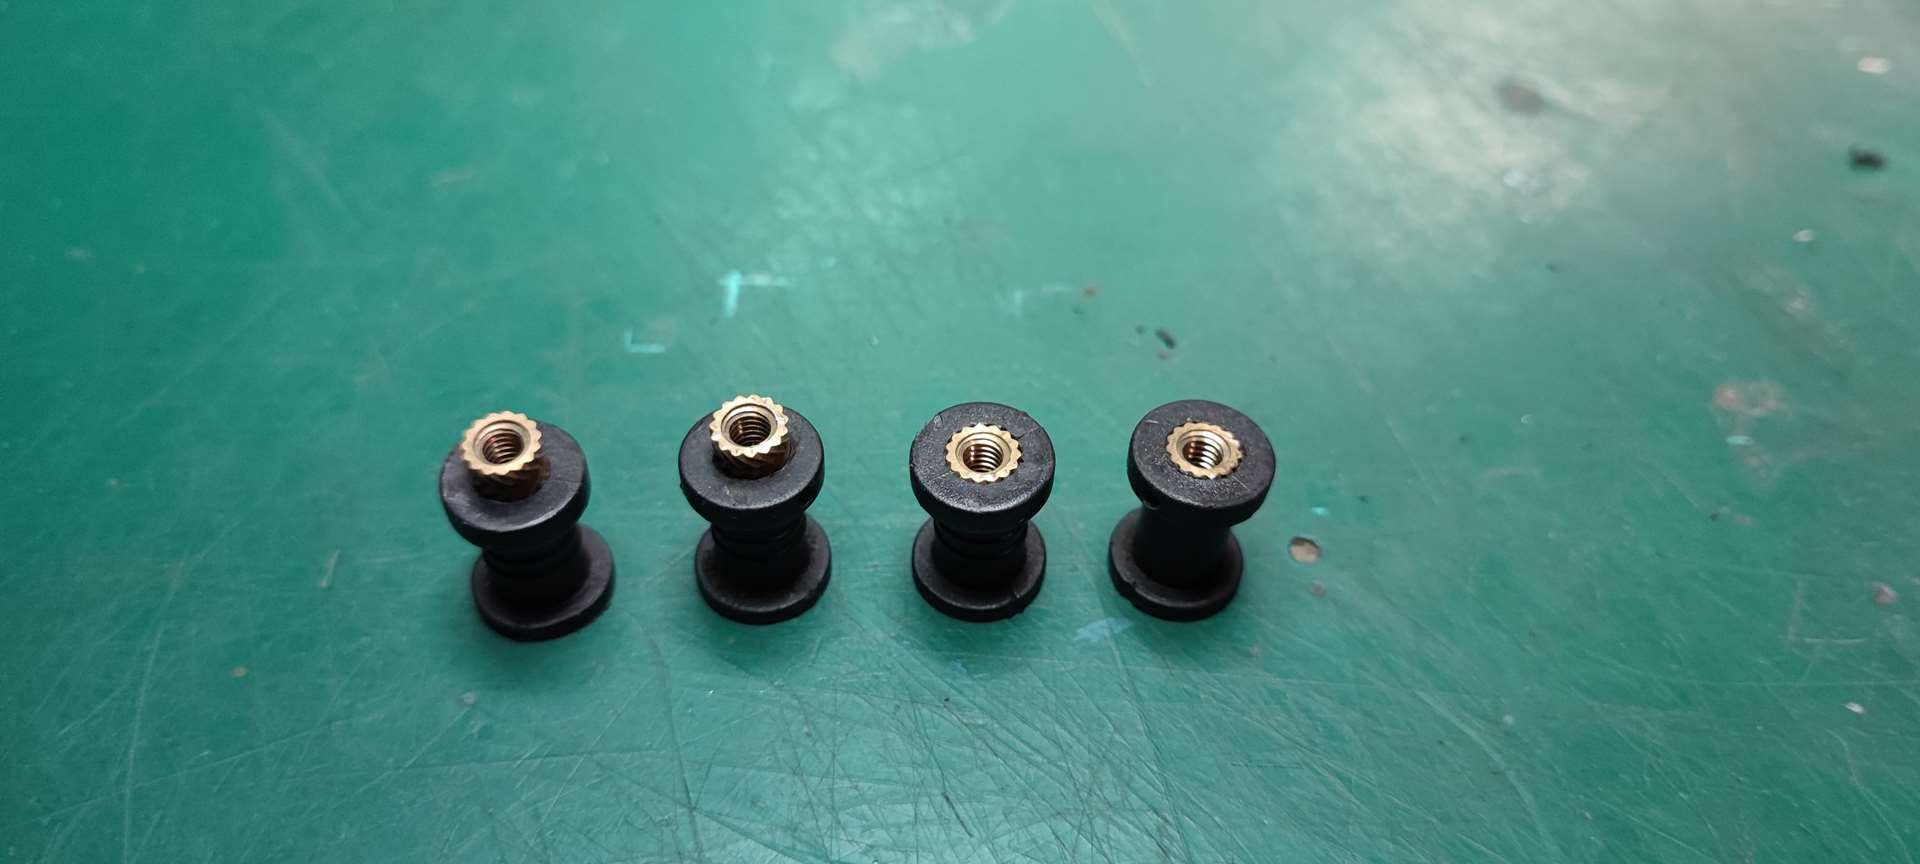
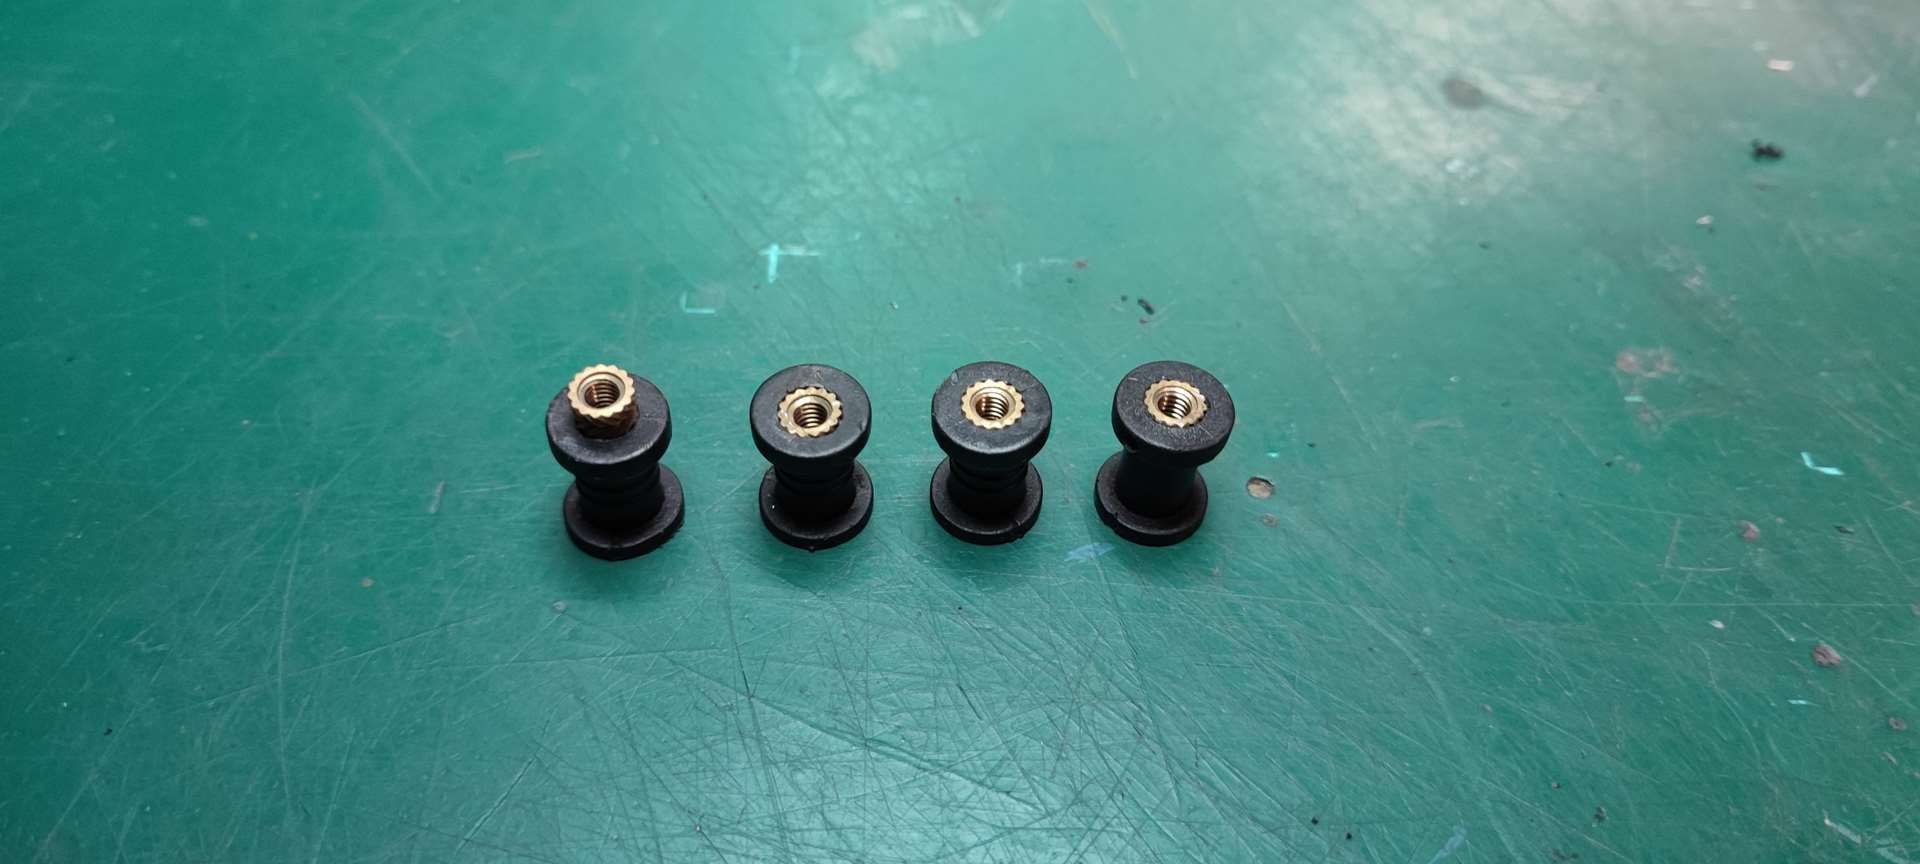
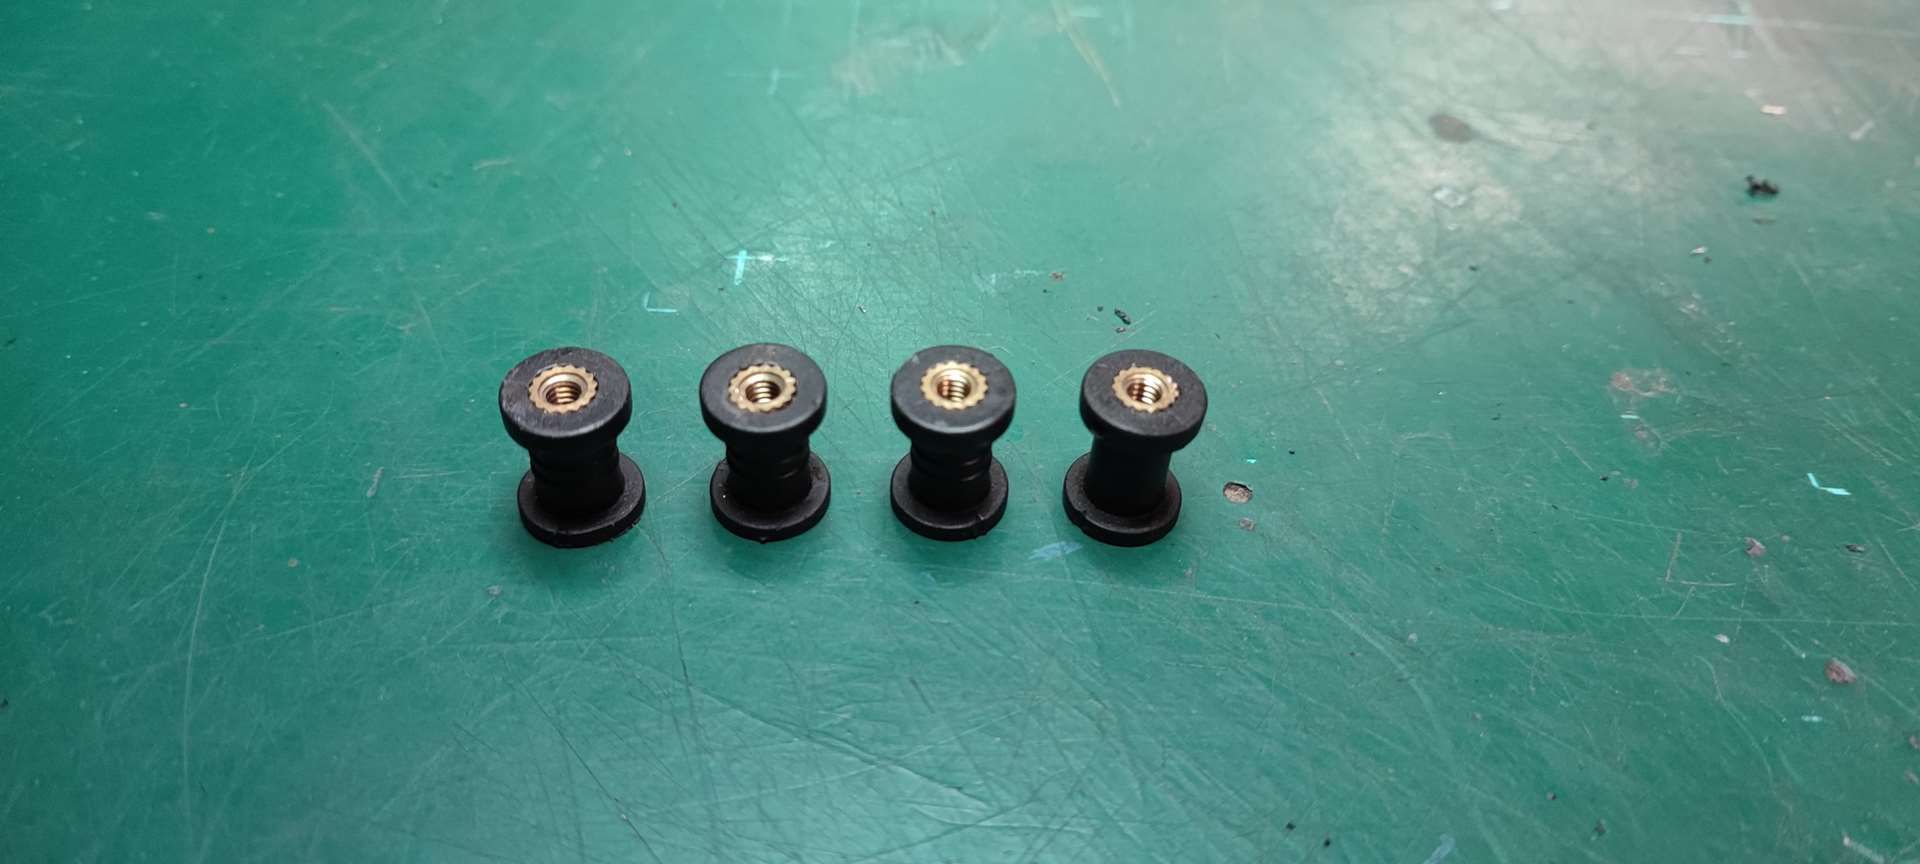
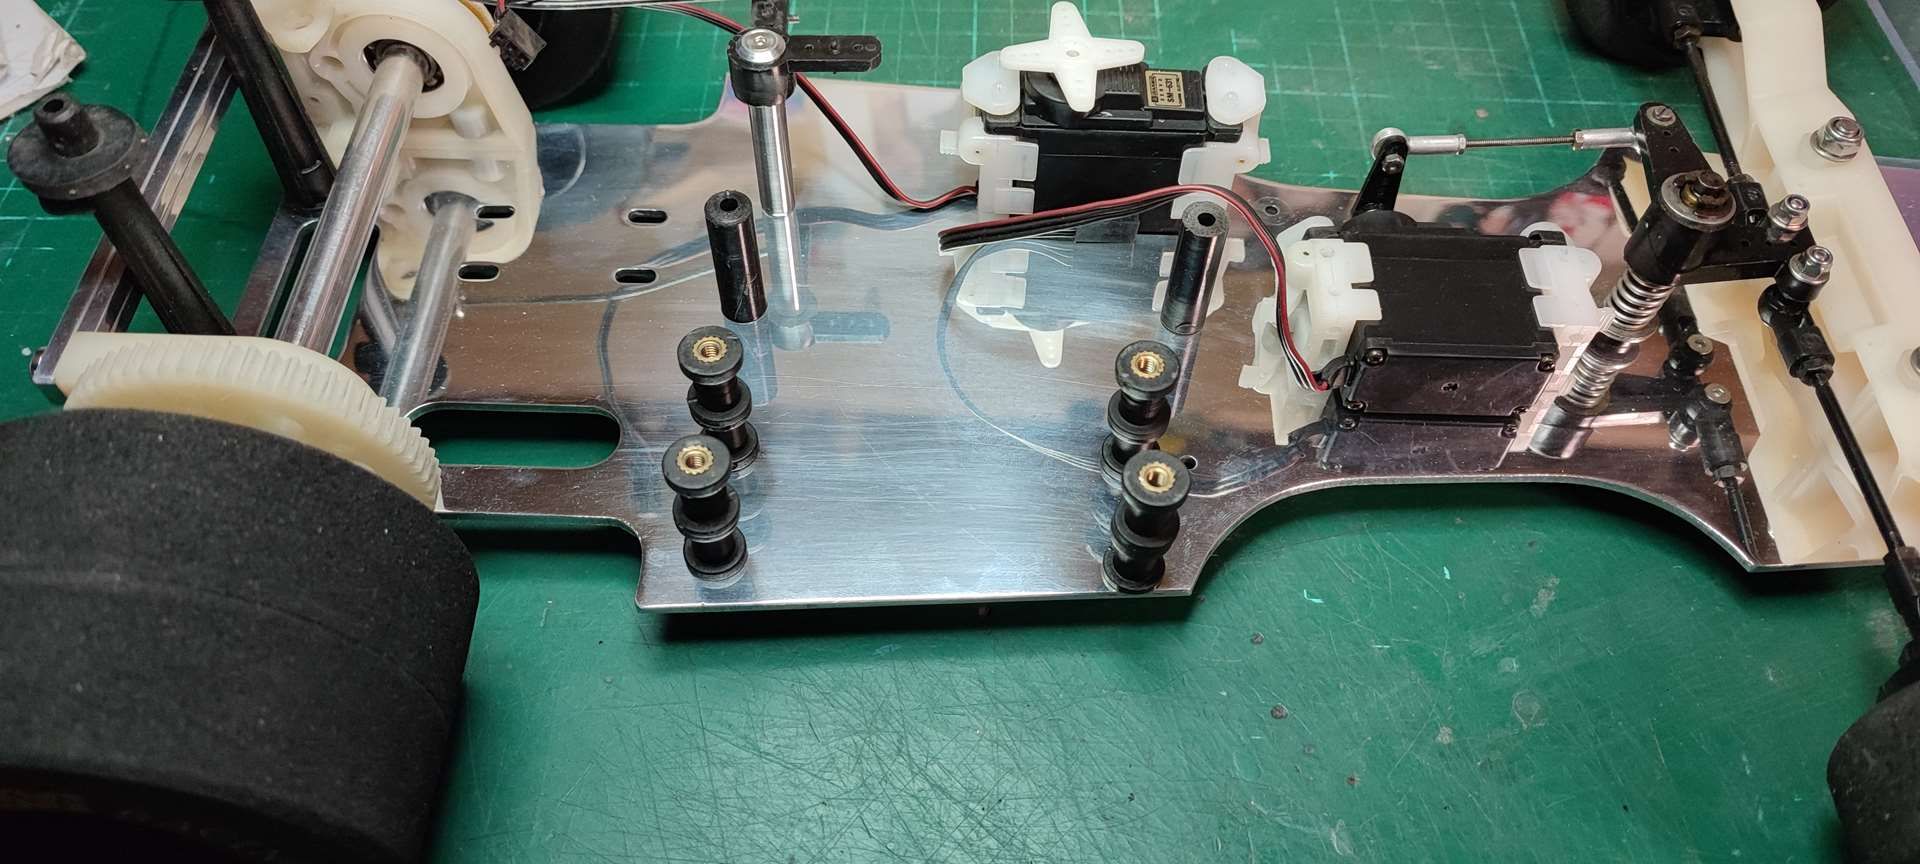
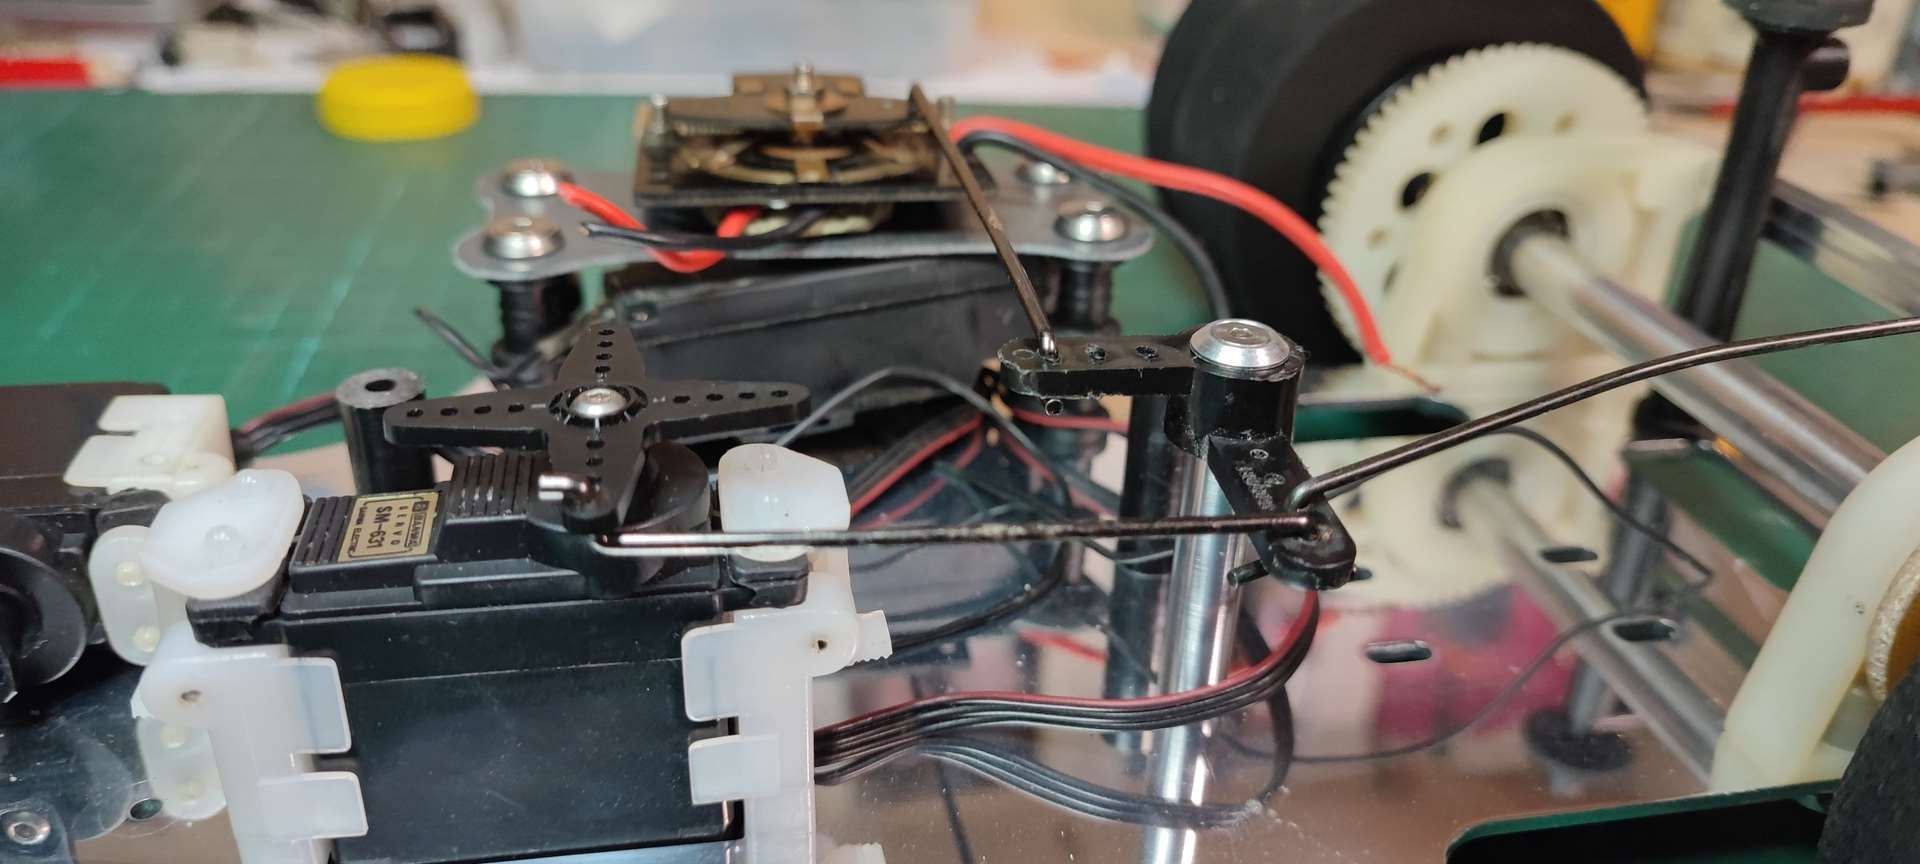
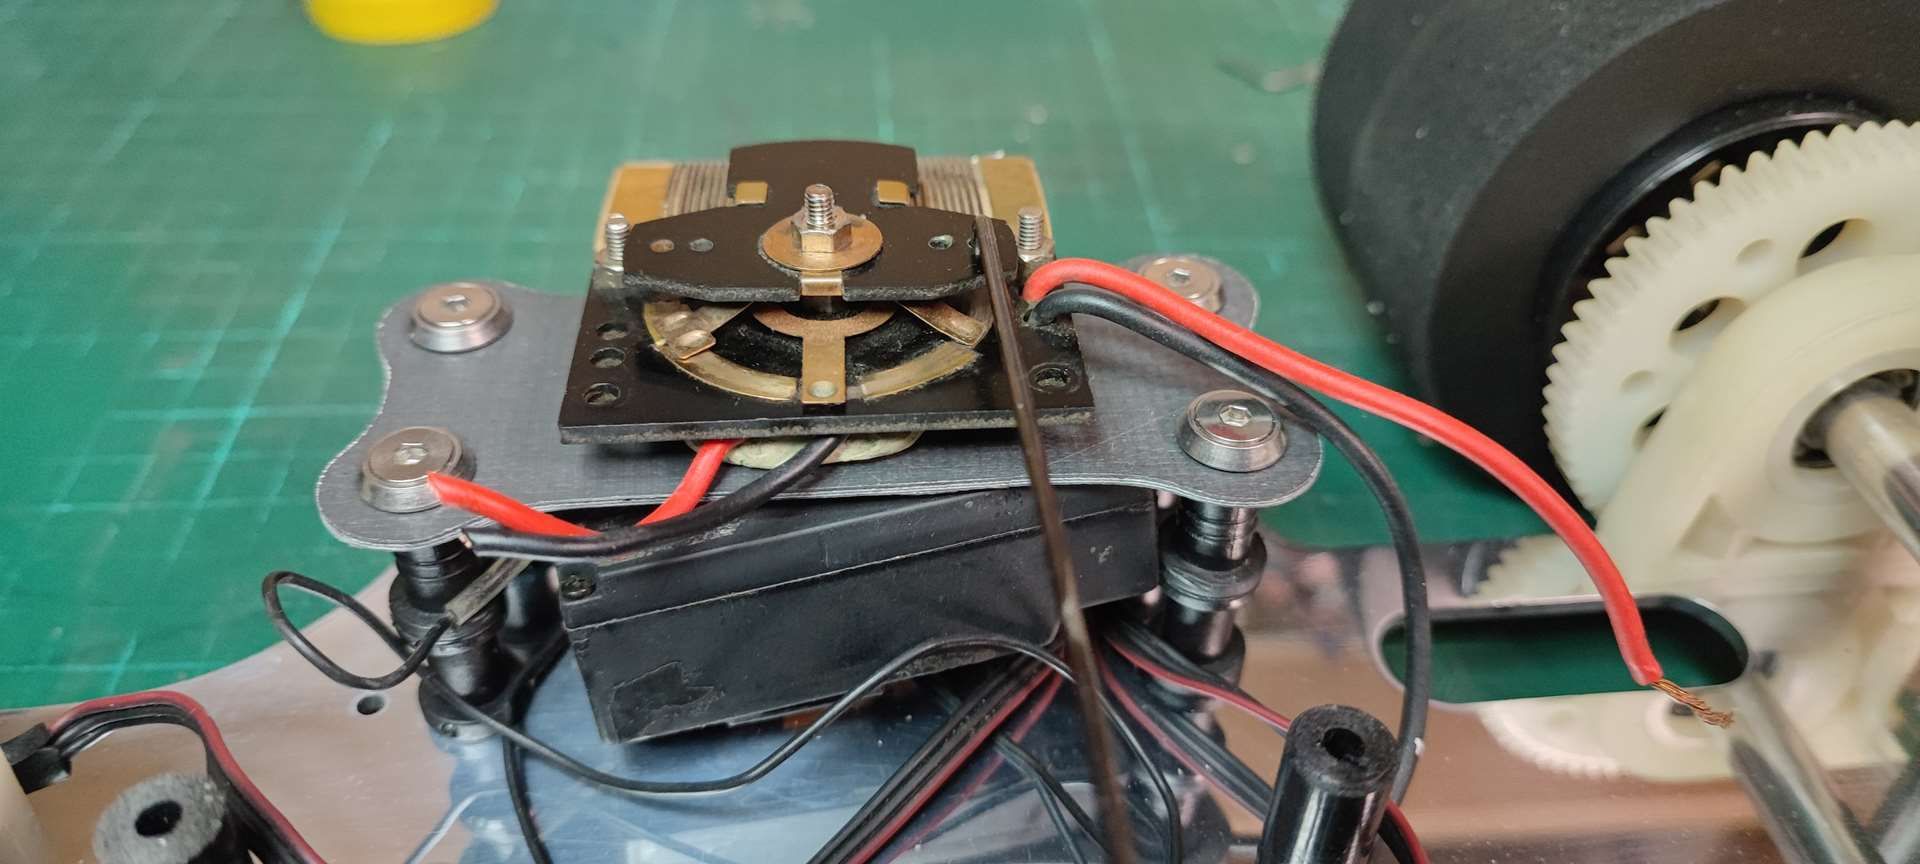
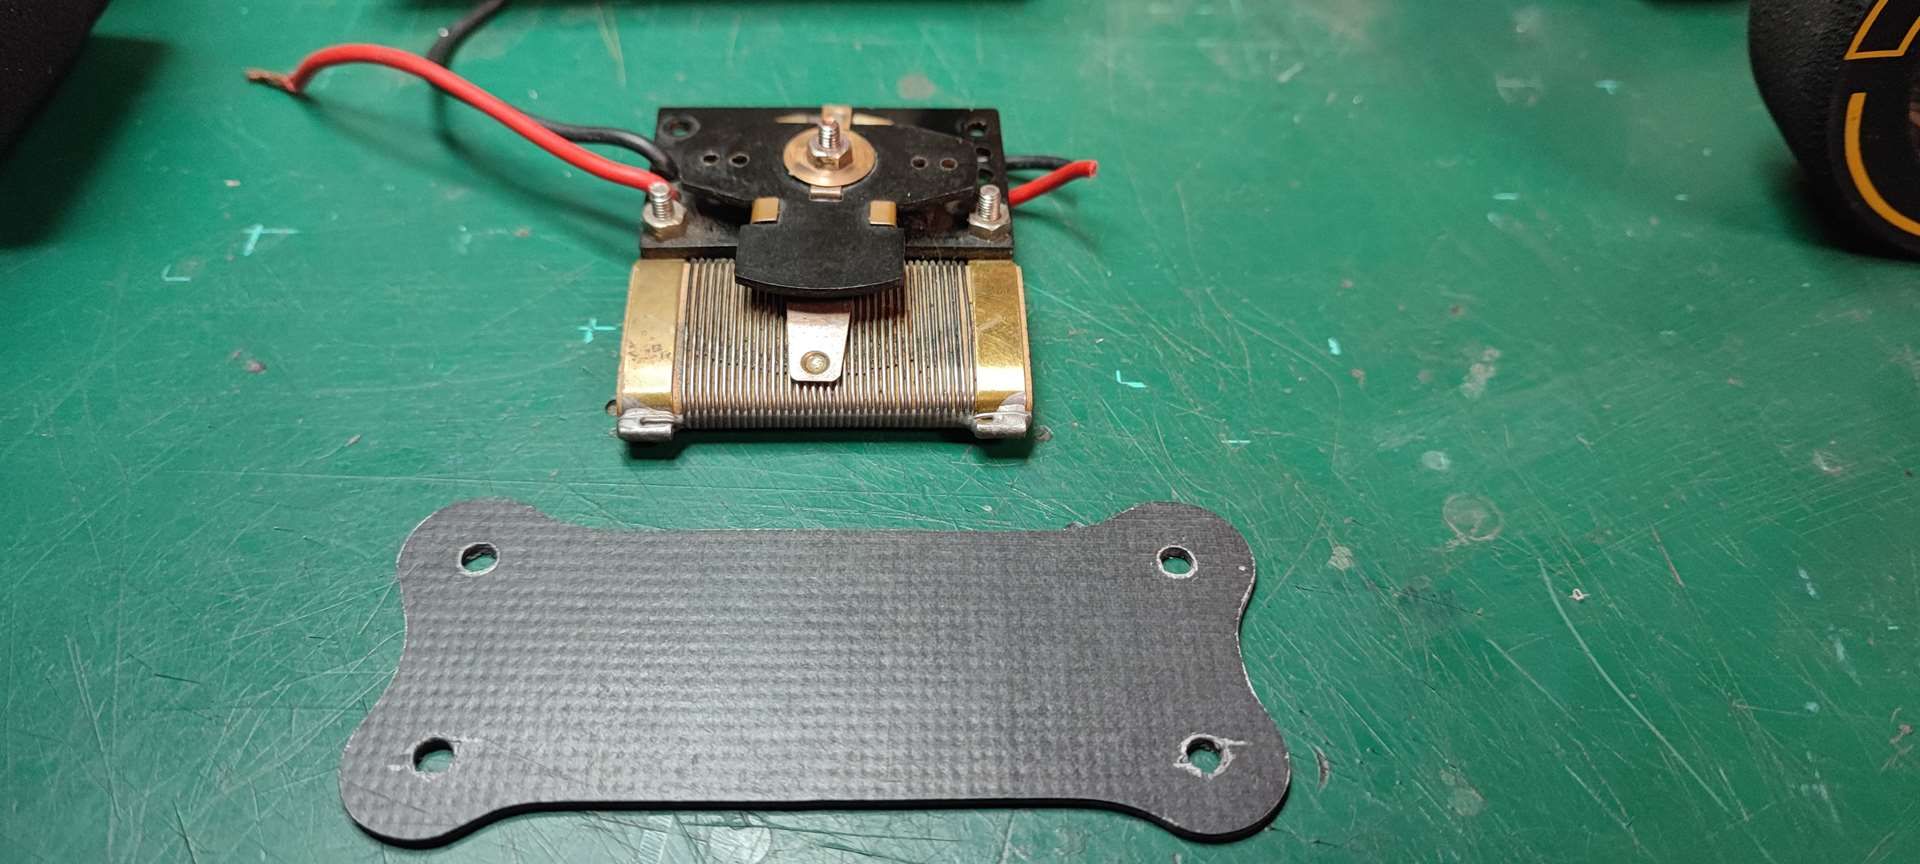
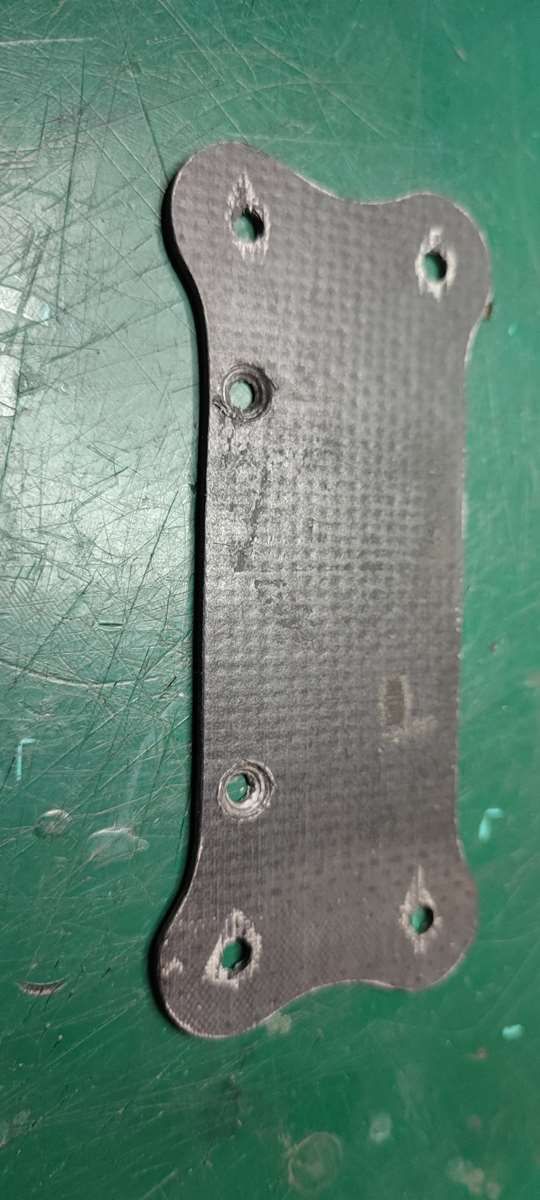
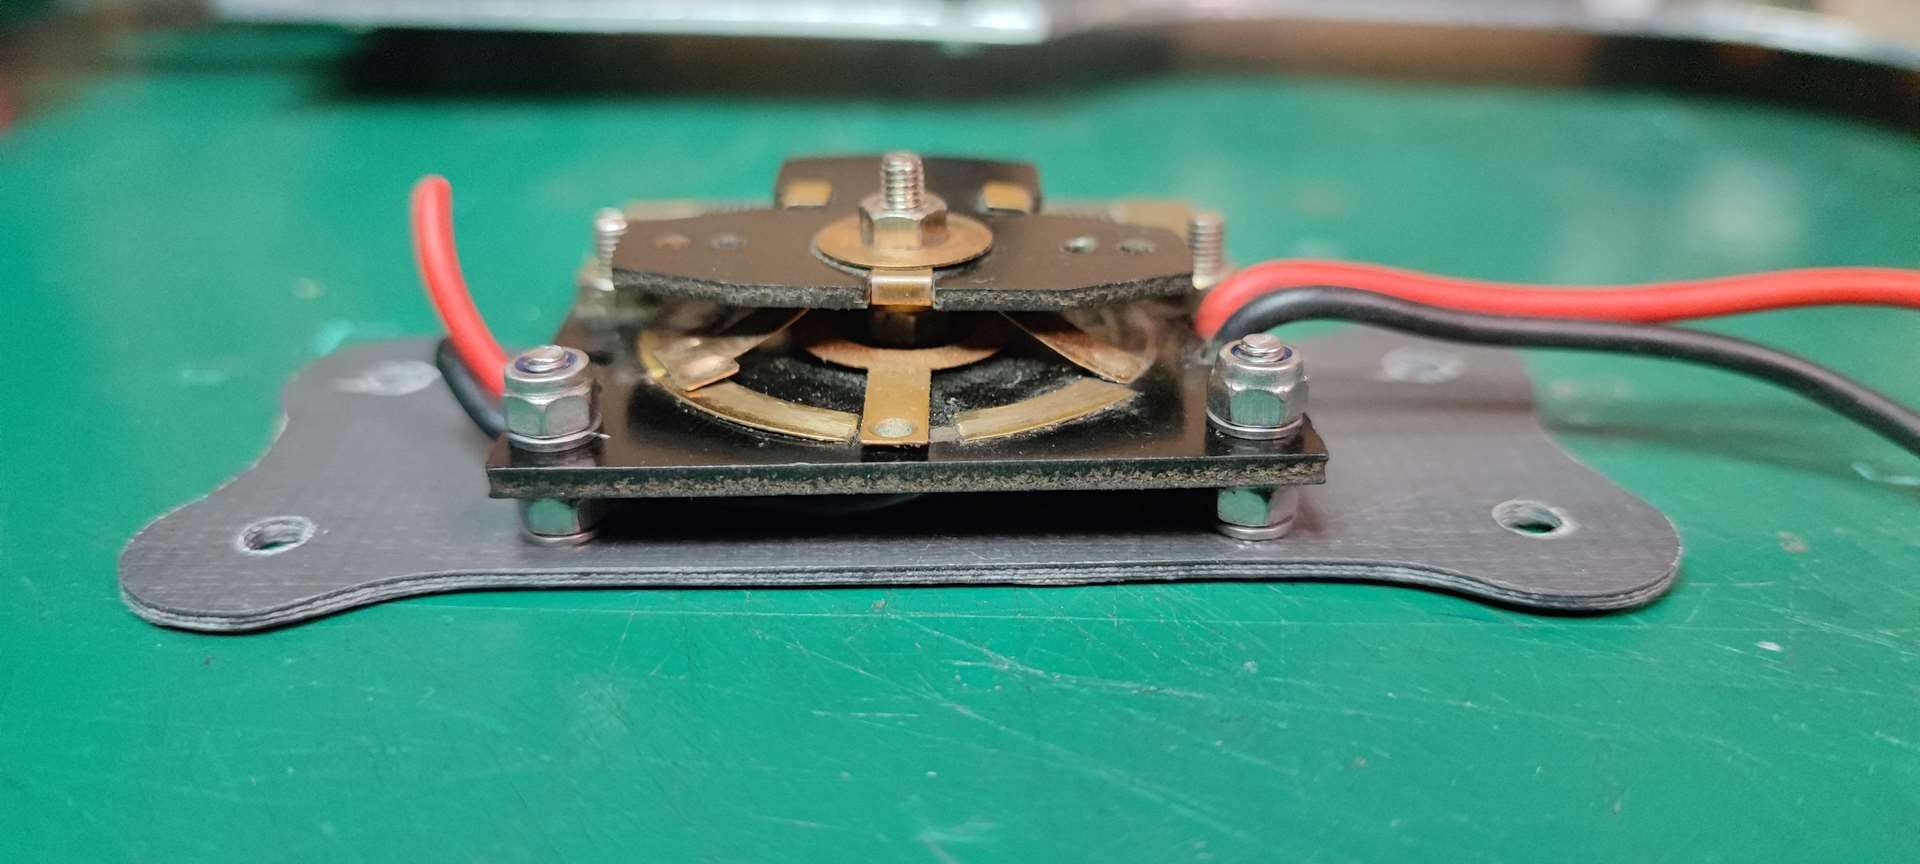
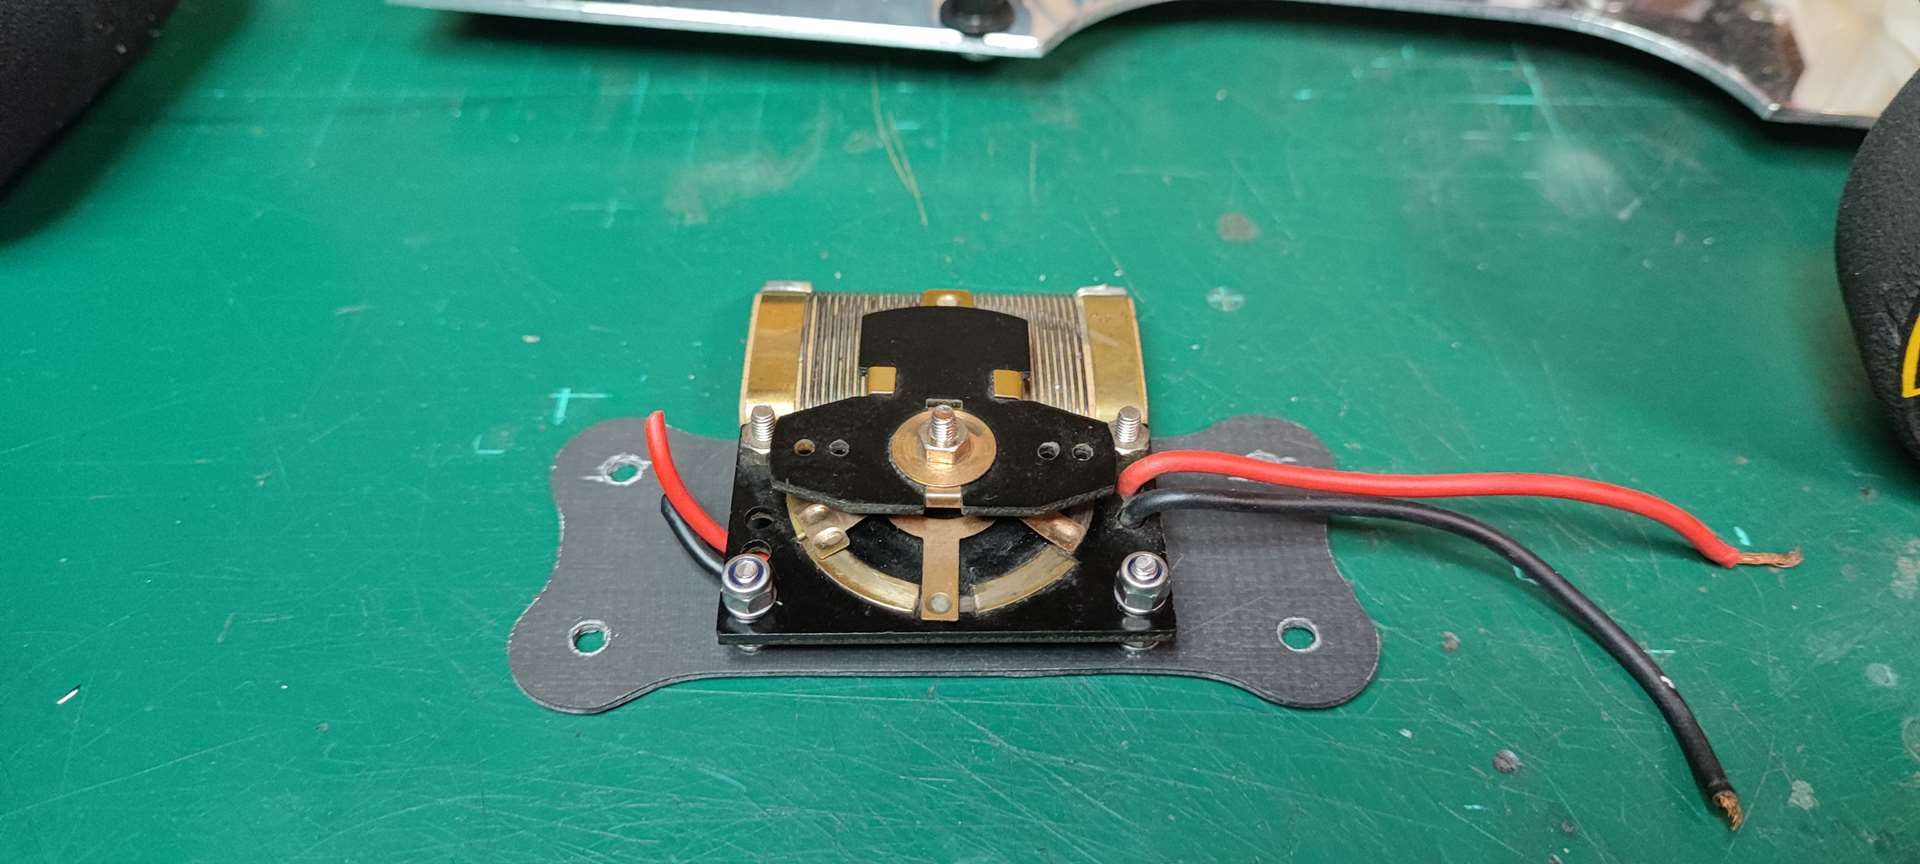
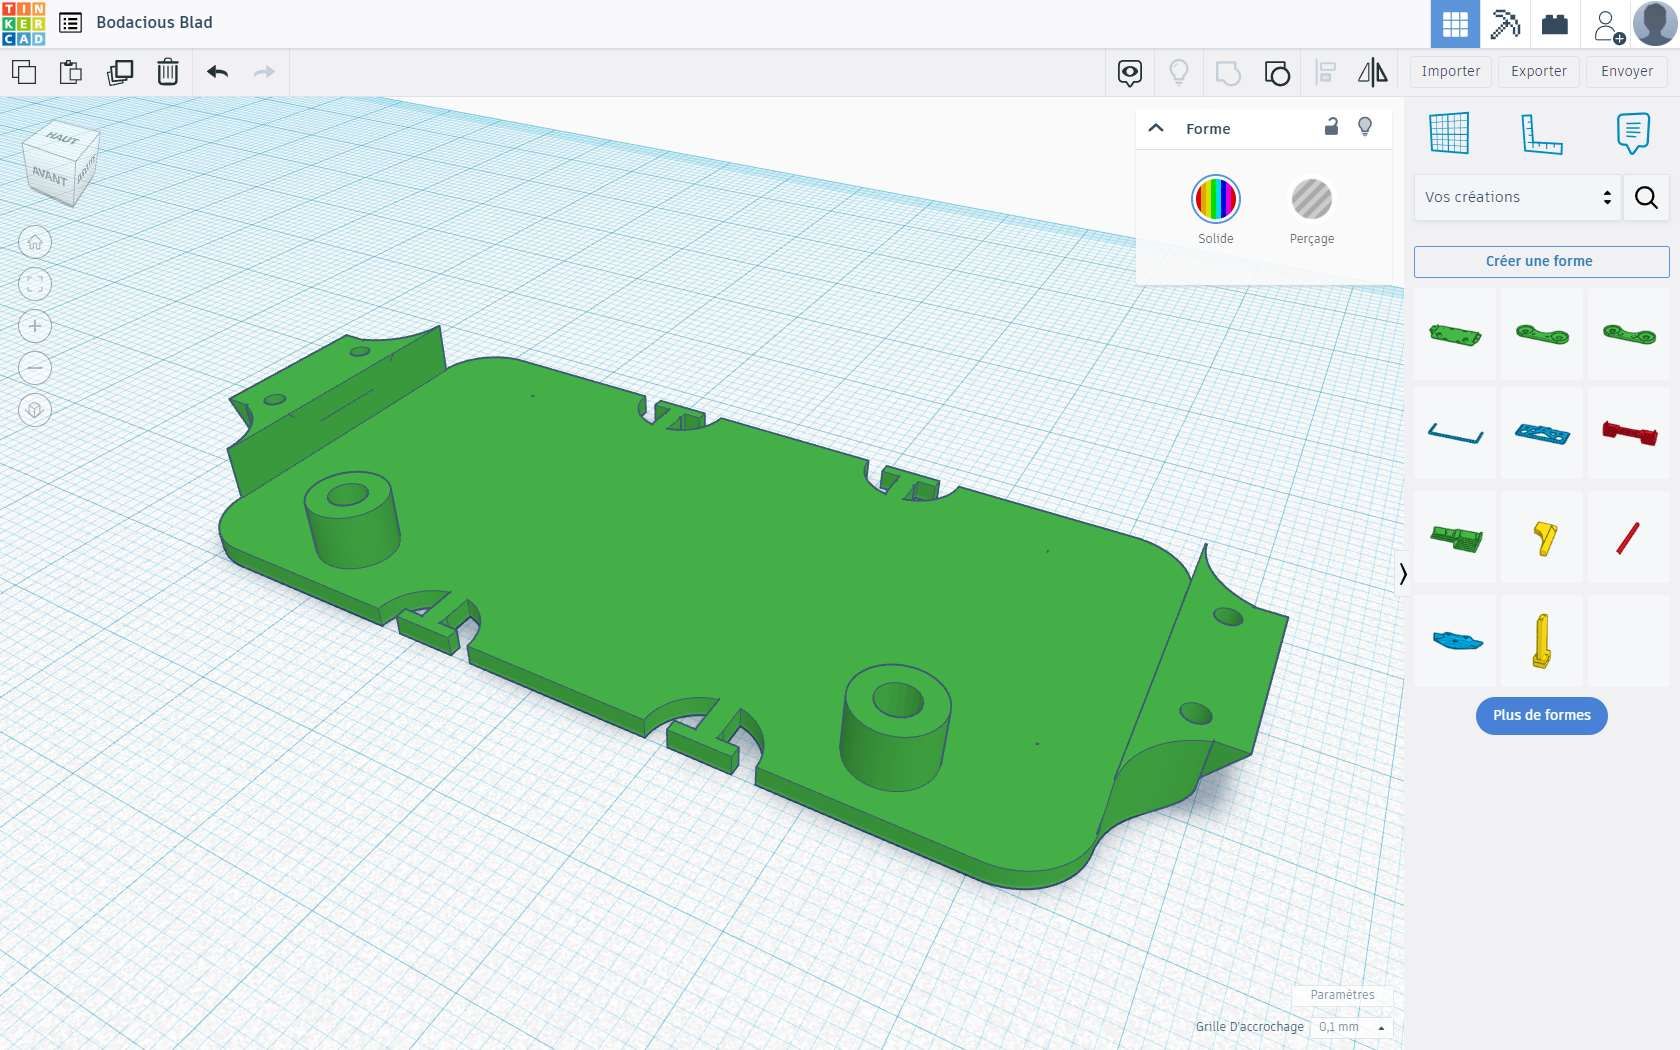
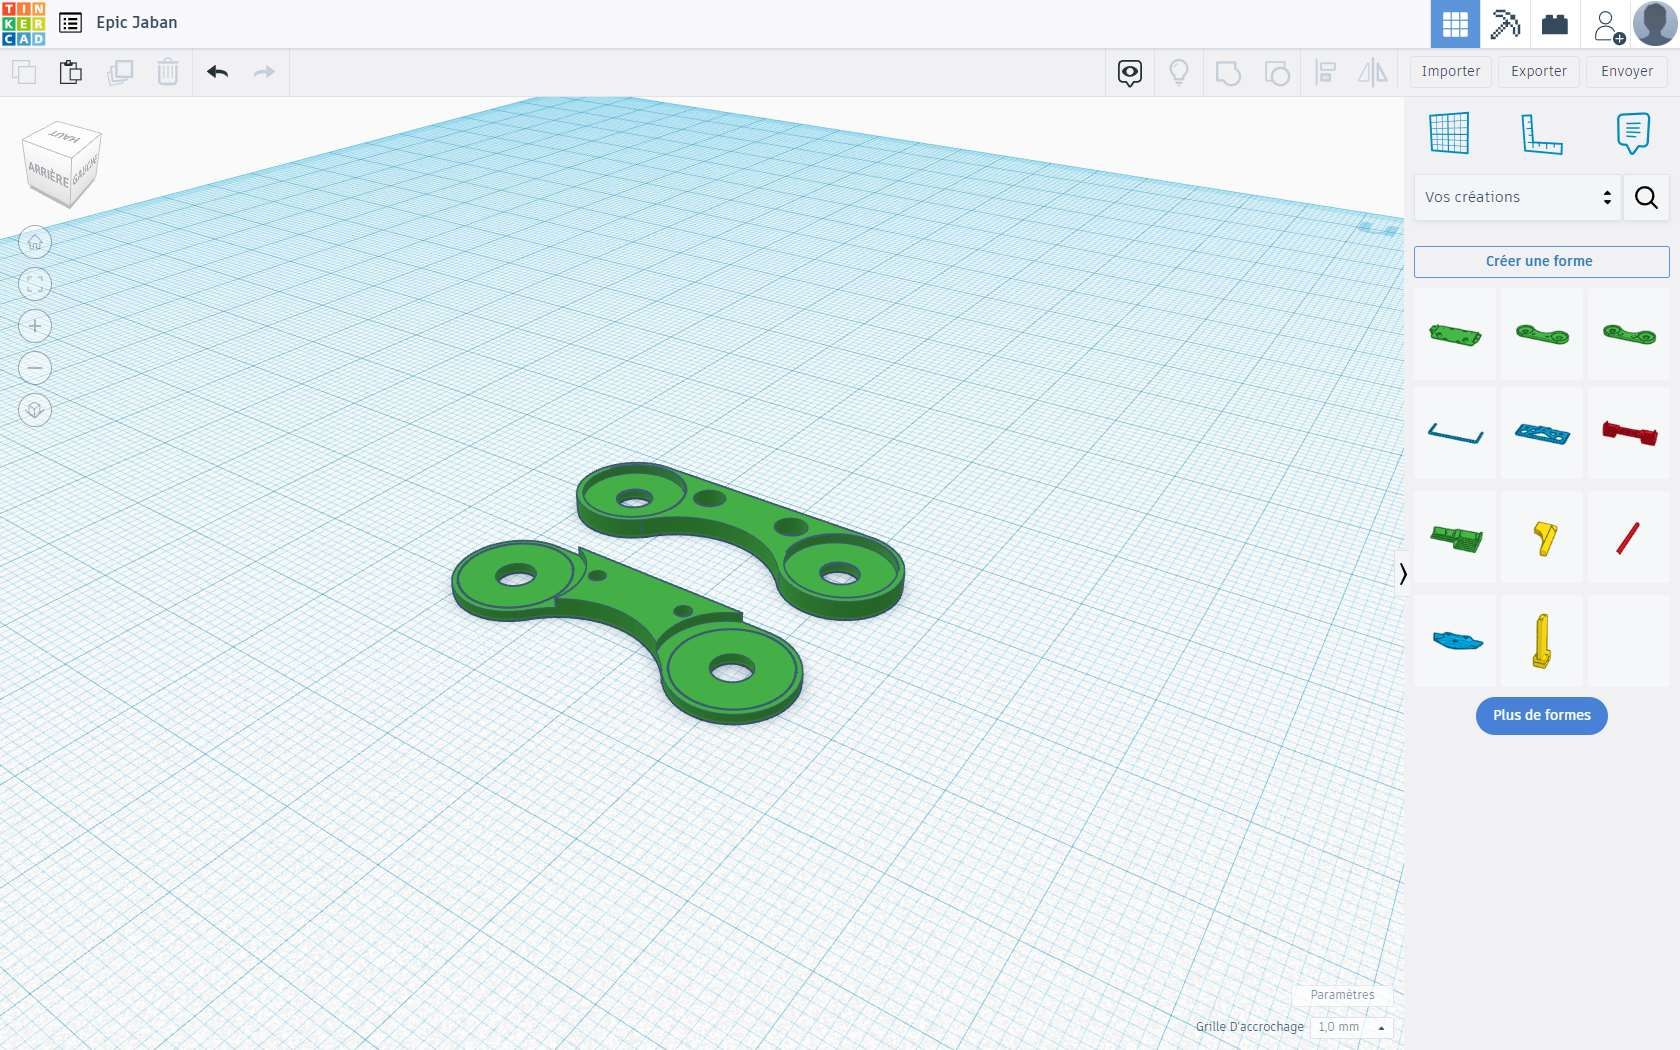
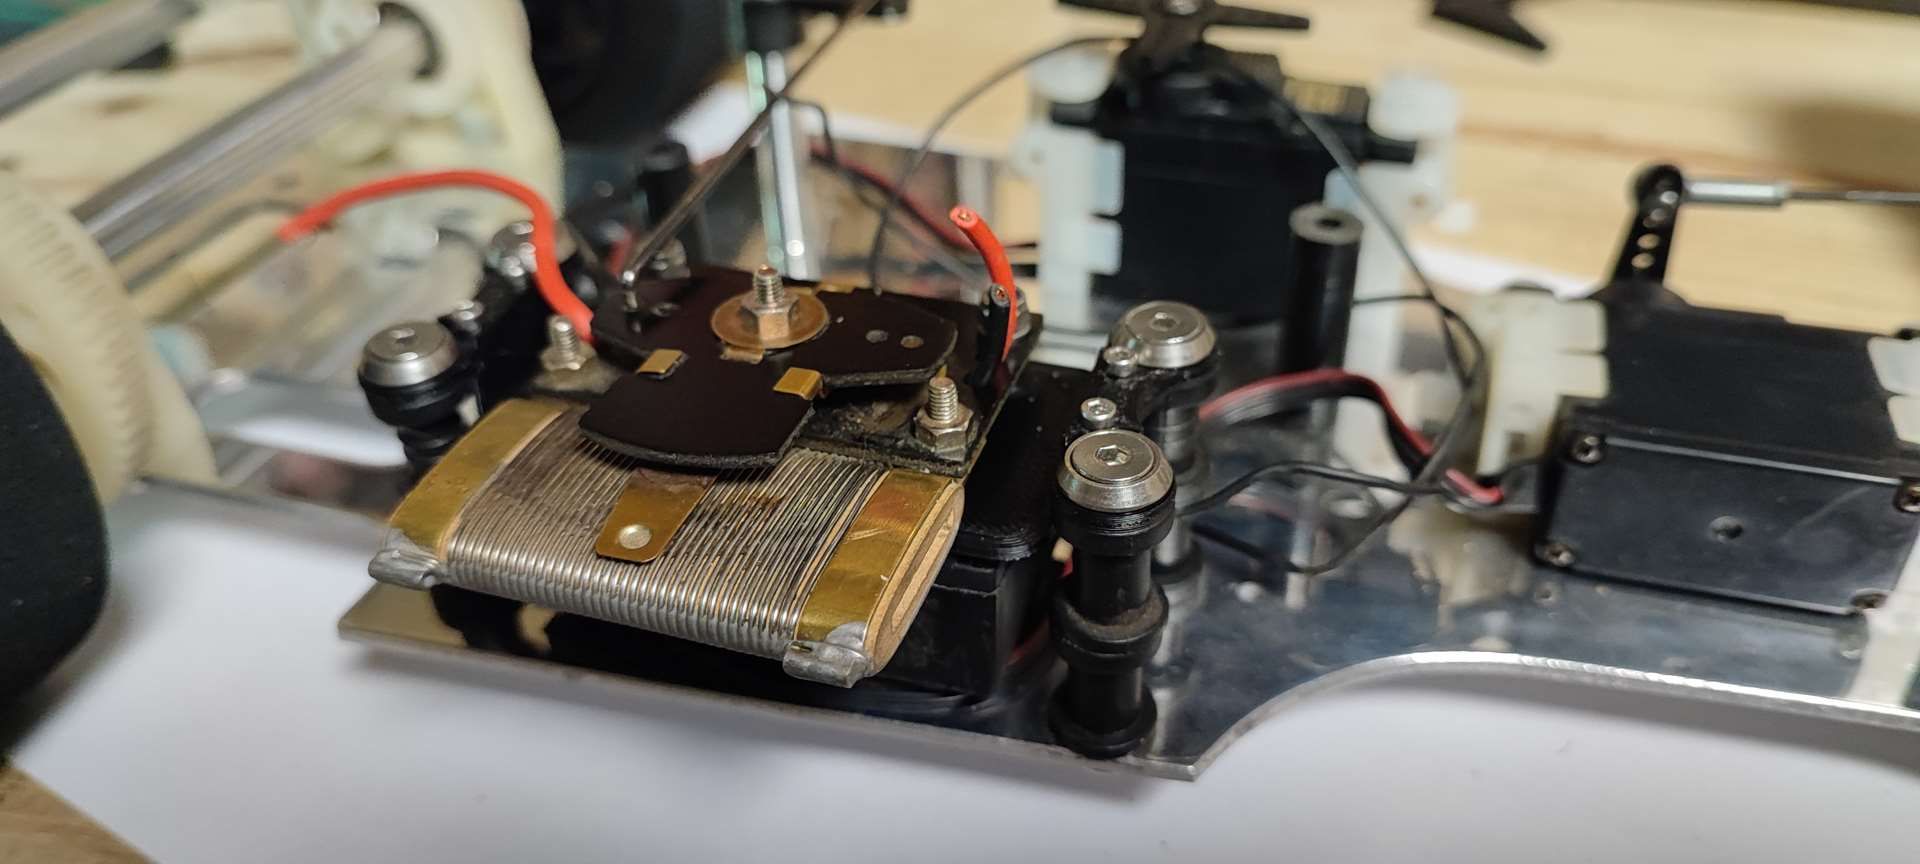
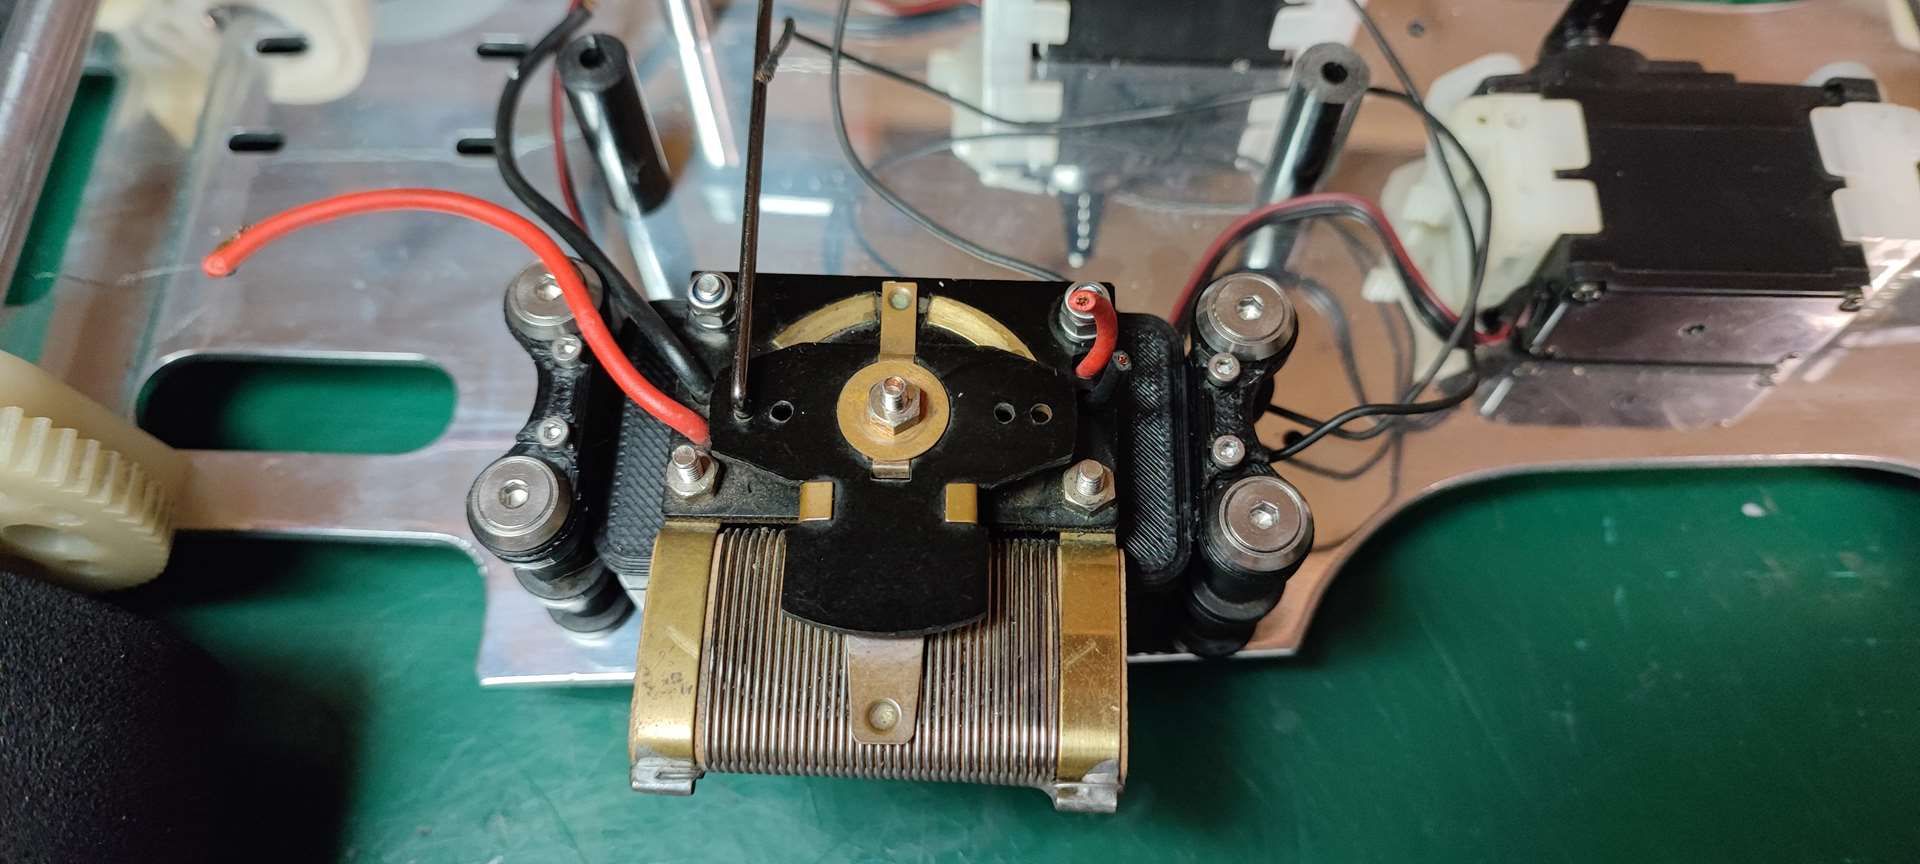
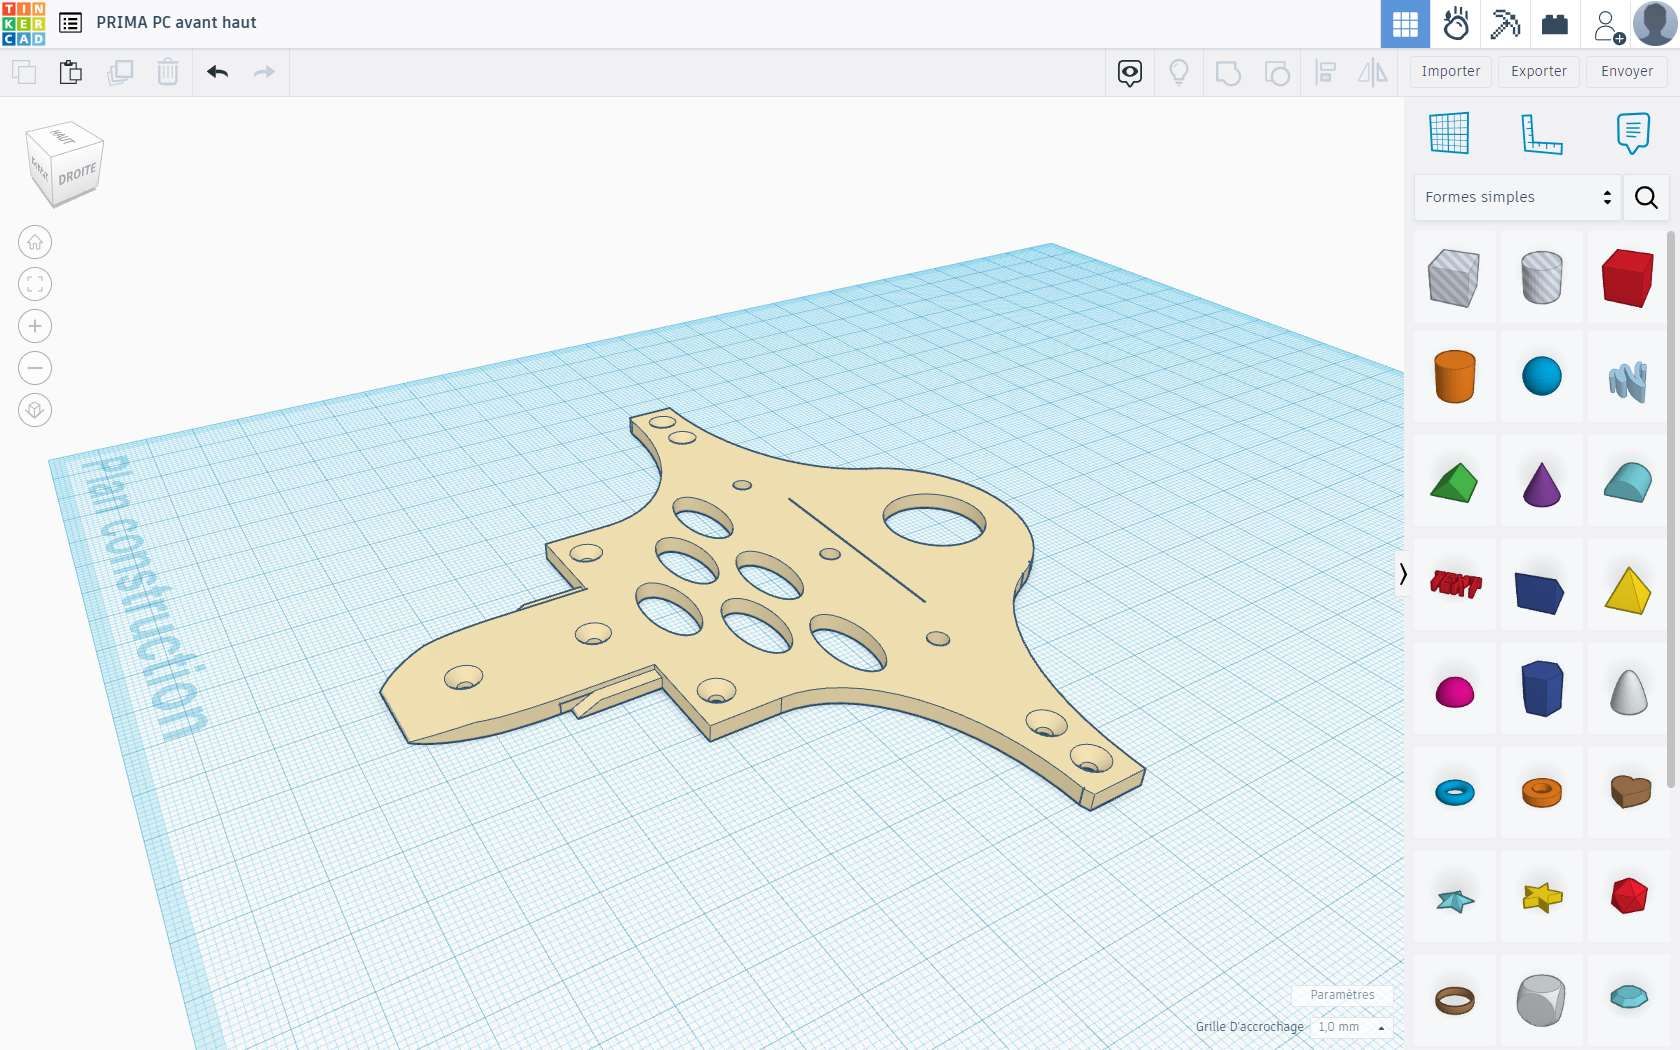
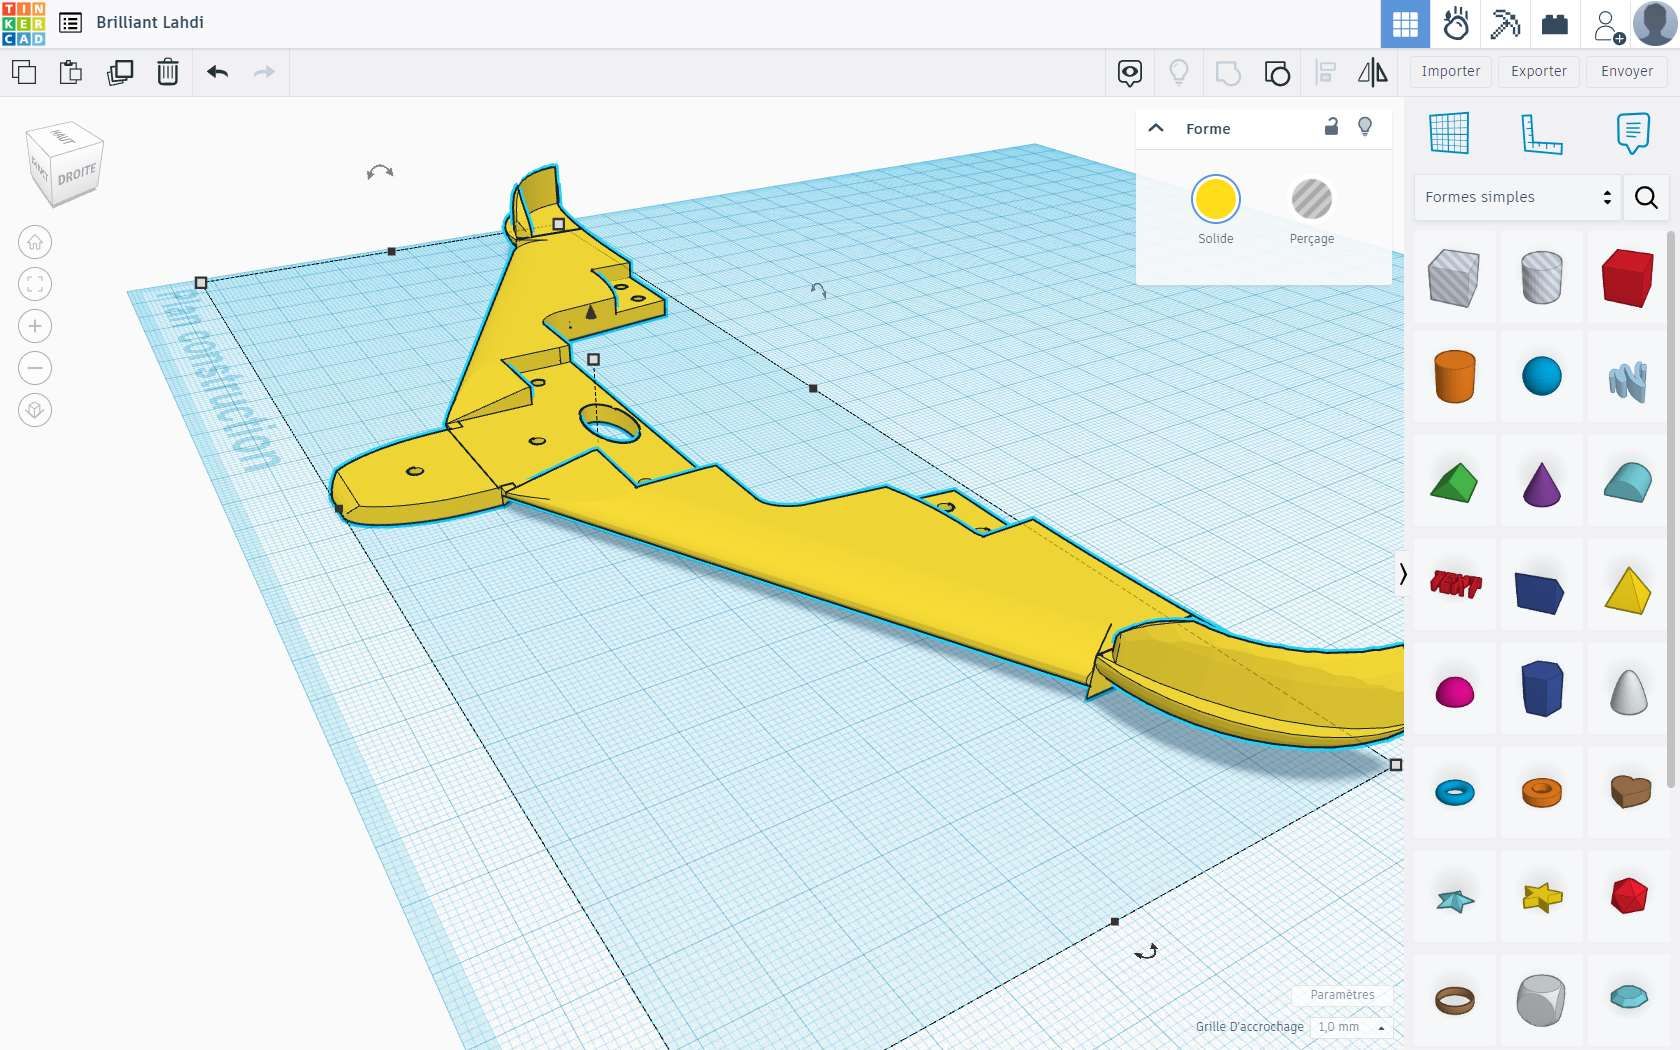
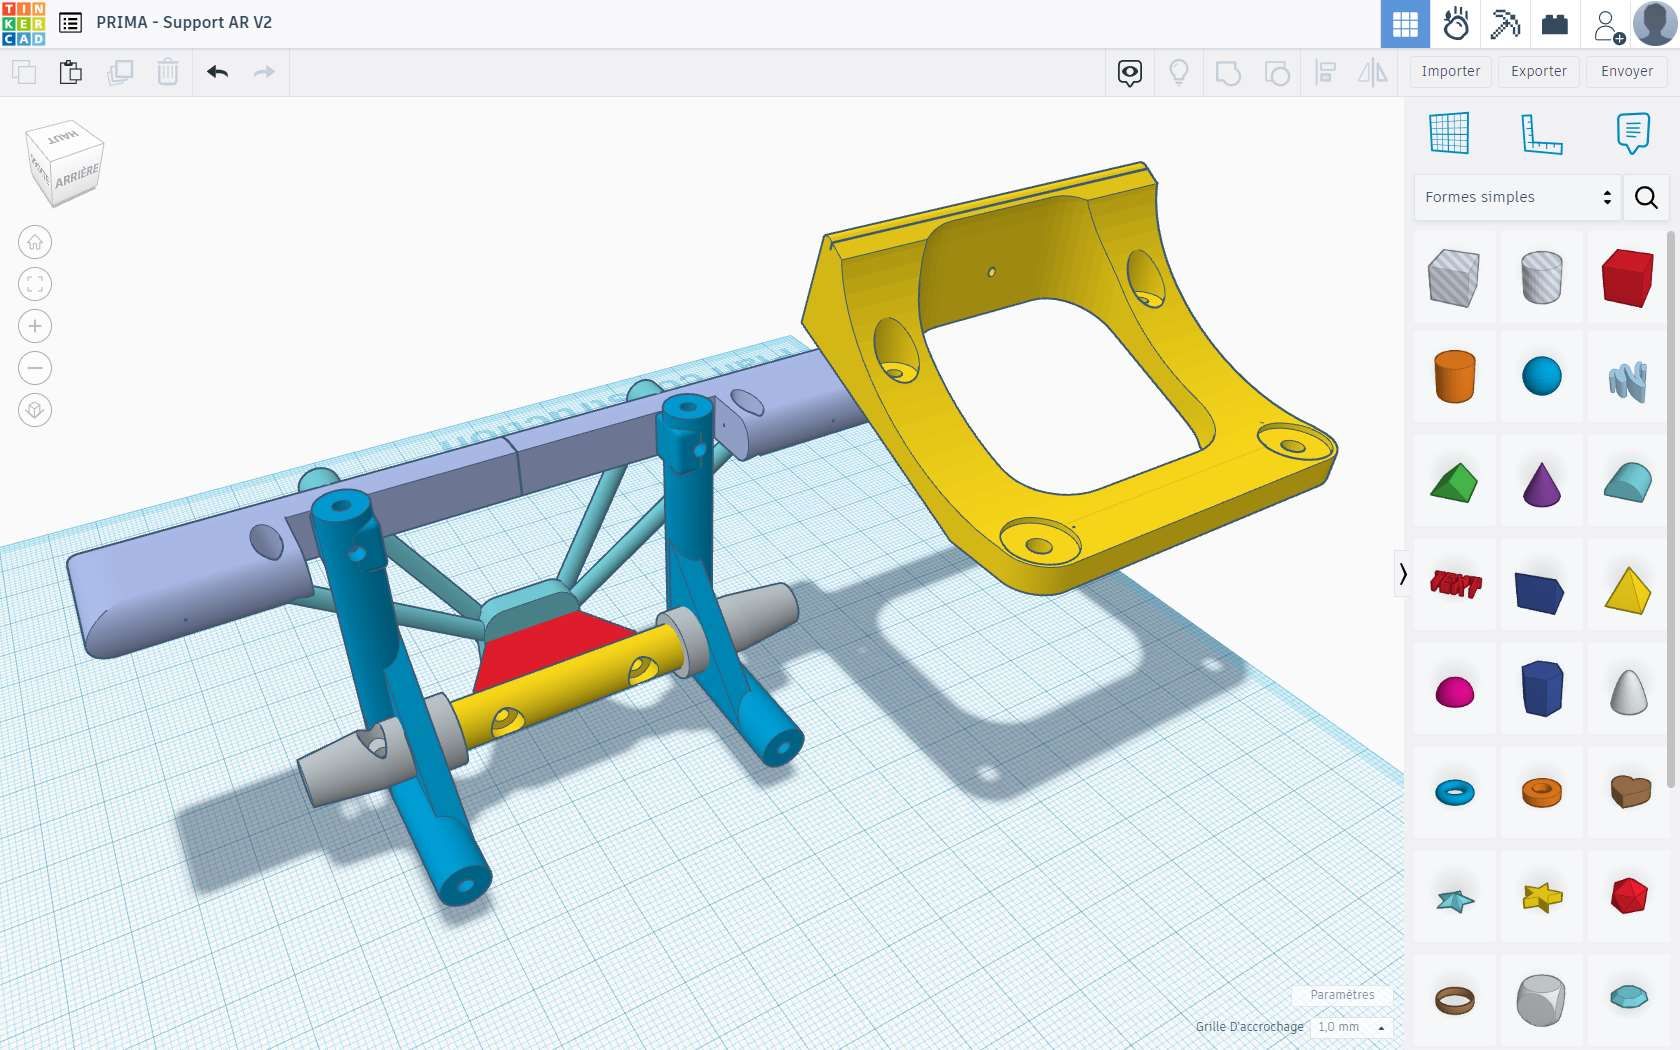
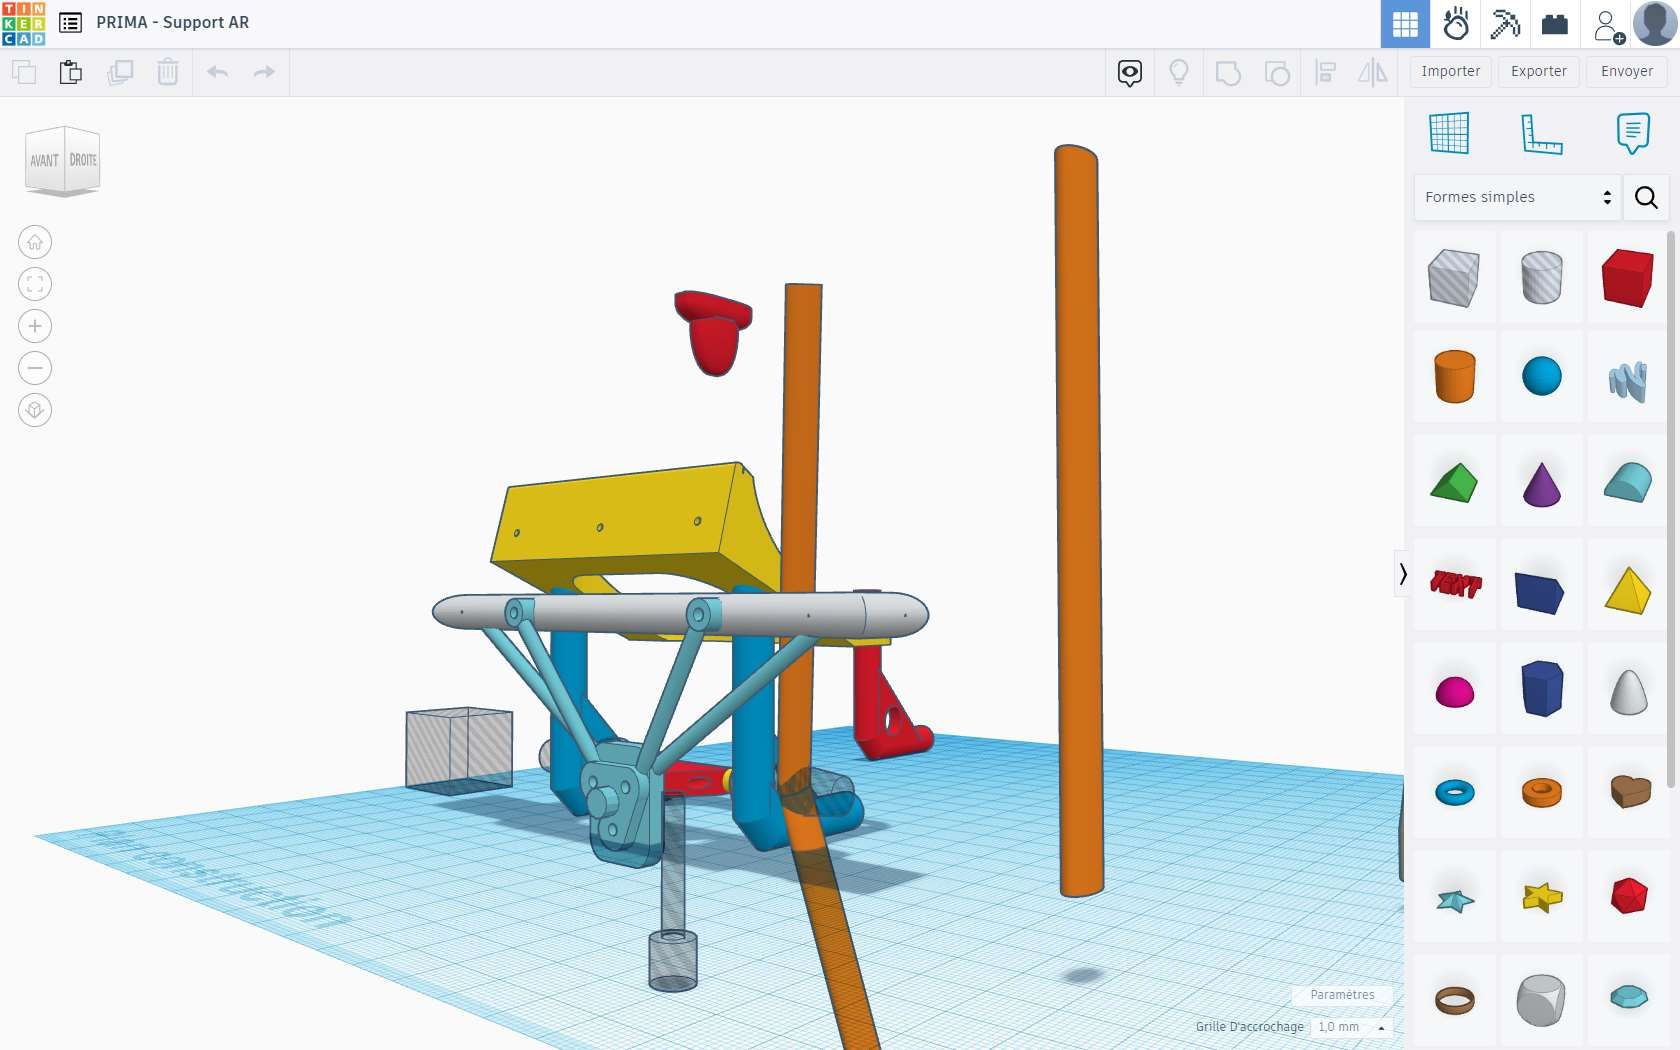
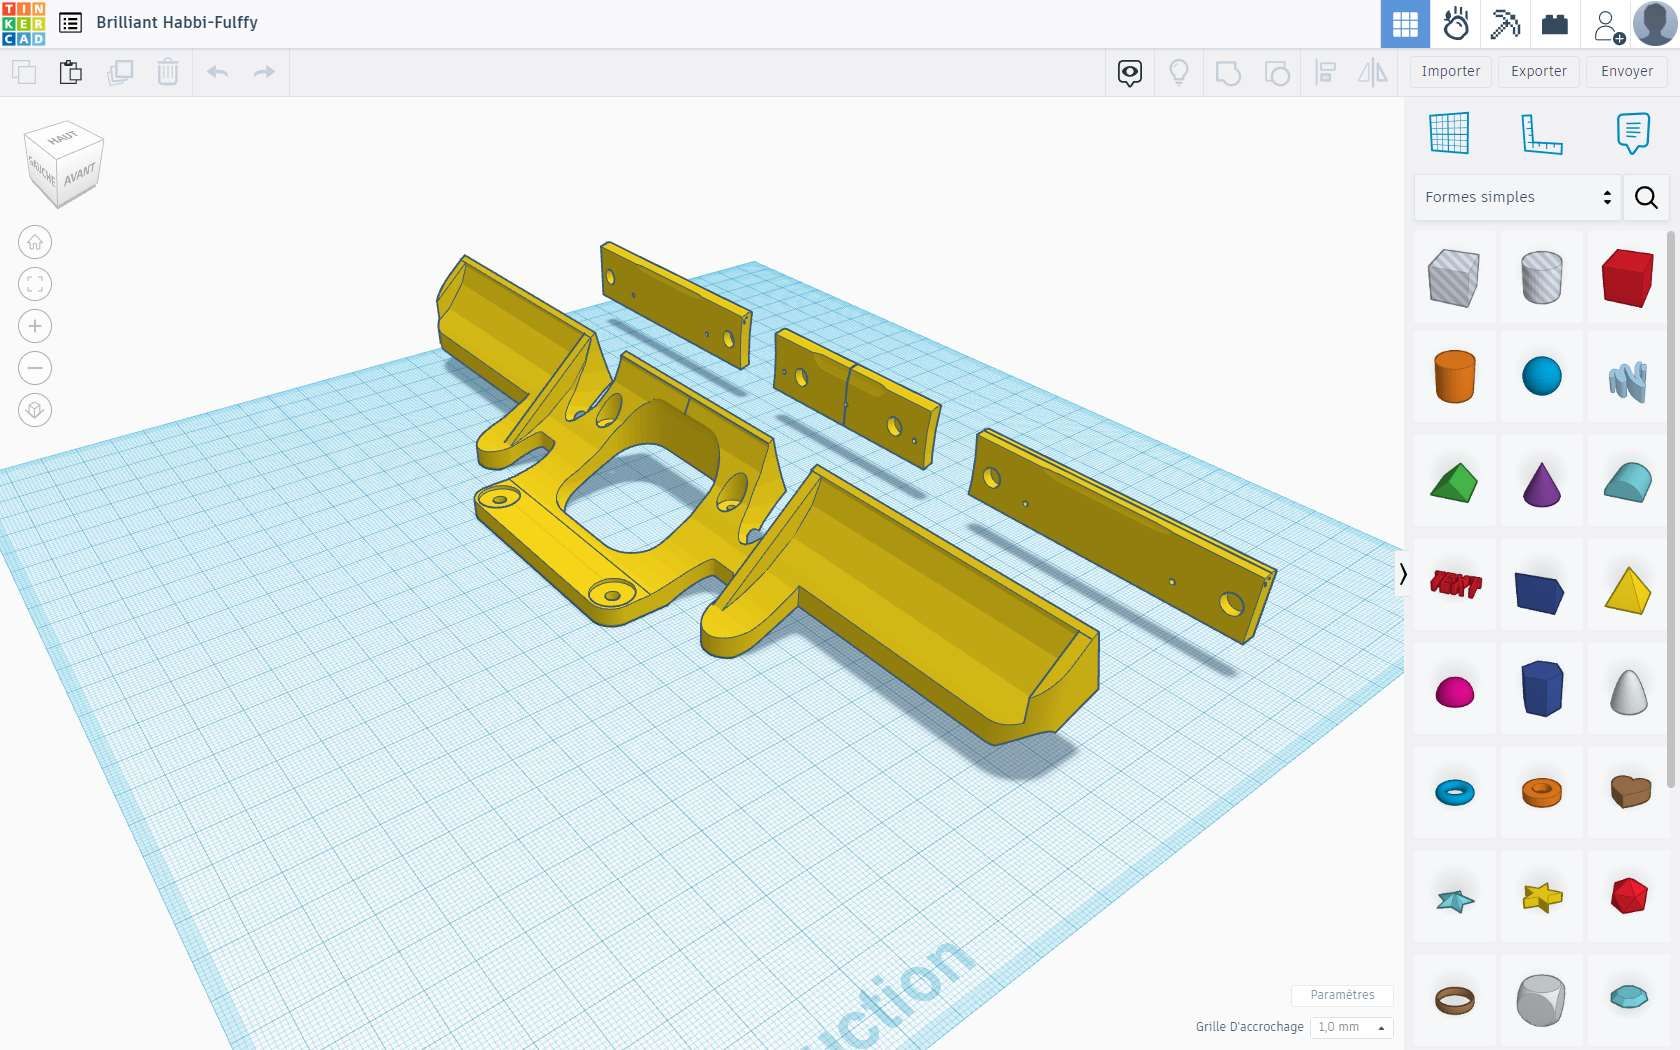
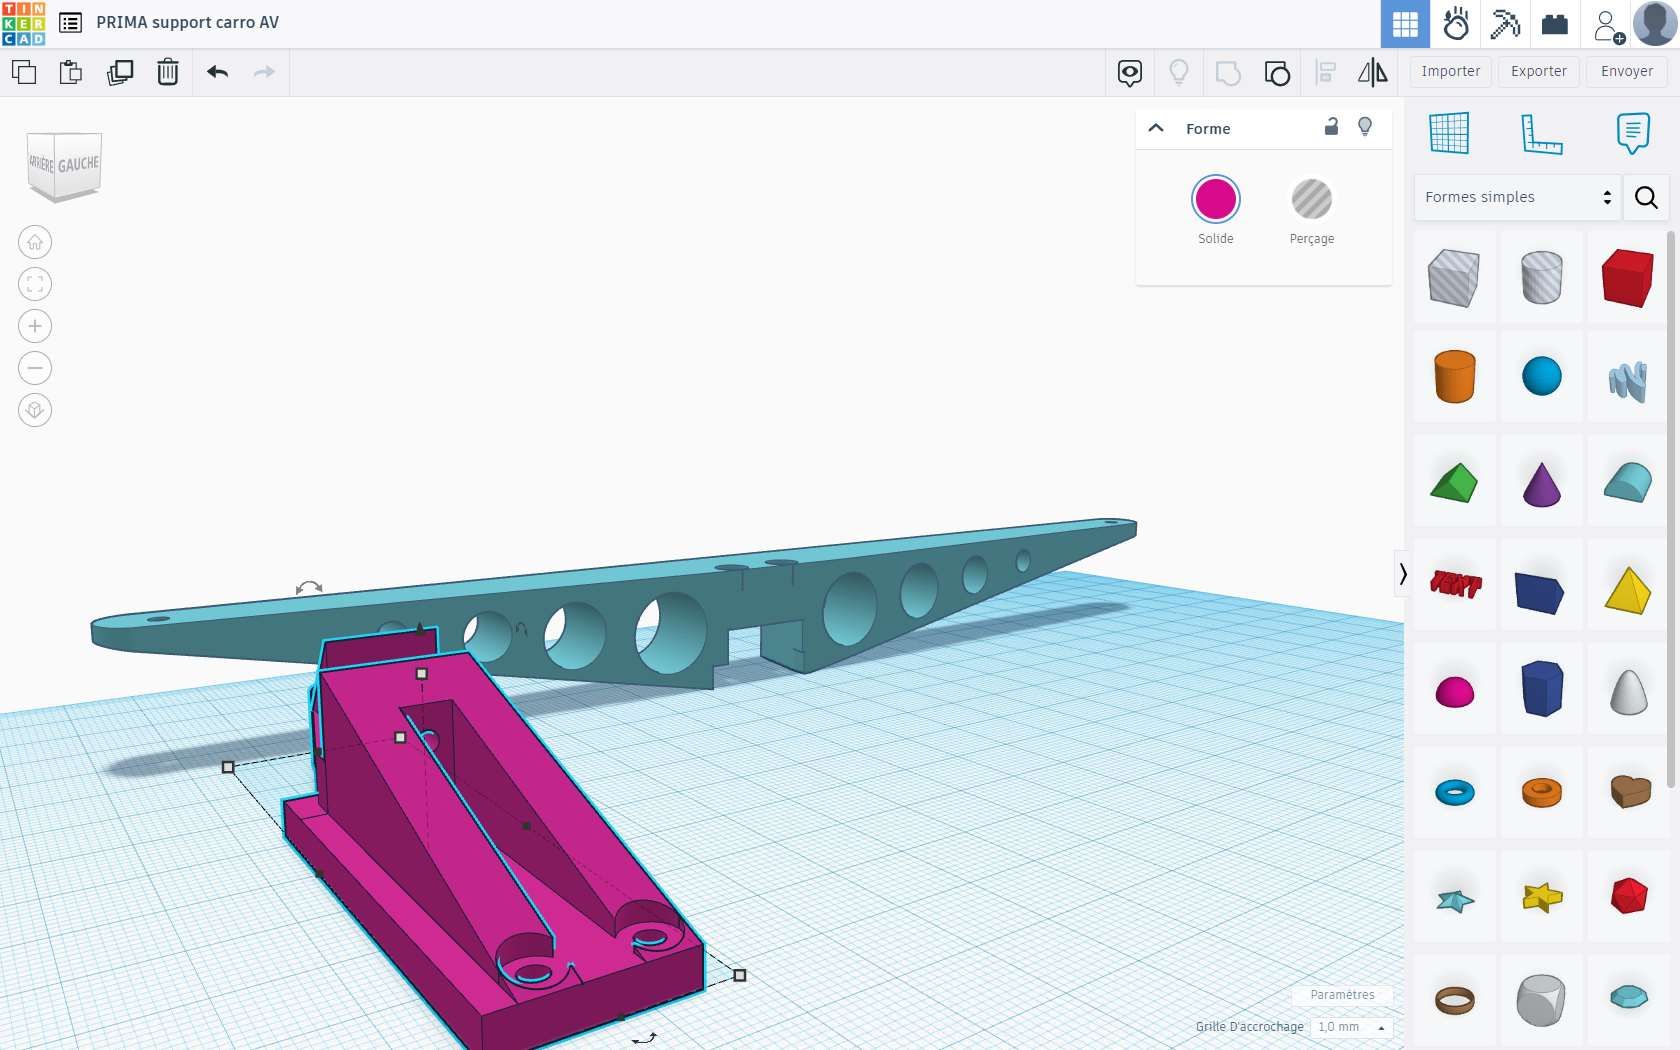
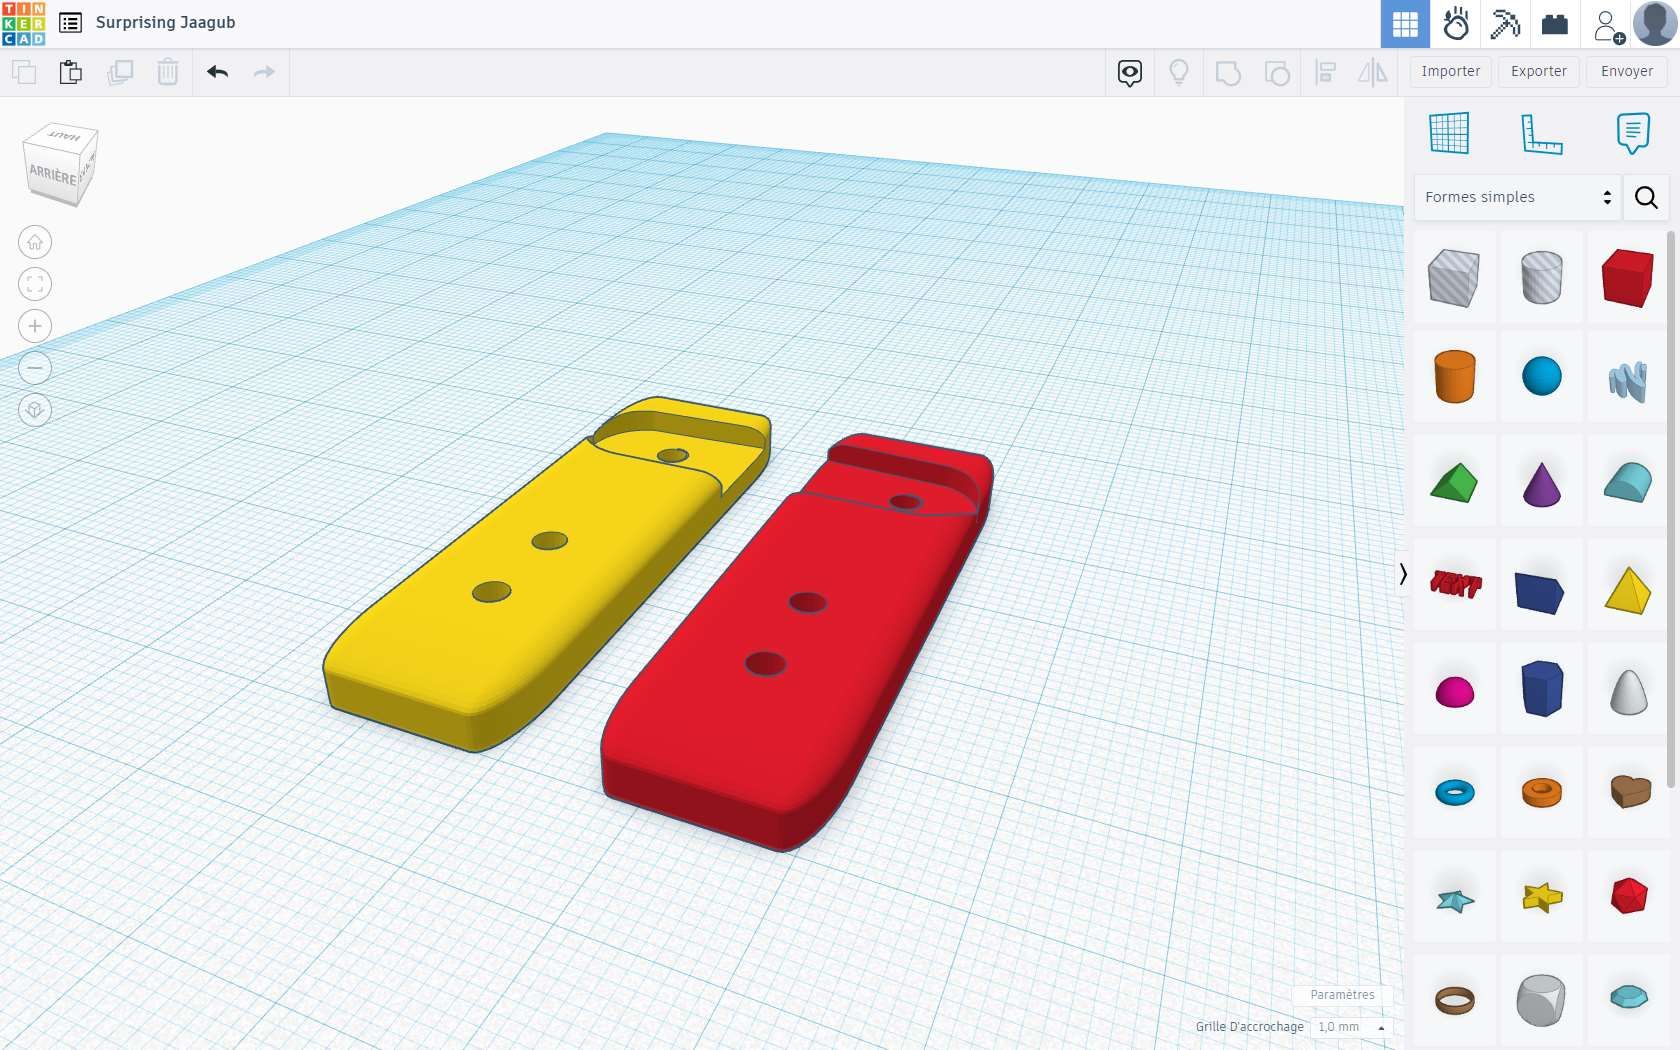
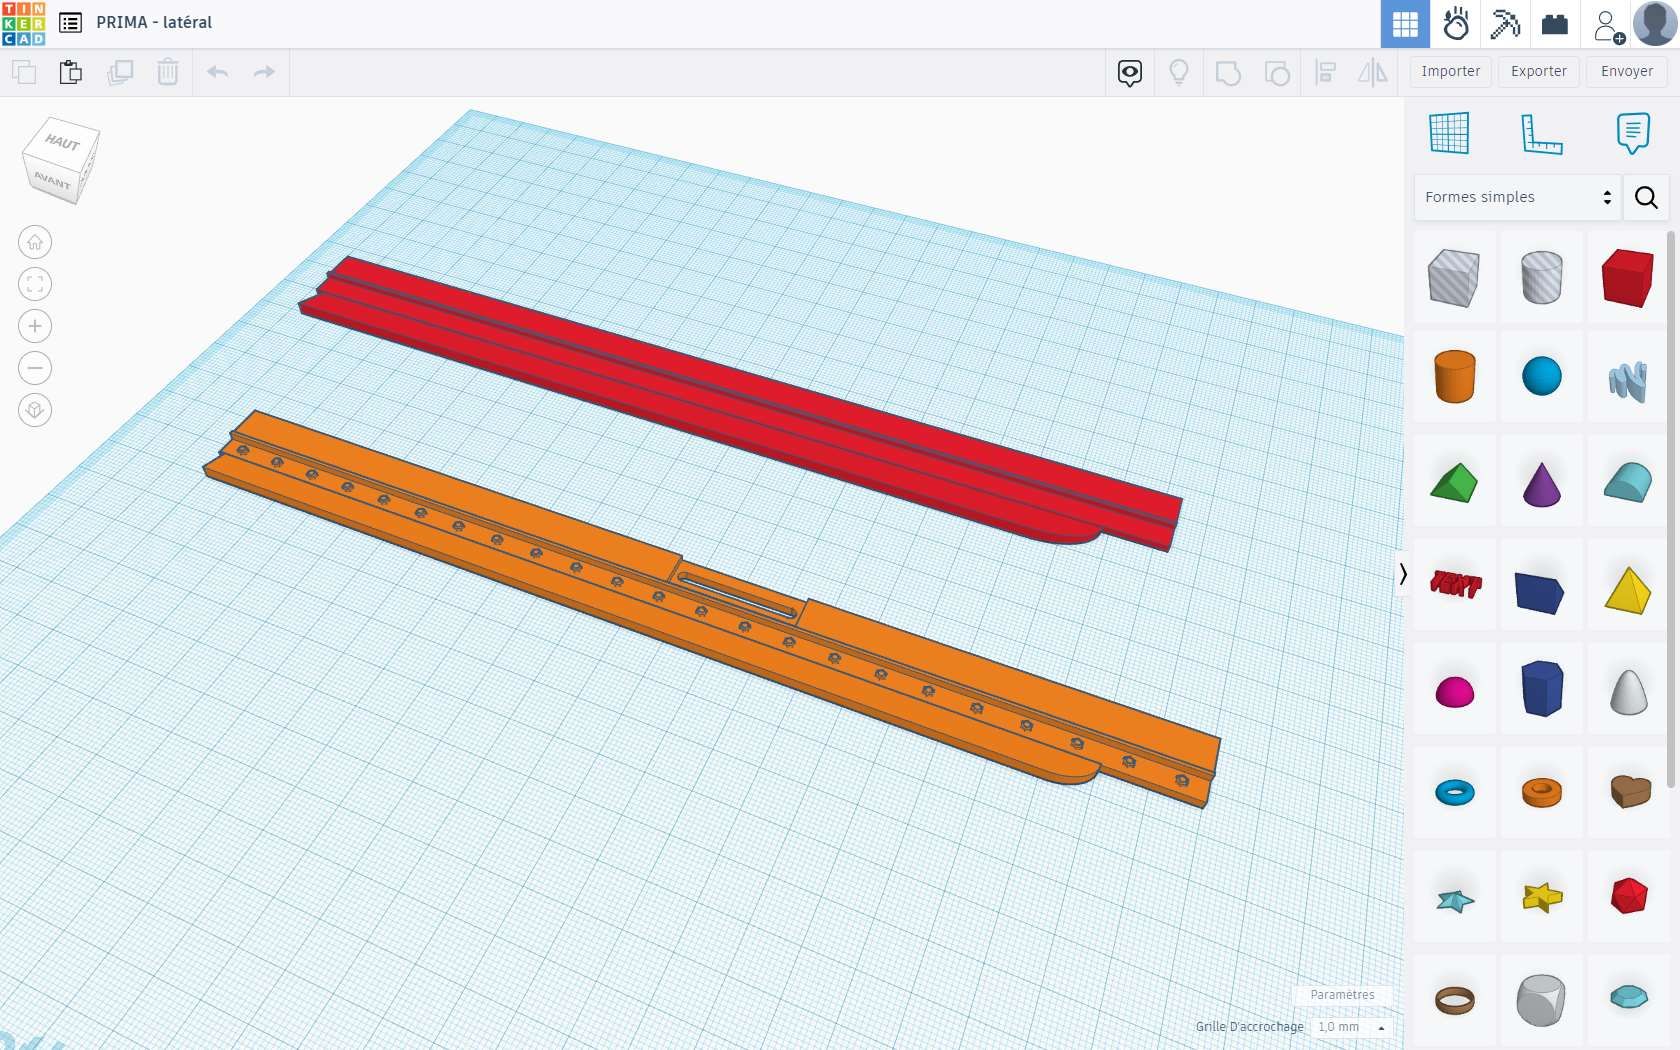
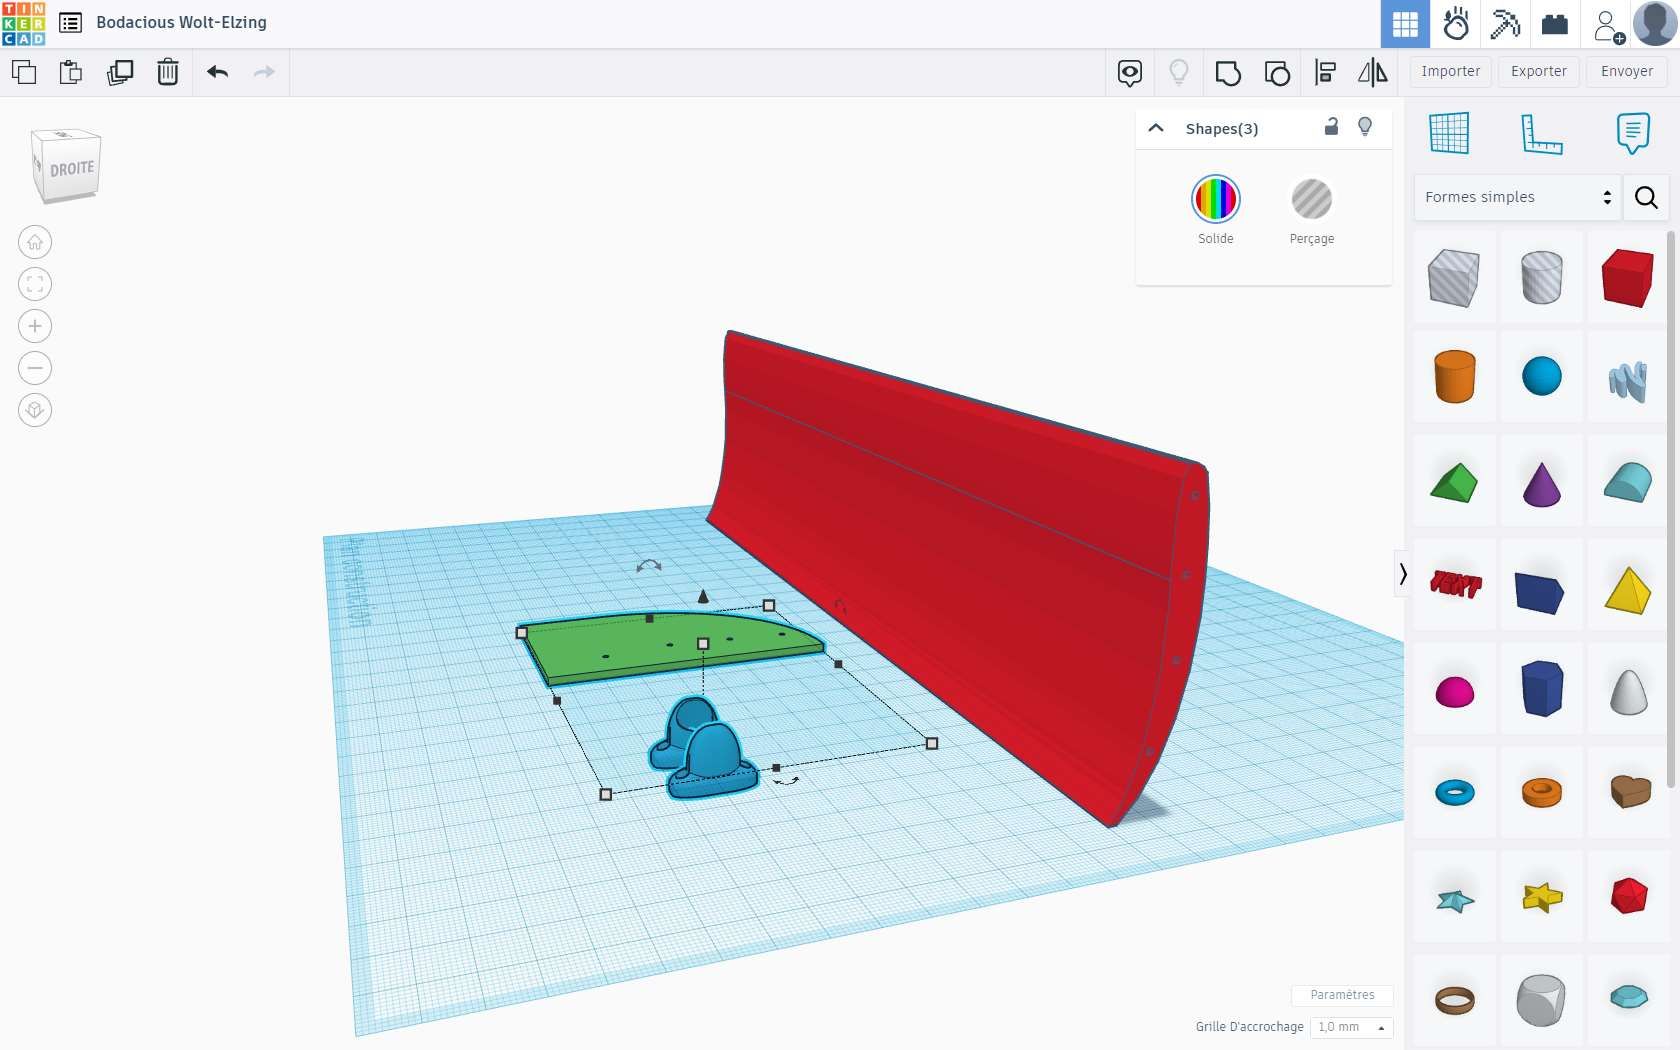
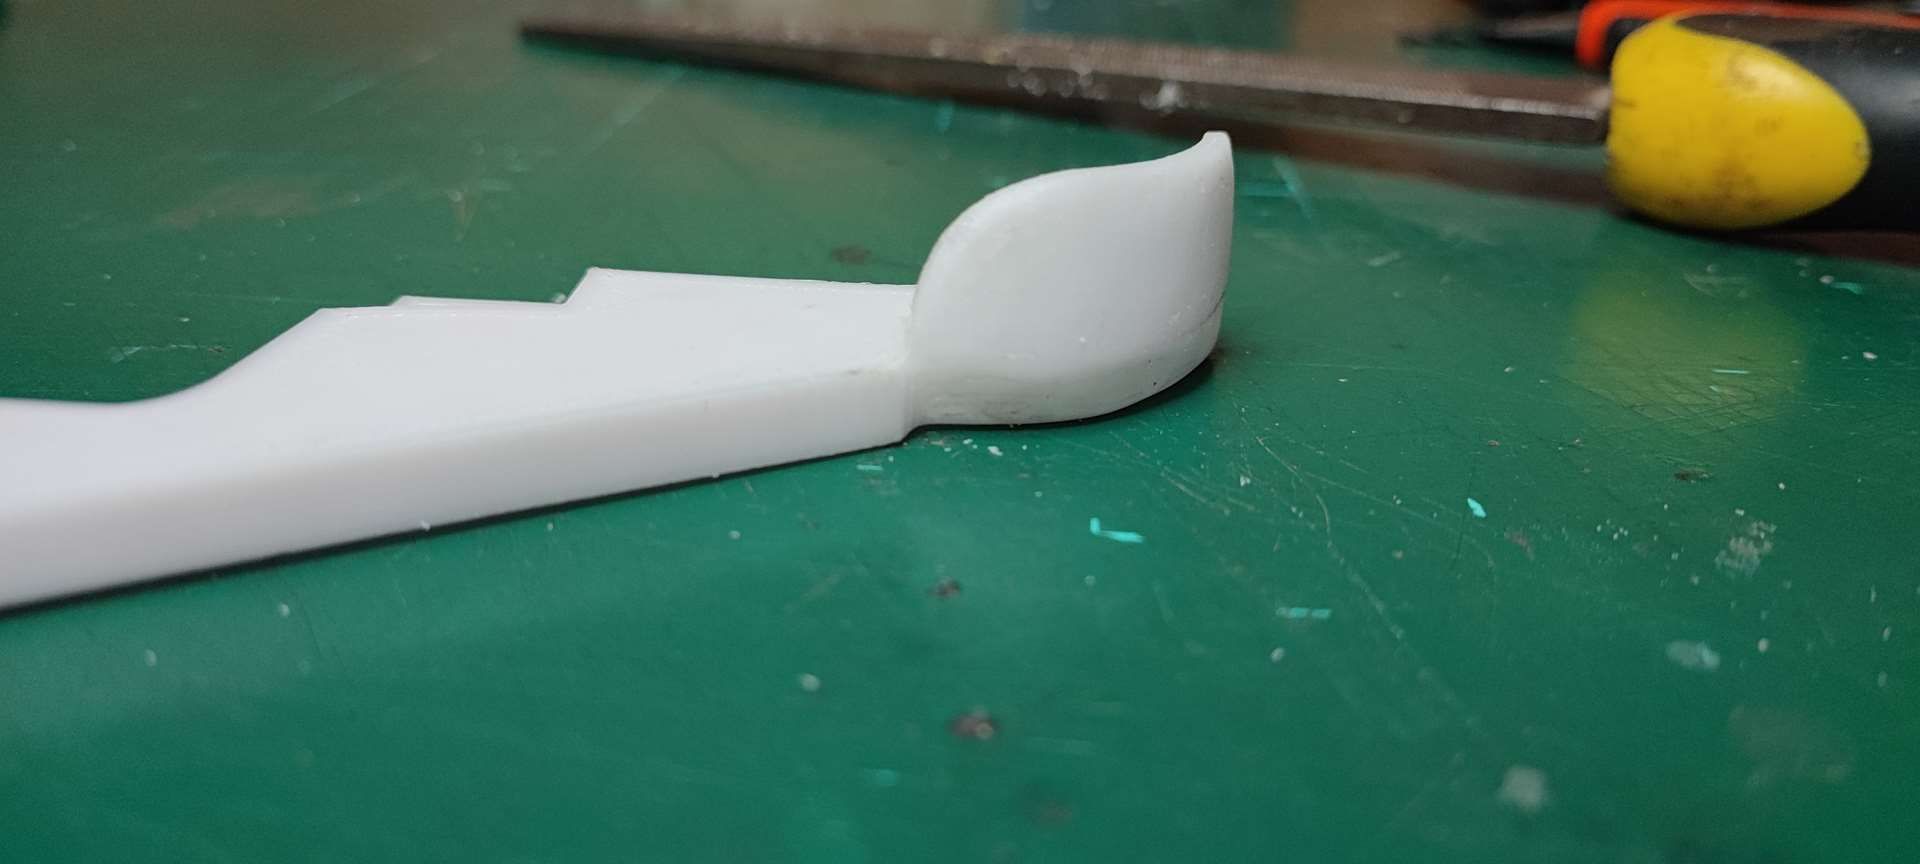
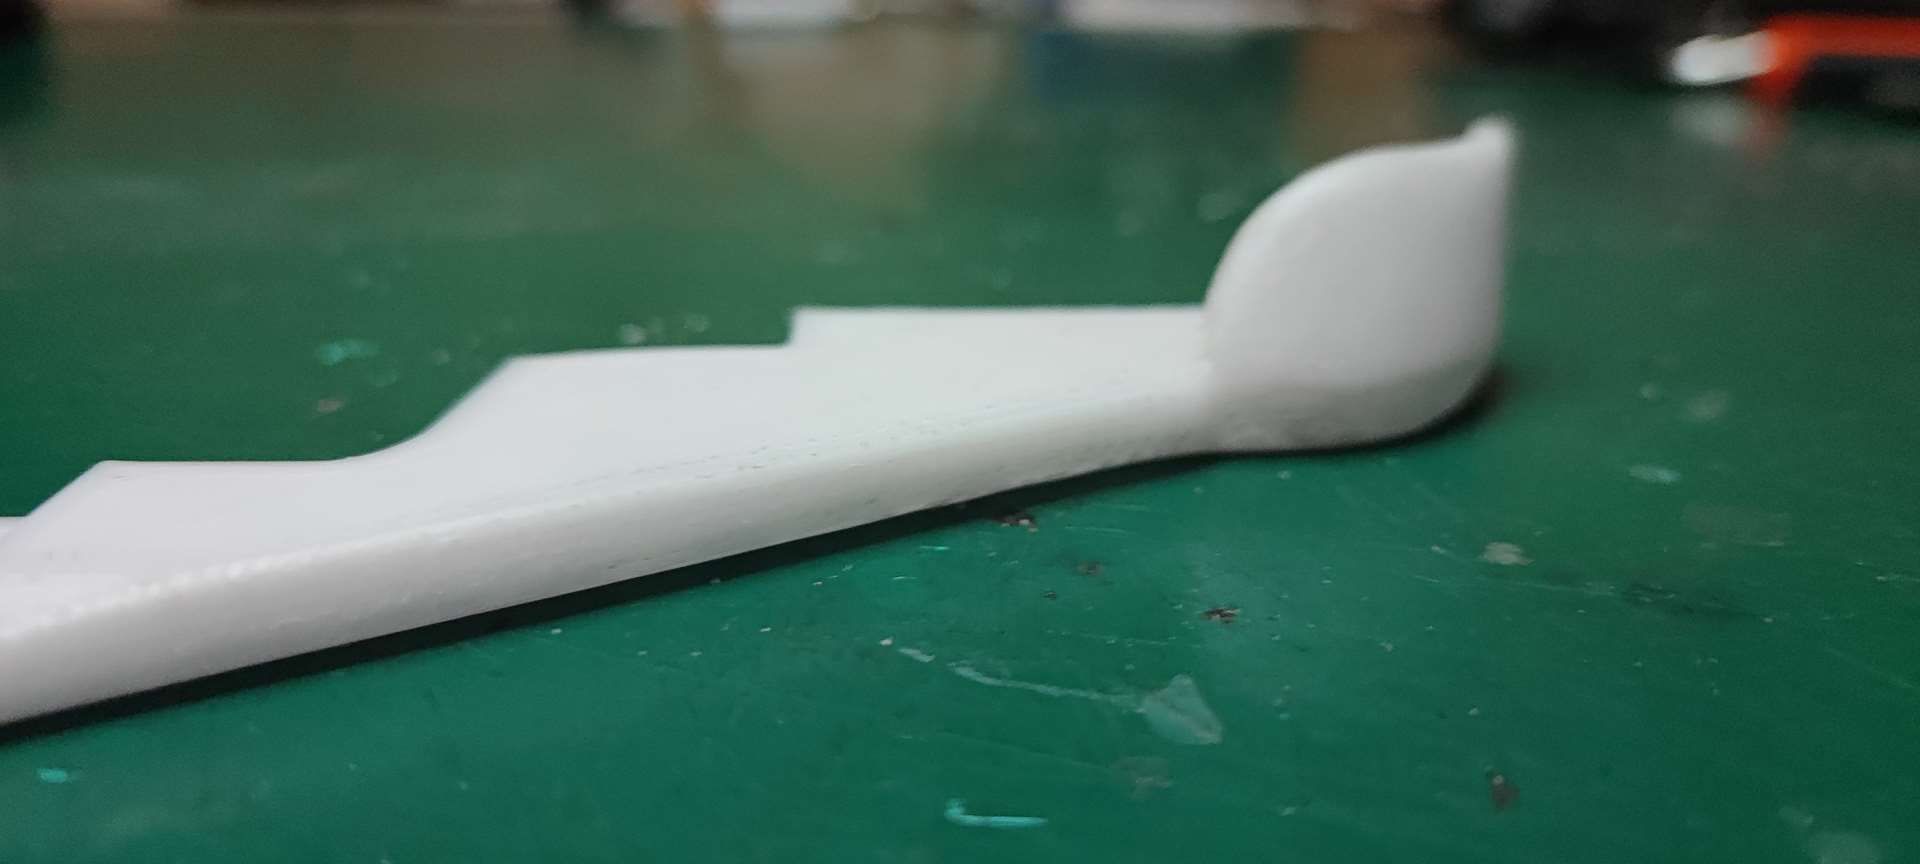
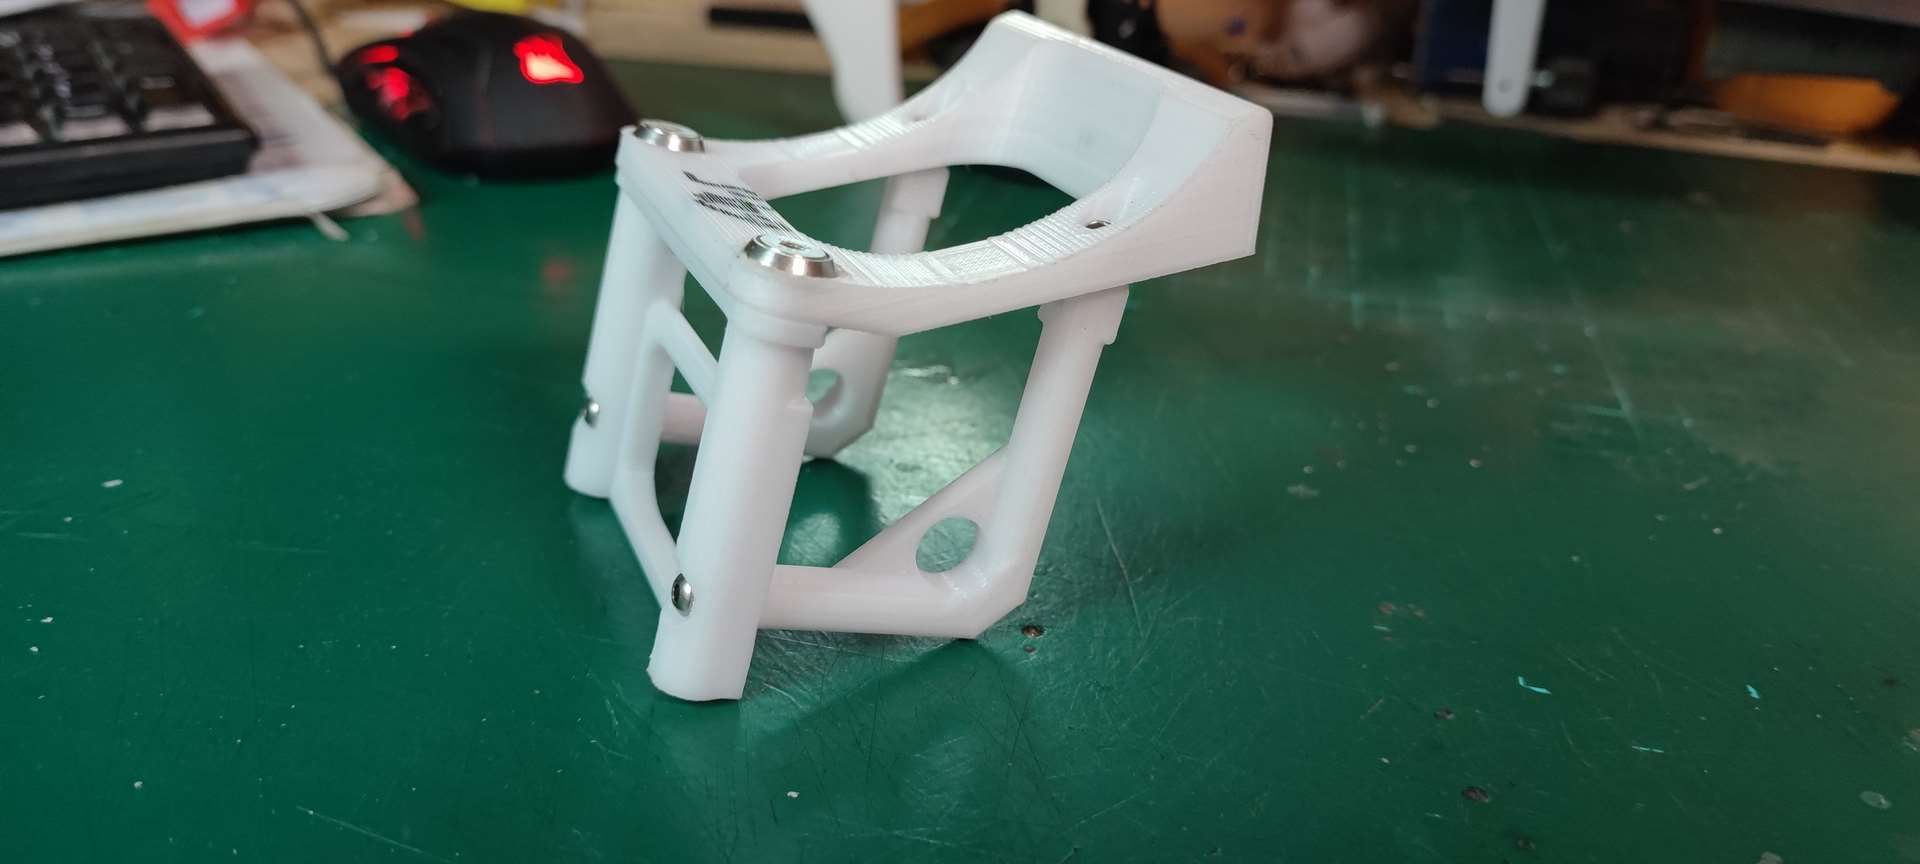
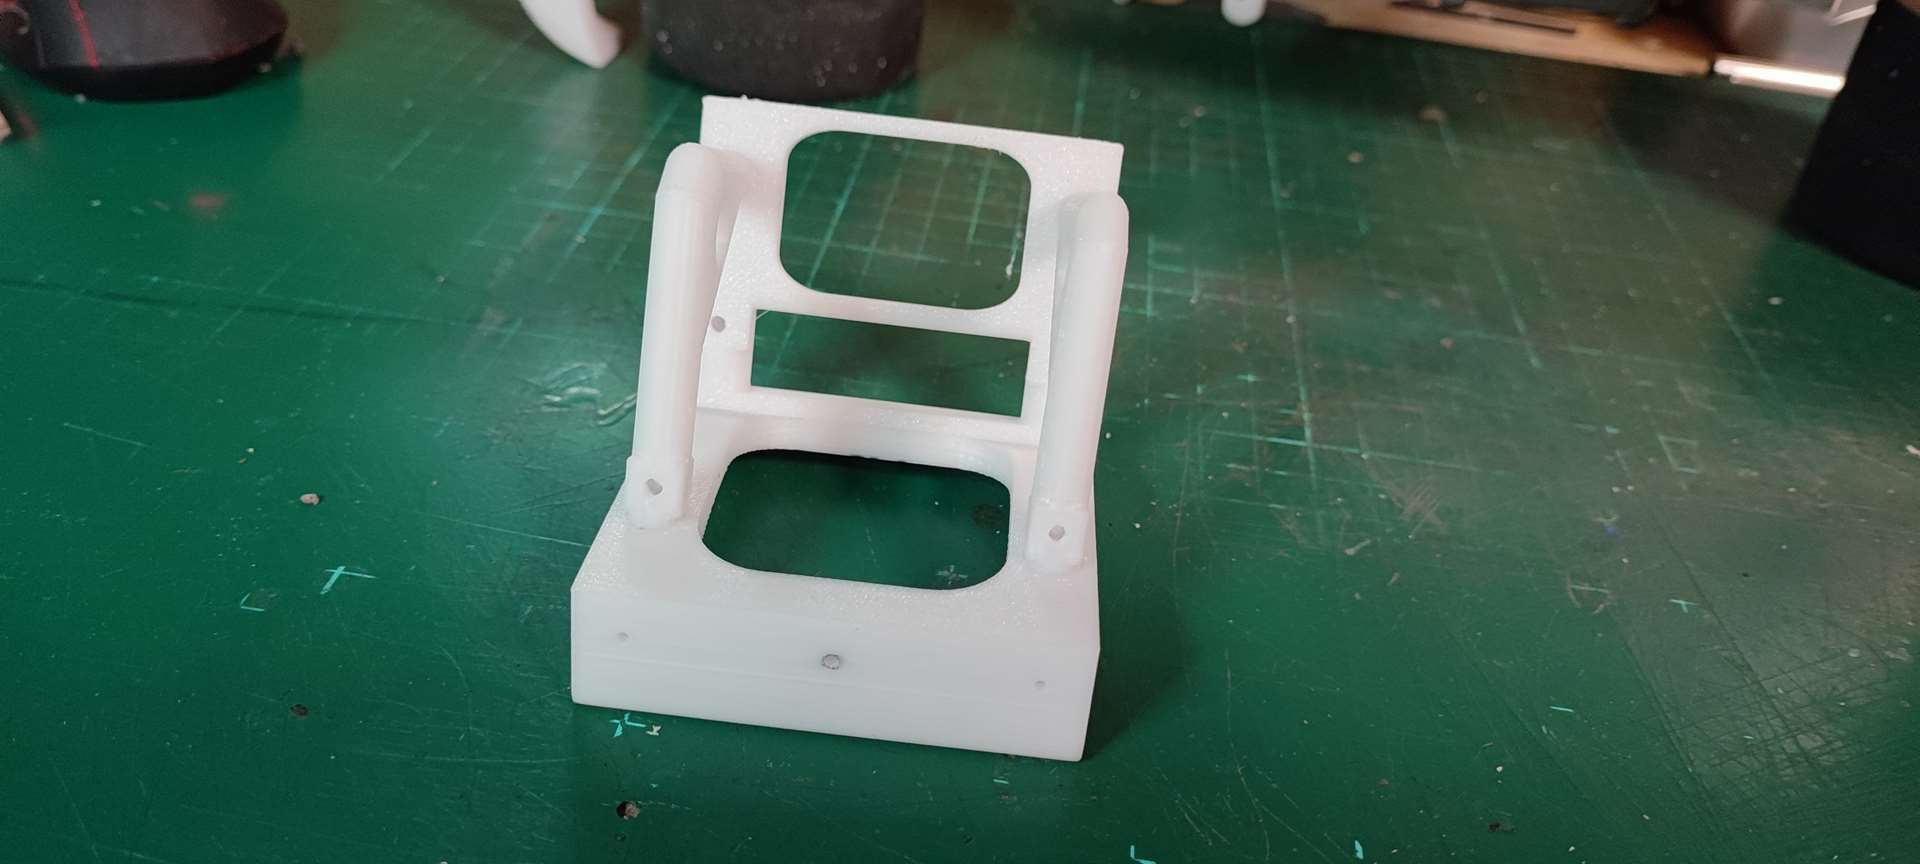
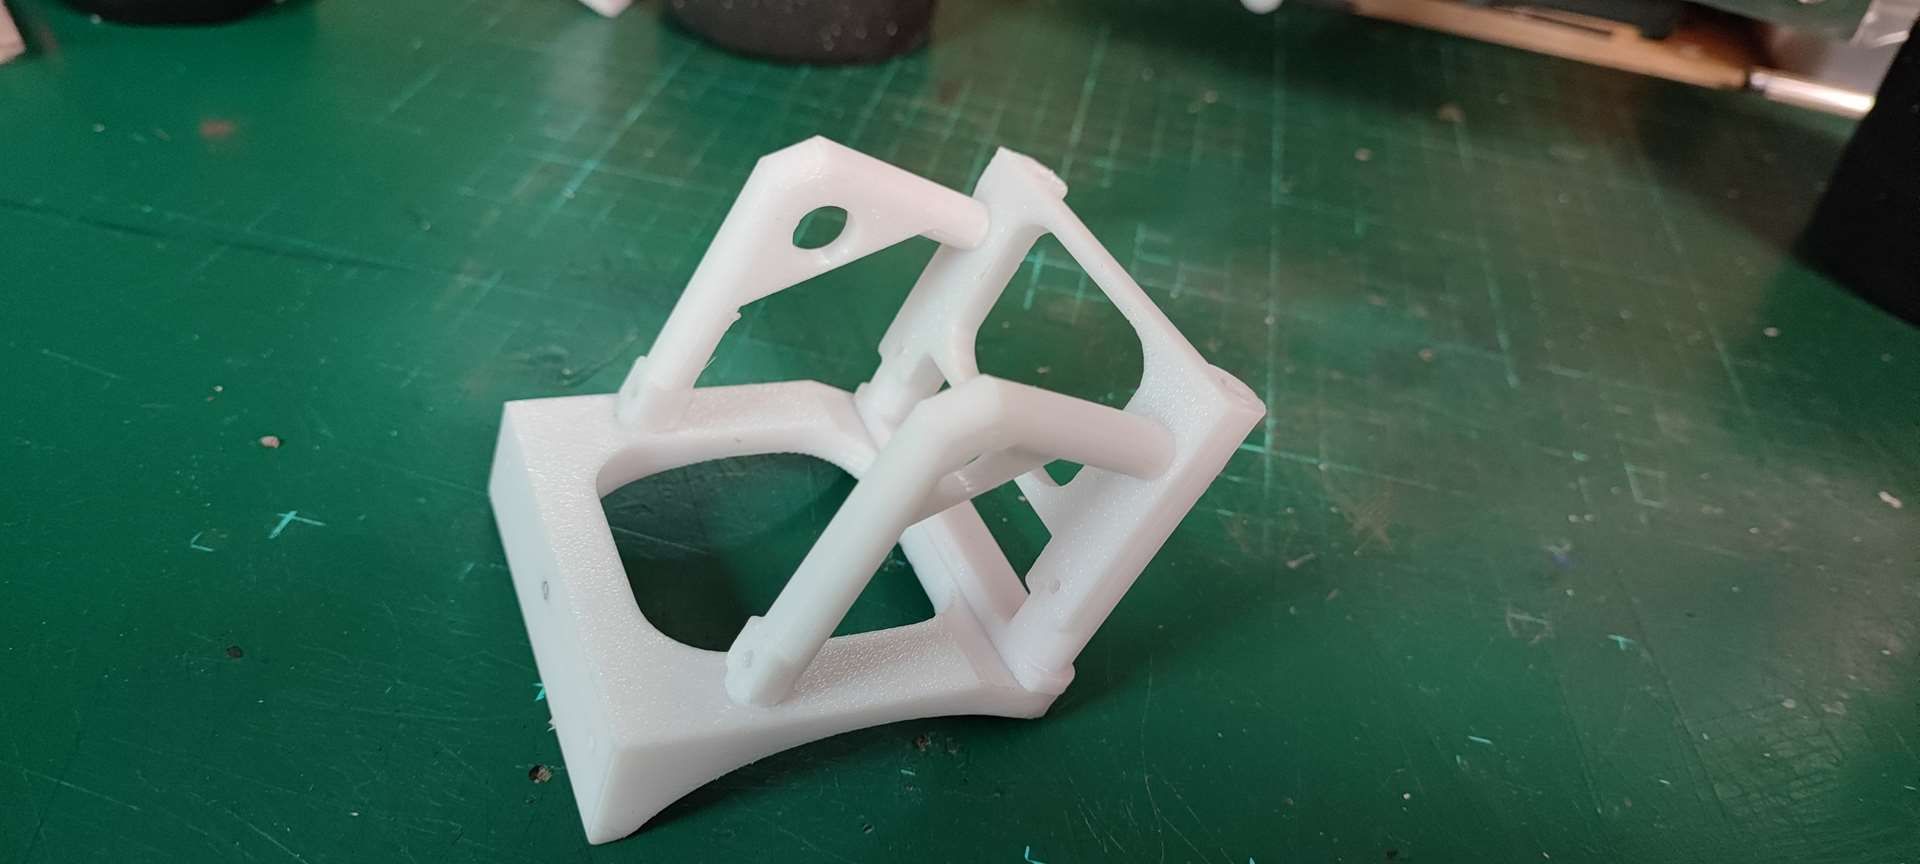
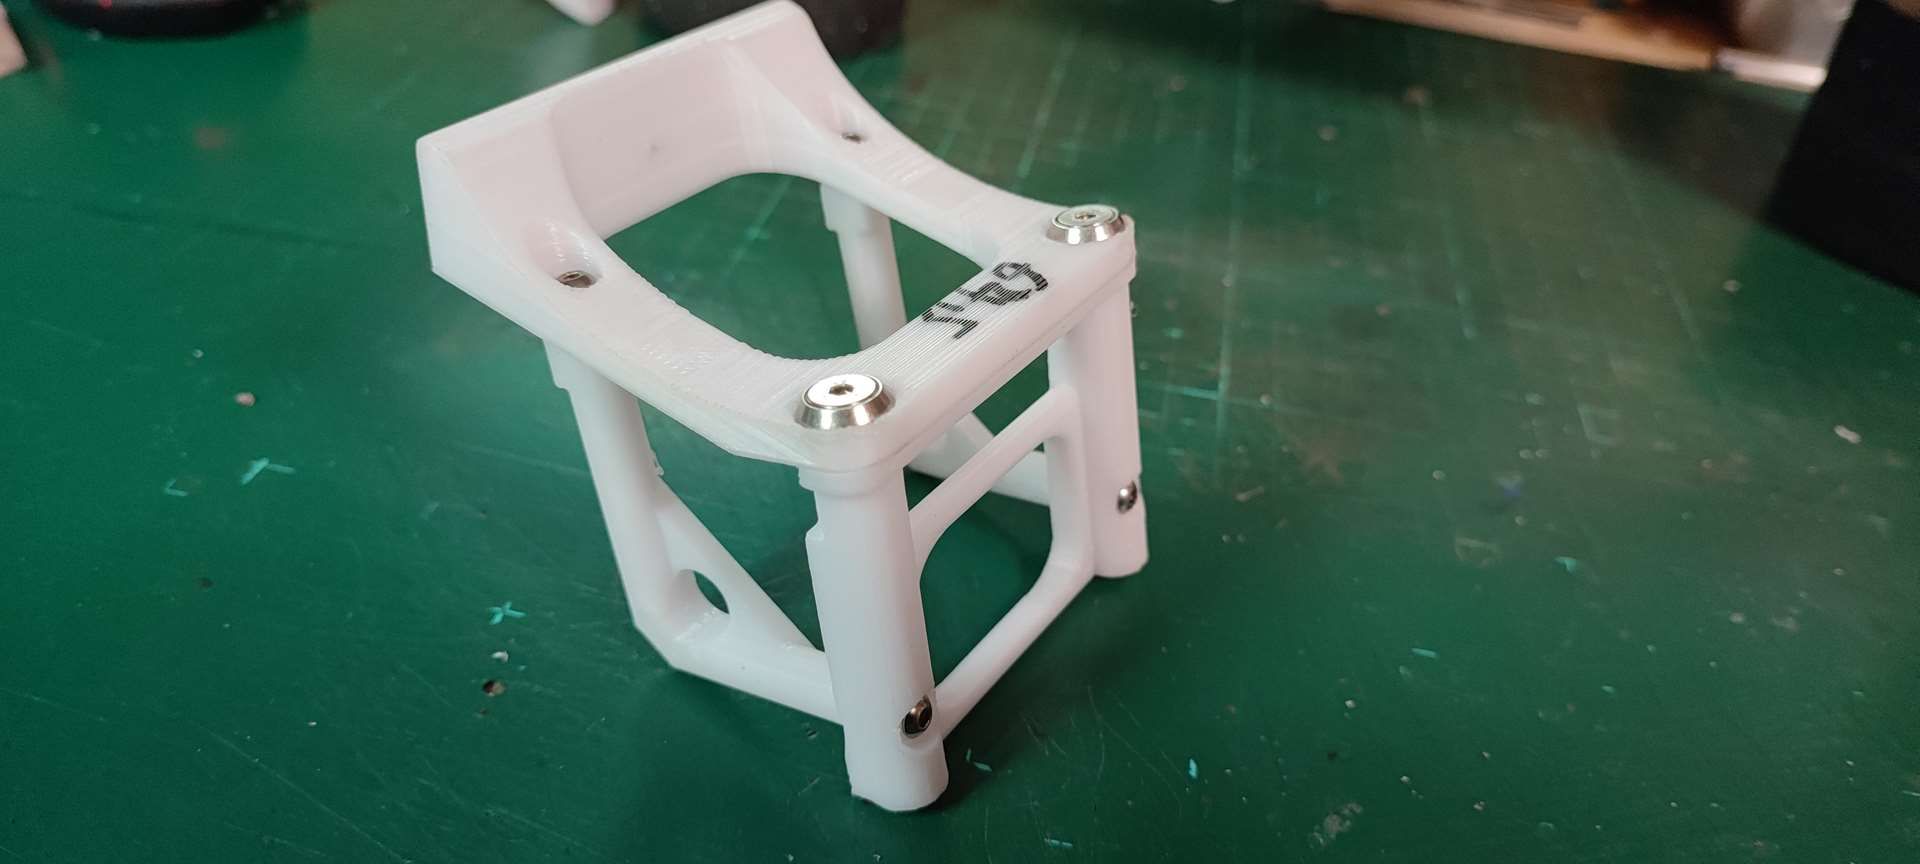
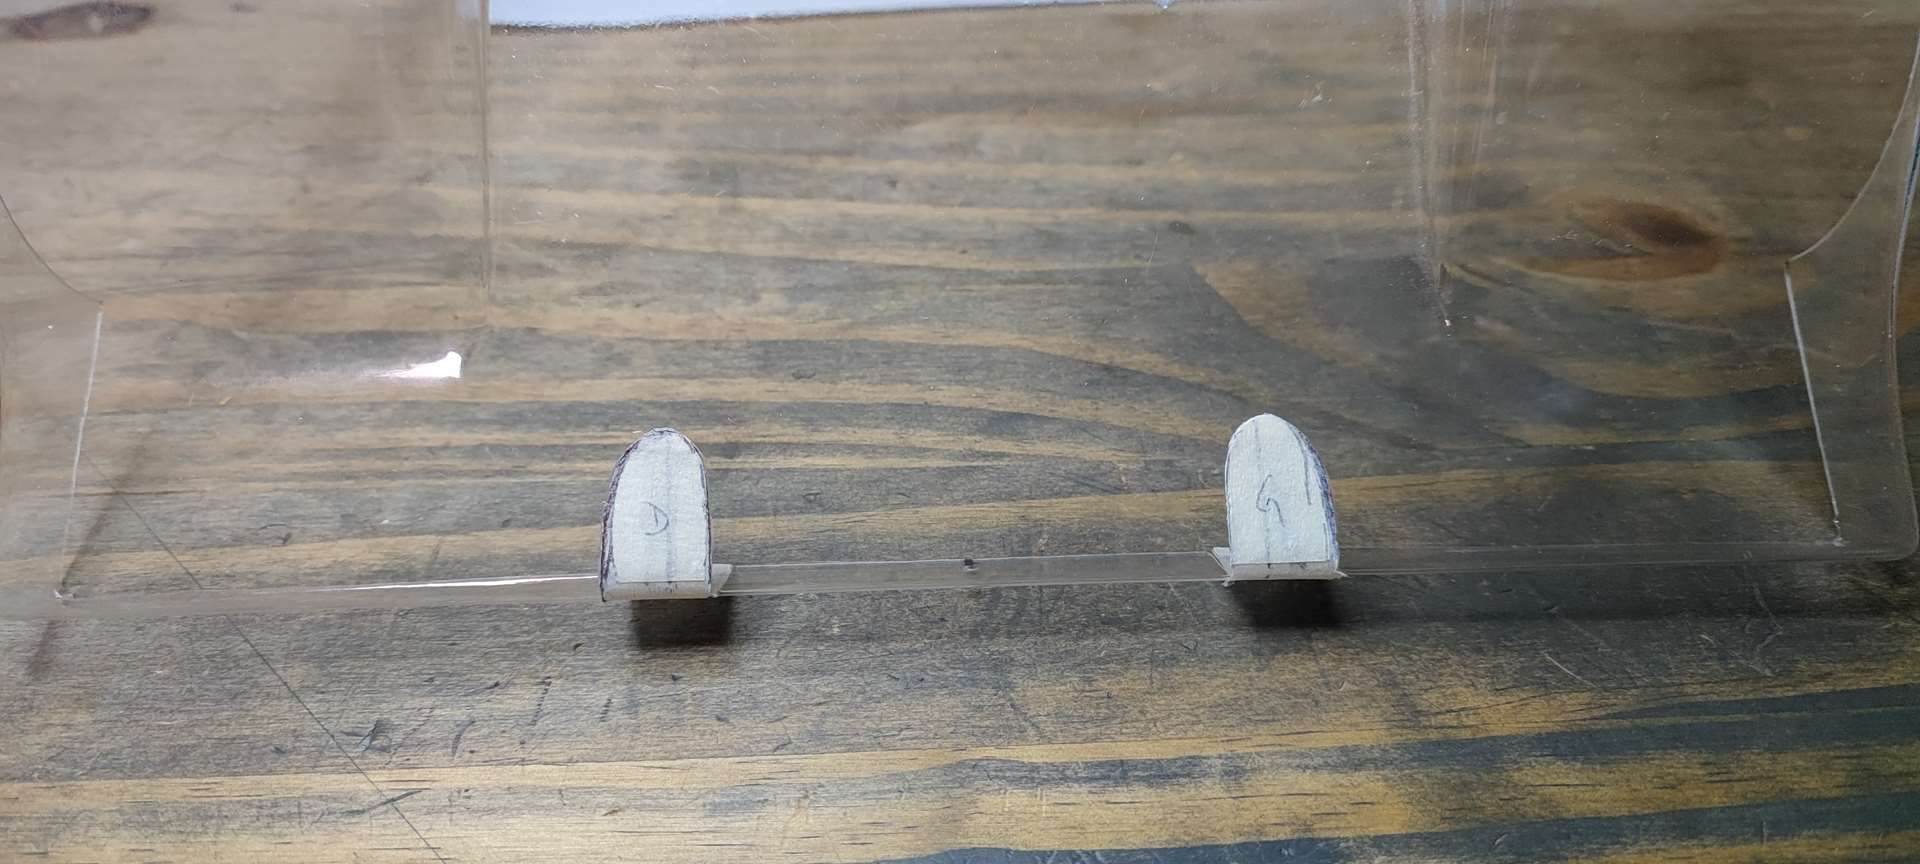
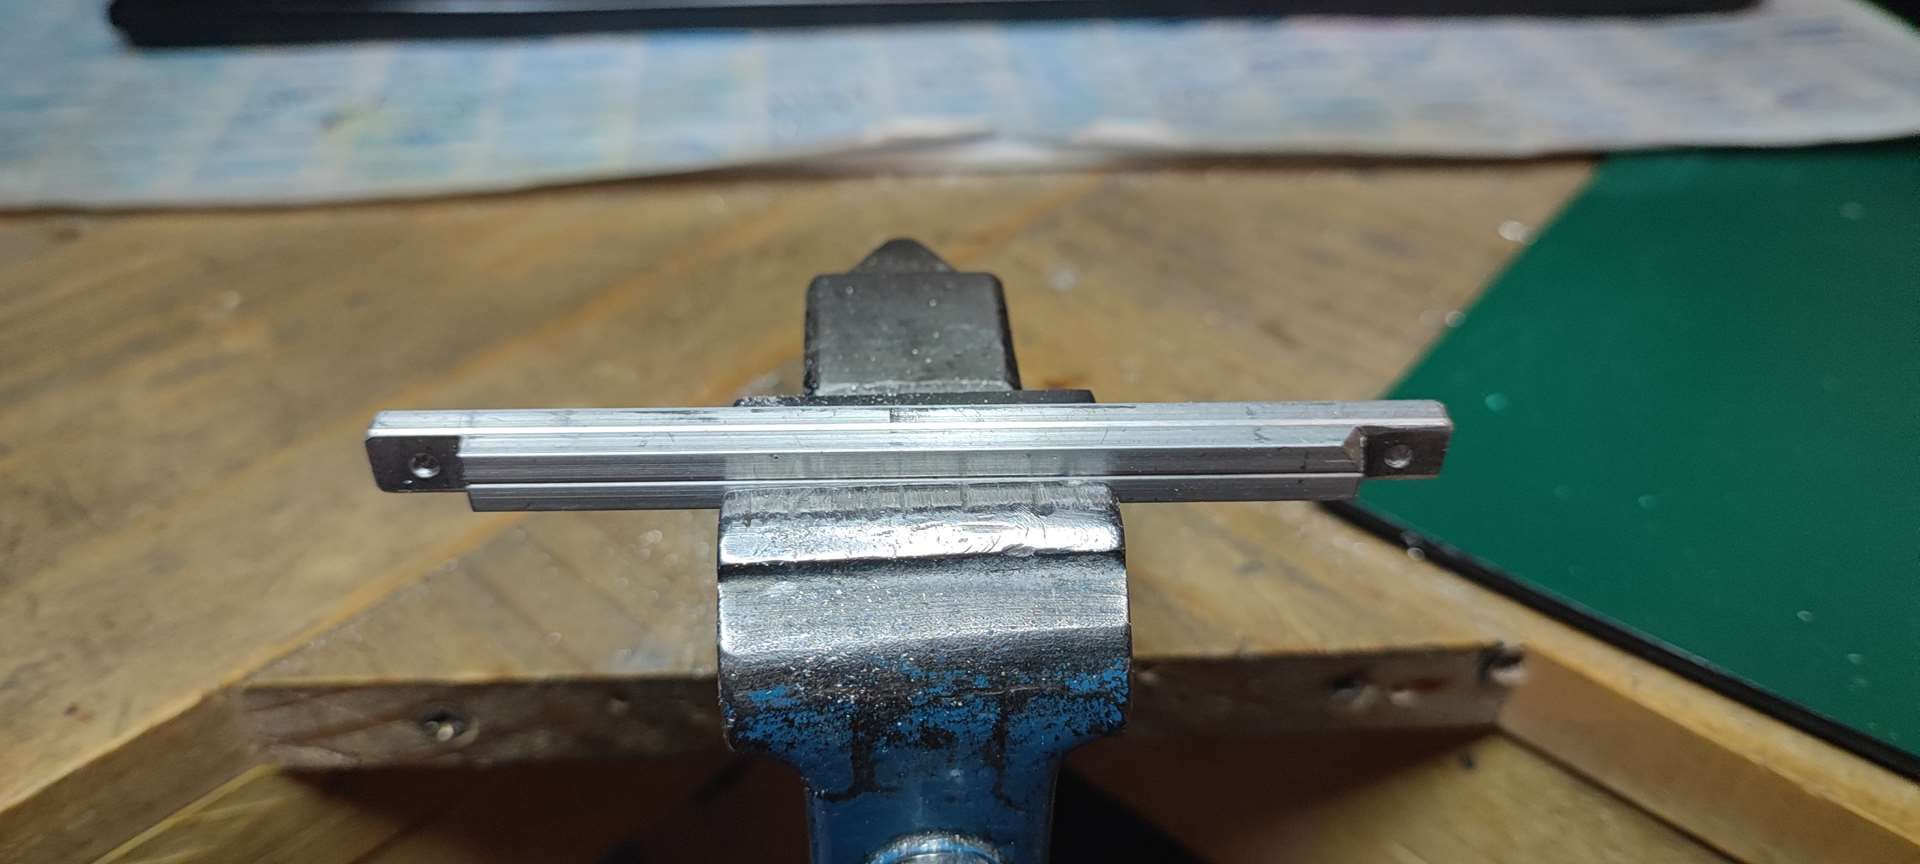
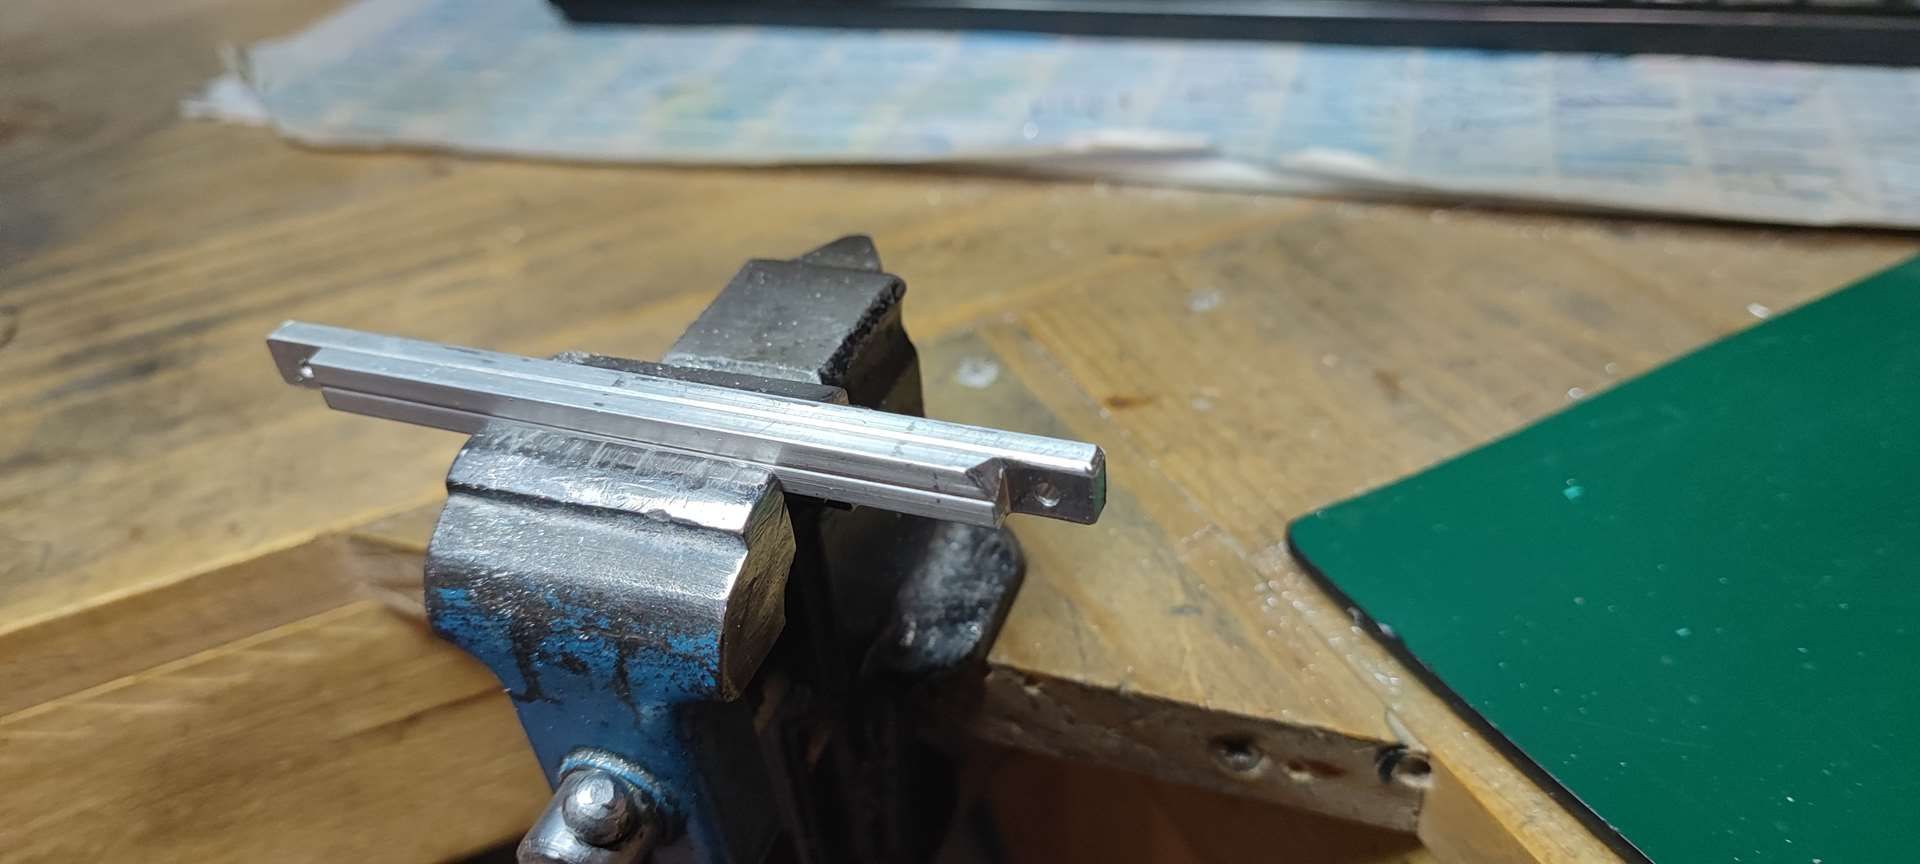
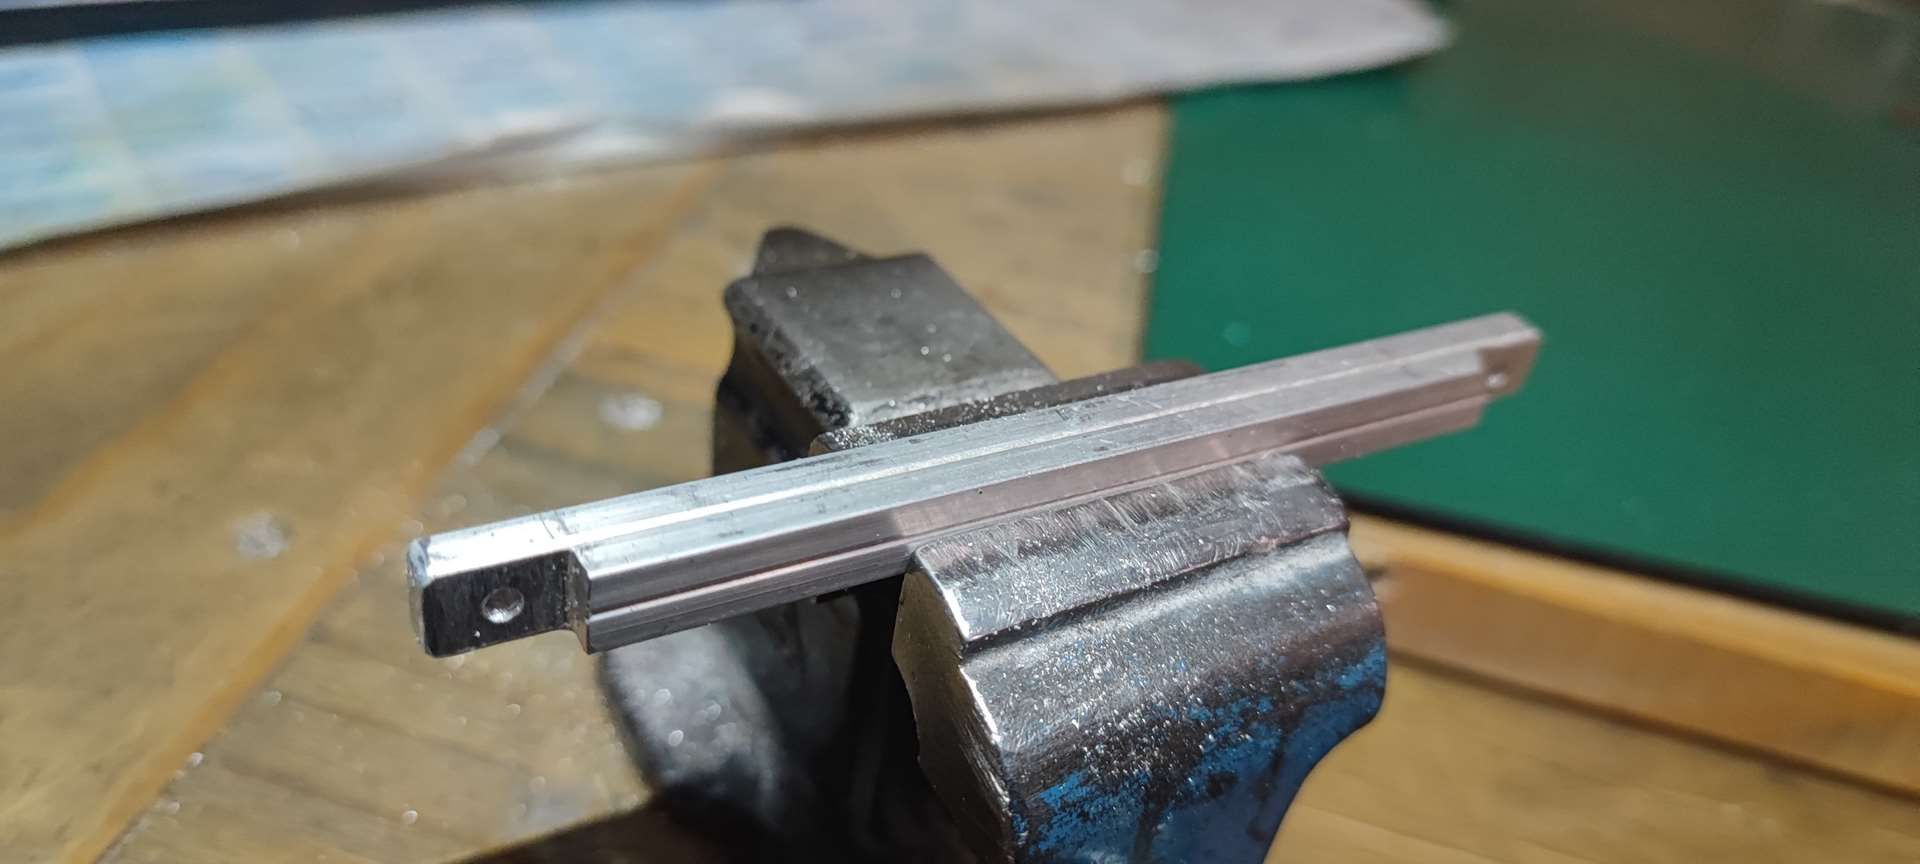
So I decide to create a spacer "flange" which will also be used for the rest. Witj this trick, no more worries and the rear shaft is much freer!!!
The measurement is not easy because the bulks are not symmetrical/ identical and have particularities.
Here is what it looks like;
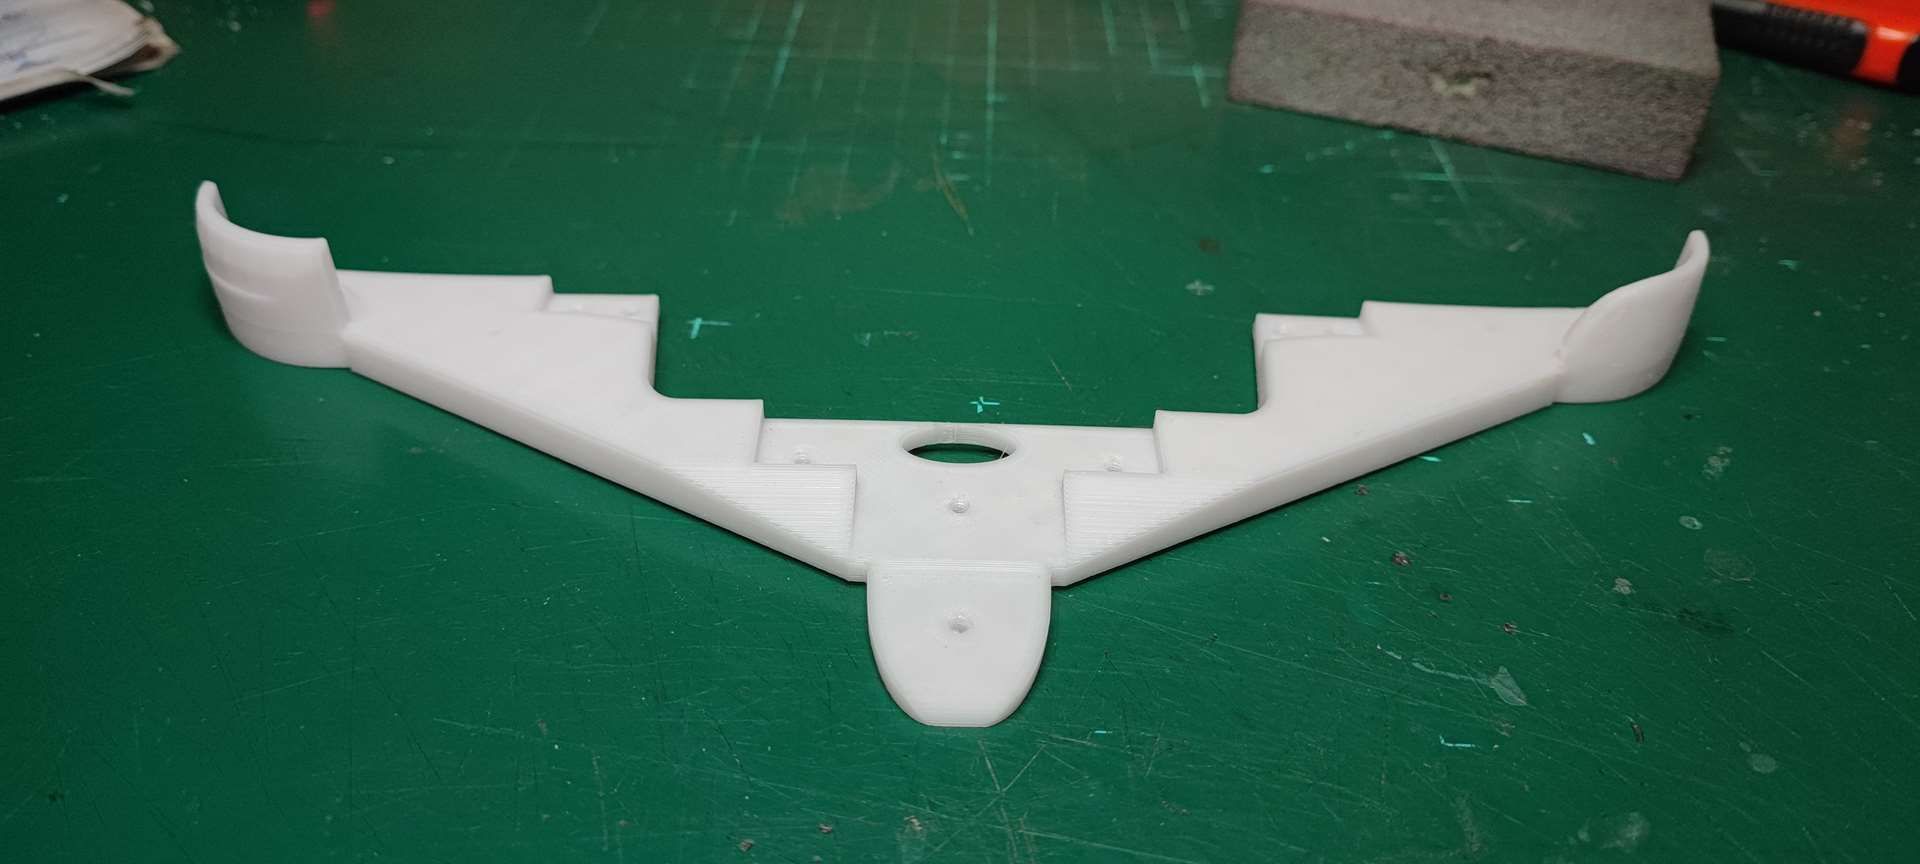
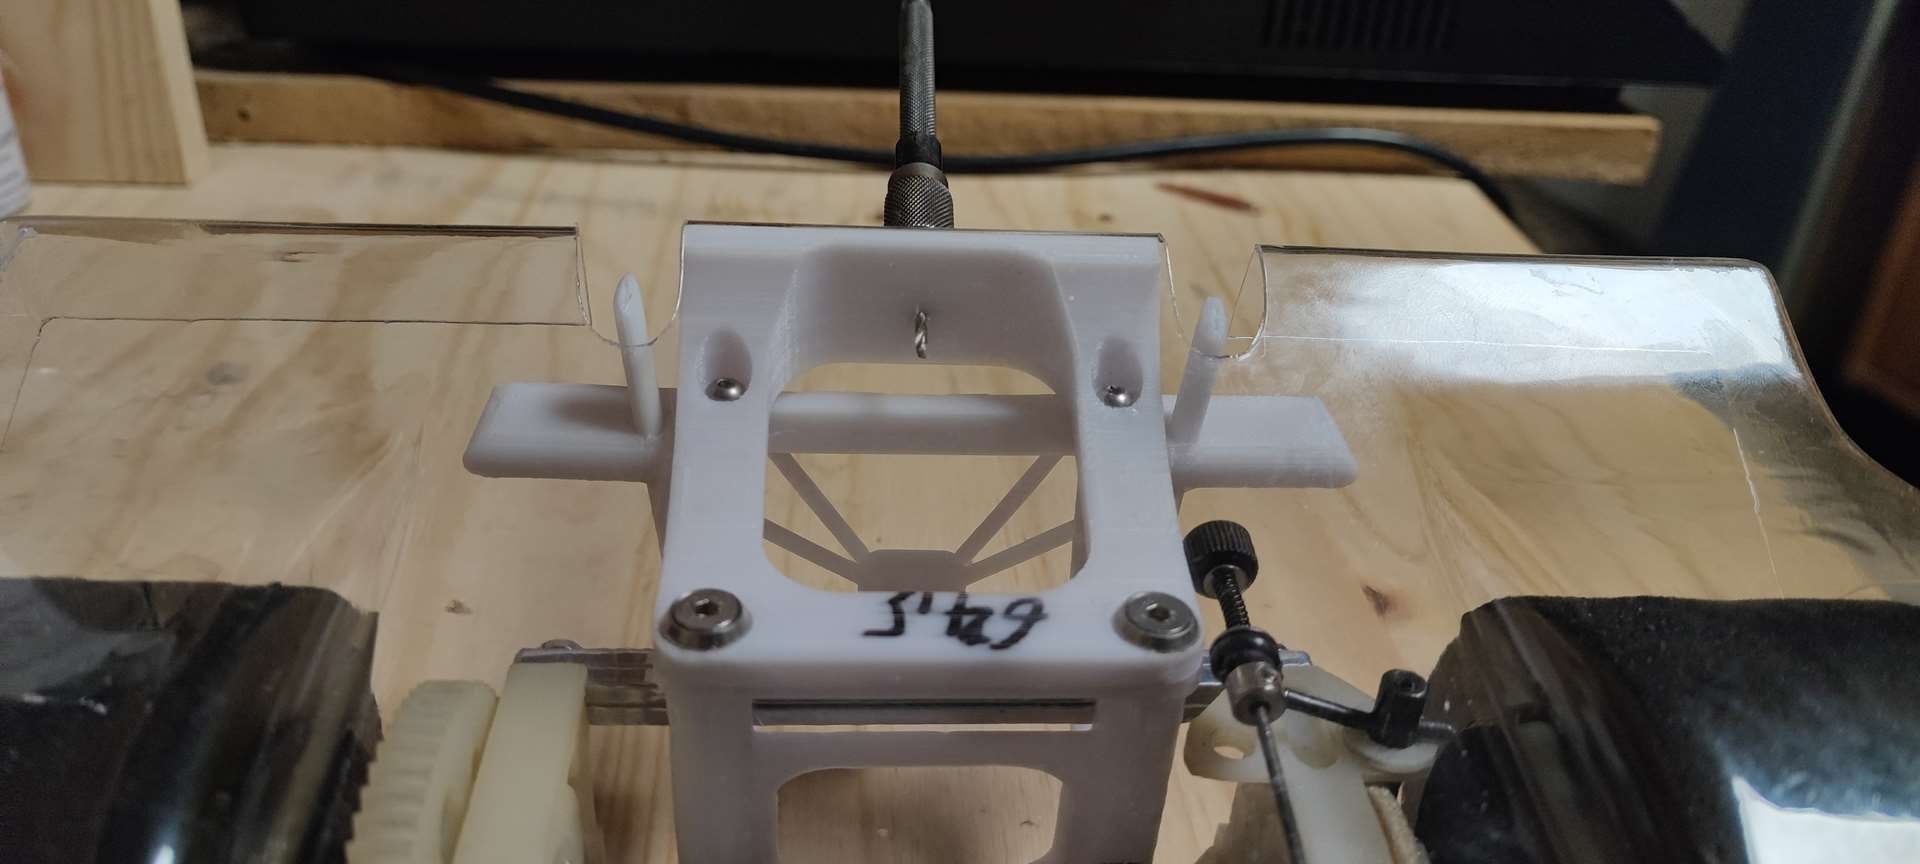
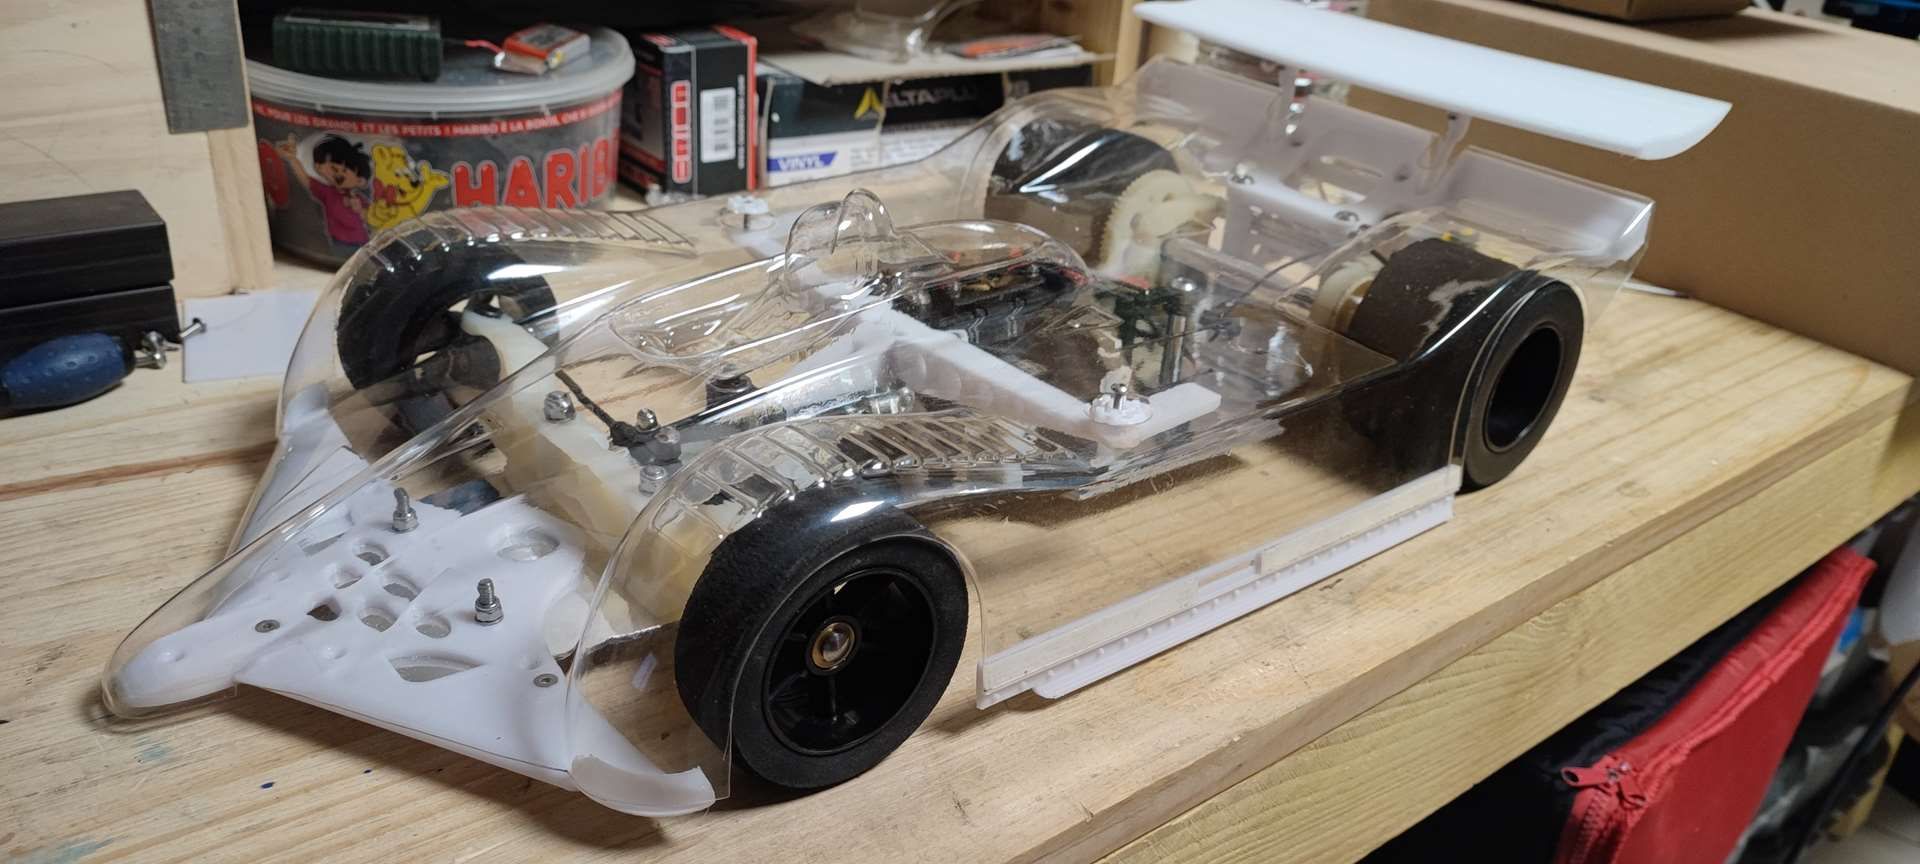
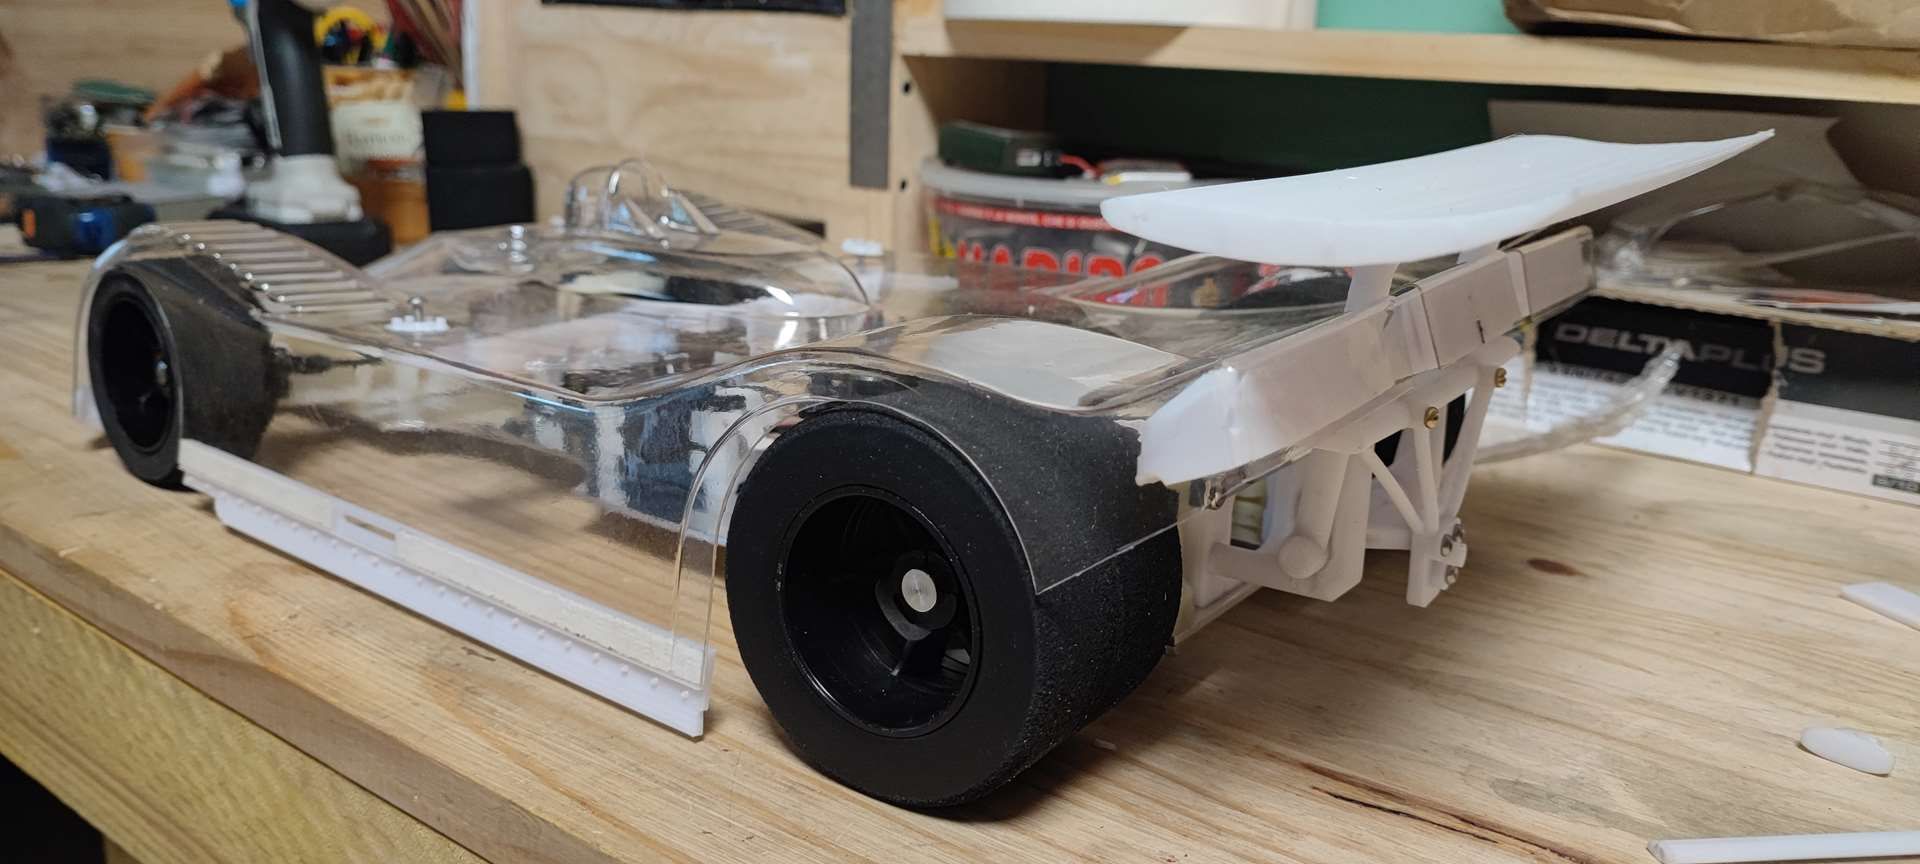
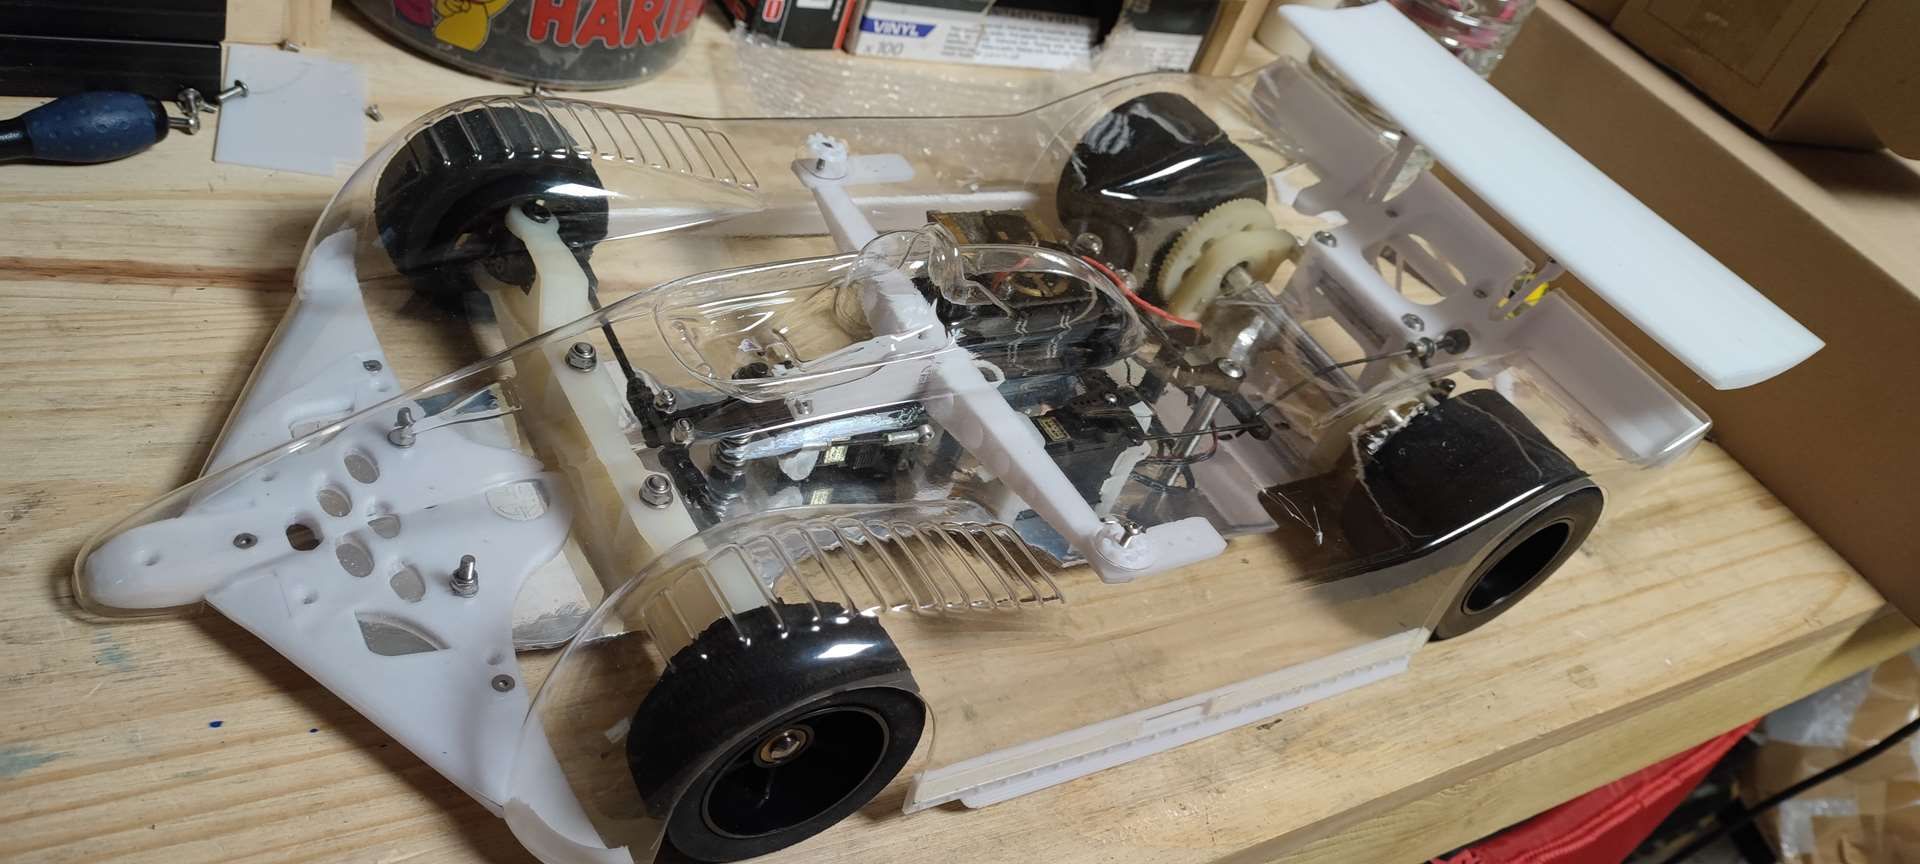
And here is the body that will go on it: SG BANDIT taken from the McRea GM9 (1980-1983)
So it was another coincidence that the GREEK FB member had the same bodywork, which is what made me decide to buy it.
As much to tell you that I would have the front bumper less to do...
Jerome