As indicated in my "member welcome" introduction, I do not support different colors of anodizing parts.
At the arrival from the south of Paris
2 hours after, the big change is coming...

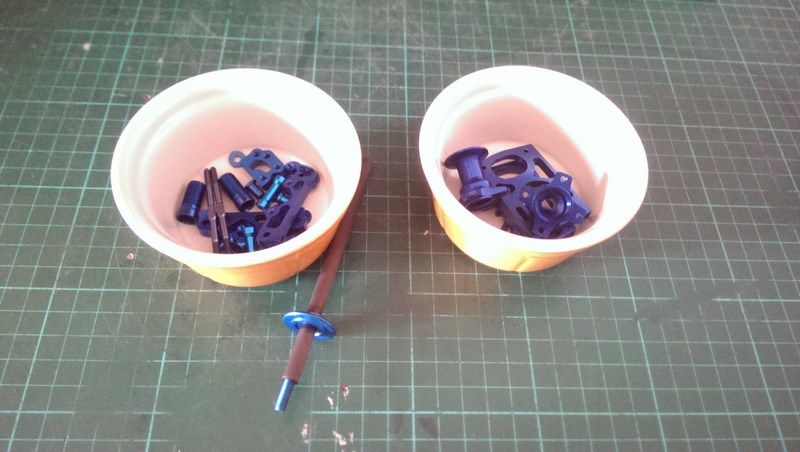
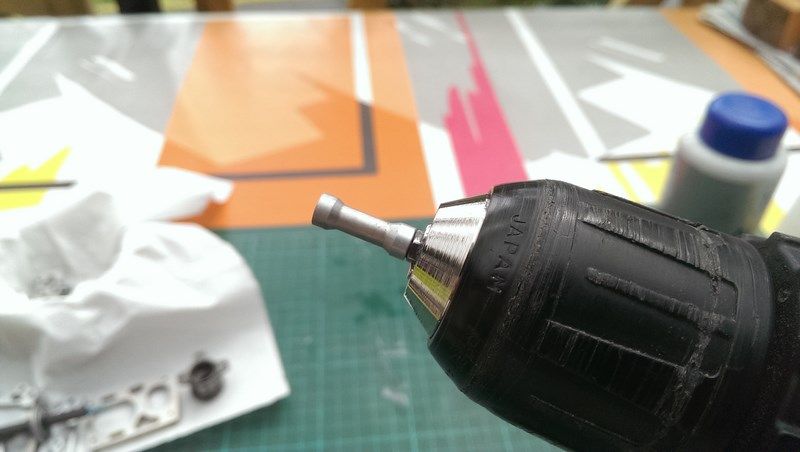
I need some accessories :
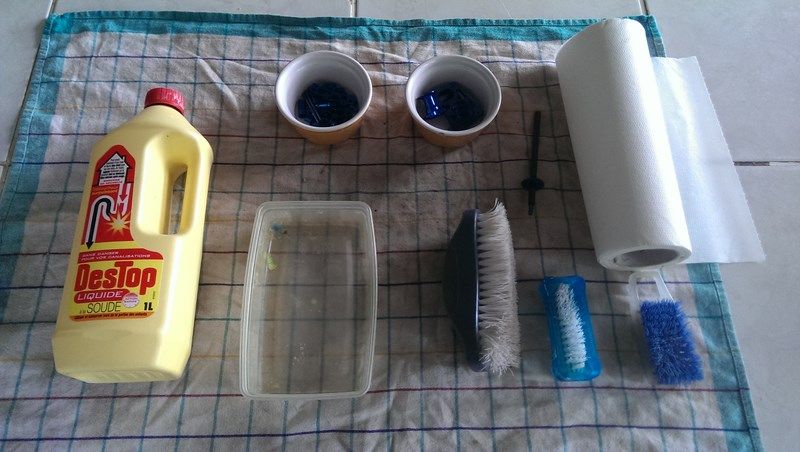
And ....
GLOVES .....
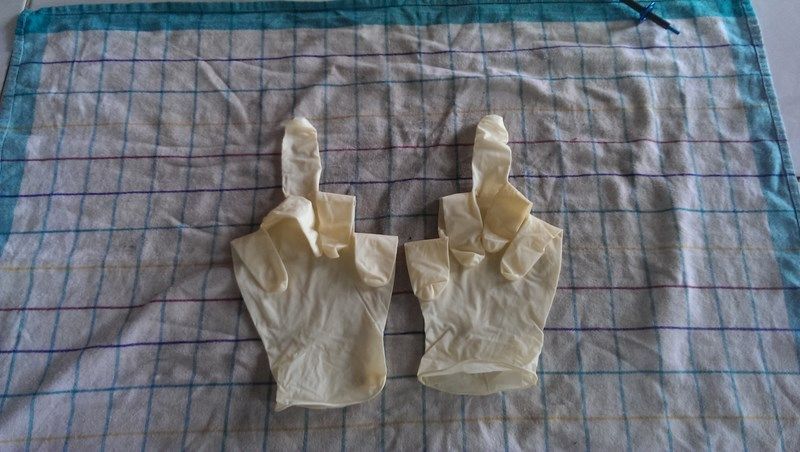
Funny pic isn't it? (french touch inside... sorry)
...
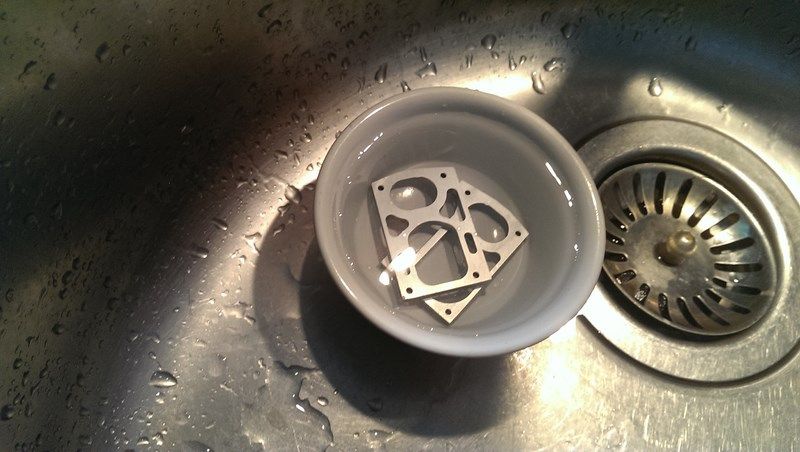
You have to put parts in warm water with soda
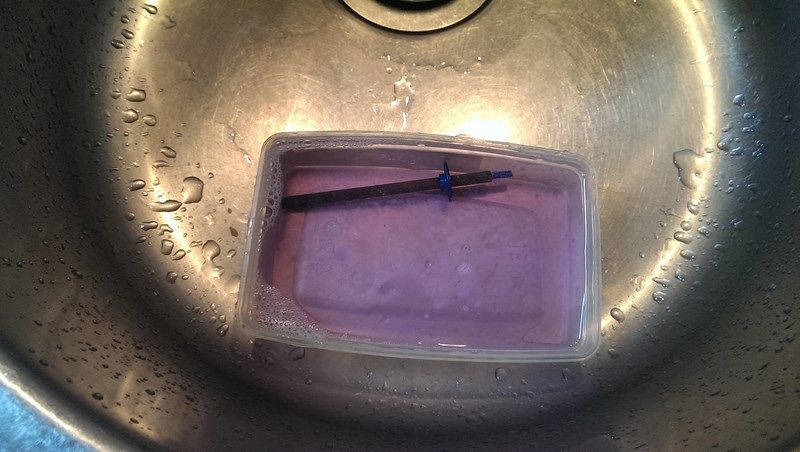
Wait a while for bubbles
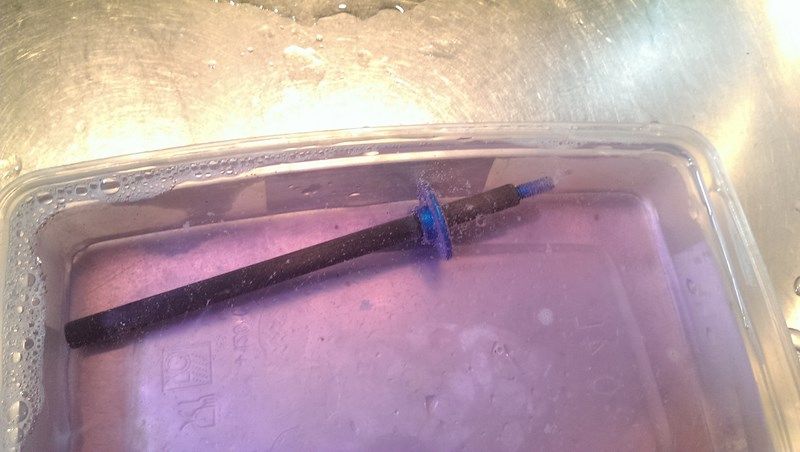
When you have a lot of bubbles, it's time to get out
You are sure of yourself and you suddenly thrown everything into the mix
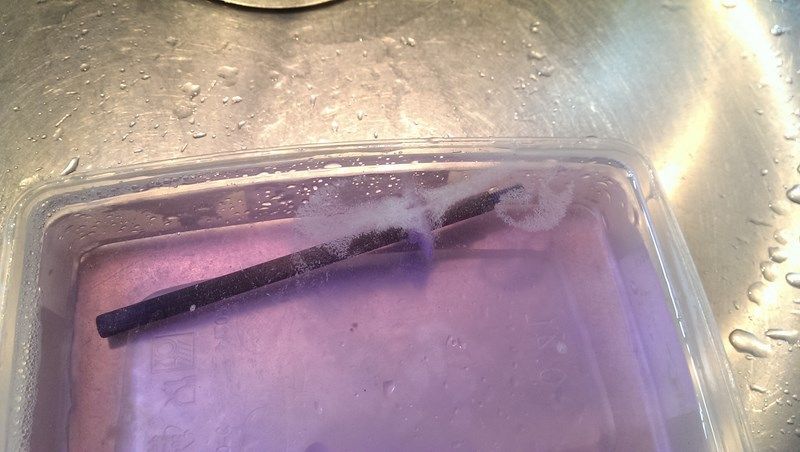
When you see your mix turned onto a sea of bubbles like this :
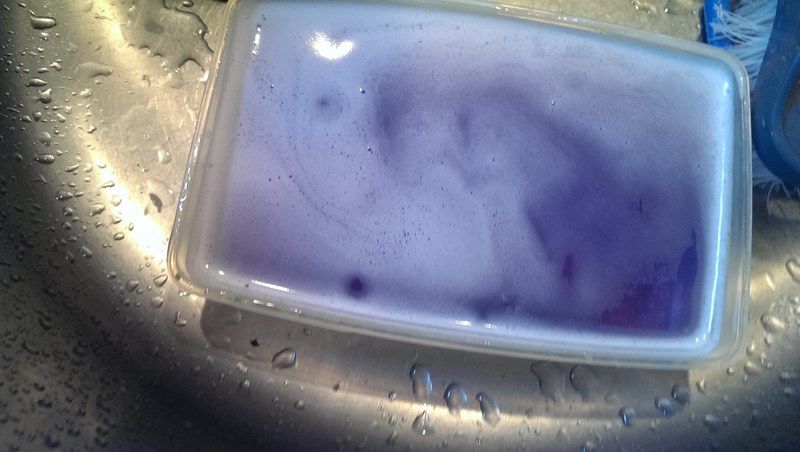
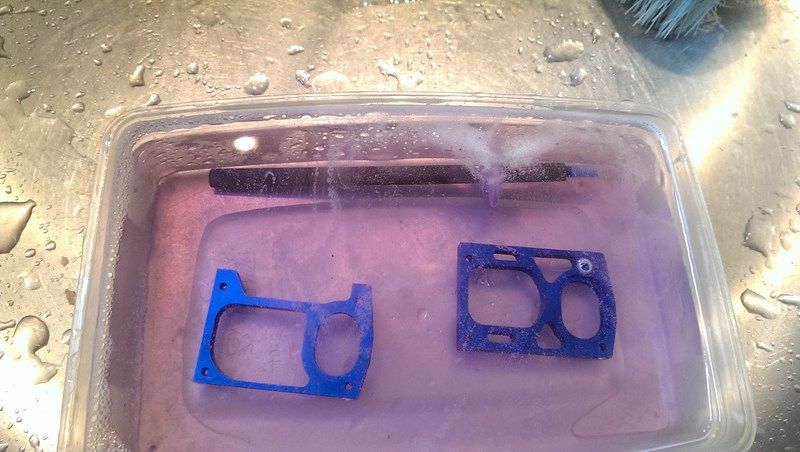
It's time to remove the parts et clean en brush it very well under clear water
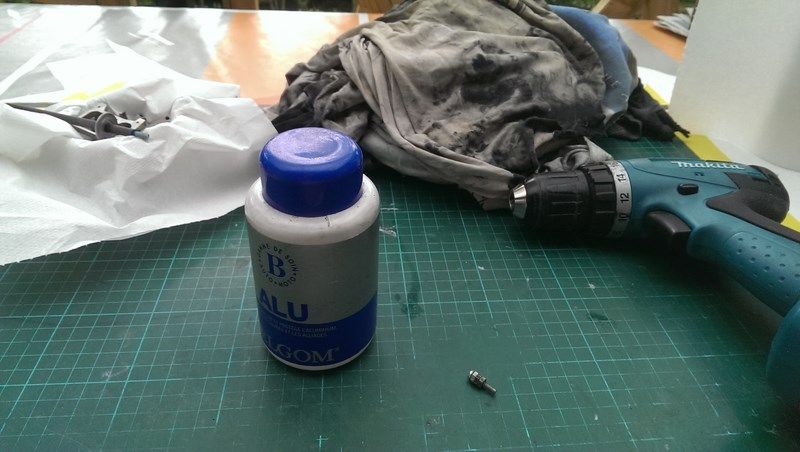
When you finished to dry the parts, you have to polish them with an old friend and an old coton t-shirt:
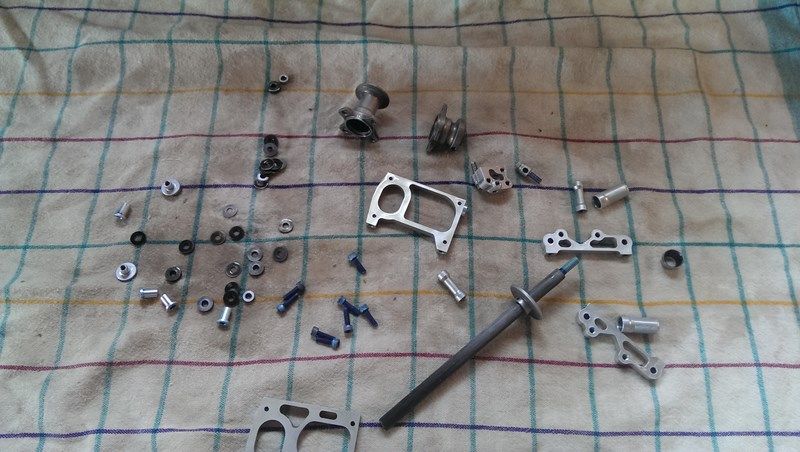
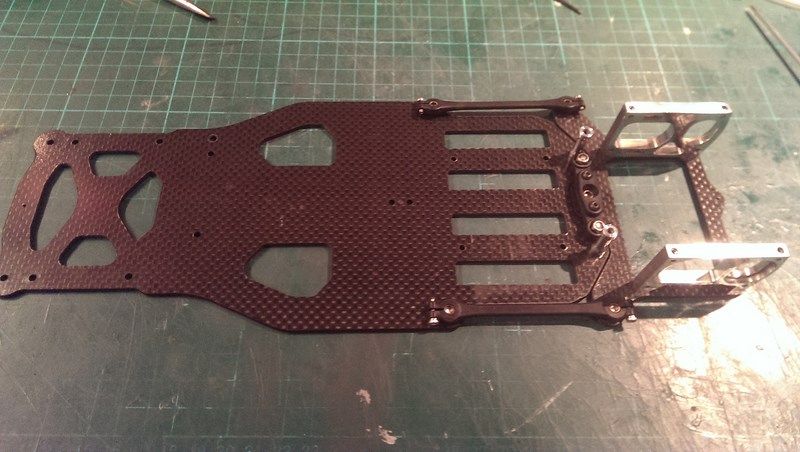
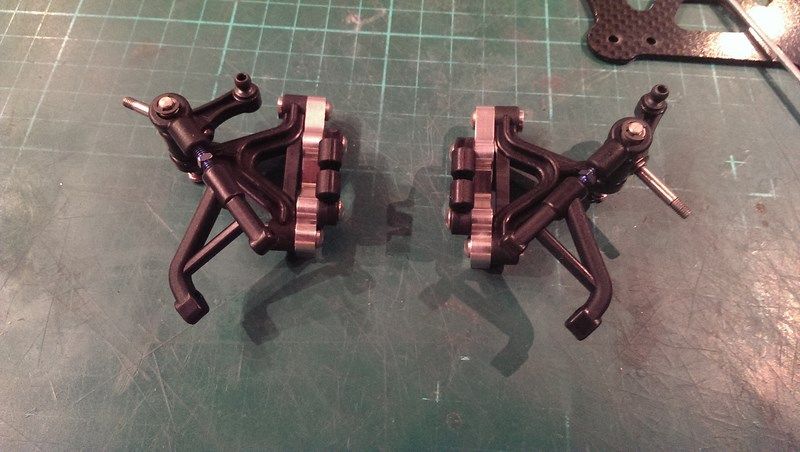
Before :
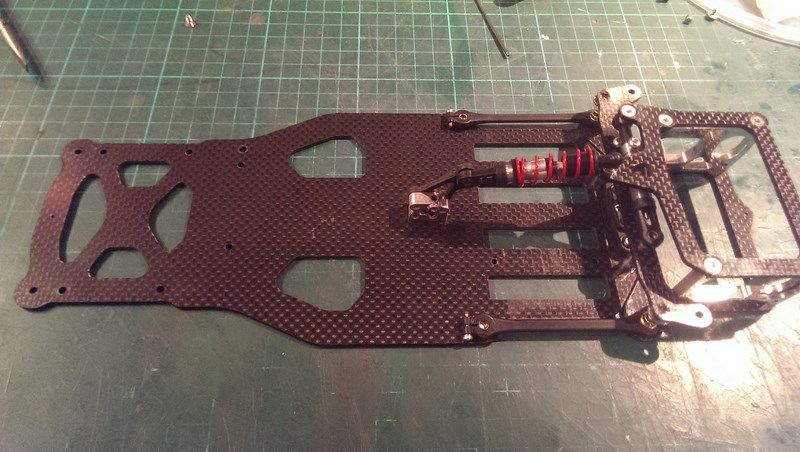
After :
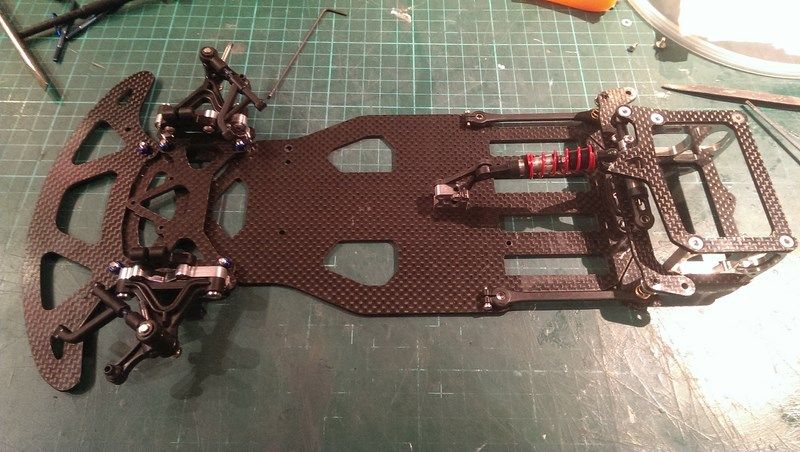
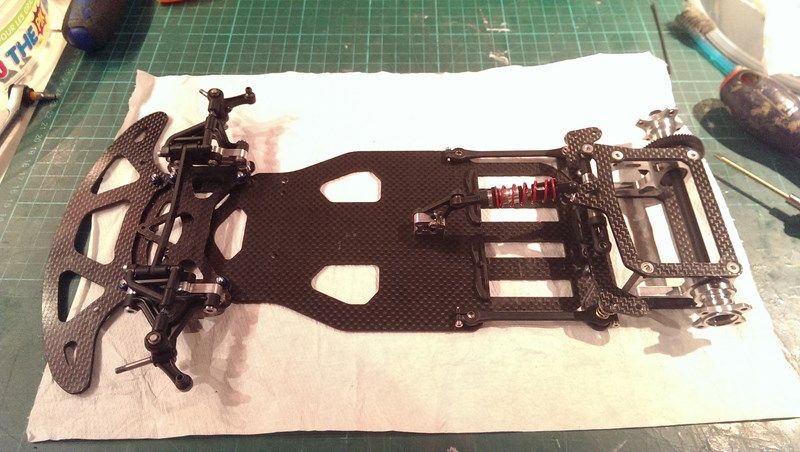
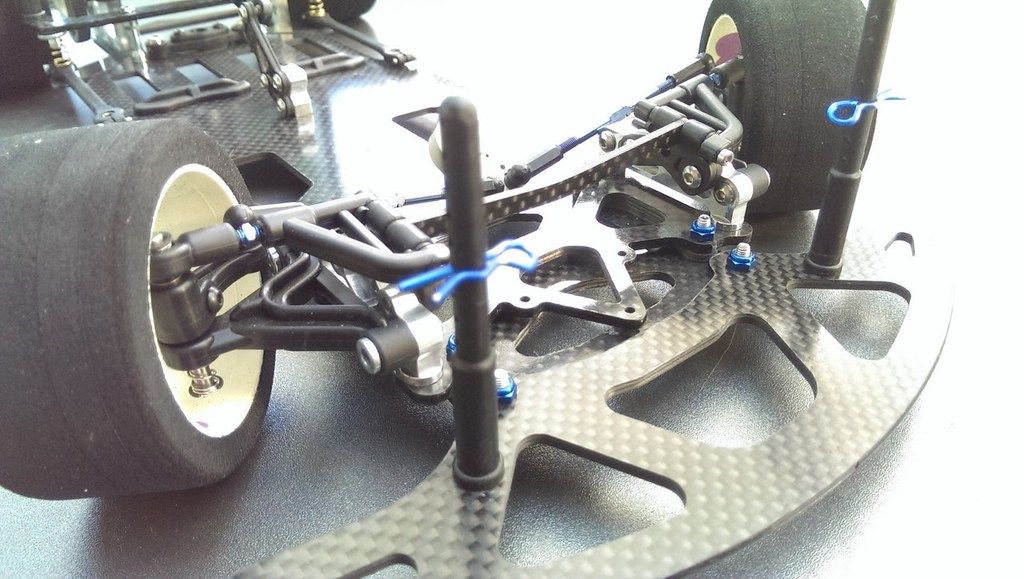
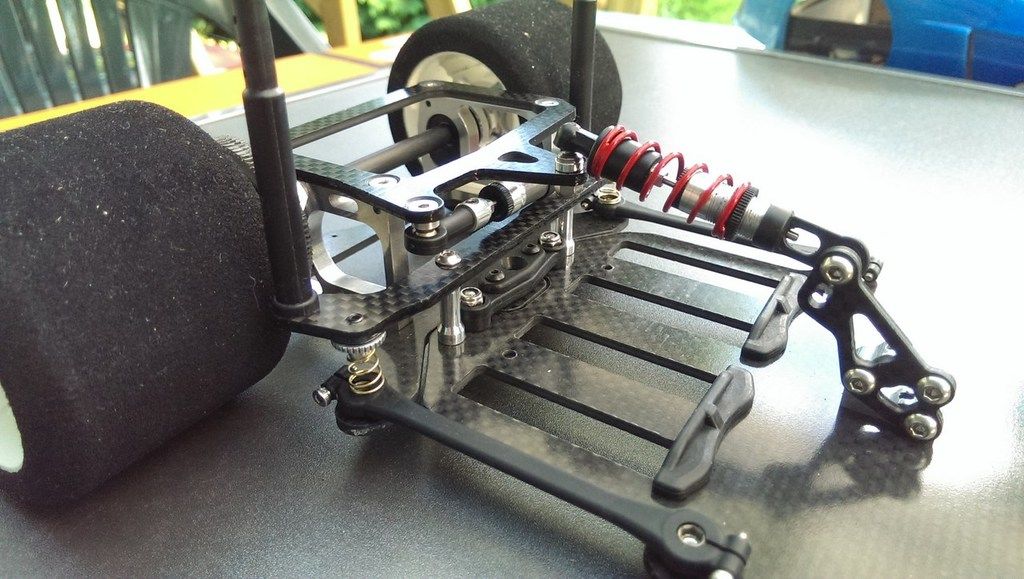
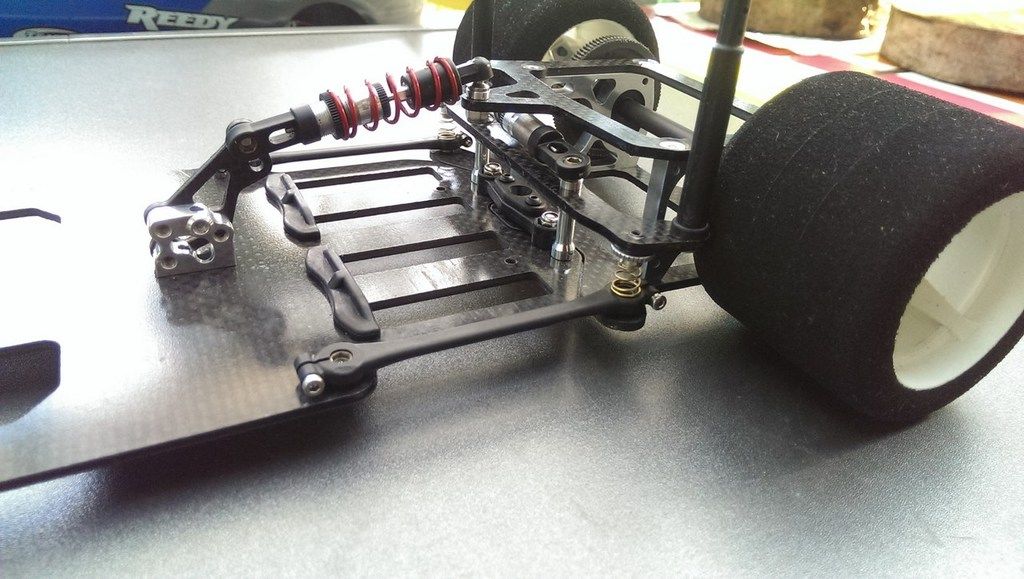
Re-assembly began (I changed all the screws by A2 stainless steel ones);


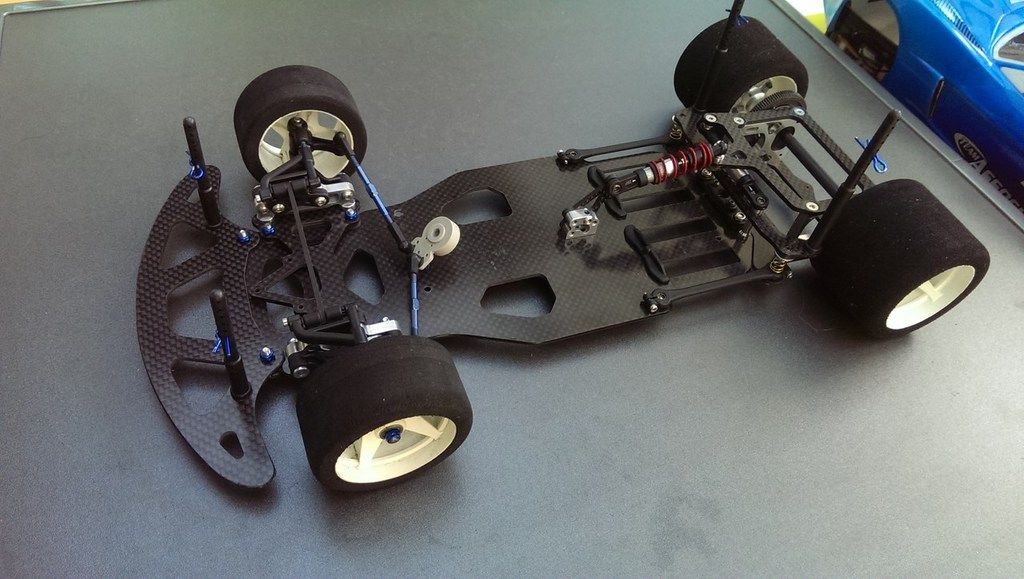

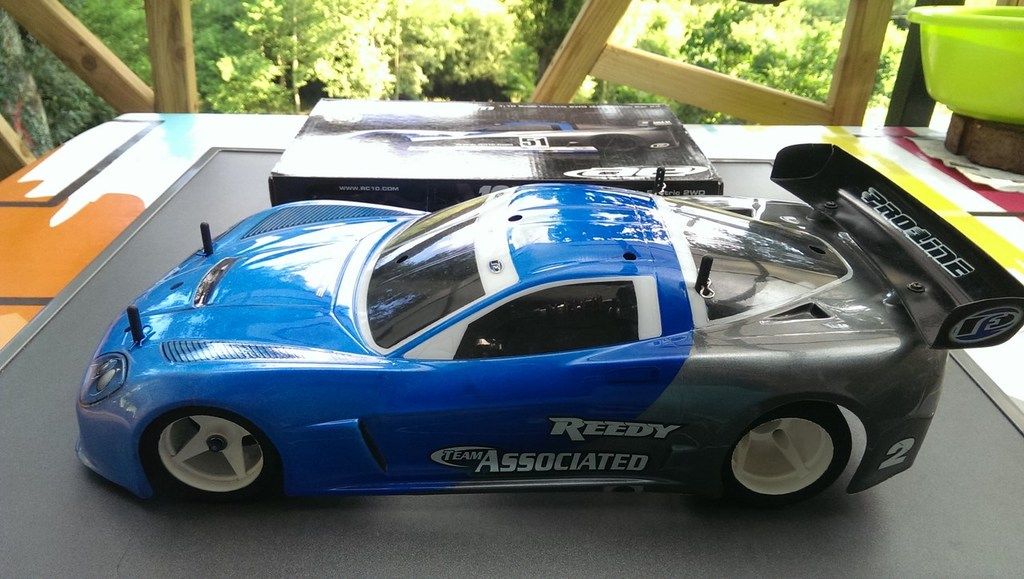
Thanks for reading me
Jerome