RC10DS - Lamborghini Diablo - BODY SWAP TO GALLARDO

RC10/12/100/200/250/300/500/Dual Sport
General discussion, builds/restorations etc...

Moderators: scr8p, klavy69

User avatar
LoboNYC
Approved Member
Posts: 779
Joined: Tue Apr 09, 2013 4:26 pm
Location: Staten Island, NYC
Has thanked: 813 times
Been thanked: 344 times

RC10DS - Lamborghini Diablo - BODY SWAP TO GALLARDO

Post by LoboNYC »

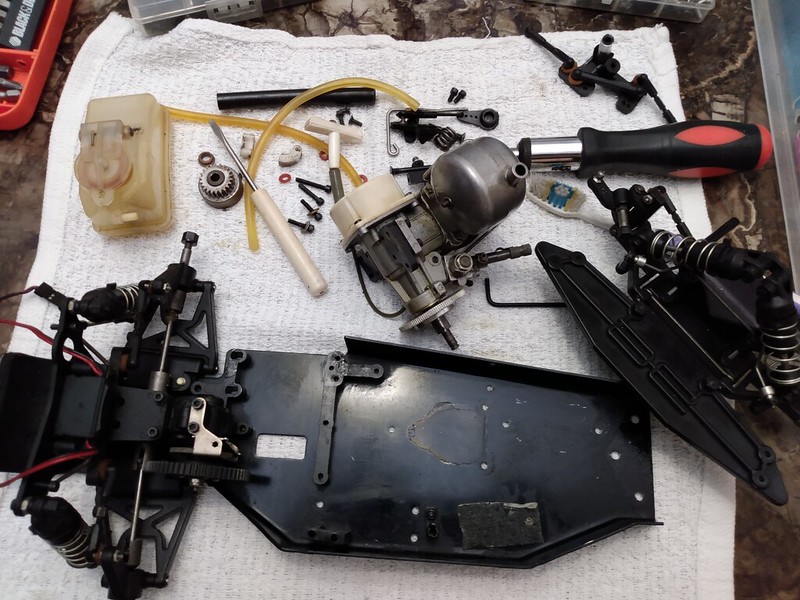
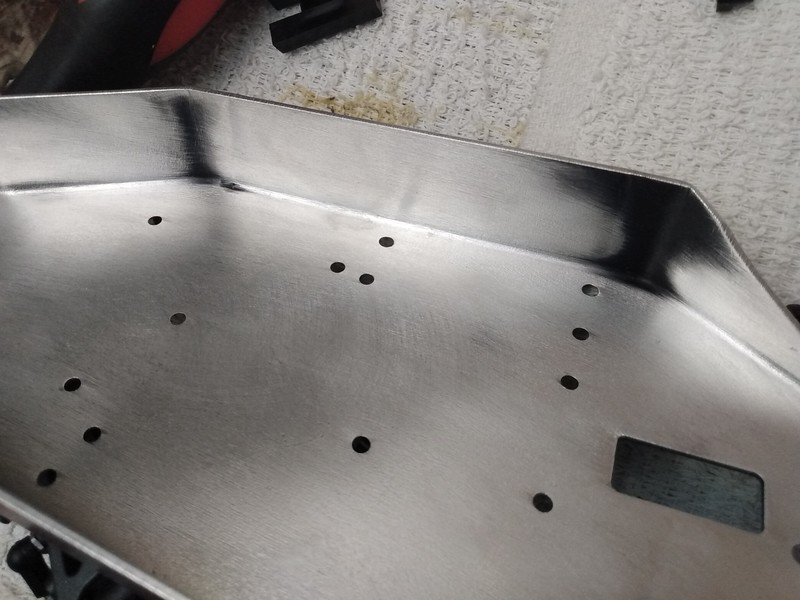
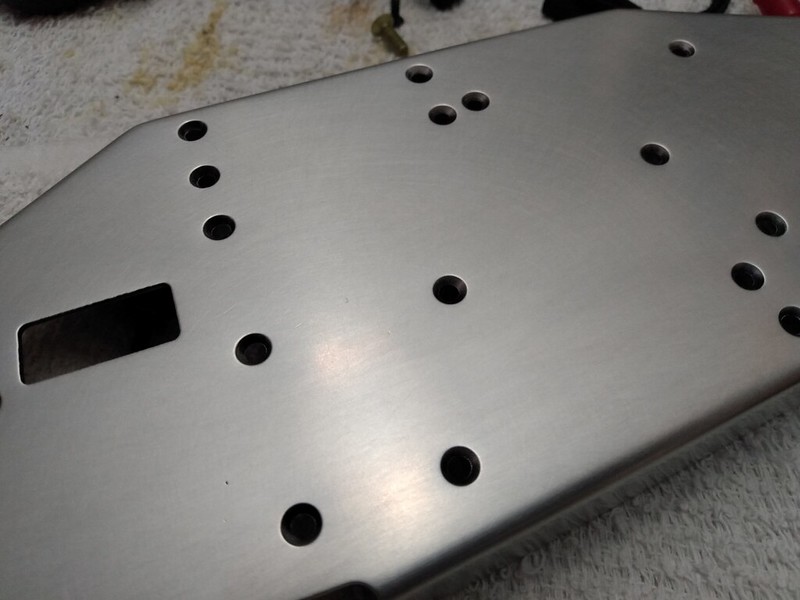
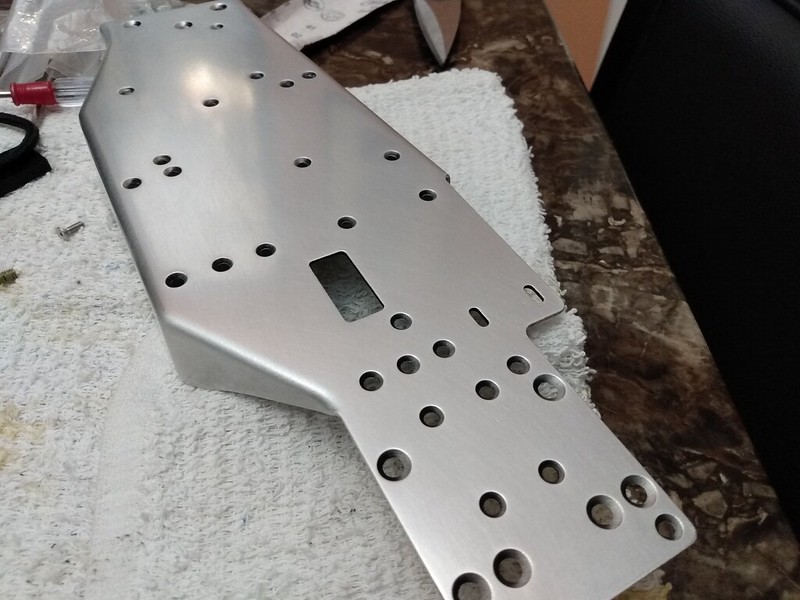
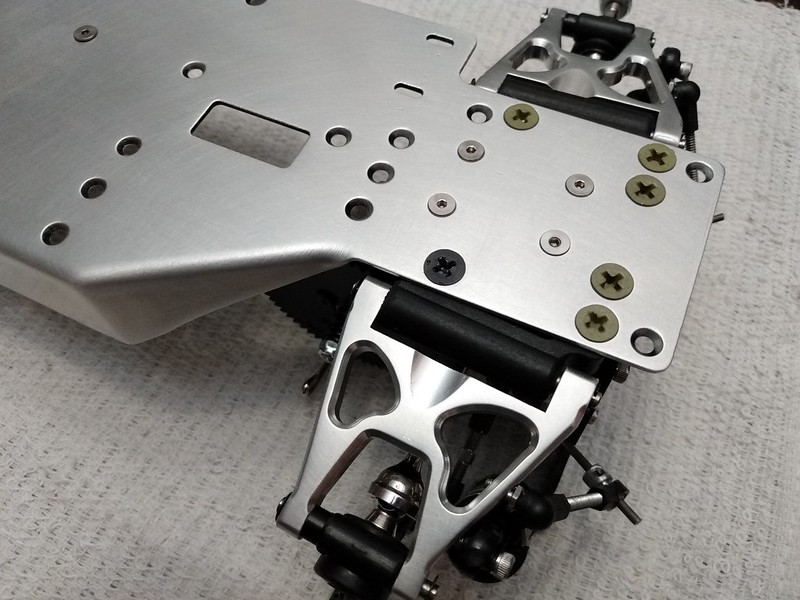
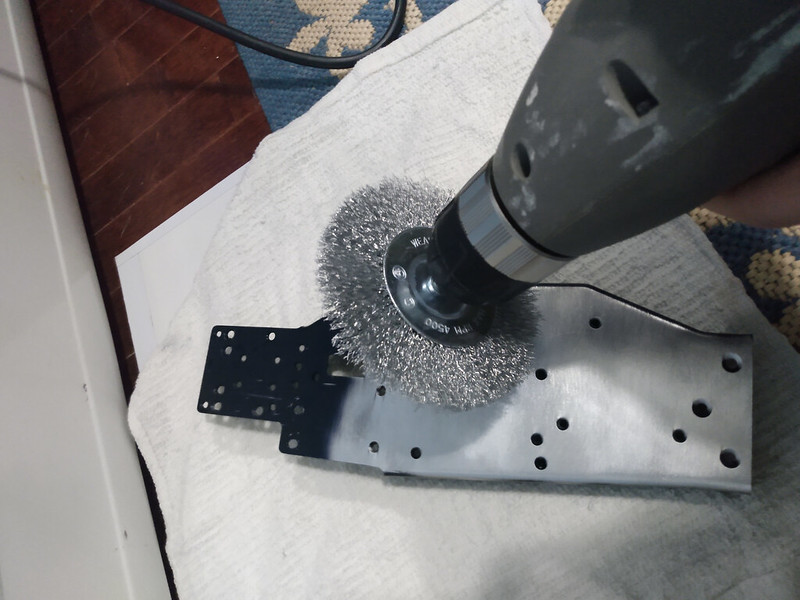
Hi all. As you know, I entered my camel yellow electric RC10DS Lamborghini Murcielago in this this months BOTM. There, I mentioned i had a nitro version of a DS Lamborghini in the works. Well here is the start of the build page. Im starting out, believe it or not, with a nitro RC10DS from Ireland i got on ebay in July of 2014. After 7 years on the shelf with intention of working on it, i finally took it apart. By the way...i have a big box with a bunch of DS cars that are waiting for TLC. This DS came with a .15 Yokomo engine and was a really nice car just needing a nose plate, new engine and TLC. The Yokomo could not be saved and the nose plate was tweaked. I decided to strip the black powder coating from the chassis and nose plate replacement. I used wire brush for the removal of the coating and sanding of various grit to smooth out the markings left behind from the wire brush.

The DS i started out with
Image
Image
Image
Image

taking her apart
Image

Started removing black powder coating with wire brush
Image
Image
Image

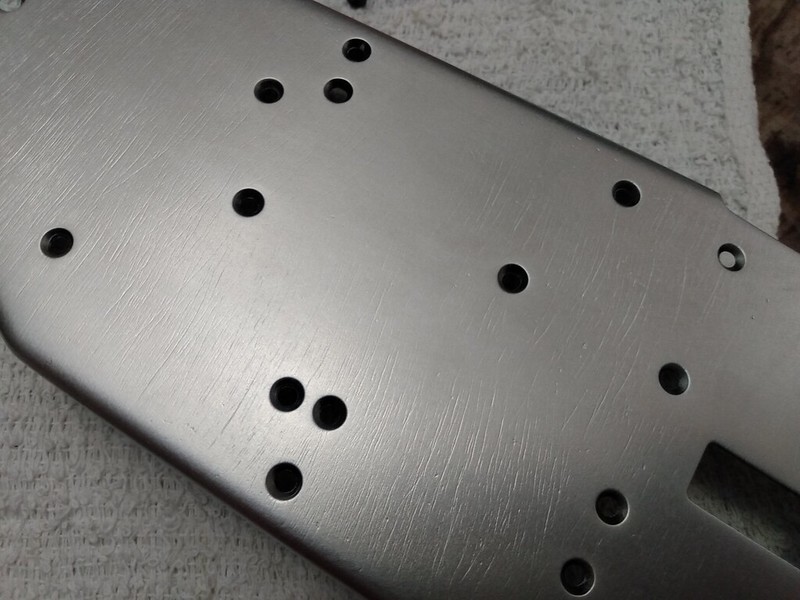
Chassis and nose plate done but far from complete...notice the markings left behind from the wire brush
Image
Image

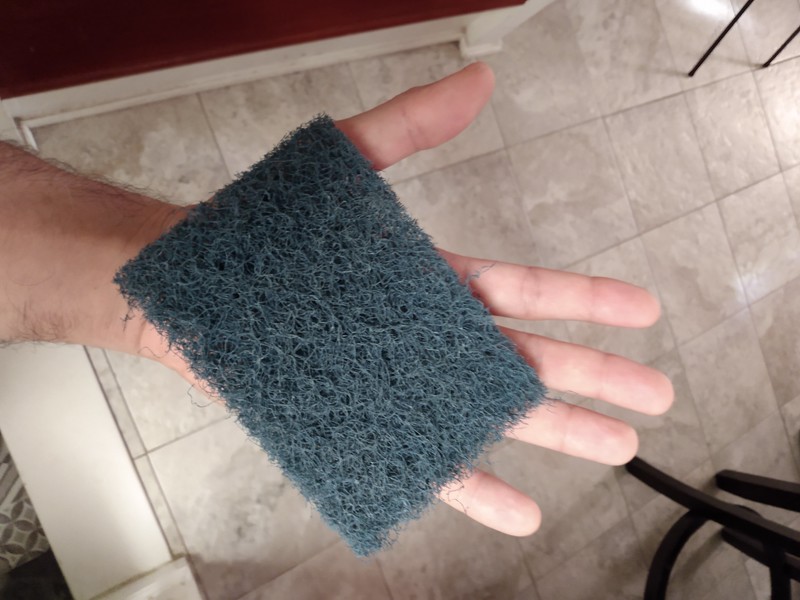
Lots of sanding...used 3m Corse to fine pads. Corse is being shown in photo.
Image

Smooth as can be
Image
Image
Image

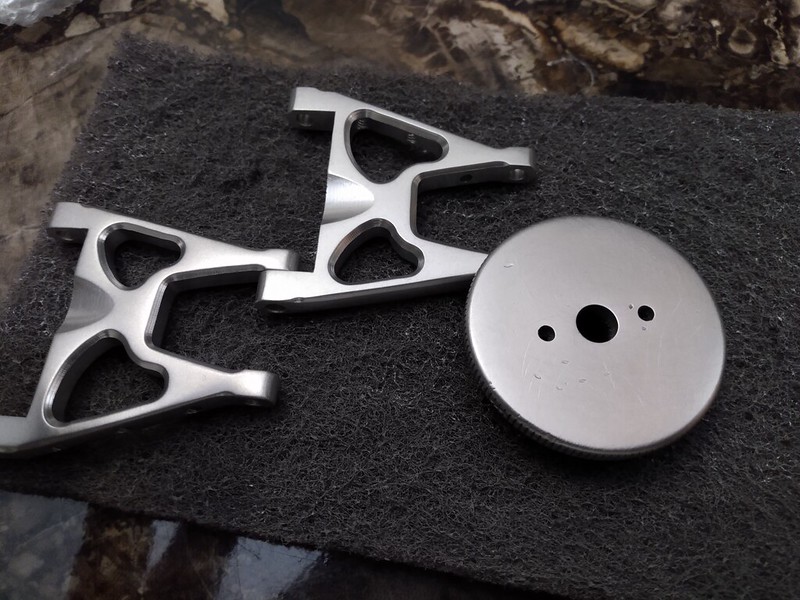
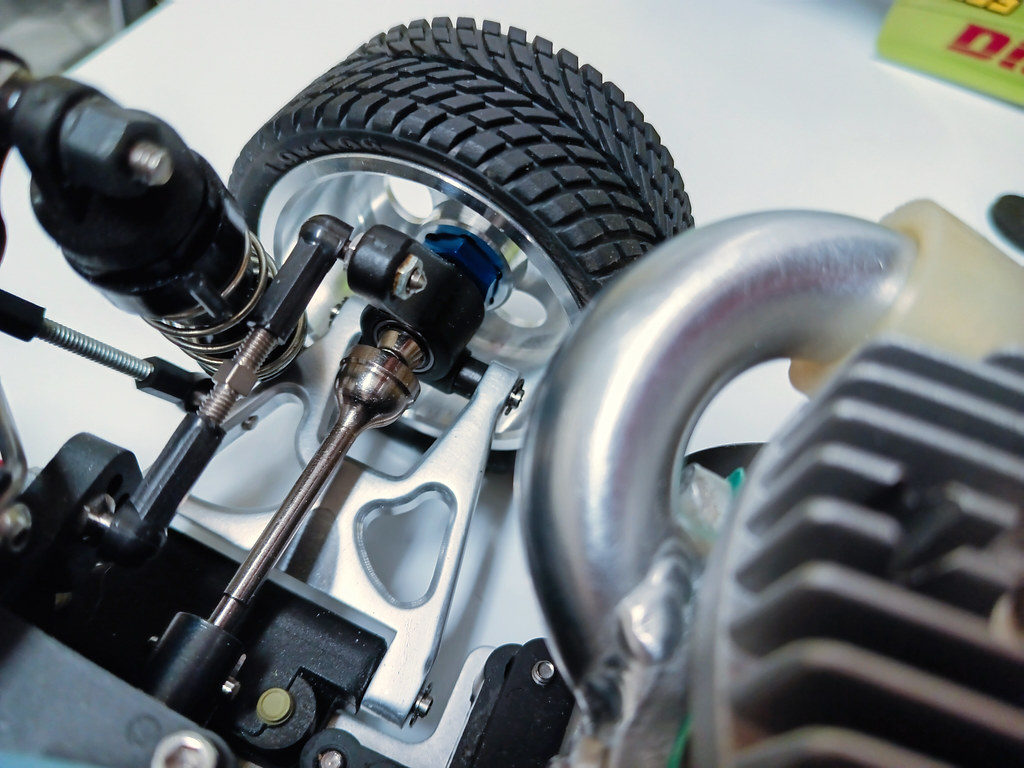
Im going to replace the rear suspension arms with a set of aluminum ones. I got them years ago over seas but was never able to find front sets. These had the CNC marks. I sanded the marks off so they can match the chassis.
Image
Image
Image

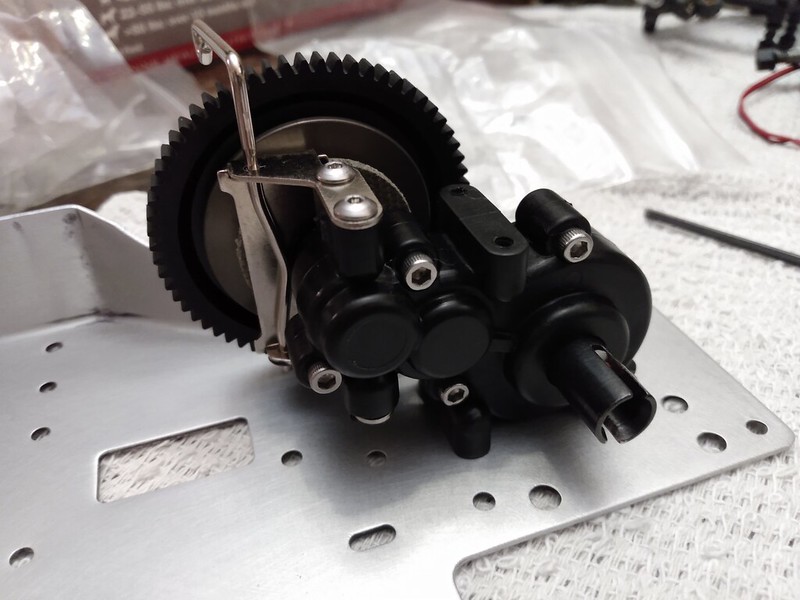
I wanted to save some time so intead of rebuilding and repairing the original tranny im dropping in a brand new Stealth tranny with ball bearings. Another plus on dropping in a new tranny is that this tranny has a slipper clutch. The original tranny was a qualifier type with no slipper. Im replacing the steel hardware with stainless steel.
Image

She sits perfect on the chassis
Image

Im cleaning and polishing the original axles but i may end up replacing them with a set of Shiny MIP CVD's for this project...We'll see
Image

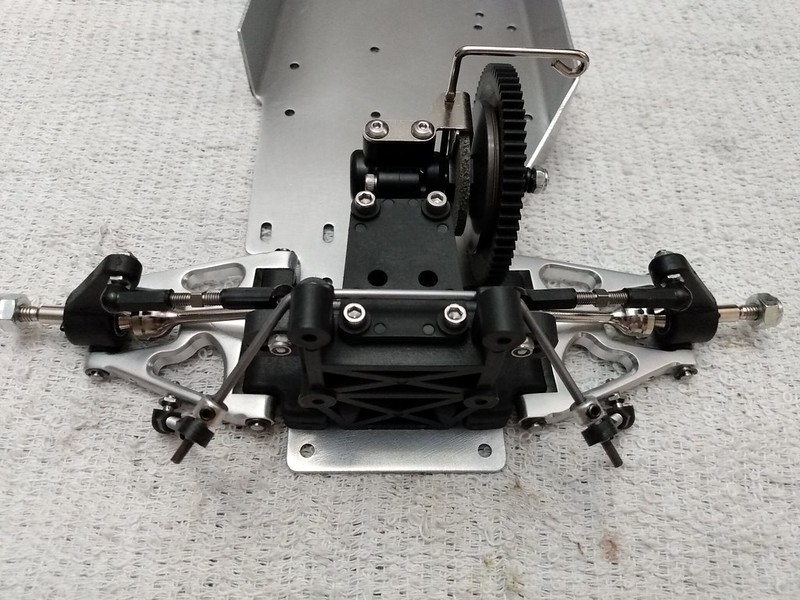
Im upgrading this ride with a set of period correct Cliff Lett's Titanium turnbuckle set and a set of Lundsford Titanium hinge pin set. also replacing phillips screws with new ones.
Image
Image

Suspension arm mounted on chassis...looking pretty sweet i might add
Image
Image

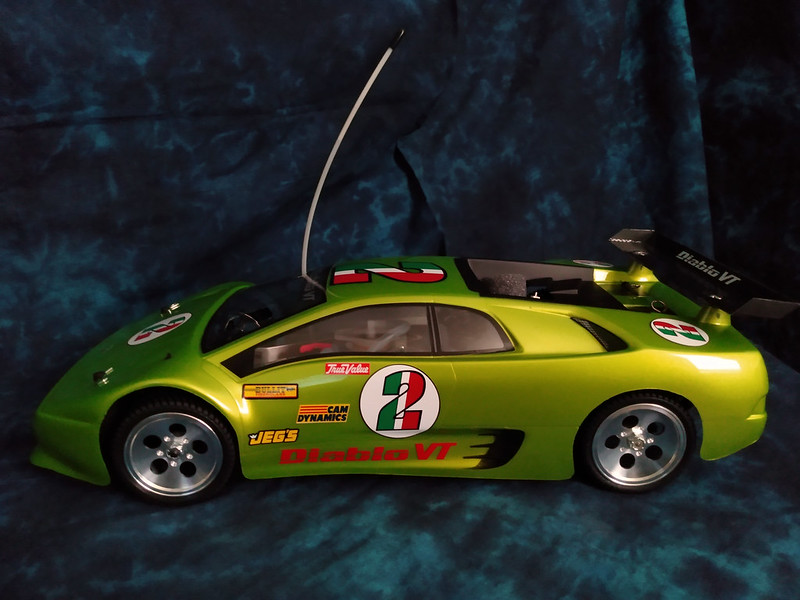
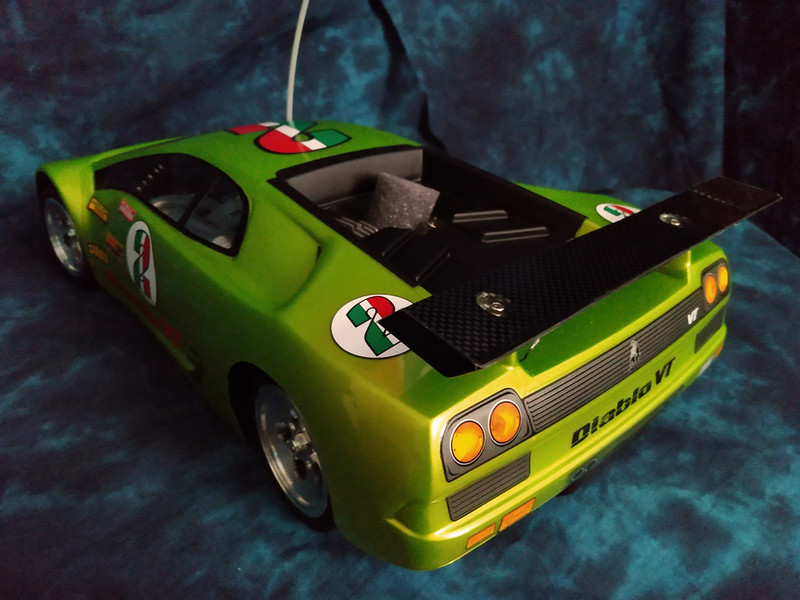
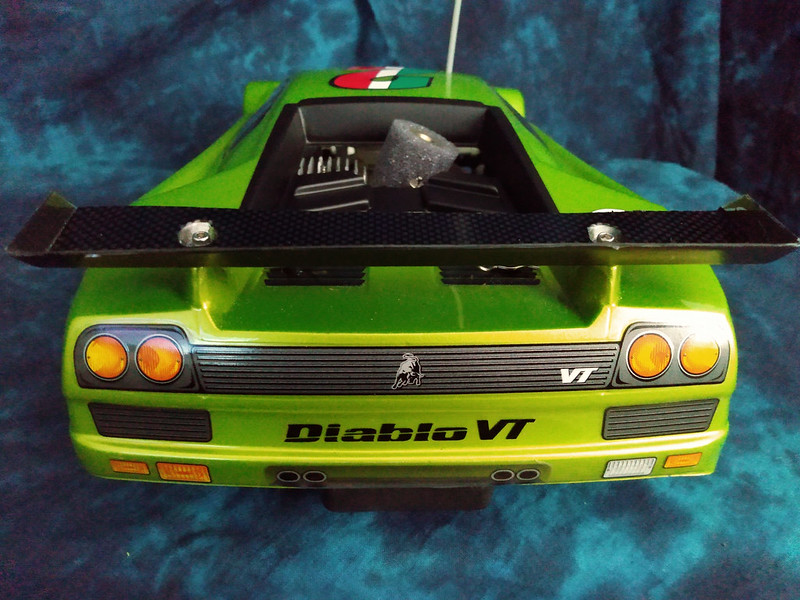
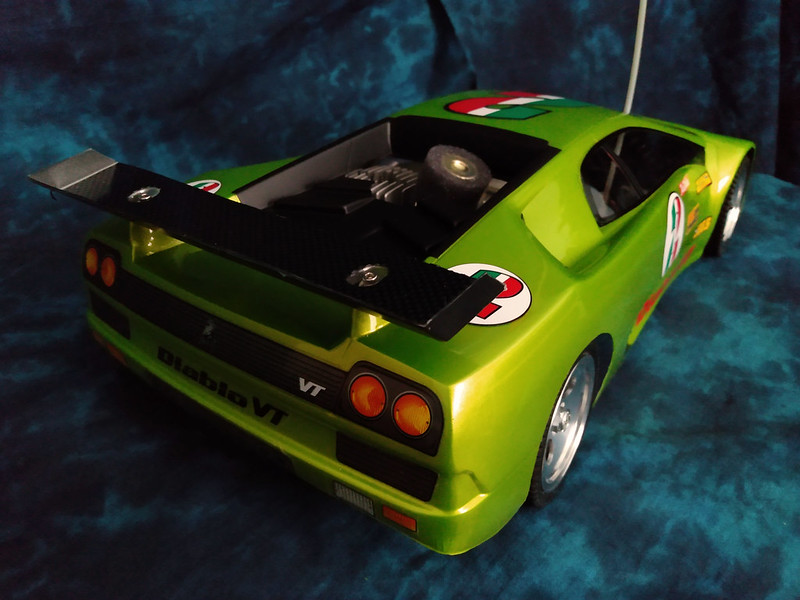
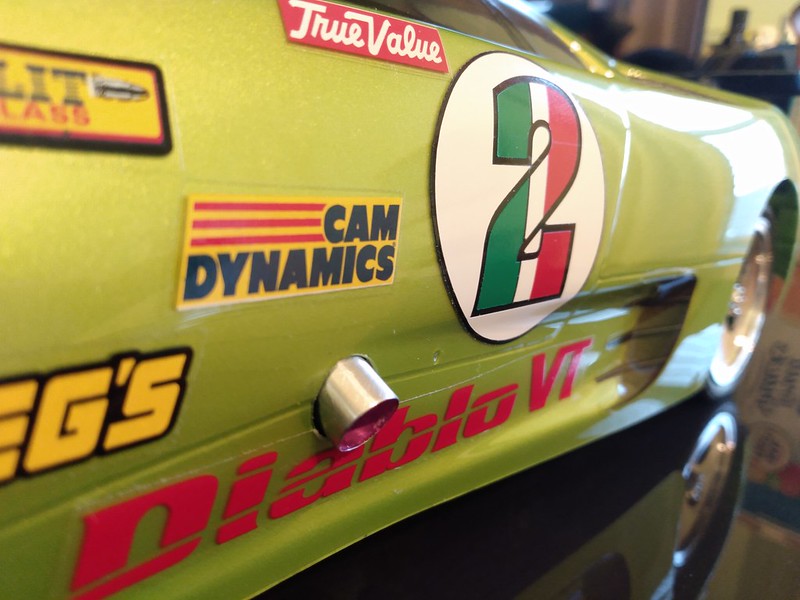
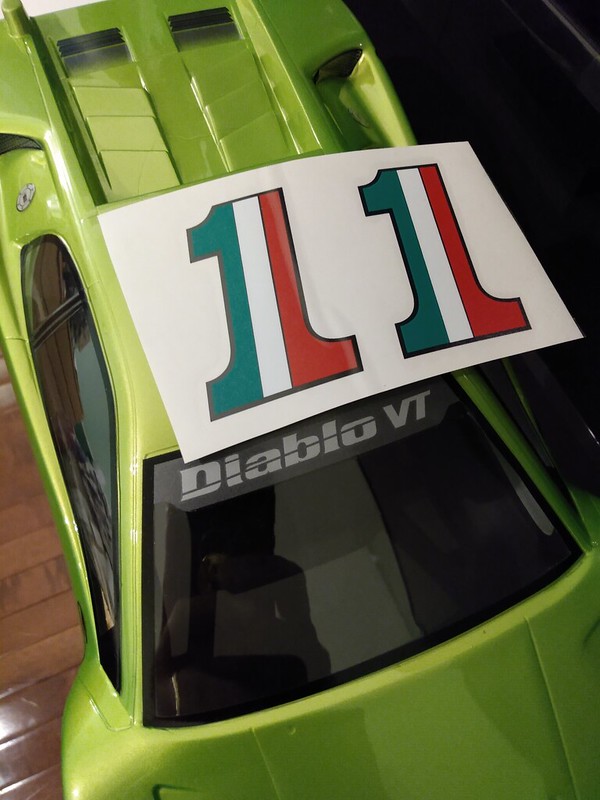
Here is a partial shot of the green Diablo body im using along with the #1 decals used the other Lambo for color comparison...as of now, im still waiting for the #2 set to arrive in the mail.
Image

UPDATE: 1/16/22

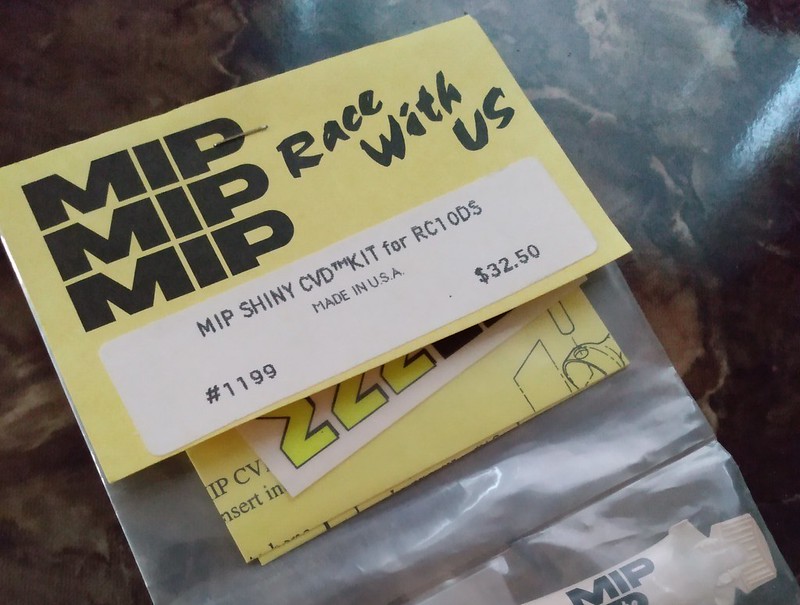
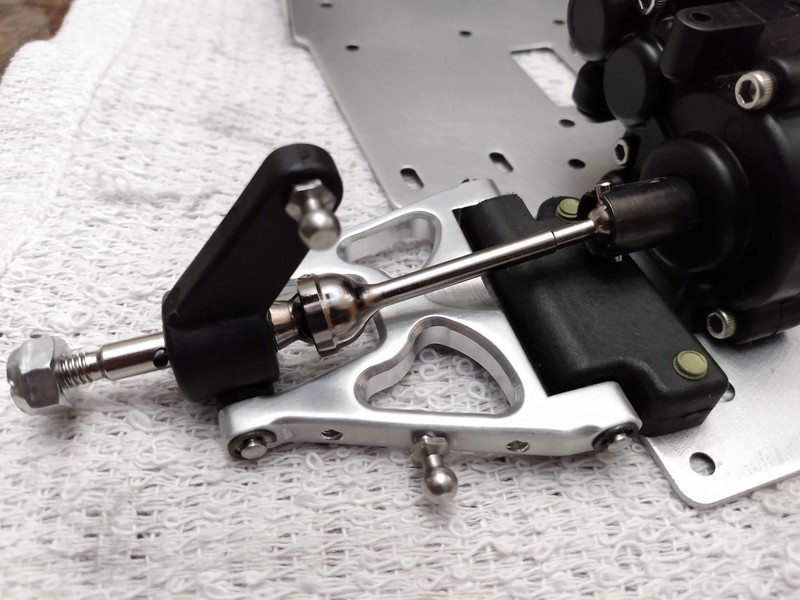
Decided to upgrade this car with a set of MIP shiny CVD's to give the rear an extra touch of eye candy. Rear stabilizer and titanium turnbuckles mounted. I will continue to swap out the steel screws for stainless steel but they are getting harder to find in my parts box.
Image
Image
Image
Image
Image

UPDATE: 01/18/22

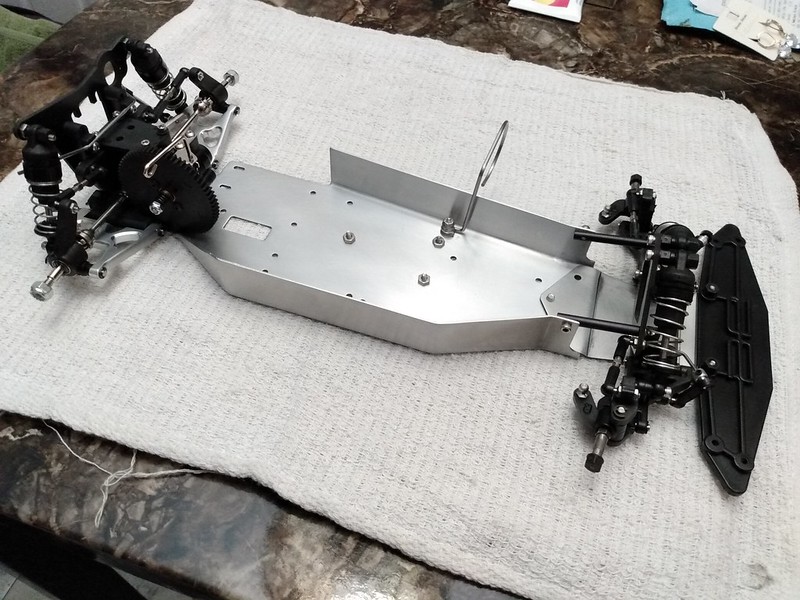
Front and rear end are now complete
Image
Image
Image
Image

UPDATE: 01/22/22
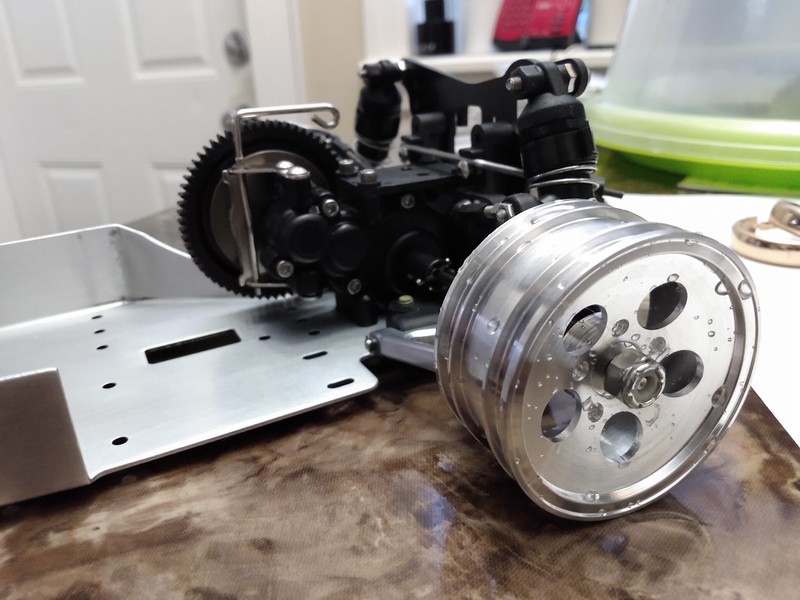
Received these aluminum Tamiya style Lamborghini Countach wheels from Korea today. Beautifully machined. I enlarged the center hole in order to fit the axle. I mounted a set of Pro-Line Sedan Hawgs. Since they were old new stock, the inner foam tire supports were shot. Currently the tires have no foam inserts.

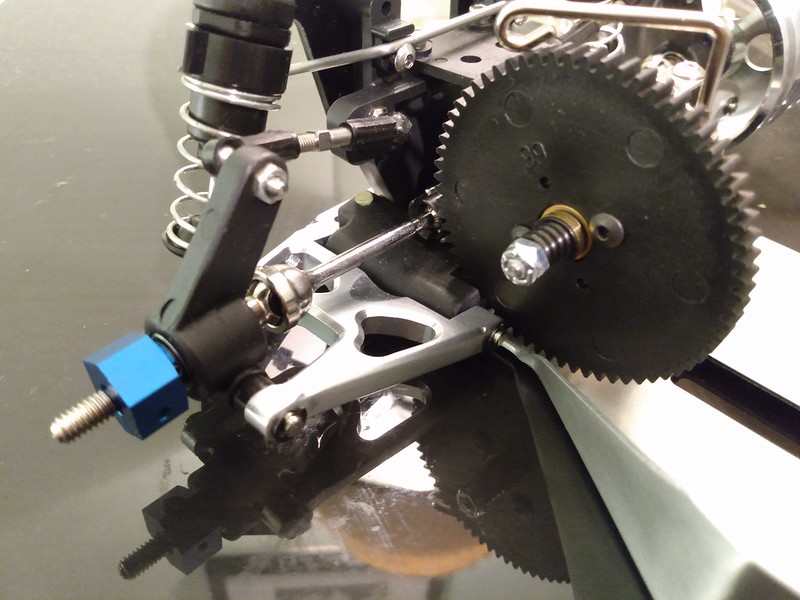
Also, i replaced the original c-hub/axle knuckle setup for the associated sc10 version. The only modification needed was to enlarge the hole for the bottom hinge pin and reverse the ball ends. This mod allows me to use 12mm hex wheels in the front. Just be mindful of the wheel offset.
Image
Image
Image

Used a wide hex in the rear to get the rear wheels in line with the fronts.
Image

UPDATE: 01/28/22

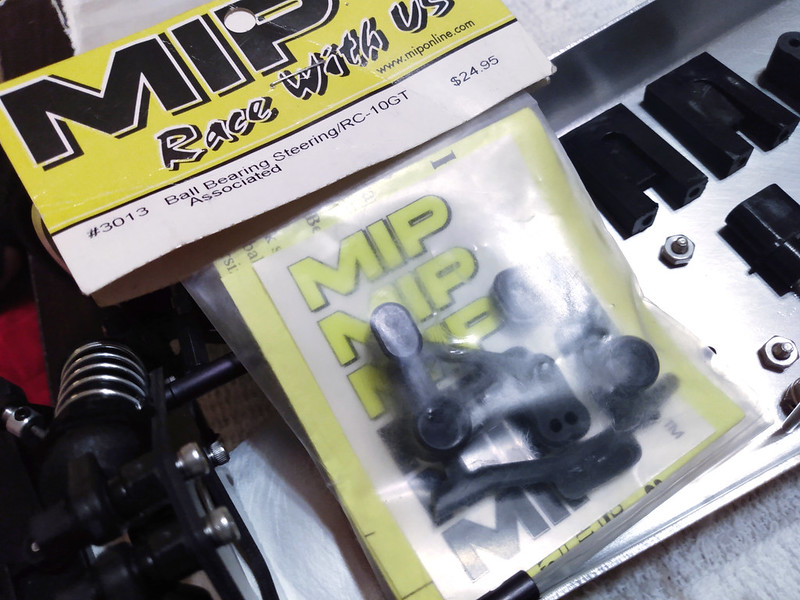
MIP Ball Bearing Steering setup installed.
Image
Image

A few white RPM ball cup ends used along with the titanium turnbuckles.
Image

Engines mounts cleaned and installed
Image

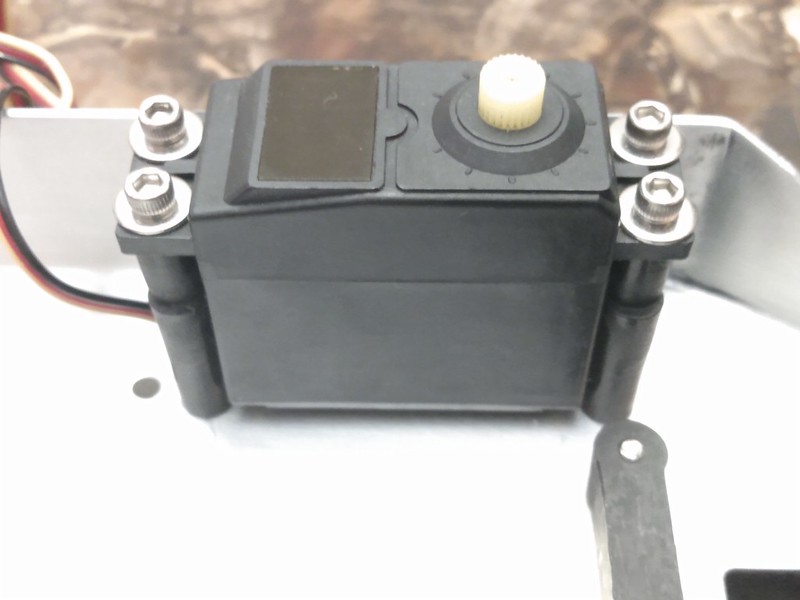
Futaba throttle servo mounted. The label came off during cleaning. I may end up replacing the servo in the near future.
Image

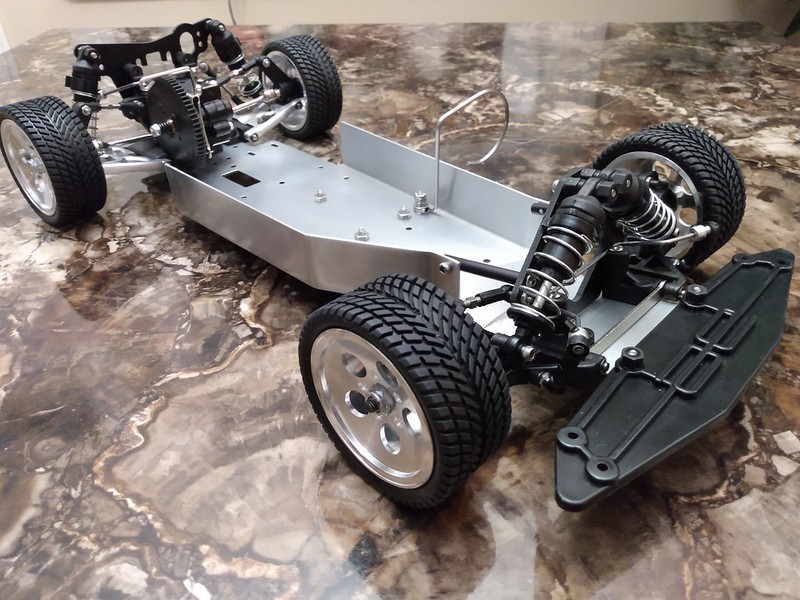
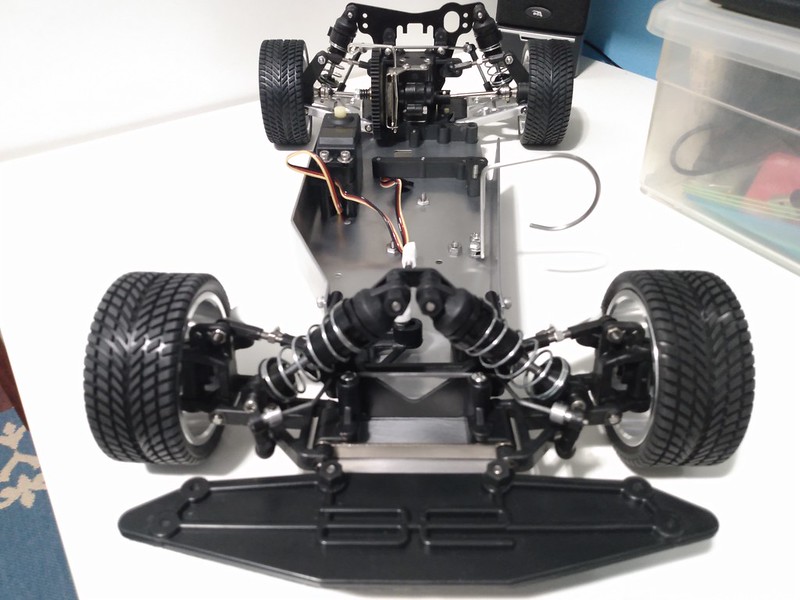
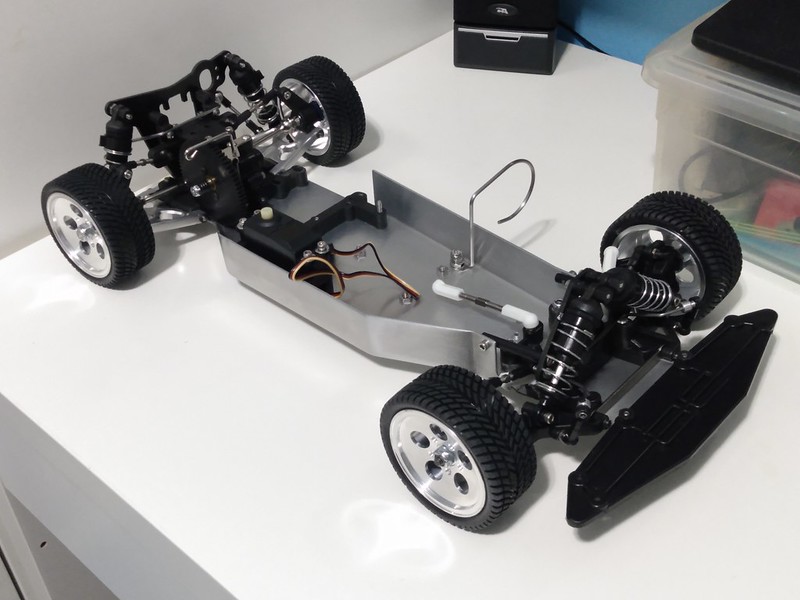
Some full shot photos of the DS
Image
Image

UPDATE: 02/25/22 PROJECT COMPLETE

Stock exhaust canister is replaced with an old GT aluminum side pipe. Nasty looking, needs cleaning and some polishing.
Image

Shot of the side pipe and exhaust manifold after polishing with soapy brillo pad.
Image

The polished exhaust manifold goes well with the brand new OS CZRX engine
Image

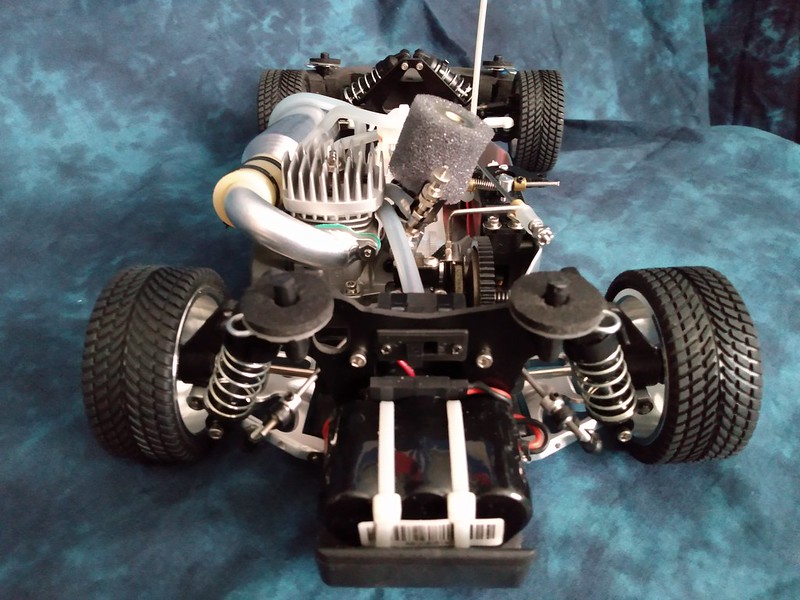
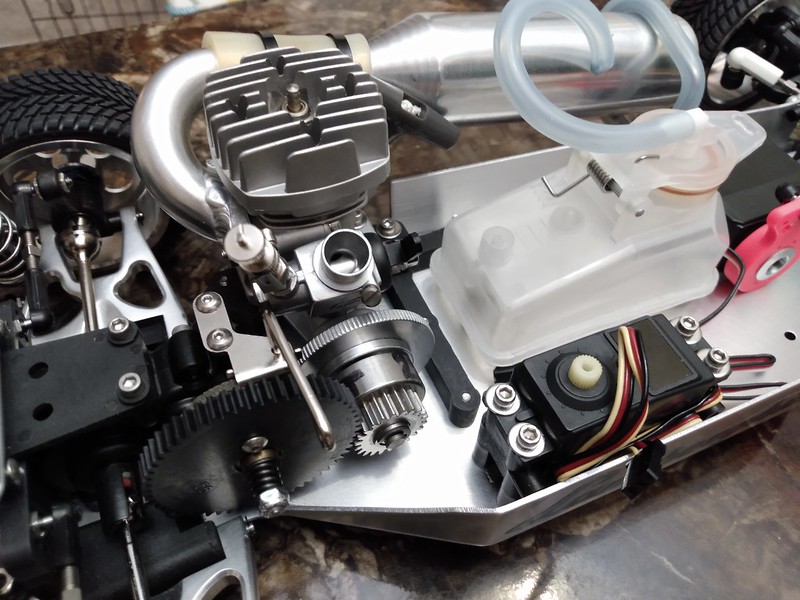
Engine/Manifold/Pipe combo dropped into the chassis along with a new Associated GT fuel tank. Looking good.
Image
Image
Image

Throttle/brake linkages set up. OS filter shown will be replaced with a stock Associated paper element and foam filter included in the kits.
Image

I decided to spray the engine bay area in matte black in order to break up the green and to enhance the engine air filter hole.
Image

I LIKE IT. If you look closely you will see an air intake opening on the front windshield in the second photo
Image
Image

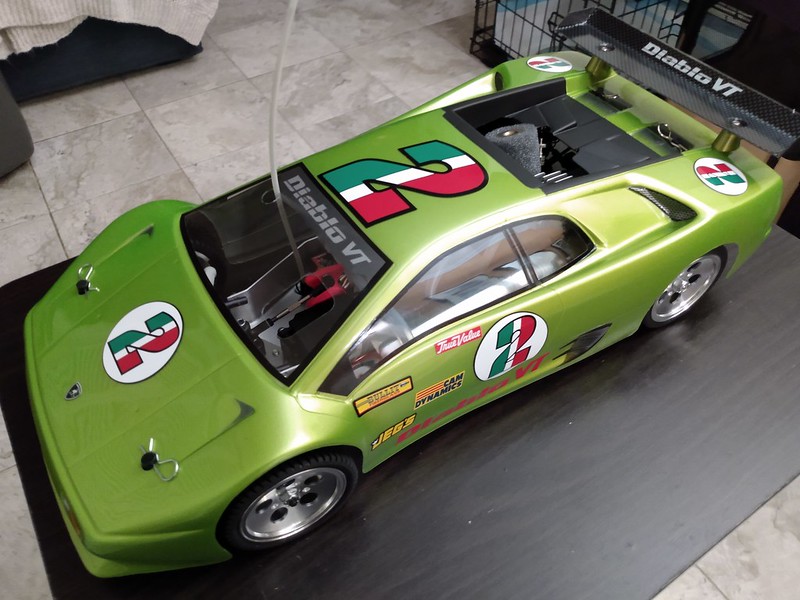
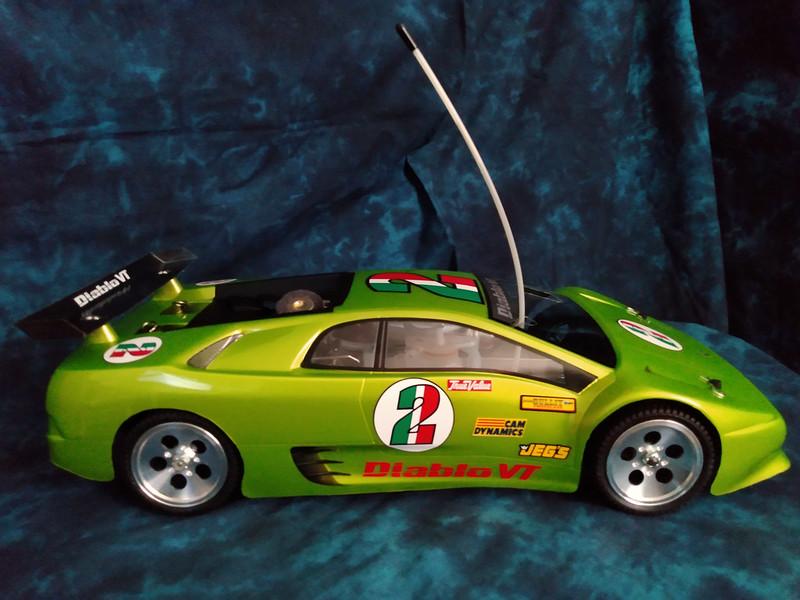
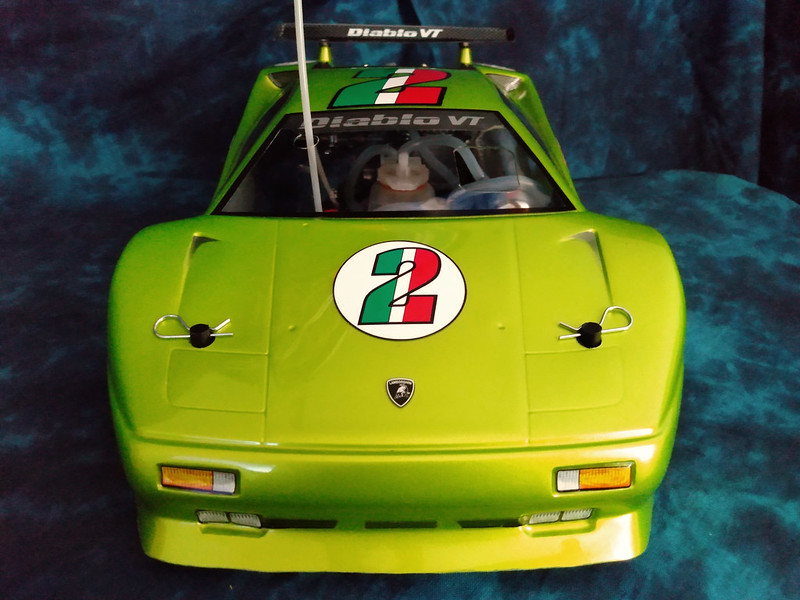
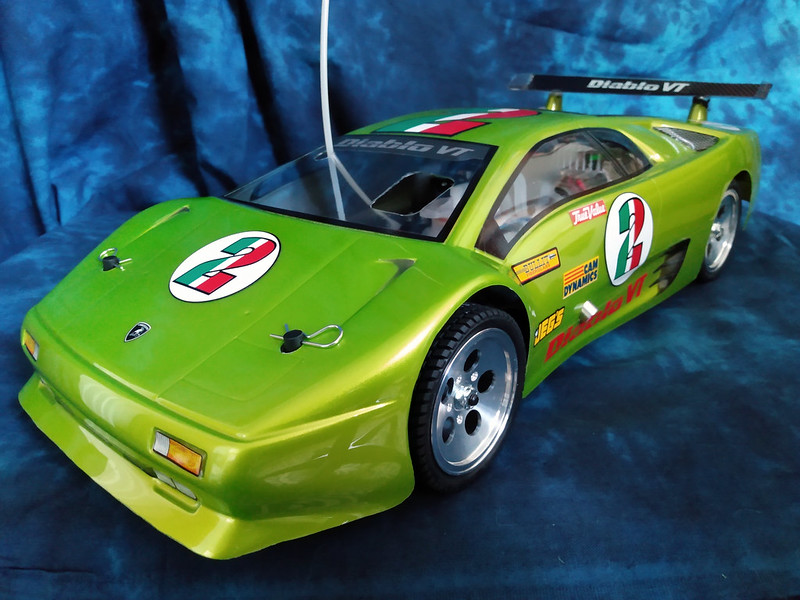
The project is 99% complete. It lacks a fuel filter (on order). Aside from that, this car is finished with a Traxxas receiver, two servos, and a receiver pack. Here are some photos:

Image
Image
Image
Image
Image

Money Shots
Image
Image
Image
Image
Image
Image
Image
Image

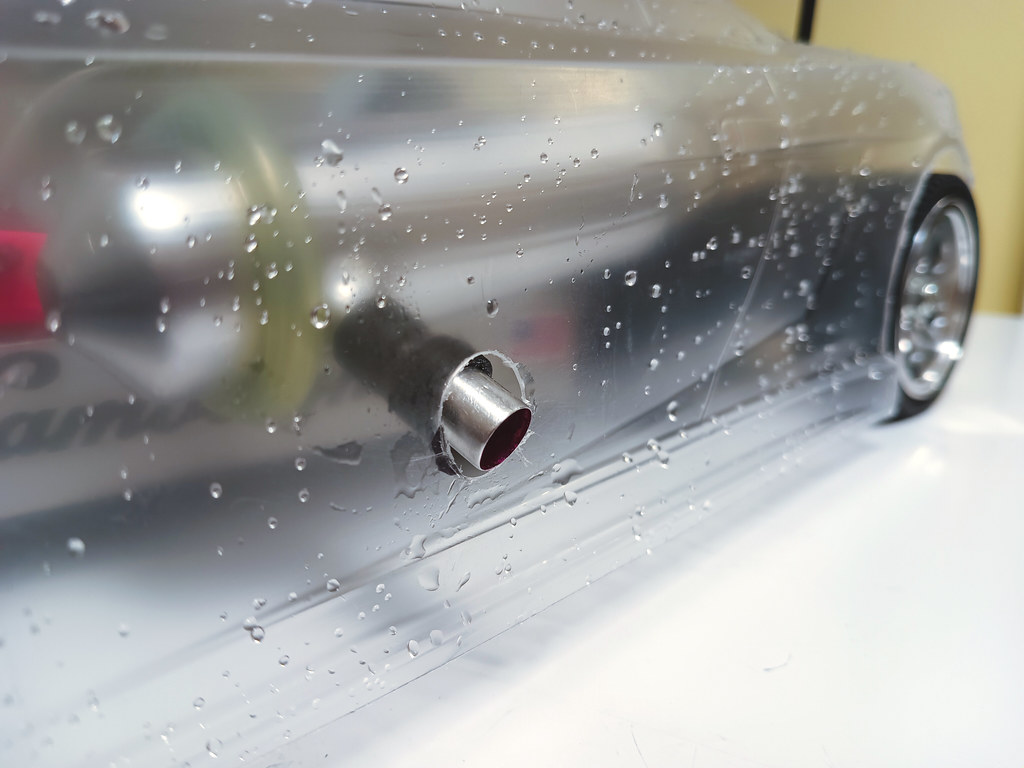
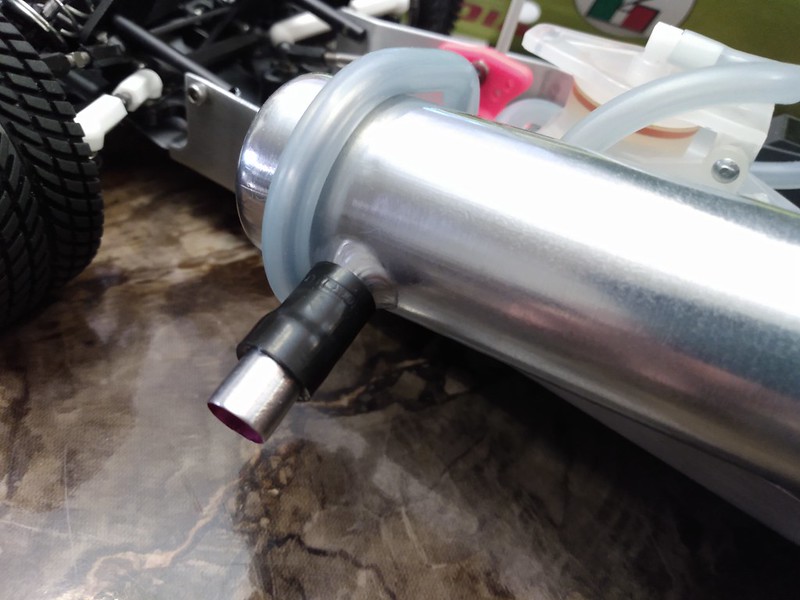
Extended the stinger a bit with a purple aluminum tube (i removed the purple anodize layer, polished it up, and shortened it) so the exhaust can exit outside of the body.

Image
Image
Image
Image
Image

This car came a long way. It is better than stock. The original gearbox that lacked a slipper clutch was replaced with new gearbox that has the slipper. Steel hinge pins and turnbuckles were replaced with titanium versions. Restrictive exhaust canister replaced with manifold and tuned pipe. Stock rear plastic arms replaced with aluminum. Old engine replaced with new OS .12. Old fuel tank replaced with new tank. Stock dog bones replaced with MIP shiny CVDs. All bushings replaced with ball bearings. Steering assembly replaced with a new MIP ball bearing setup. Most steel hardware (screws) were replaced with stainless steel. New receiver, new receiver battery pack and servos installed. Countach aluminum wheels combined with proline sedan tires and a green/gold HPI Lamborghini Diablo body complete the package.

What do you think? I think it turned out okay :D Okay for March BOTM :lol:

User avatar
KidAgain
Business Member
Posts: 952
Joined: Fri Feb 01, 2019 7:11 pm
Location: So Cal
Has thanked: 371 times
Been thanked: 304 times

Re: RC10DS - Lamborghini Diablo

Post by KidAgain »

Wow that looks great man can't wait for more updates
Visit Nostalgic RC in the business section or @nostalgicrc on Facebook for your custom RC10DS parts

User avatar
MarkyDents
Approved Member
Posts: 1129
Joined: Sun Jan 10, 2021 4:52 pm
Location: Staten Island, N.Y.
Has thanked: 1592 times
Been thanked: 593 times

Re: RC10DS - Lamborghini Diablo

Post by MarkyDents »

The brushed aluminum looks beautiful ! Your hands and fingers must have been killing you after all that effort.
Who do you race for ?
Me……. I race for me.
That’s impossible, I was told you need a sponsor to race.
Hey Cru ! Go balls out 8)

User avatar
LoboNYC
Approved Member
Posts: 779
Joined: Tue Apr 09, 2013 4:26 pm
Location: Staten Island, NYC
Has thanked: 813 times
Been thanked: 344 times

Re: RC10DS - Lamborghini Diablo

Post by LoboNYC »

KidAgain wrote: Sun Jan 16, 2022 3:19 am Wow that looks great man can't wait for more updates
Thanks!!! I posted some updated photos. MIP CVDs added to the build
MarkyDents wrote: Sun Jan 16, 2022 2:19 pm The brushed aluminum looks beautiful ! Your hands and fingers must have been killing you after all that effort.
Thanks!...and you got that right...not only did my hands and fingers hurt...my lungs were angry at me :evil: . I forgot to wear a mask when removing the powder coat and sanding the aluminum...man i was coughing up for days and spitting out black stuff. i was not a happy camper

User avatar
RC10resto
Super Member
Posts: 2981
Joined: Tue Sep 09, 2008 6:26 am
Location: Los Angeles, CA
Has thanked: 1271 times
Been thanked: 509 times

Re: RC10DS - Lamborghini Diablo

Post by RC10resto »

Powder Coated or Anodized?
I thought they were all Anodized :?:

User avatar
LoboNYC
Approved Member
Posts: 779
Joined: Tue Apr 09, 2013 4:26 pm
Location: Staten Island, NYC
Has thanked: 813 times
Been thanked: 344 times

Re: RC10DS - Lamborghini Diablo

Post by LoboNYC »

RC10resto wrote: Sun Jan 16, 2022 5:41 pm Powder Coated or Anodized?
I thought they were all Anodized :?:
You are correct... my error...the chassis is anodized. And still nasty to breath in the dust, lol

User avatar
XLR8
Approved Member
Posts: 3228
Joined: Sun Feb 19, 2017 8:46 am
Location: north/central Alabama
Has thanked: 1558 times
Been thanked: 1108 times

Re: RC10DS - Lamborghini Diablo

Post by XLR8 »

As someone who has spent a lifetime hand-crafting parts from aluminum then struggling to brush and polish those pars to arrive at an acceptable finish, I am humbled by your work.
It's just beautiful!
Doug

User avatar
LoboNYC
Approved Member
Posts: 779
Joined: Tue Apr 09, 2013 4:26 pm
Location: Staten Island, NYC
Has thanked: 813 times
Been thanked: 344 times

Re: RC10DS - Lamborghini Diablo

Post by LoboNYC »

XLR8 wrote: Sun Jan 16, 2022 9:23 pm As someone who has spent a lifetime hand-crafting parts from aluminum then struggling to brush and polish those pars to arrive at an acceptable finish, I am humbled by your work.
It's just beautiful!
I thank you for those kind words.

I can tell you this...when i started to go through the different stages of sanding using the 3M pads i noticed the aluminum was getting smoother but the brightness started to fade. It started turning a dull grey. i tried rubbing it with WD40 to see if it would remove it. That didn't work for me.

I took to the bathroom and continued sanding the chassis in the tub with ivory liquid soap on the 3M pad and running water...The aluminum immediately got bright as you see. It saved my elbow grease :mrgreen:

User avatar
LoboNYC
Approved Member
Posts: 779
Joined: Tue Apr 09, 2013 4:26 pm
Location: Staten Island, NYC
Has thanked: 813 times
Been thanked: 344 times

Re: RC10DS - Lamborghini Diablo

Post by LoboNYC »

Countach Wheels photos posted 1/22/2022

User avatar
LoboNYC
Approved Member
Posts: 779
Joined: Tue Apr 09, 2013 4:26 pm
Location: Staten Island, NYC
Has thanked: 813 times
Been thanked: 344 times

Re: RC10DS - Lamborghini Diablo - PHOTO UPDATE 1/28

Post by LoboNYC »

PROJECT Lamborghini Diablo Nitro is FINISHED

Photos on first post after following "UPDATE: 02/25/22 PROJECT COMPLETE"

Hope you guys like this one

User avatar
LoboNYC
Approved Member
Posts: 779
Joined: Tue Apr 09, 2013 4:26 pm
Location: Staten Island, NYC
Has thanked: 813 times
Been thanked: 344 times

Re: RC10DS - Lamborghini Diablo

Post by LoboNYC »

UPDATE: 9/23/2023 BODY SWAP-

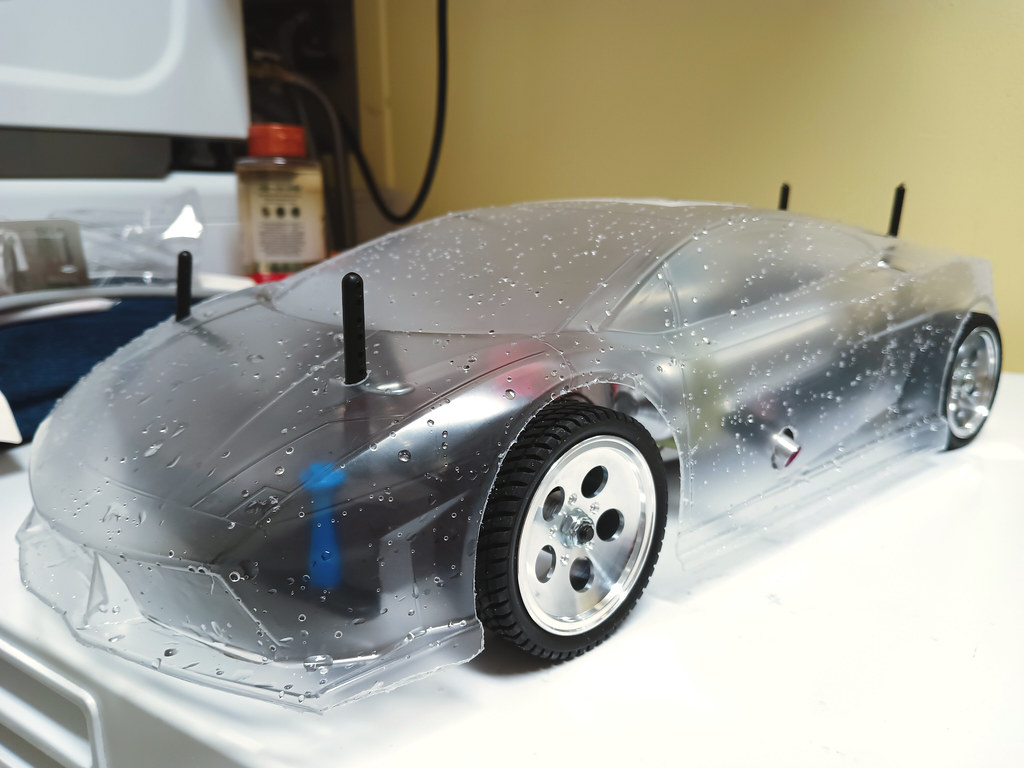
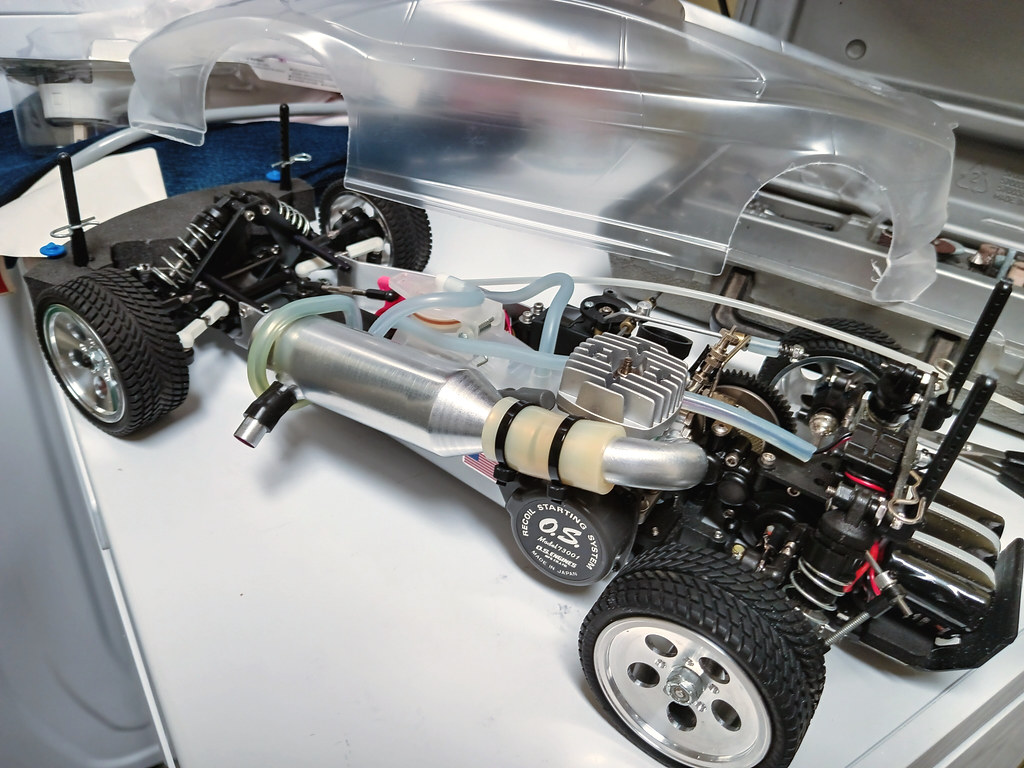
I couldn't leave well enough alone. I decided to swap out the Lambo Diablo body in favor of the Lambo Gallardo Body. The HPI diablo body is really cool except i have issues with HPI bodies that have the wing mounts molded onto the body. I prefer the plastic mounts you screw onto the lexan, that is if you chose to have a wing. Also, the body was already painted and decals applied when i purchased it. I would have liked to paint it a color of my choice. I found a Gallardo body online and it arrives with plastic wing mounts and wing, side view mirror, and wipers. Guess what? I get to paint it myself. :wink:

The new body was cut, trimmed and mounted. The DS wheel base has to be shortened via the rear suspension arm spacers. This is enough to get the wheels in line with the center of the wheel wells. The Gallardo body is 200mm.

Image
Image
Image
Image
Image
Image
Image
Image
Image
Image
Image

This is what i have done so far. The holes for the plastic accessories have to be made as well as vent holes for engine cooling.
There are a few parts i wish to swap, like shock towers and front bumper, purely for aesthetic purposes.
Paint colors have not been decided yet.

User avatar
LoboNYC
Approved Member
Posts: 779
Joined: Tue Apr 09, 2013 4:26 pm
Location: Staten Island, NYC
Has thanked: 813 times
Been thanked: 344 times

Re: RC10DS - Lamborghini Diablo - BODY SWAP TO GALLARDO

Post by LoboNYC »

:D QUESTIONS FOR EVERYONE :D

If you were purchasing (or bidding on :wink: ) a finished project car, given a choice...

would you prefer to purchase one with an UNPAINTED body or one with a PAINTED body?

If a clear body were included with a finished project car, would you the body to UNMOUNTED or MOUNTED?


Alex

User avatar
juicedcoupe
Super Member
Posts: 3230
Joined: Sun Aug 16, 2020 8:05 pm
Location: Pascagoula, MS
Has thanked: 247 times
Been thanked: 1828 times

Re: RC10DS - Lamborghini Diablo - BODY SWAP TO GALLARDO

Post by juicedcoupe »

LoboNYC wrote: Thu Oct 19, 2023 1:08 pm :D QUESTIONS FOR EVERYONE :D

If you were purchasing (or bidding on :wink: ) a finished project car, given a choice...

would you prefer to purchase one with an UNPAINTED body or one with a PAINTED body?

If a clear body were included with a finished project car, would you the body to UNMOUNTED or MOUNTED?


Alex
I guess it depends.

If it has a nice Andy's (or otherwise cool) painted body that is properly trimmed, definitely.

If it has basic paint and/or so-so trimming, clear and unmounted.

But cool paint varies by taste. What one person thinks is cool, might be hideous to another.
Always looking for new and interesting ways to waste money.

User avatar
Frankentruck
Super Member
Posts: 3220
Joined: Fri Feb 19, 2021 2:59 pm
Location: Texas, USA
Has thanked: 2077 times
Been thanked: 2255 times

Re: RC10DS - Lamborghini Diablo - BODY SWAP TO GALLARDO

Post by Frankentruck »

I prefer to have a nicely finished body come with it but my bargain hunting doesn't usually have that in my shopping budget. I'm surprised when nicely finished projects don't sell for much more than 'needs work' projects. I've seen that happen a few times, including a nice DS.
Frankensteined RC10T3 / Franky Jr RC10GT-e (x2) / A+ stamp / Toy Story RC / Graphite replica / B1.5 BFG 5LTi / Clonewald / Hyper Hornet

"I love the effort, but it sure looks like you took the long way around to a tub again"

  • Similar Topics
    Replies
    Views
    Last post

Return to “Associated On-Road Forum”

Who is online

Users browsing this forum: No User AvatarAmazon [Bot], No User AvatarCommonCrawl [Bot] and 1 guest