This is what it looks like a few weeks ago.
( I found a set! Cool, appears be a good copy of the original: https://mciracing.ca/products/1-10th-kyosho-ultima-pro-decals )
Please allow me some of the back story.
I built the Ultima and raced it at several indoor tracks around Colorado. 3 I believe in the Denver area, one in Longmont, one in Ft. Collins. I lived in Greeley at the time so they were all quite a jaunt to go race. If there was a race going on, I went. Only one of those tracks remains open, MHOR. I believe it is the only indoor clay track in Colorado these days. Longmont has an outdoor track but I'm not sure what they race there these days.
My goal is to run this at MHOR again. I don't know if they do vintage racing there, I just want to get it on the track there once again. Back in the day there were 2 young fellers that kicked my butt at MHOR, (not that big of an accomplishment, I was never really a contender). Those were the owners sons, I'm sure he set up their cars, they were very good drivers. I met one of them again in 2020 when I tried a little racing again with my RC10B 6.1. He was running the place. Just over a year ago sold to a new owner, I spoke with the new owner on the phone but have not been there since that short session in 2020.
Anyway, back in 2019 a buddy bought me a RGT Bronco (RTR, low end 4WD).
I dug it out just to see what was still there.
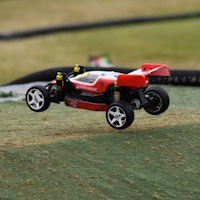
By now that Ultima had made its way to a shelf at my work bench. It started calling to me, I listened.
May 7th I started looking things over more closely and decided to take on this rebuild of my Ultima Pro. I was considering a new crawler but this just couldn't wait.
On the bench it goes: