Out of curiosity I dyed a couple of parts in tea as has been suggested and it looks like, well tea. Doesn't match to anything else so can't advise doing that.
I have the golden yellow rit dye that Scr8p used so I'm going to give that a try on some test parts. I think that natural aging works great but it obviously takes time.
After 4-yrs...my '91 Stealth has begun
-
XLR8

- Approved Member
- Posts: 2930
- Joined: Sun Feb 19, 2017 3:46 am
- Location: north/central Alabama
- Has thanked: 1140 times
- Been thanked: 842 times
Re: After 4-yrs...my '91 Stealth has begun
Thanks Justin. I know others have tried tea and coffee and had good luck. For me, luck is rarely on my side so I'm sure my parts would look like crap. Anyway, I have time.
Doug
-
jbmeyer13

- Approved Member
- Posts: 174
- Joined: Wed Jul 02, 2014 11:13 am
- Location: NJ
- Has thanked: 25 times
- Been thanked: 11 times
Re: After 4-yrs...my '91 Stealth has begun
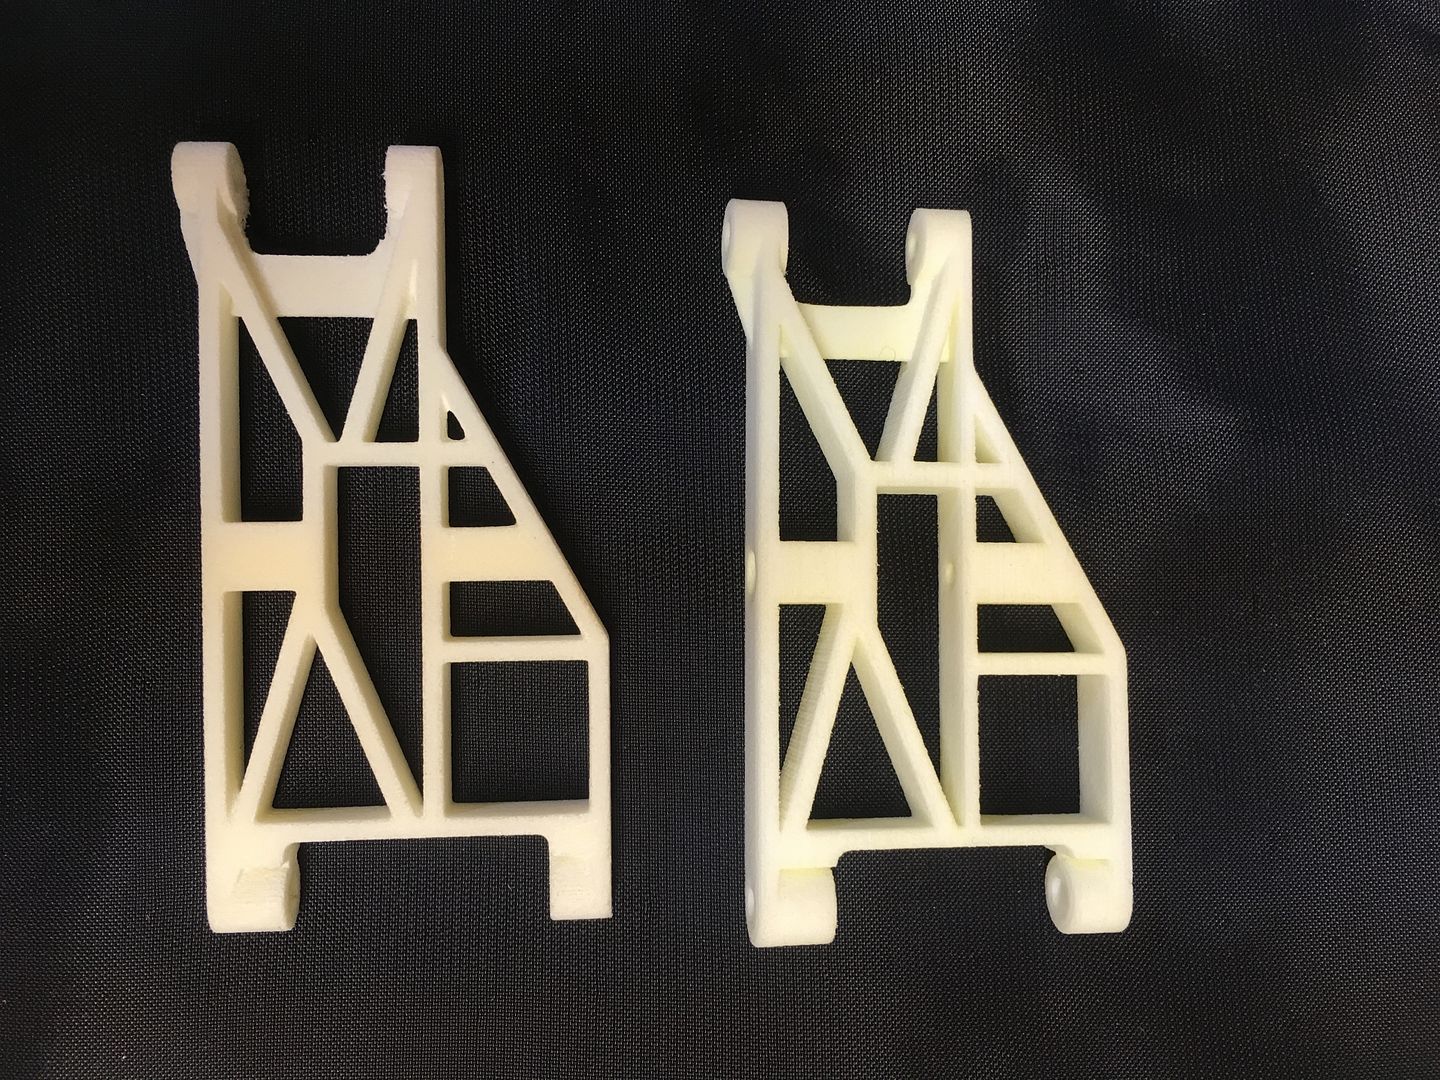
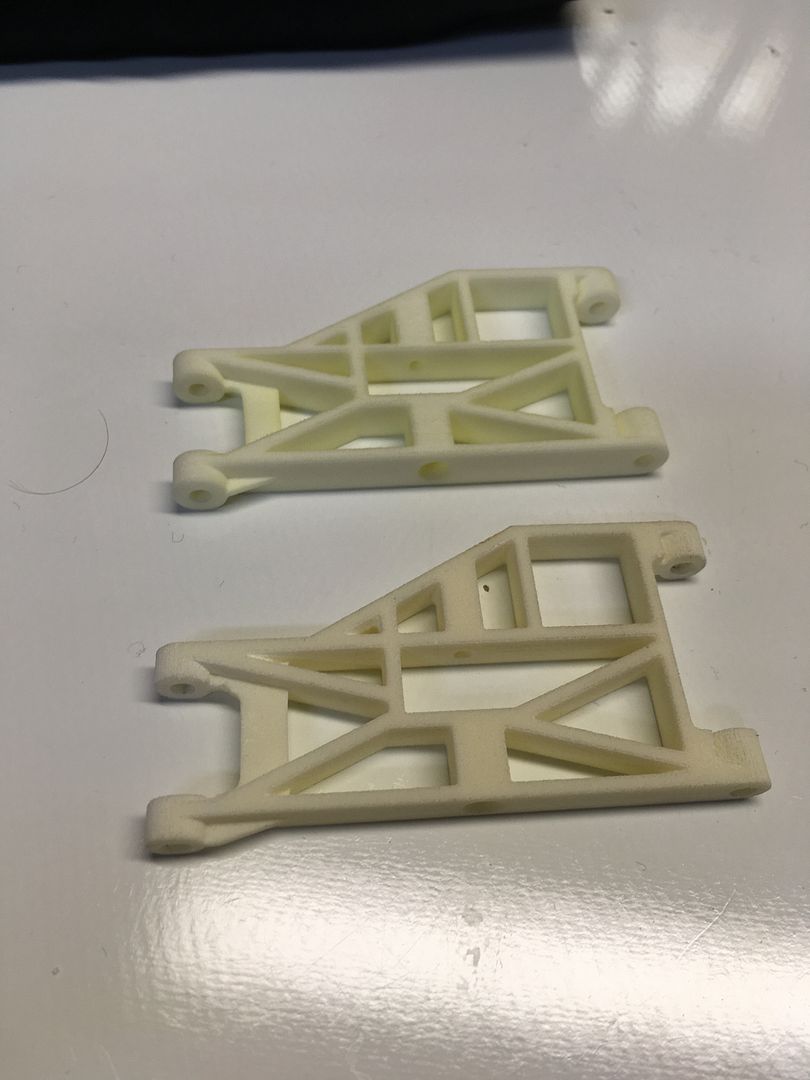
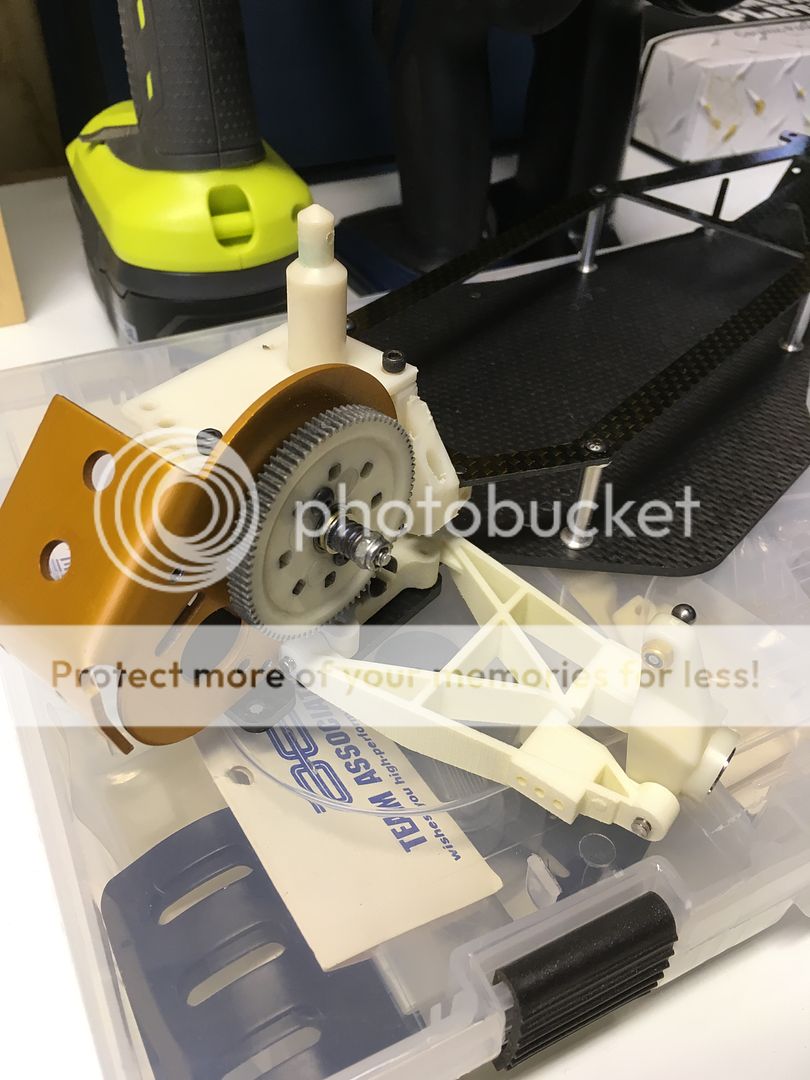
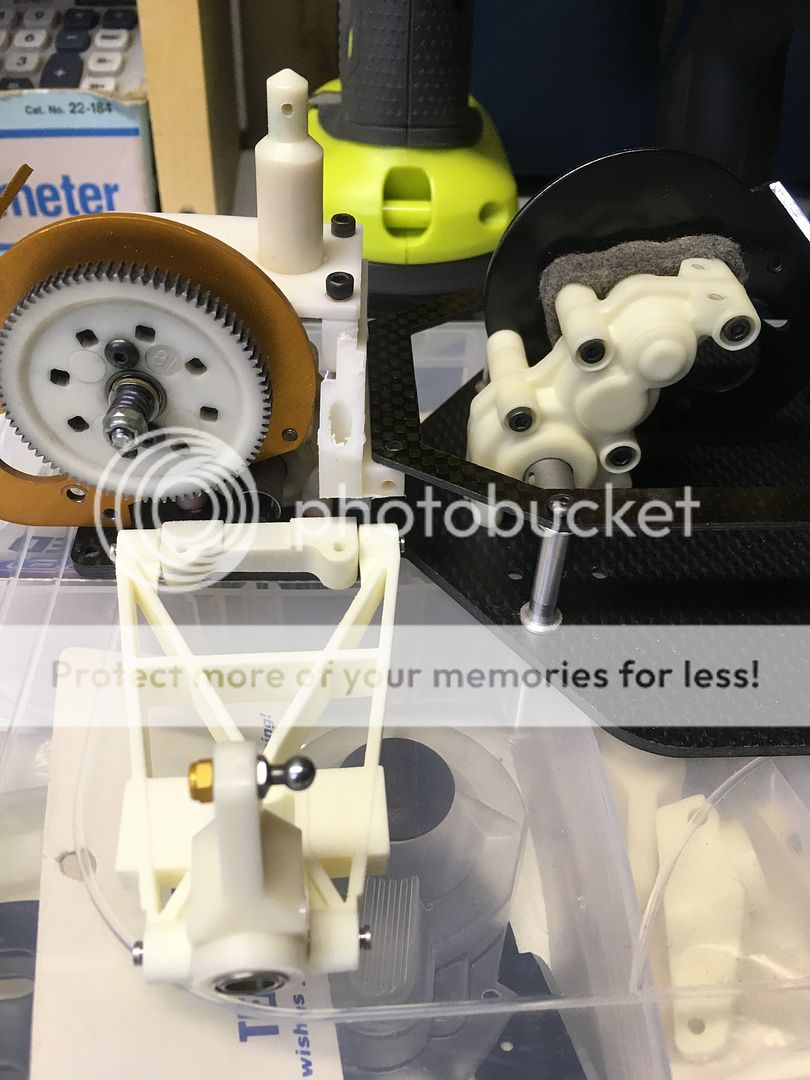
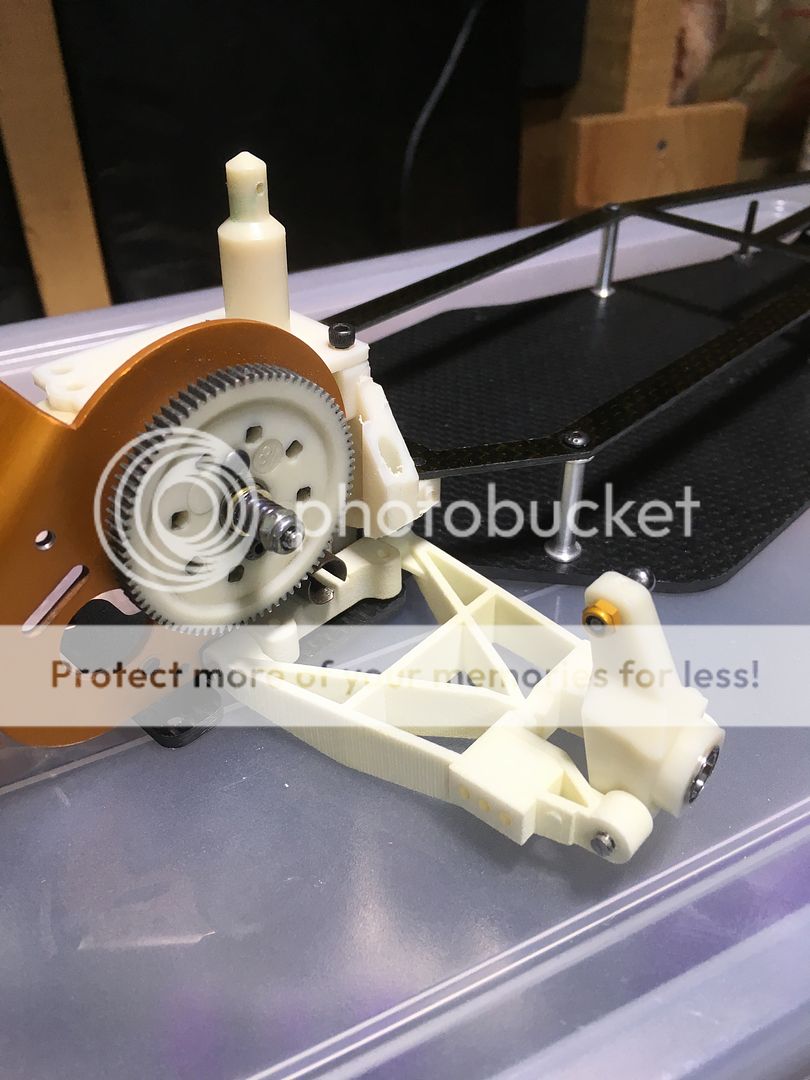
I used the RIT dye tonight and I'm not sure what to think. When the parts sit on a dark surface they seem to pretty close but if on a bright white the light reflected from the inside of the arm spokes seems to be very greenish. As an FYI i did test it first on smaller parts and thought it was okay.
The first and second photos are a naturally aged part vs a dyed. The bottom two are a dyed part next to tranny and with rear hubs attached.
What do you guys think?
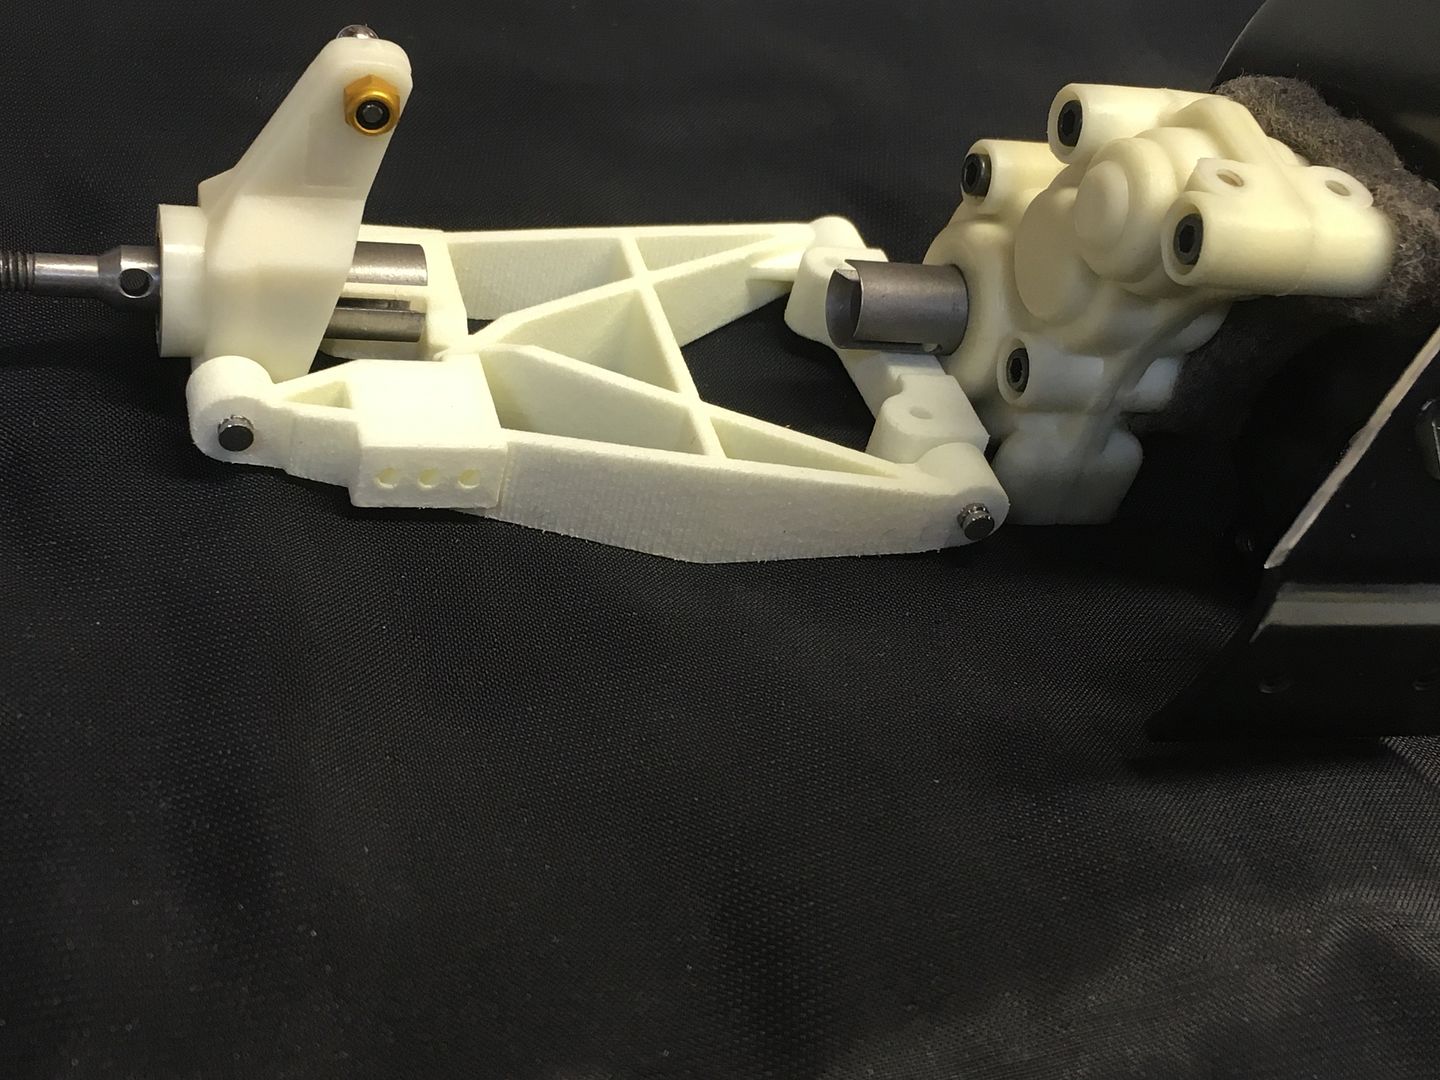
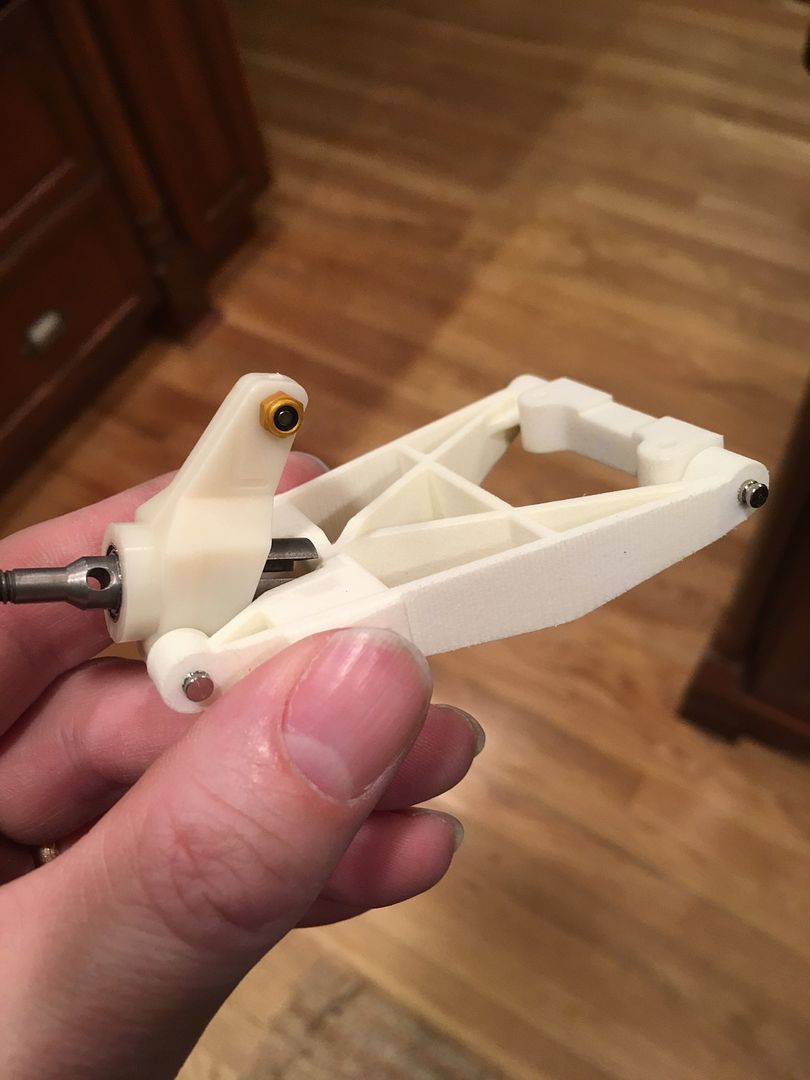
The first and second photos are a naturally aged part vs a dyed. The bottom two are a dyed part next to tranny and with rear hubs attached.
What do you guys think?
-
XLR8
- Approved Member
- Posts: 2930
- Joined: Sun Feb 19, 2017 3:46 am
- Location: north/central Alabama
- Has thanked: 1140 times
- Been thanked: 842 times
Re: After 4-yrs...my '91 Stealth has begun
Yes, that looks spot on. Of course, the light source will affect color as well. If you were to compare the parts under sun light, I bet they would look even better. Well done Justin.
Doug


-
jbmeyer13
- Approved Member
- Posts: 174
- Joined: Wed Jul 02, 2014 11:13 am
- Location: NJ
- Has thanked: 25 times
- Been thanked: 11 times
Re: After 4-yrs...my '91 Stealth has begun
It was a black anodized guard that I stripped but wasn't trying to polish. I used both easy off heavy duty oven cleaner and Greased Lightning but there were some spots that just wouldn't come out so I also used some Eagle One Wadding polish and some #0000 steel wool. I think that's shine is how it naturally looks because I only used the steel wool and wadding polish to spot treat a couple of areas. It took a LOT of work to strip that guard.
The bulkhead was done using a dremel and a variety of sand paper/blocks. I was covered in nylon dust last night.
-
XLR8
- Approved Member
- Posts: 2930
- Joined: Sun Feb 19, 2017 3:46 am
- Location: north/central Alabama
- Has thanked: 1140 times
- Been thanked: 842 times
Re: After 4-yrs...my '91 Stealth has begun
Nice work Justin. I modded my rear bulkhead using a table saw and, miraculously, I still have all 8 fingers and both thumbs. NOT the best tool for sure.
Doug
-
XLR8
- Approved Member
- Posts: 2930
- Joined: Sun Feb 19, 2017 3:46 am
- Location: north/central Alabama
- Has thanked: 1140 times
- Been thanked: 842 times
Re: After 4-yrs...my '91 Stealth has begun
Yes sir, the band saw is a much better choice but I was concerned that I couldn't achieve straight cuts with the band saw. That said, for the next one, I'll use the band saw since the table saw just isn't safe for this purpose.
Doug
-
jbmeyer13
- Approved Member
- Posts: 174
- Joined: Wed Jul 02, 2014 11:13 am
- Location: NJ
- Has thanked: 25 times
- Been thanked: 11 times
Re: After 4-yrs...my '91 Stealth has begun
Yeah my dad has a band saw and that was my first thought. However, the bulkhead won't lay flat and I was concerned it might wander. I figured no matter what I'd have to do extensive hand sanding to get it up to my standards. Using the dremel took a LONG time and I'm sure those with the right tools and know how could get this done in a fraction of the time it took me.
I used my dad's table mounted belt sander to tweak some spare Shapeways parts and it ripped through them much faster than I thought. The main problem is lack of visibility to the amount of material being removed. I think that is the one advantage with a dremel set at lower speeds; you can shape a part and see the results as you work.
Create an account or sign in to join the discussion
You need to be a member in order to post a reply
Create an account
Not a member? register to join our community
Members can start their own topics & subscribe to topics
It’s free and only takes a minute
Sign in
-
- Similar Topics
- Replies
- Views
- Last post
-
- 18 Replies
- 3913 Views
-
Last post by shodog
-
- 27 Replies
- 3160 Views
-
Last post by Asso_man!
-
- 13 Replies
- 1692 Views
-
Last post by mrtallguy
-
- 17 Replies
- 1880 Views
-
Last post by Bormac
-
- 47 Replies
- 6686 Views
-
Last post by Whiskers
-
- 14 Replies
- 1250 Views
-
Last post by JK Racing
-
- 6 Replies
- 737 Views
-
Last post by Charlie don't surf
-
- 2 Replies
- 584 Views
-
Last post by Mad Racer


Who is online
Users browsing this forum: ![]() Ahrefs [Bot],
Ahrefs [Bot], ![]() Facebook [Bot] and 4 guests
Facebook [Bot] and 4 guests