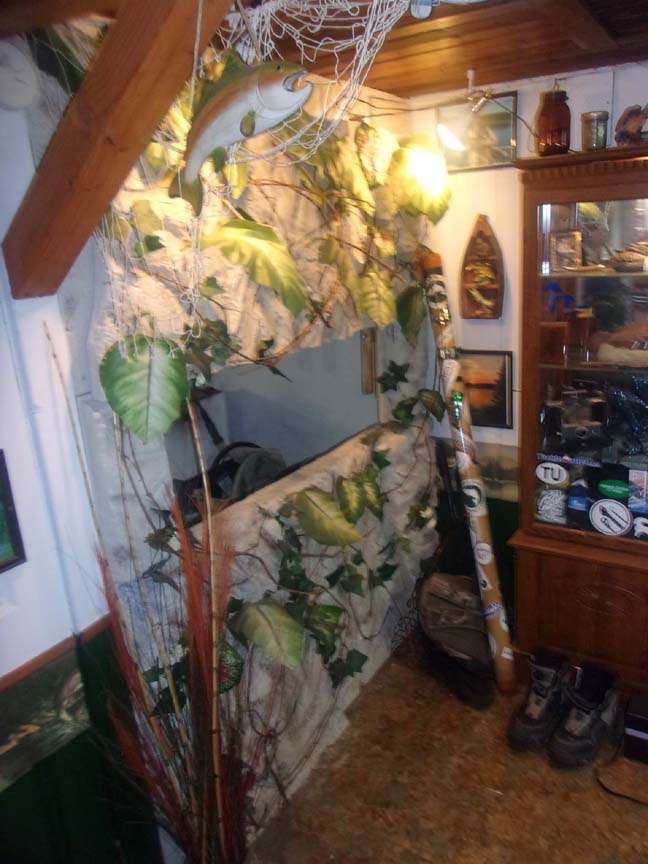
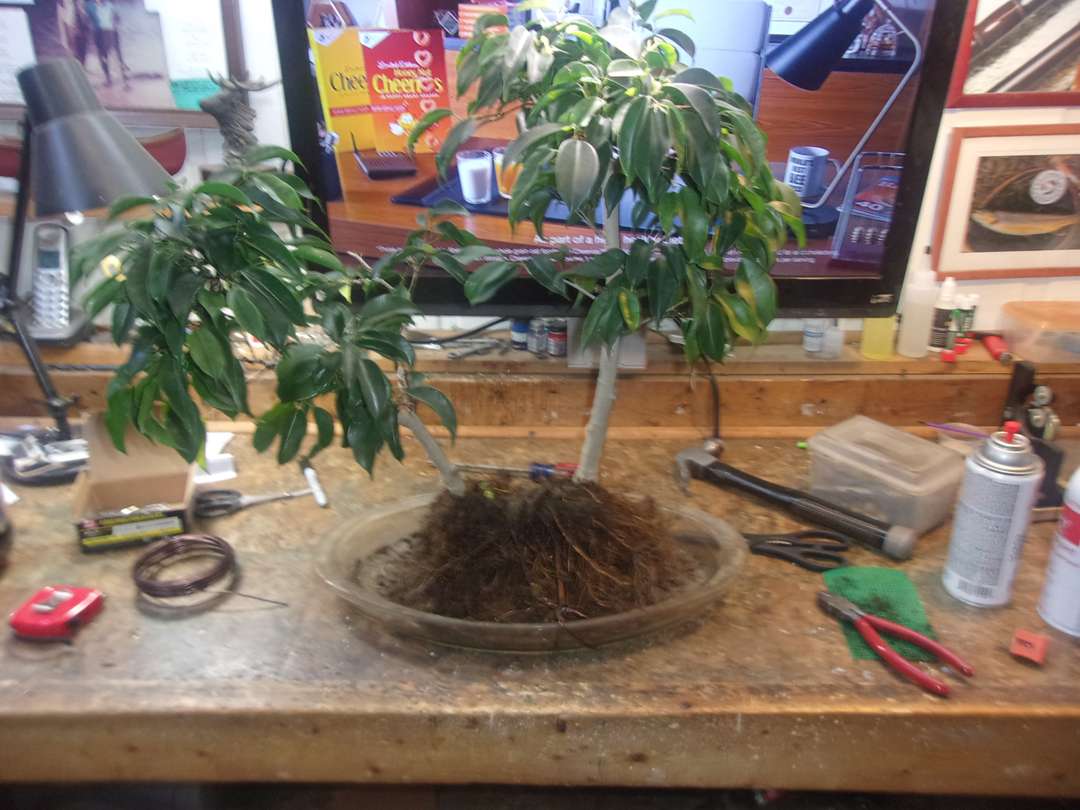
One of my other main interests in life are aquariums. I've been a big fish keeper for a number of years now and one thing that I have always wanted to do is build a paludarium. For those that don't know what that is, its an aquarium/tank but it has water and land areas to it. This one will probably only have about 6" of water then the rest will be all built up with soil and plants. I also plan to incorporate a couple of my ficus bonsai trees into the build inside it. Going to do a waterfall as well as use an ultrasonic fogger so it has a very tropical look to it.
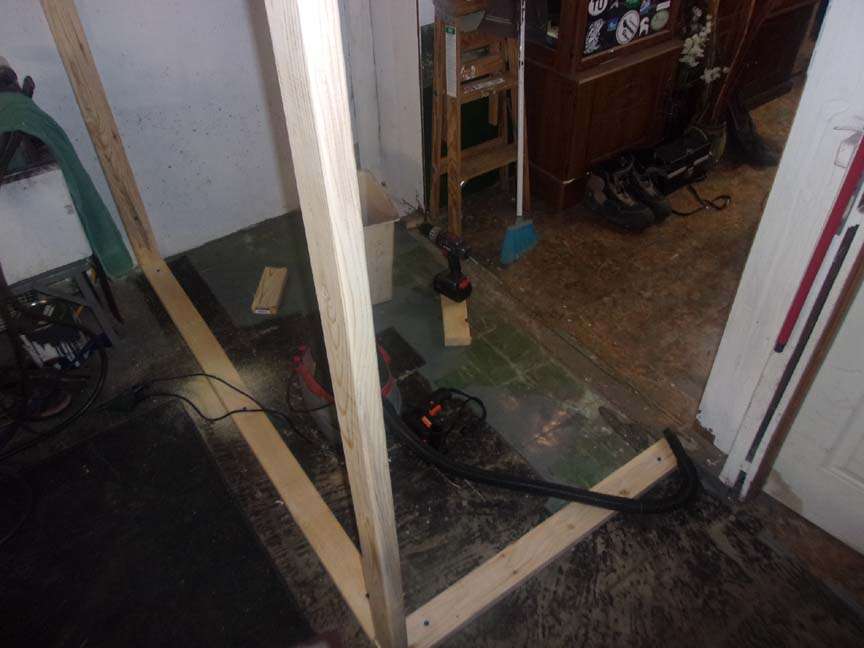
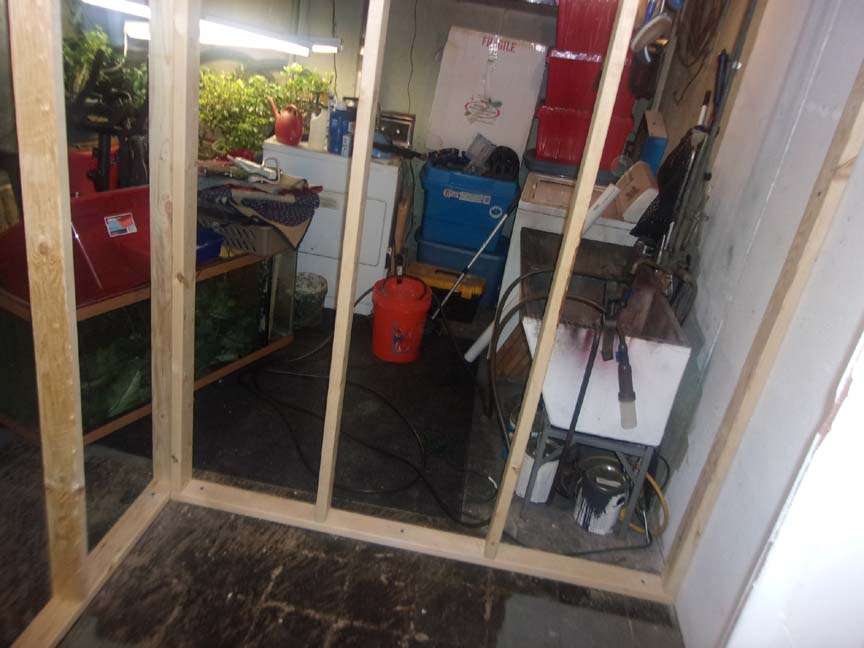
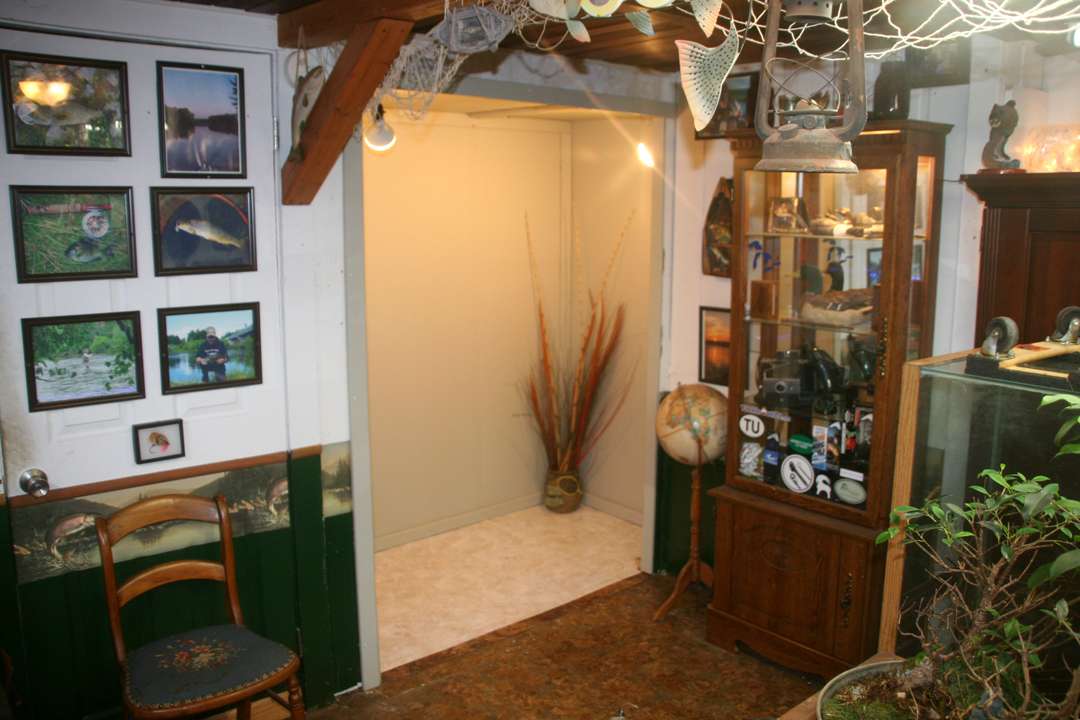
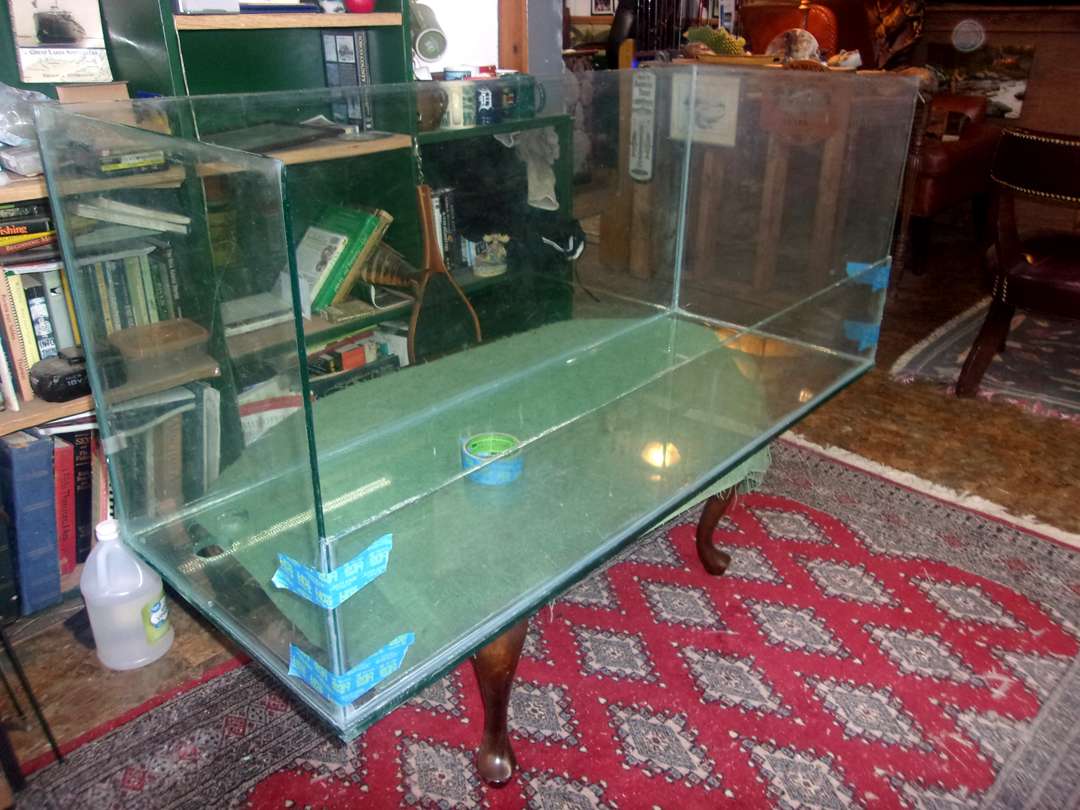
Picked up a used 75g drilled tank about 2 weeks ago so decided to finally start building this since I have thought about it for the past year. Decided to rip out the in wall tank and foam carved rock wall I built about 4 yrs ago and then frame that area in and dry wall it to add about 30sqft of new alcove area which is where the new 75g paludarium will go. Still have to do the ceiling, floor, tape/mud/sand/paint but got all the framing and roughing in of dry wall done now. About another week or so of work on this area and that will be done so I can start working on the tank itself then.
Haven't really decided yet. Will have some fish but probably some smaller community style rather than my normal cichlids I keep. Maybe a betta and some tetras or something of that nature. Haven't decided yet if I am going to do something on the land area or just keep it plants without anything living on the land.
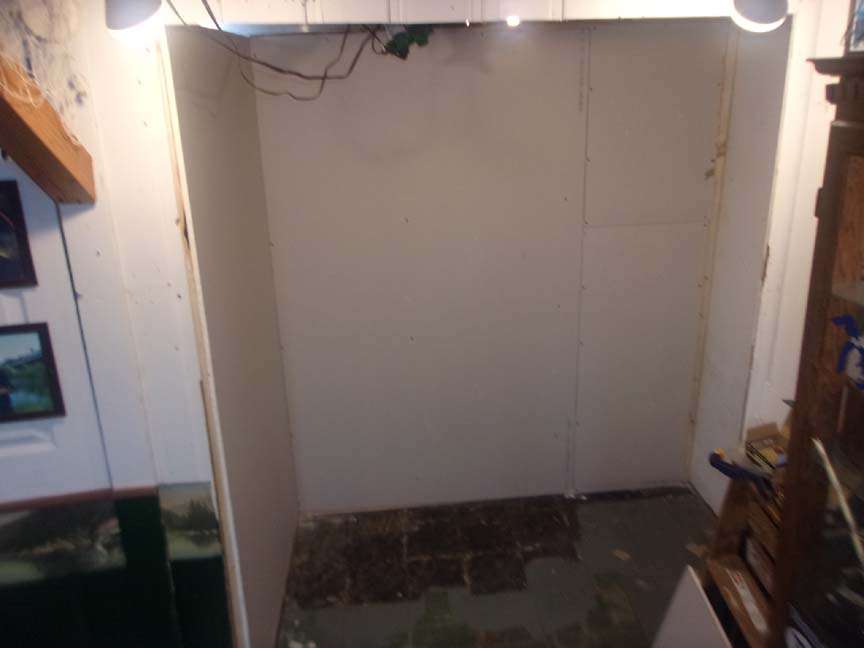
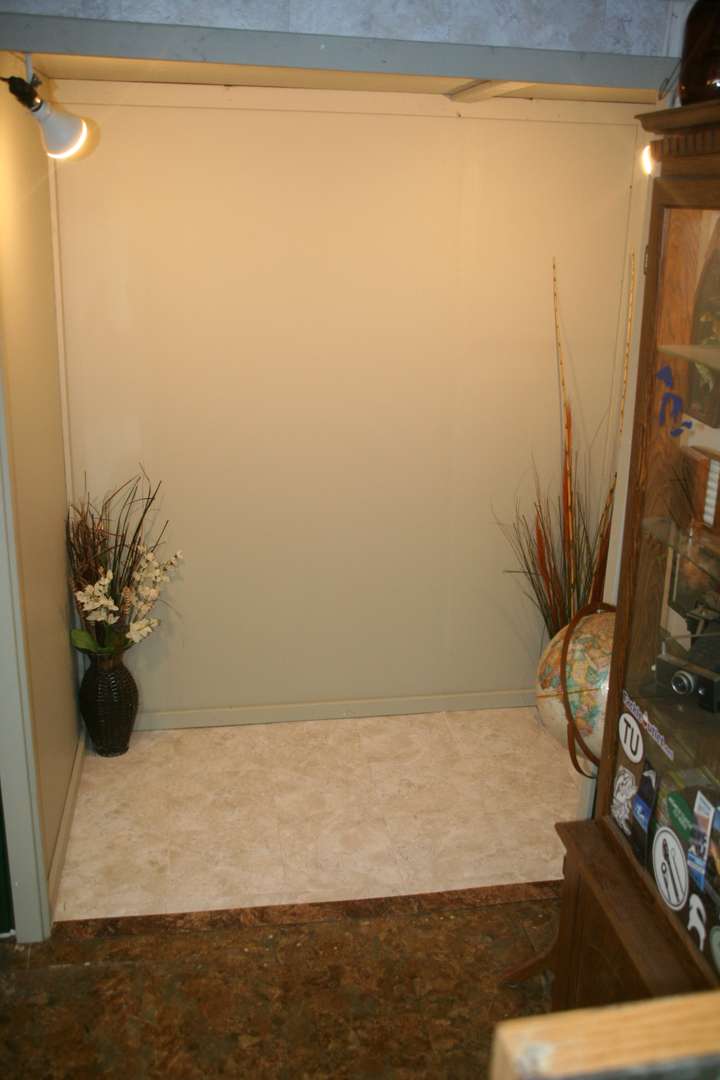
New area for the Paludarium project is done now. Finished up the framing & drywall a couple weeks ago, so spent the past few days doing the sanding, painting, flooring and lighting. Went with a color called Sandy Sage which I thought would have a real natural / earthy look to it which should go well with the heavily planted tank. Wanted a contrast for the floor so went with a white/cream pattern to help designate the area better so it didn't just run all together with the rest of the shop/office. Now I can start working on the tank itself soon.
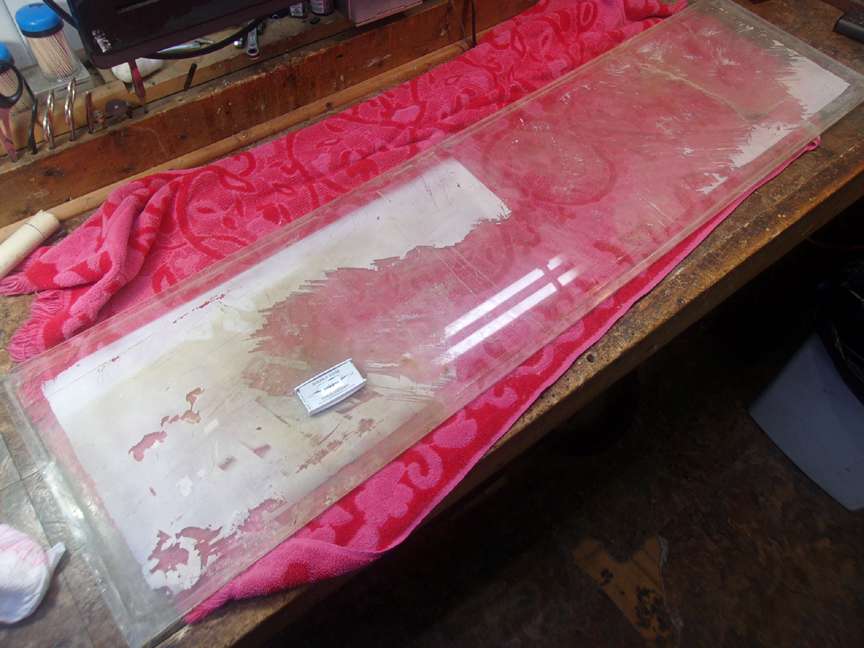
A lot of the nicer looking paludariums usually have a custom front panel that is cut much lower than the rest to give unobstructed view of the plants and land area above the water line. So my plans are to take this bottom panel from an old 55g that I have and get it cut down to 8" height. I've already gave it to ol' polarized glasses/LCD screen test to see if it was tempered and it does not seem to be so should be cut-able. Took quite a while to clean it up though. Part of it was painted and spent a couple hours with vinegar & razors to get it as clean as I possibly could so it cuts without issues.
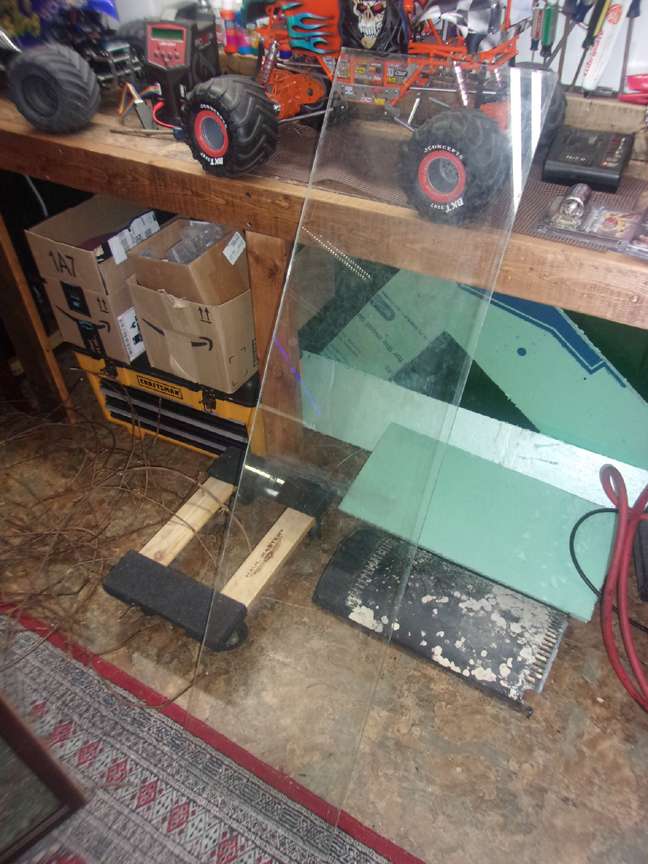
Took the 12" x 4*" piece today to the harware. Not only lucked out that its not tempered, but the cost for them cutting it down to 8x48? $2.00.....BOOM!
Been workin on the paludarium tank a bit more lately. Got the top and bottom trim removed so it will be rimless, removed the front glass and replaced it with a piece of glass I had cut down to 8". Scraped out all the old silicone and cleaned it all up and just resealed the tank so just curing up now. Slowly but surely.
I've always been interested in doing something like this and having some fish with maybe some newts and frogs or turtles or something. Its looking really good. I'm looking forward to seeing the finished product.
it looks like the bottom glass is just that, on the bottom, with the sides glued on the top face? How do you support the glass without a bottom frame on it's base? Do you place something soft under it like rubber or cloth or something? Very curious, glass heavily loaded with water/dirt always makes me apprehensive. My 29 gallon has held up forever, but it's got plastic frames and I figure it's got some foam or rubber inside there too.
A plastic trim is actually not needed on tanks no matter the size. The trim is siliconed on from the factory basically just to prevent edges from getting chipped as well as to prevent cuts from sharp edges. I will finish wet sand mine to avoid that issue. With acrylic tanks you need to support the bottom fully because acrylic can bow from weight. On my 240g acrylic when I built the stand I made sure I sanded the top very smooth since the whole bottom is supported. With glass though the only thing that needs to be supported are the 4 corners because the bottom panel is 3/8" so it can support as much weight as could be filled into the tank. So when I build the stand for this it will just be supporting the 4 corners and the center will be unsupported which is the standard for glass stands.
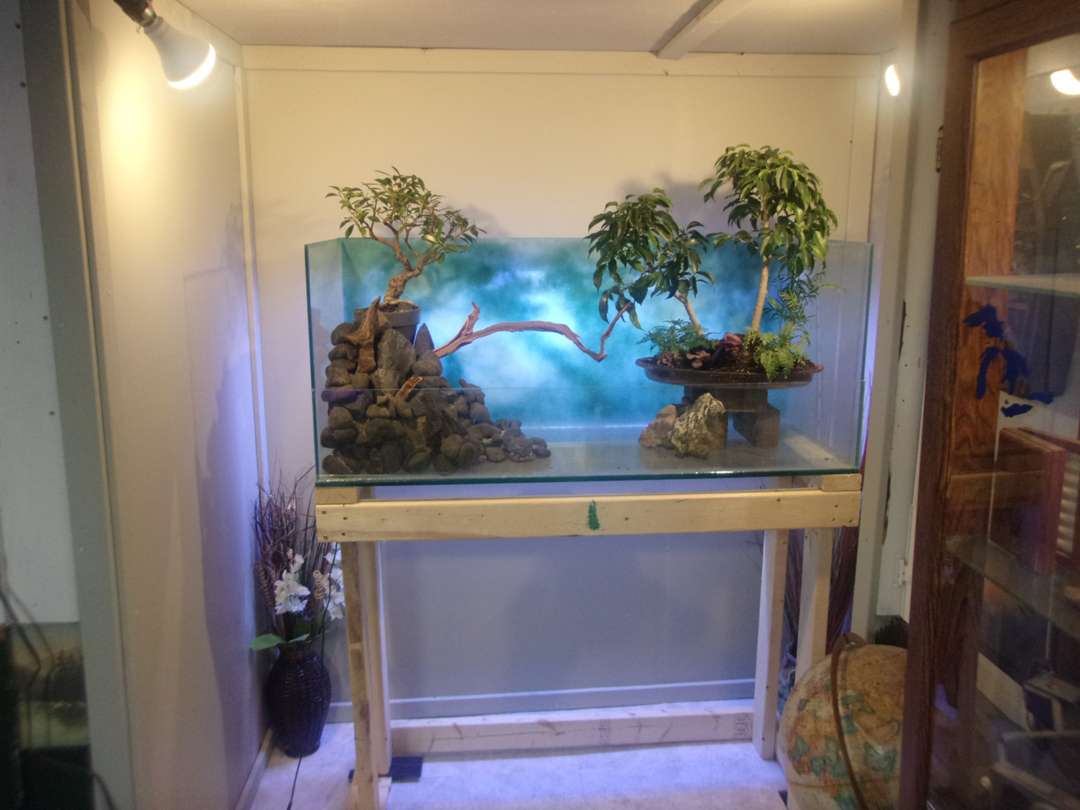
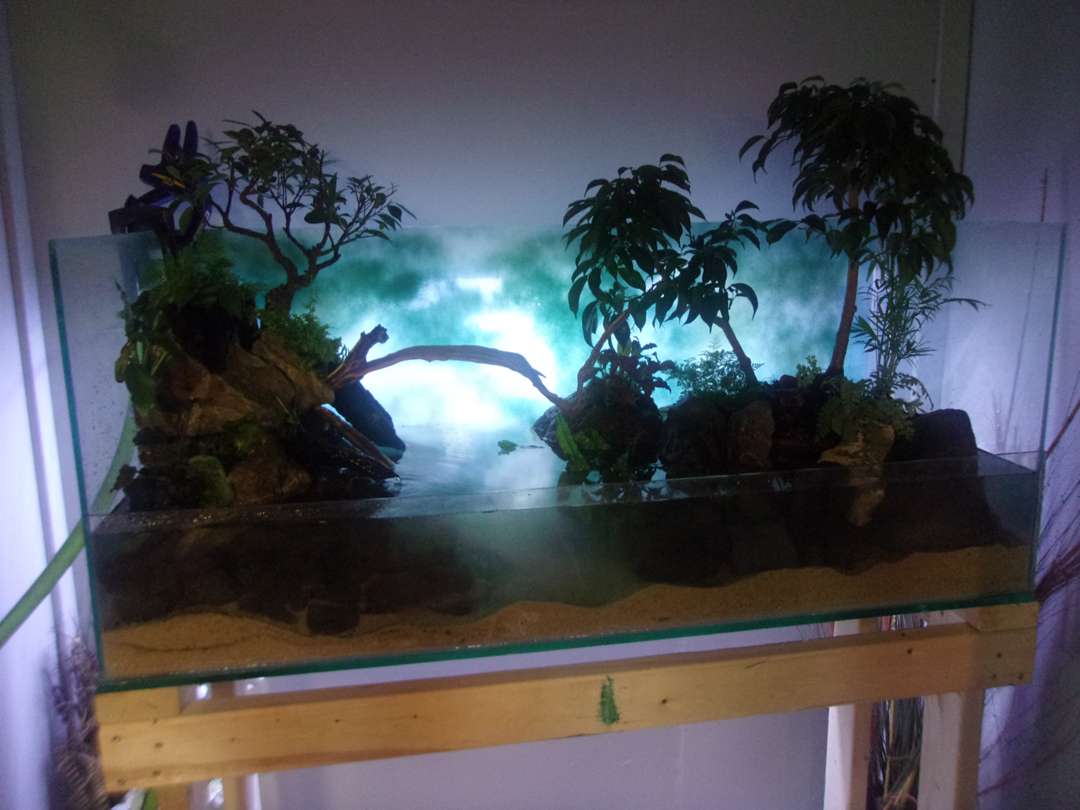
Took some time today to get back to work on the paludarium. I decided to airbrush a sky with clouds onto the back glass, then back lit it with a full spectrum LED light to give it a more realistic pop. really happy with the way that came out. Built a stand for it now but still have the skin and finish the stand. Starting to plant some of the bonsai trees and plants to form islands. Just mocking up rocks right now to get some ideas, still have a lot more to do till it is finished but starting to get into the fun part now at least.
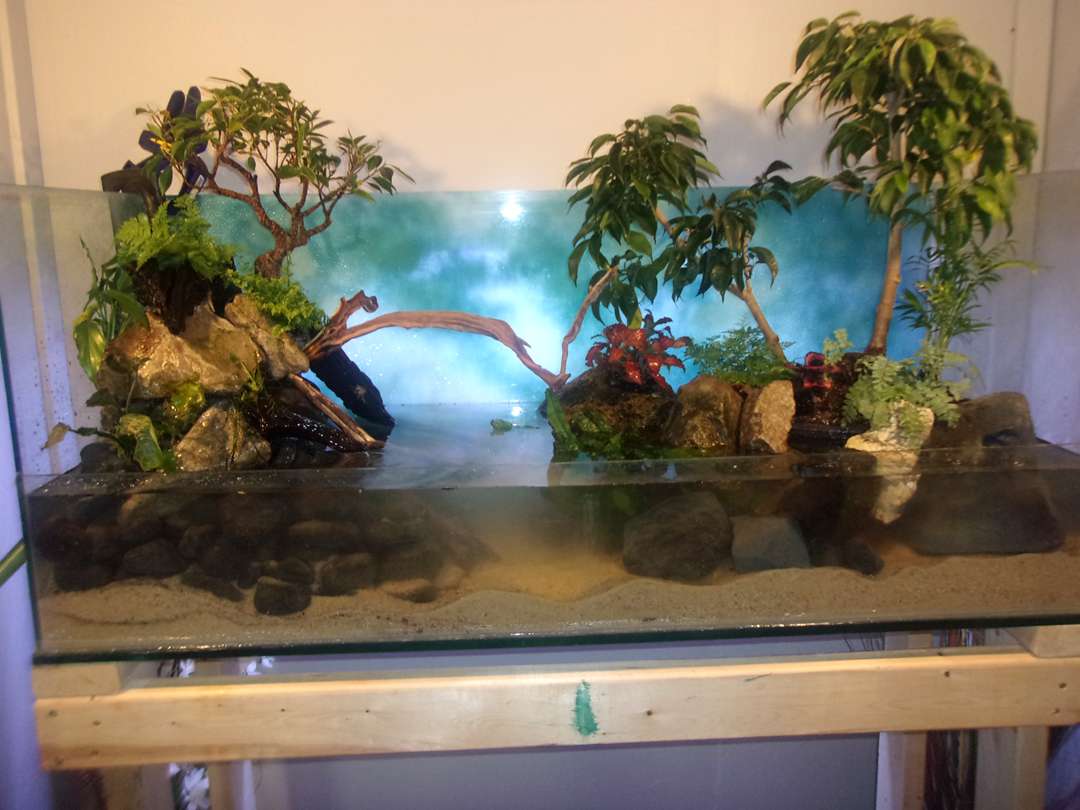
Put about 8 more hours into the paludarium today. It's enjoyable, yet so frustrating. Trying to get rocks just right so the waterfall runs down correctly and get the flow adjusted right. Then making sure certain plants are above water and other with roots in water. Definitely a lot more goes into one of these than I first anticipated. About halfway done now, starting to shape up nicely.
I love to restore more than building new out the box. Its just something about bringing old forgotten RC'S back to life so when I came across someone who had this old blackfoot body and Sees Aluminum wheels with a vintage Sassy Chassis thats been...
Last post
That came out spectacular ! Well worth your effort.
Hi all, a few months ago when I joined, I showed a pic of my lightly used RC10T Team truck I bought back in '96. Being I bought a brand T truck to play with, and inspired by some other projects, I decided to blow apart my truck and start a build....
Last post
That is something you need to talk to your powder coater about. My chassis had very minor scuffs and scrapes, not sure what they did, but you can't tell any of them were even there. Its something I wasn't concerned about personally--but i am glad...
so, while ive been home recouping some bone realignment (the unfun kind) ive gotten acquainted with this beyond awesome forum and all the sick, trick, colorful, real use and all things that a rc10 can be....really has helped me fight the cabin...
Last post
the brushless gt as promised! better late than never...
My Losi collection begins with the JRX series and ends with the XX series and I want another Kinwald buggy to display next to my XX CR Kinwald.
While I have owned a MF2 truck,I'm pretty out of the loop when it comes to the XXX series.
What are the...
A good friend gave this to me,says he raced it a few times back in the day! I have had it in the closet for a couple years. I'm plannin on a full restore, will keep updates as i work on it. Enjoy!
Last post
Badd Boyz anodizing, quite a nice little time capsule you've got there.
Speaking of which I always wondered what happened to Badd Boys as it must have been a offshoot of a larger company.
my new sprinter project. a little dirty but should clean up nice.
Last post
i got this far after a little cleaning, some new treads and a used body and wing i had lying around.more to come later. polish all the aluminum, a new body and wing and maybe a carbon fiber chassis.
Started out on an idea to simply get an old rc10 with 6 gear tranny running again (with a hotshot chassis). Turned into this. Working on a gold pan klein build utilizing b44 cvd's and gt carriers in the back. Still a work in progress. Awaiting...