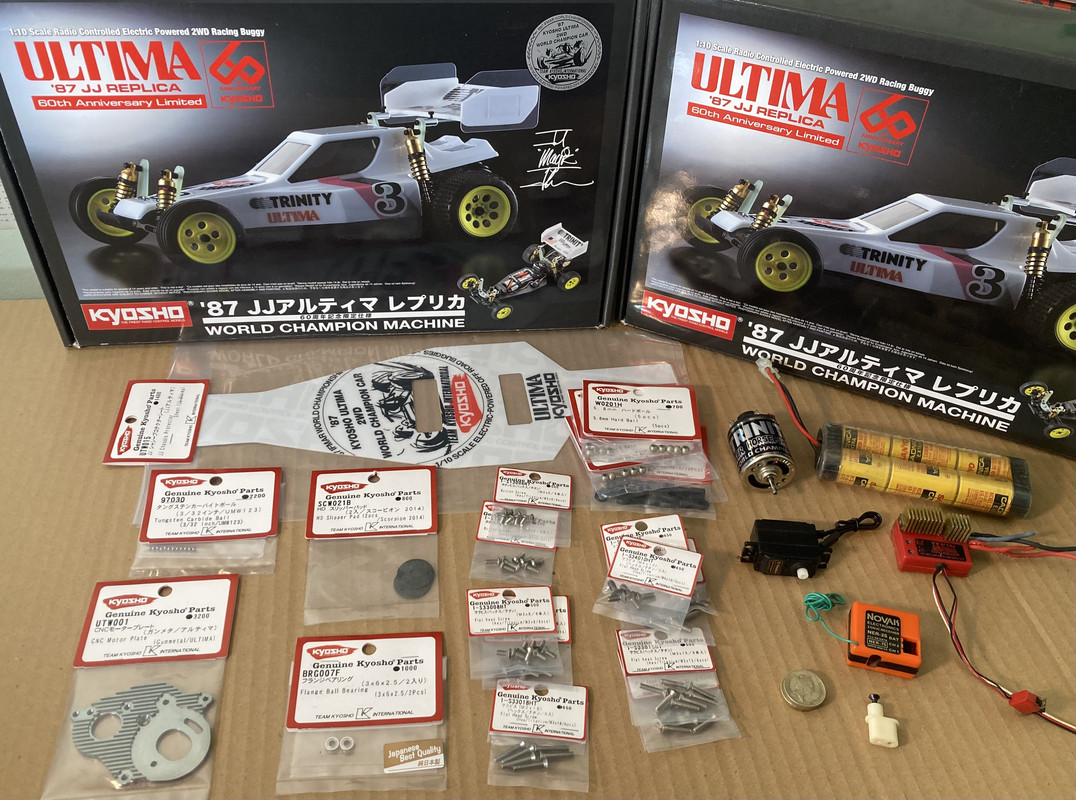
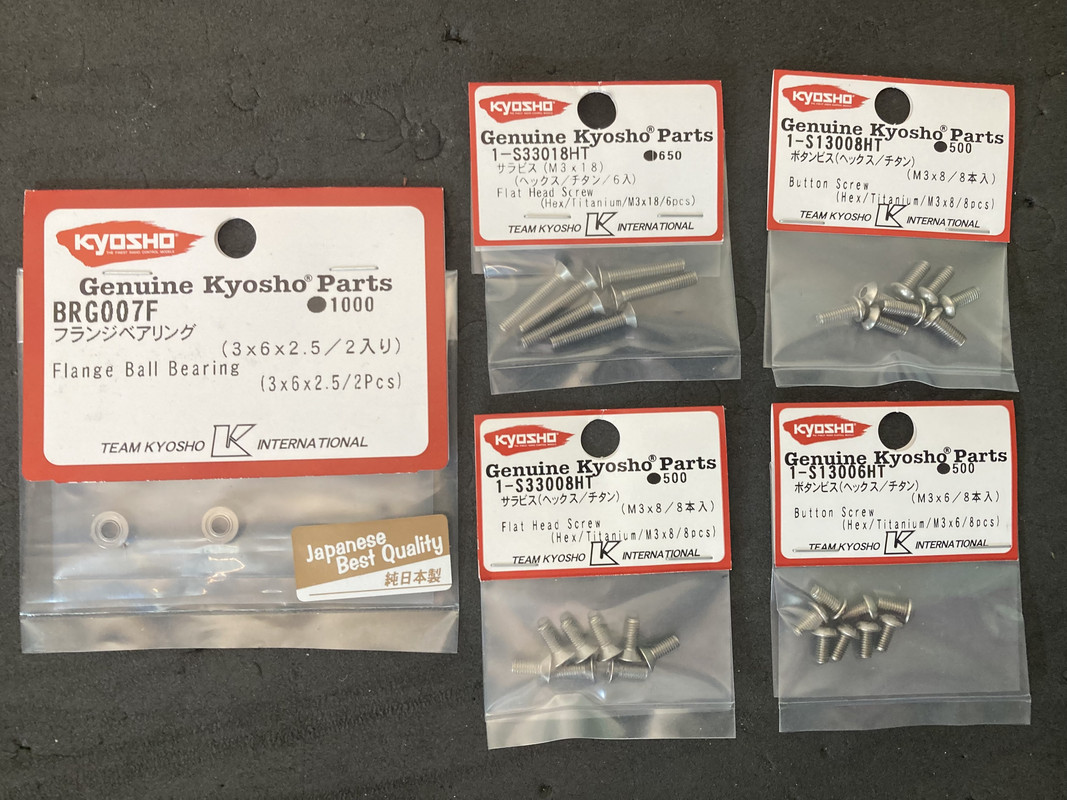
This release from Kyosho is just awesome. I bought 2 kits...one to keep sealed nib and one to build as a tribute shelfer with upgrades and vintage electronics. Akira Kogawa’s Kyosho build video using titanium screws was an inspiration and will be using most of the optional parts.
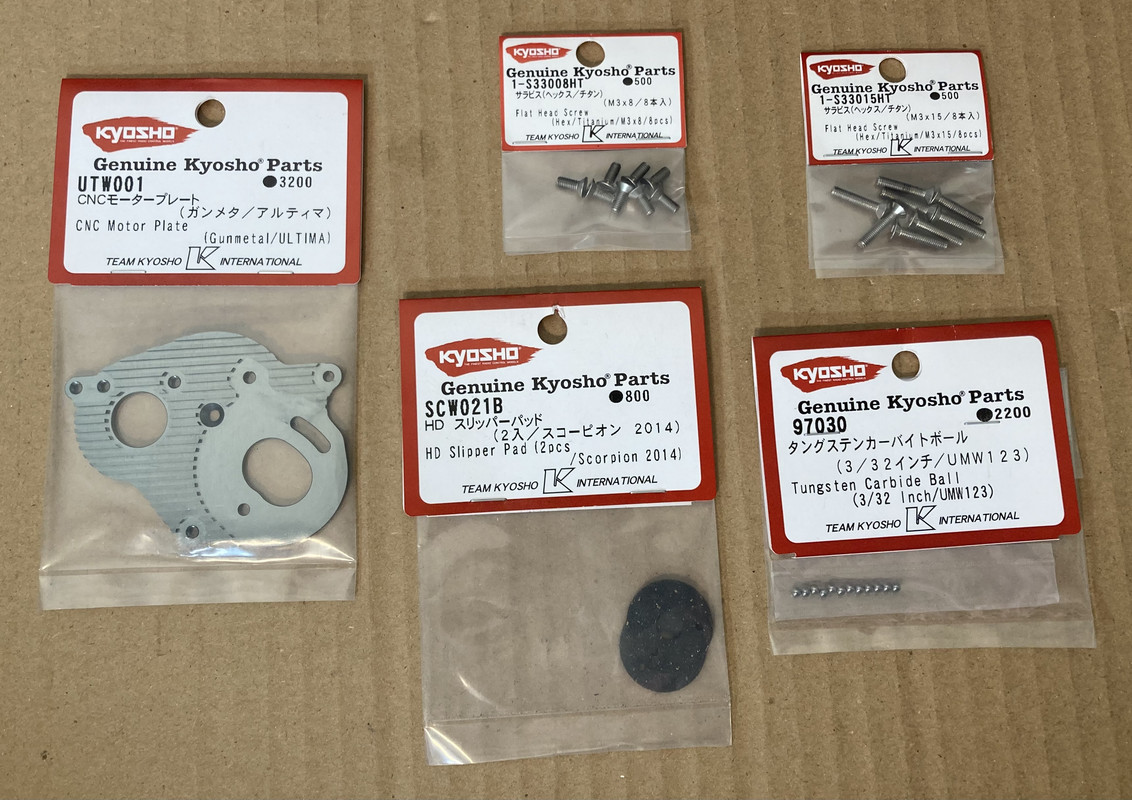
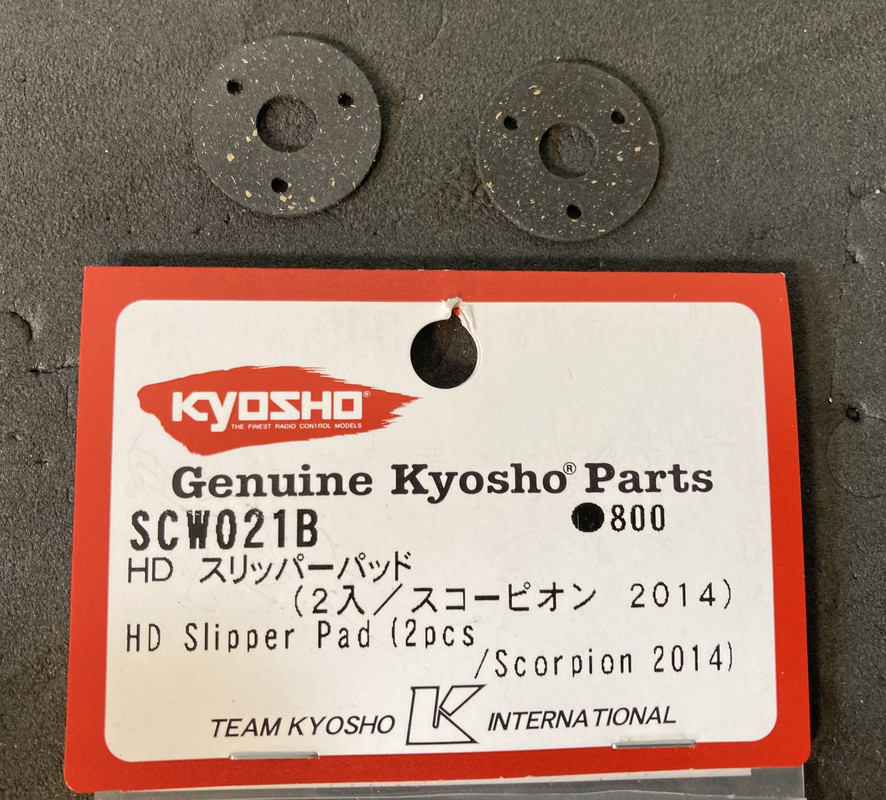
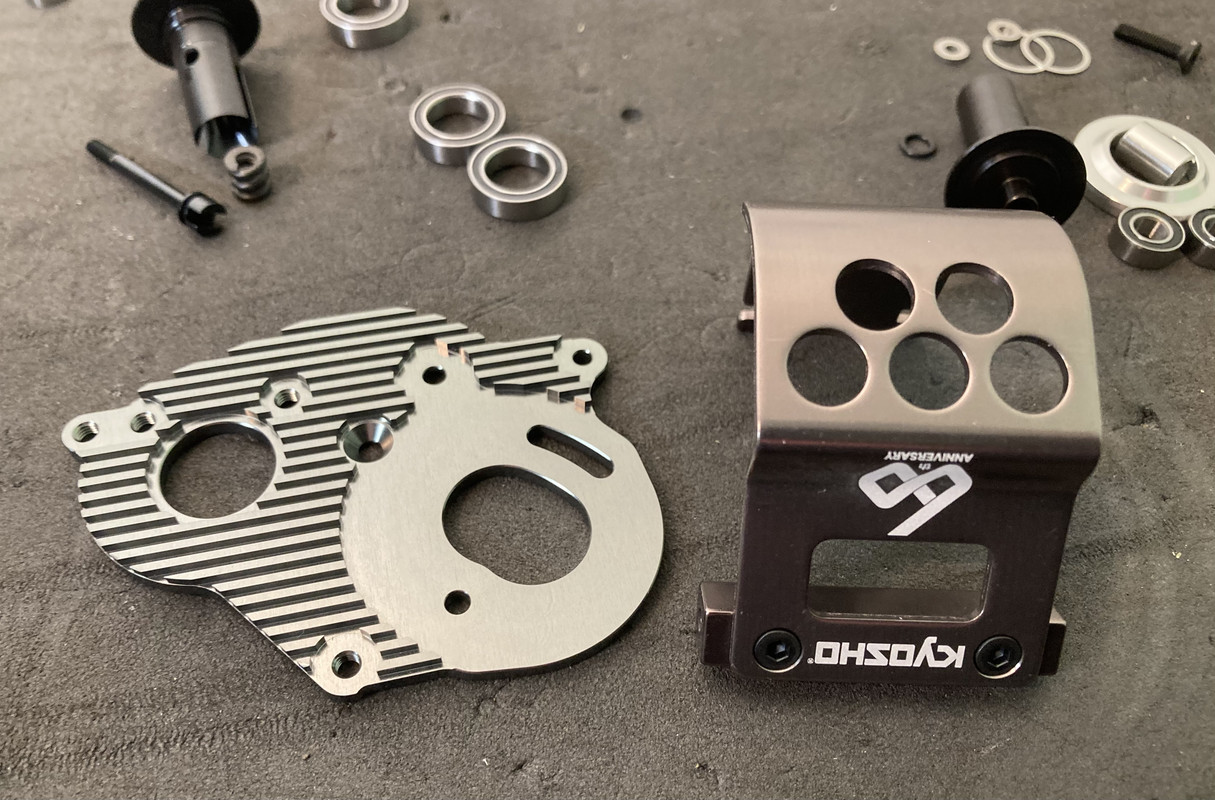
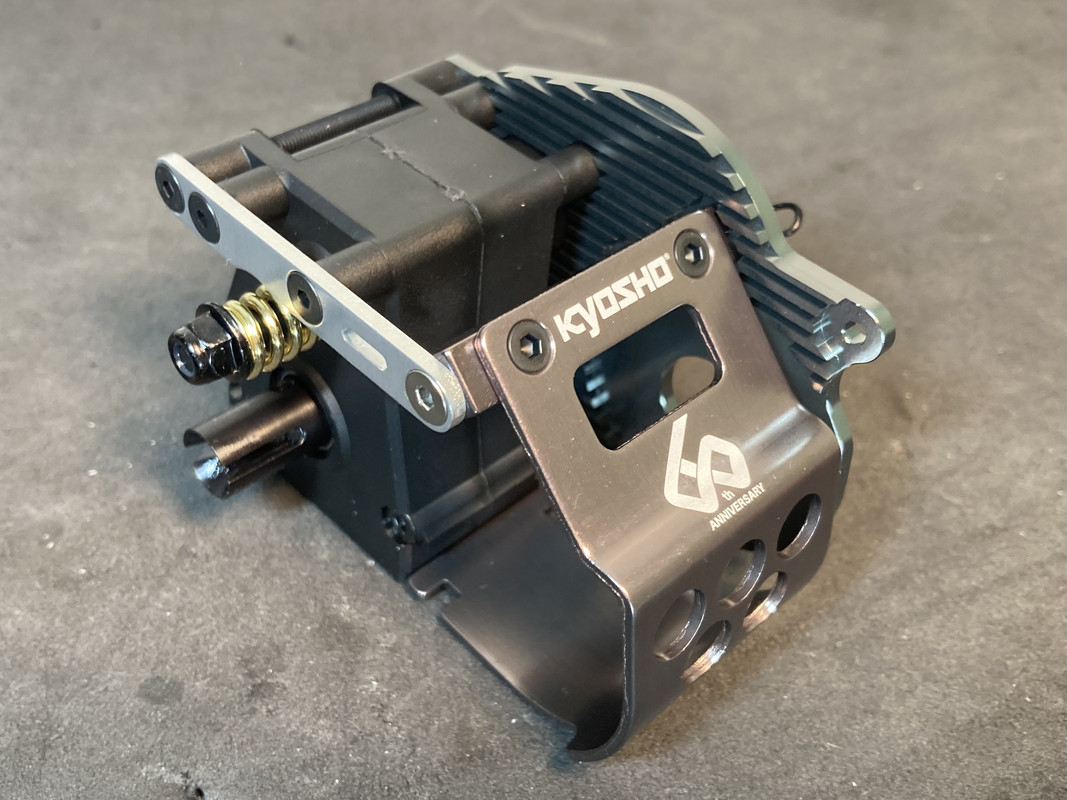
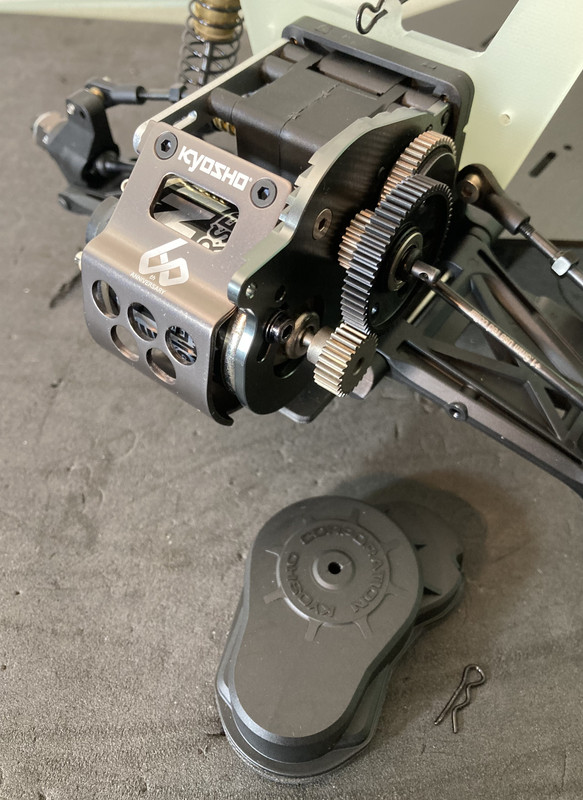
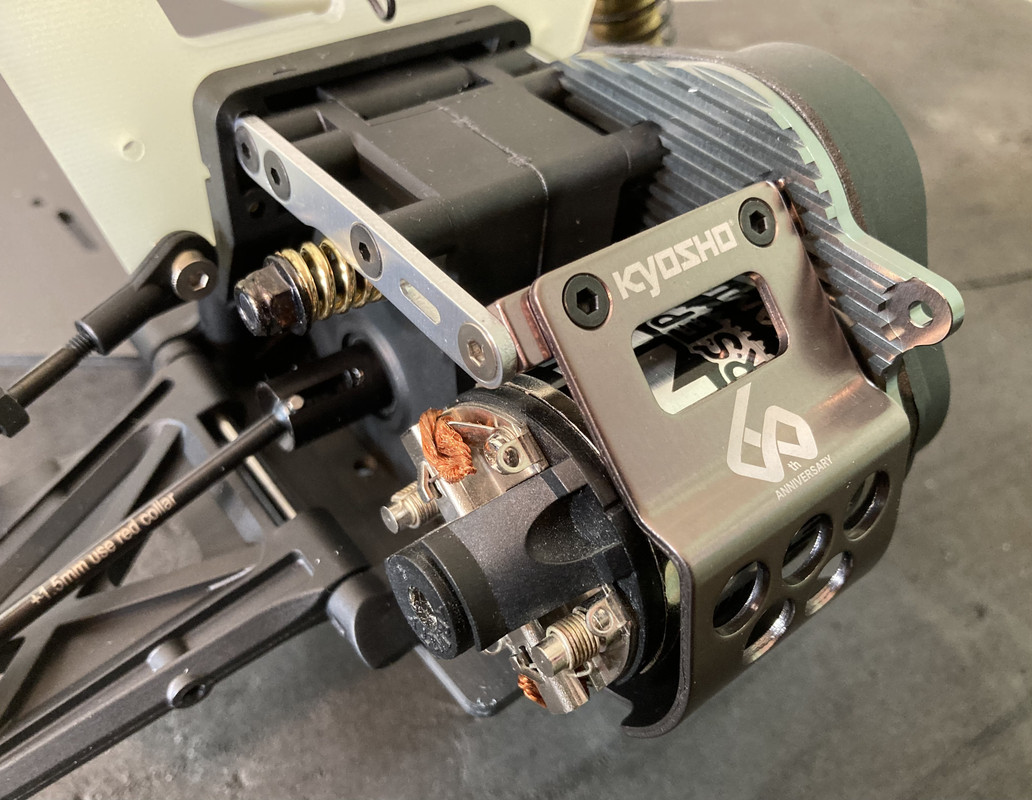
Steps 1-7 are the gearbox assembly. The HD slipper pads are interesting..you can see flecks of brass in the material making them semi-metallic. The CNC “gunmetal” motor plate looks great but it’s disappointing that the 60th motor guard’s “gunmetal” doesn’t match and is noticeably browner in color.
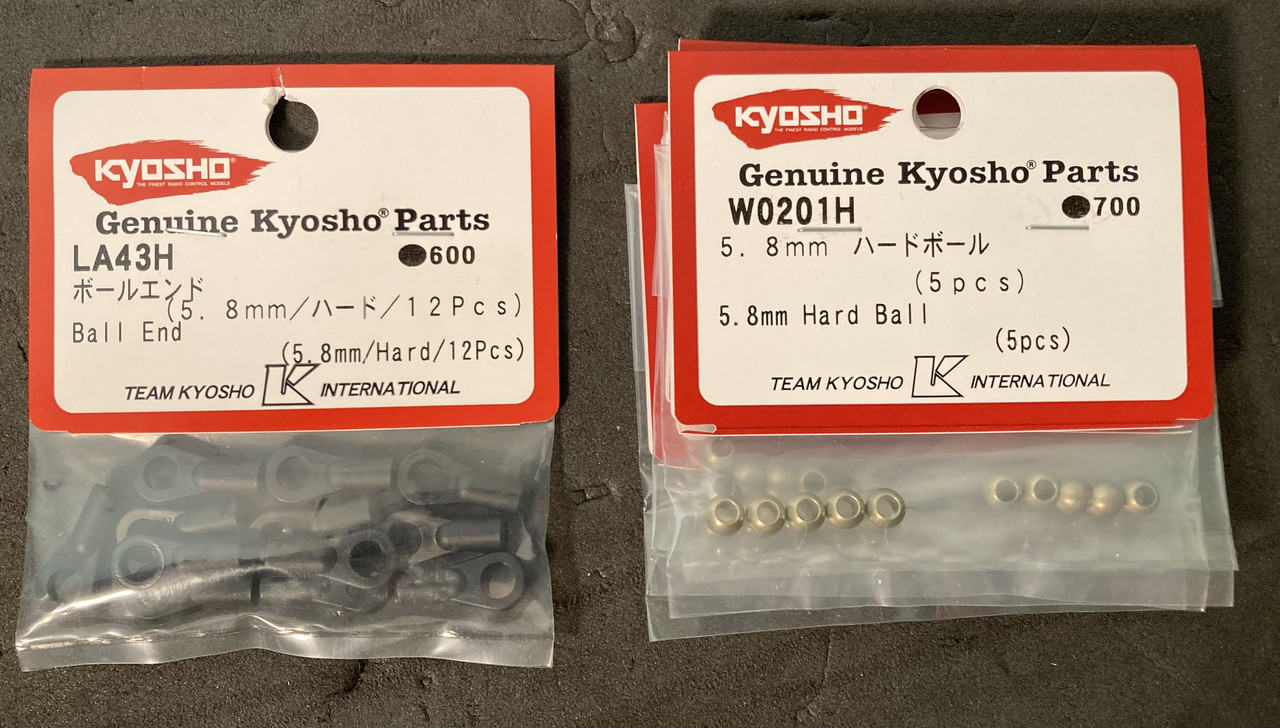
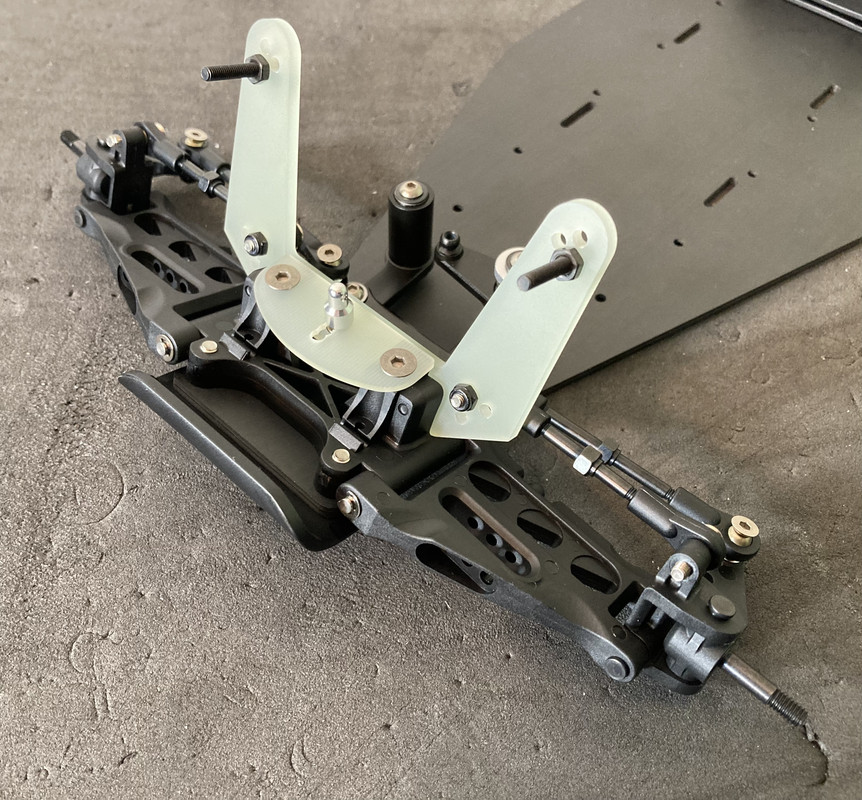
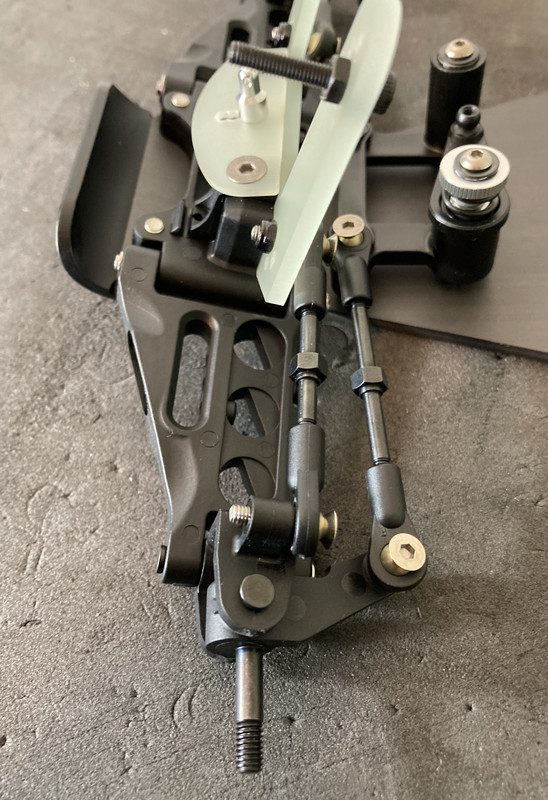
Steps 8, 14 & 16 are the camber and steering tie rods. These will be upgraded with the hard plastic rod ends and hard anodized aluminum ball pivots.
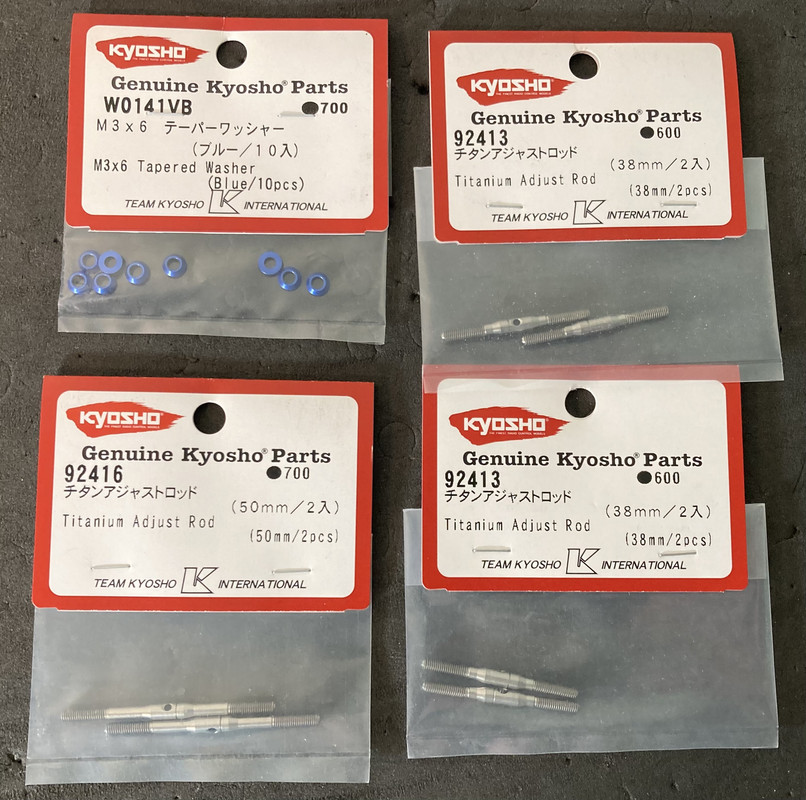
The titanium turnbuckles and blue anodized tapered washers are also offered as upgrades but I chose not to use those. The titanium turnbuckles are pretty cool though because they look like old Tecnacraft ones.
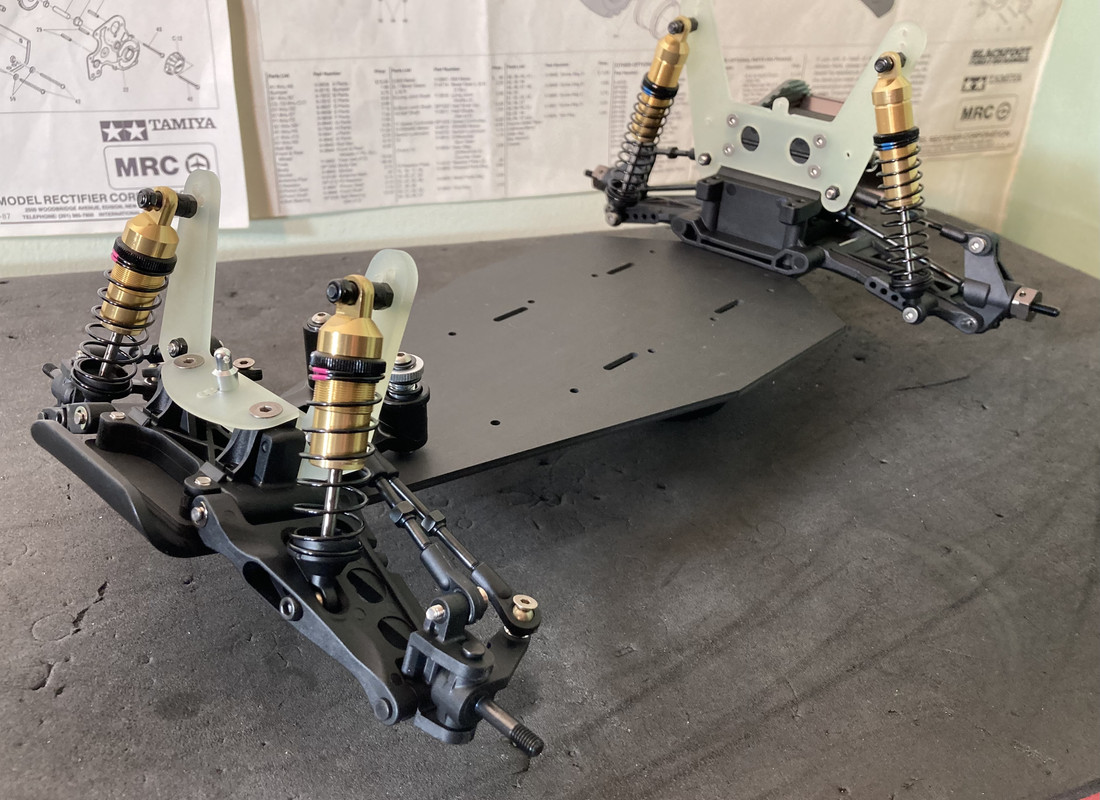
Steps 9-12 are the rear suspension assembly. The only upgrades used here are titanium screws.
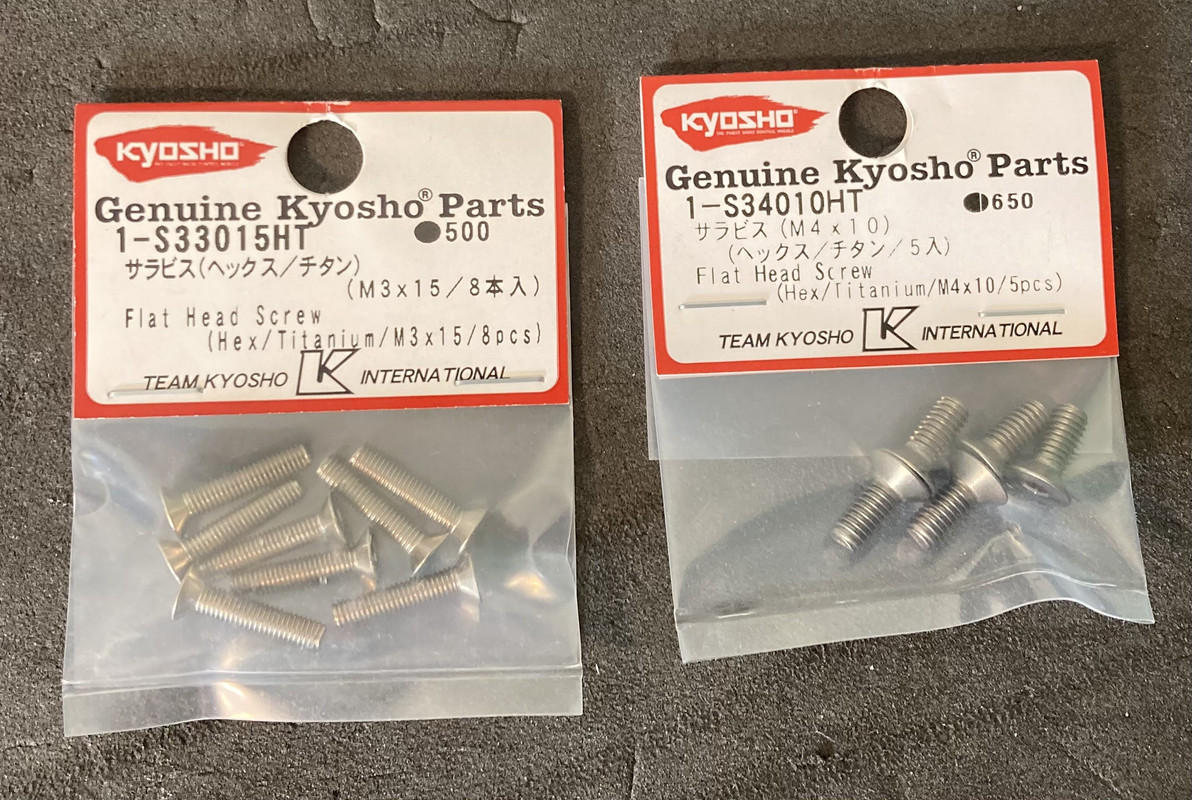
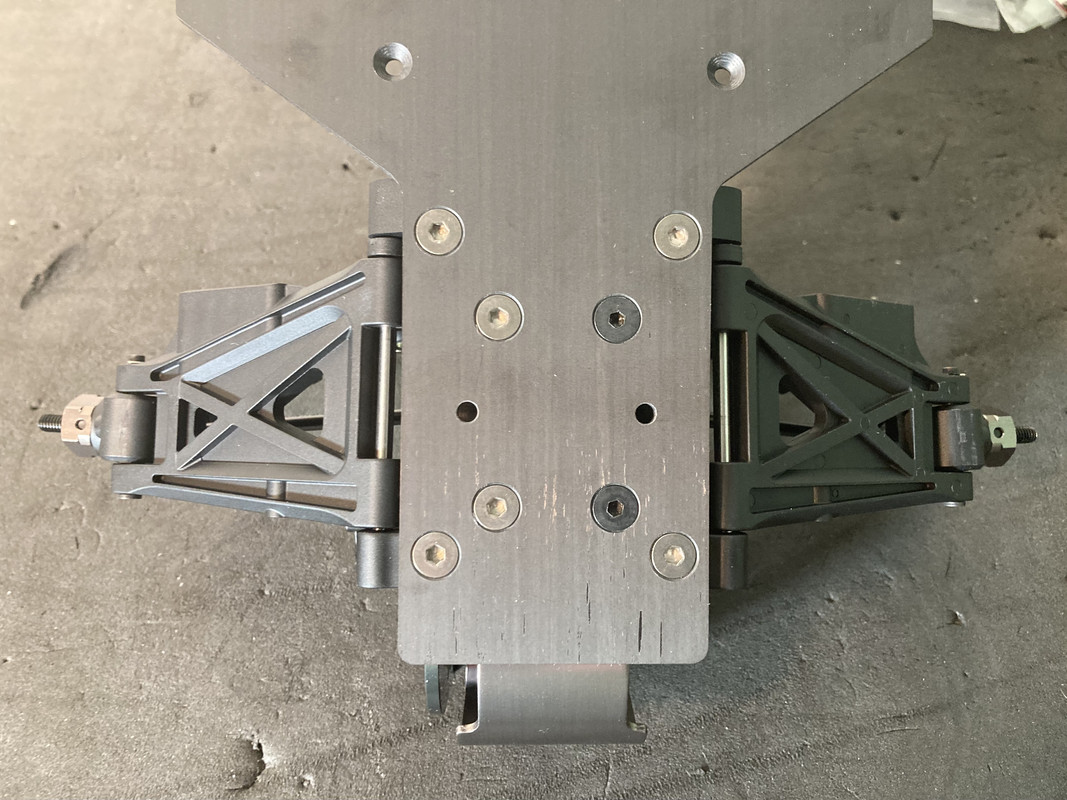
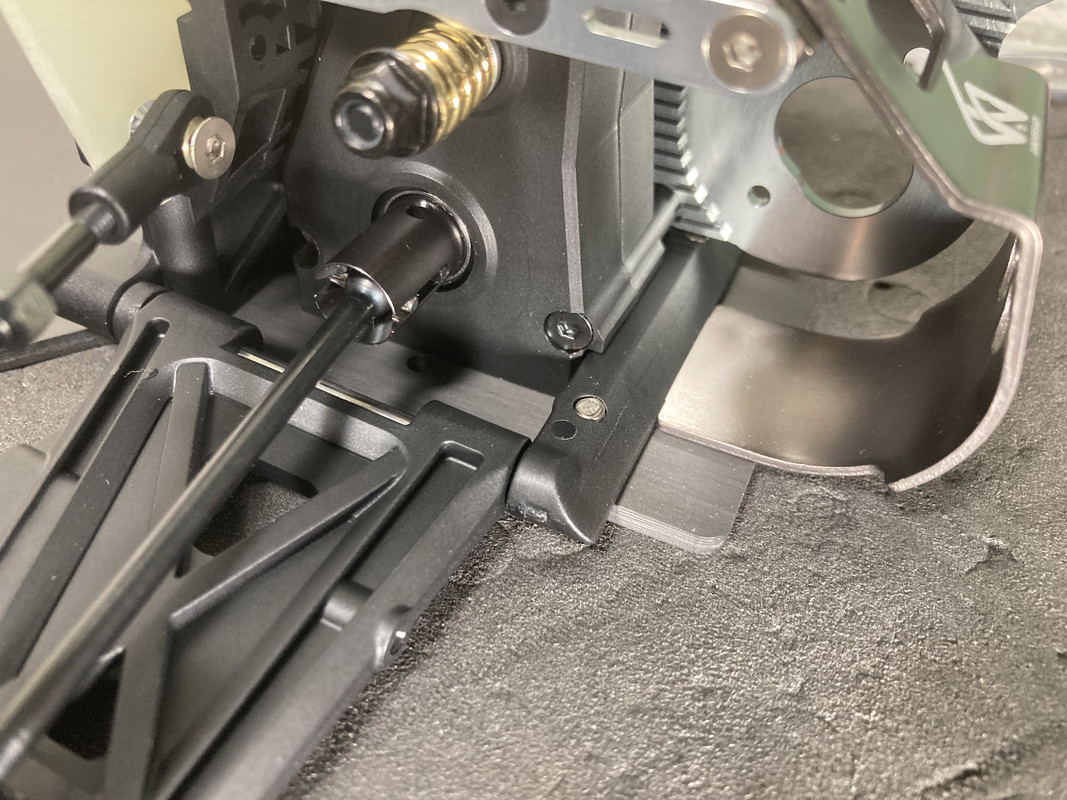
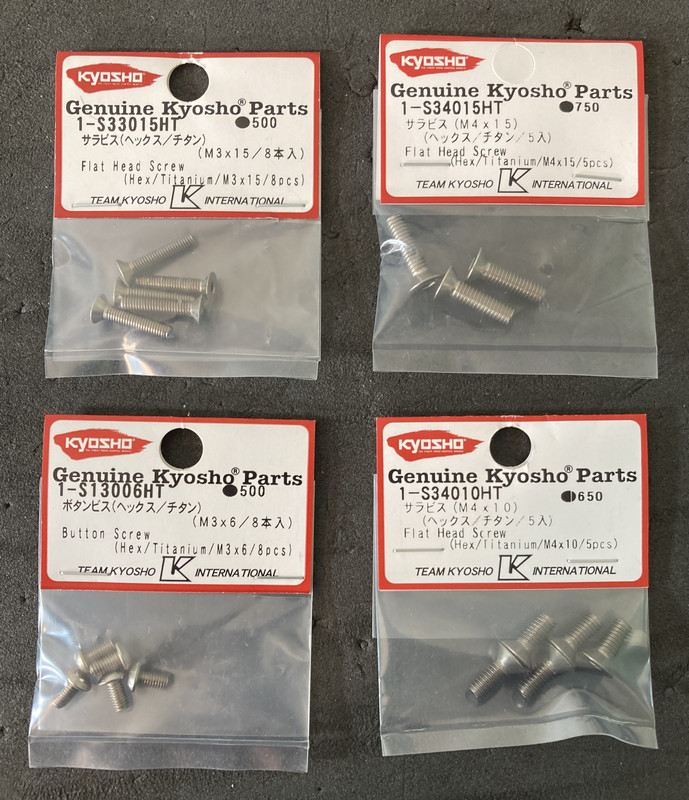
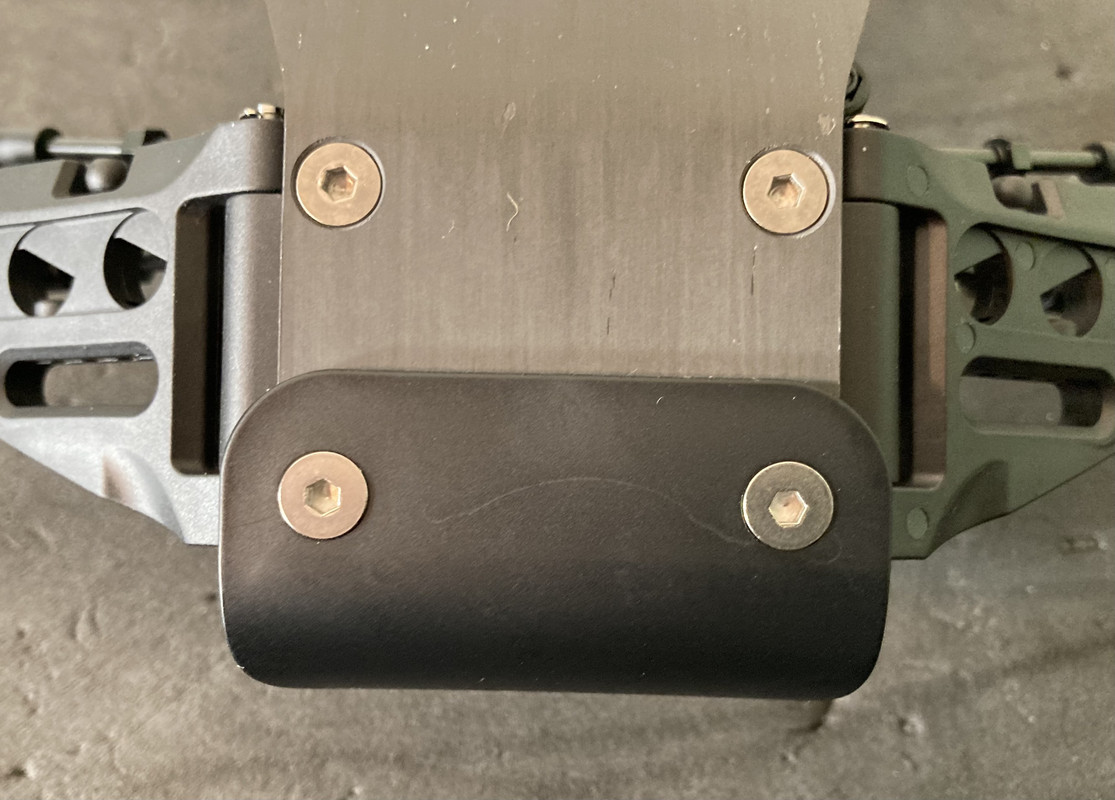
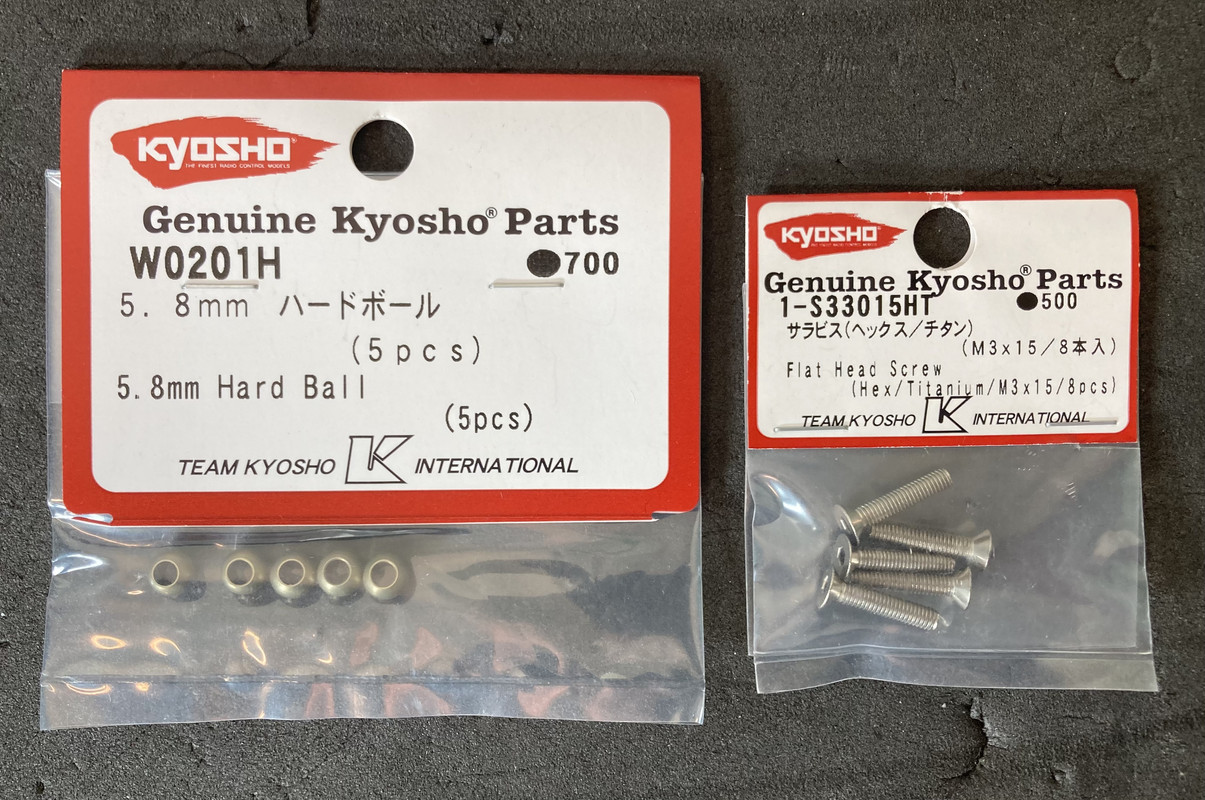
The rear assembly mounts to the chassis with (4) 4x10mm & (4) 4x8mm flat head screws. Kyosho only offers the 4x10 screw in titanium which is why you see Akira cut some down to an 8mm length in the video. The 10mm screws can be used in all but 2 locations though as seen here (the black screws are 8mm.) The manual shows 8mm screws being used on the rear pin support but 10mm screws work just fine and don’t protrude past the plastic…almost seems like a better length anyway.
Frankentruck wrote: ↑Wed Nov 08, 2023 7:59 am
Do the titanium screws take a different wrench size than the black screws, or is that an optical illusion?
Very nice build!
Thanks! Yeah it’s probably just my bad lighting..but they are both the same size..2.5mm hex. All the black screws in this kit are steel.
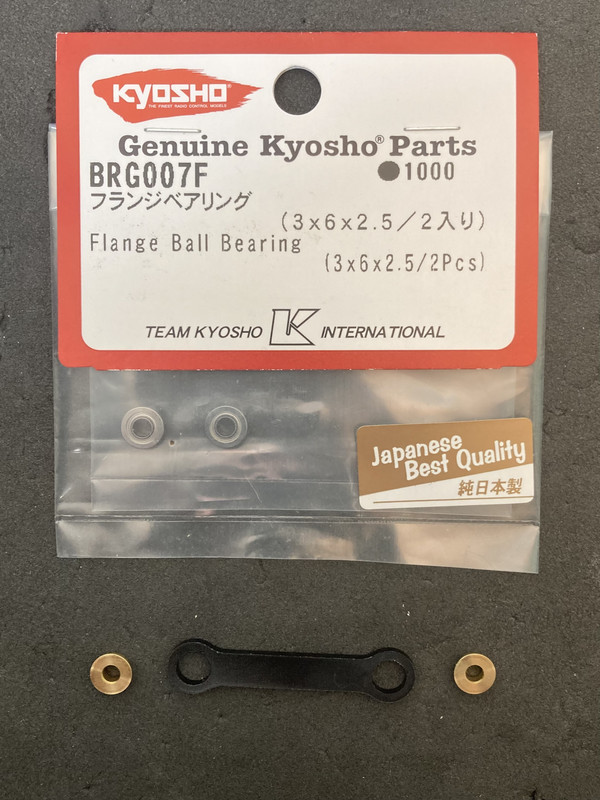
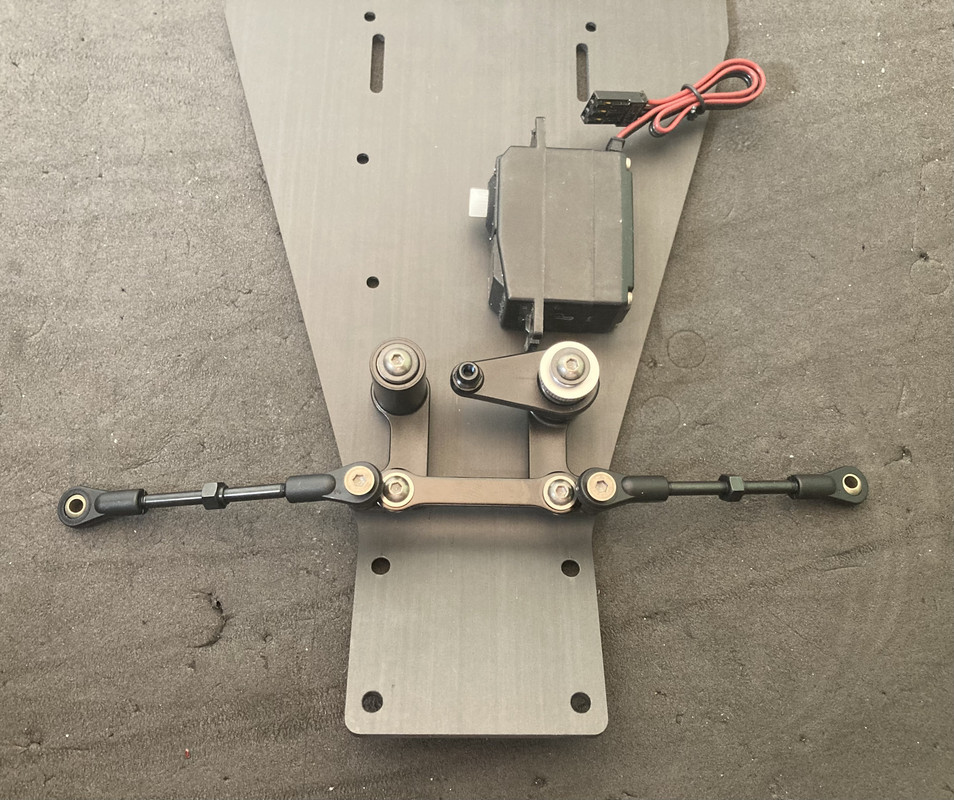
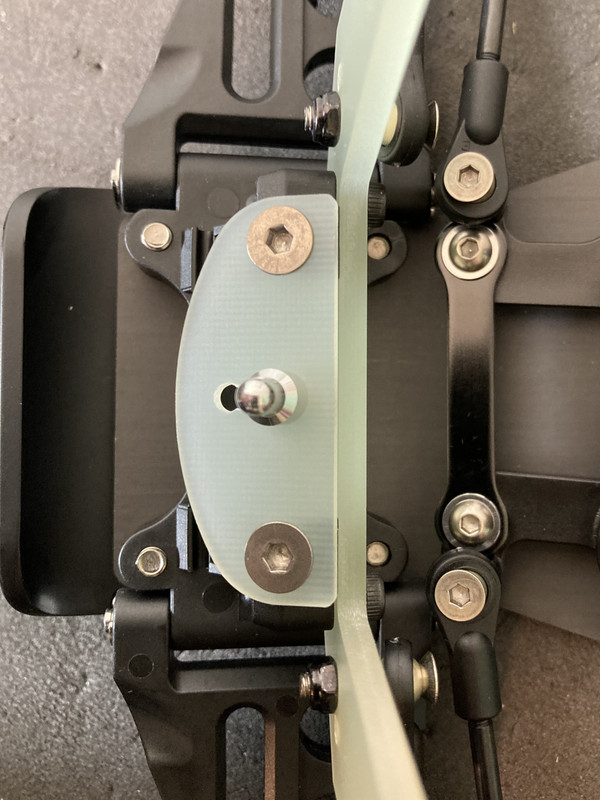
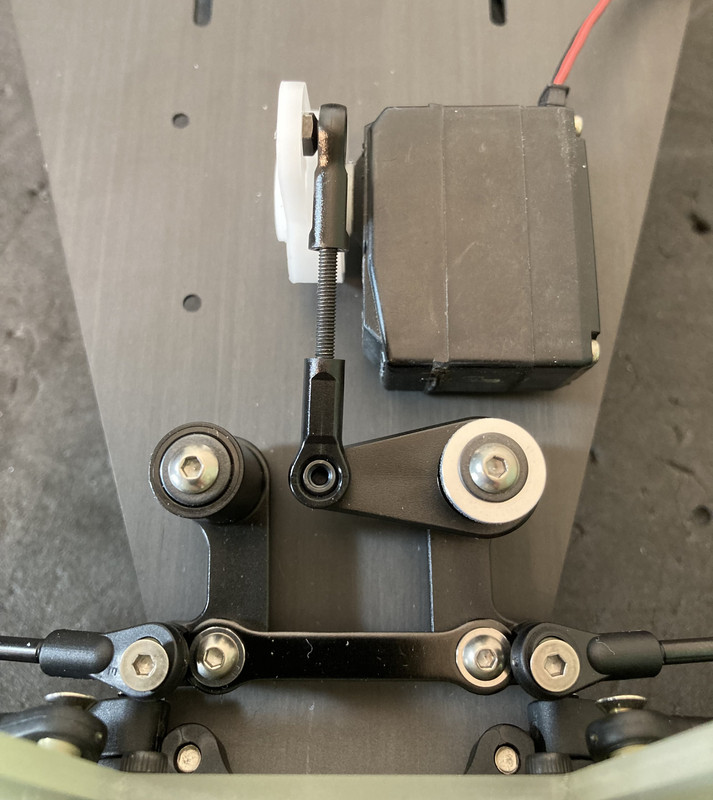
Steps 13 & 15 are the steering assembly. All the screws here are replaced with titanium and ball bearings replace the brass bushings on the tie bar. The regular Ultima #7 servo arm is used to allow the servo to be mounted like the original.
Steps 17-19 is the front suspension assembly. More Titanium screw upgrades… Front bulkhead is supposed to mount with (2) 4x10mm & (2) 4x12mm screws, but 4x15mm for the front two bulkhead/bumper screws are a better length. 4x10mm used for the front body mount instead of 4x8mm again…and 3x15mm used on outer camber link because Kyosho doesn’t offer a 3x12mm titanium screw.
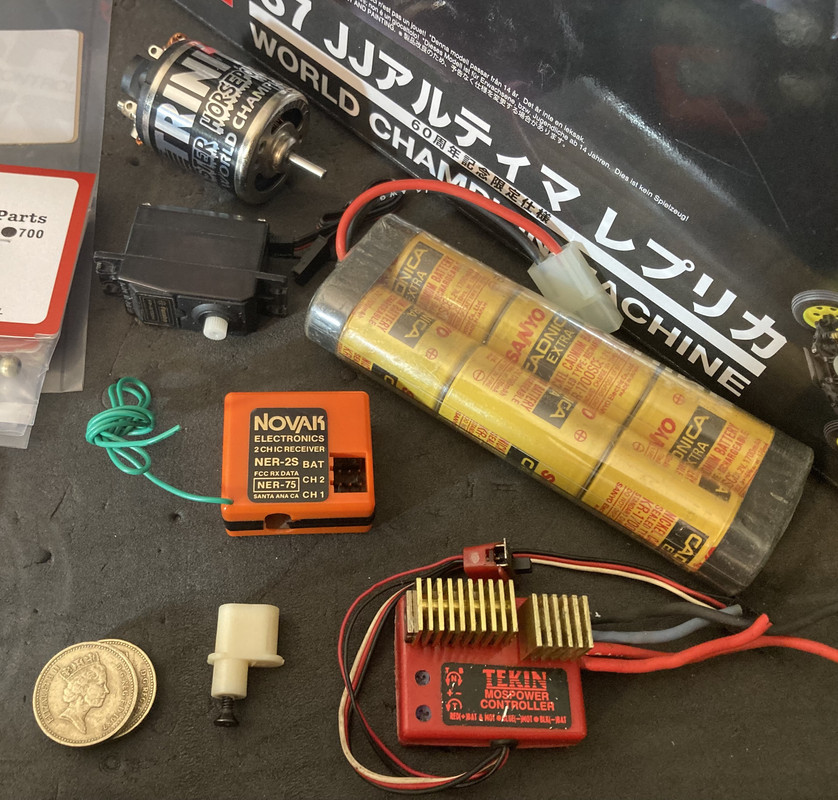
Steps 26-29 are installing the radio gear which I will skip for now.. 30 & 31 are the spur and motor installation. Now we’re getting serious.. new 1987 Trinity Monster Horsepower motor.
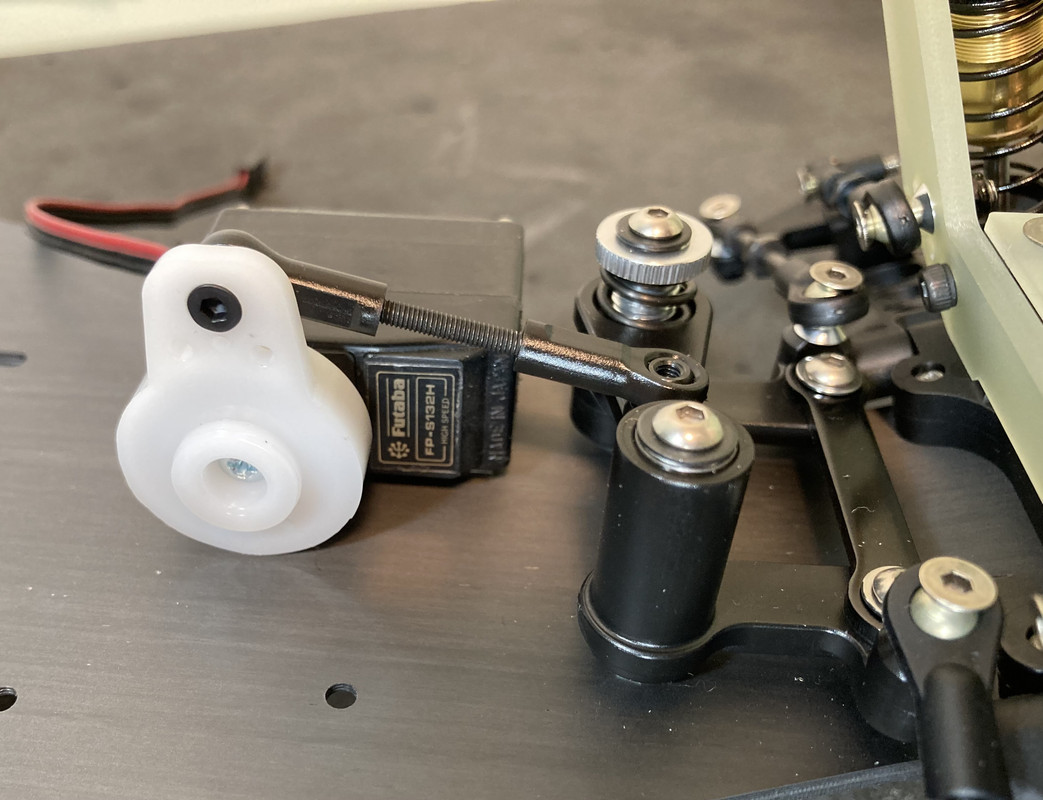
Time for the steering servo installation.. I am using almost the same radio gear Joel Johnson used, but the Futaba J plug versions..which are a lot easier to find.
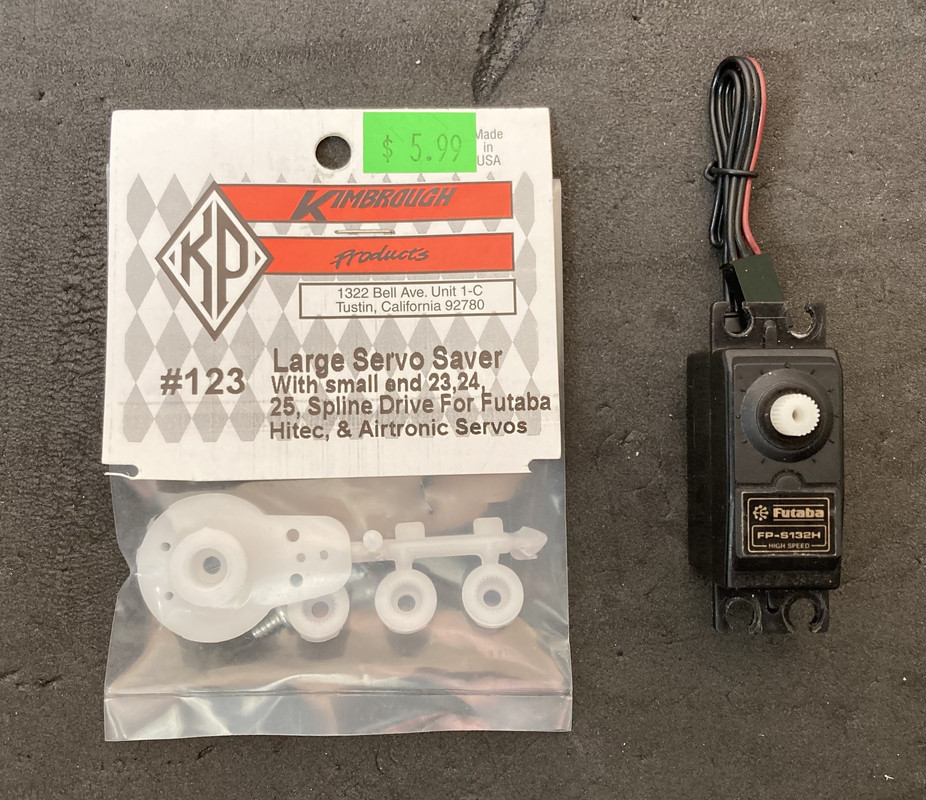
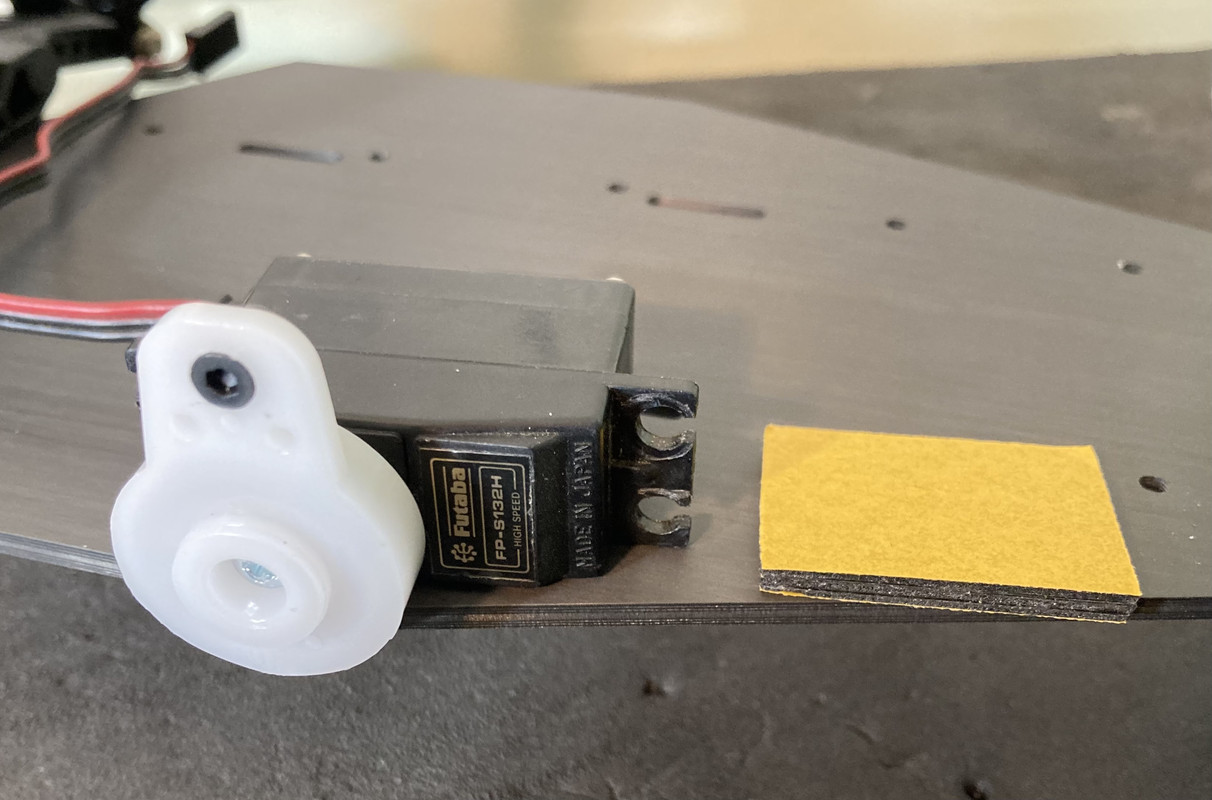
A 5 layer servo tape-lexan-tape-lexan-tape sandwich to get the large servo saver to clear the chassis. Of course the Kimbrough servo saver is not needed on this buggy but this is a tribute trying to look like the real one.
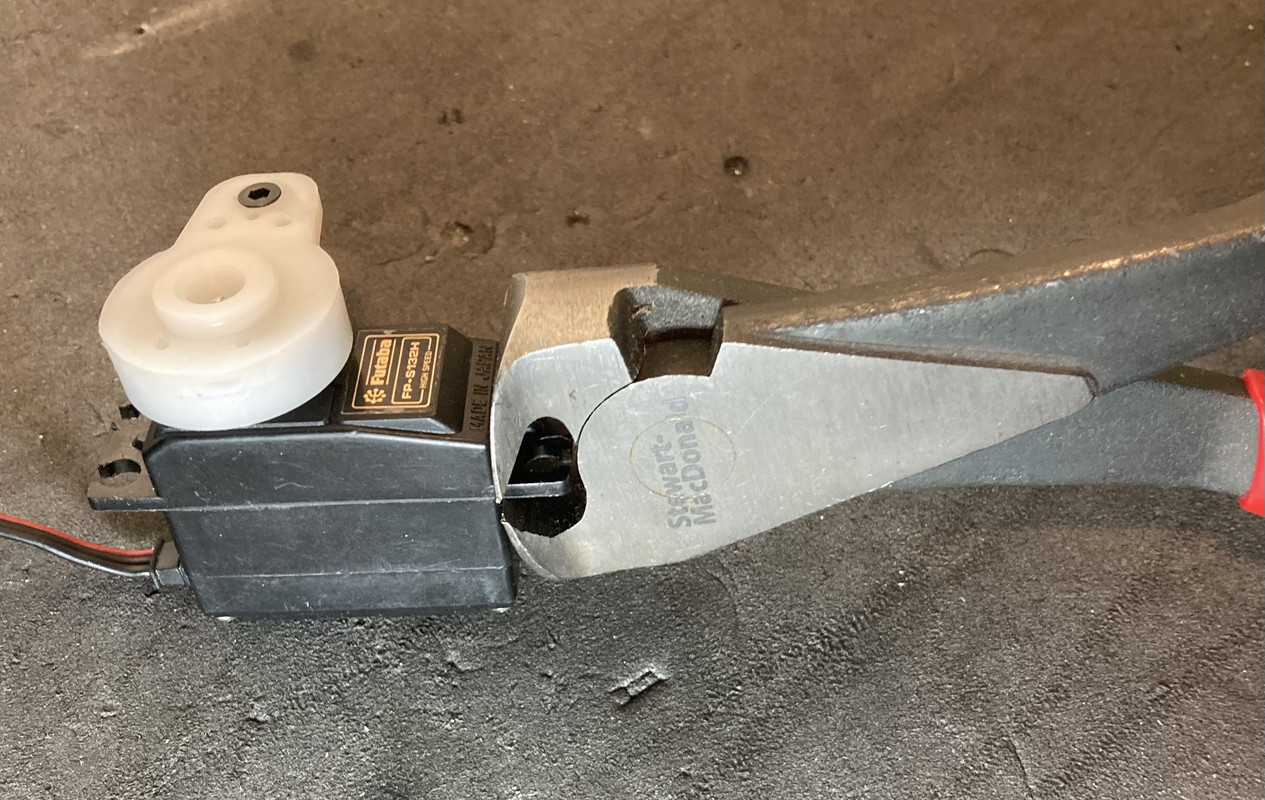
The point of no return..cutting off the servo mounts..