


I was holding out for a new sidewinder to pop up but I became impatientTHUNDERSTRIKE1 wrote:Cool about time you found time to rebuild and restyle her .
don
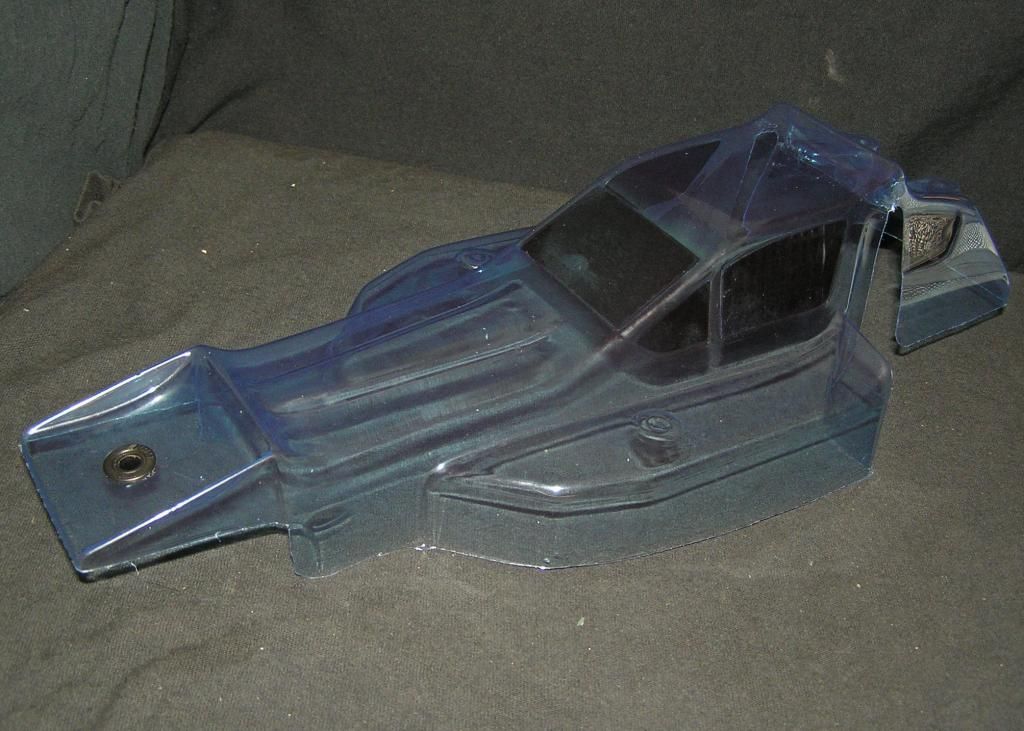
Yeah, the nose front left was delaminating so I felt compelled to do something about it. After fixing that I figured I might as well attempt to take the scratches out of it. As you probably know it makes the finish look dull, I bathed it in some shock oil to bring the sheen back to it rather than clear coating it. I may try plasti dip, haven't decided quite yet.Asso_man! wrote:Nice! Did you sand the chassis? Looks like an early one without the rear motor guard holes.
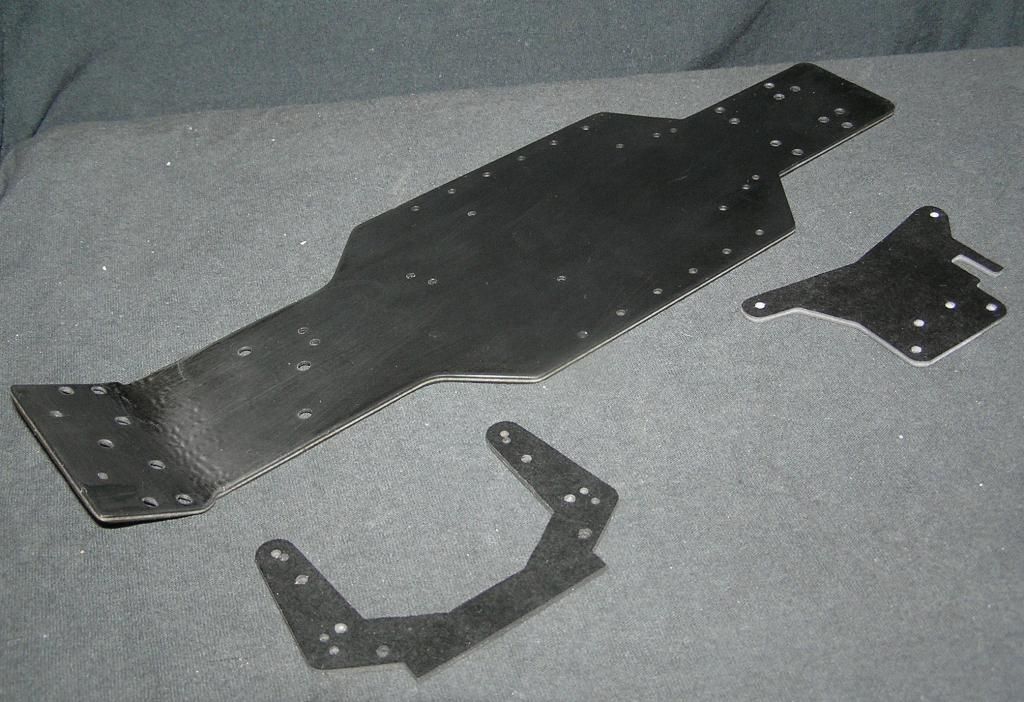
Good question, I don't know. I do know the camera flash makes it look even more strange than it really is. Maybe something to do with how the the nose is heated and then stamped for the kick-up? No idea really, just guessingslotcarrod wrote:Why is the chassis so wavy at the kick up?

The wavy look is the internal carbon fiber modulus. They're all a bit different, but uni-directional carbon fiber matting/fabric is "laid up" and then resin is applied and heated to make a composite out of the ingredients. The wave is the reflection of fibers that didn't stay straight during any step leading up to the curing of the material, like bunching, snags and such. CF/Graphite is only heated or cured once, it's a chemical and physical change after that it's done...can't be un-done or re-done. The panels were made with that angle in the mold/vaccum bag during the curing process, then cut as one unit (early chassis, like yours were flat routed, then fixed at the nose and routed, then drilled. Look @ the cut lines at the nose area near the belcranks on the side of the chassis) Later TQ10's used a different top layer of uni directional fabric, more of a pre-preg material, so they lost that sheen and were uniform in look, also a 3 axis router cut them in one operation, so the "flat" cut on the early noses went to a "sharp" cut on the later noses. Nerd-rant overteman wrote:Good question, I don't know. I do know the camera flash makes it look even more strange than it really is. Maybe something to do with how the the nose is heated and then stamped for the kick-up? No idea really, just guessingslotcarrod wrote:Why is the chassis so wavy at the kick up?
You need to be a member in order to post a reply
Not a member? register to join our community
Members can start their own topics & subscribe to topics
It’s free and only takes a minute
Users browsing this forum: ![]() Majestic-12 [Bot] and 15 guests
Majestic-12 [Bot] and 15 guests