The Dragula!

For all things R/C, post '90s to today.

Moderators: scr8p, klavy69

Forum rules
This is a catch-all forum for any make and model produced from the year 2000 to present day.
User avatar
PlastiZapCA+
Approved Member
Posts: 746
Joined: Mon Jun 11, 2012 1:41 am
Location: Watauga,TX

Re: The Dragula!

Post by PlastiZapCA+ »

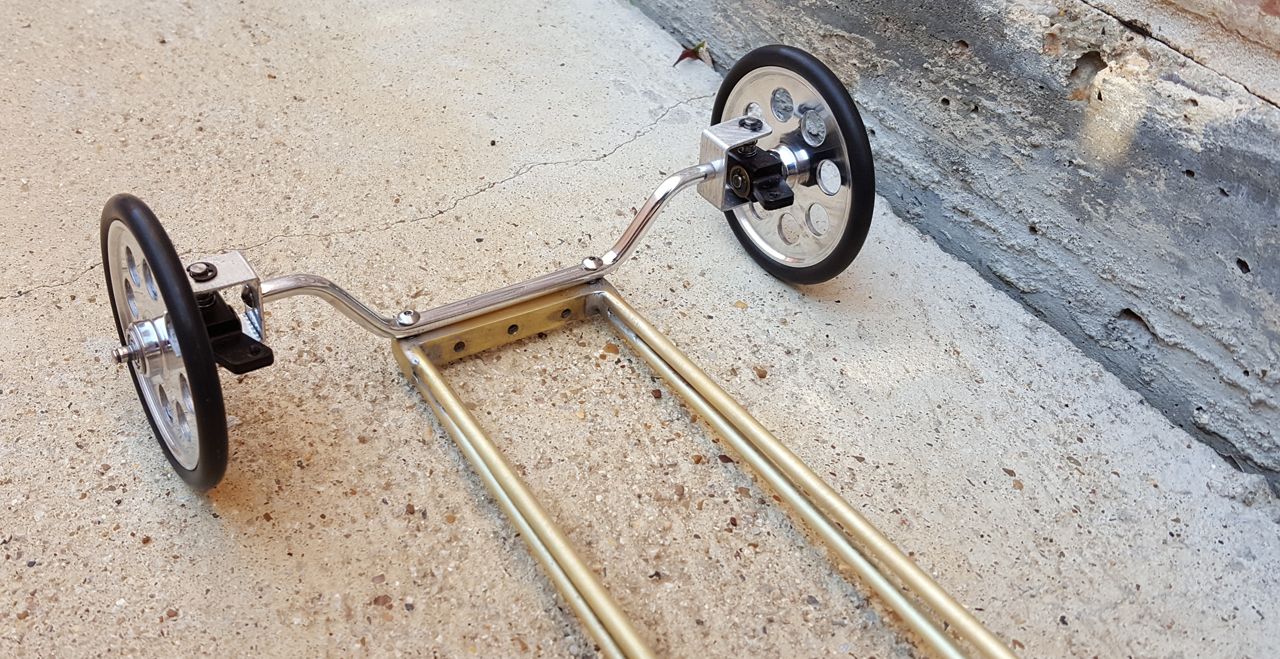
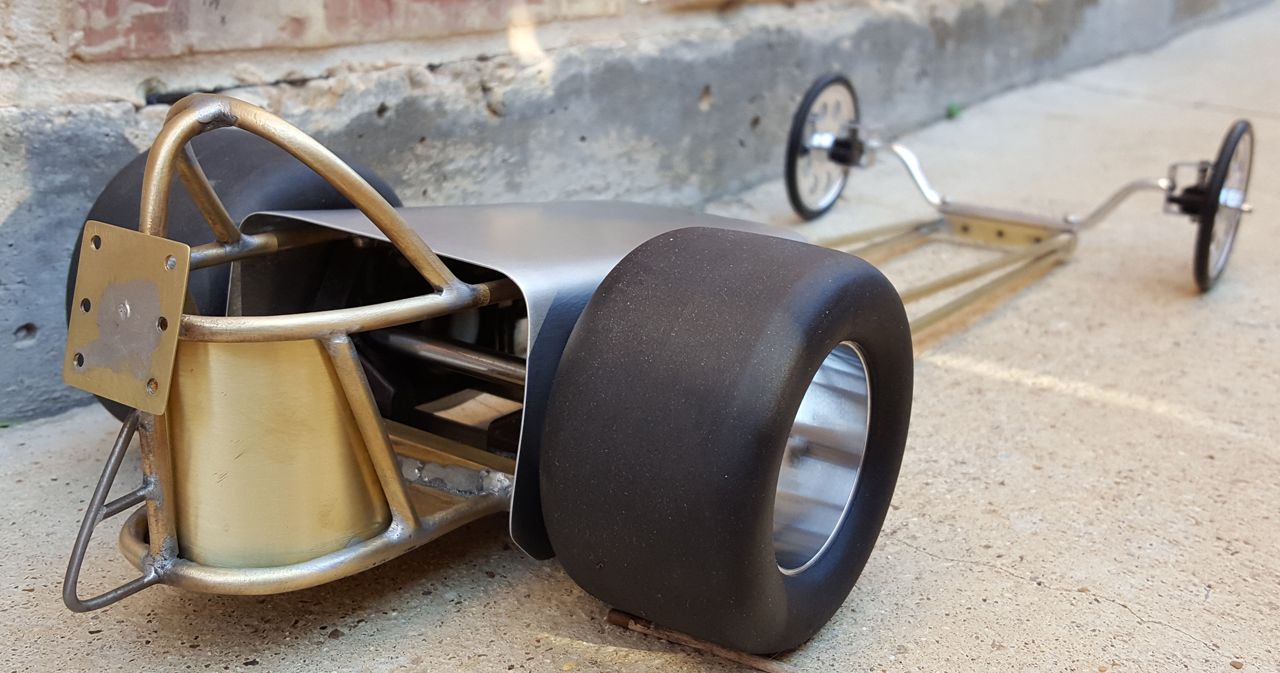
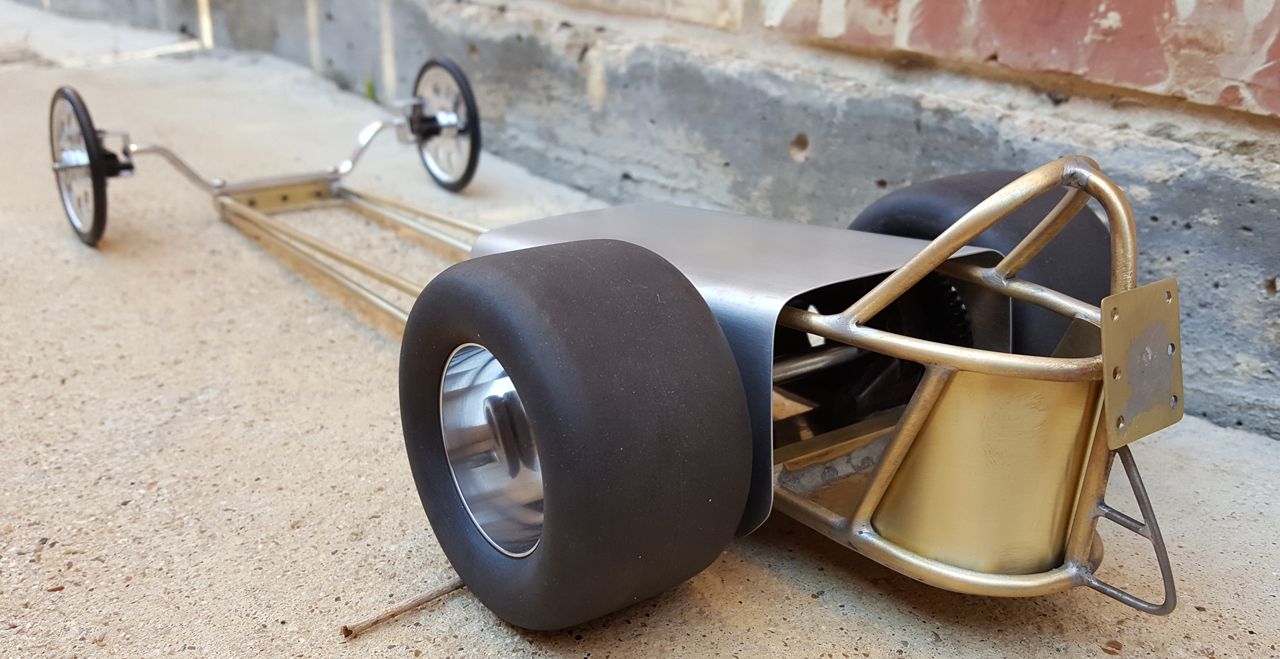
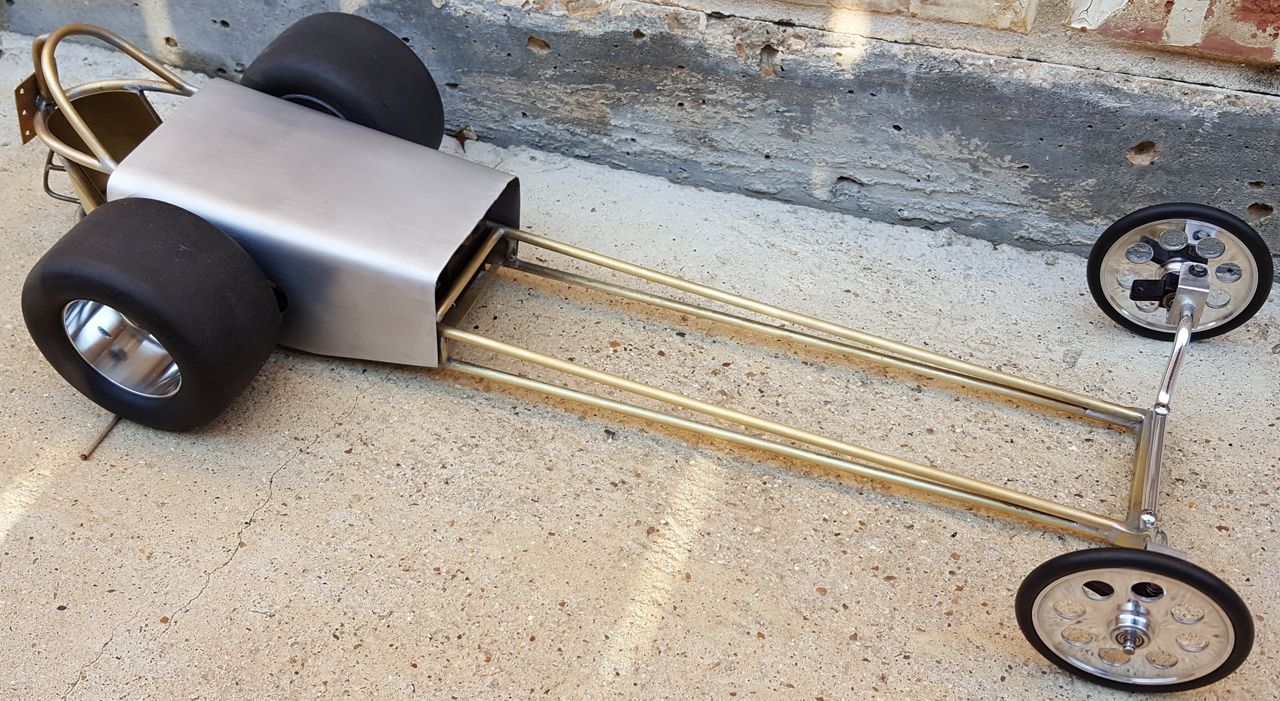
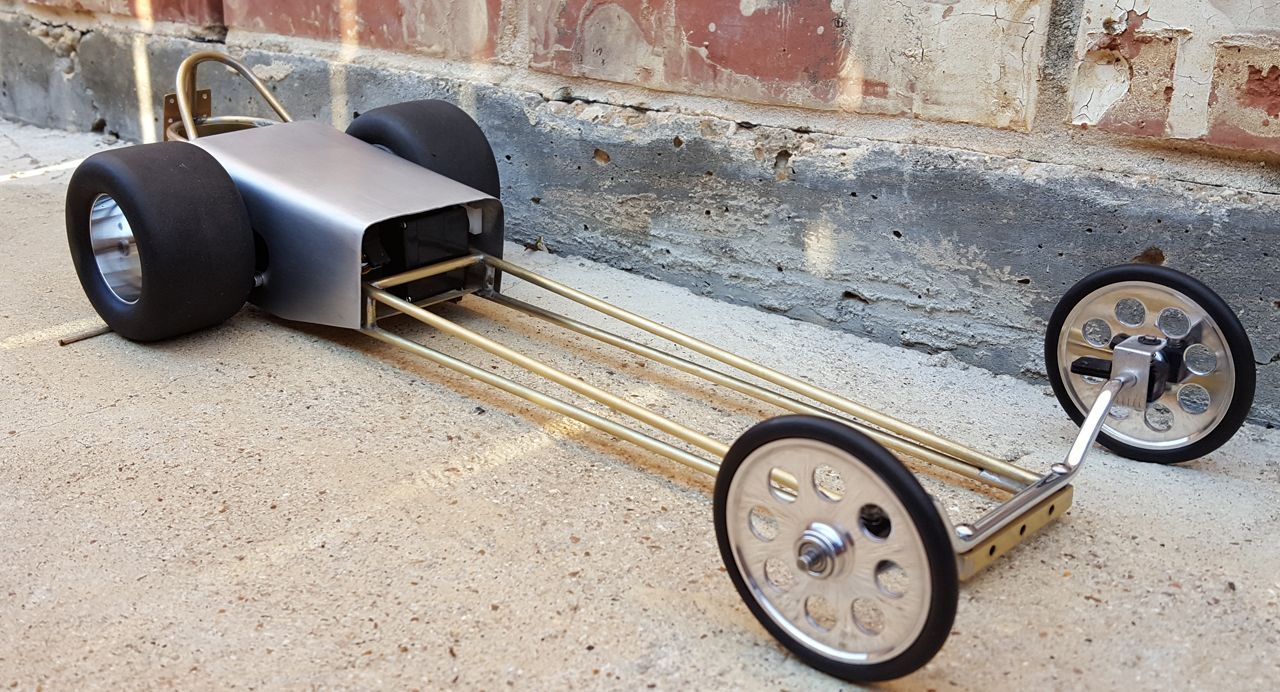
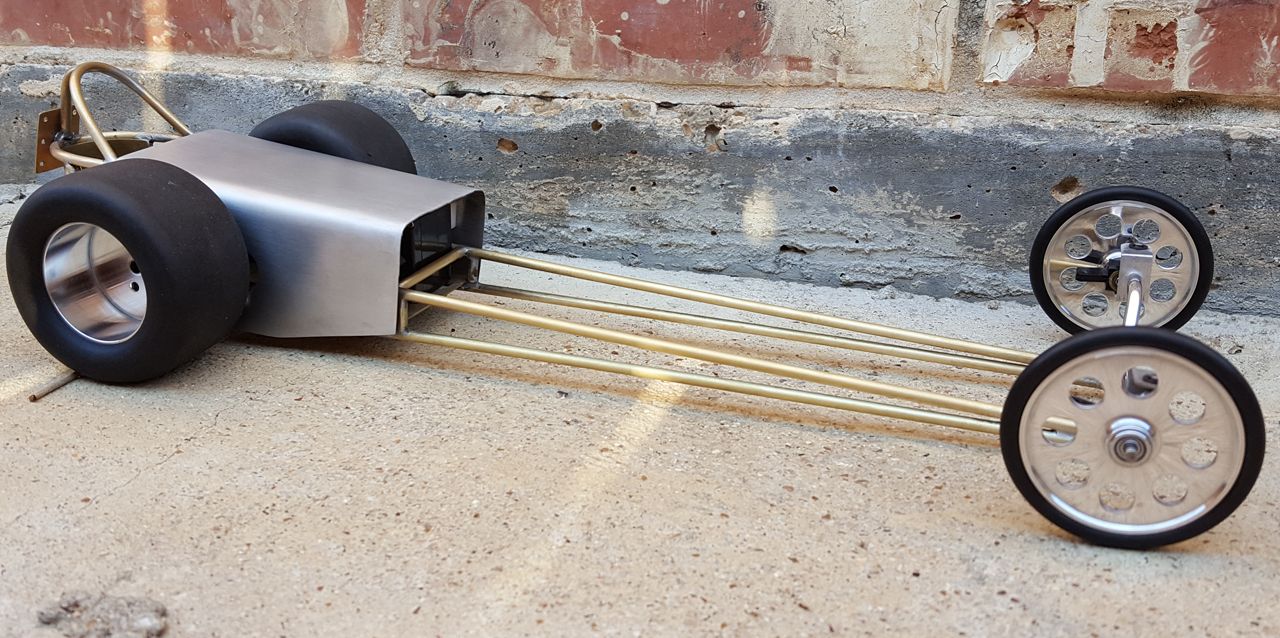
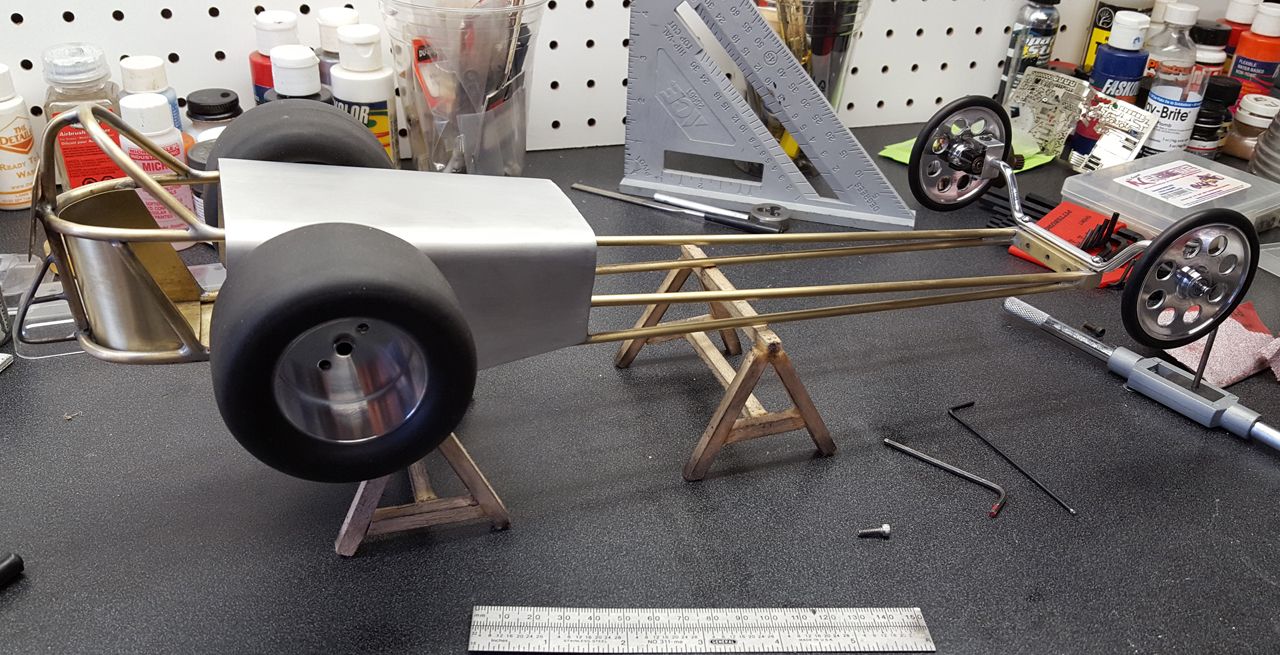
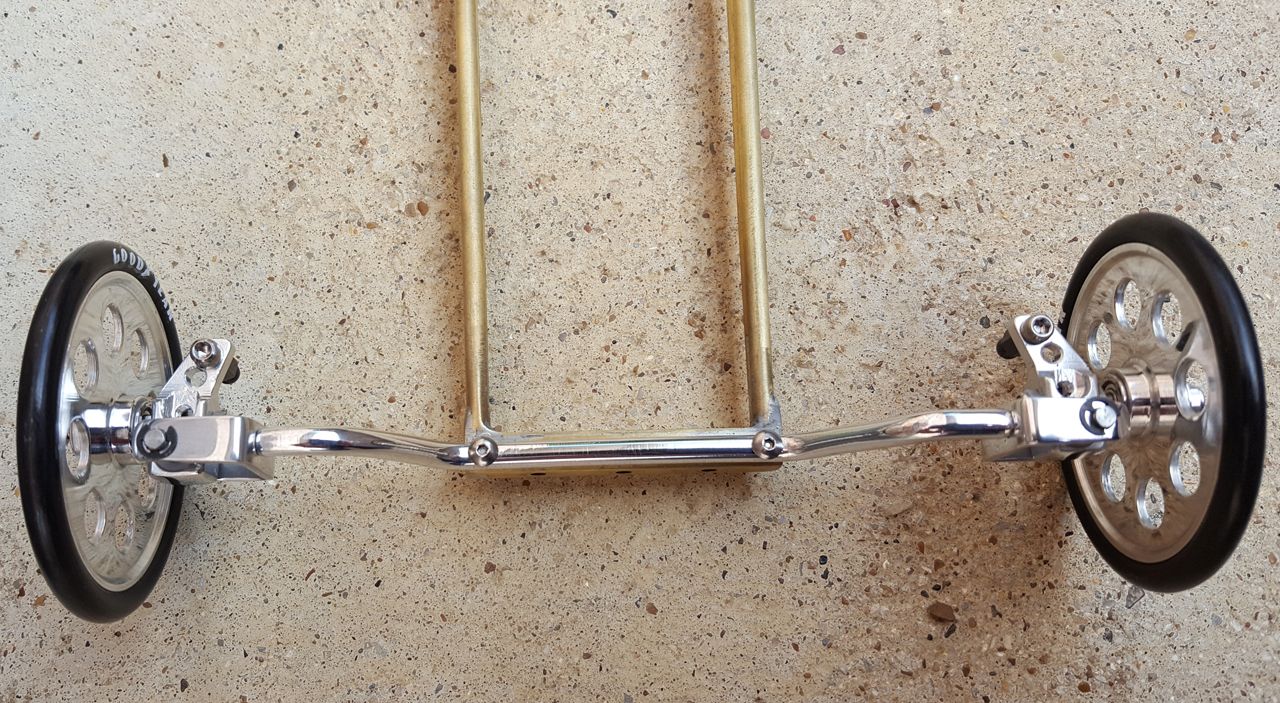
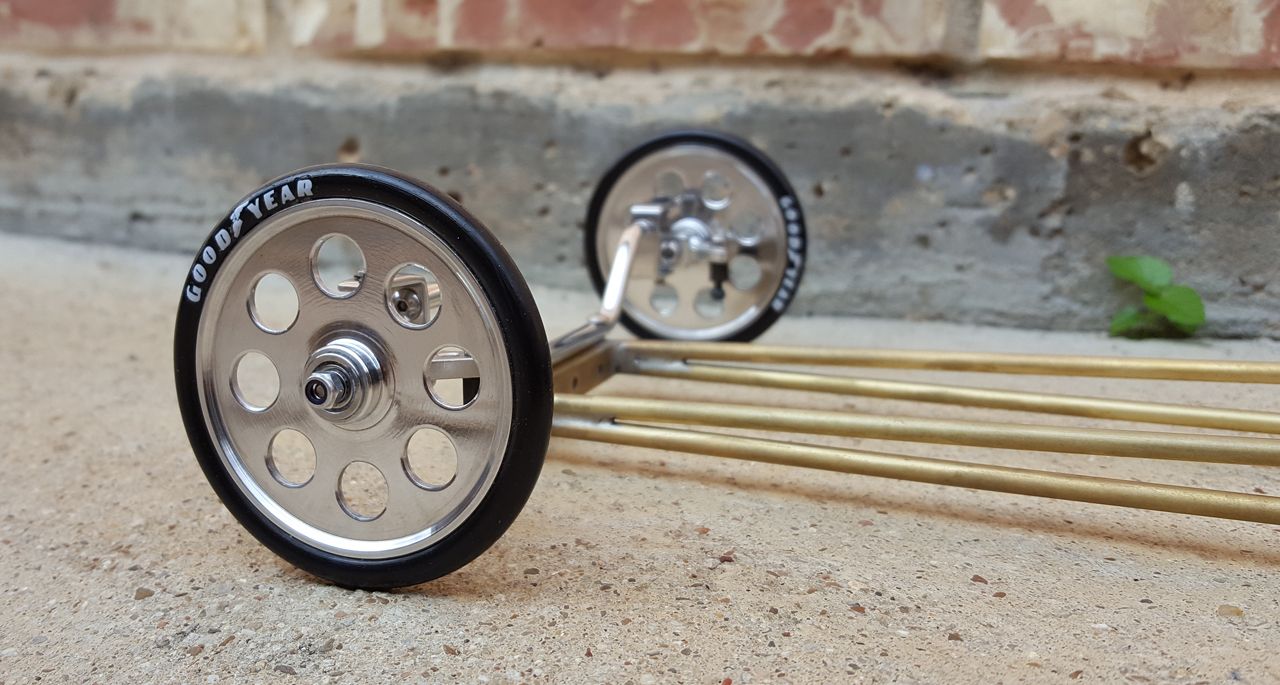
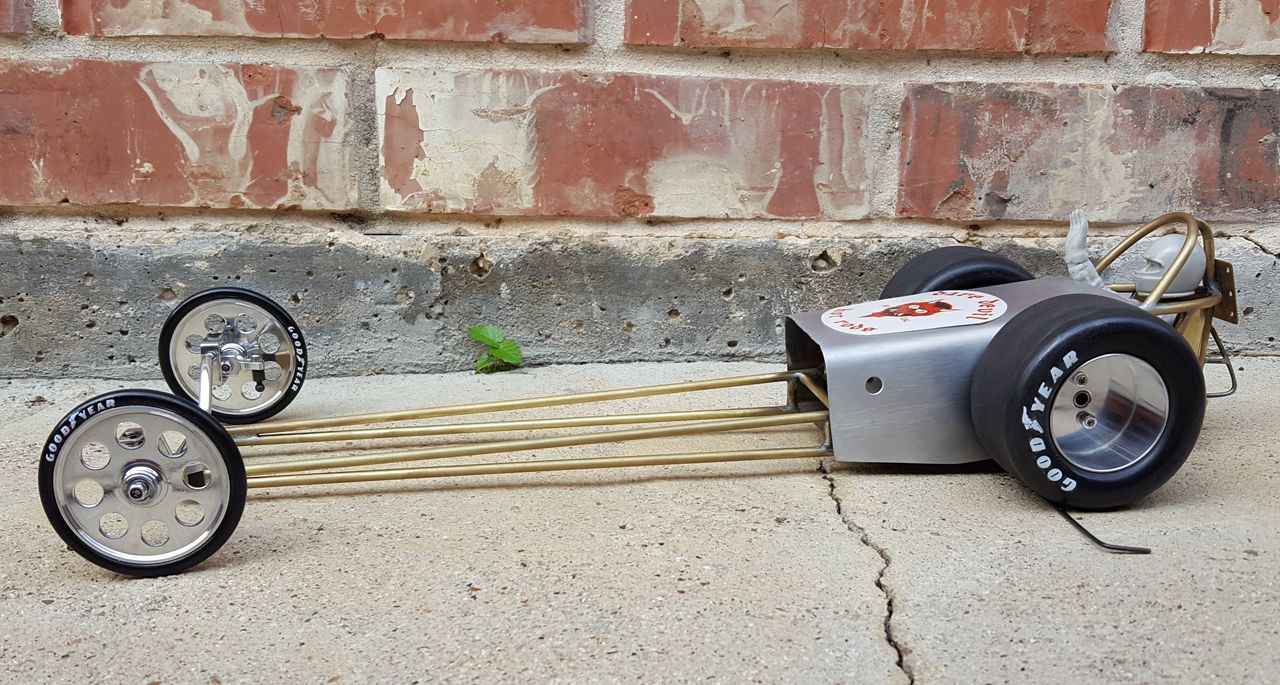
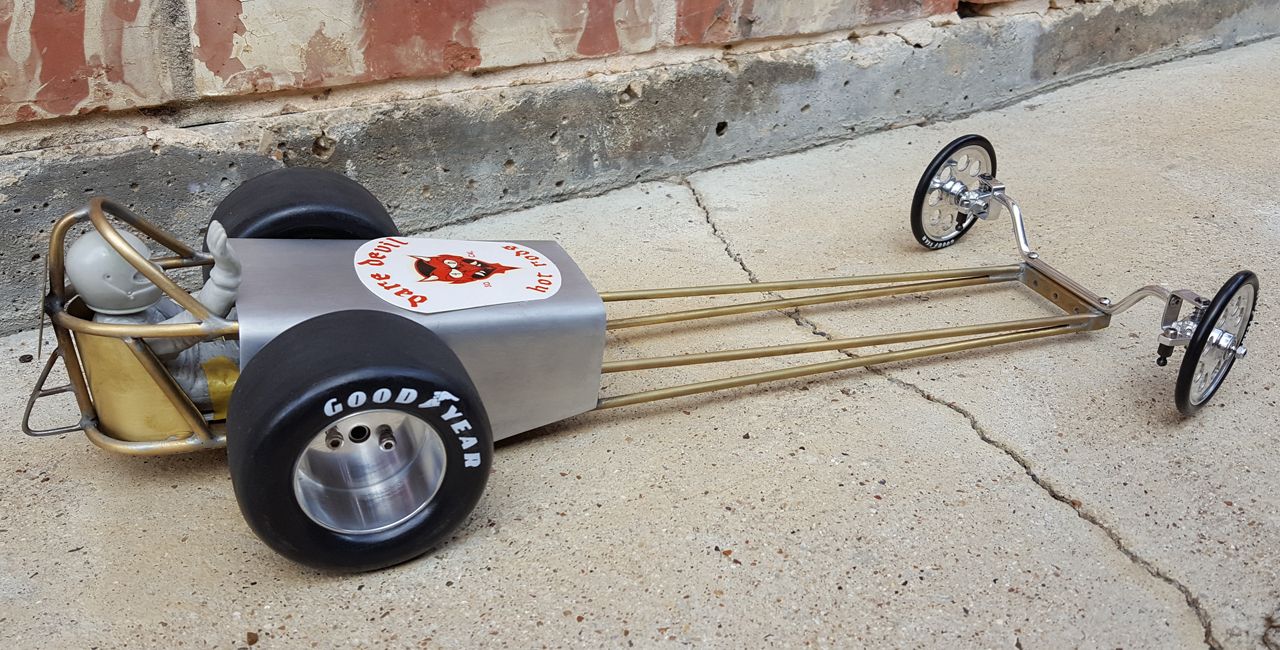
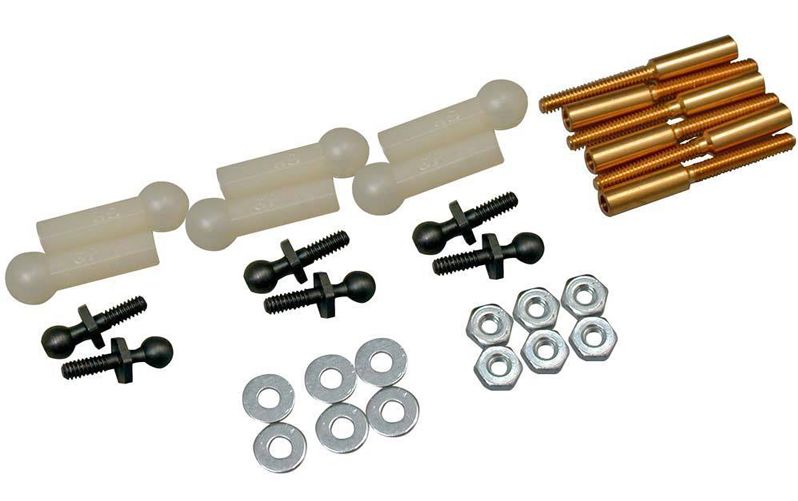
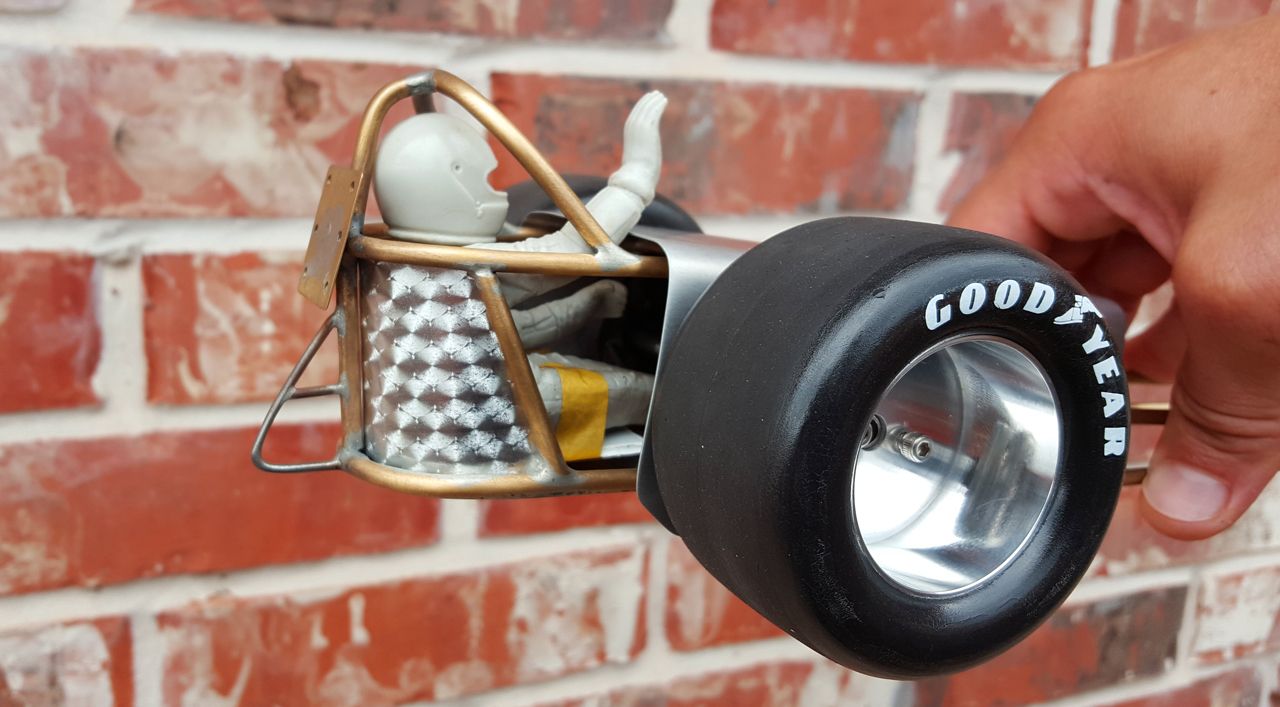
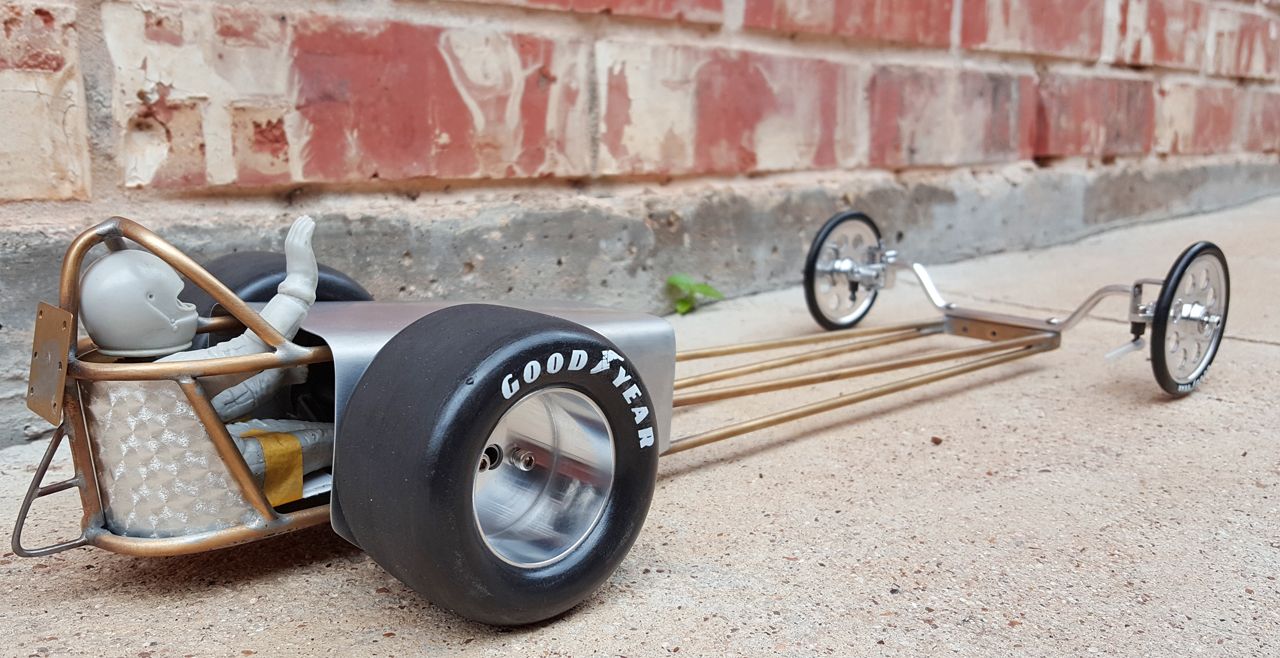
bats wrote:What kind of rear tires are you using?

Those are vintage tires I received along with the rims. I doubt anyone makes them anymore. You can get new slicks from CRC here: https://www.teamcrc.com/crc/modules.php?name=Shopping_Cart&file=product&c_op=viewprod&prodID=7719704 These will be much better. I plan on trying them on my RC10L soon.

User avatar
PlastiZapCA+
Approved Member
Posts: 746
Joined: Mon Jun 11, 2012 1:41 am
Location: Watauga,TX

Re: The Dragula!

Post by PlastiZapCA+ »

OK, here is the weekly update. I made a new narrow front axle that should be perfect now. I finished cleaning up the solder joints on the chassis and I added the push bar and parachute mount. I also trimmed the body for the axles, steering and spur gear. Due to all the work on the new axle I couldn't finish the fire wall so that will wait until next week. I also plan to build some new steering knuckles as the old ones don't cut it anymore.


Kilroy's been at it again! :lol: My new work platform.
Image

Got the rails boxed in at the front.
Image

I built the chassis so that it could be completely stripped down for work. The RC12E mounts are perfect for this build and work the same way structurally as they do on the Associated car.
Image

Once I get the firewall soldered in the body will be trimmed up to meet it. You can see the hole for the steering servo in this pic. I'll have to make my own linkage arm.
Image

This was not a fun job! I'm very pleased with how it turned out though.
Image

Image

Image

Image

The new narrow axle. Now to make some proper steering knuckles.
Image

Parachute mount and push bar.
Image

Image

Image

Image

Image

These really are handy! :mrgreen: Until next week!
Image

User avatar
Russ Winn
Approved Member
Posts: 460
Joined: Sat Nov 20, 2010 9:52 am
Location: Hillbilly Hell, Fl.
Has thanked: 49 times
Been thanked: 80 times

Re: The Dragula!

Post by Russ Winn »

She's coming along great! The opening for the spur gear turned out really trick looking.
The older I get, the faster I was.

https://www.youtube.com/watch?v=pyGKBTUJ-L0

Charlesmtb
Approved Member
Posts: 49
Joined: Tue Aug 02, 2016 10:00 pm
Location: Long Island, NY

Re: The Dragula!

Post by Charlesmtb »

Really nice so far.....I've got to tip my hat to your welding....I tried it on an industrial scale and can't imagine being as surgical as you....looking forward to watching you document the project

User avatar
DennisM
Approved Member
Posts: 2405
Joined: Sun Feb 26, 2012 7:07 am
Location: Denmark
Has thanked: 30 times
Been thanked: 62 times

Re: The Dragula!

Post by DennisM »

8) Great work
Gone fishing

User avatar
romulus22
Approved Member
Posts: 2549
Joined: Wed May 19, 2010 7:30 pm
Location: KY
Has thanked: 900 times
Been thanked: 789 times

Re: The Dragula!

Post by romulus22 »

Progress is looking sweet. I like seeing everything in its raw form as its being built.

User avatar
PlastiZapCA+
Approved Member
Posts: 746
Joined: Mon Jun 11, 2012 1:41 am
Location: Watauga,TX

Re: The Dragula!

Post by PlastiZapCA+ »

Thanks guys! I took a break this weekend, needed R&R bad after the crazy work week I had. I've got lots of new parts coming in for next week though. GPM aluminum axle blocks, Lunsford titanium screws and front axles and all the hardware to complete the steering. Next week I'll most definitely have something to show.

User avatar
PlastiZapCA+
Approved Member
Posts: 746
Joined: Mon Jun 11, 2012 1:41 am
Location: Watauga,TX

Re: The Dragula!

Post by PlastiZapCA+ »

I had another busy weekend so I didn't get as much done as I wanted. I did make a new set of knuckles and mounted up the tires. Hopefully I can get more done next weekend. Anyway, some progress is better than no progress. :D


The new knuckles are made from aluminum plate. These things were a pain in the rear to make. I still need to remove some tooling marks and then re-polish them. The steering blocks are from GPM for the RC12 and the axles are Lunsford titanium.
Image

I love polished aluminum!
Image

The graphics have been picked out. I think they work. :mrgreen:
Image

I raised the ride height on the nose by 2mm for better ground clearance. It won't bottom out now. Trying to find ball studs small enough to fit solder on Dubro ball cups. Might look at 1/16 scale stuff.
Image

Image

Image

User avatar
jwscab
Approved Member
Posts: 6580
Joined: Wed Jan 28, 2009 9:42 am
Location: Chalfont, PA
Has thanked: 16 times
Been thanked: 505 times

Re: The Dragula!

Post by jwscab »

I want to say the tamiya ball ends for grasshopper/lunchbox, etc fit the small dubro cups. I can try it at home and see.

User avatar
PlastiZapCA+
Approved Member
Posts: 746
Joined: Mon Jun 11, 2012 1:41 am
Location: Watauga,TX

Re: The Dragula!

Post by PlastiZapCA+ »

jwscab wrote:I want to say the tamiya ball ends for grasshopper/lunchbox, etc fit the small dubro cups. I can try it at home and see.
That would be cool of you! The problem I have is normal 4-40 ball studs are too big and bind on the Dubro cups and normal ball cups wont fit the threaded coupler. I may try Dubro 884 ball studs, I think it will be the same problem though. If that doesn't work then I'll try milling down some normal ball studs until they fit or making my own threaded coupler. I'm trying to keep the steering hardware at a scale size. Normal steering hardware looks too bulky on this machine. The parts I'm using are for airplanes which is why I'm having the problem. Custom = pain in the rear. :P

User avatar
jwscab
Approved Member
Posts: 6580
Joined: Wed Jan 28, 2009 9:42 am
Location: Chalfont, PA
Has thanked: 16 times
Been thanked: 505 times

Re: The Dragula!

Post by jwscab »

yep, i should have everything in my parts bin to try it out.

the other option is the ball cups from the tamiya, as they are meant to fit on something like a 2mm threaded link, I think the dubro solder on links are 2-56 right? the tamiy ball cups would need a little trim/shave since they have a little flange part on them from what i remember.

User avatar
PlastiZapCA+
Approved Member
Posts: 746
Joined: Mon Jun 11, 2012 1:41 am
Location: Watauga,TX

Re: The Dragula!

Post by PlastiZapCA+ »

jwscab wrote:yep, i should have everything in my parts bin to try it out.

the other option is the ball cups from the tamiya, as they are meant to fit on something like a 2mm threaded link, I think the dubro solder on links are 2-56 right? the tamiy ball cups would need a little trim/shave since they have a little flange part on them from what i remember.

I found the parts I needed. :D They had been discontinued by Dubro and now sold under the Great Planes name. Just ordered up a set! Thanks for your efforts in looking though, much appreciated. Hopefully I'll have smooth sailing from here out.

User avatar
jwscab
Approved Member
Posts: 6580
Joined: Wed Jan 28, 2009 9:42 am
Location: Chalfont, PA
Has thanked: 16 times
Been thanked: 505 times

Re: The Dragula!

Post by jwscab »

cool, what parts are you looking at?

I found some small dubro ball links, the clearish ones that use the 2-56 size link, which i think is the same as the solder fittings. They seem to fit on a ball that was closely sized to an associated ball, and only loosely on the tamiya ball end.

the tamiya ball end is about 2/3 the size of the associated ball end, and has a 2mm thread. of course it fit well on the corresponding tamiya cup.

User avatar
PlastiZapCA+
Approved Member
Posts: 746
Joined: Mon Jun 11, 2012 1:41 am
Location: Watauga,TX

Re: The Dragula!

Post by PlastiZapCA+ »

jwscab wrote:cool, what parts are you looking at?

I found some small dubro ball links, the clearish ones that use the 2-56 size link, which i think is the same as the solder fittings. They seem to fit on a ball that was closely sized to an associated ball, and only loosely on the tamiya ball end.

the tamiya ball end is about 2/3 the size of the associated ball end, and has a 2mm thread. of course it fit well on the corresponding tamiya cup.
I have the same ones you are talking about and they wouldn't fit on my new Associated ball studs very well, they were binding up. Funny since I used these on my RC12i restoration and didn't have any issues with the original Associated studs on that car. Could be the Associated studs I have are made differently from the old ones. I didn't want to order anymore to test out since I would probably end up with more parts that won't get used.

These will do the trick and are on the way, exaclty what I needed. The GPM steering blocks aren't threaded for ball studs to screw into and the hole is larger than 4-40 for some crazy reason so I can't thread it myself.
Image

User avatar
PlastiZapCA+
Approved Member
Posts: 746
Joined: Mon Jun 11, 2012 1:41 am
Location: Watauga,TX

Re: The Dragula!

Post by PlastiZapCA+ »

Check it out! I picked up some film that simulates engine turned aluminum. I just wrapped the seat, really thin and easy to use film. It's overcast outside, in the sun this stuff really shines. Should look sick against the painted frame.

Image

Image

Create an account or sign in to join the discussion

You need to be a member in order to post a reply

Create an account

Not a member? register to join our community
Members can start their own topics & subscribe to topics
It’s free and only takes a minute

Register

Sign in

Return to “21st Century Modern”

Who is online

Users browsing this forum: No registered users and 8 guests